 |
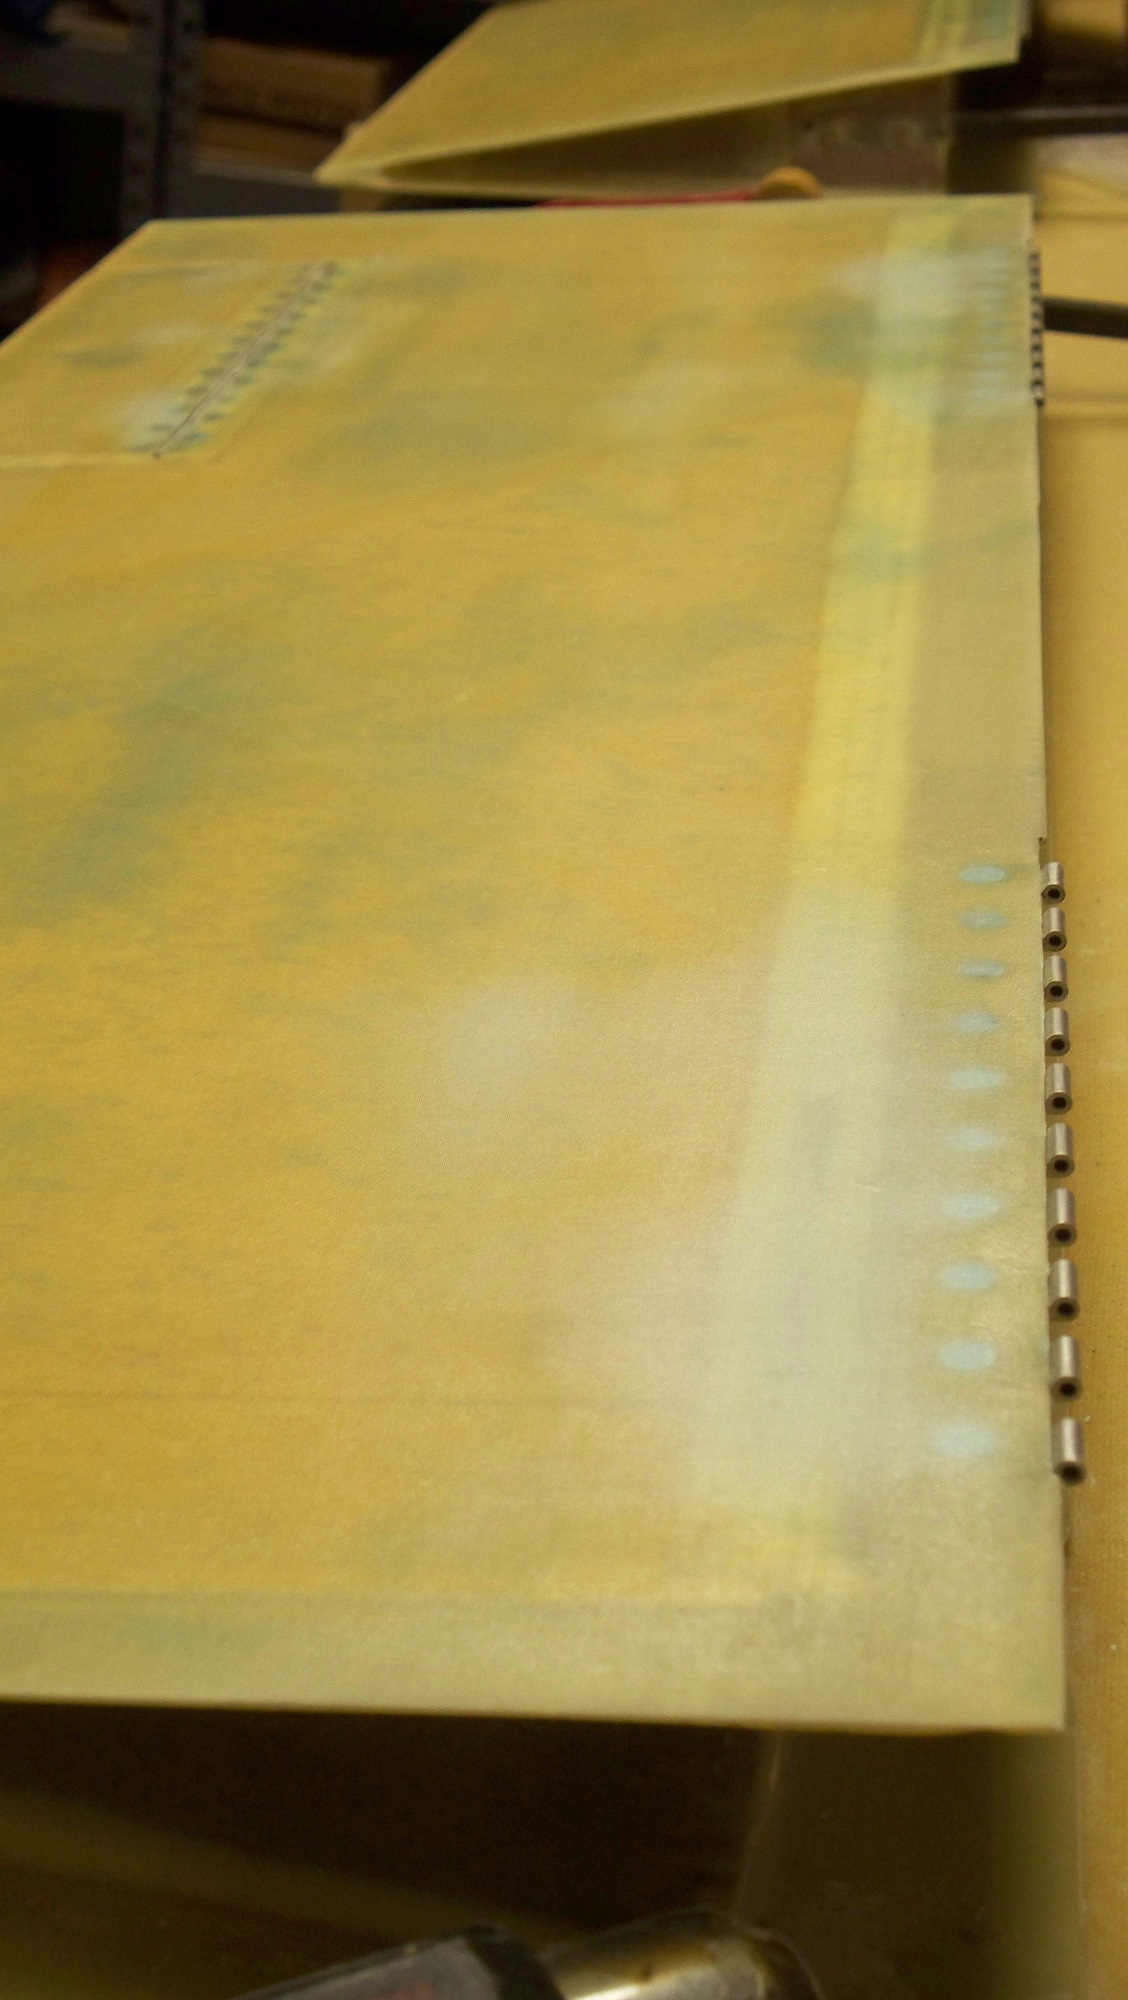
Hard to see much from this photo but what I have done is
to imbed the hinge screws and cover them with filler. Since past
experience has proven that simply filling the area of the screws will
eventually show through, I have filled holes and the low spots with
SuperFil and covered everything with a ultra-fine layer of lightweight
fiberglass. This should protect the screws and provide a very
good layer for final finish. I am very near complete with the
ailerons and ready to prime for painting. |
|
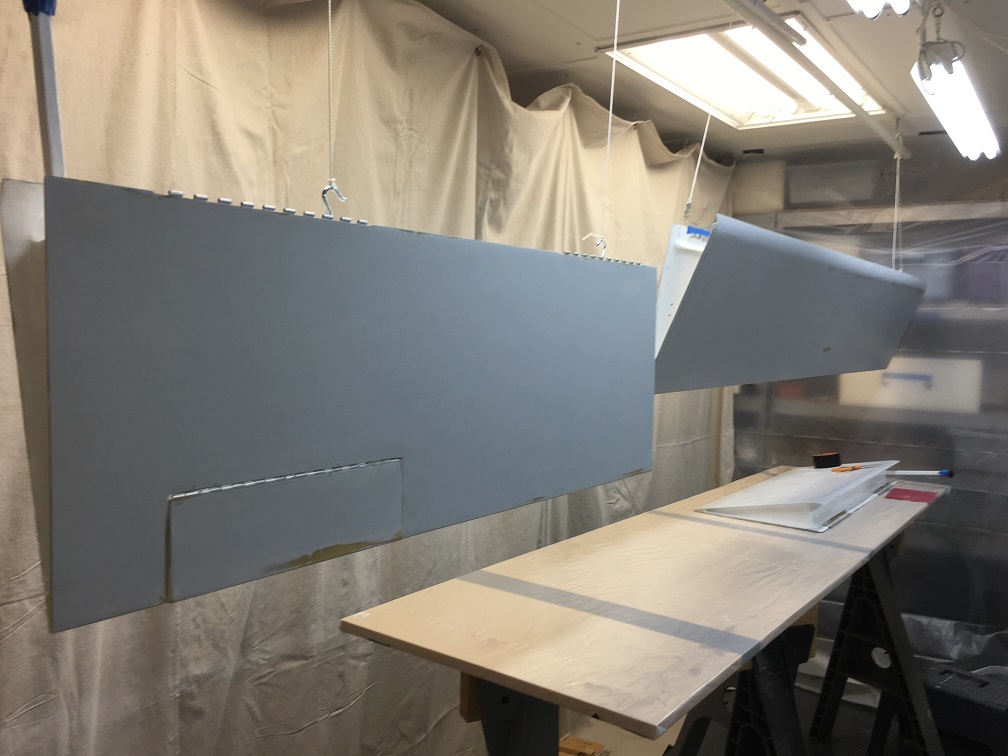
I tried to
setup a paint booth in my shop at home to paint the wings, ailerons,
flaps, and other small parts. It worked but was far from the best
and I didn't have adequate ventalation.
|
|
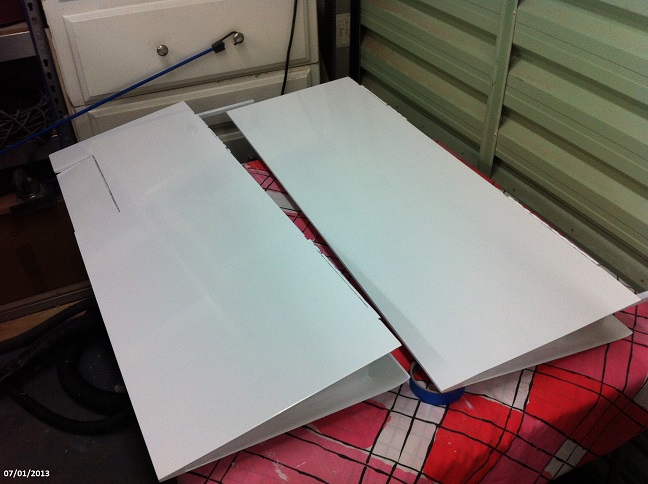
The completed Ailerons
can be seen in this photo with what was my initial attempt to paint the
plane but which proved to be a big mistake and a huge waste of
time. The paint did not properly bond to the primer and peeled of
like tape. I later found out that the reason for the failue was
my own. I had primed the parts months before application of the
final coats and they failed to bond to the old primer. That's
what happens when you don't have time to complete processes in a timely
manner.
|
|
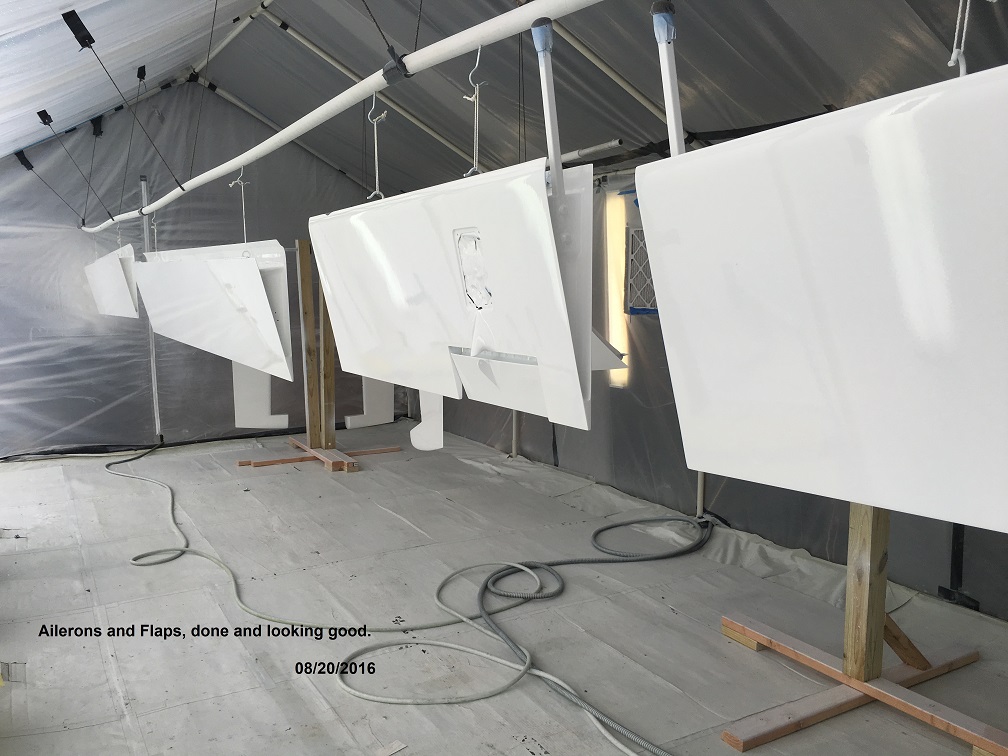
On
my final attempt to paint the plane, which spaned several years, I
setup a paint booth at my hangar and installed a bank of fans on one
side and filtered inlets on the other side. I had to rent a gas
powered compressor to perform the painting but I finally got everything
painted.
|
|
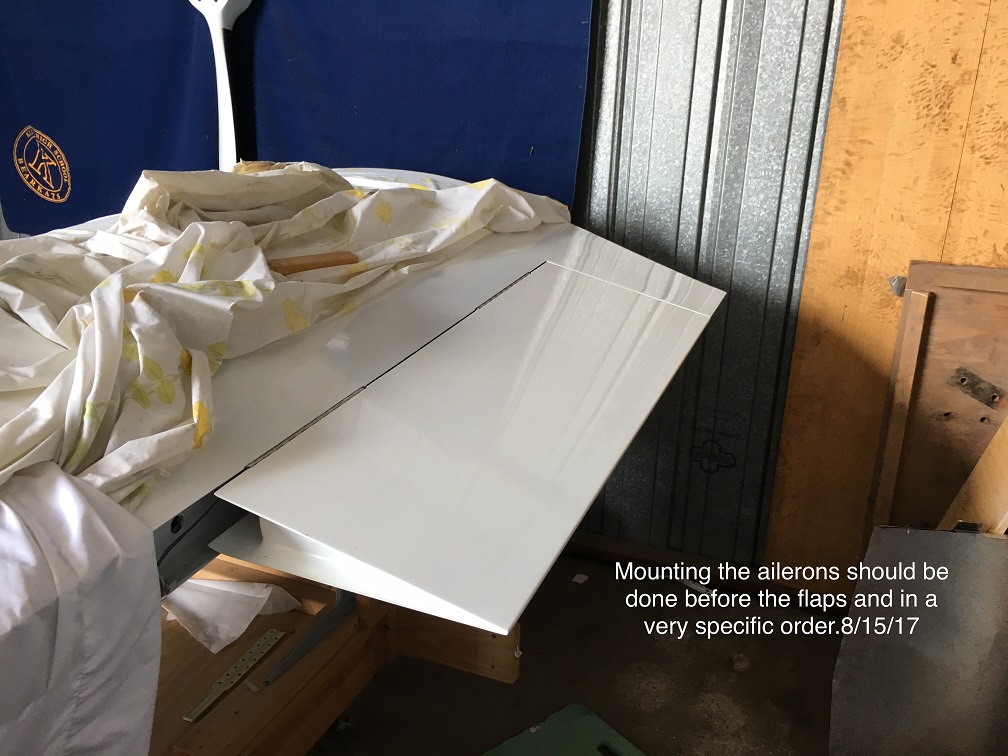
Mounting the
ailerons was quite a task since the hinges are hidden and require a
painful and time consuming process to install. I wrote a separate
section on the installation process.
The right side aileron is shown.
|
|
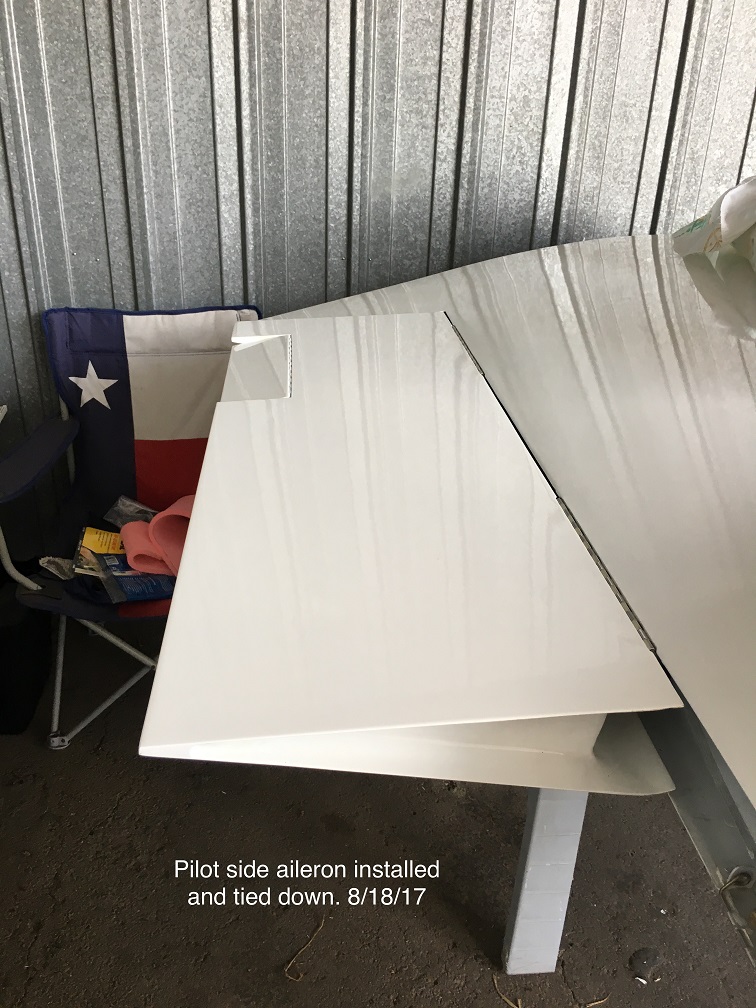
The left side
aileron includes an electric trim tab.
Looks pretty good if I must say so.
|
