
N247BR
Wing Flaps
| Construction Part 1 | Construction Part 2 | Construction Part 3 | Flap Controls |
| Part 3 - Extending the trailing edge of the flaps by 1/4 inch to align with Ailerons. | |
 |
Sometimes, no matter how careful we are something doesn't work out exactly right. I checked my measurements several times and I still can not determine why the trailing edge of the flaps on one side did not properly align with the ailerons. Both Ailerons aligned almost perfectly with the wing tips and only required slight trim on the tips. This flap was the exception. |
 |
I realized this before closeout on the flap and inserted a strip of fiberglass between the trailing edges of the flaps. This strip extended about 1/2 inch beyond the edge of the flaps. I put the strip in to ensure that the finished tip would be consistant in thickness to the ailerons when trimmed. |
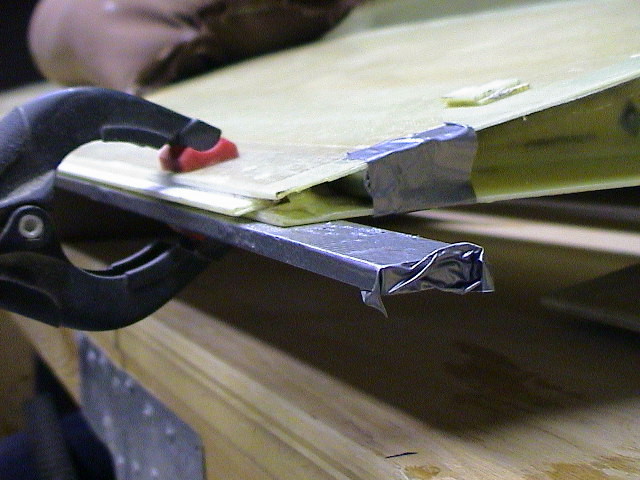 |
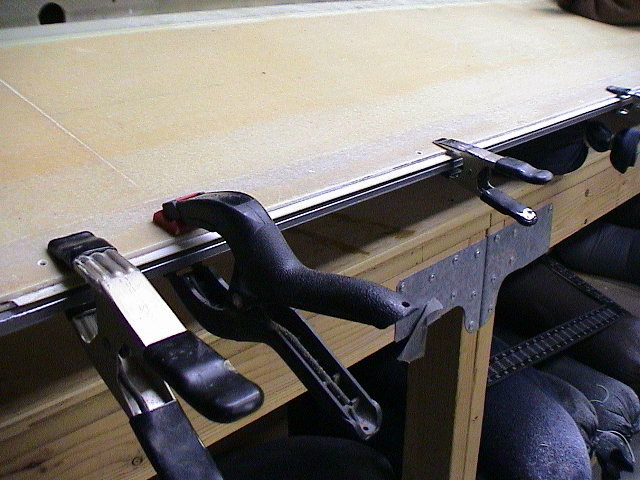
I used a metal straight edge, covered with tape and
clamped to the flap to form one side. I then packed the gap
between the straight edge and the insert. After cure, the
straight edge was remove, any gaps filled and the process was repeated
for the other side. After final cure, I sanded the fill to a
consistant taper alway to the edge. The final trim of the
trailing edge was done during the preassembly.
This worked great. |
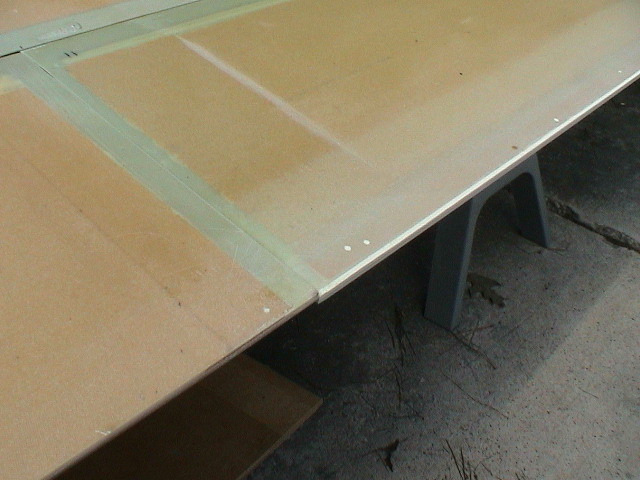 |
The extended edge was almost 1/2 inch wide. I did not sand it down until I had mounted the wings, ailerons and flaps during the preassembly. I then sanded the wing tip to match the edge of the aileron once everything was properly aligned. |
 |
The
flaps were one of the first components that were fully sanded, primed,
and painted. But the process was extended over a long period of
time and while the primer went on perfectly and produced a surface that
looked like paint. The problem was the length of time between
prime and paint was more than a year and the paint failed to properly
bond to the primer. The result was paint that easily peeled
off. I ended up having to sand the paint off and repainting. |
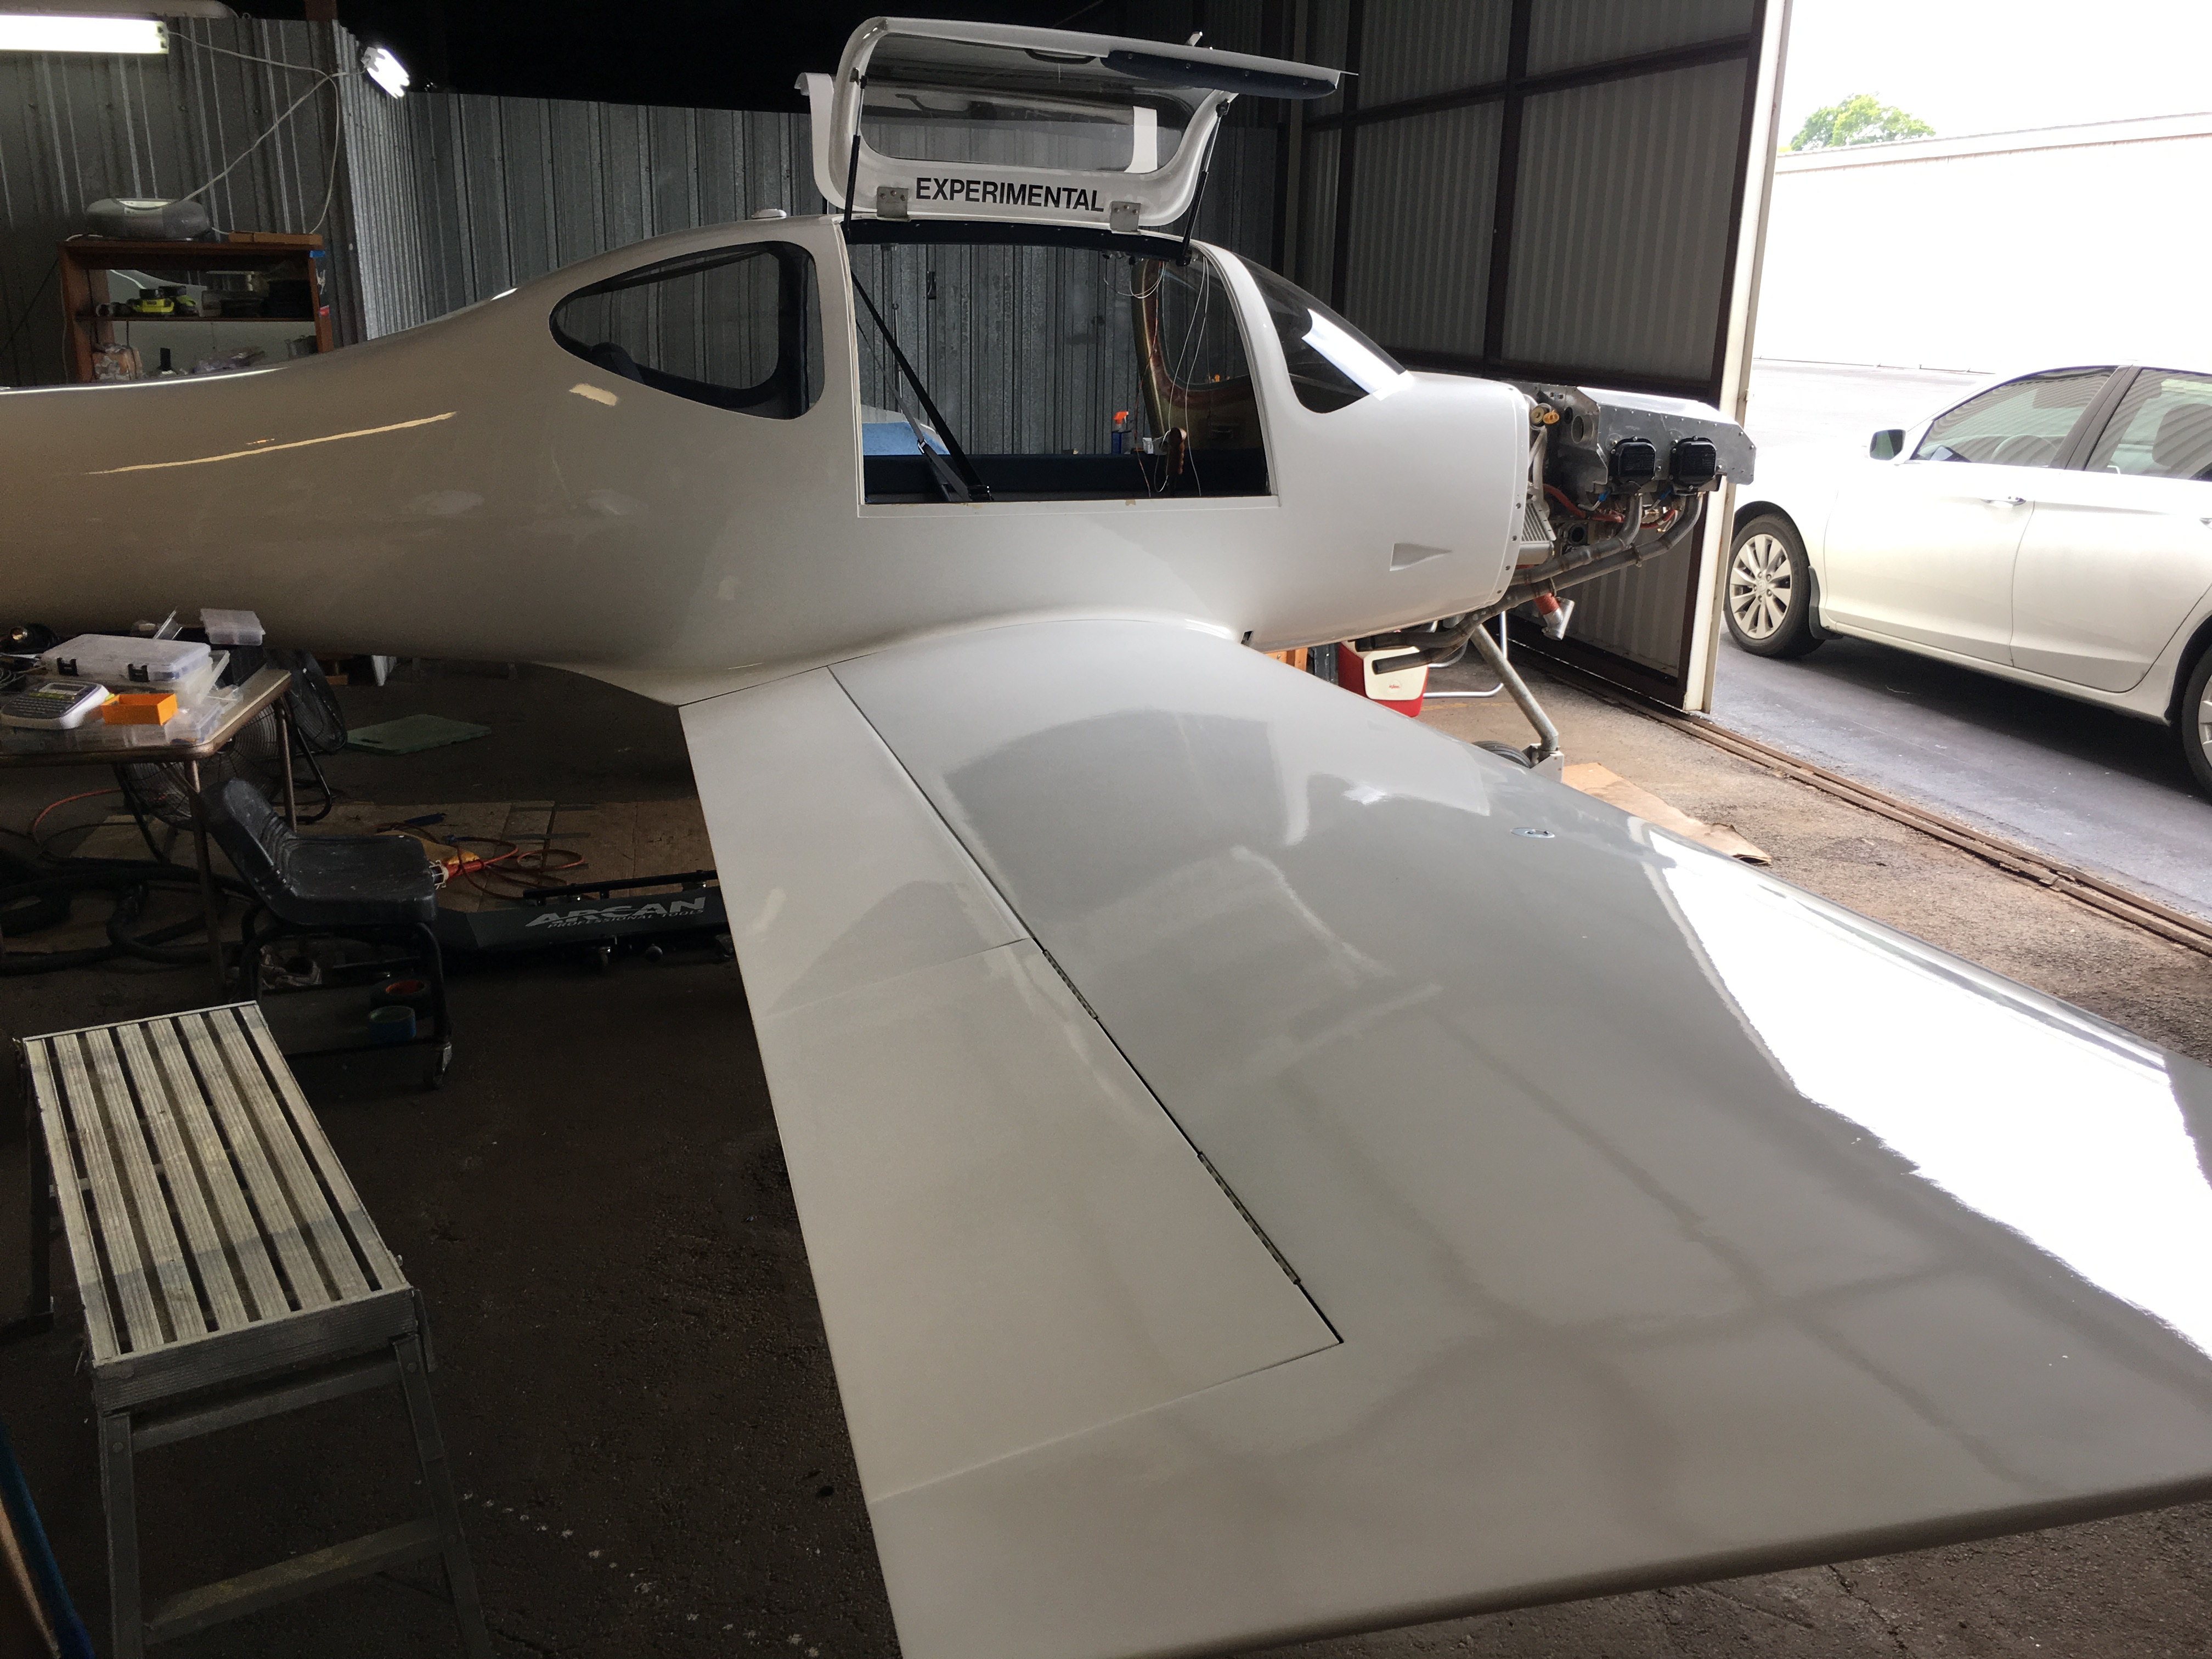 |
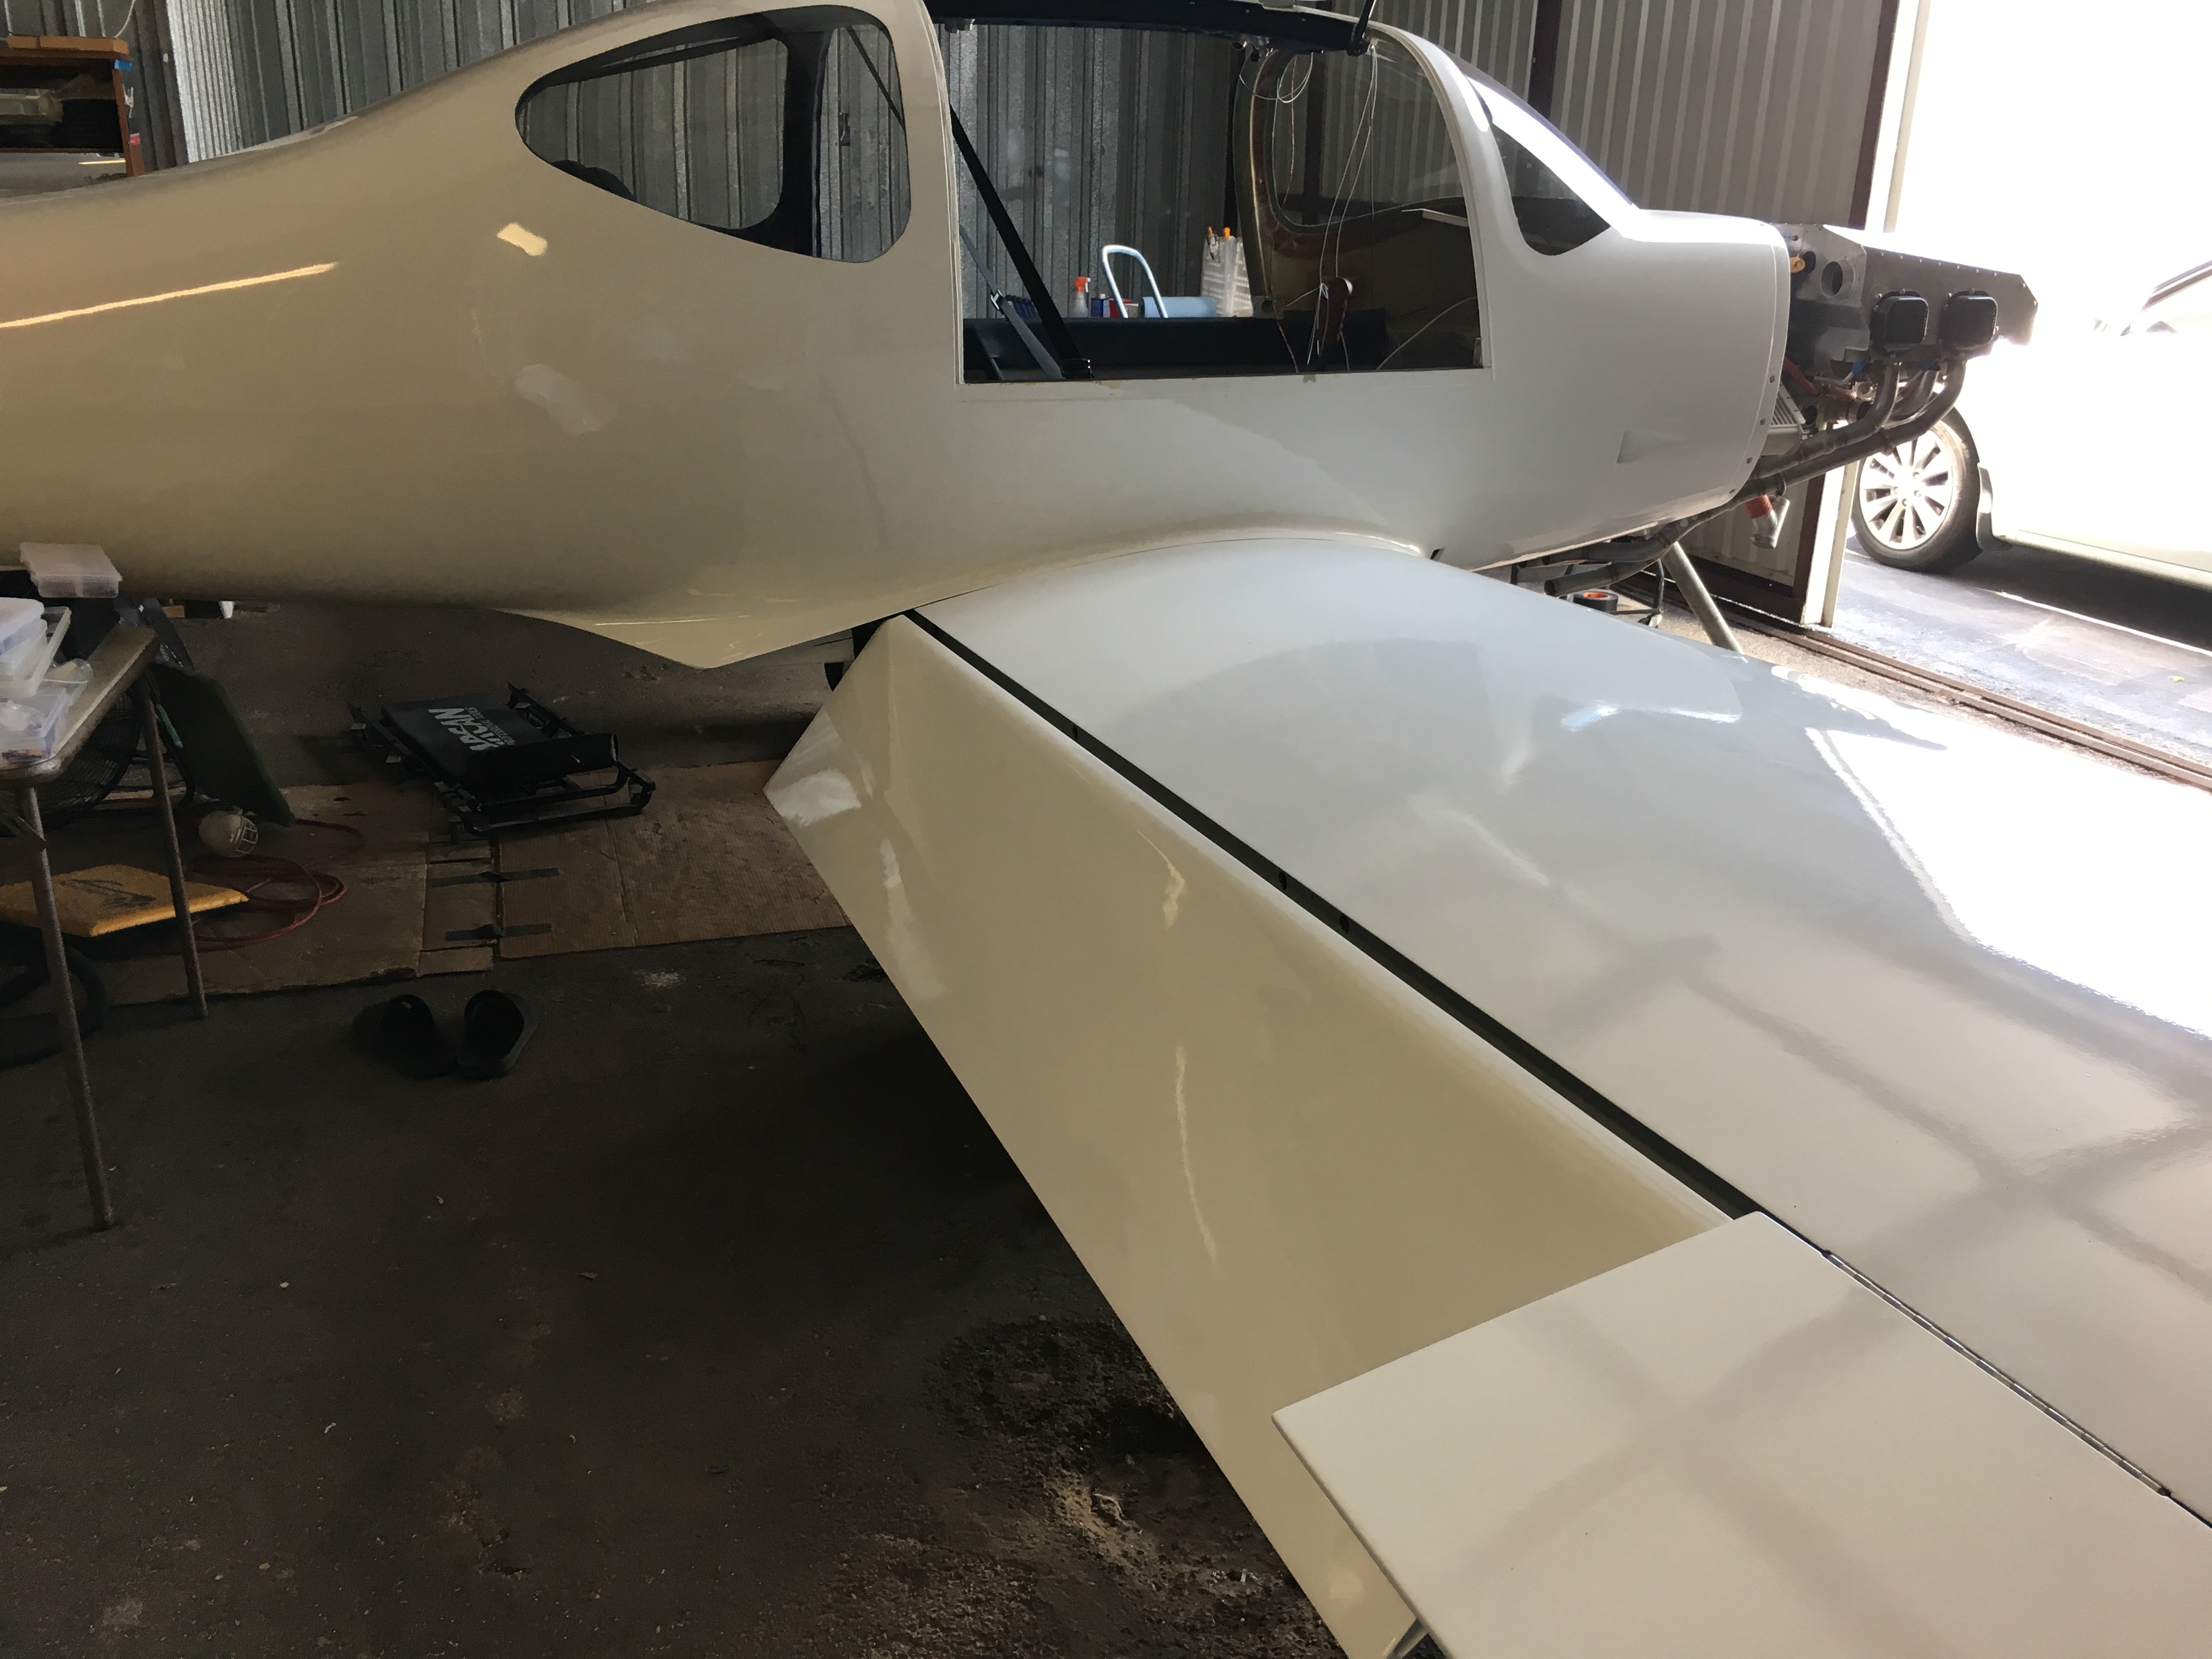
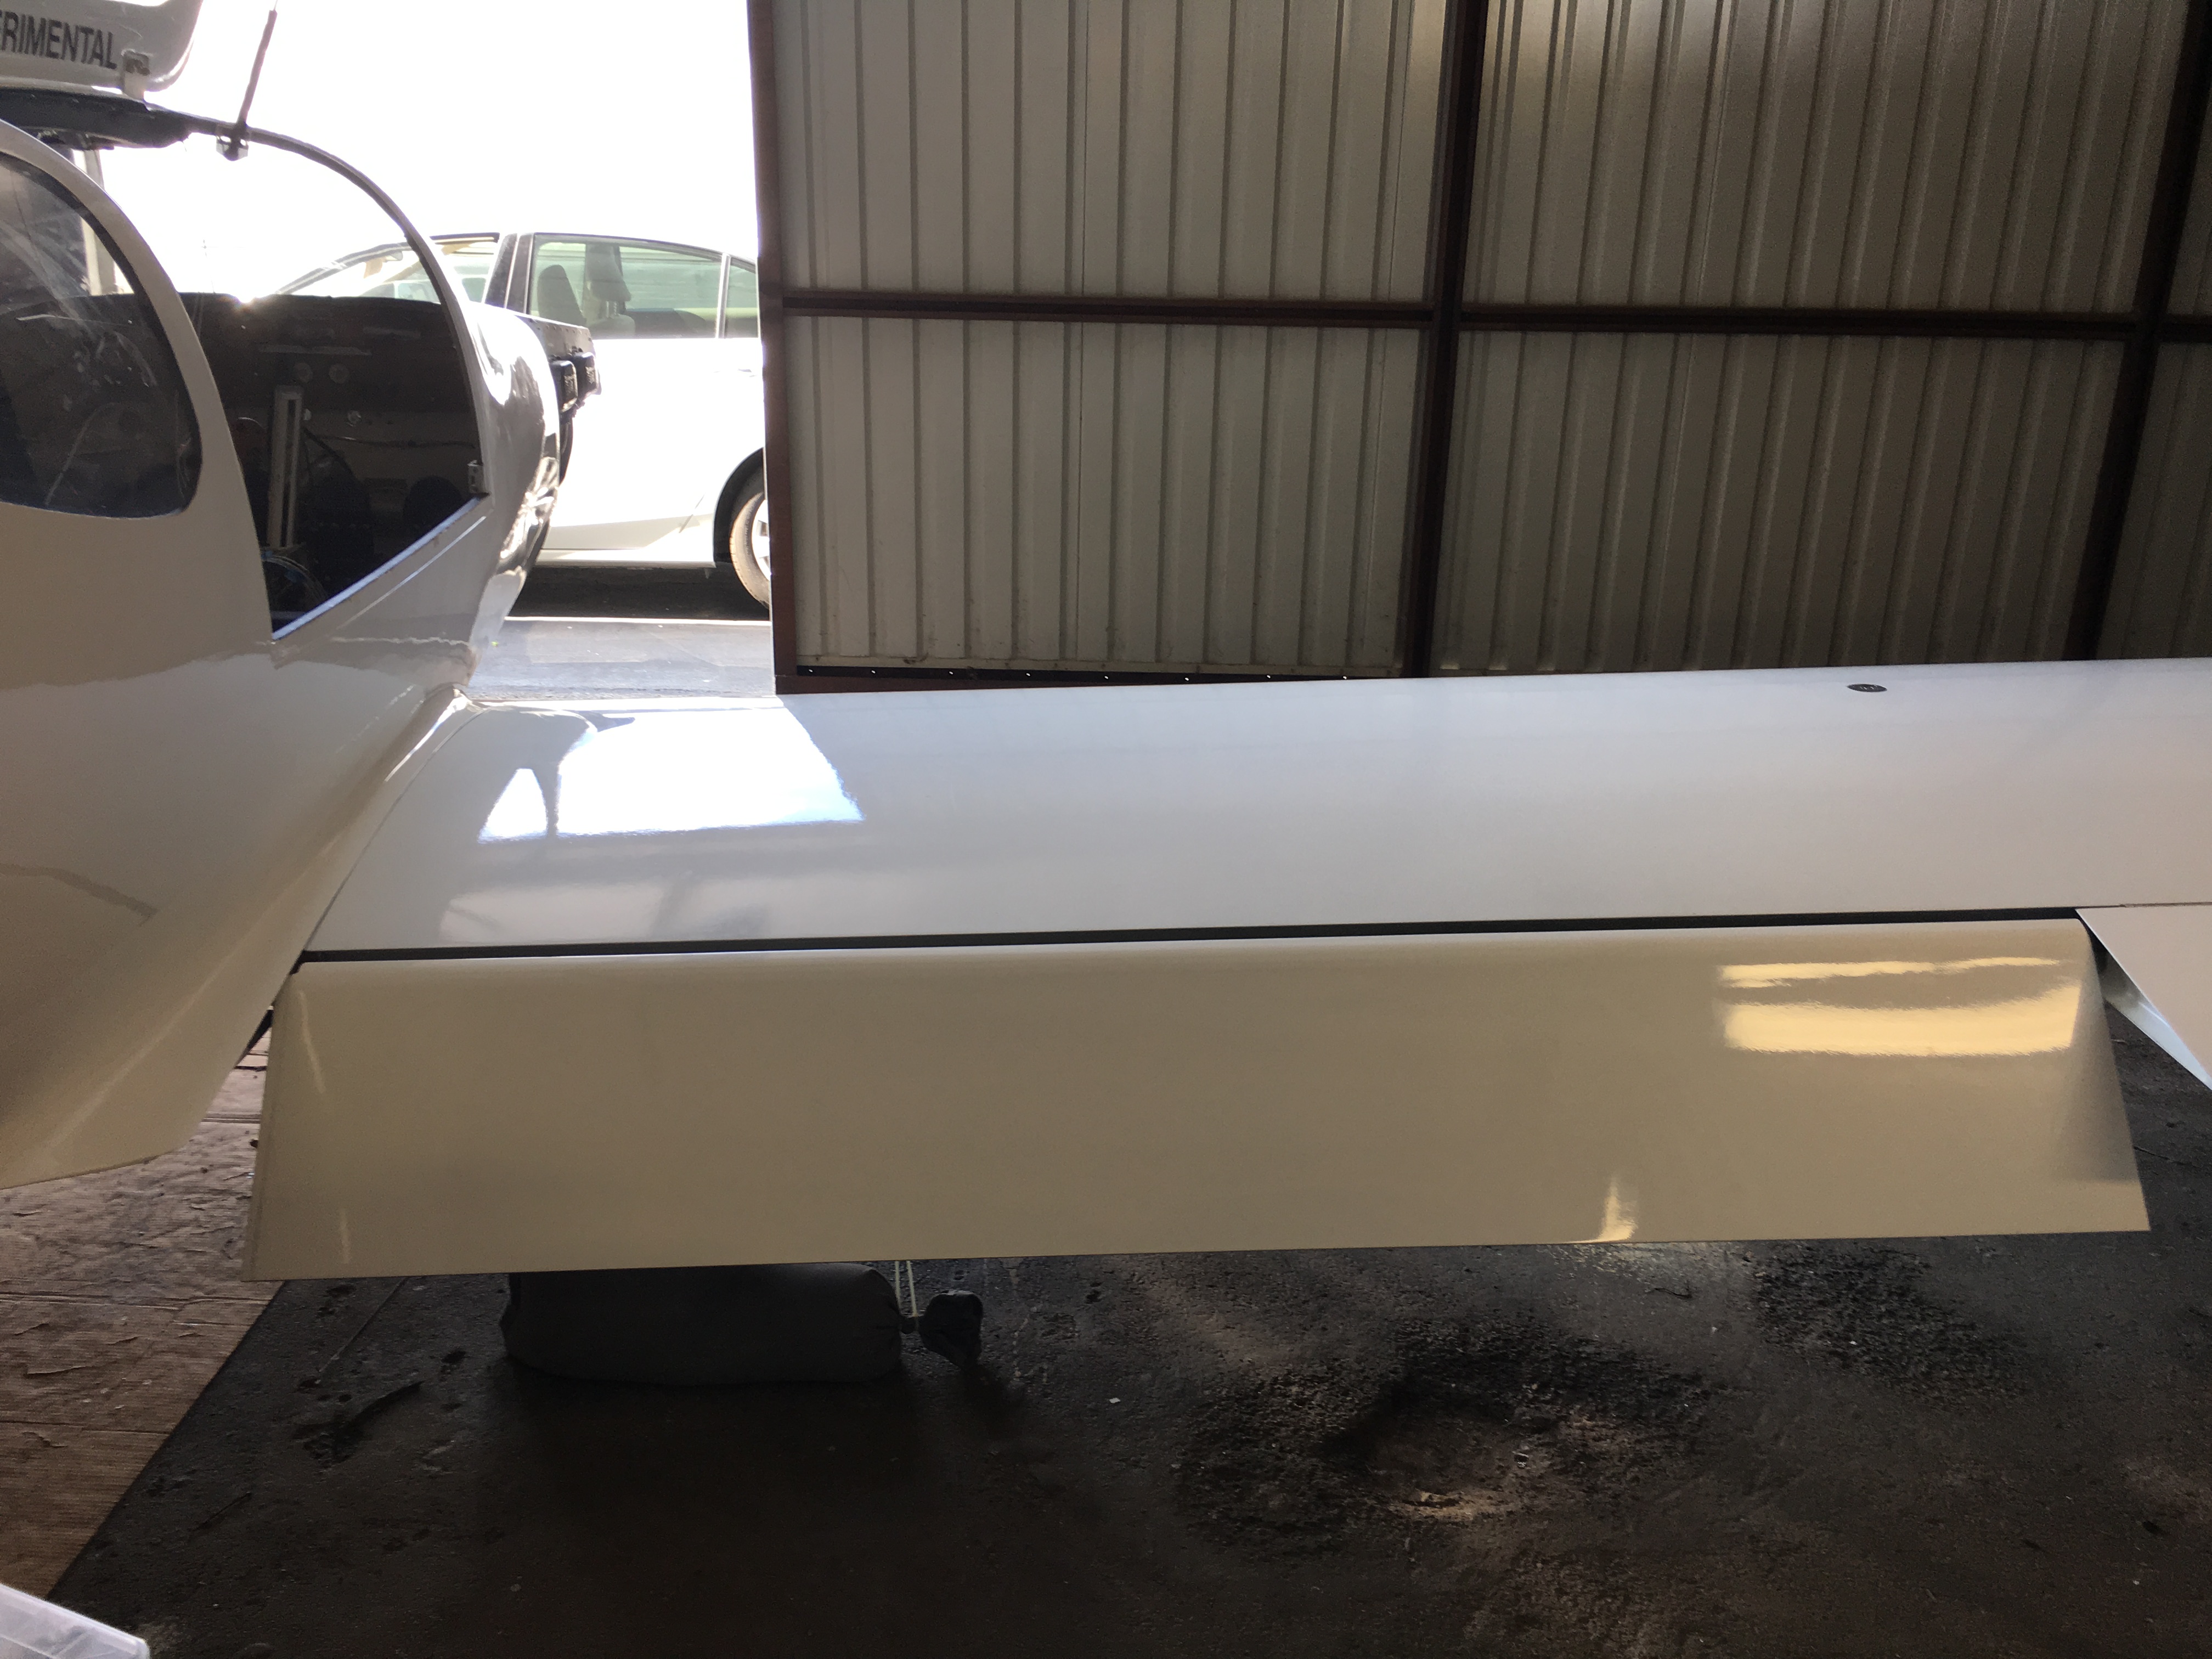
The
completed and installed flaps can be seen in the three surrounding
photos. The seal between the wing and the top of the flap turned
out tight with no gaps. They go up and down without any binding. |
 |
 |