
N247BR
Wing Flaps
| Construction Part 1 | Construction Part 2 | Construction Part 3 | Flap Controls |
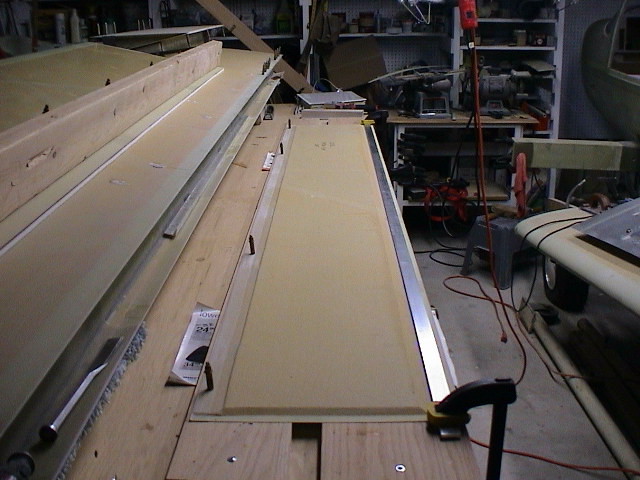 |
Starting work on the flaps. First step was to prepare a flat level work surface and secure the flaps to the work surface. It is very important to ensure the flap is not twisted or warped in any way. I use a 2" by 1/4" aluminum bar to ensure a straight edge. |
 |
The flap spar was constructed from the 1/4 inch foam covered by a two ply bid. The flat panel included with the wing kit had some bonding problems and could not be used. The fabricated spar was actually much better suited since I was able to make it one piece. Here the flap has been sanded and ready to bond the spar and ribs. |
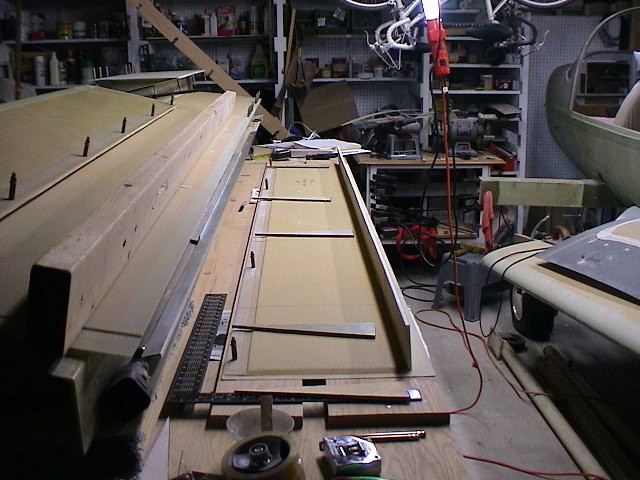 |
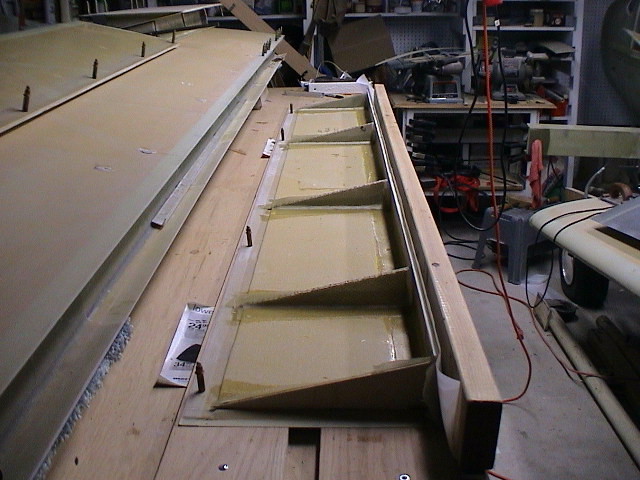
The ribs have been cut and prepared for bonding and glassing into place. |
 |
The ribs have been bonded into place and glassed on each side and on the rear of the spar. |
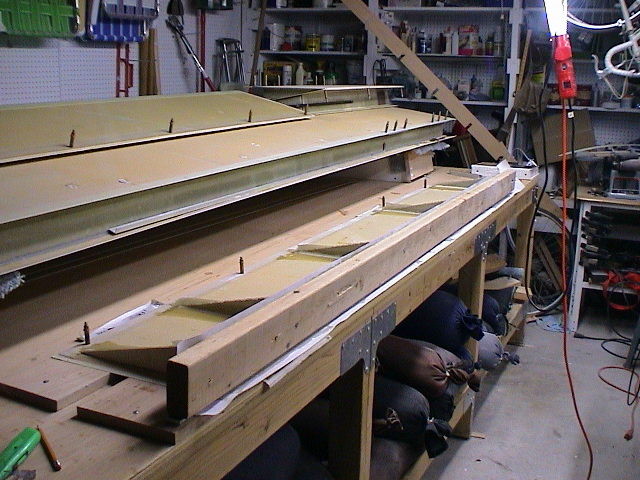 |
I didn't exactly follow the book here and decided to glass the lower face and add the hinge pads before fitting the hinges to the wing. The 2 x 4 is on top of a 2"x 1/4" aluminum bar over the wet fiberglass bids. This was to help ensure a flat uniform surface for mounting the hinges. |
 |
The 2 x 4 was clamped until the glass cured. The resulting hinge pads were perfectly aligned. |
 |
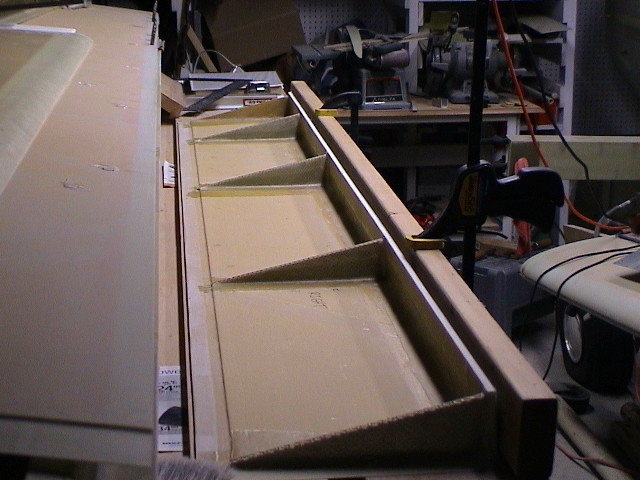
I made extensive use of peel ply on all layups which can be seen at the lower end of the photo. |
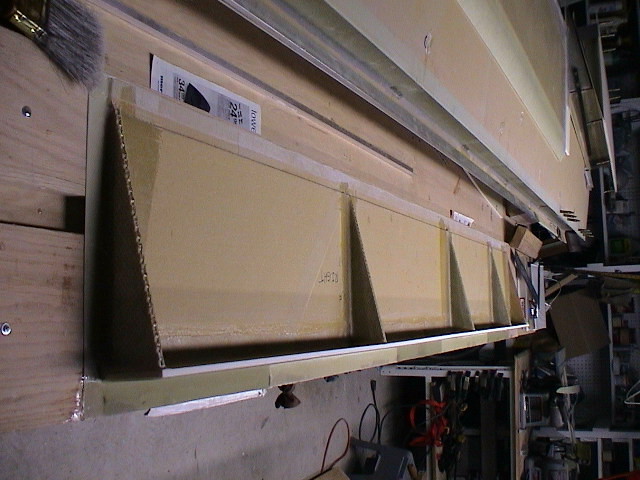 |
The edge stiffening and hinge pads were all put into place at the same time. The result came out very well. The three hinge pads can be seen in this photo. |