
HORIZONTAL STABILIZER
| Separation & Preparation | Construction | Finished Unit |
|
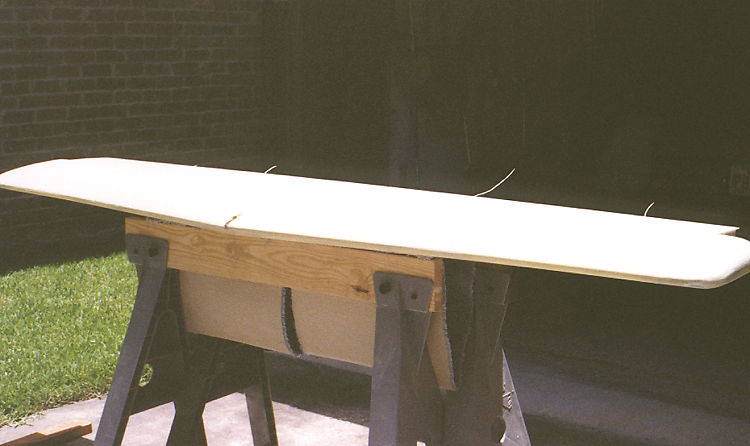
After closing the stabilizer, the inside of the spar area are glassed and additional glass added for the hinge mounting areas. The counter balance area is filled and glassed. Two ply fiberglass bids are then applied to the ends to finish out the stabilizer and it's just about ready for installation. |
|
The forward edge of the stabilizer is joined by the overlap of the upper and lower halves of the molded parts. This forms a very rigid and rather thick edge. Some filling and sanding are required to produce a clean smooth edge. |
|
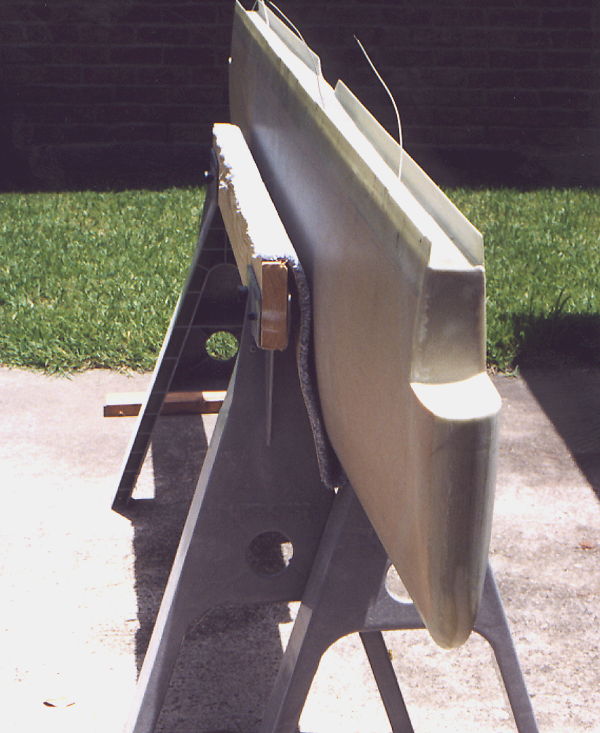
This above shows the arc shape I formed to allow for closer tolerance between the elevator counter weight and the stabilizer. This provides for about a 1/4 inch gap that is consistent through the entire movement cycle. |
|
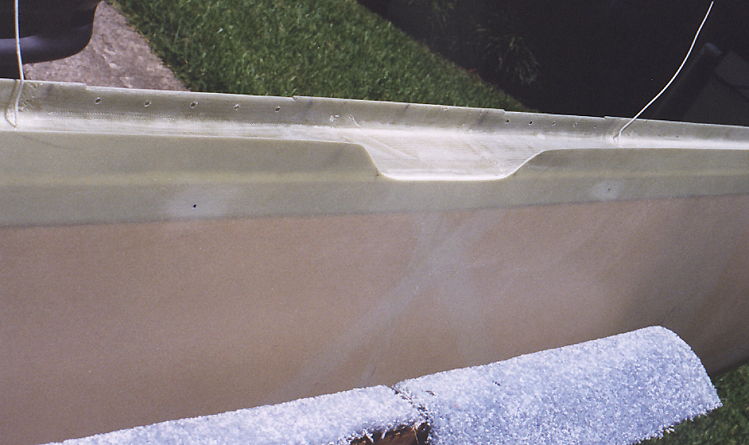
I modified the center bottom of the stabilizer to allow a viewing
area for inspecting the control horn without having to remove the inspection
covers. It should also help with the installation process. (We
will see.)
|
|
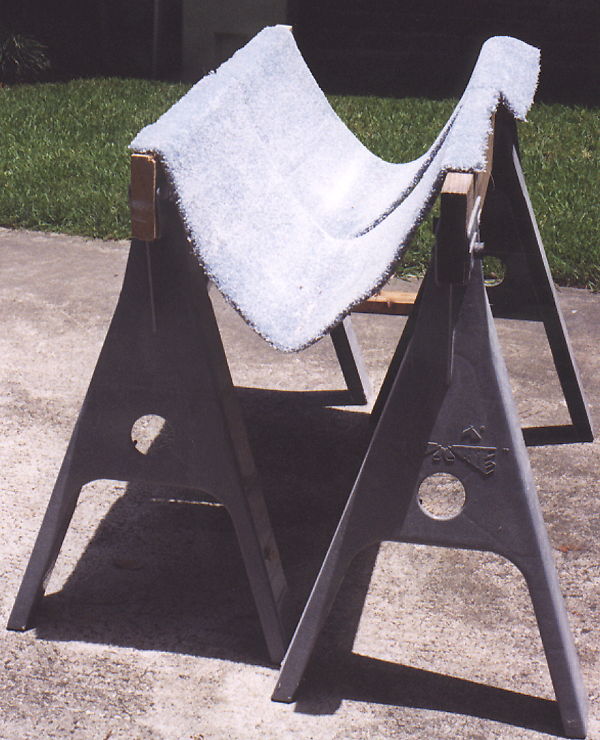
A cheap and handy method of holding the horizontal stabilizer, elevator and rudder during construction and some finishing operations. Just a couple of lengths of carpet tacked to the tops of two sawhorses. They hold the parts and protect them at the same time. |