 |
 |
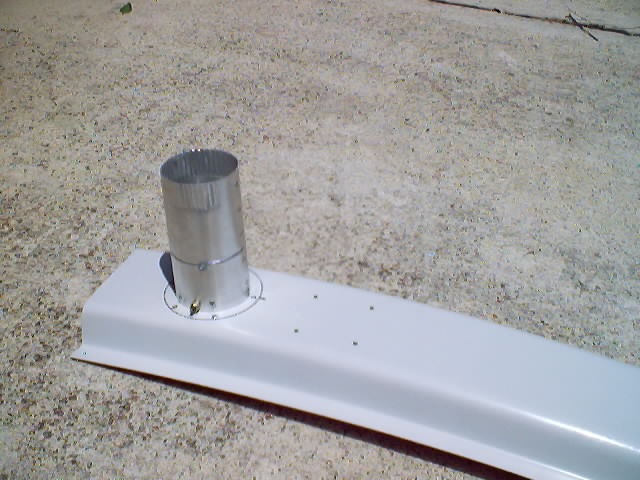
| The photos above and below show the connection of an aluminum tube (3") to the console which contains the valve for closing off the air from the inlet in the vertical stabilizer. I used a very inexpensive damper valve that I obtained from McMaster-Carr. The original unit had a free floating one way valve which I replaced with one I fabricated from some scrap left over from the instrument panel. I fabricated a control horn on it for attaching a stiff wire to use in opening and closing the valve. I used the shaft from the original flapper valve and bonded it into place once installed to provide the pivot point. | |
 |
 |
| The tube is attached by pop rivets to a 3" aluminum flange I obtained from Aircraft Spruce. The flange is mounted from the inside of the console with pop rivets as well. I placed a second pivot shaft for mounting a pivot control arm as near the opening to the console as possible. I used the scrap from the servo control arm to fabricate this shaft. I constructed a control arm from scrap 1/8" glass scrap and mounted it on the shaft. It is locked in place by self locking nuts on either side which results in the whole shaft turning instead of the arm wearing on the threaded shaft. I used self locking nuts and washers on both the inside and outside to keep everything snug and tight while still giving free rotation. The servo was a spare which I bought at the flymarket at Oshkosh. | |
 |
 |
 |
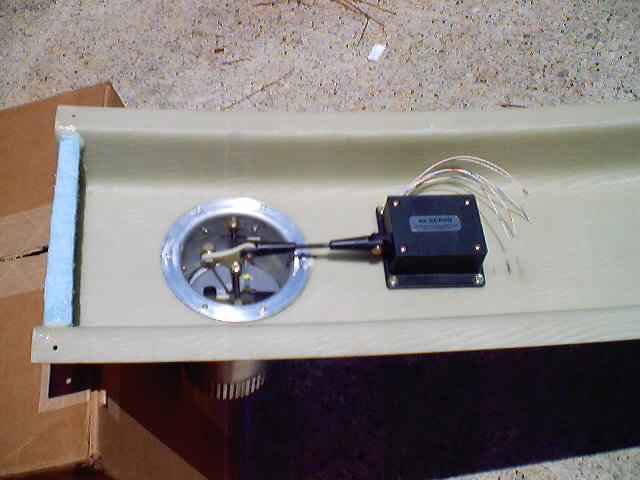
This photo shows the servo, servo arm, control horn to transfer the servo movement to the flapper control. As the servo pushes out, the control arm moves to open the butterfly valve. I played with the length of the servo arm until I was able to obtain a full open valve when the servo was fully extended and a tightly closed valve when the servo was fully retracted. I have tested the process repeatedly and it works great. The whole thing is very light weight as well. |
 |
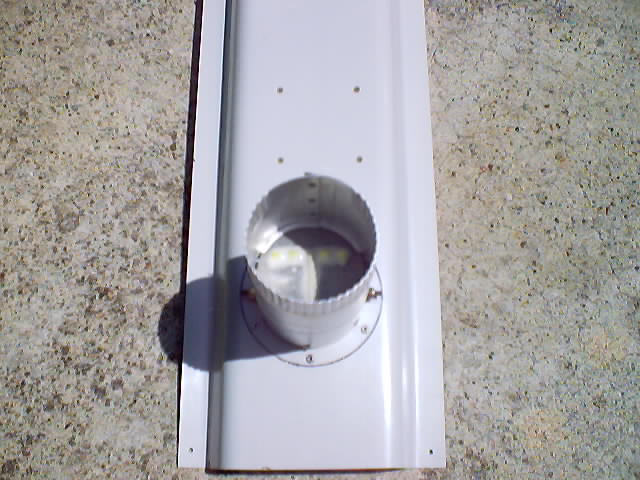
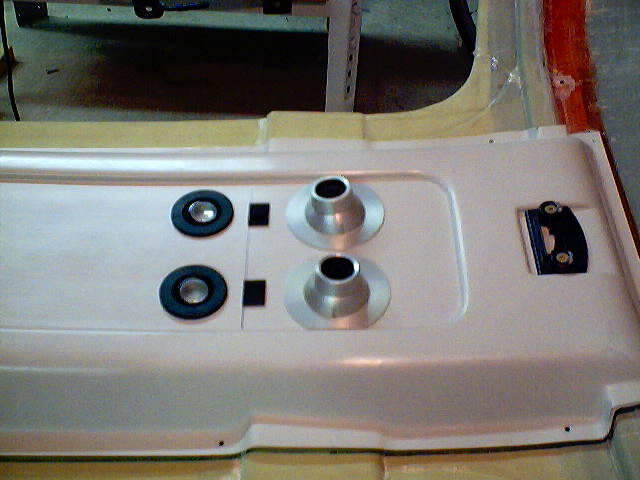
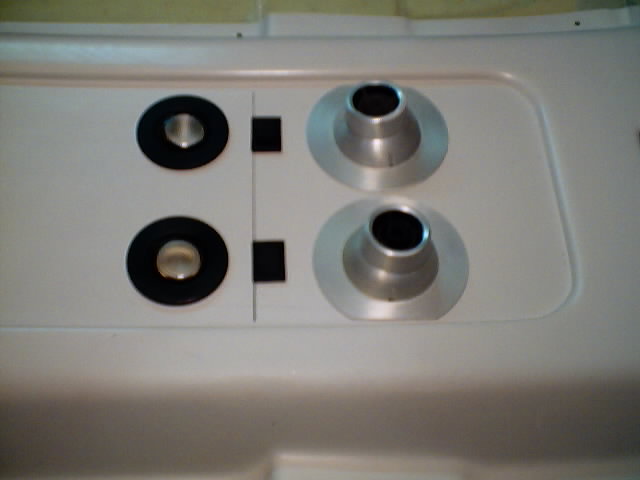
This shows the initial installation of the air outlets in the console.
The flanges were a bit large so I trimmed them to allow a side-by-side
fit. Part of the reason for the air shutoff is that these air outlets
do not completely close thus requiring a more positive close. The rocker switch for control of the servo will be placed in the console behind the to air outlets shown. I will add more photos when available. The bracket at the front is for the electronic Pilot Compass. |
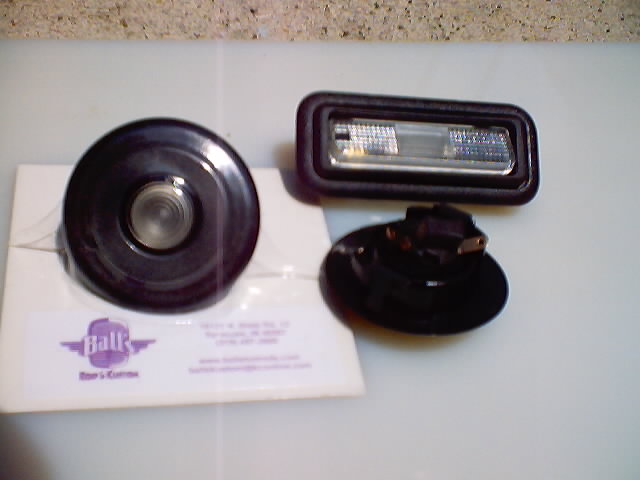 |
After Several costly attempts to find some good looking overhead lights,
I finally found some which will work and look great too. I obtained
these from a Rod and Custom supplier found on the internet.
http://www.BallShotRods.com
The round light swivels to place the light where needed but does not have a switch. I bought some miniature rocker switches for them. The Rectangular Light has a built in switch activated by pushing one side of the light and is good for the baggage area. |
 |
The three photos show the installation of the overhead lights along with the miniture switches. I removed the center light module from the mounting ring and mounted them directly into the console. A screwdriver can be used to pop the unit out for bulb replacement. This seemed like a more convienent mounting for my purposes. This put the rim of the lights and the rim of the switches on the same level. The plan is to put a burled wood (simulated) panel into the center of the console. The bottom photo shows the final light over the baggage area. |
 |
 |
|
|
 |
There has been quite a bit of discussion about removing air from the interior as well as air inlets. I live an a very warm (hell make that HOT!) part of the country and helping fresh air move through the cabin is a primary concern. I have installed an inverted NACA duct on the bottom of the fuselage to provide for both exhaust air movement and an additional outlet for any water accumulation. I will be placing some type of control for closing this if needed but it should aid greatly in air movement. |
