is incidentally the old village forge.
in the background. I have been so busy
building the aeroplane that I have rather
neglected maintenance on the house.
PAINT, COWLS AND BAFFLES
Ray Clegg
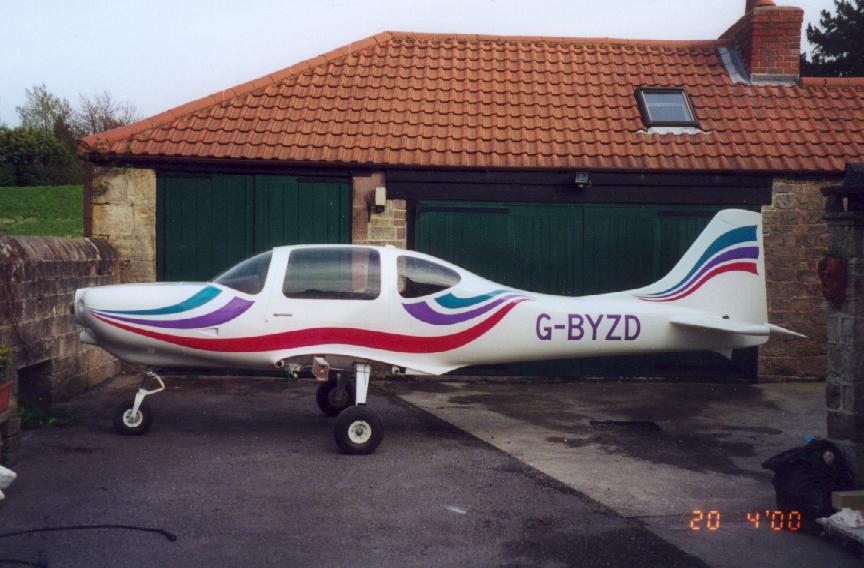
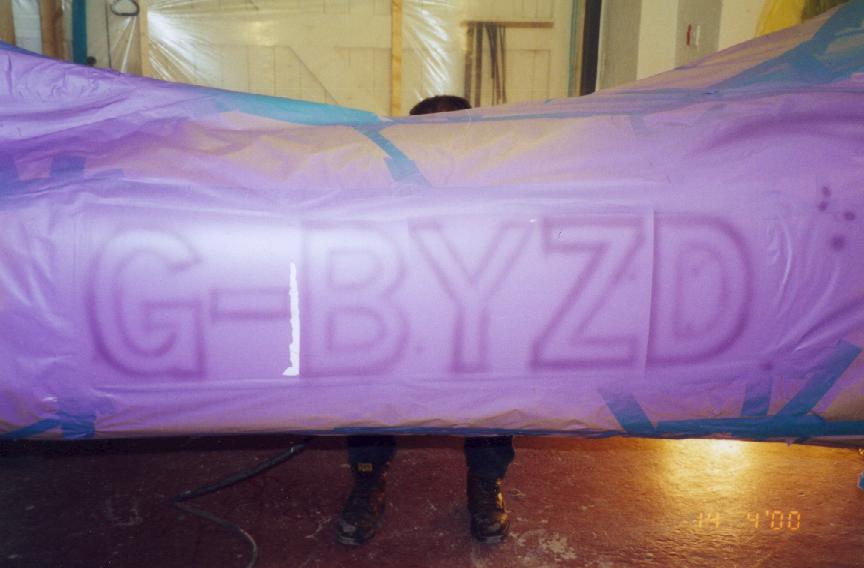
No it’s not Bills aircraft but I did like his colour scheme so much that I copied it with slight modifications to cope with the large registration letters we have to carry in the UK.
(Note: Double Click Photos for larger view!)
|
|
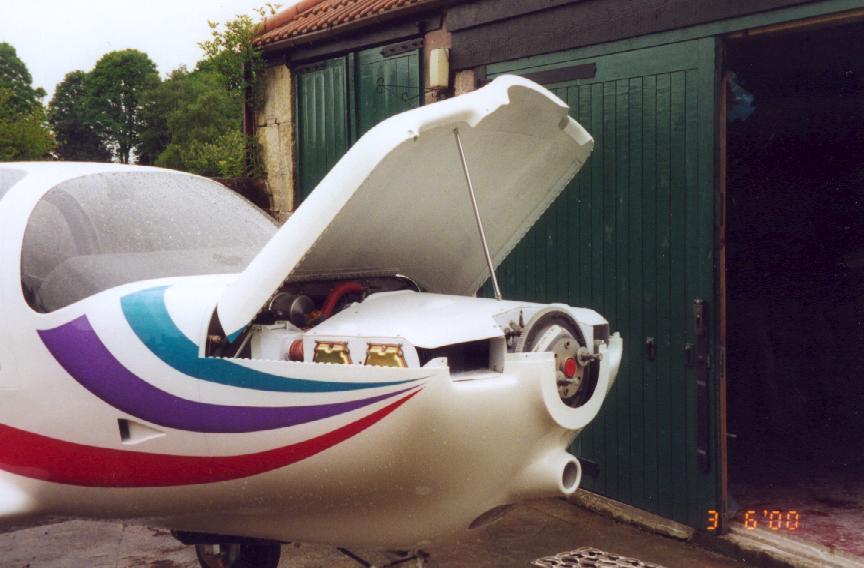
| Taken outside my workshop which is incidentally the old village forge. |
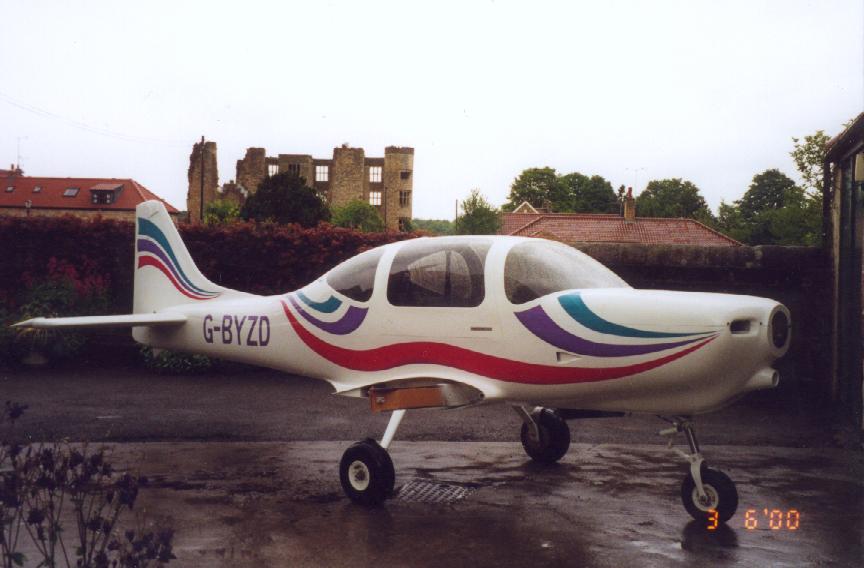
The next view shows the ancestral home in the background. I have been so busy building the aeroplane that I have rather neglected maintenance on the house. |
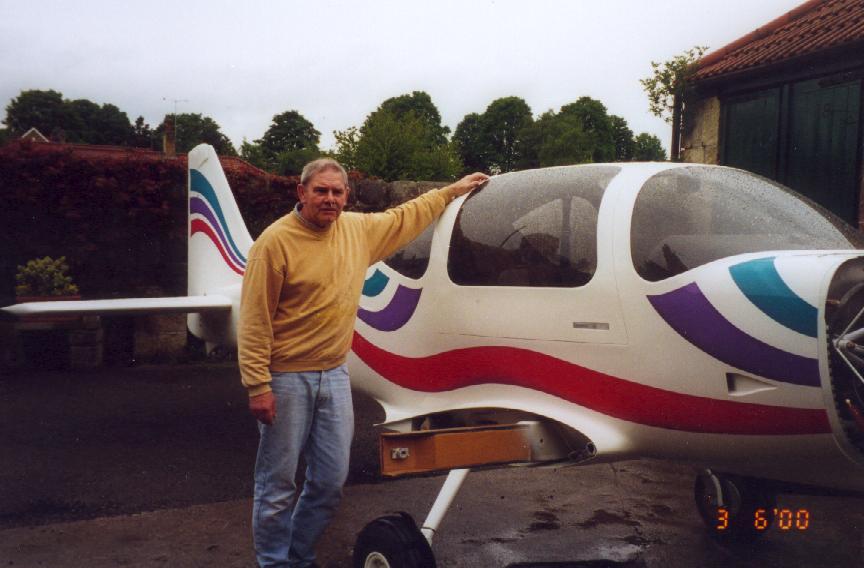
Photos of the builders.
 |
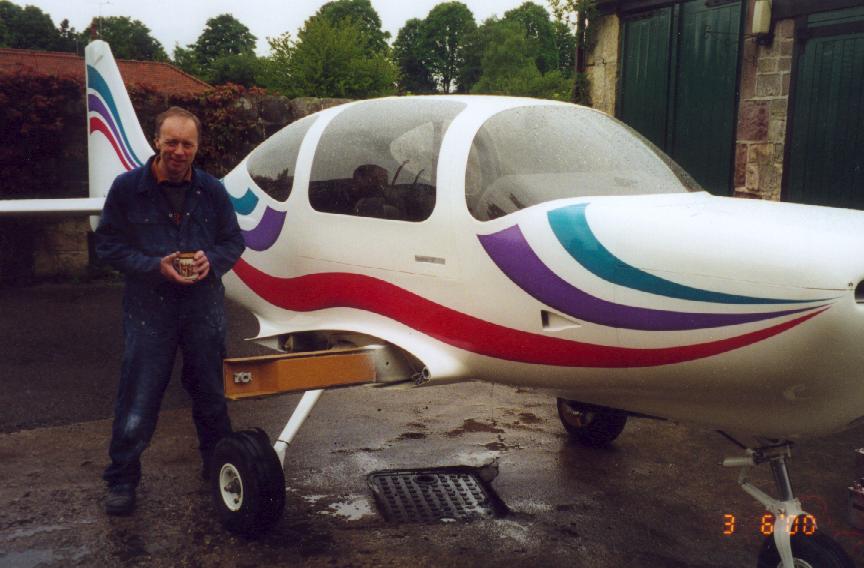 |
| I am the one with the worried look because I pay all the
bills. Ian is the smiling one with the coffee cup because he just thinks of new ways of spending my money. |
|
Painting
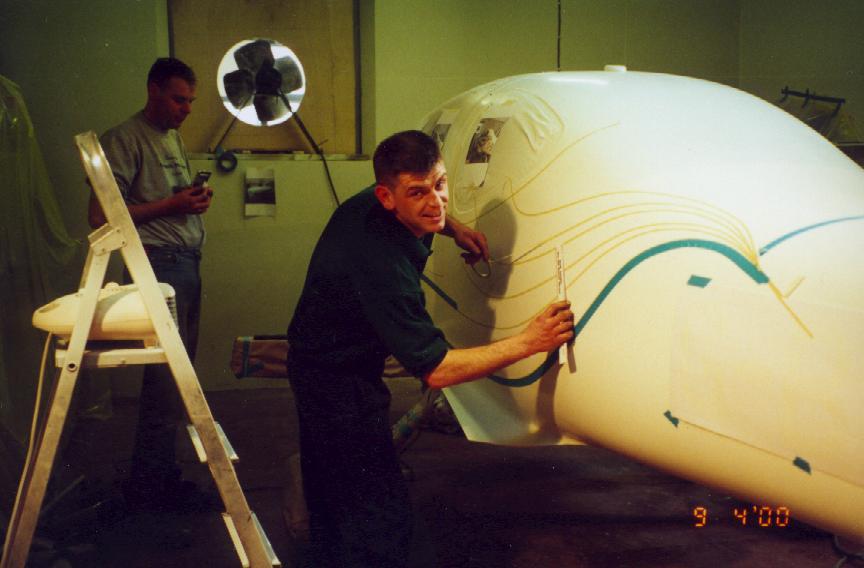 |
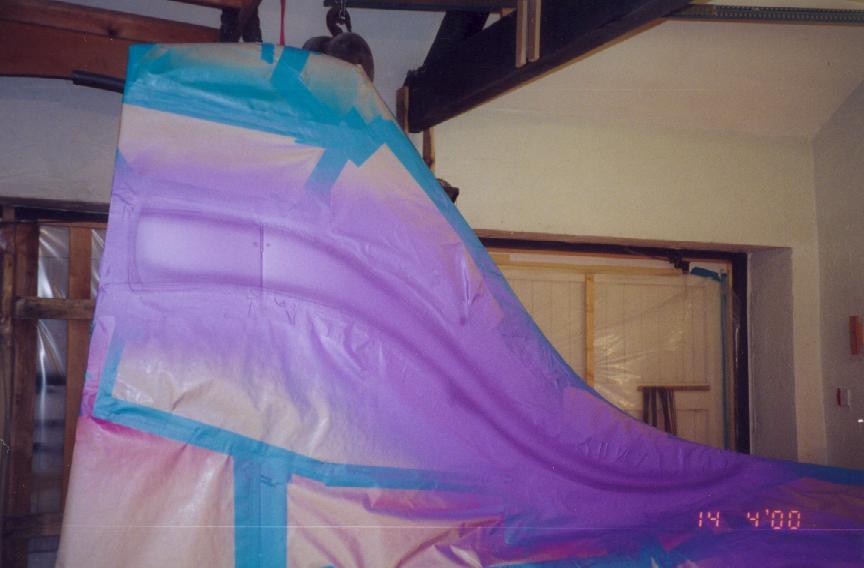
We both did all the hard preparatory work for painting and Ian sprayed the base coat of white. I have to admit we did have professional help for the art work. Fixing the curves free hand with fineline masking tape was a monumental job taking many hours and much cursing from Paul who spends most of his time airbrushing motorcycle fuel tanks. |
| All the stripes and lettering are shaded slightly darker around the edges but this does not show to its best effect on the photos. It is seen more clearly whilst the masking paper is still in place. | |
 |
 |
Cowling:
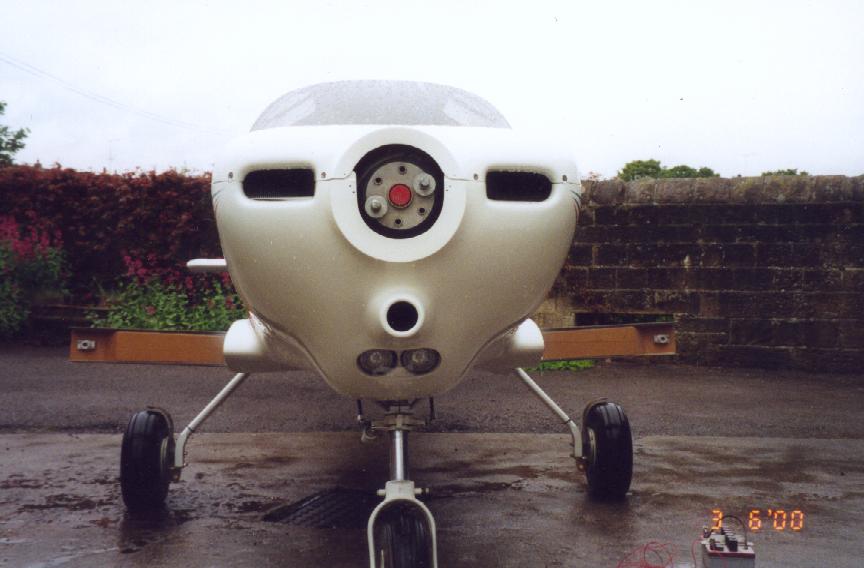
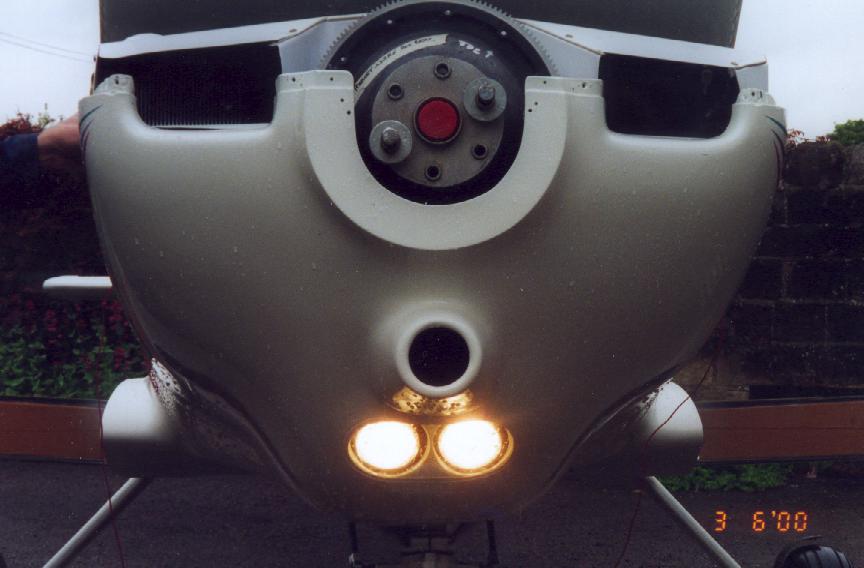
| The cowl is modified from the original Cruiser cowl. The Nasa vent supplied with that cowl could not be used as it did not line up easily with fuel injector unit of the Lycoming IO 360 200hp engine. I had to fabricate an air intake spout but it fits directly up to the air filter which has a rubber baffle so that the large diameter scat tube which is often used to connect the air inlet of the cowl to the filter (and which is usually very difficult to fit when replacing the cowl) is not required. Whilst modifying the cowl I incorporated twin landing lights. The lights are 50 amp. automobile spot lights. One of the problems with cowl mounted landing lights is that wiring connections have to be disconnected when the cowl is removed. Usually one forgets to disconnect them and the wiring is broken on removal of the cowl. We have eliminated that problem by connecting the live and ground wires to the piano hinges which hold the cowl to the firewall. As the pin is removed from the hinge the connections are automatically broken and are restored when the pin is re-inserted. | |
 |
 |
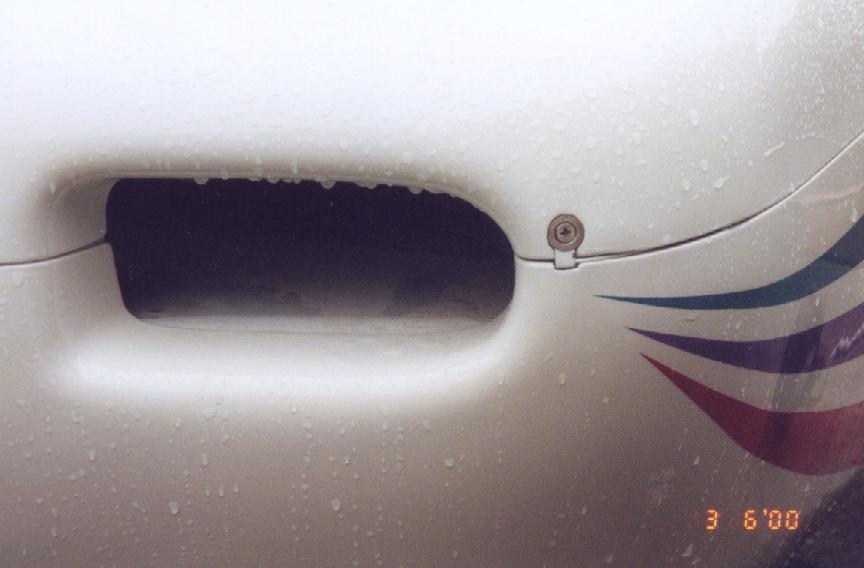
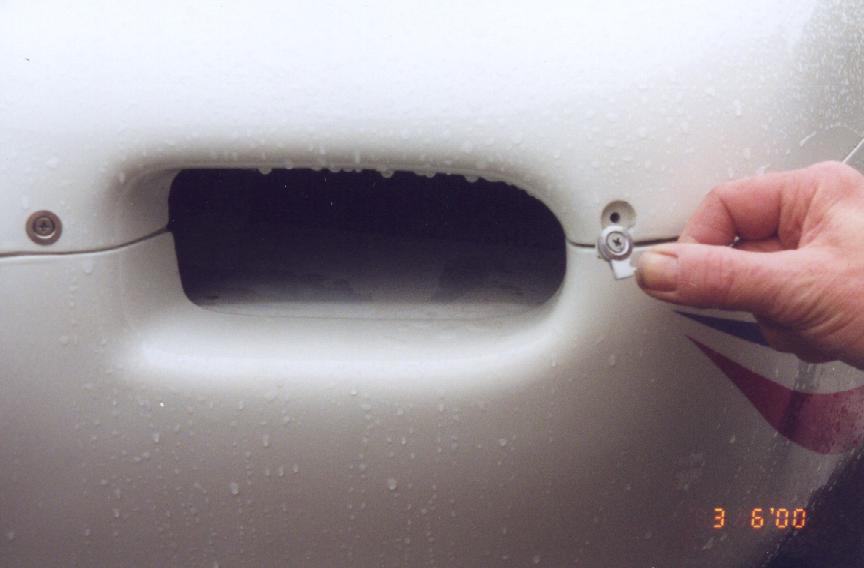
| The cowls are held in place with four screws and five piano hinges. I make no claim to originality for this method, it is widely used on RV’s and is described by Tony Bingelis. It does produce nice clean lines and makes the cowls very easy to remove. The only hinge which is visible is the one across the cowl in front of the windscreen. Fitting it that way makes it possible to raise the upper cowl for inspection without removing it. If the upper cowl is held with multiple screws the temptation is not to remove it very often to inspect hoses etc. The screw at the outer side of the air intake attaches to the end of the piano hinge wire. When unscrewed the wire between the upper and lower cowl can be removed | |
 |
 |
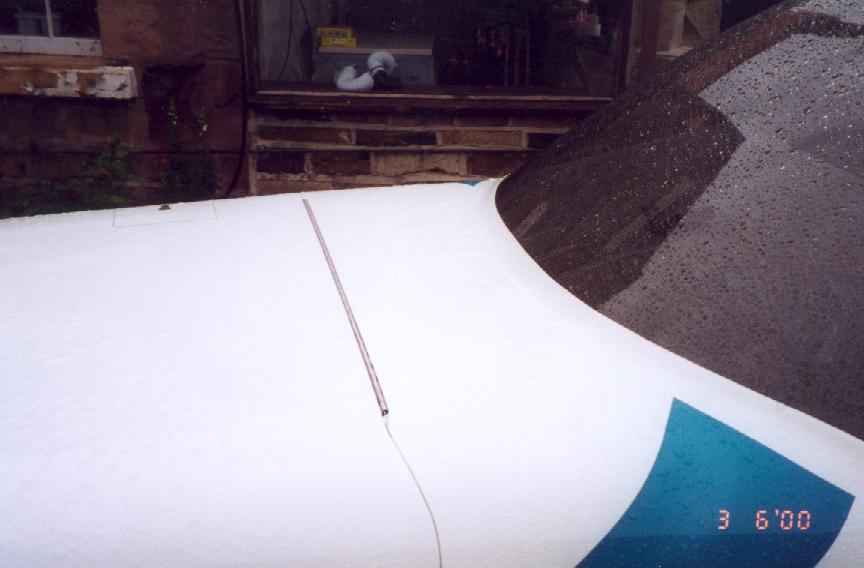
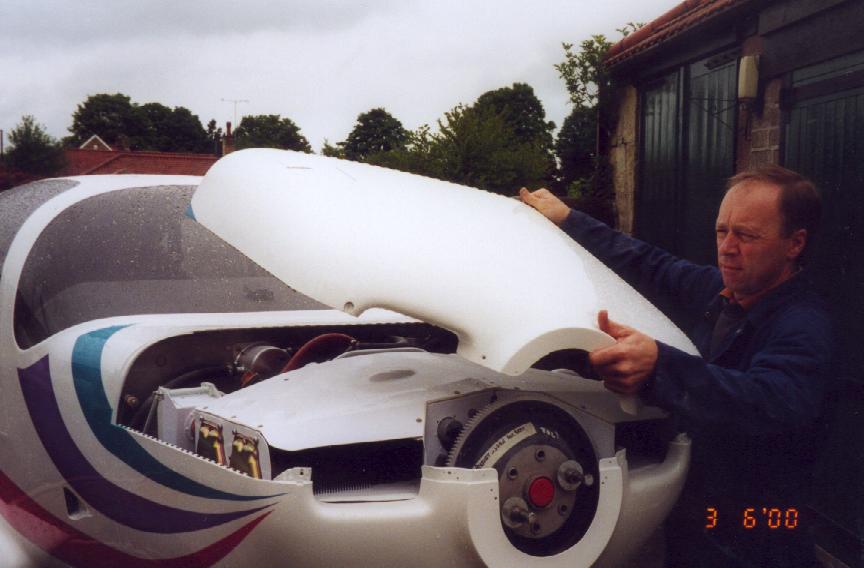
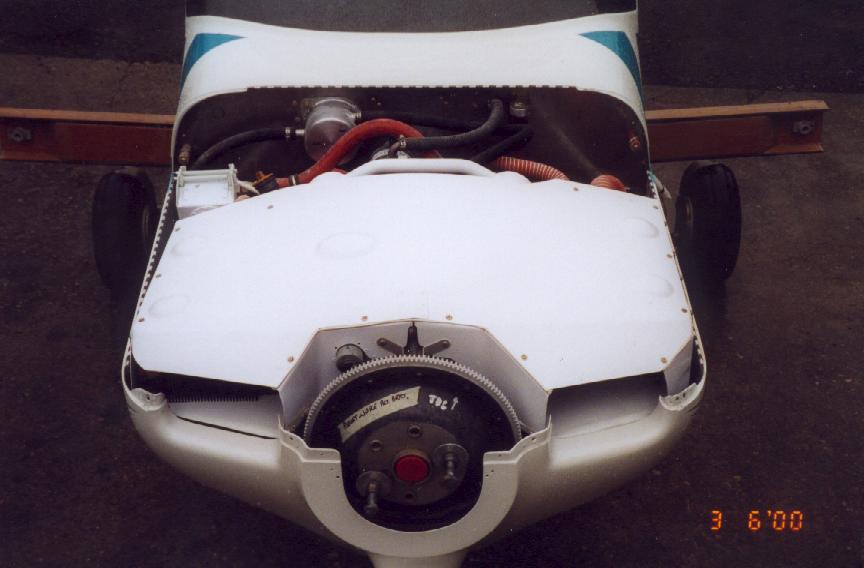
| With the two pins and the two additional screws removed the cowl can be hinged upwards. | |
 |
 |
| The transverse pin and upper cowl are easily removed. | |
 |
 |
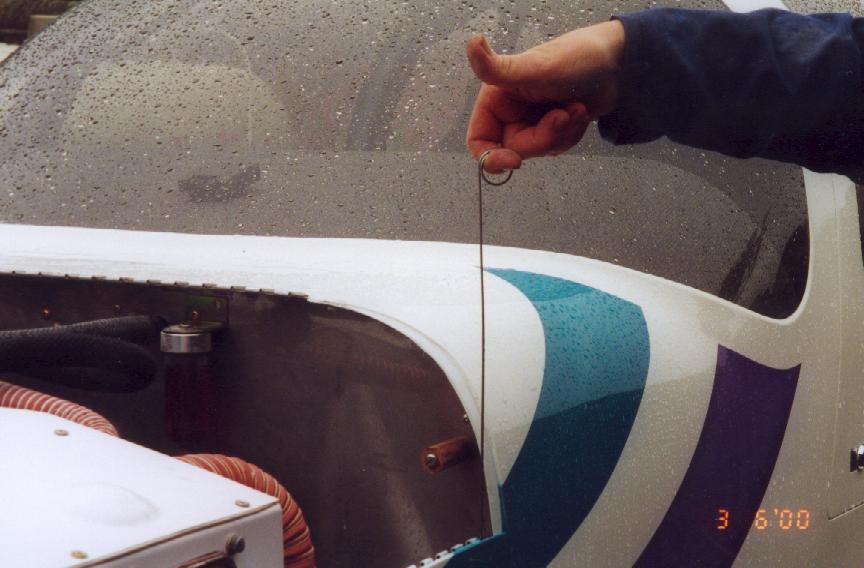
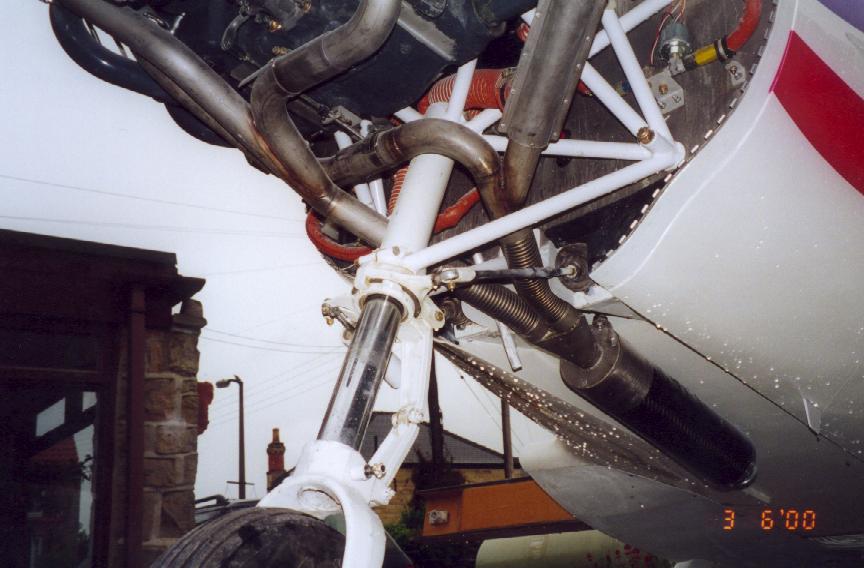
| The pins for the lower cowl to firewall hinge are located on long Tufnol rods which prevent them vibrating loose. They are withdrawn simultaneously (a two-man job – difficult when one man is taking the photographs) | |
 |
 |
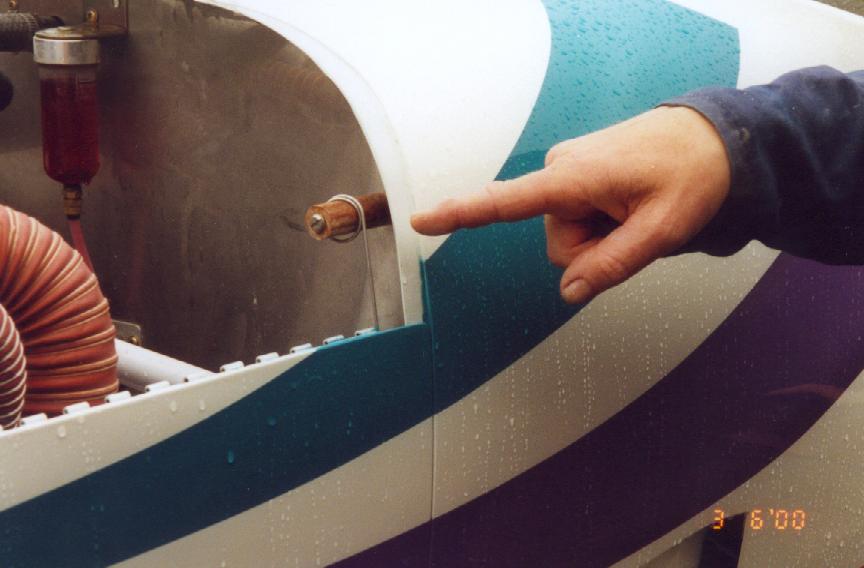
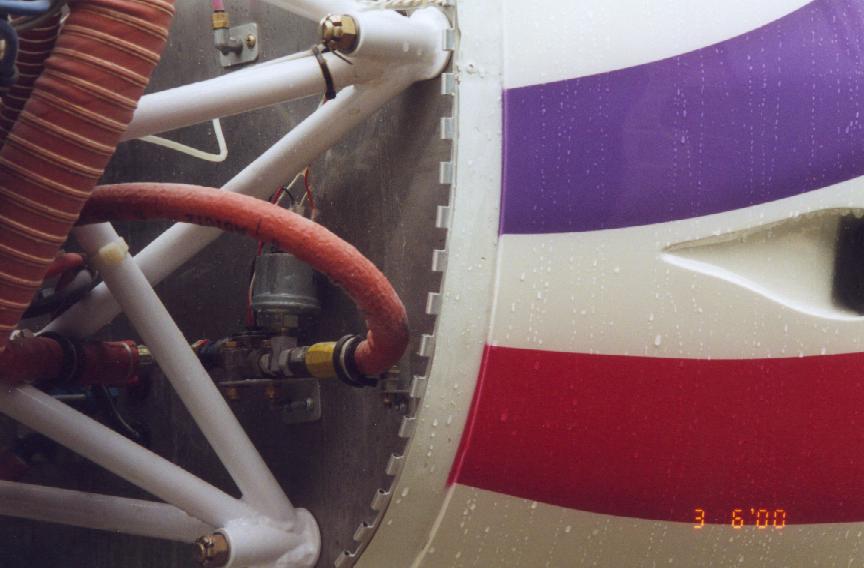
| The half hinge mounted on the firewall flange can be seen. It has a double curvature and requires some filing and rounding of the hinge segments on the curve to allow the pin to enter smoothly. | |
 |
 |
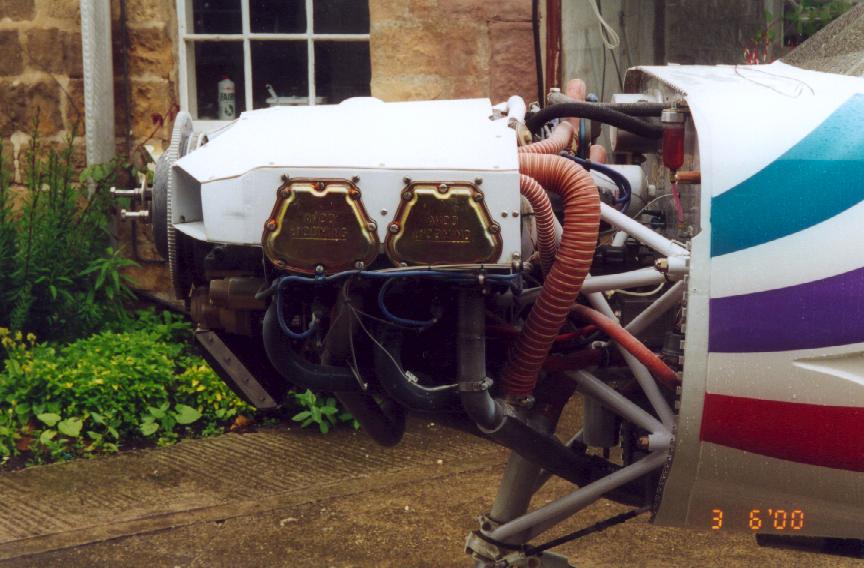
Engine Baffles:
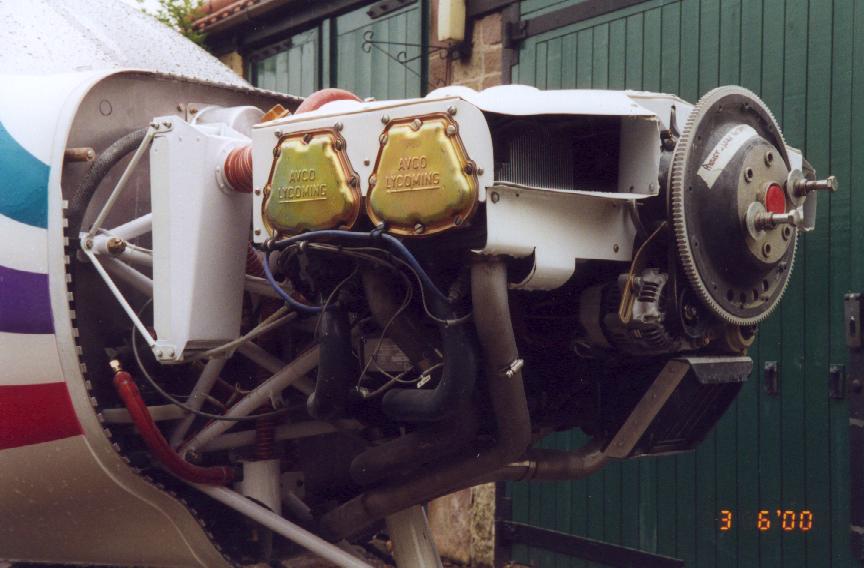
| Once the cowls have been removed the engine baffles can be seen. I have gone for a pressure cowl for the engine – because it looks sexy and it gets rid of those bits of frayed rubber that are always difficult to fit properly when replacing the upper cowl. The oil cooler is seen on the rear right of the engine. We have used an automobile cooler – works very well on my TR-1 at a fraction of the cost! | |
 |
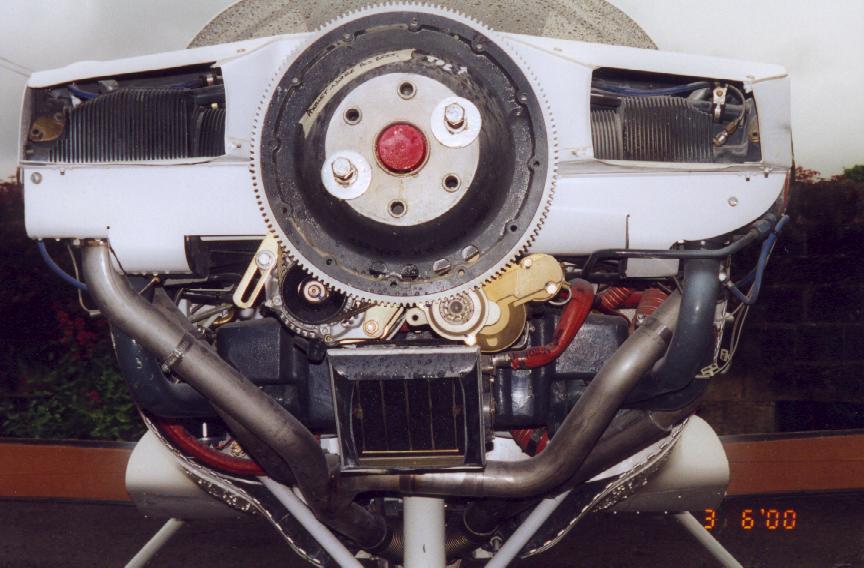 |
| The air filter with its black rubber baffle can be seen below the starter motor and alternator. | |
 |
 |