Preparing a Glass Layup


Like most things, there is no single way to prepare a Epoxy / Glass Layup.  I attended a homebuilders workshop on doing glass work presented by Alexander Aeroplane several years ago.  Much of my method is based on what I learned from that class combined with my own modifications.  The following is a description of the method that has worked best for me.

The first step is preparation.  Before you start to measure and mix the epoxy, make sure that you have prepared the surface for application, have a plan, and have the glass ready.  

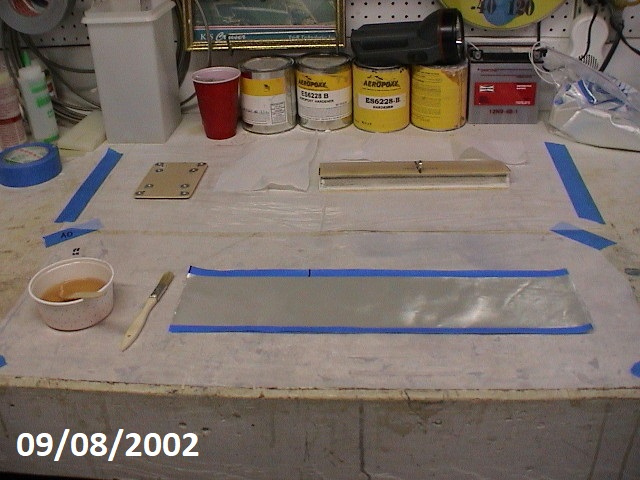
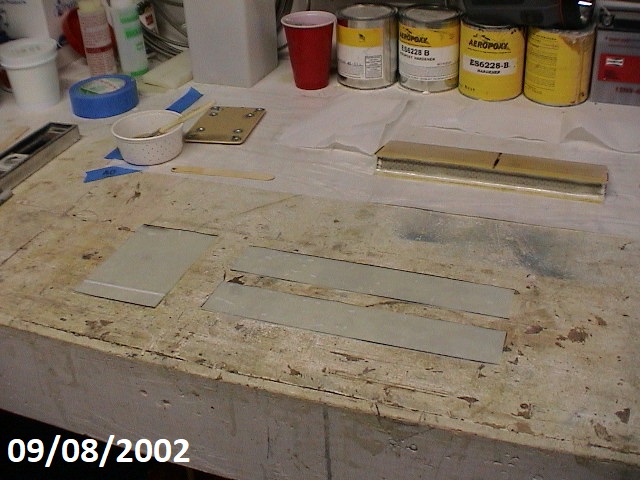
I use a trick I learned from watching my mother sew.  She used a special tape to prevent the cloth from stretching.  I use a painters masking tape when I cut the strips of glass.  This prevents the glass from pulling out of shape during handling and wetting out.  It may waste a little glass but prevents a lot of frustration.
The tape also helps in aligning the glass before applying the epoxy and in keeping it aligned during wet out.

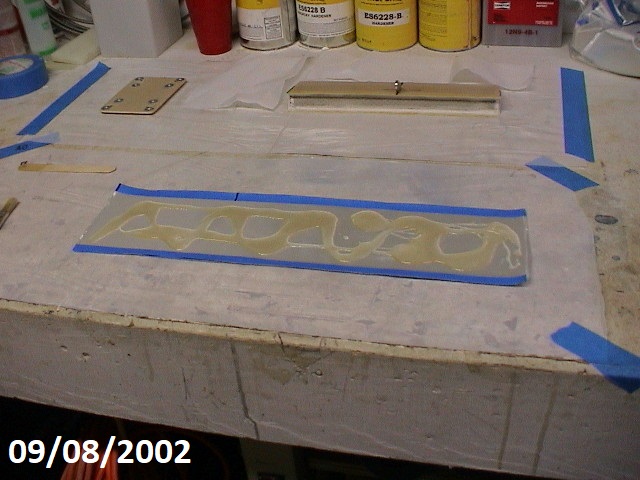
Before mixing the epoxy I weight the glass and then mix an equal amount by weight of epoxy with just a little excess if needed for fillets or pre-wetting the surface for application.  Generally, I pour out most of the epoxy on the glass as shown.

Use a squeegee to spread the epoxy evenly over the surface and allow it to soak into the glass.  As it soaks in you will be able to see the areas that have an excess or require additional epoxy.  Use the squeegee to pull the epoxy to the dry areas.  If necessary use the brush to dab additional epoxy on dry areas.  I always cut about 1/3 of the length off the brush.  

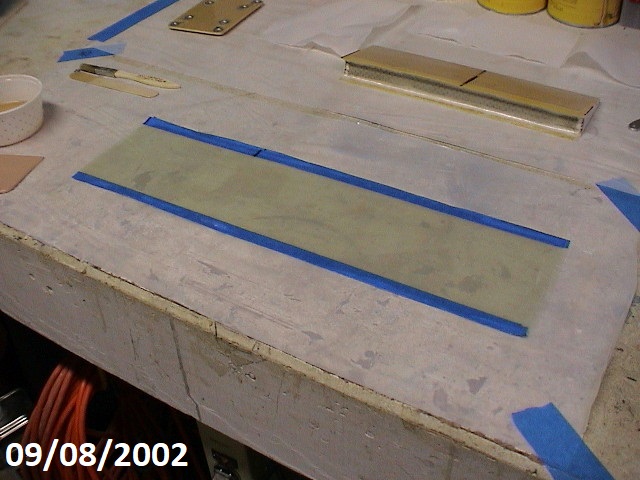
While the glass is soaking is a good time to use some of the remaining epoxy to brush on epoxy to the area of application.

When the glass is properly wet the glass will show a uniform and clear appearance.  I use a four mil plastic sheet for preparing all layups.  Pull the plastic tight and tape in place.  Wipe it with a dry cloth or paper towel to remove the powder that is used to keep it from sticking.  
I then apply another sheet of plastic over the top and either draw my cutting pattern or already have the pattern on the plastic.  This allows very precise positioning of the pattern.  In this case I needed to long strips and one wide patch.  These were two ply layups.  The long strips would be used for inside the trim tab opening and the wide patch was a covering for the inspection panel shown.  I weighed down the glass on the inspection panel and sanded down the glass over the tinnerman washers after curing.
Cut along the lines and you are ready to apply.  The plastic on both sides makes it much easier to cut and handle until you are ready to apply.  Application generally requires removal of the plastic on one side, position and then remove the plastic on the other side.

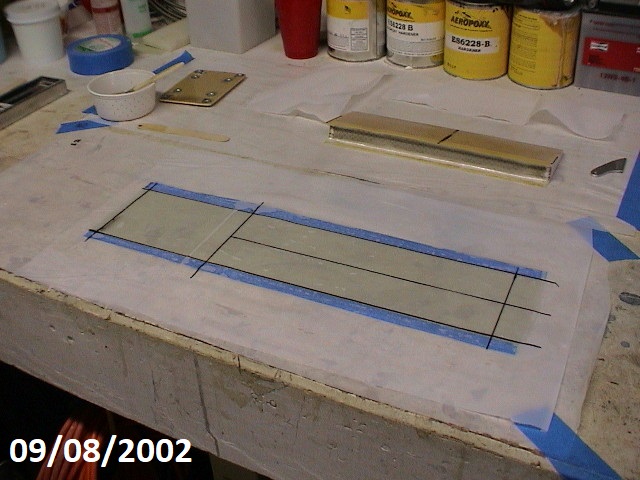
I always try to use peel-ply over all layups.  It makes it easier to workout air bubbles and keep from pulling the layup out of shape.  It also makes any subsequent processes such as additional layups or sanding easier.