 N247BR
N247BR
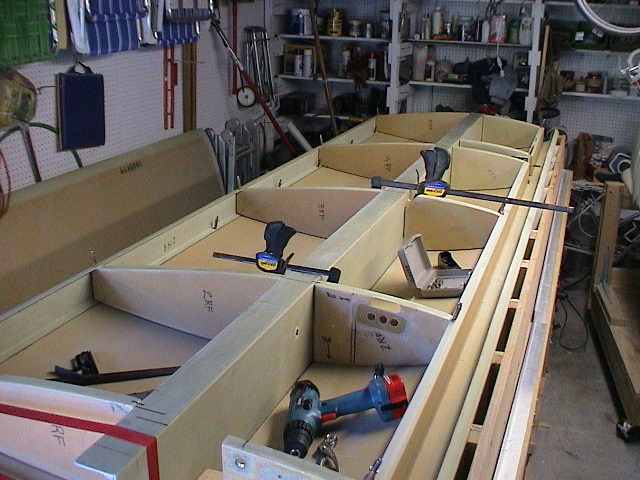 |
The second wing is shown here with everything positioned prior to starting the bonding of any of the ribs or spars. This was much easier the second time. |
 |
This is a good view of the rear spars in position. It shows the positioning of the rear spar. I marked and used clecos to position everything and check the fit. I used clear tape to protect the wing spar, sanded the rear spar, ribs, and wing surface. I then prepared the adheasive and bonded rear spar and ribs into place. Unlike the first wing, I did not bond the ribs to the rear spar before bonding the assembly into place. It worked well but rushed me a little. |
 |
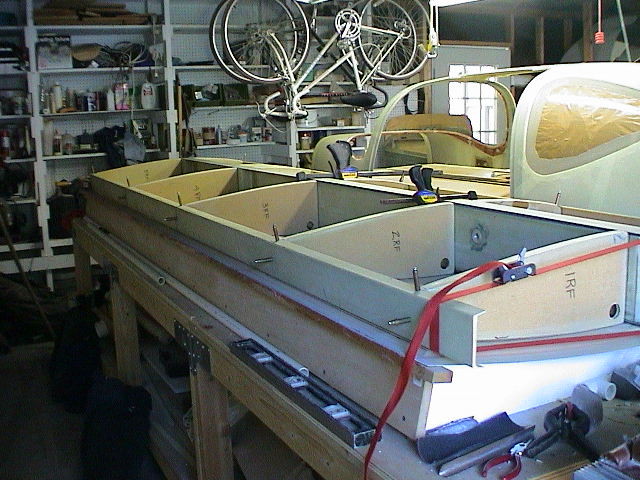
After the rear spar and ribs have set, prepare the wing spar and interior wing surface for bonding the wing spar into place. Make sure the wing spar is uniform in width for the entire length before bonding into place. Sand as needed to ensure the correct width. Bond the spar and weight down to cure. |
 |
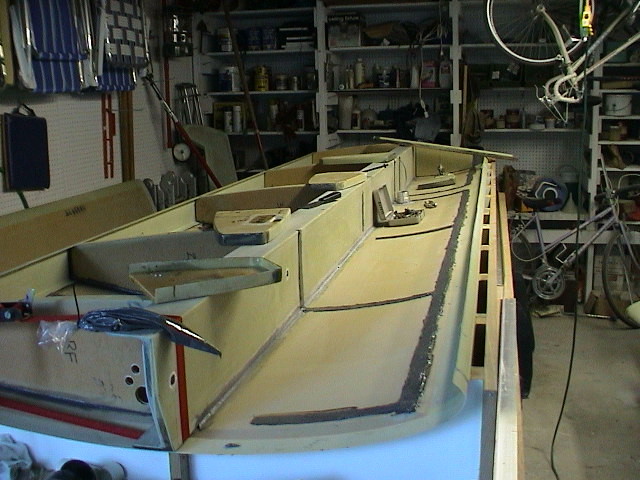
The rear spar, rear ribs, and wing spar have been bonded into place and preparation is being made for bonding the front ribs into place. |
 |
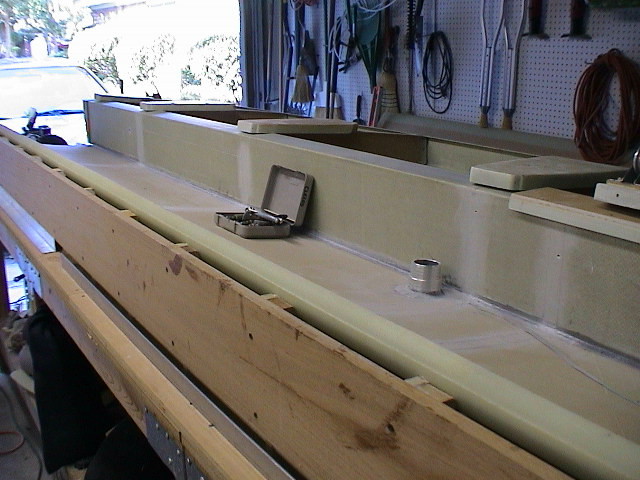
On the first wing I waited until all the ribs were in place before installing the fuel filler. This time I put it into place before installing the ribs. I recommend this method. You can see the ground wire running under the rib area and bonded into place. Make sure and leave enough working space around the filler to smooth and glass the area. |
 |
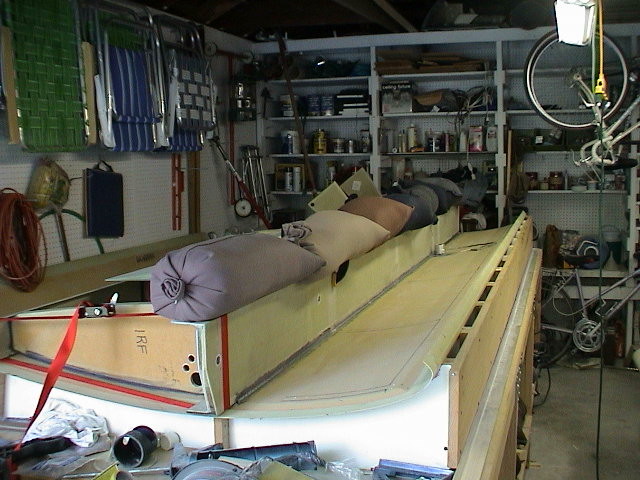
Everything has been sanded and ready for installation.
This is where I made a mistake on the second wing. Trying
to install the ribs and spar at one time was too much. On the
forward ribs and spar I recommend bonding the ribs into the spar and
allowing it to cure while tacked into place.
After the ribs have set, bond each section separately and weight down to cure. Using this method ou will not be rushed and can work the bonds more effectively. |
 |
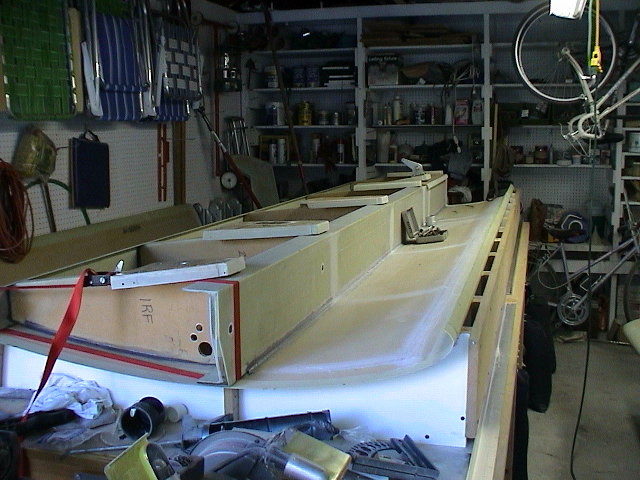
I wetted out the bonding lines and laid down a bead of thickened adheasive. The bond lines are ready for placement of the ribs and front spar. |
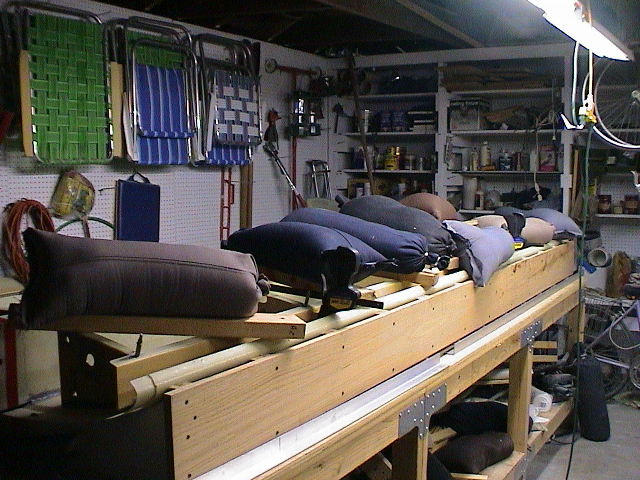 |
Everything is now bonded and the weights have been put in place. It came out OK but I was too rushed. |
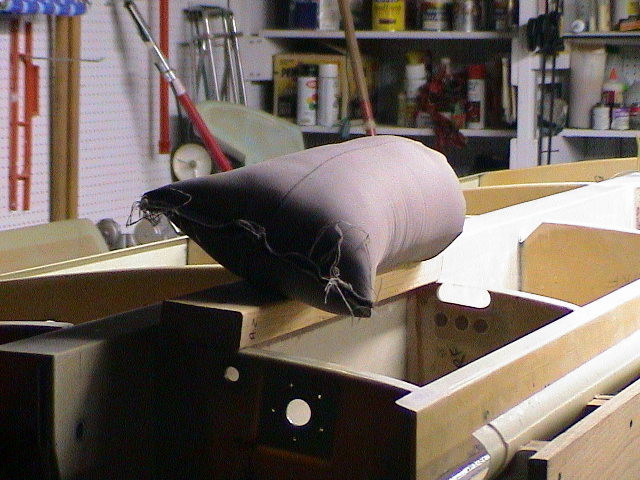 |
The close out on the fuel bay and flange have been bonded into place with a 2x4 and sand bag to hold in place to cure. |
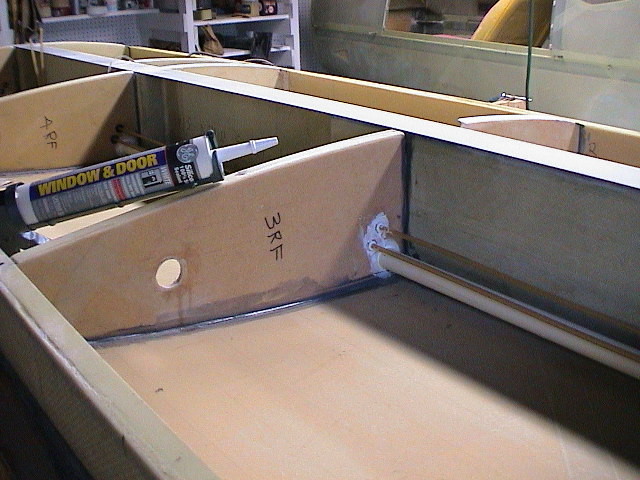 |
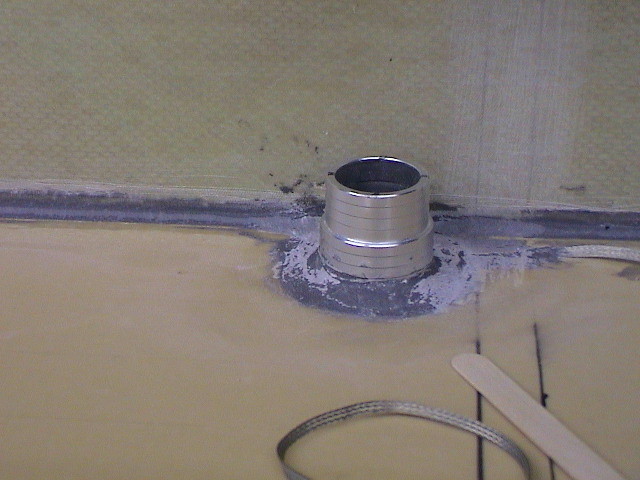
The wiring conduit and second set of pitot lines have been run. I used a silicone caulking for windows and doors to fill in around the PVC pipe and pitot lines. The pitot lines used here were the Feflon lines included for the brake system which I replaced with Stainless Steel lines. The silicone holds the lines in position but allows the lines to flex without pulling loose. |