|
The
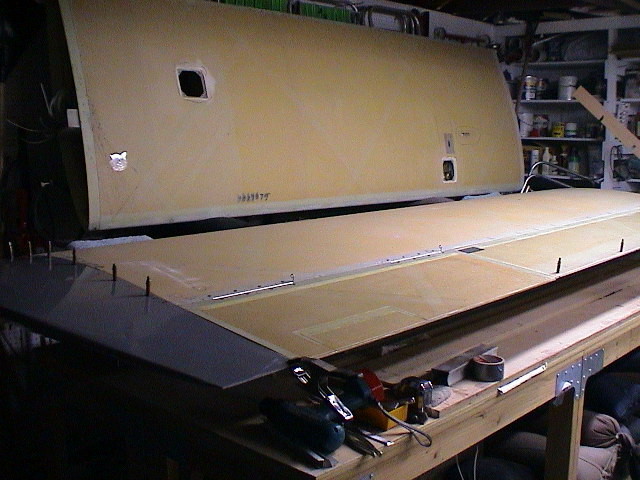
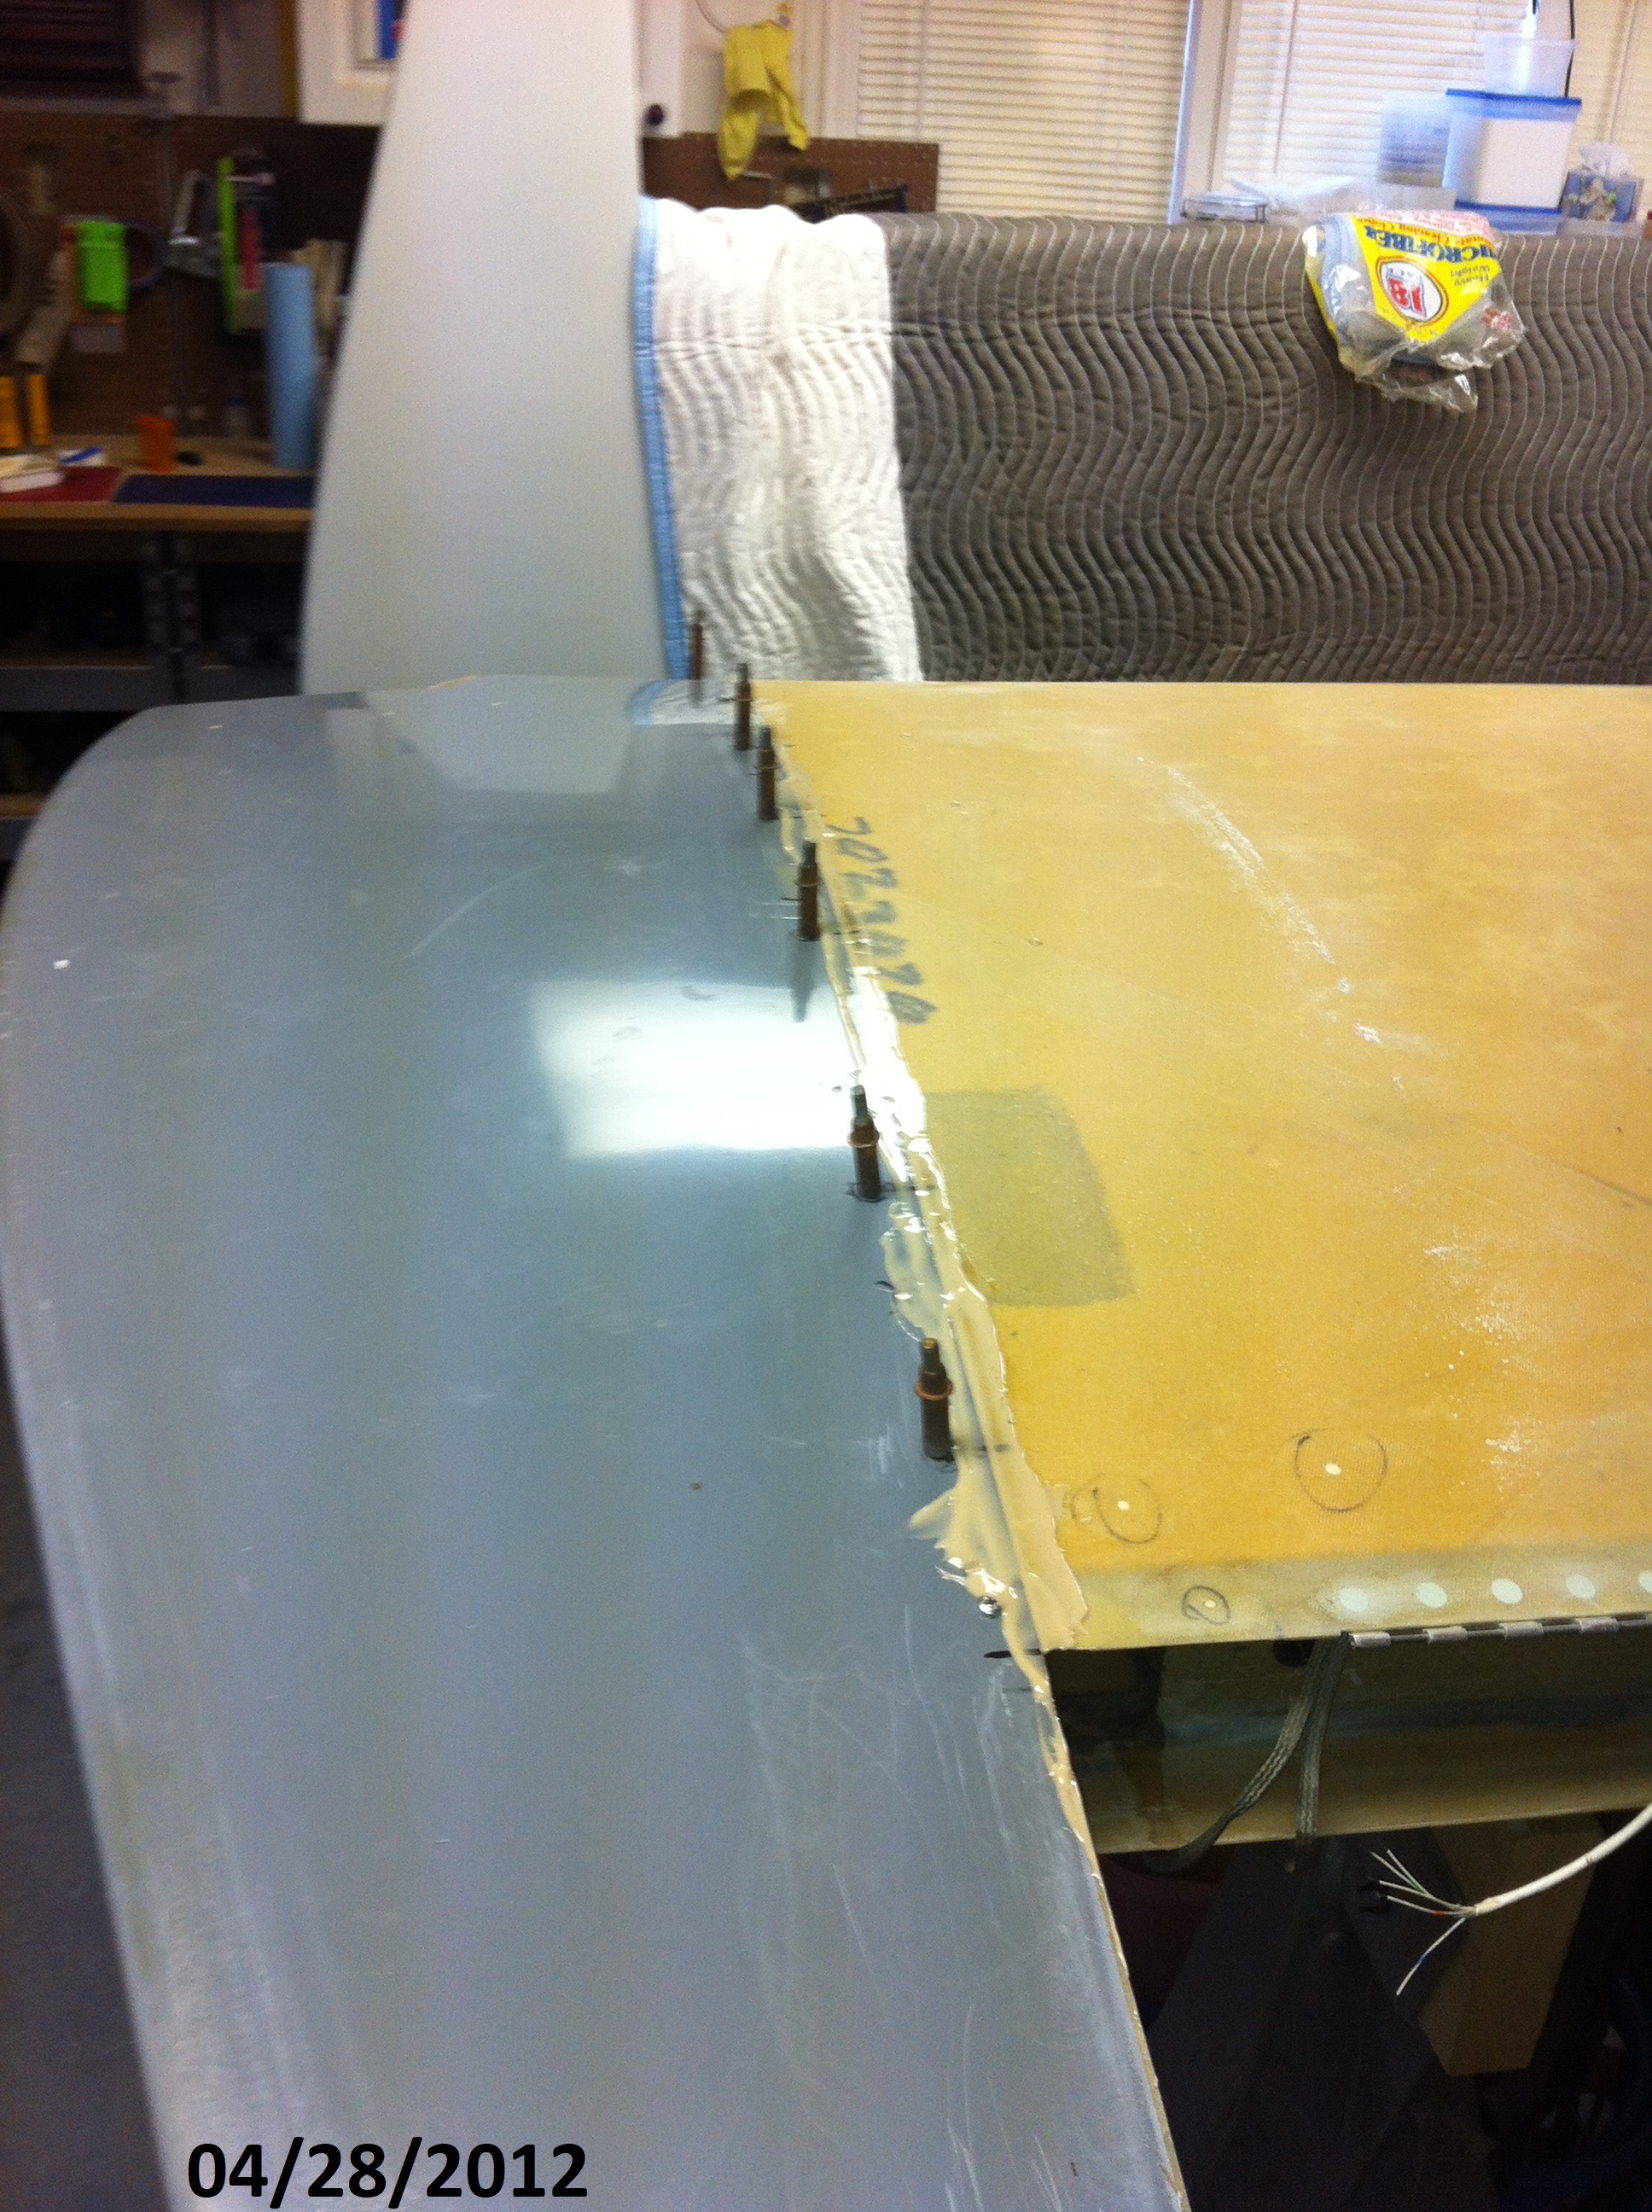
left wing tip has been installed with clecos and an epoxy bonding
paste. I removed the clecos BEFORE the epoxy cured this
time. I failed to do so on the right wing and it was a lesson
well learned on removing them.
|
|
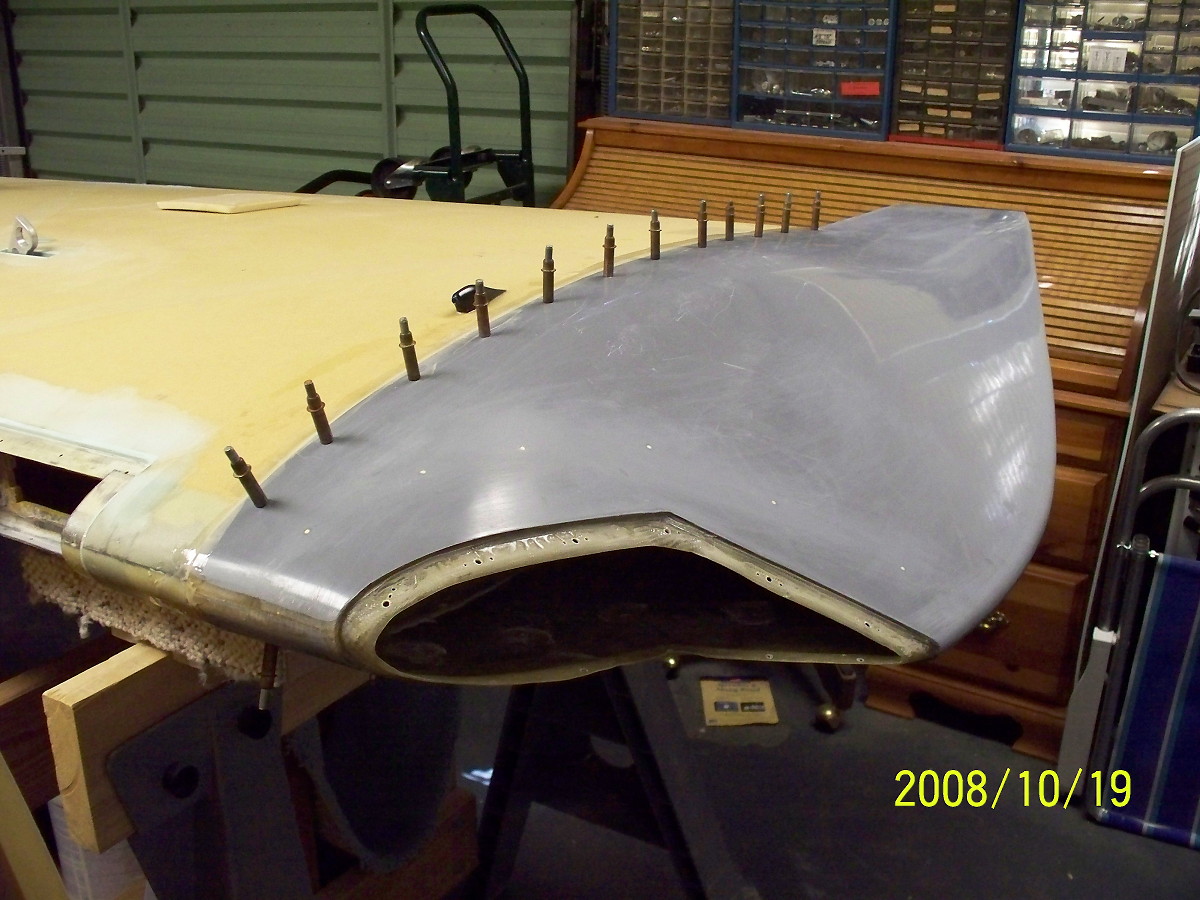
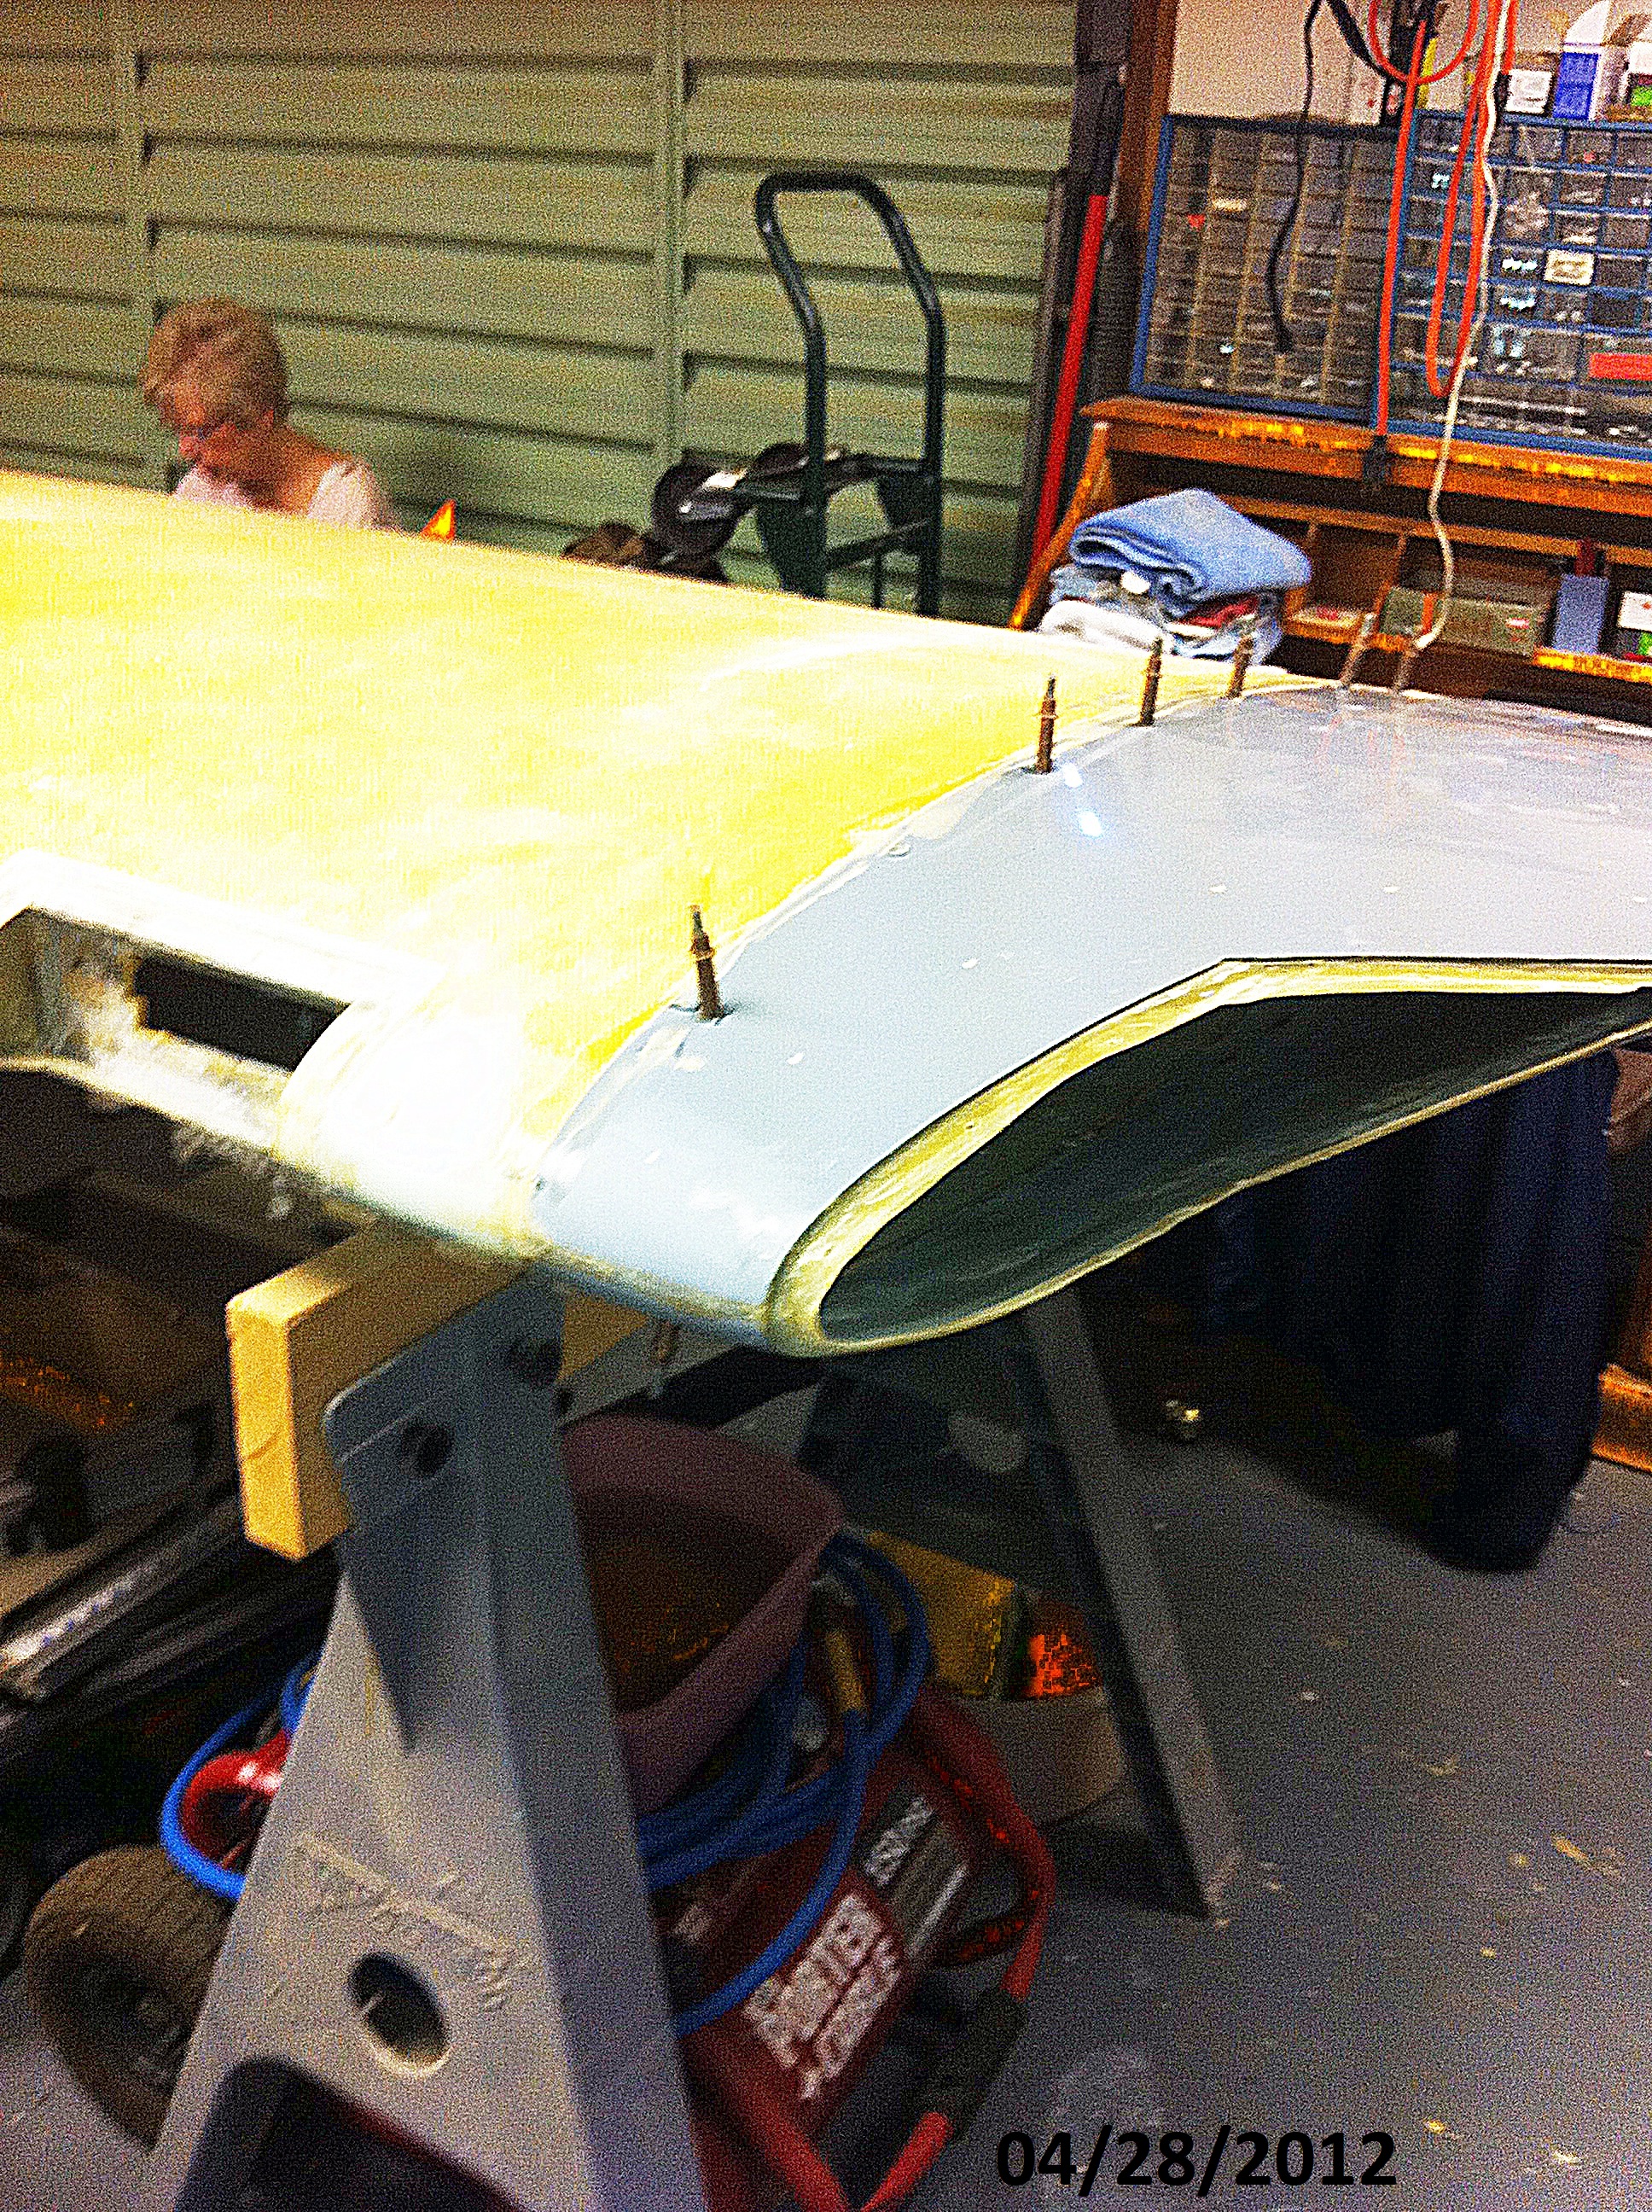
Front
view of the wing tip with the clecos still in place but I have started
removing them. The epoxy was still soft but was cured enough to
not allow the wing tip to move. If I had been really smart, I
would have used a razor blade to trim the soft epoxy before total cure.
|
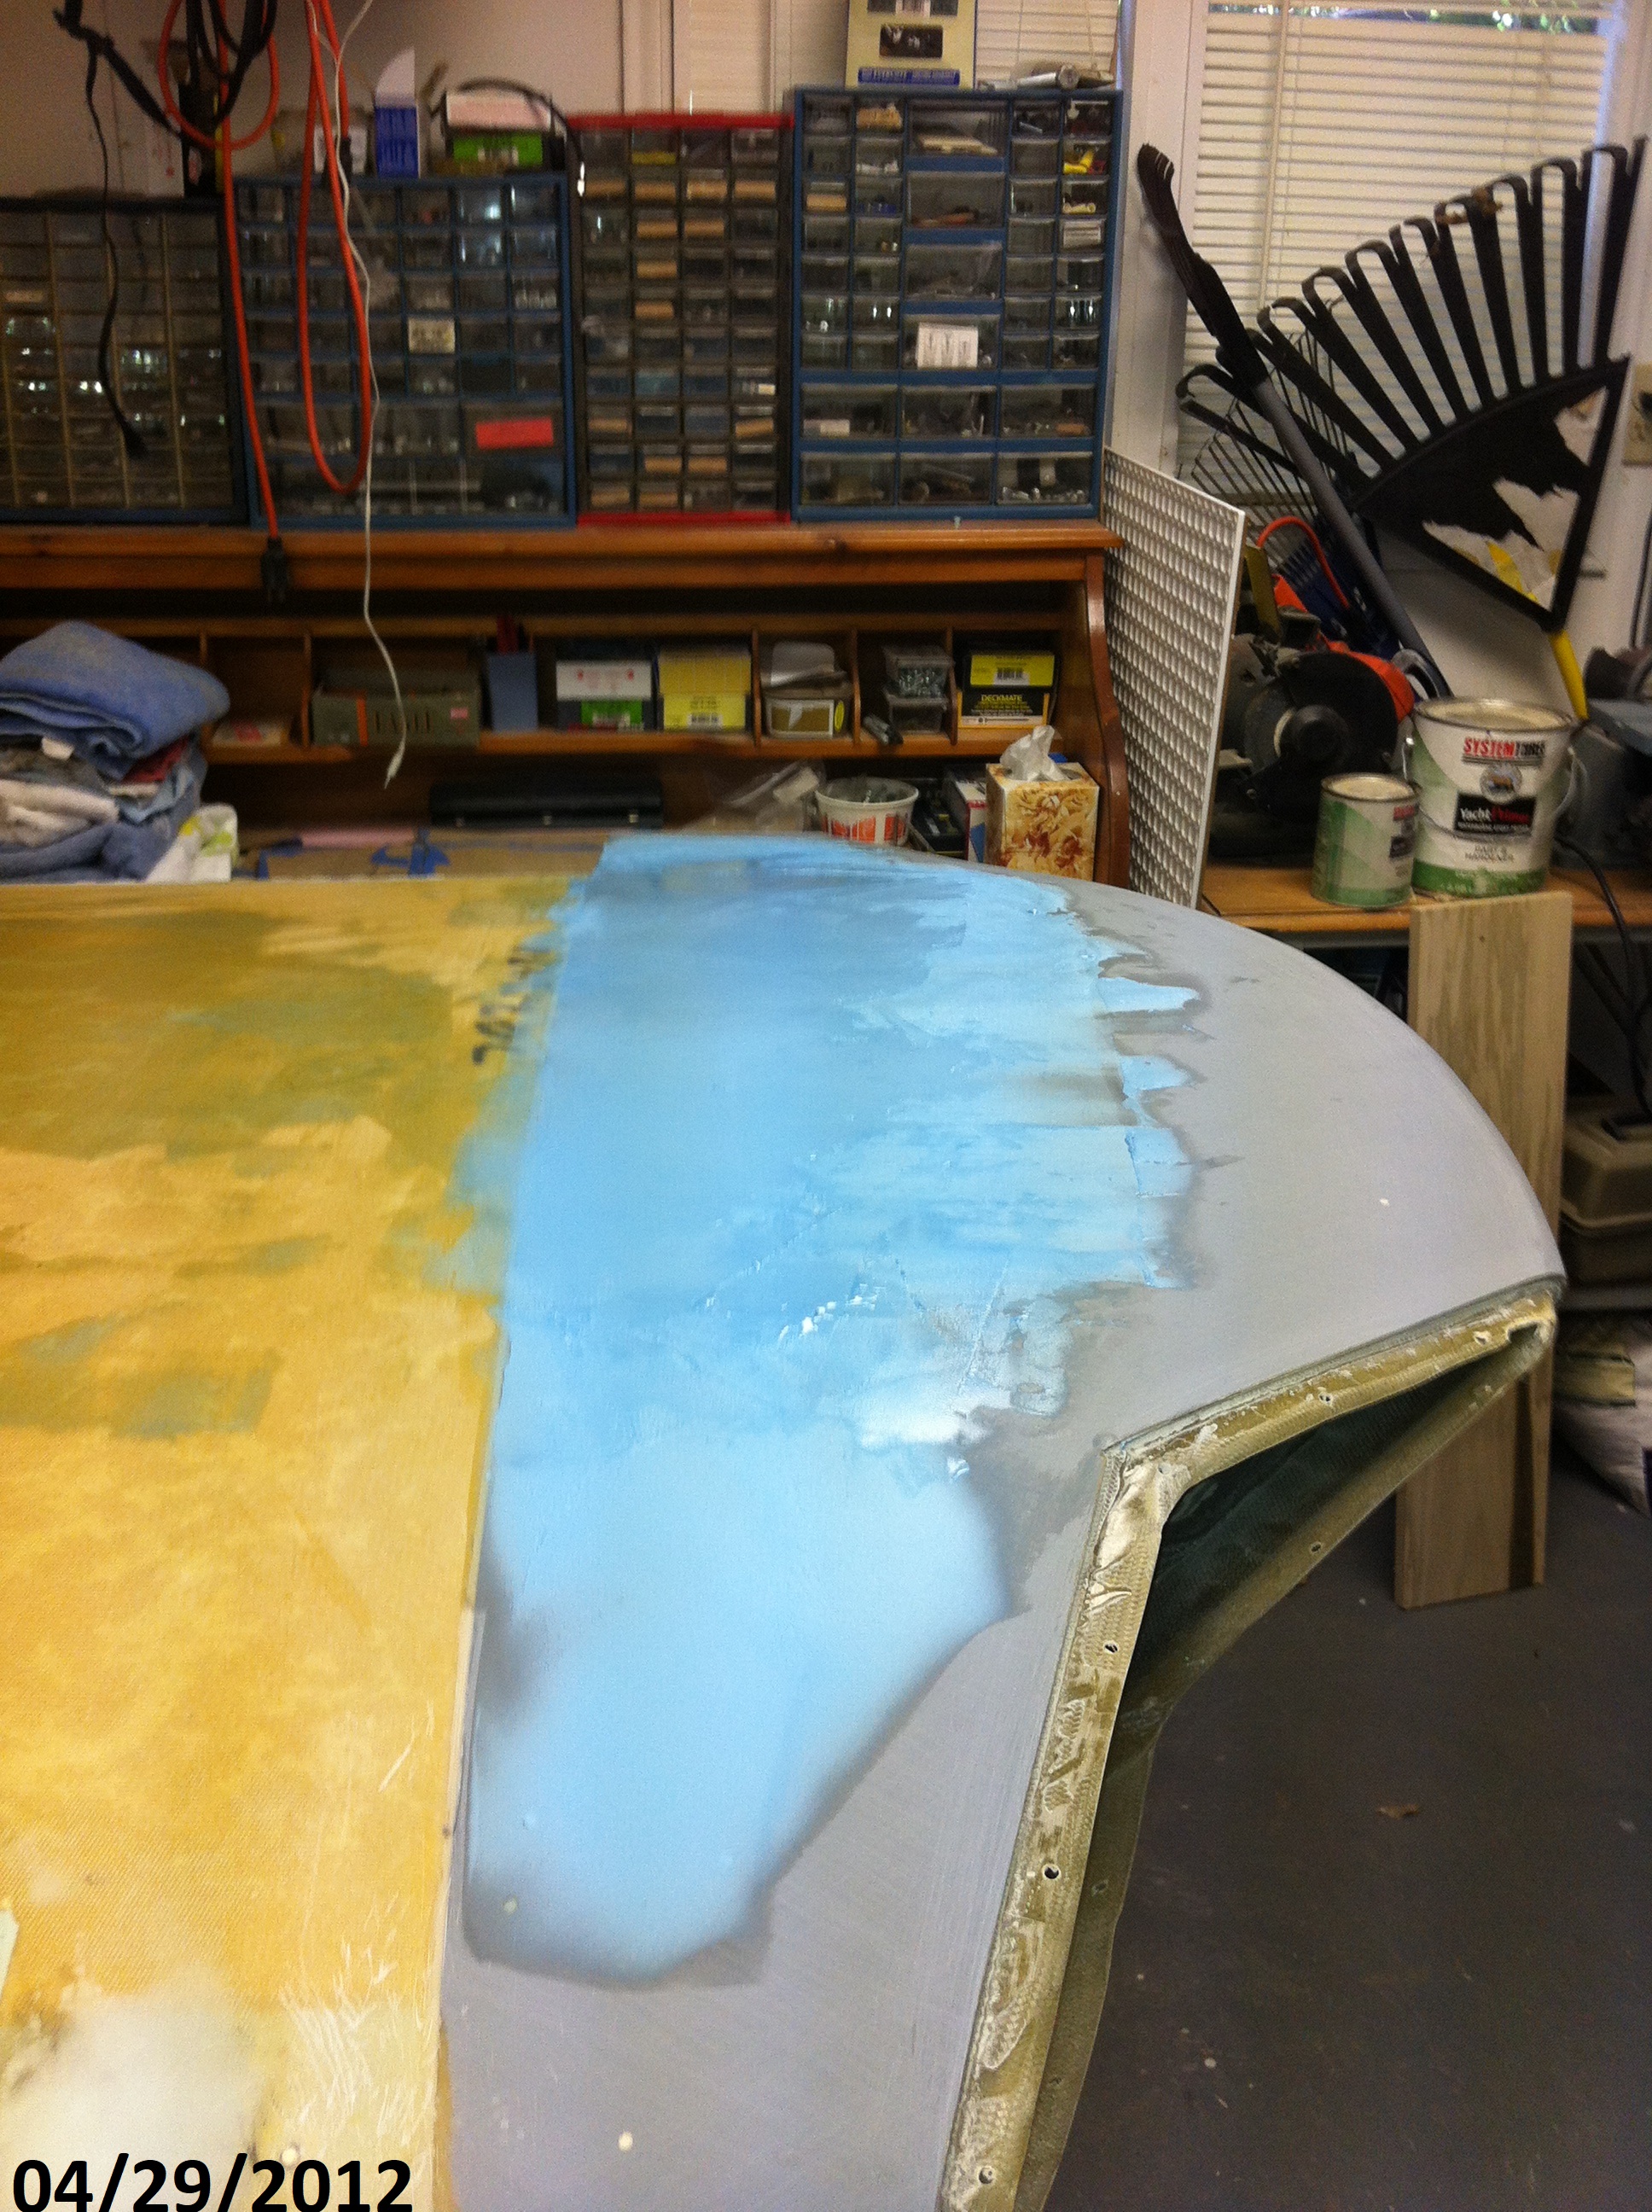 |
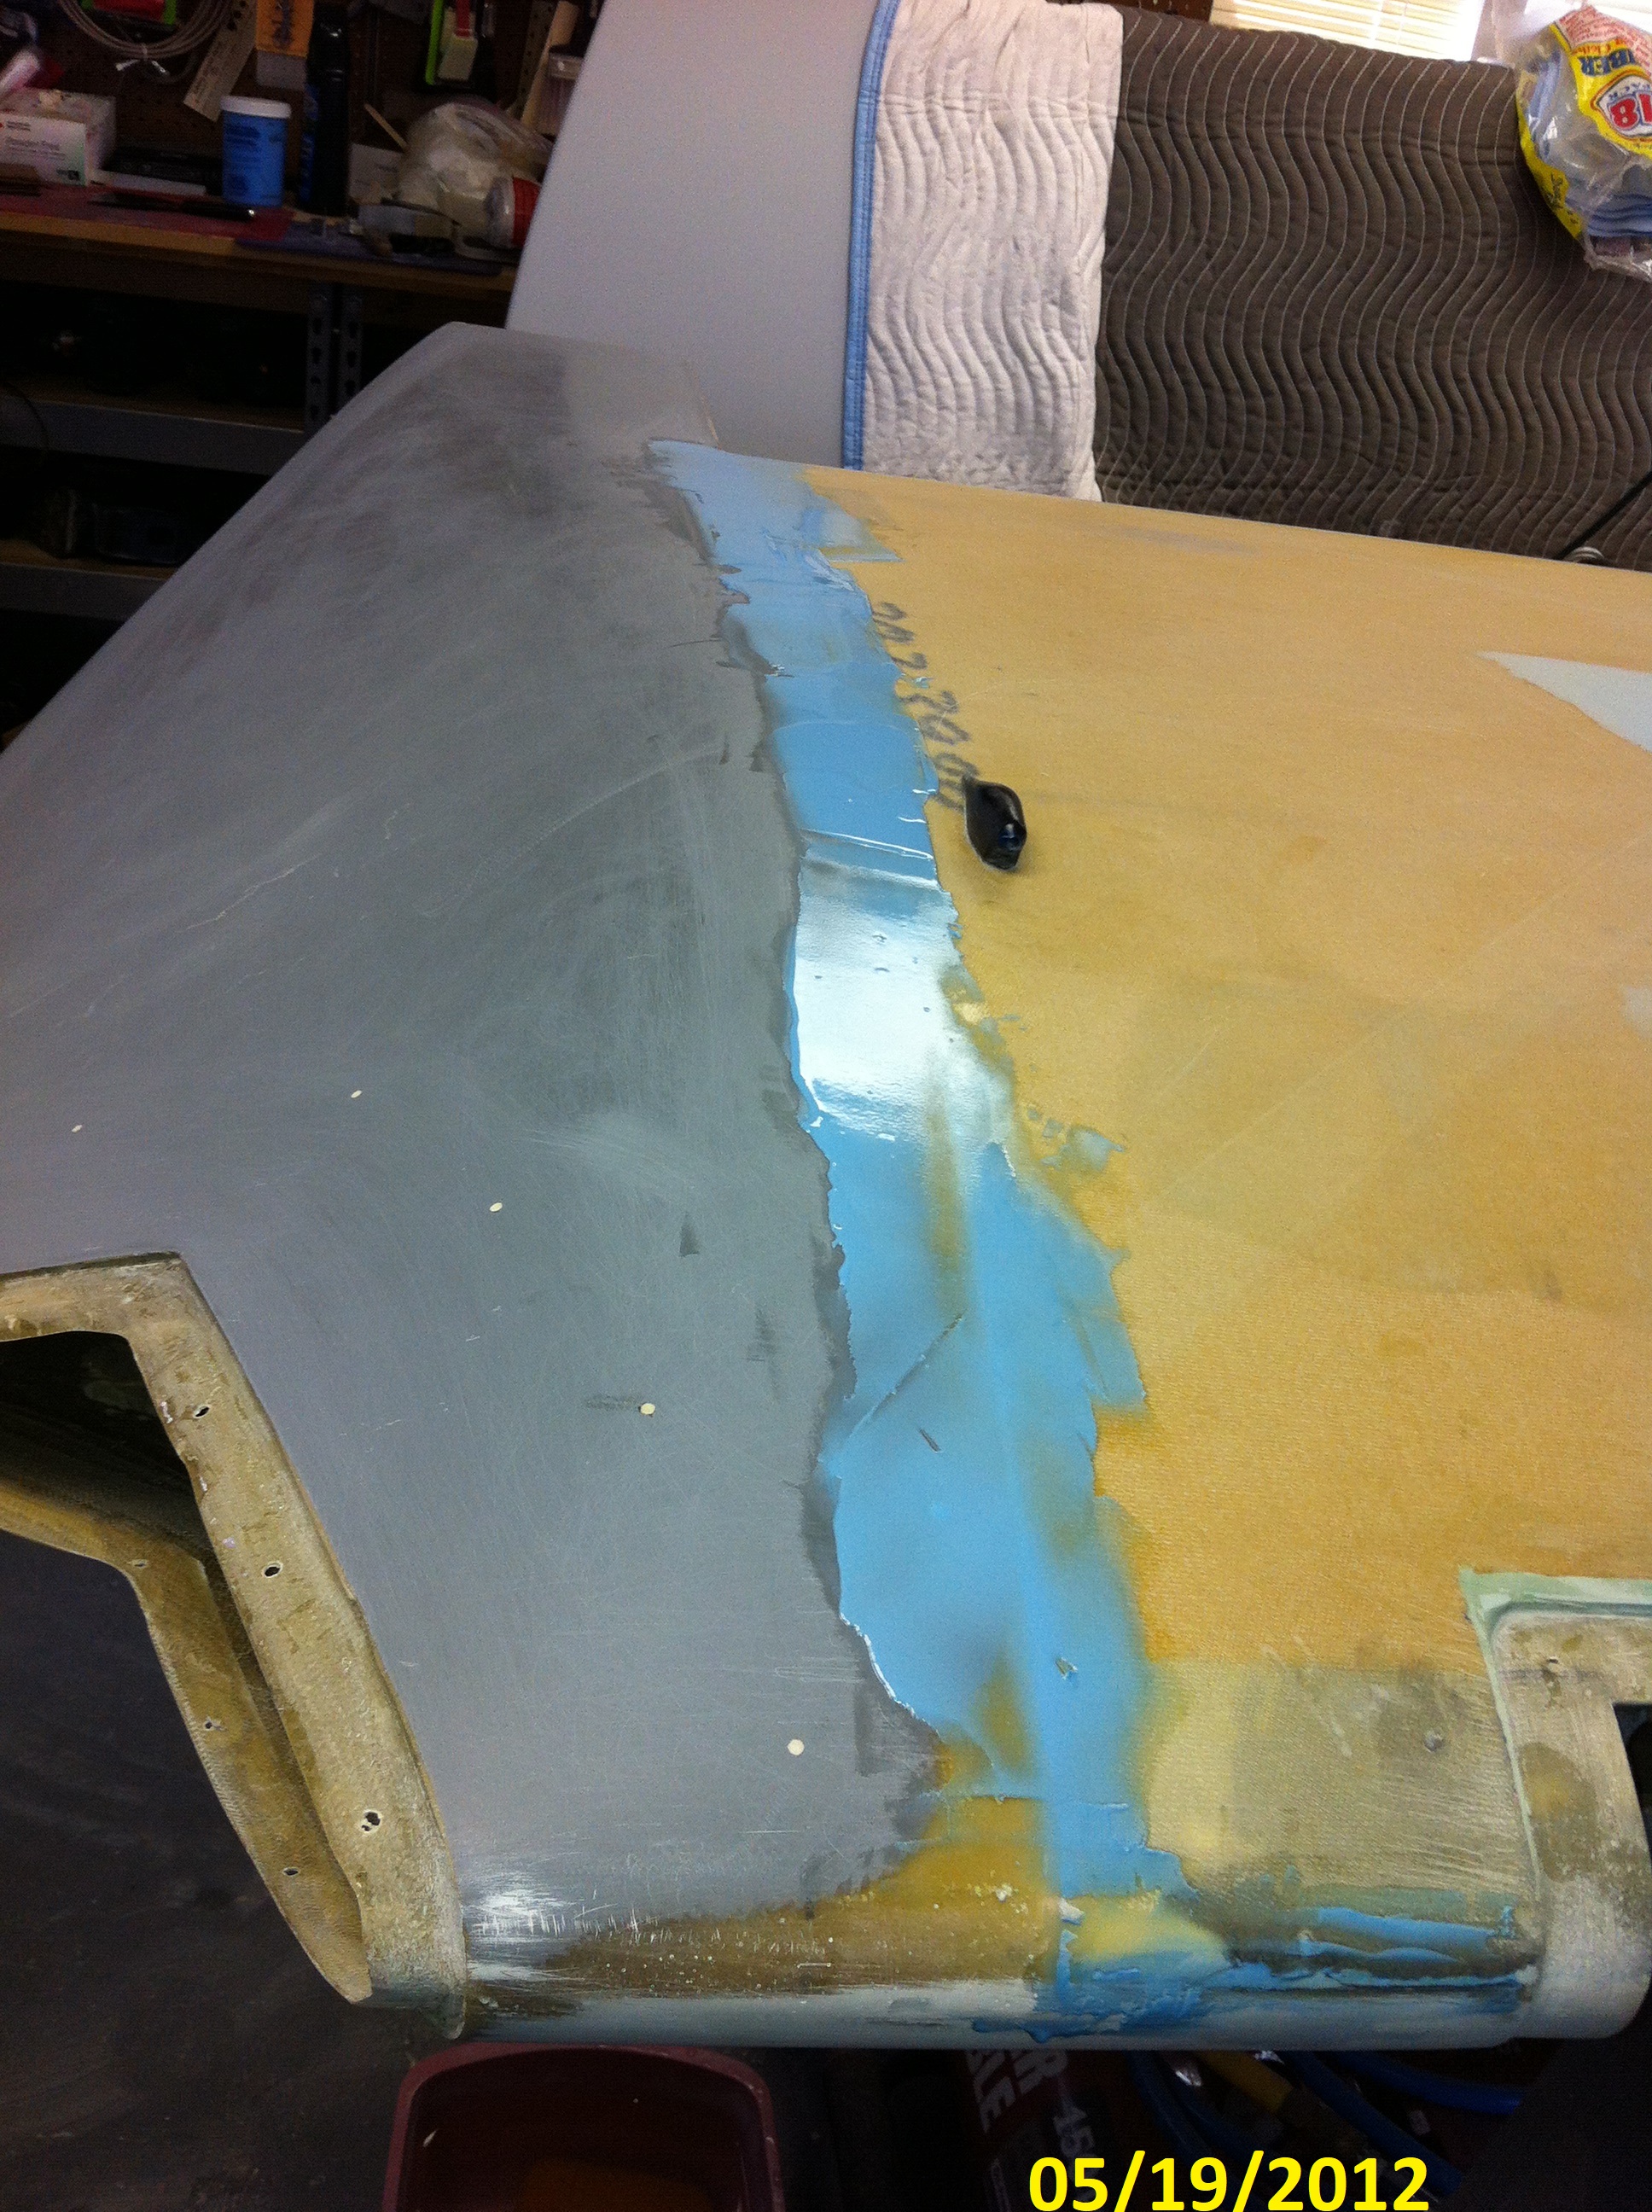
Cleaned
off the bonding epoxy residue and started the leveling and filling of
the joint between the wing and the wing tip. Took a bit more
filler than I had hoped but it isn't very thick and sanded out smooth
and level.
|
|
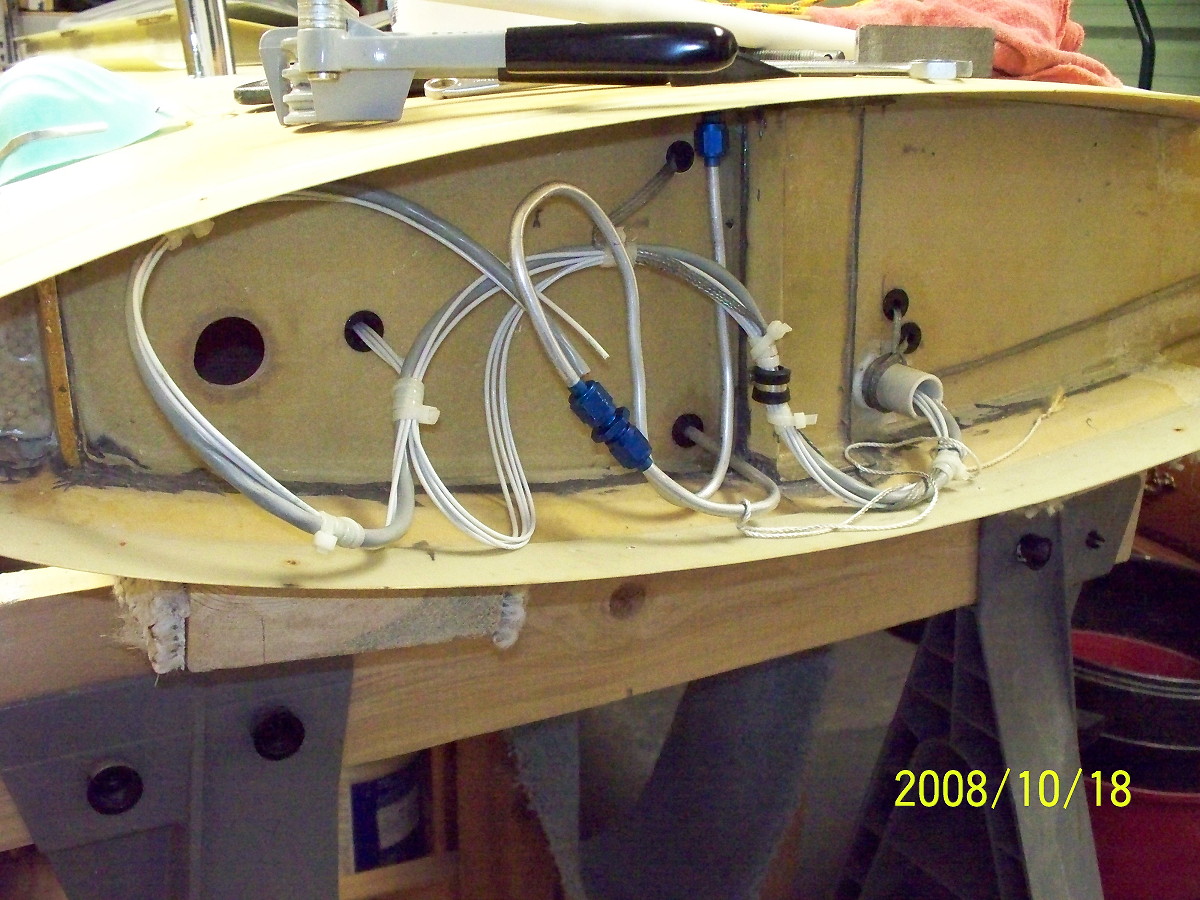
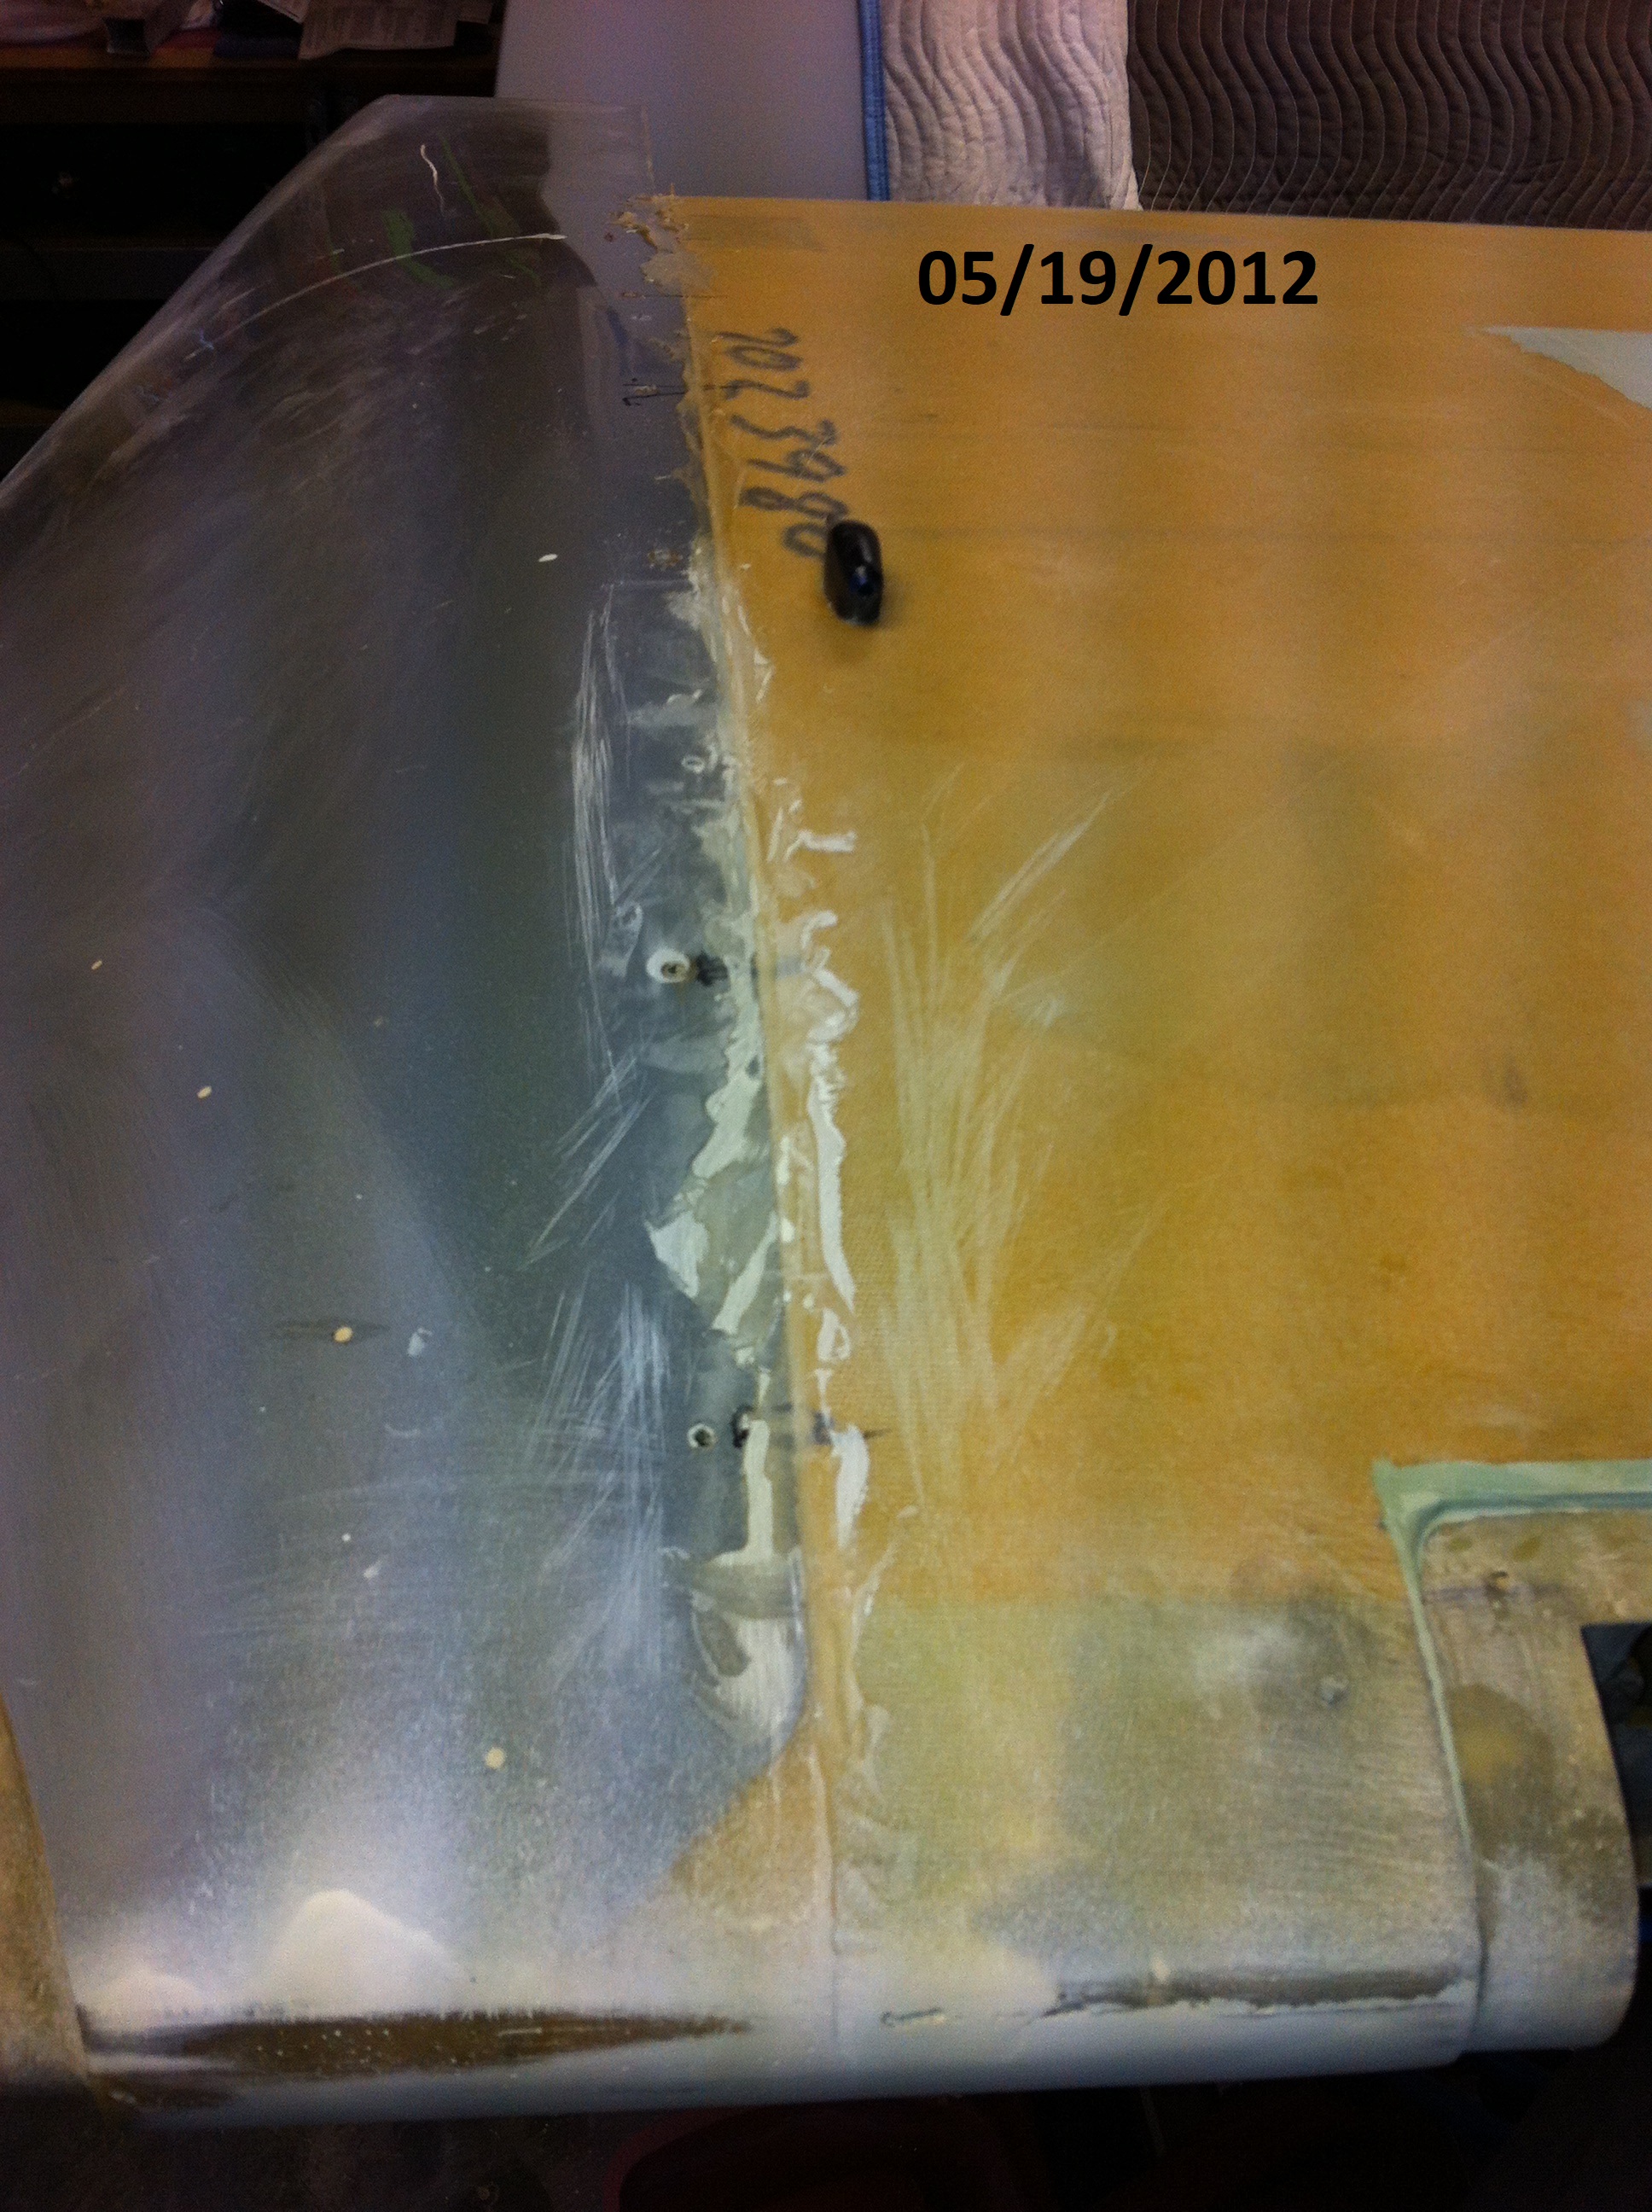
Took
a photo of the bottom before I cleaned off the bonding epoxy
residue. That stuff is as HARD as a ROCK but had to all be
removed. The best way to remove was with a straight edged
razor blade. It bonds the two surfaces but doesn't stick to the
smooth surface of the wing tip.
|
|
I
have scrapped off the bonding epoxy and done a bit of sanding. At
this point I will sand with 80 grit paper to make sure I have a good
bonding surface for the filler.
|
|
Sanded
the joint and applied the first coat of filler. I will sand this
down smooth and apply an additional coat of filler that is feathered
out several inches on each side of the joint.
|
|
When
applying filler the idea is to spread it out fully and then take it off
until you have a smooth level surface. Check it and repeat until
you have a clean level surface.
|
|
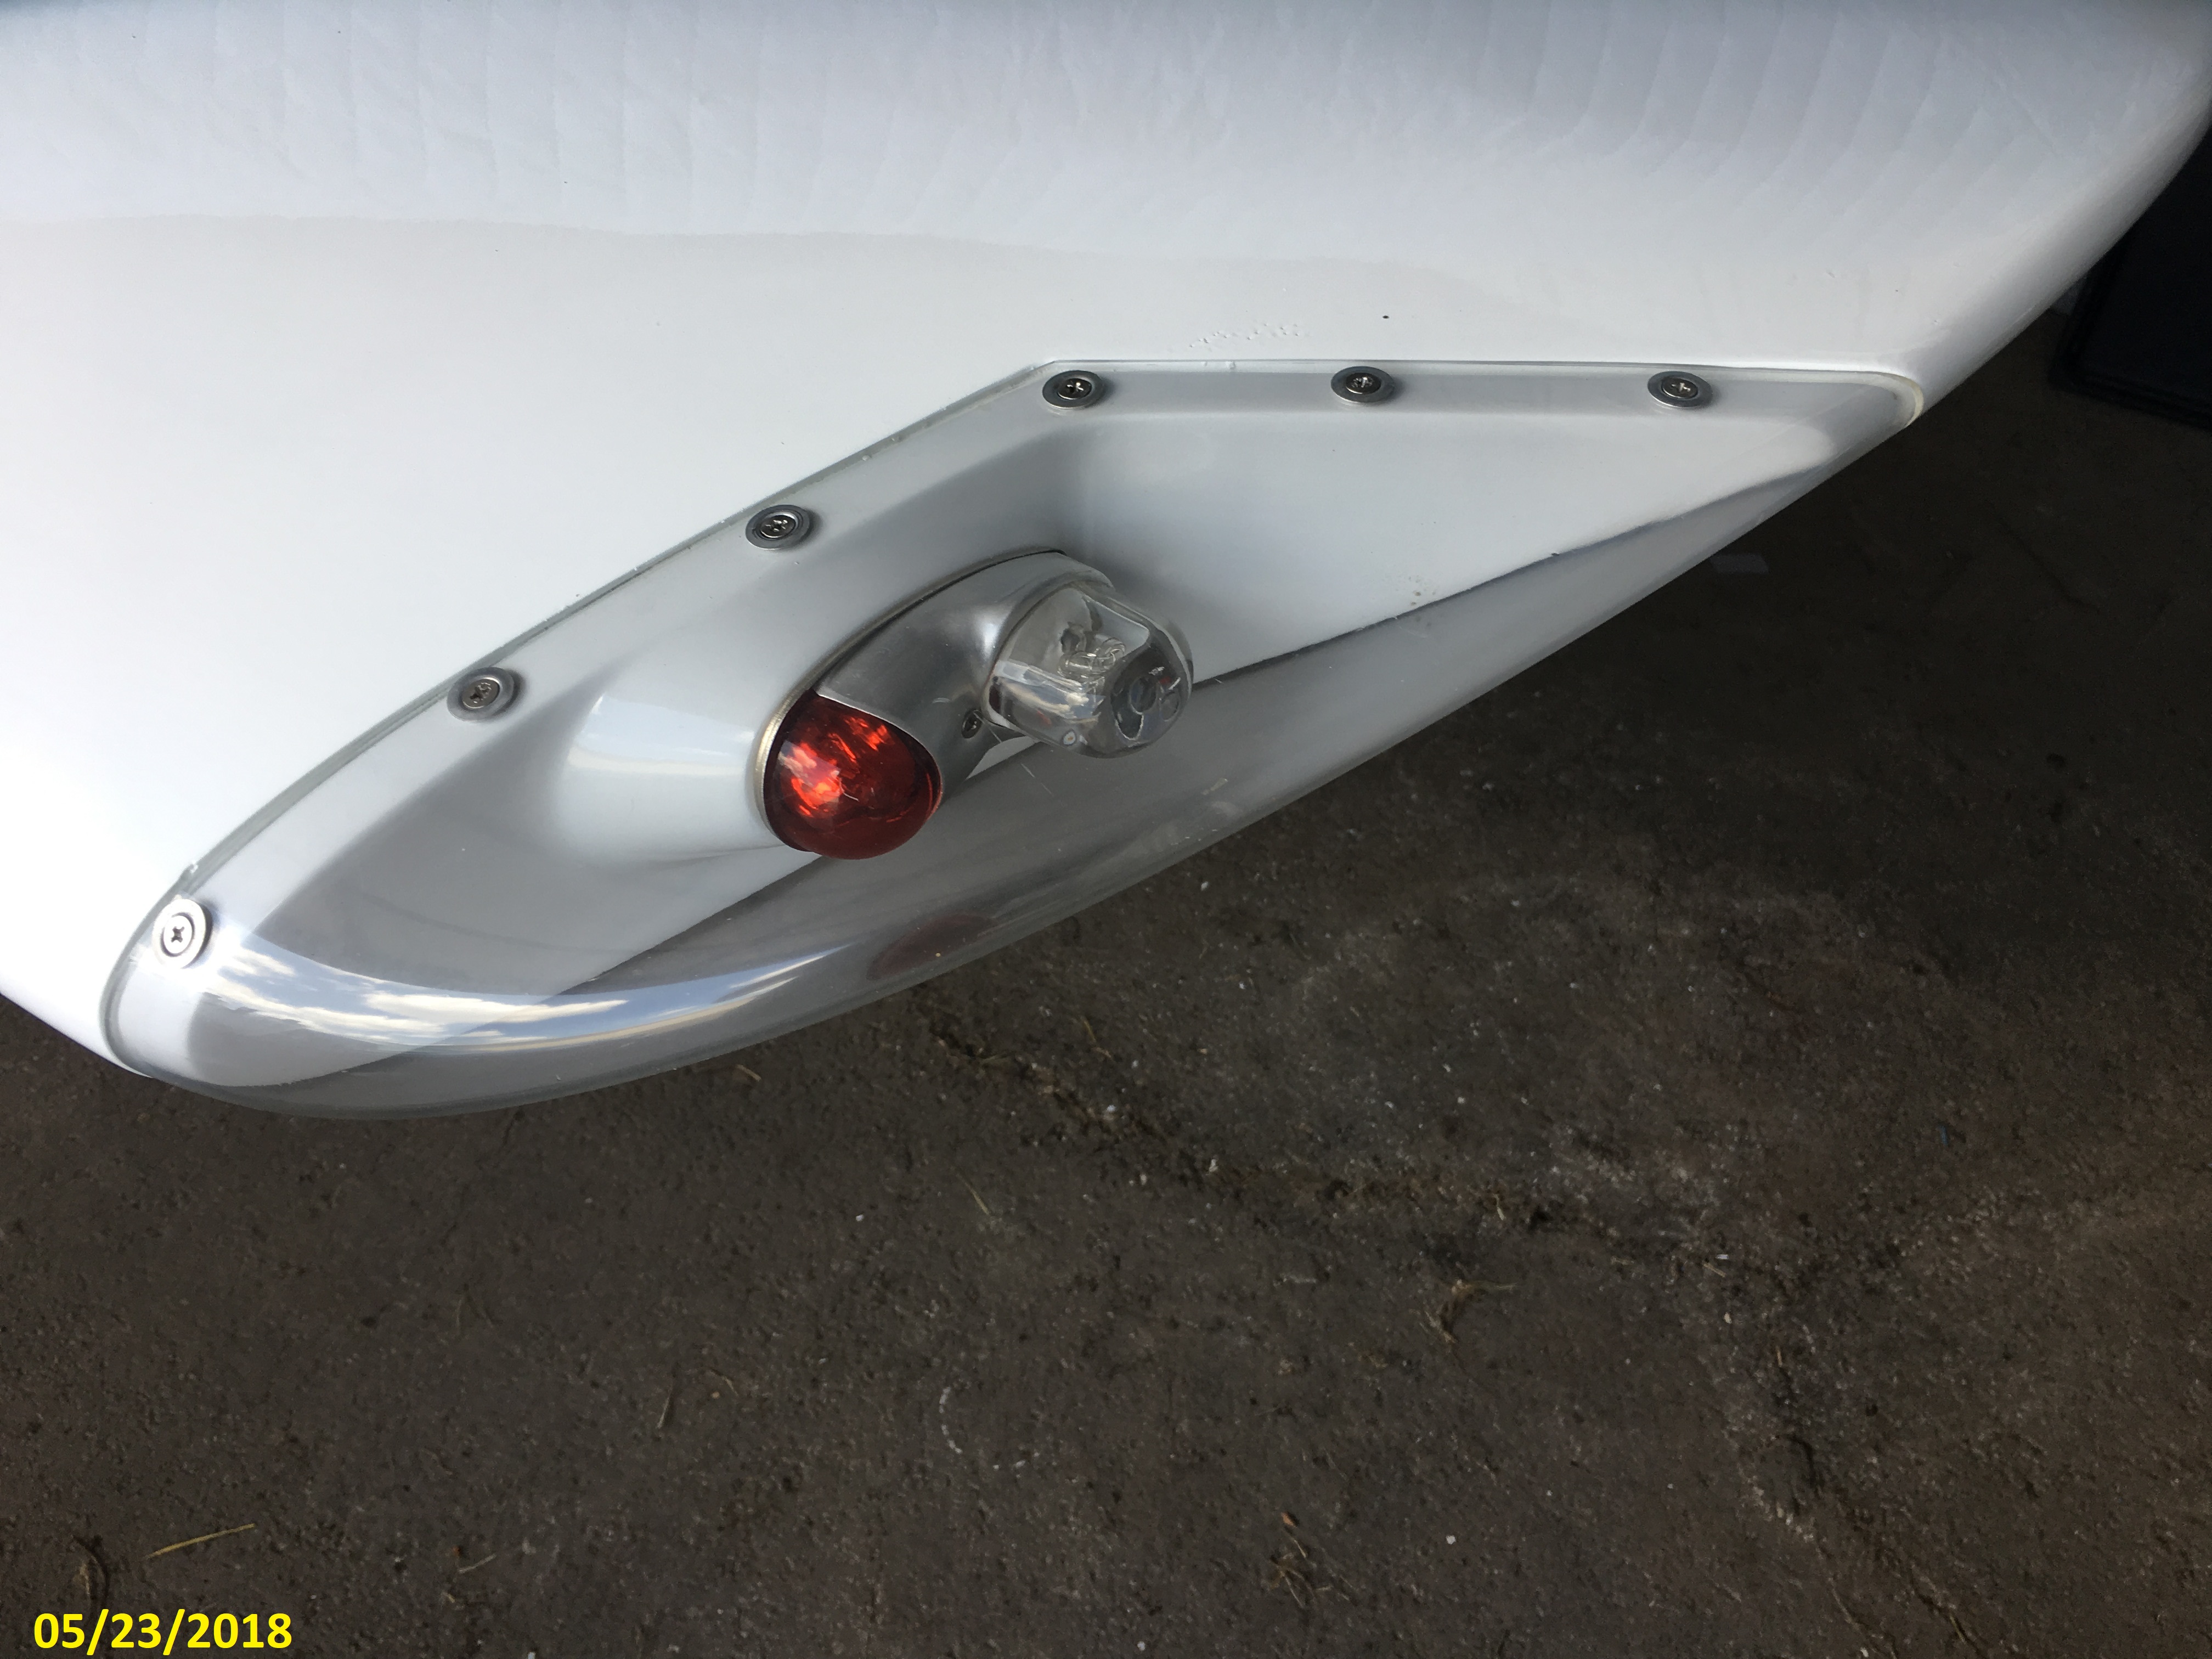
I used the filler to fill in the cracks and
smooth the contact area around the wing tip running lights opening.
|
|
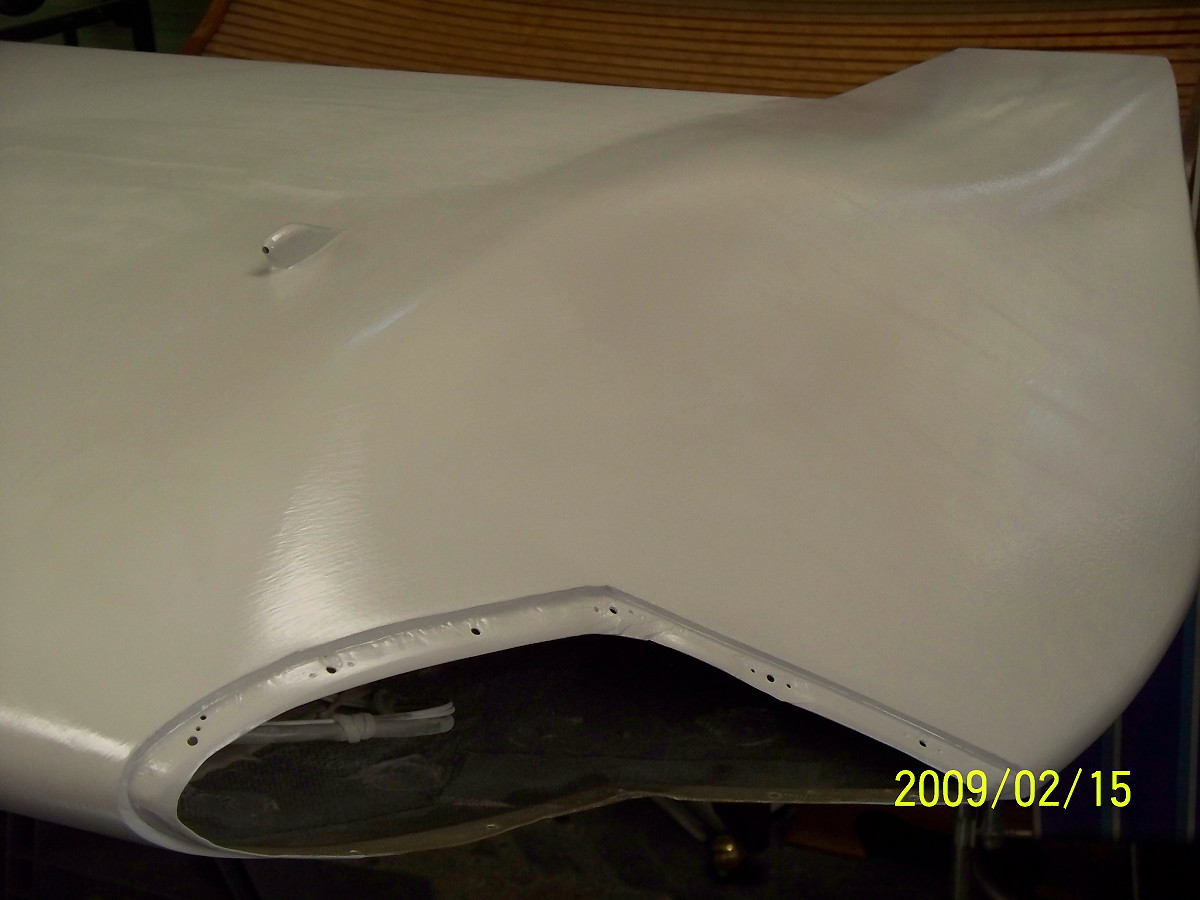
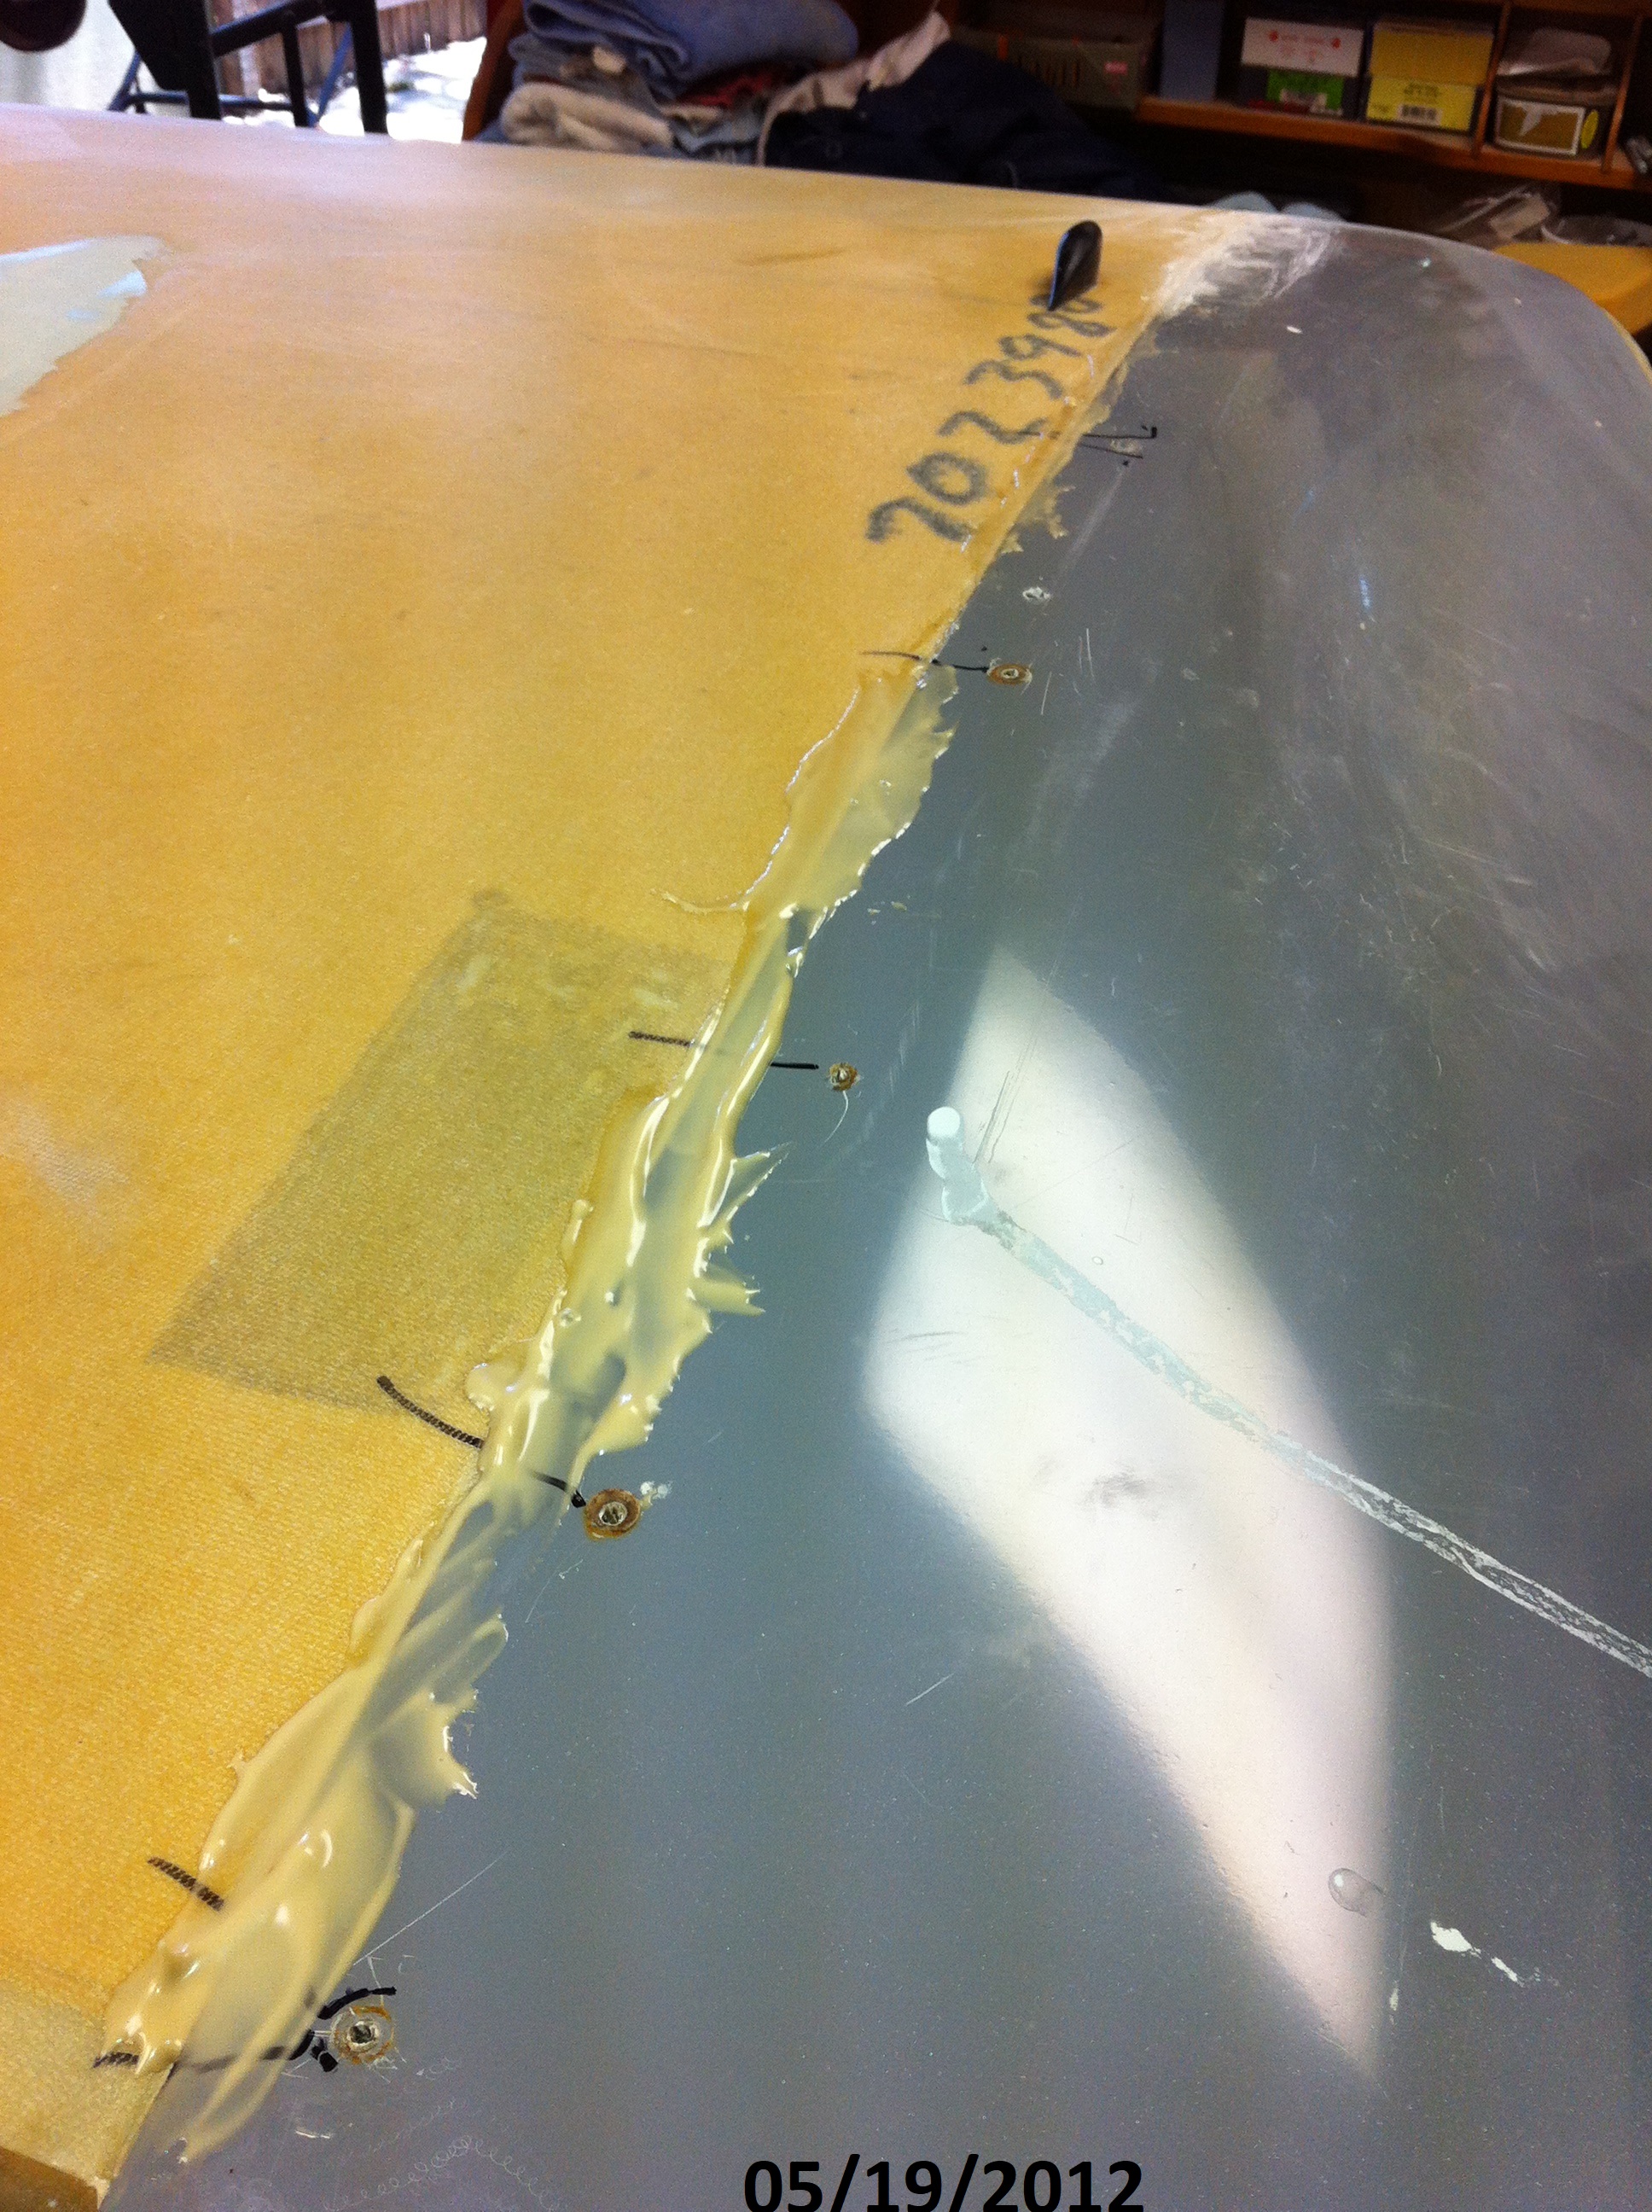
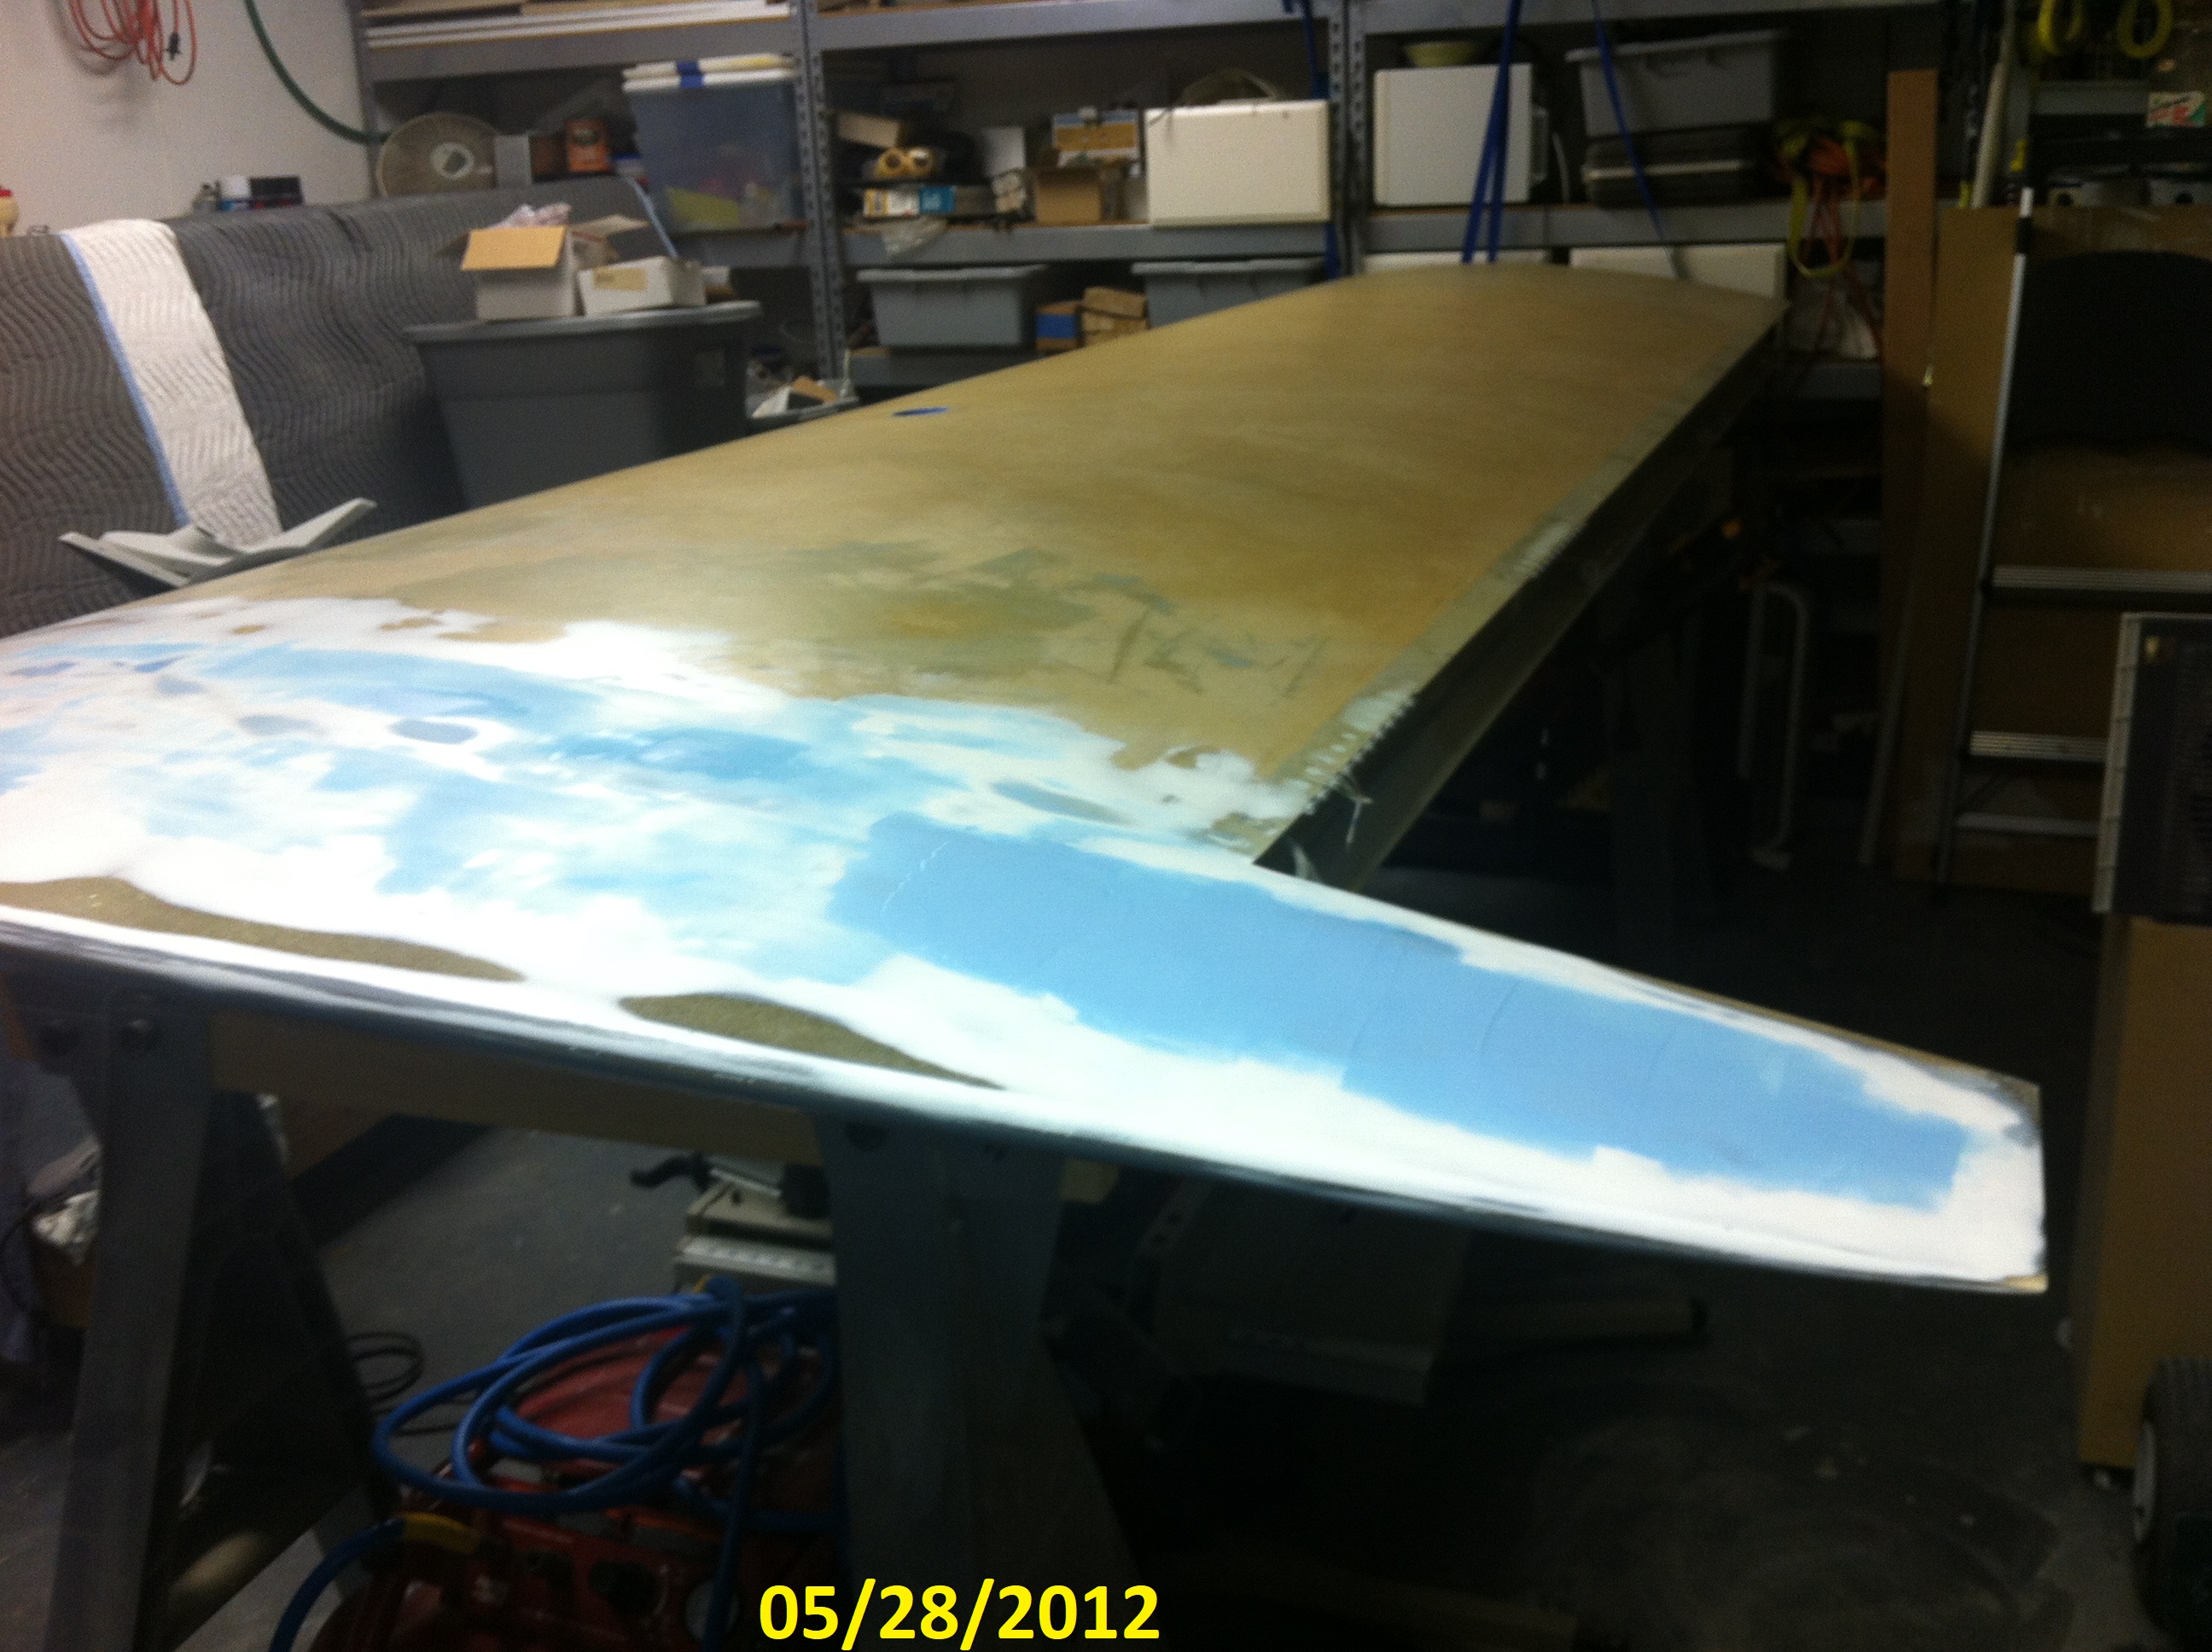
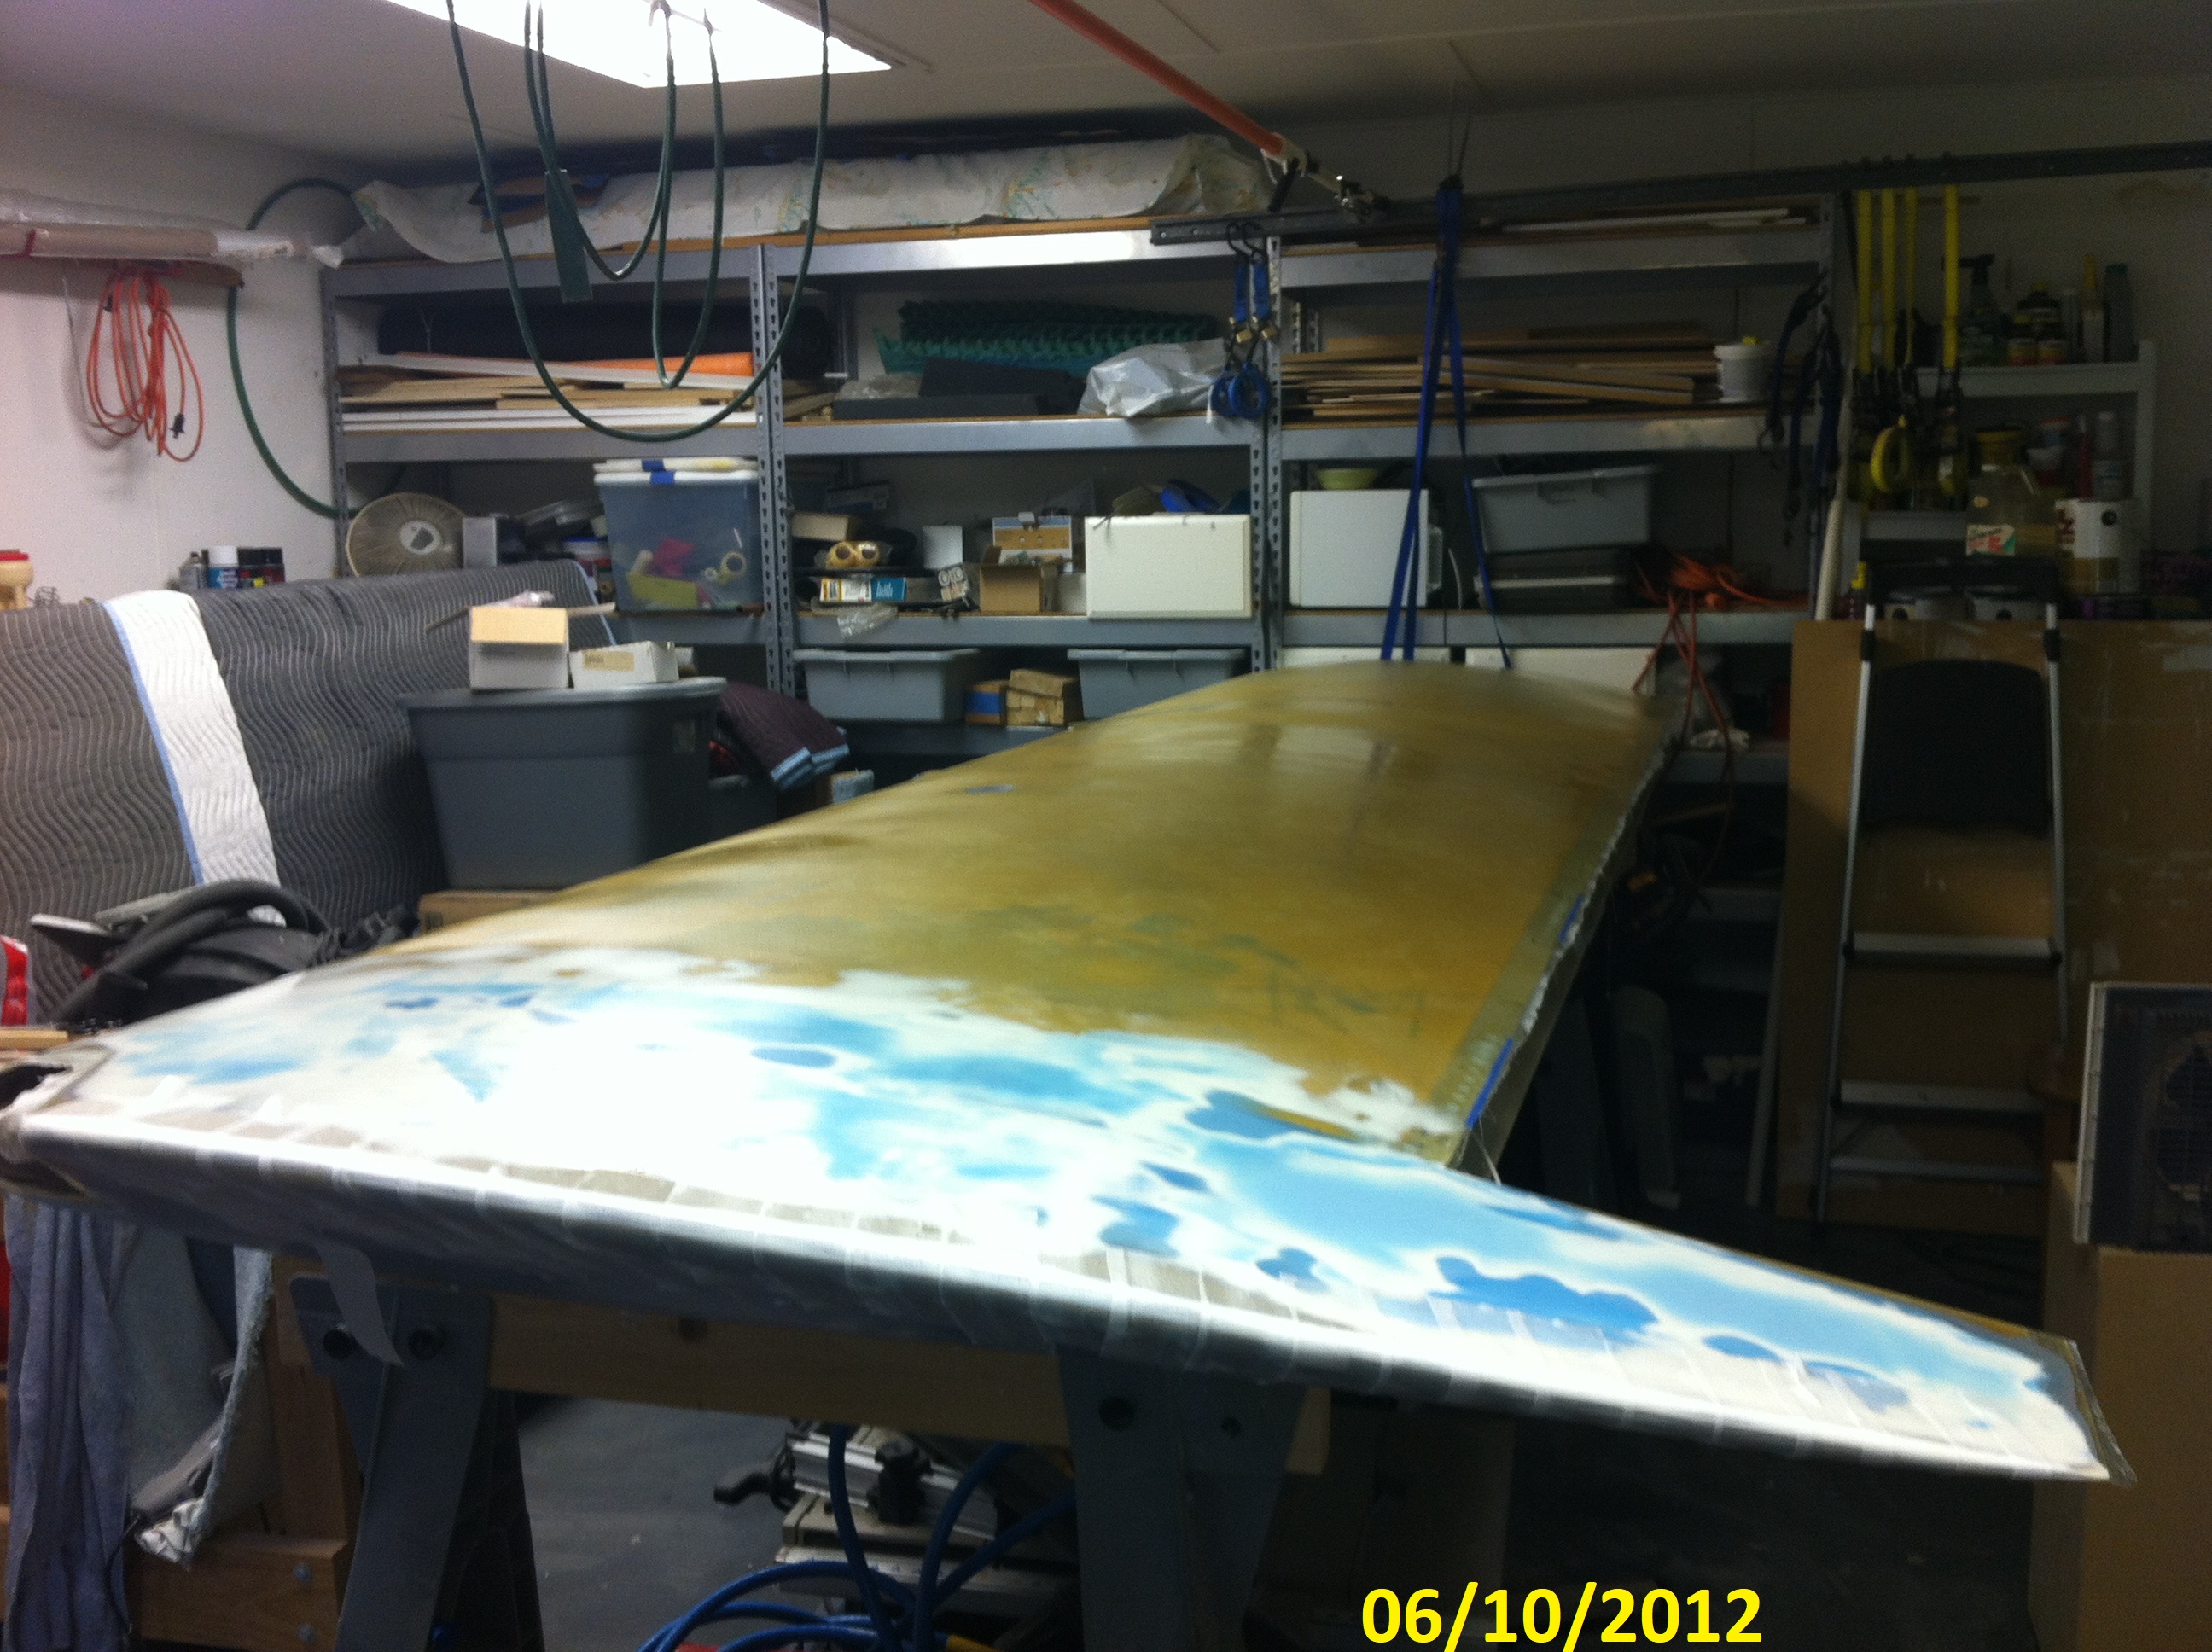
In
my research on finishing the large surfaces I came accros a
recommendation for using a very light weight glass covering before
starting the final finish sanding and prime. I thought is was a
great idea and would give a much easier surface to finish since it
would be very uniform finish. This photo was taken after applying
the glass.
|
|
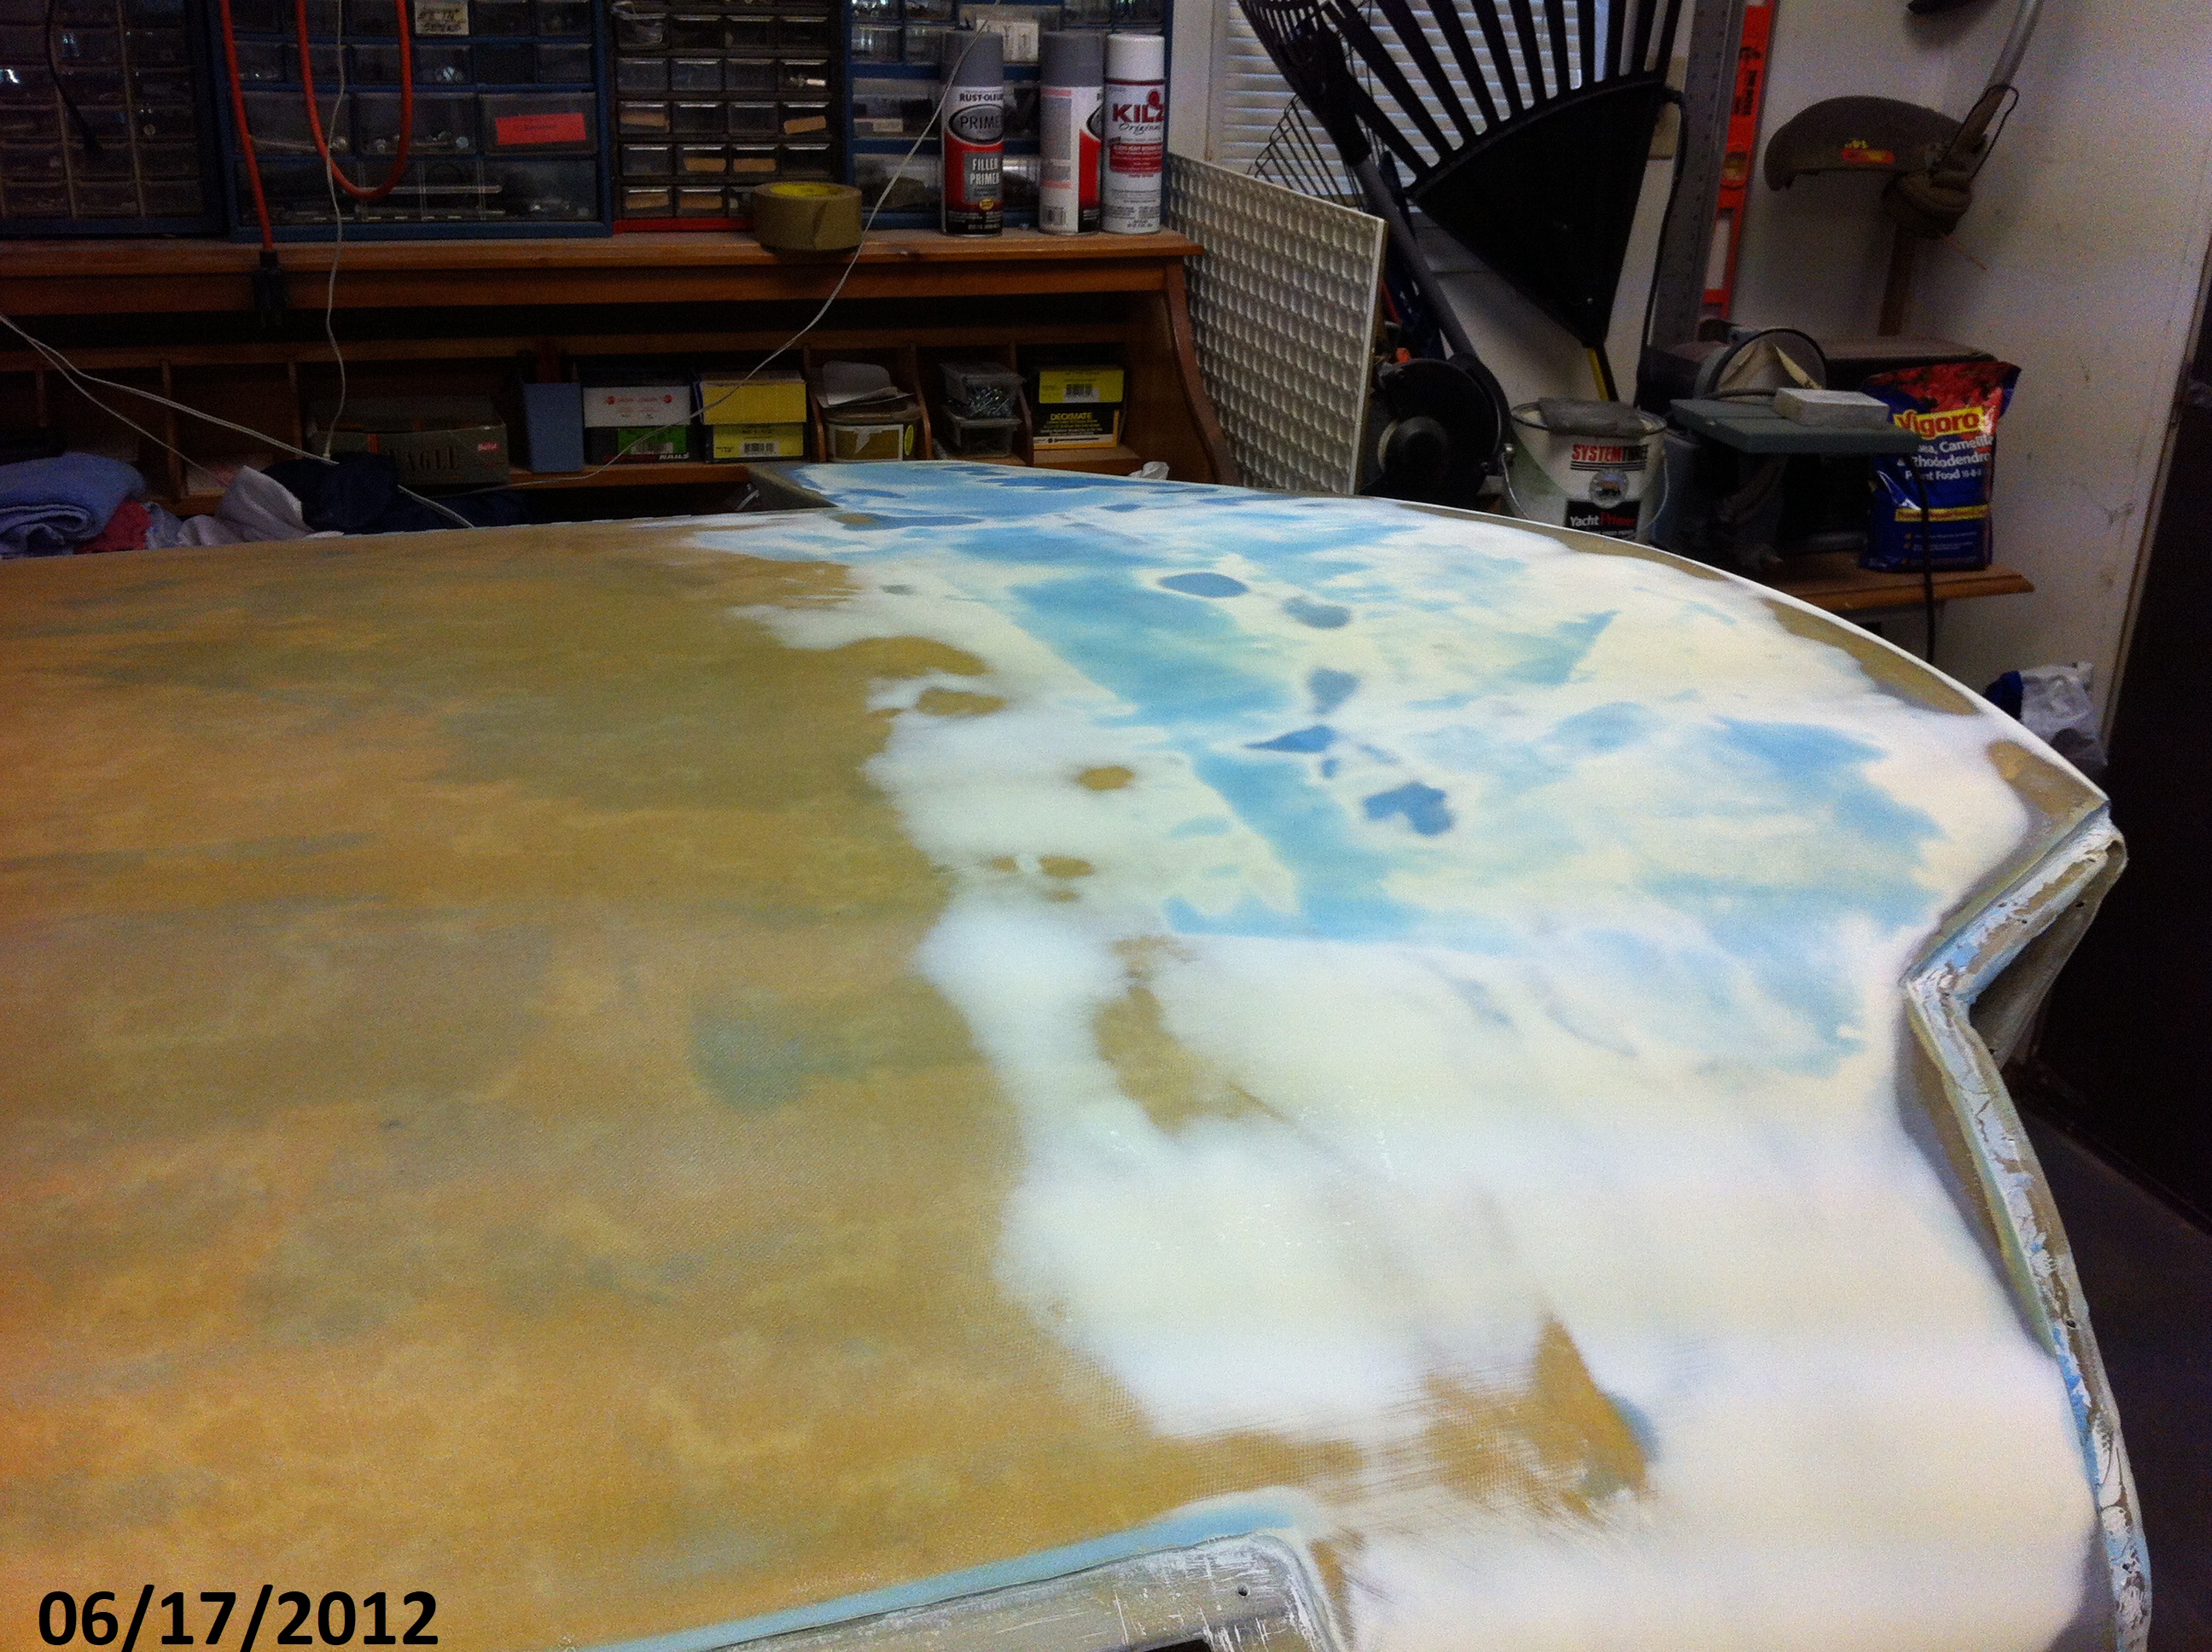
While
you can't see how smooth the finish is with the filler in place under
the light weight glass, you can see the variance in the thickness of
the filler by the difference in color. The thicker the fill, the
darker the color.
|
|
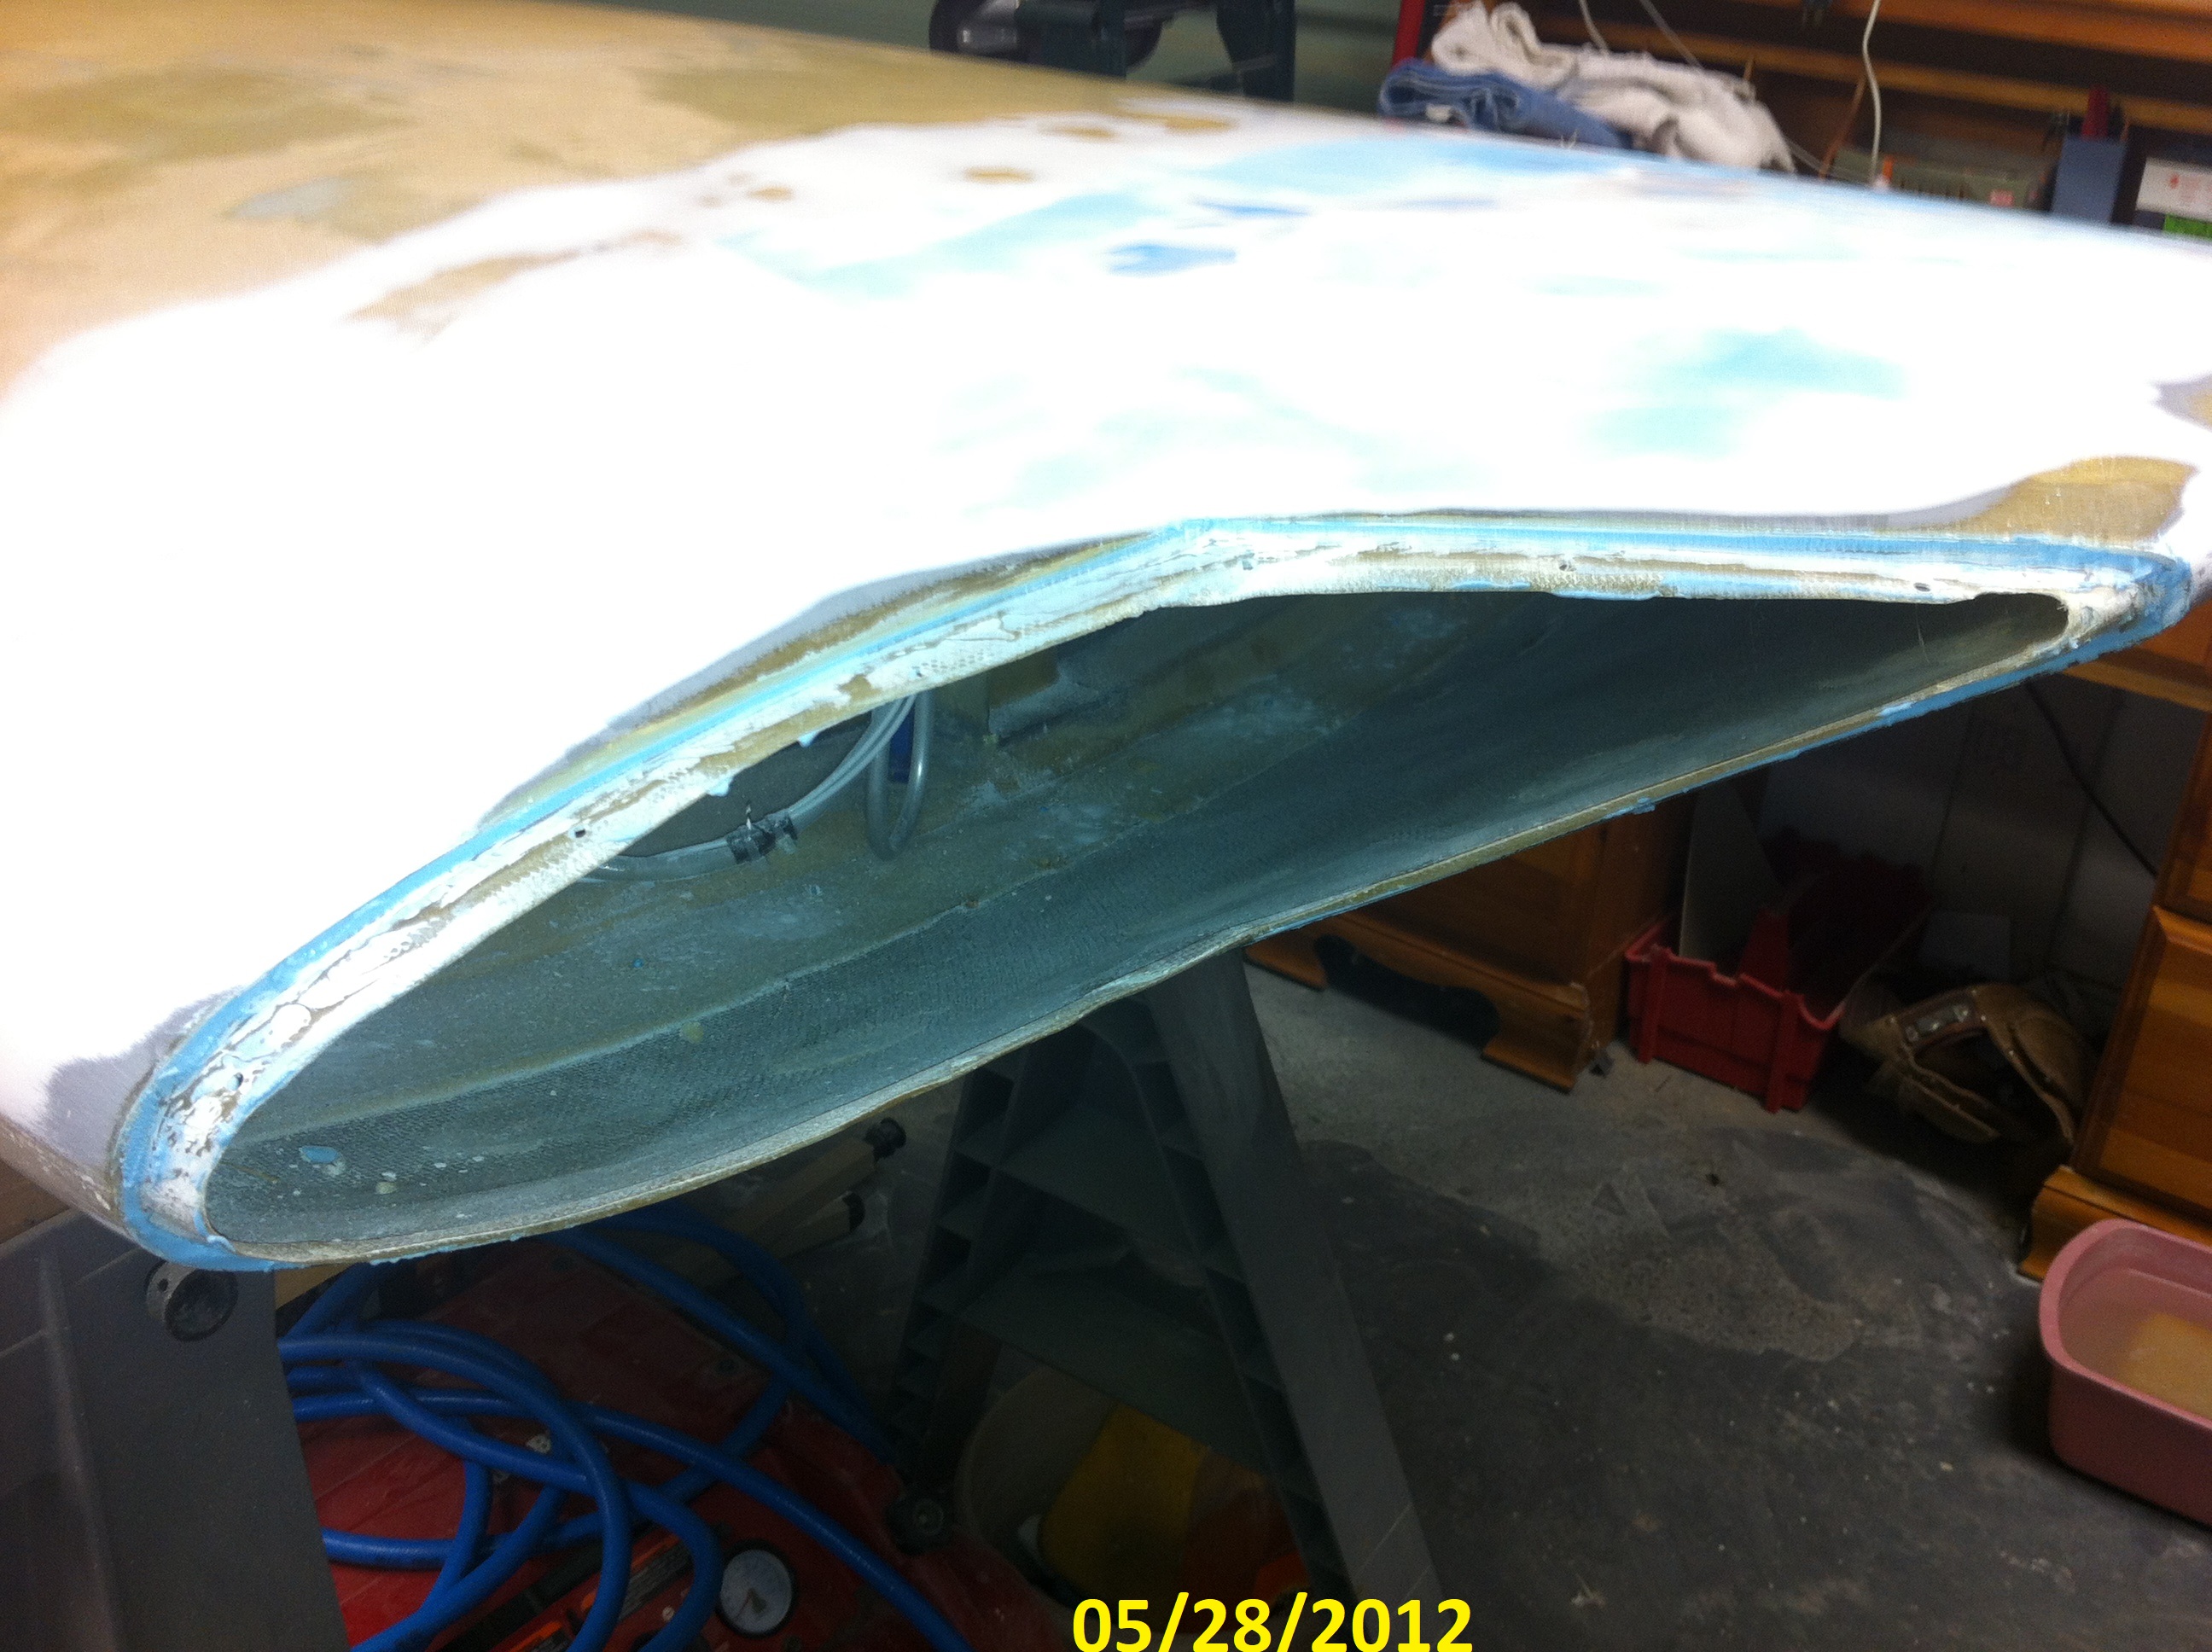
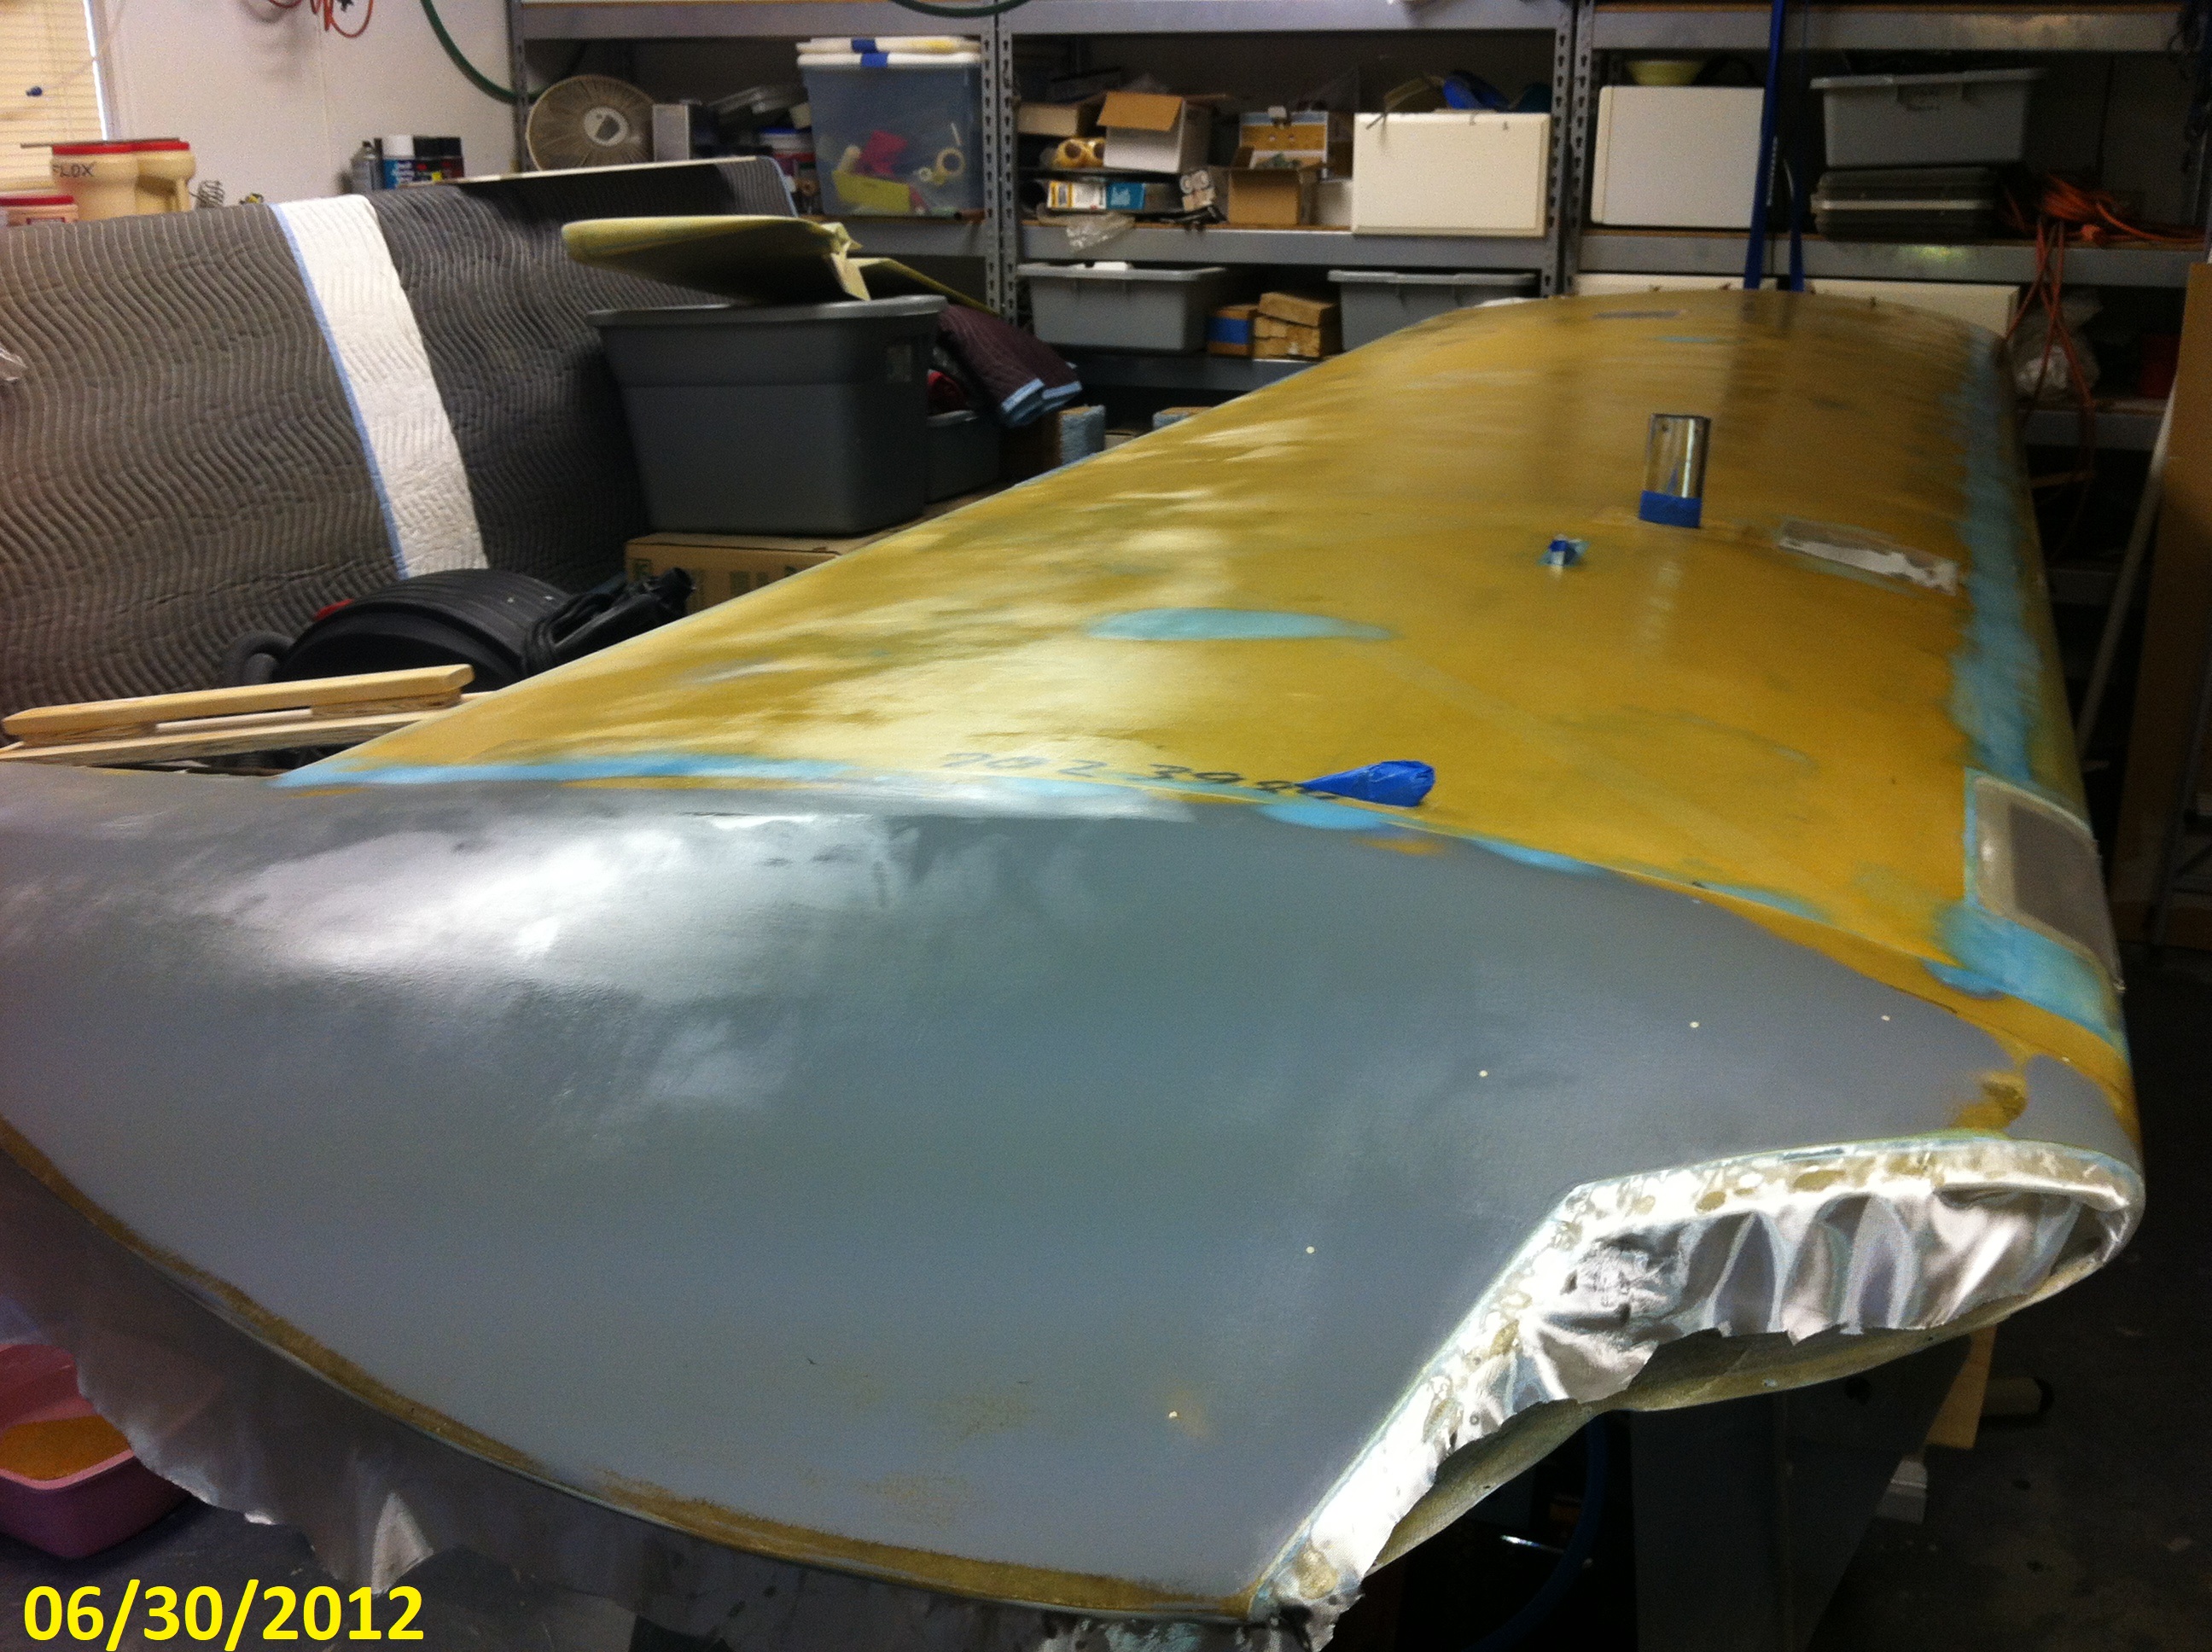
I
applied the 1/2 ounce glass on both the top and the bottom of the wing
with a full overlap on the leading edge of the wing. You can see
how thin the glass was at the opening for the running lights.
|
|
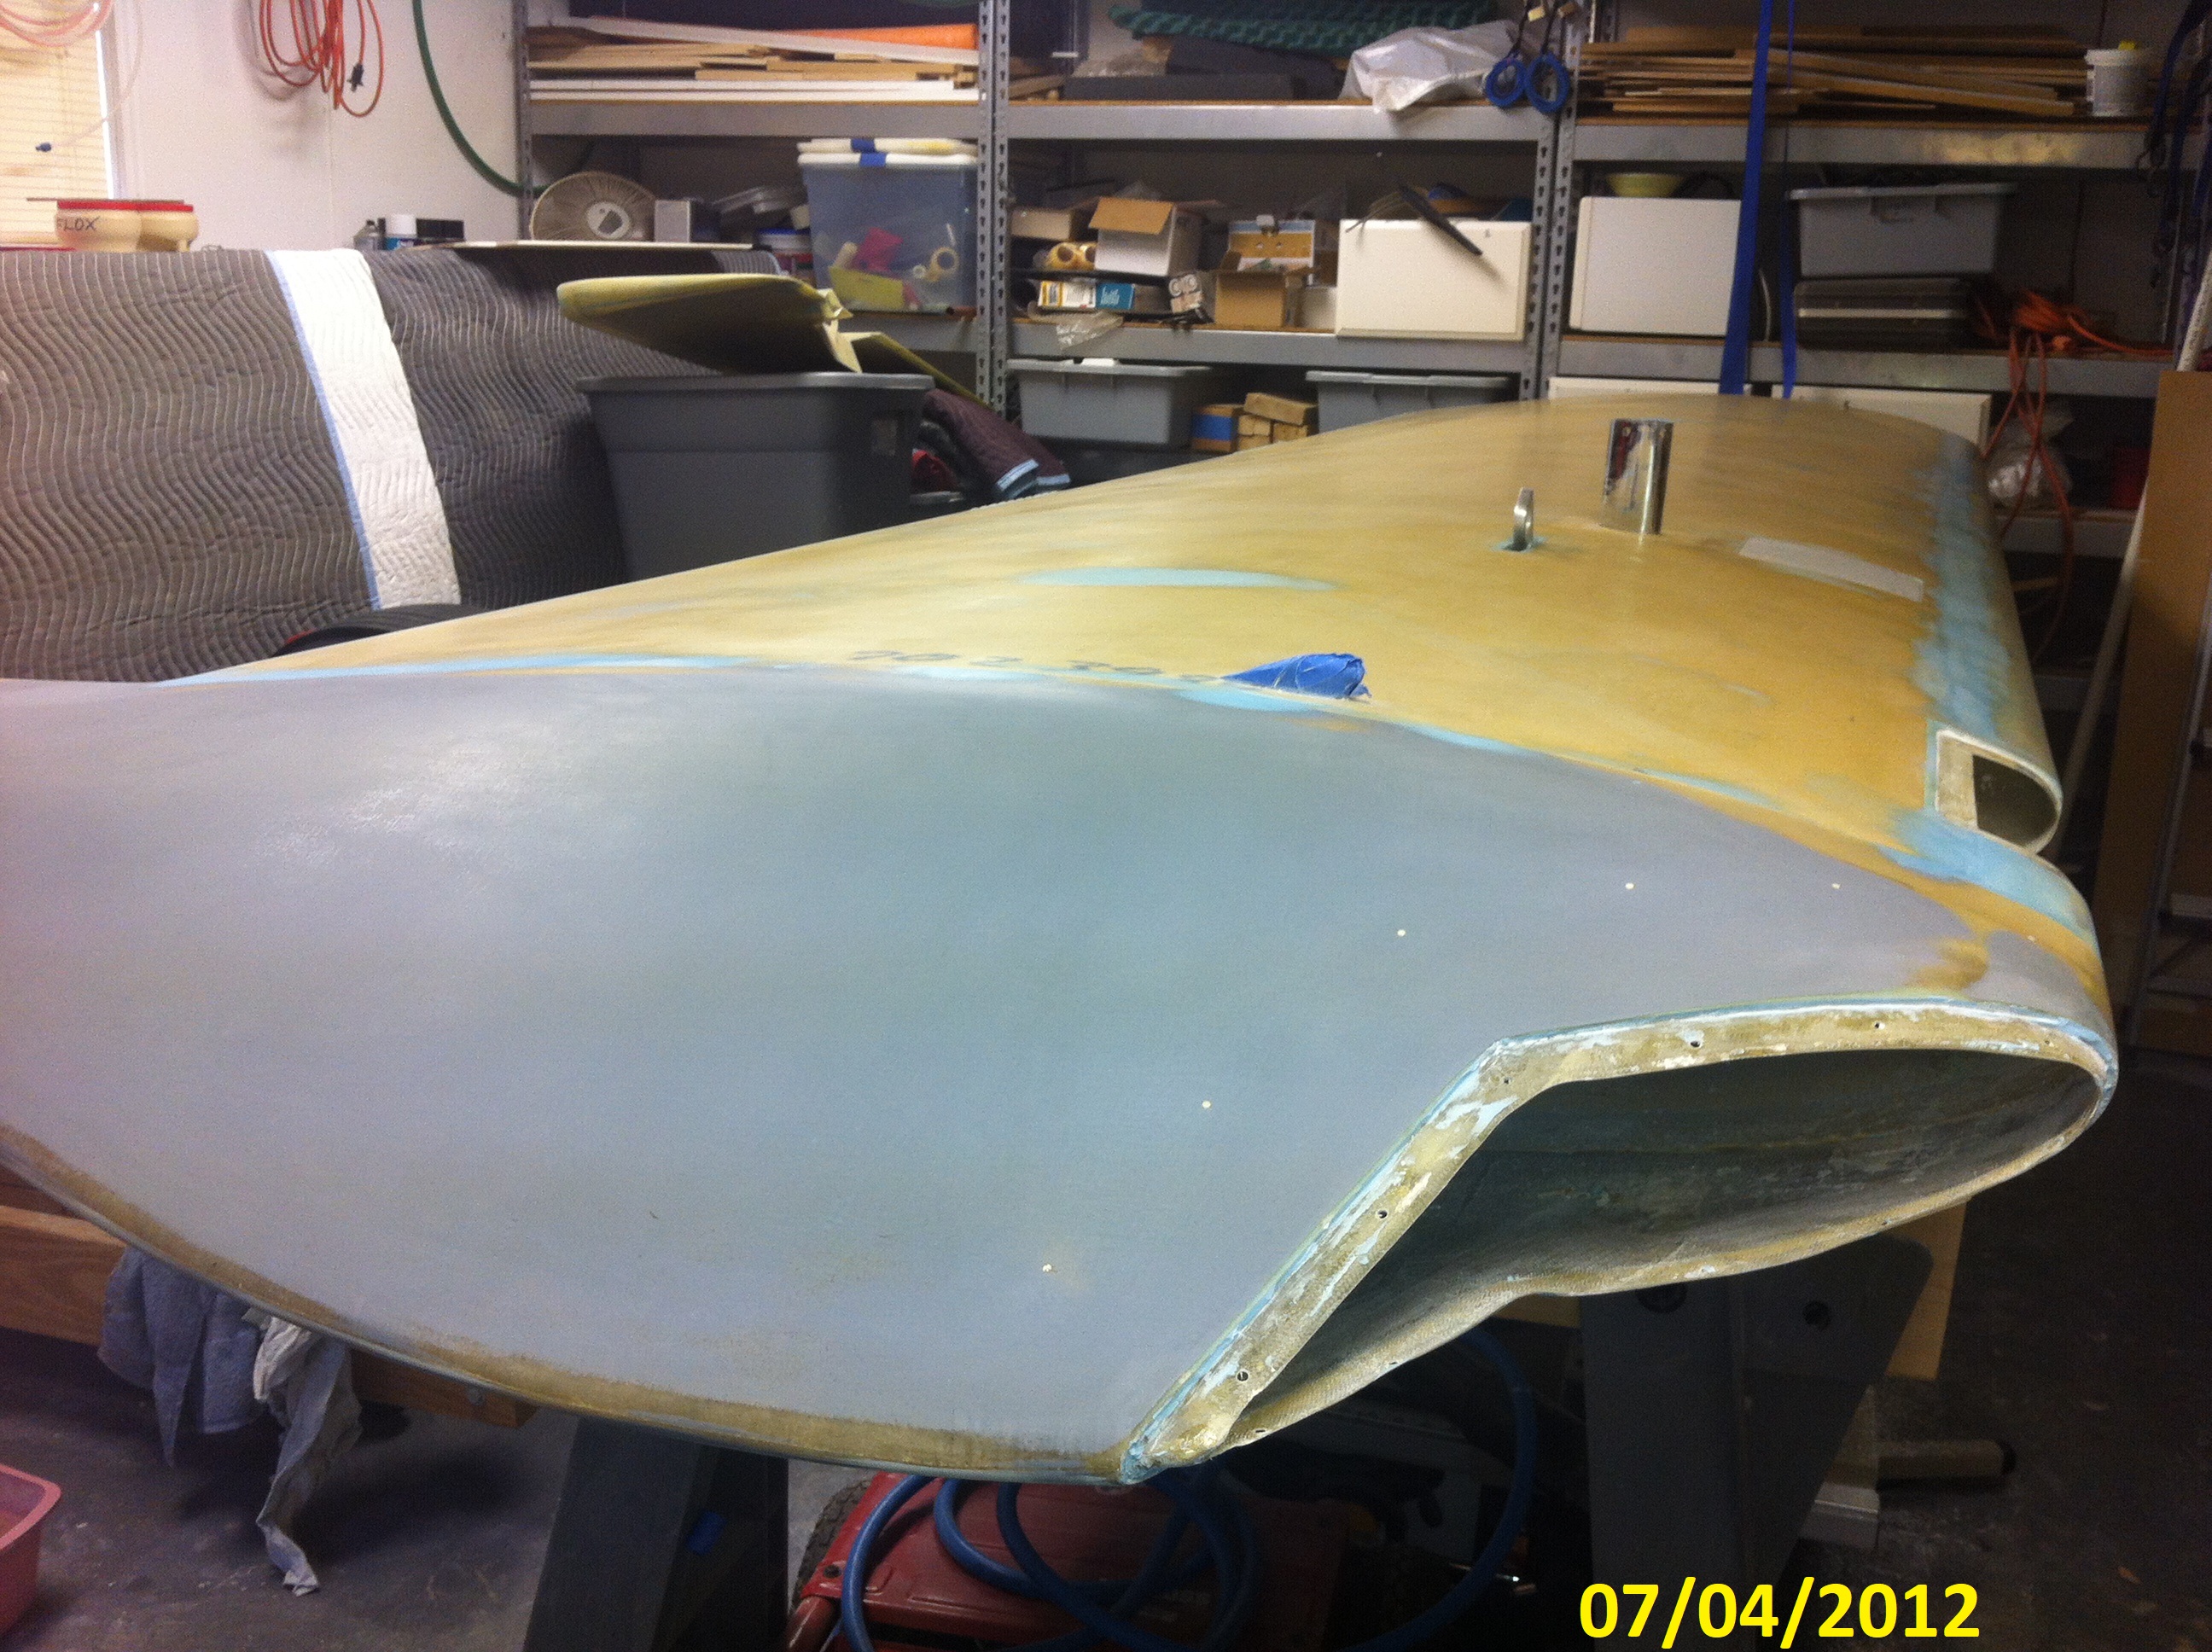
A very light sanding of the completed
surface after adding the light weight glass produces a surface ready
for primer.
|
|
The
rest of the wing tip photos are included with the wing photos.
The Final product doesn't show any signs of the wing tip being bonded
onto the wing. The final product with the position lights
installed looks great. (In my opinion anyway.)
|