
N247BR
Wing Finishing - Prep to Finish
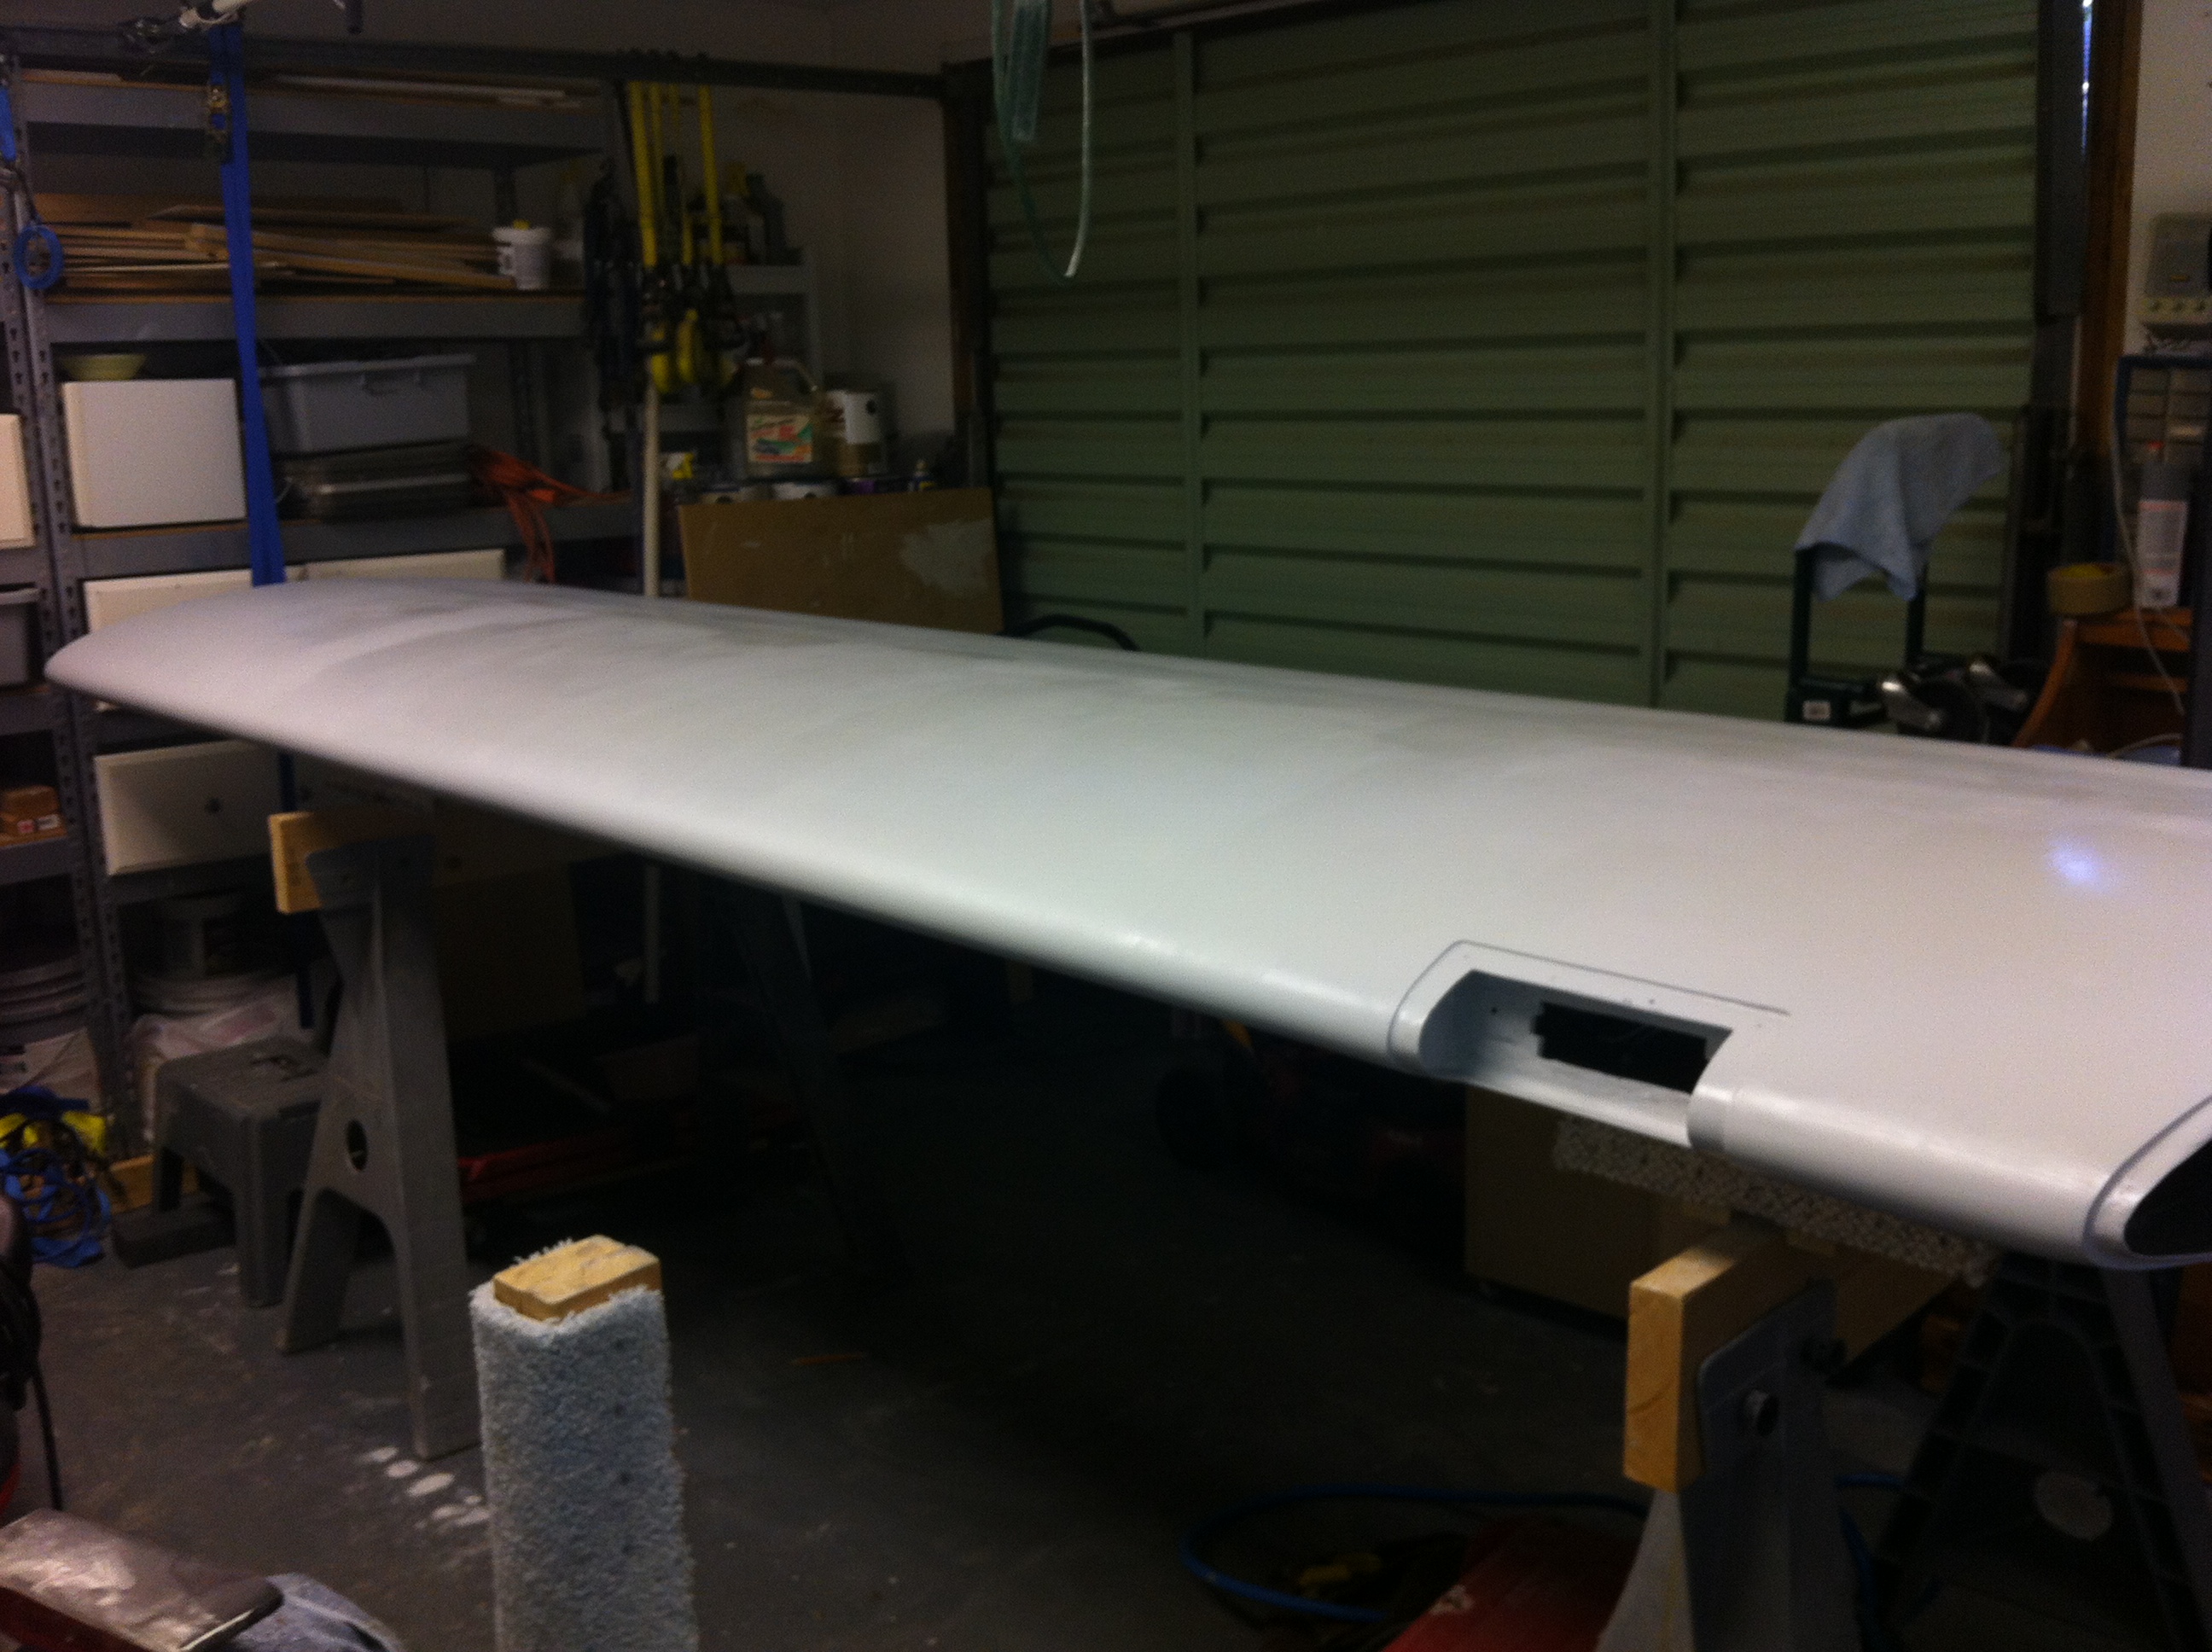
| Once the wings have been closed and the wing tips installed the same steps are performed for each wing. |
|
 |
 |
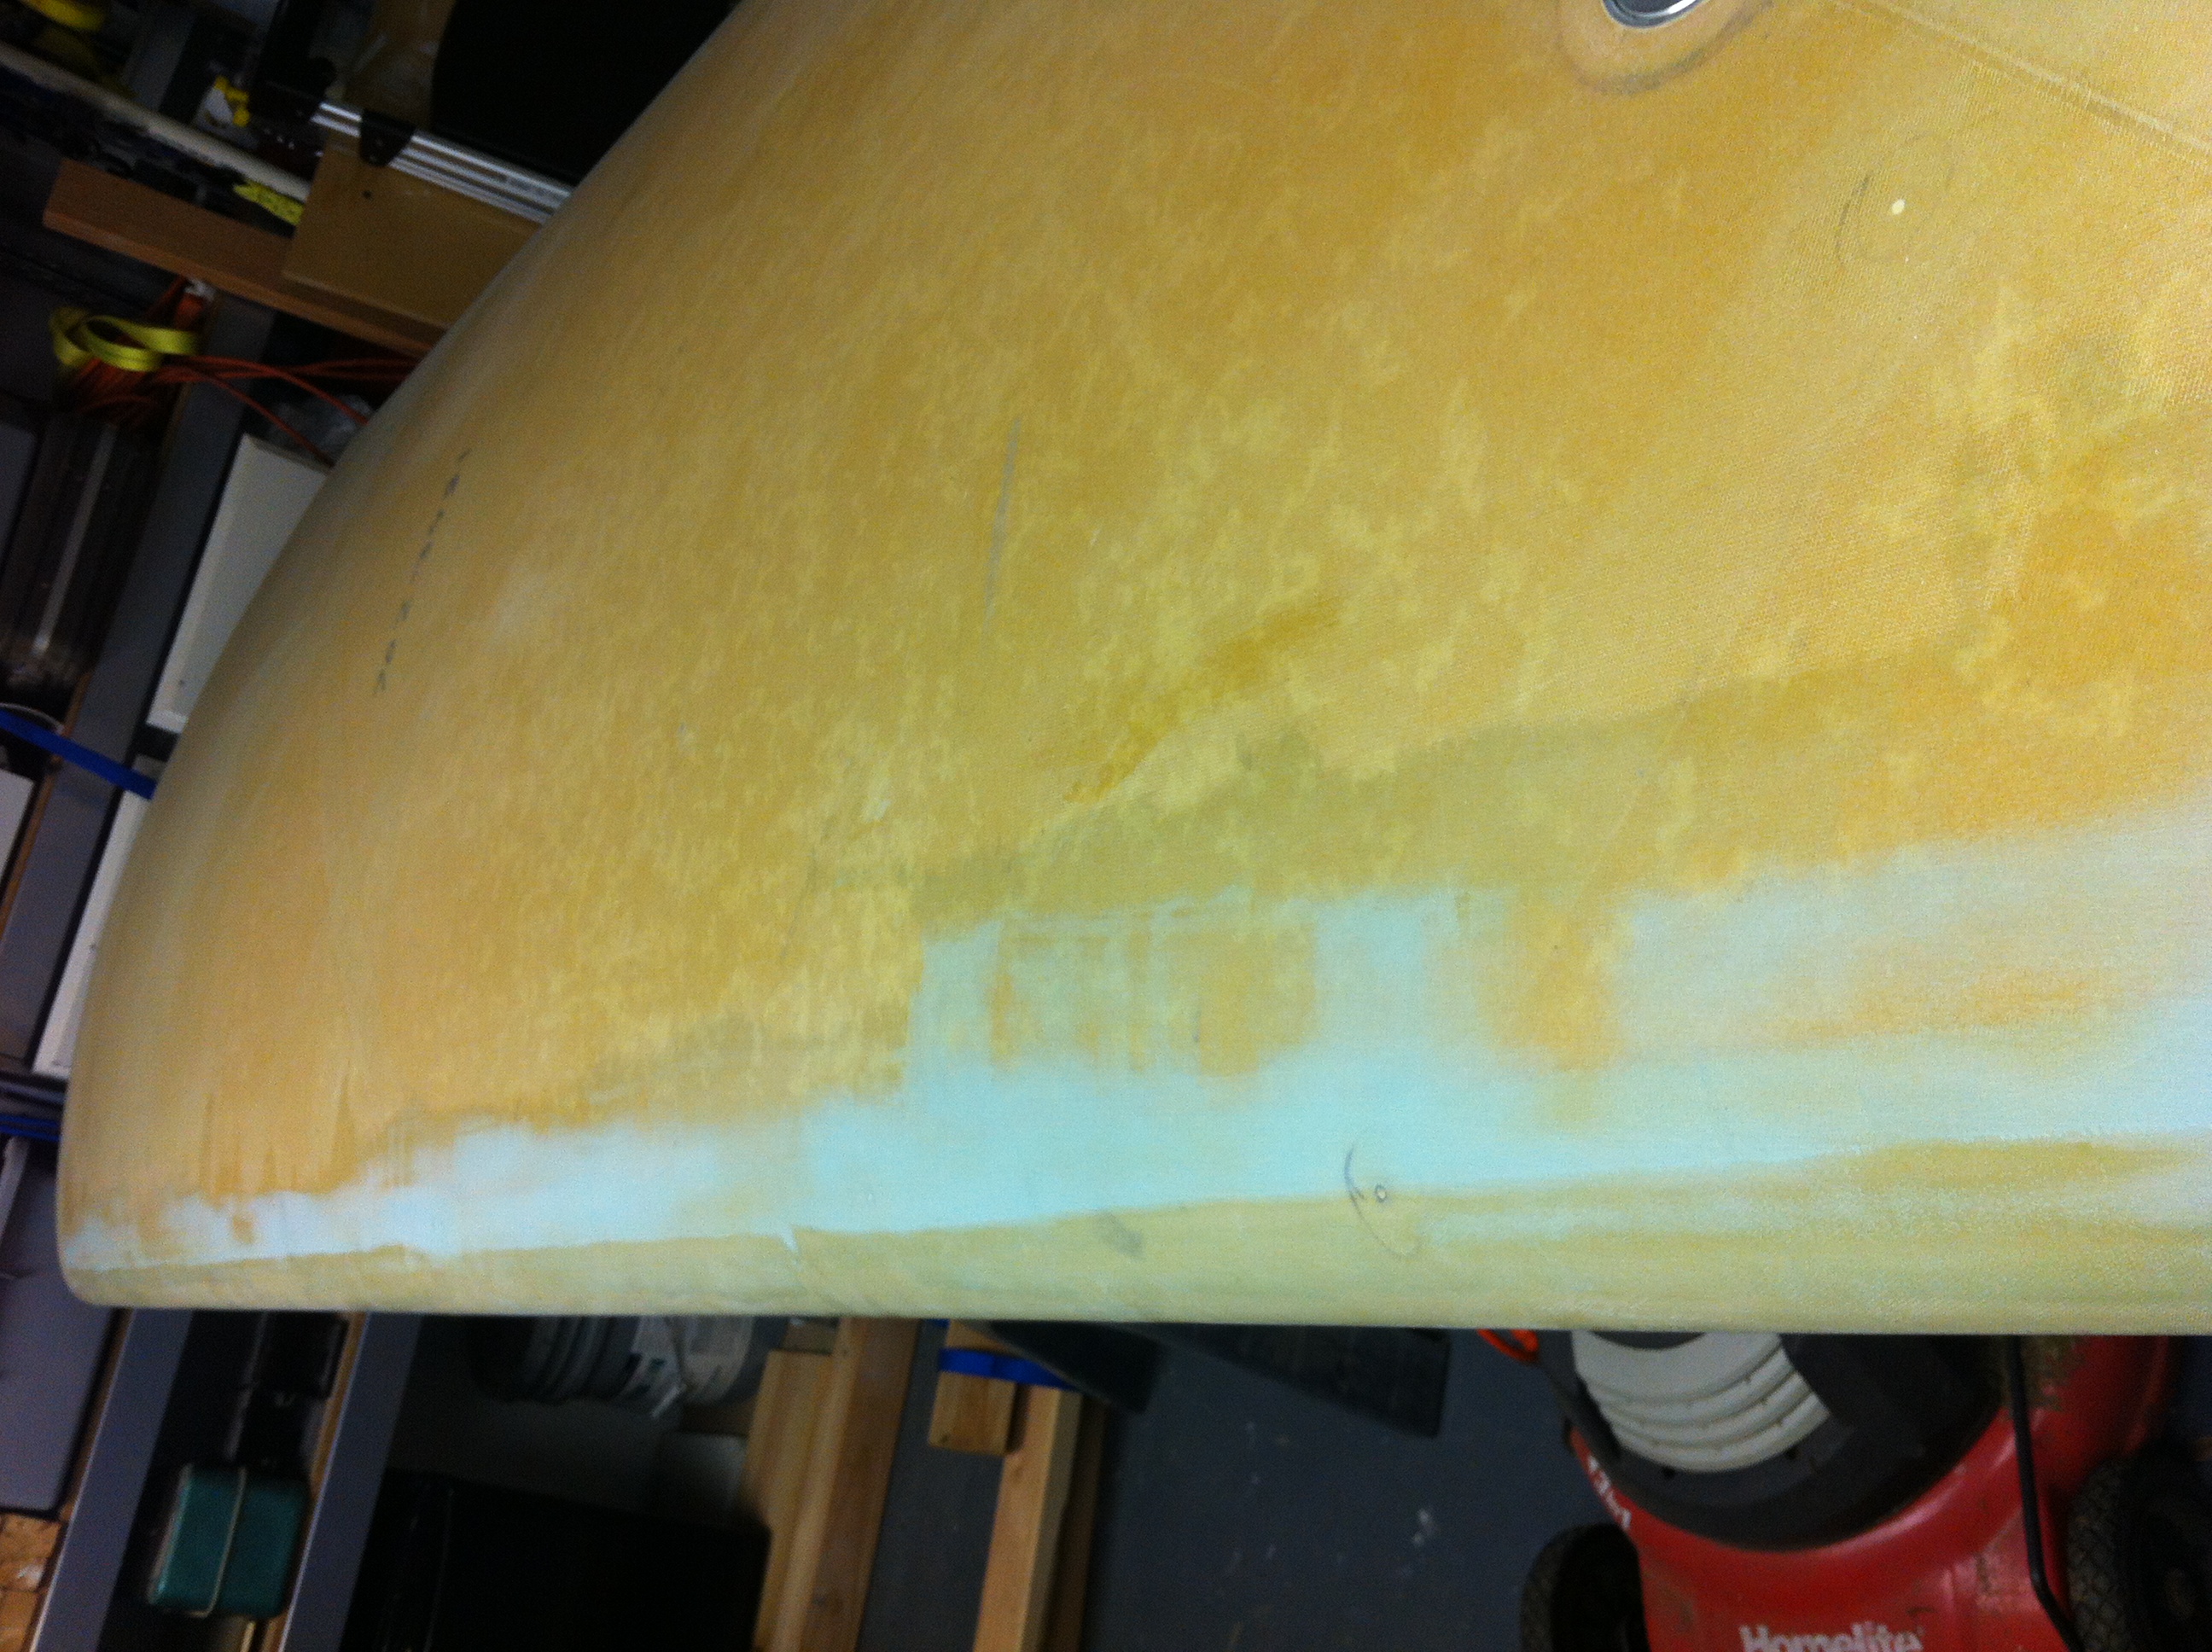
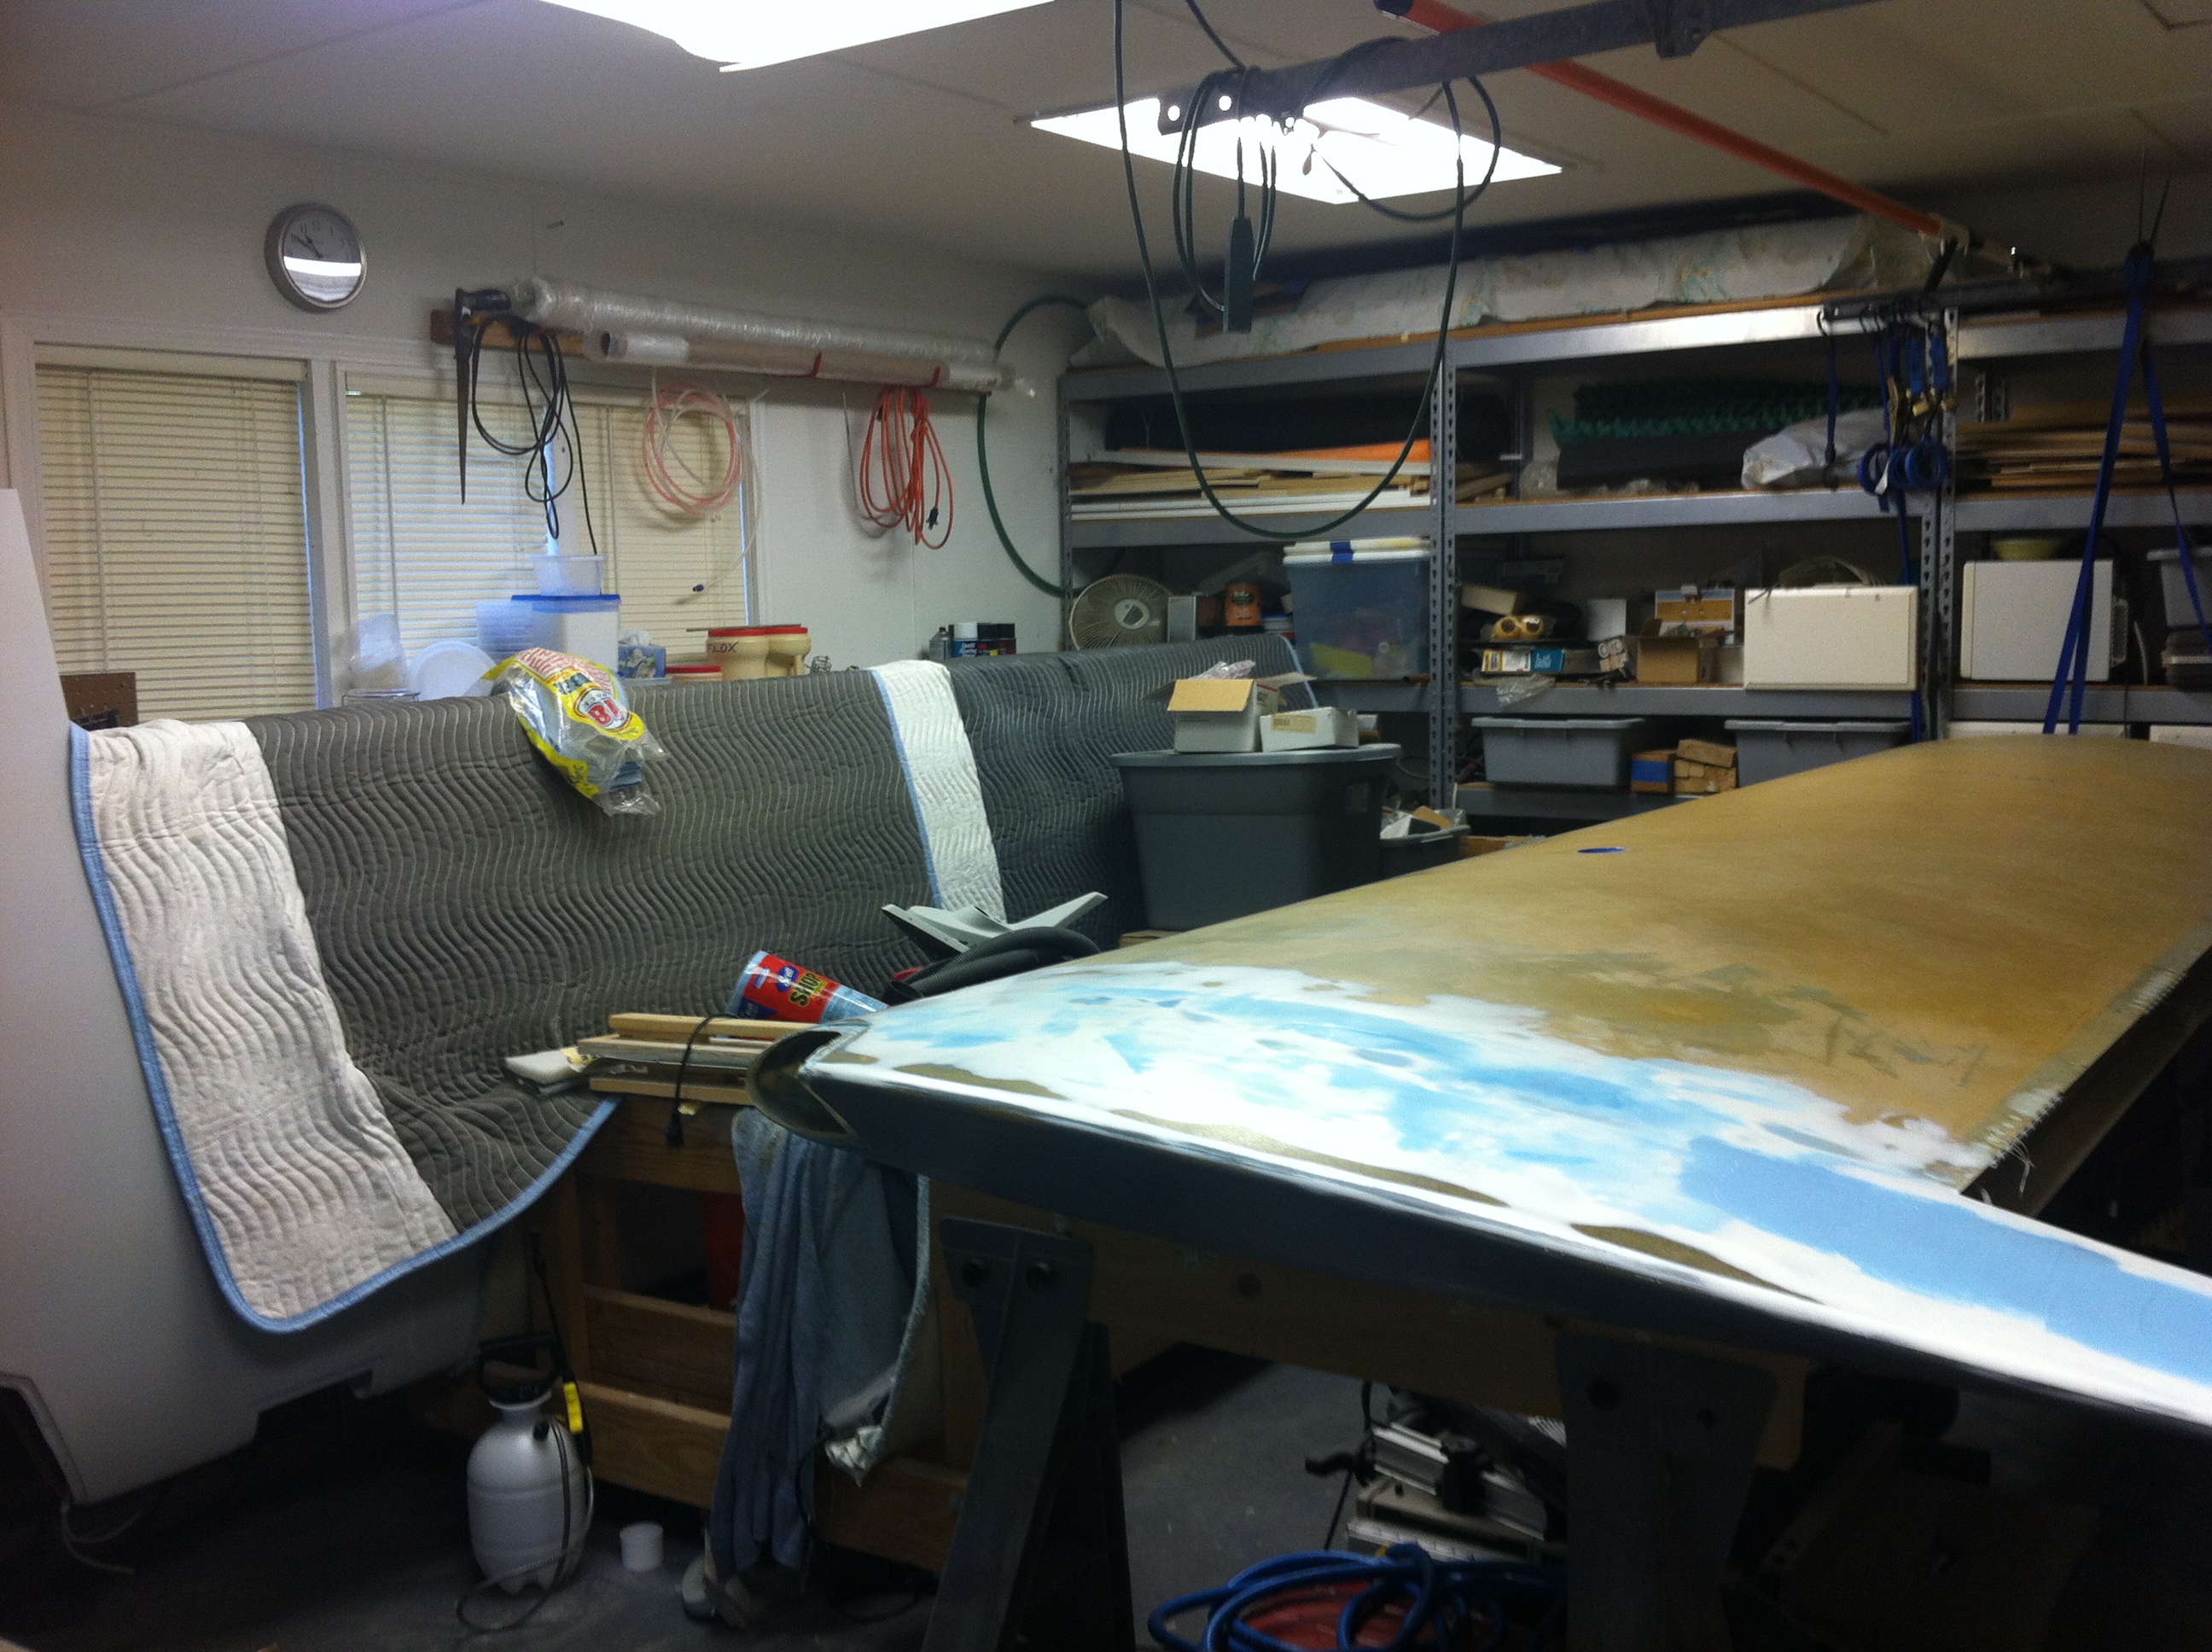
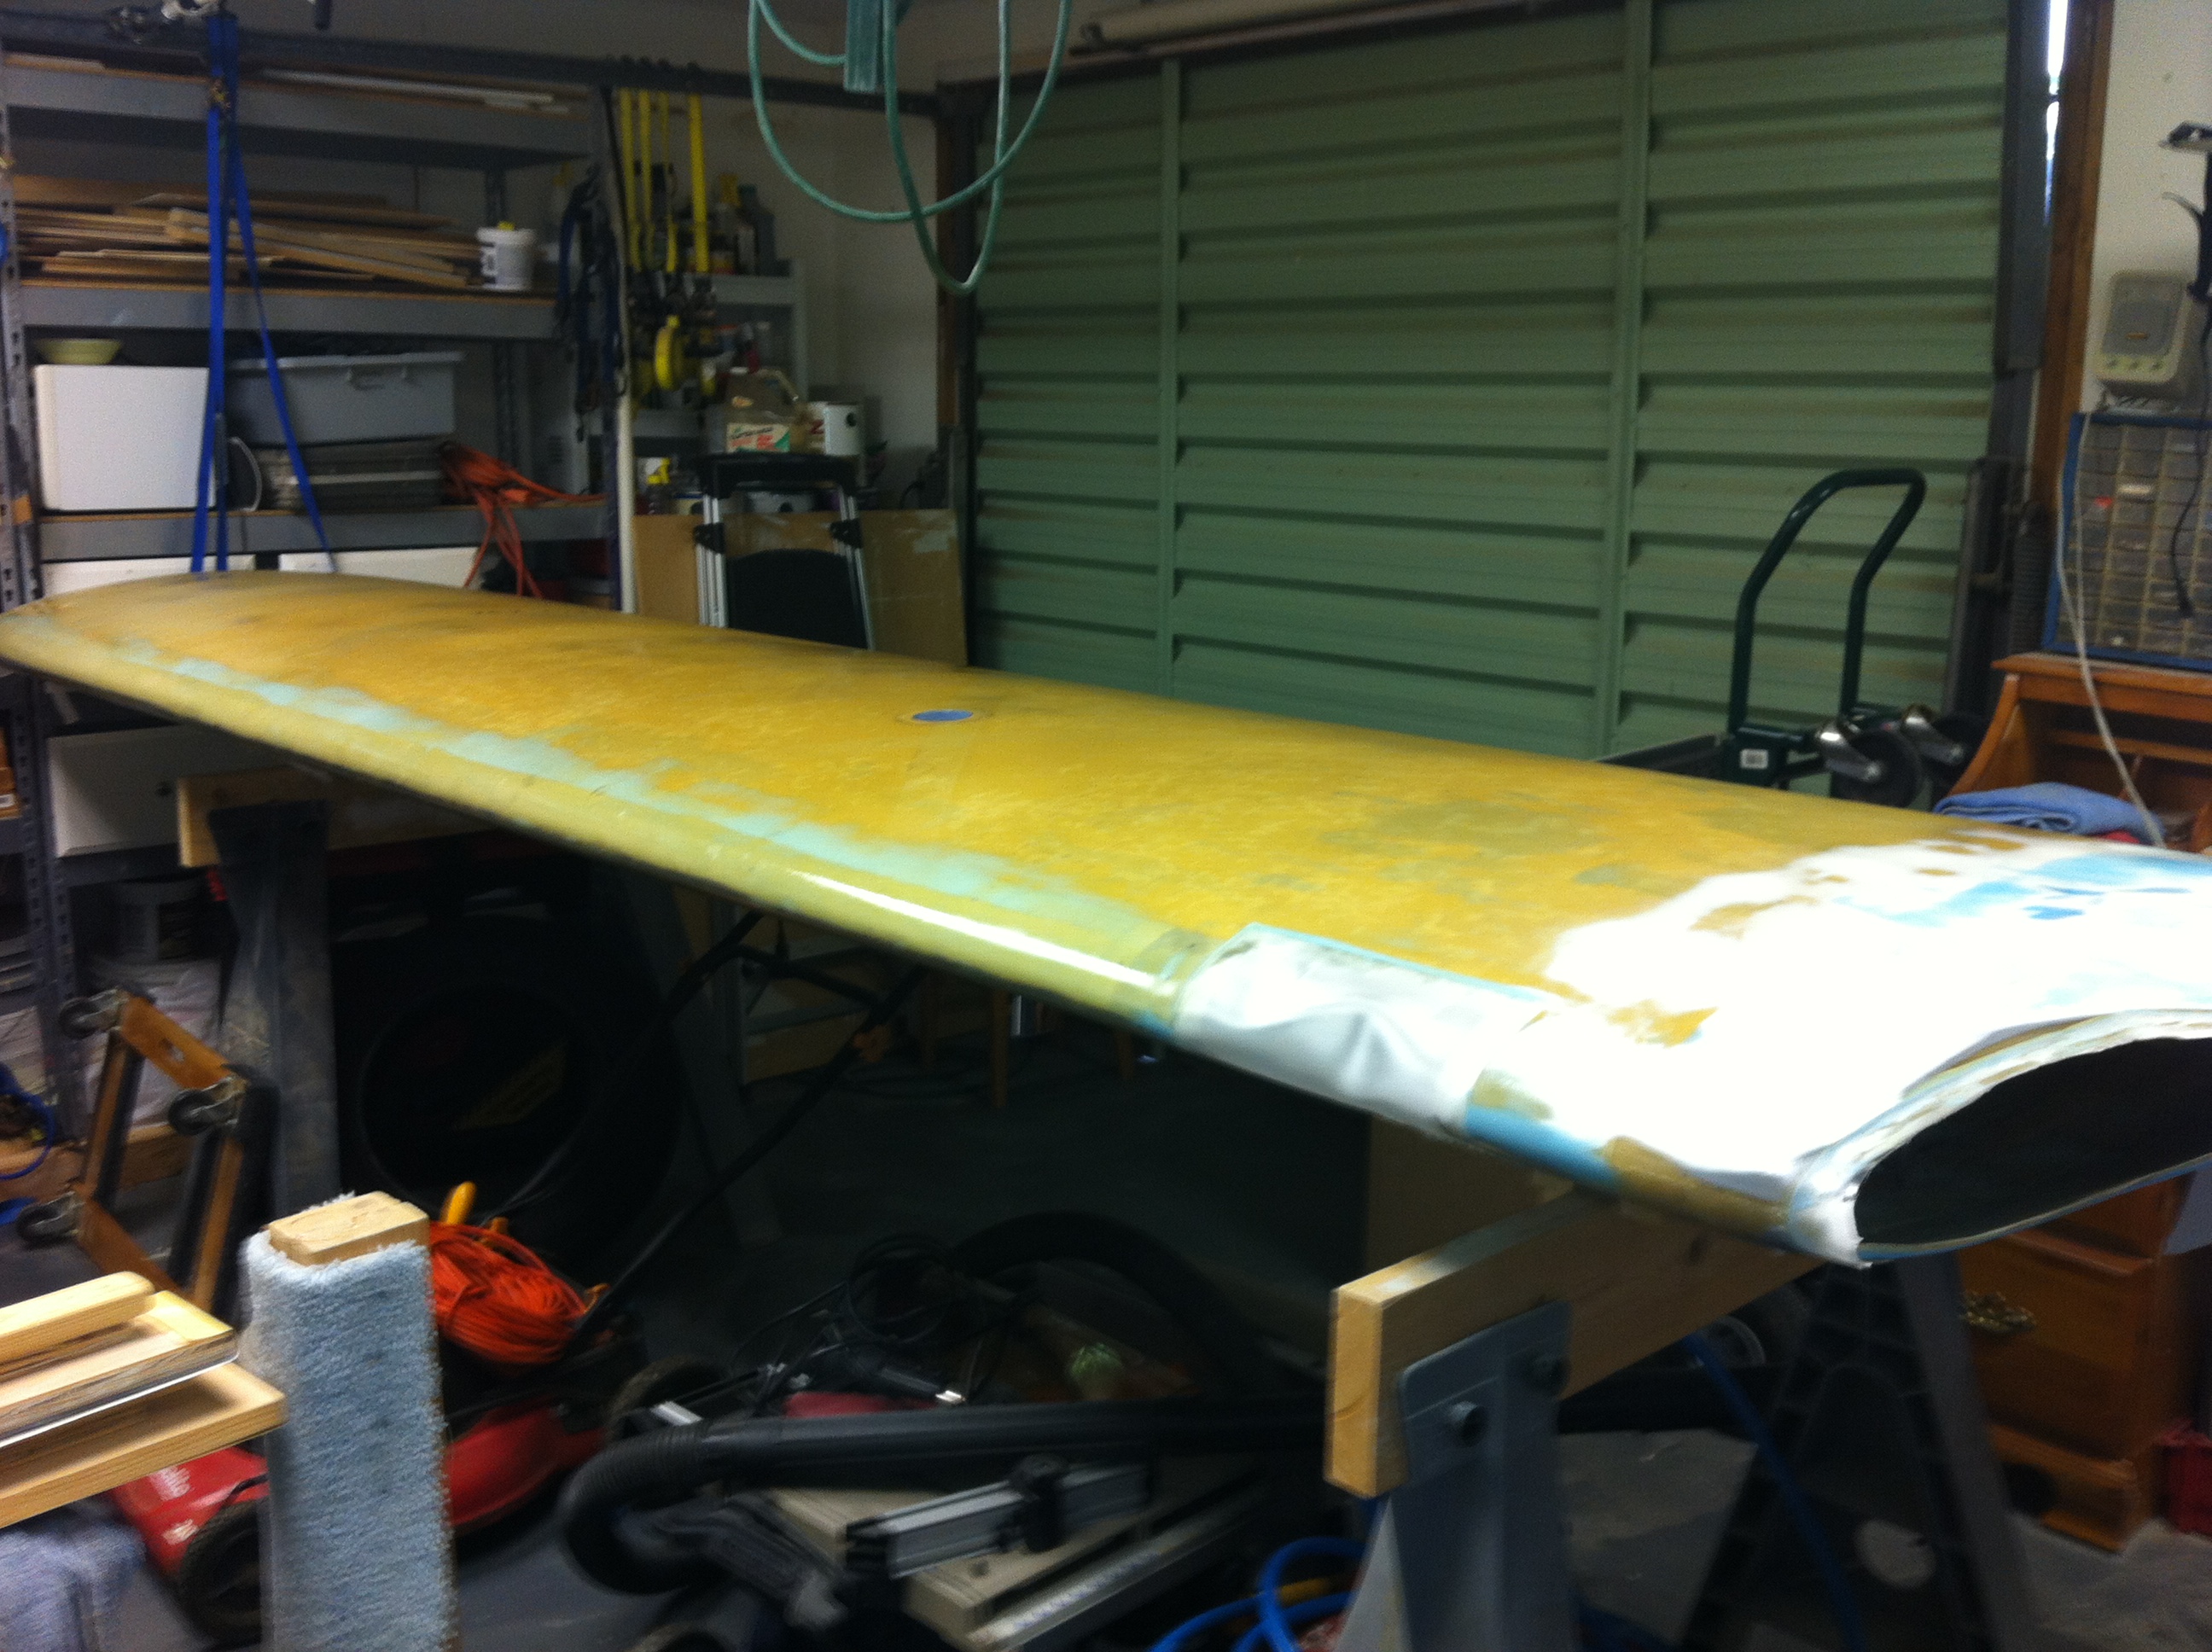
| The
leading edge will have a glass layup over the joing line between the
top and bottom. The glass will be filled and sanded until the
flow between the top and bottom. |
|
 |
 |
 |
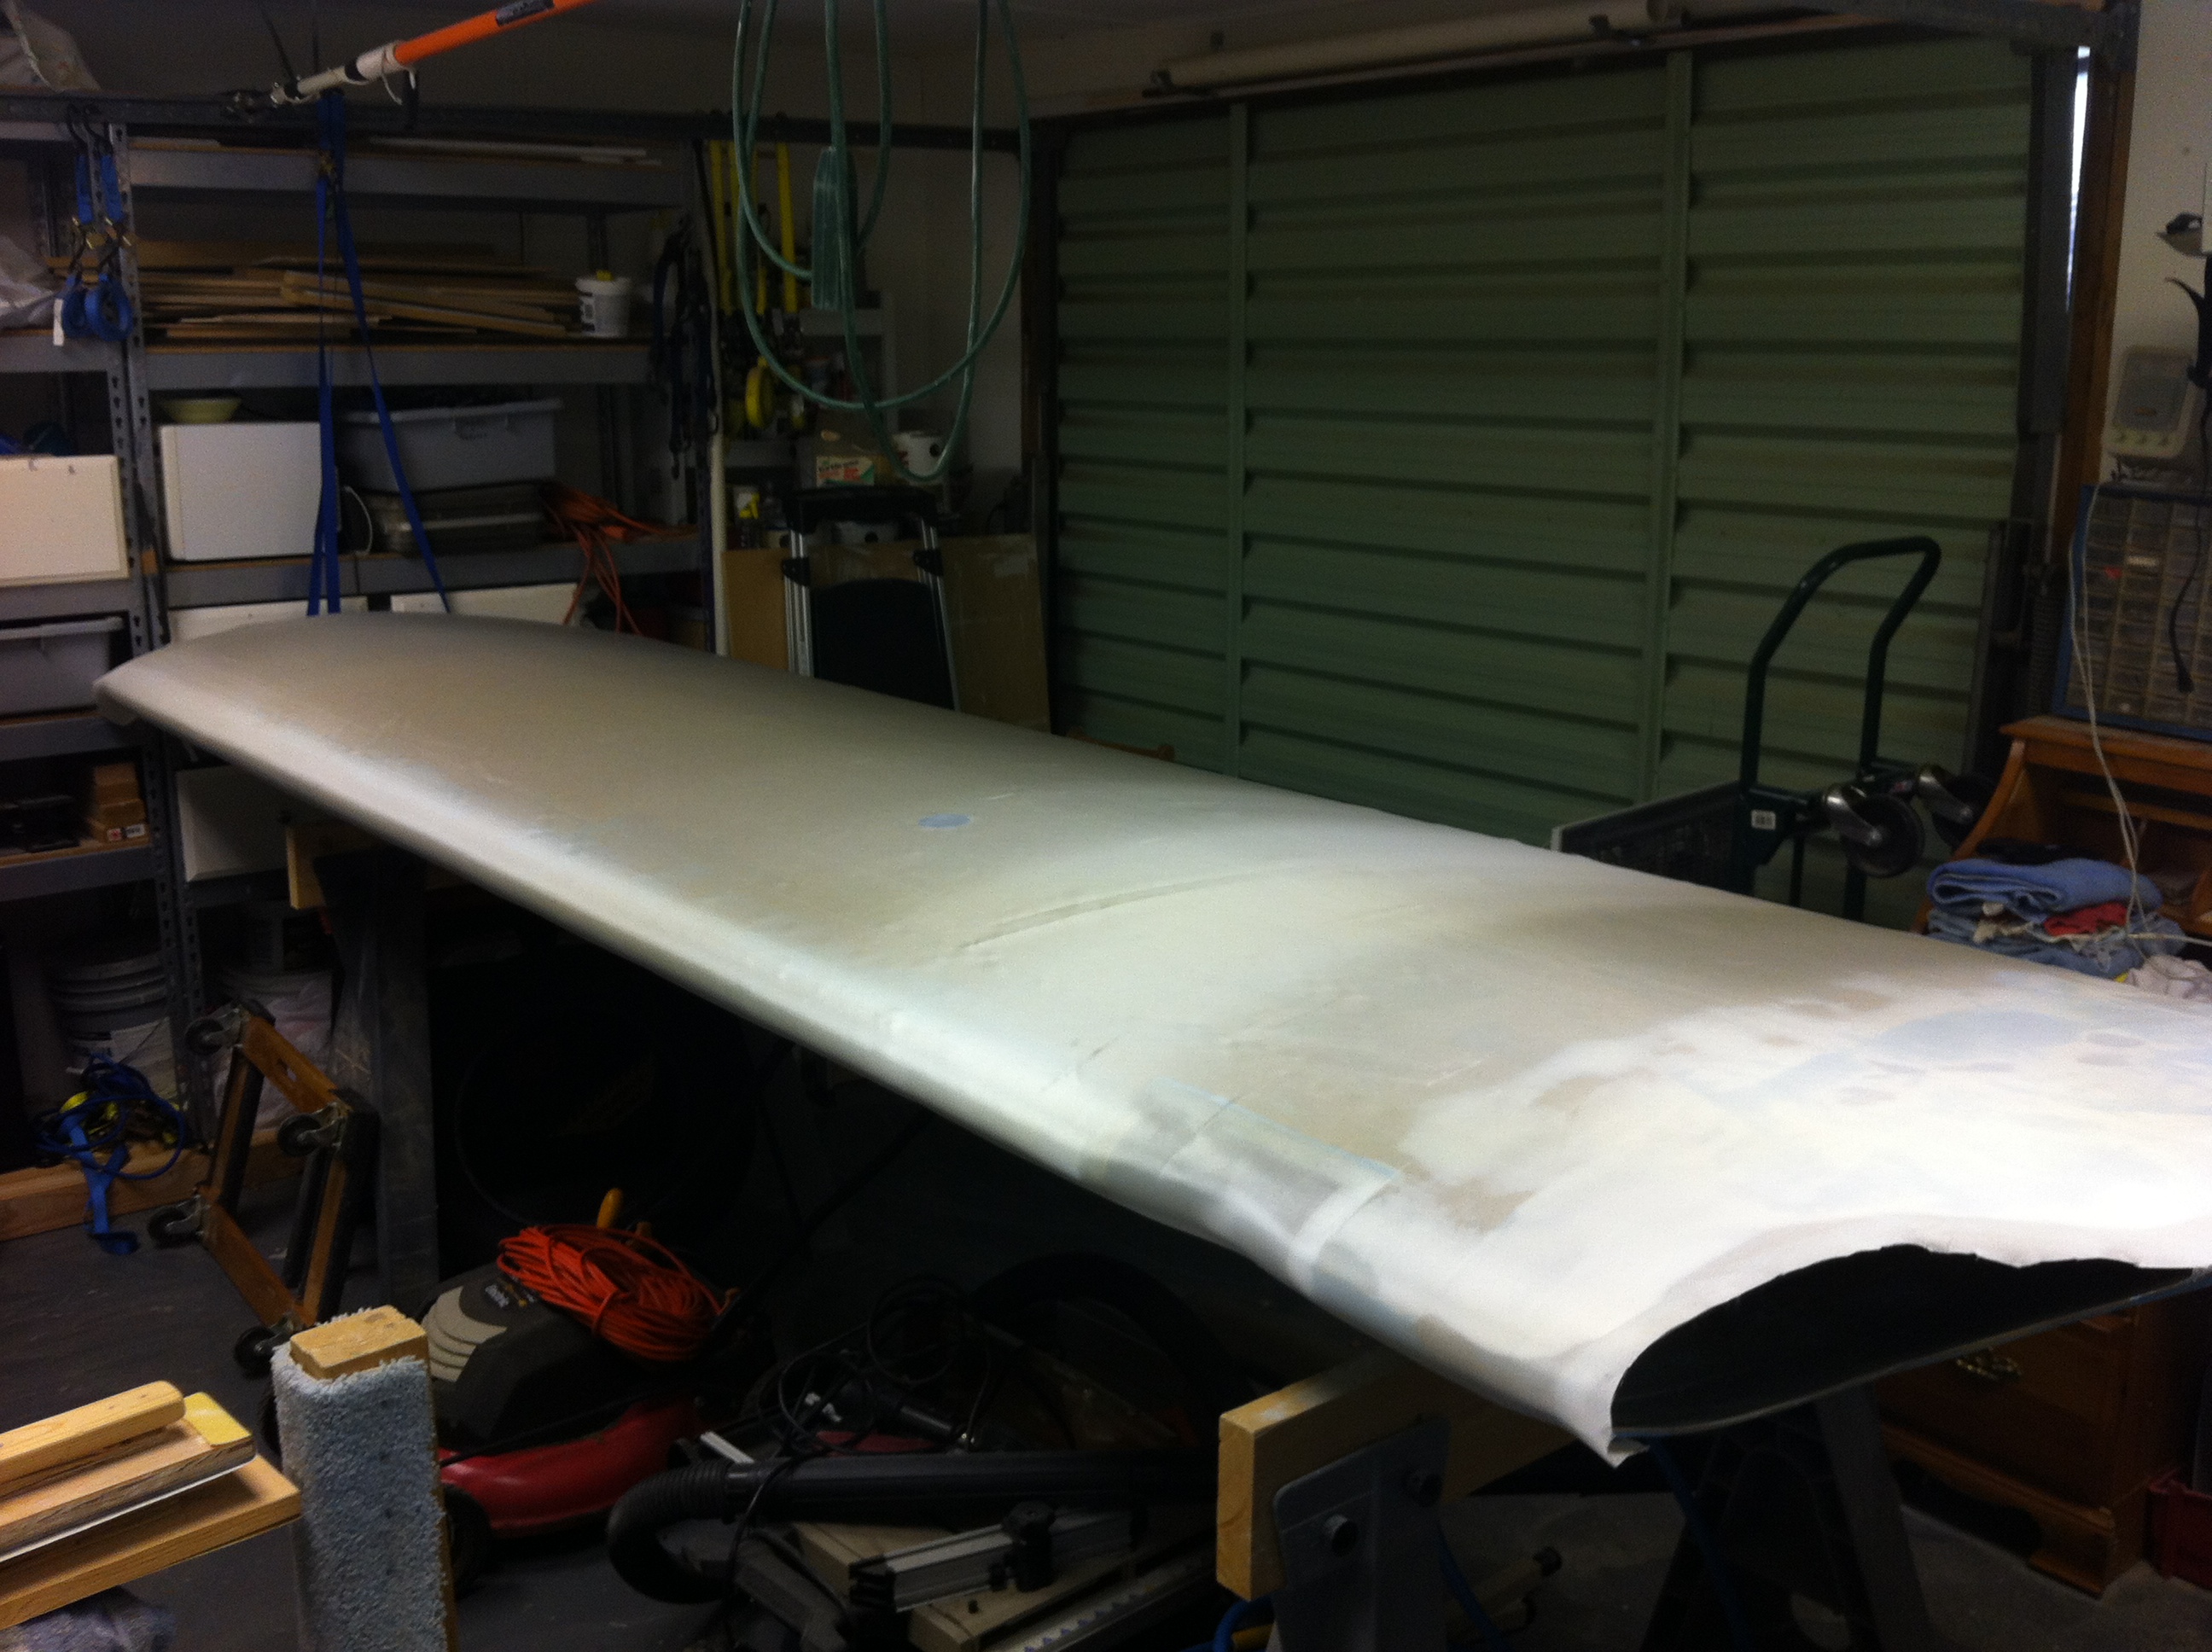 |
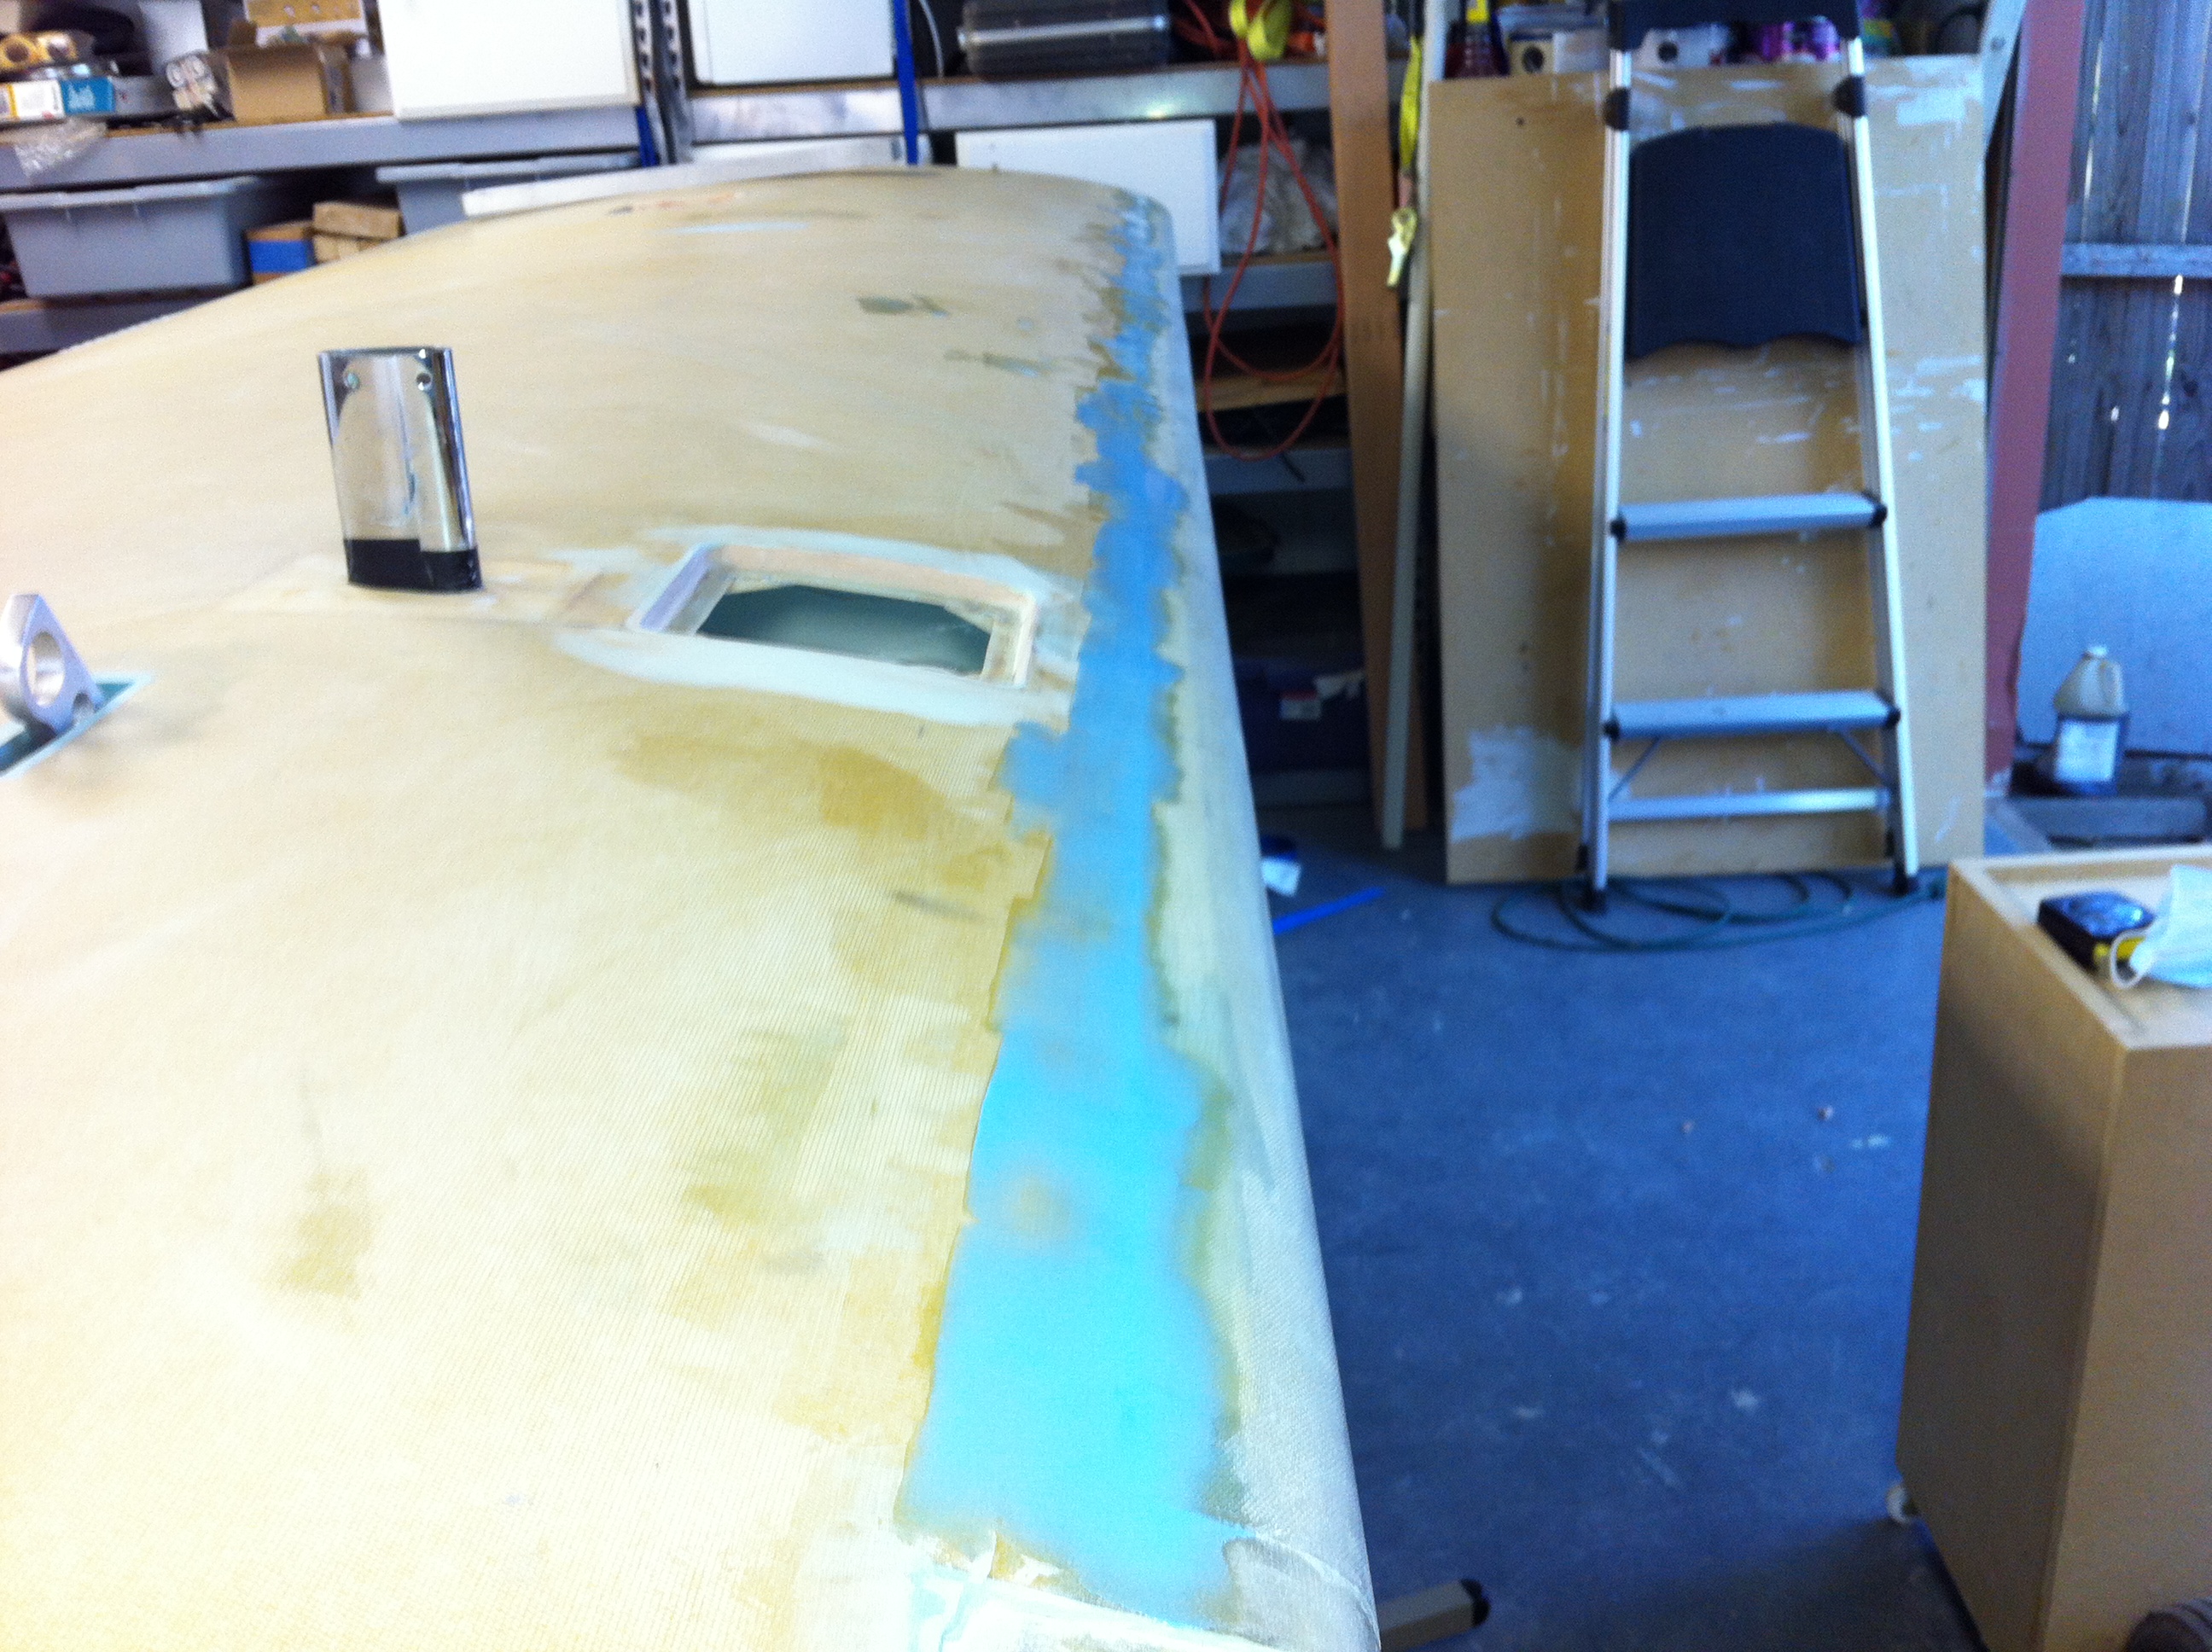
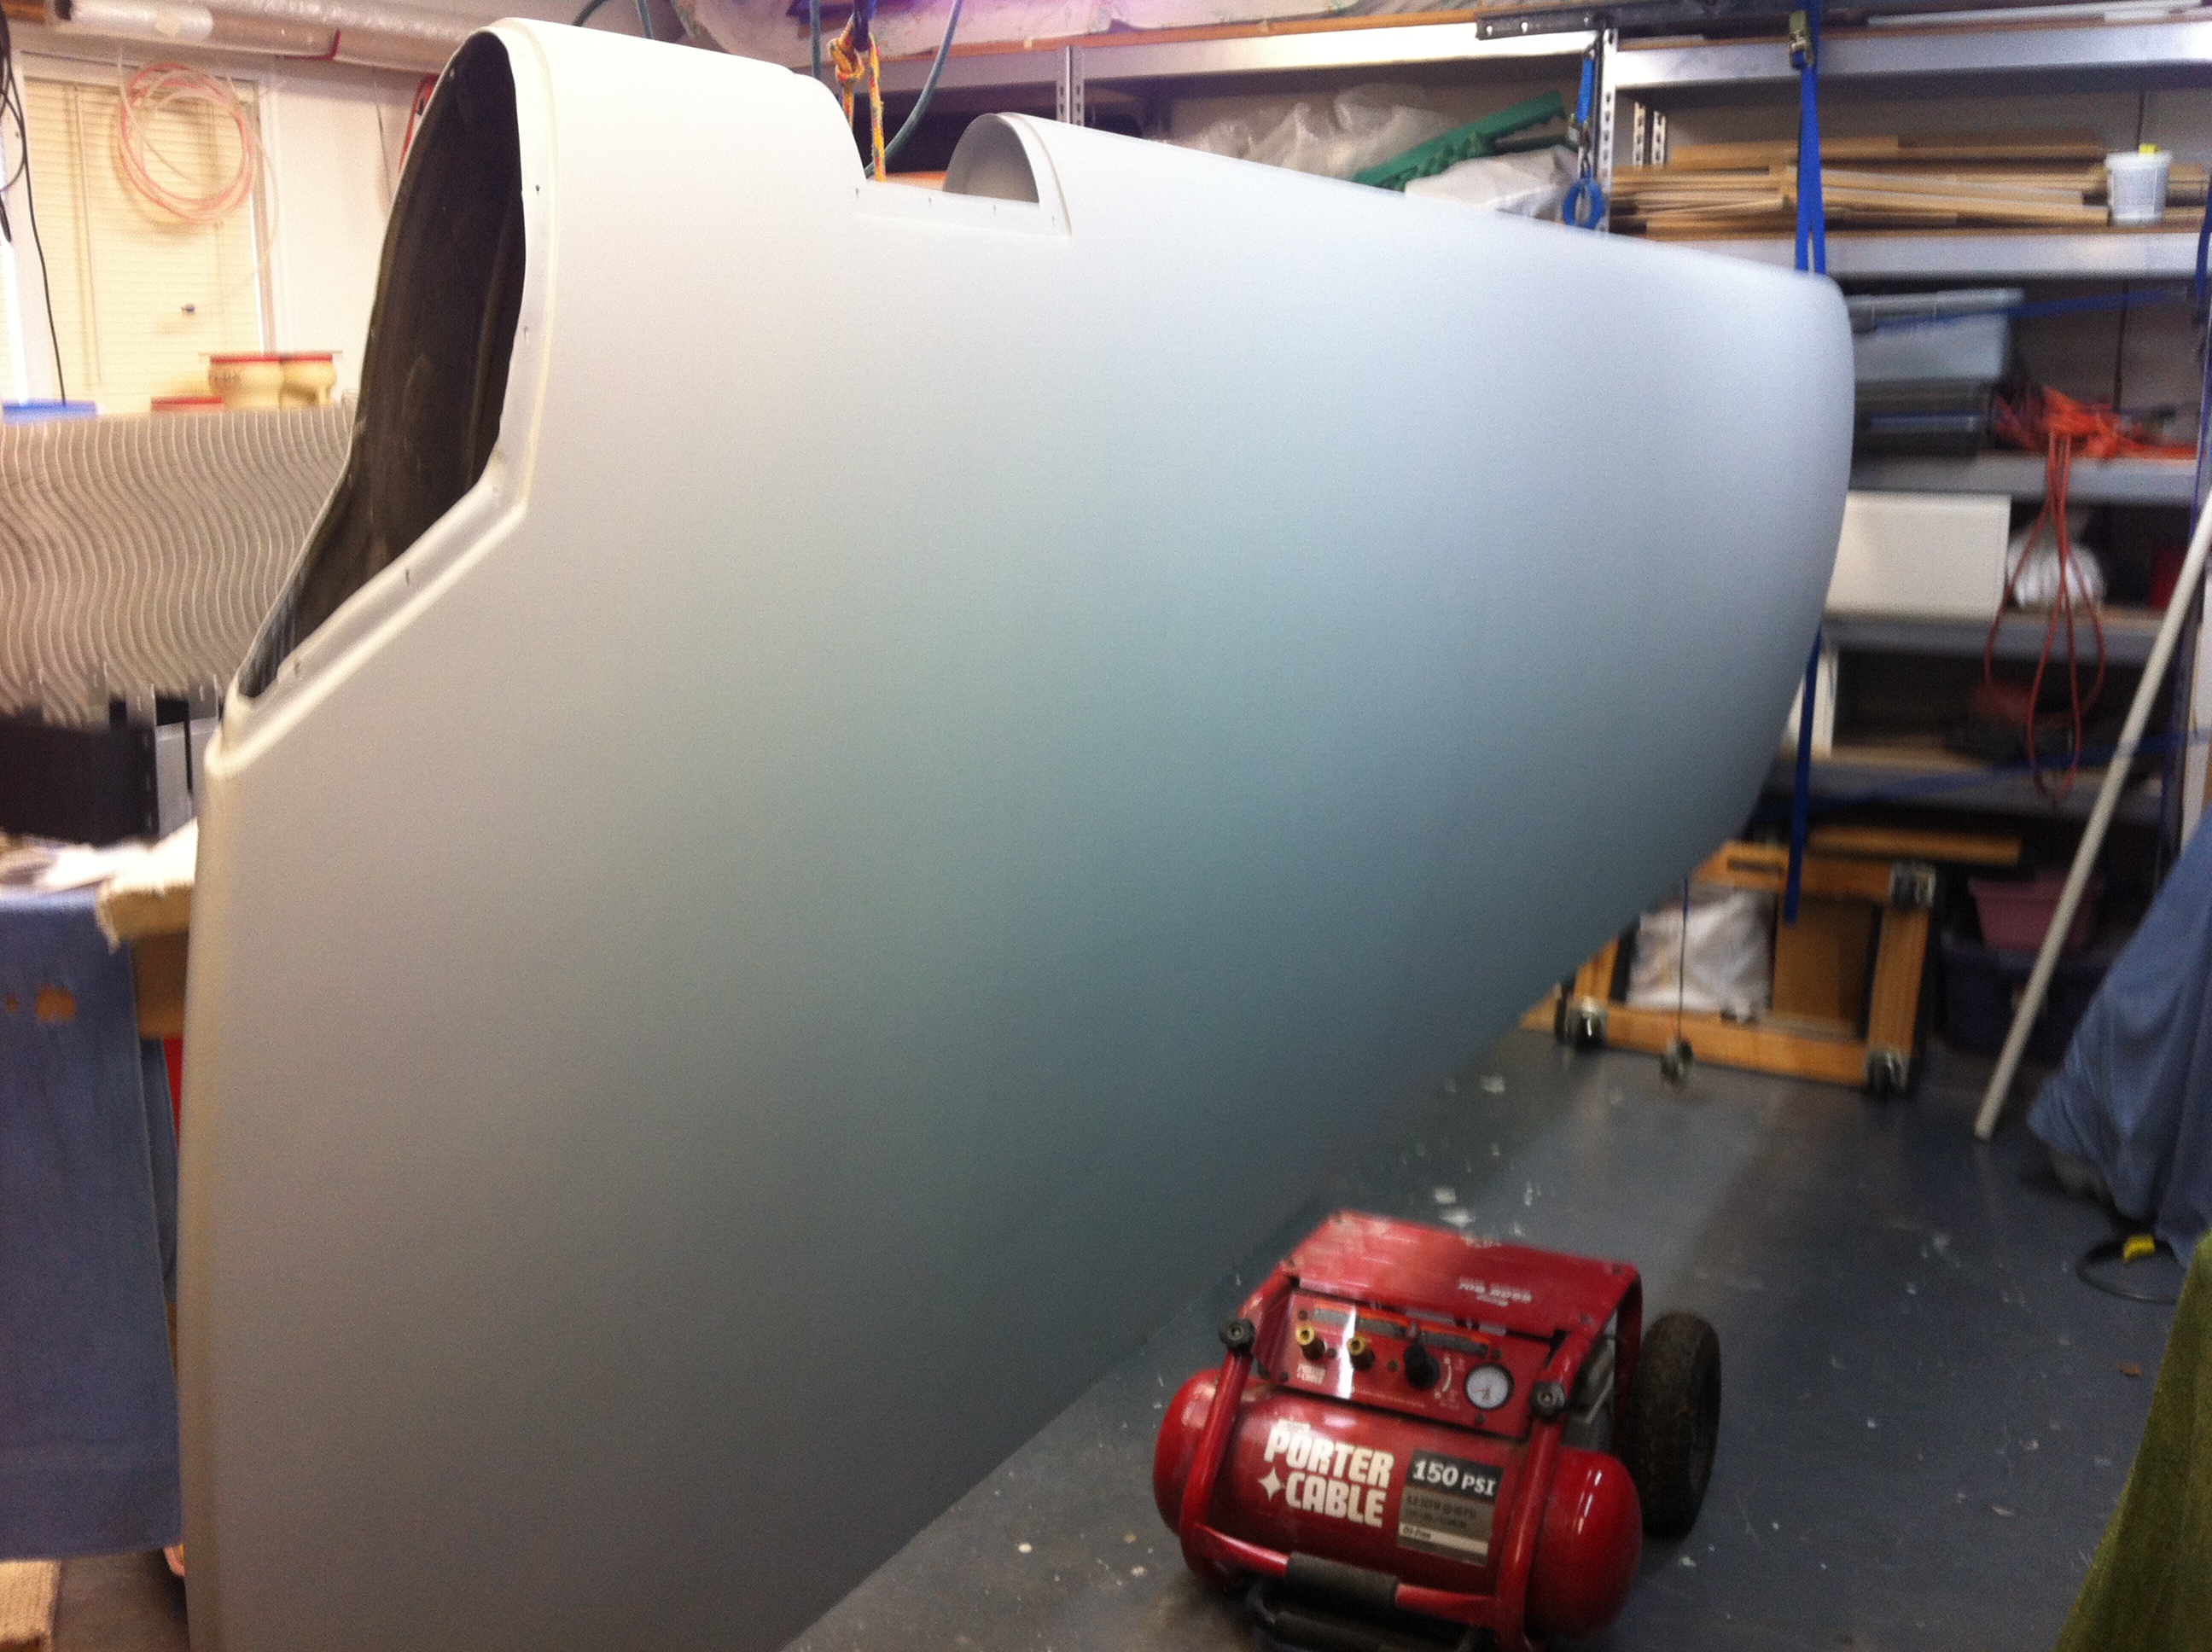
| The
wing tips will require special attention to fill and smooth to fill and
level to the rest of the wing. After the wing is sanded and
filled to a clean surface it will still have substantial pin holes that
even an epoxy coating will not fully cover. The best way I found
to get a truely pin hole free and totally smooth wing was to cover the
entire wing with another layer of glass. |
|
 |
 |
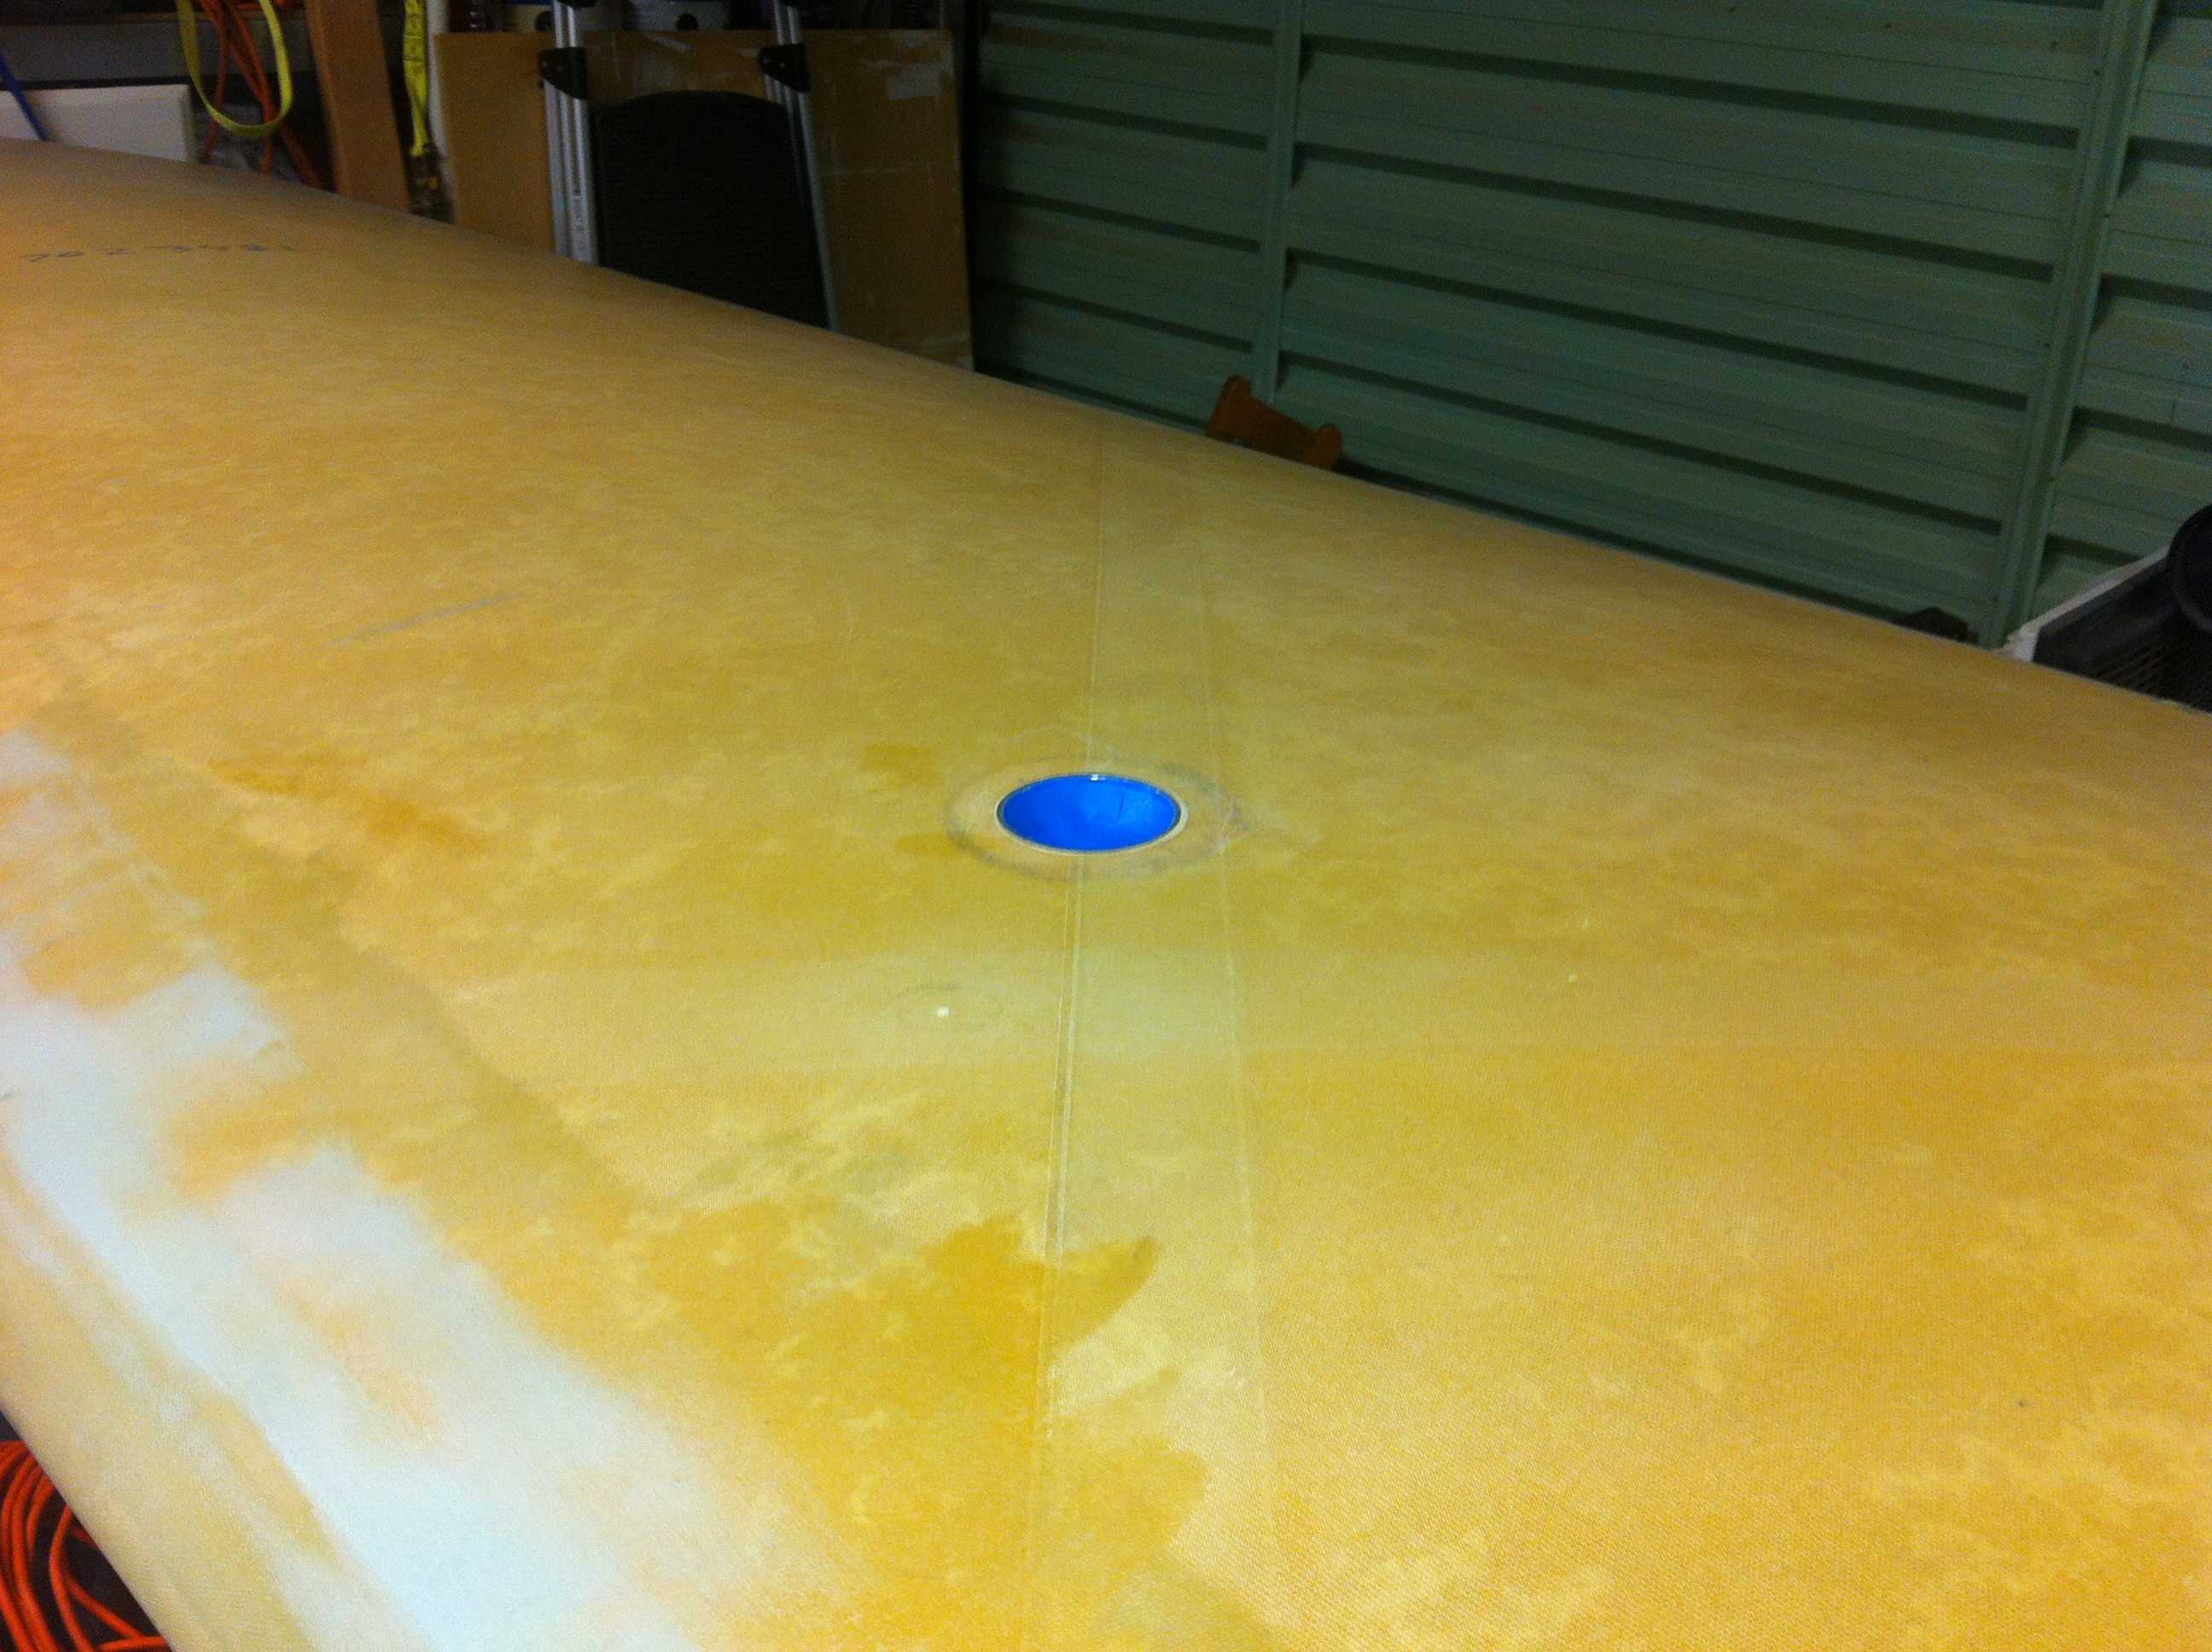
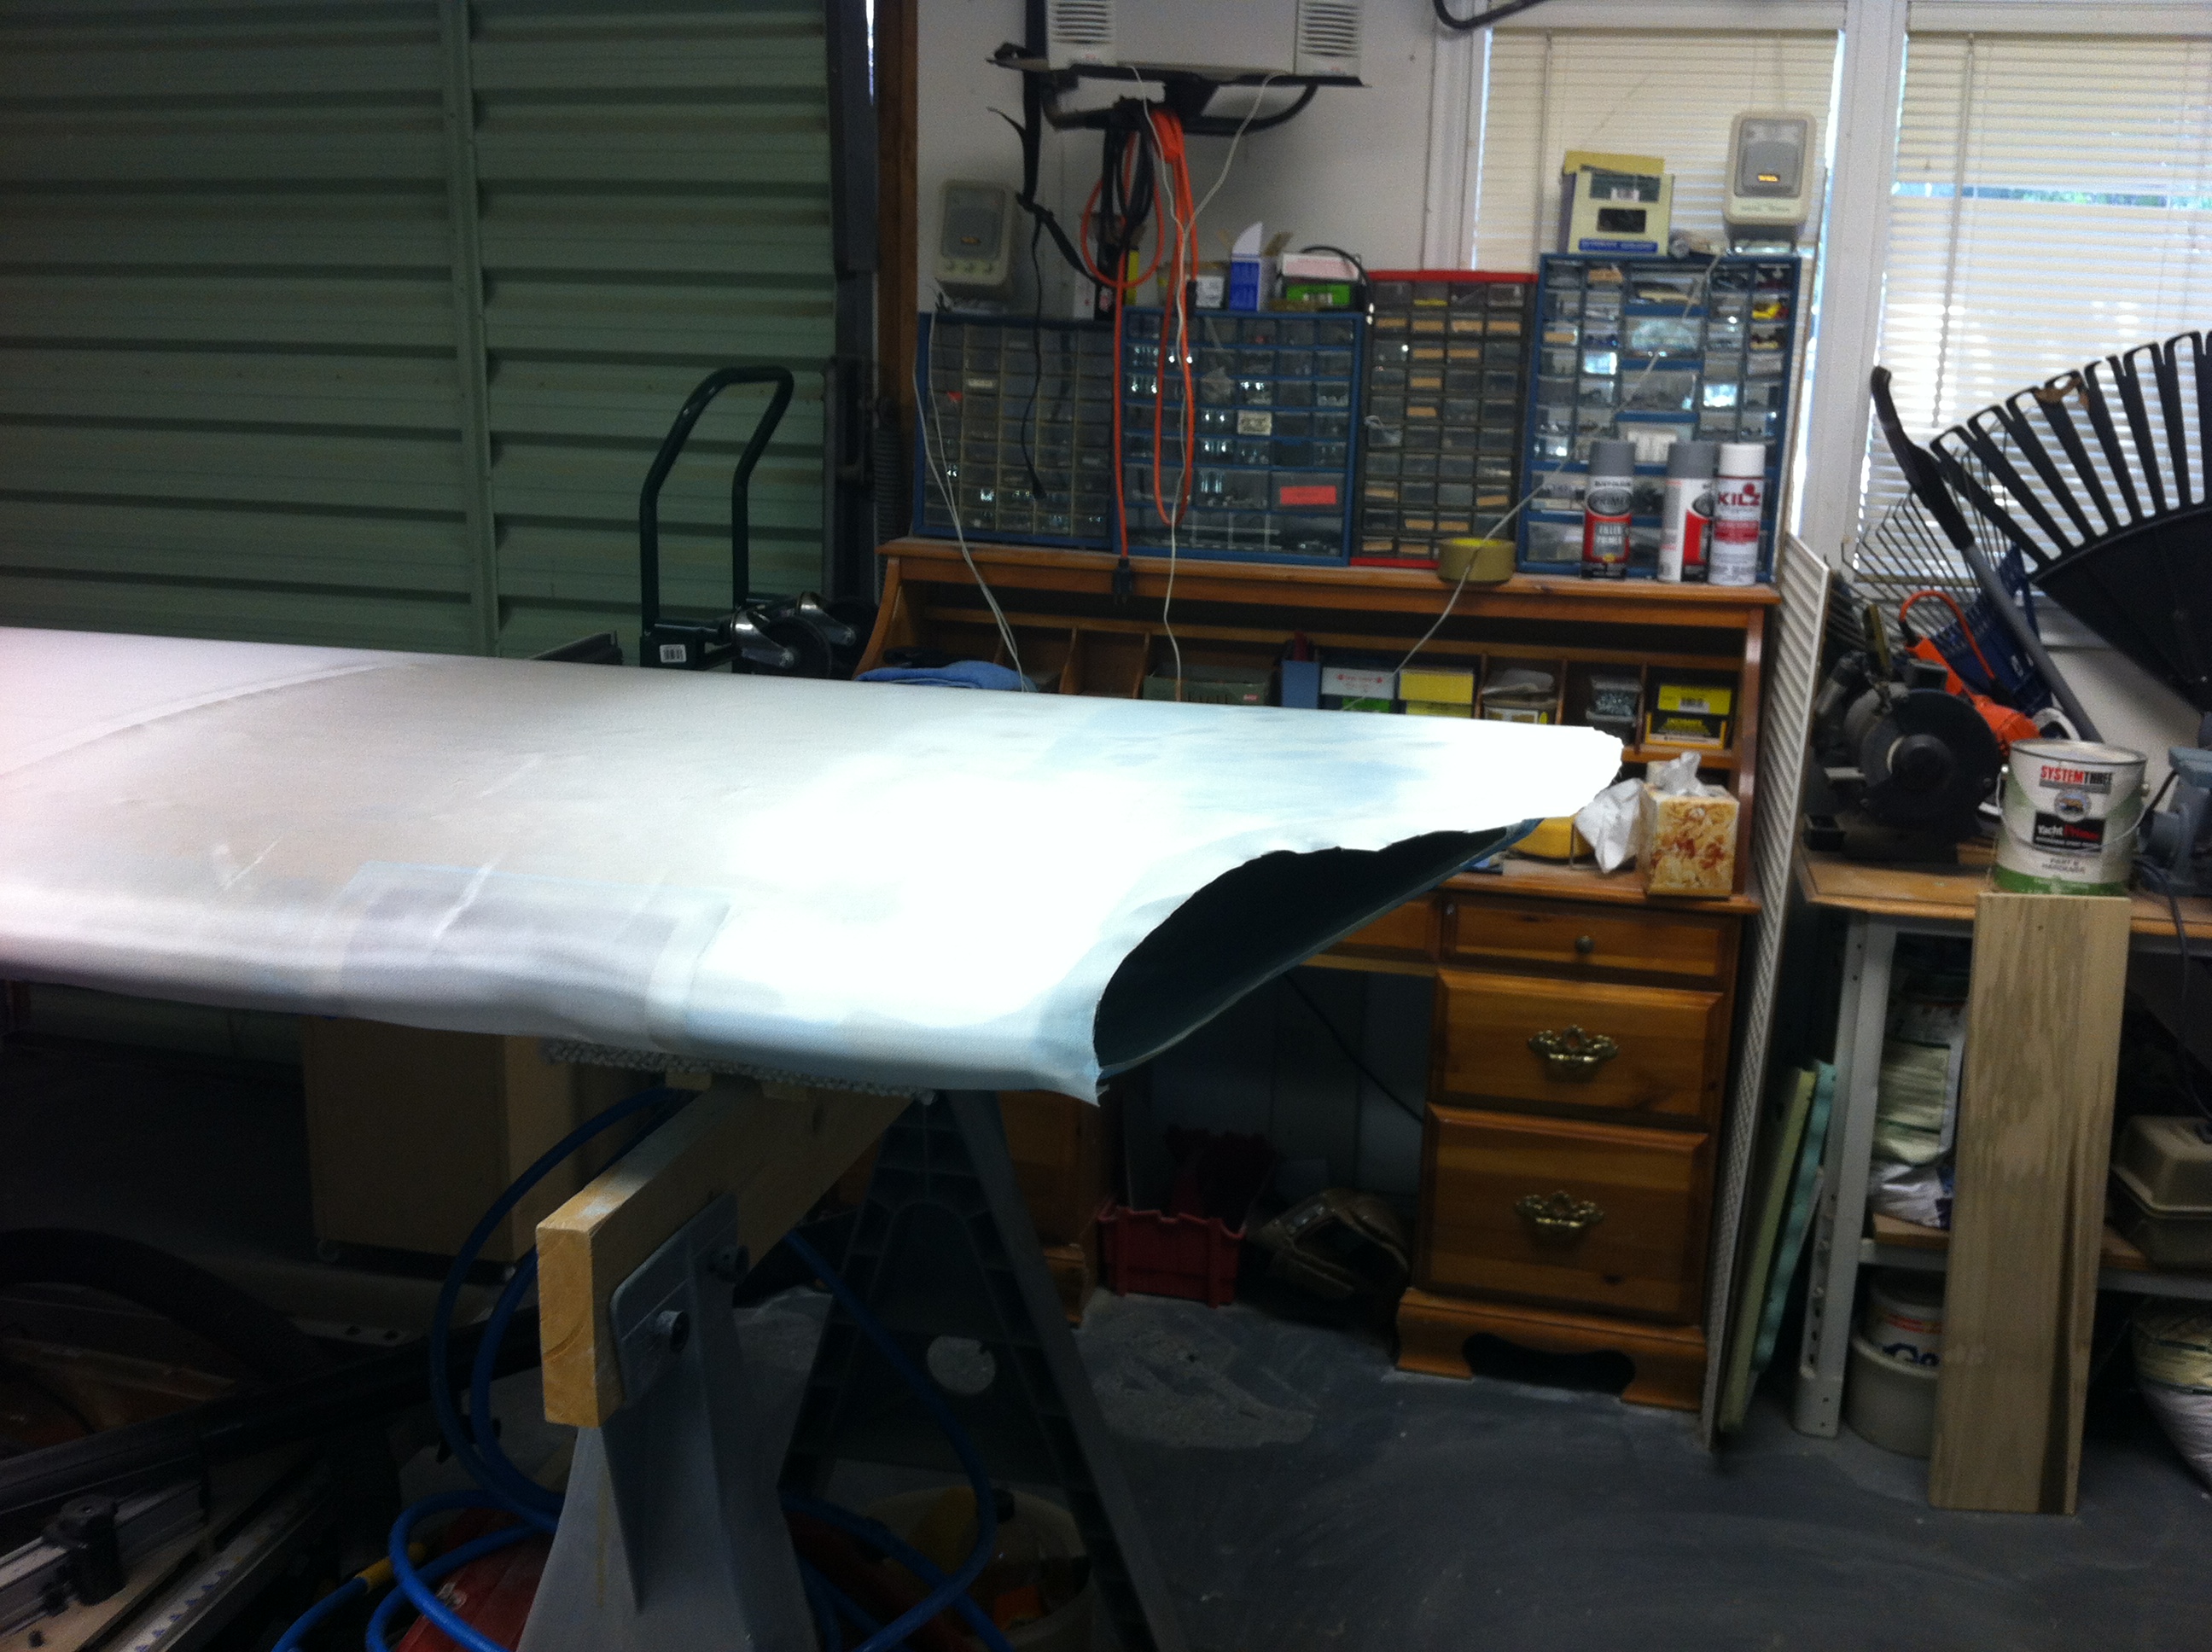
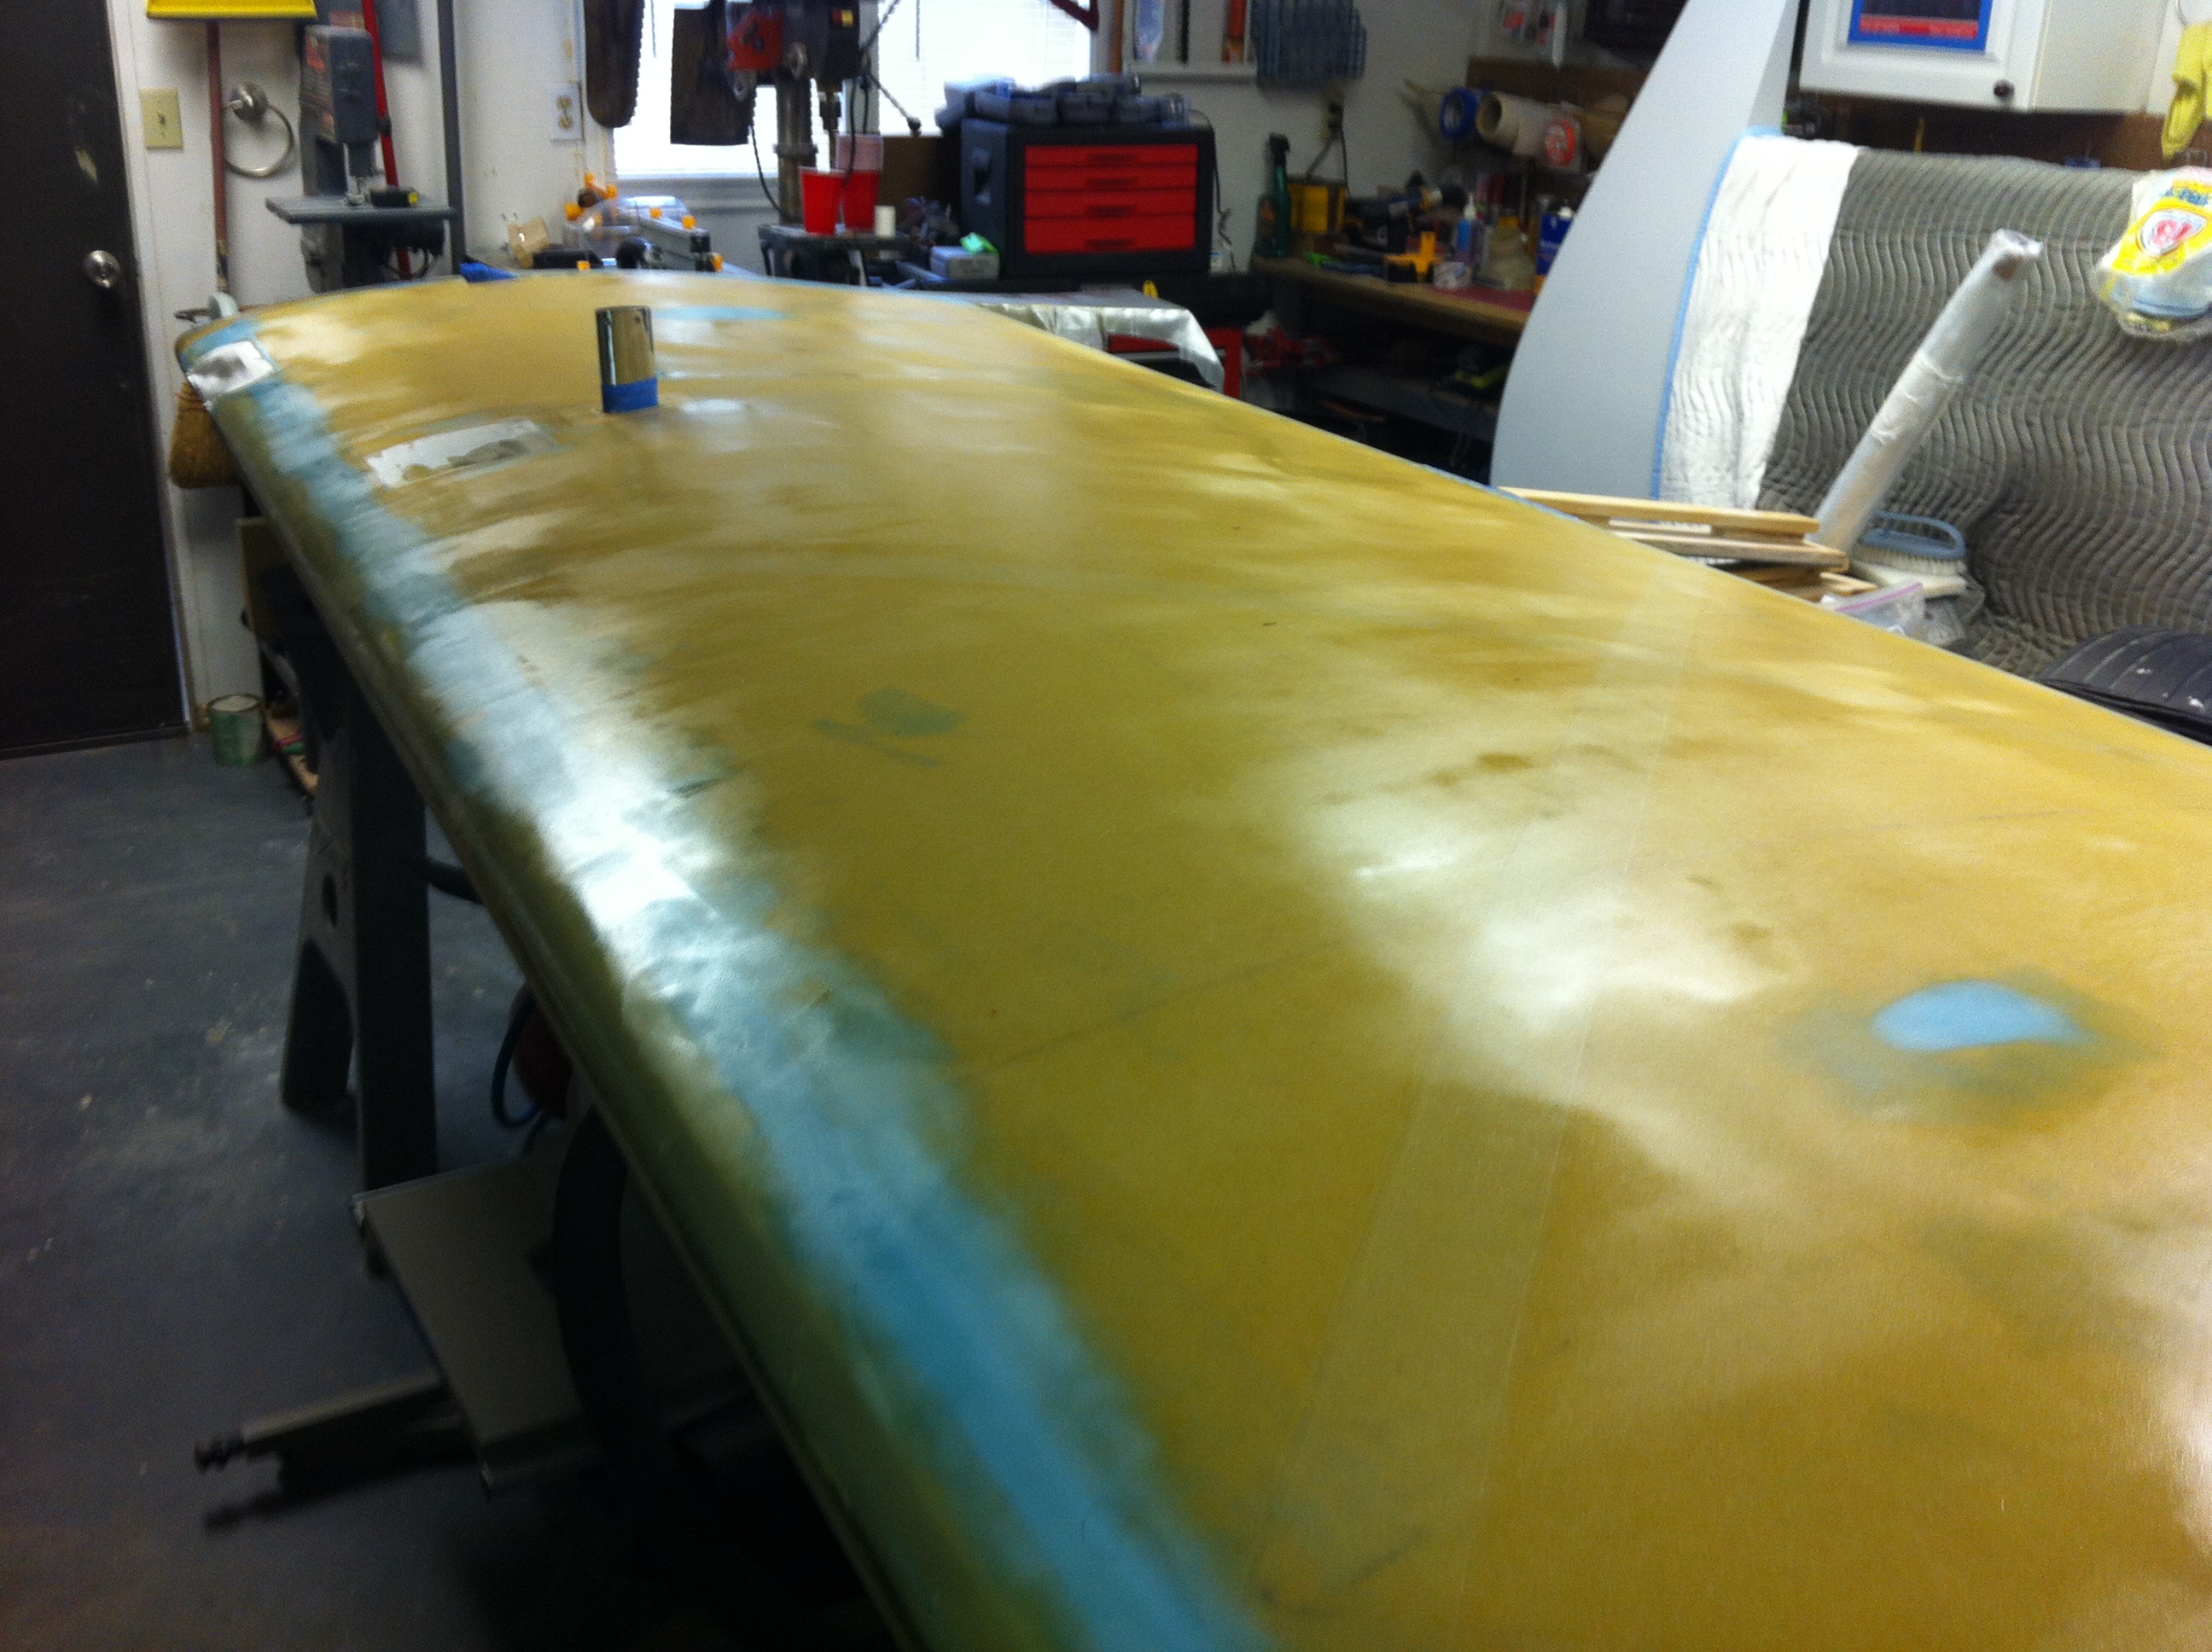
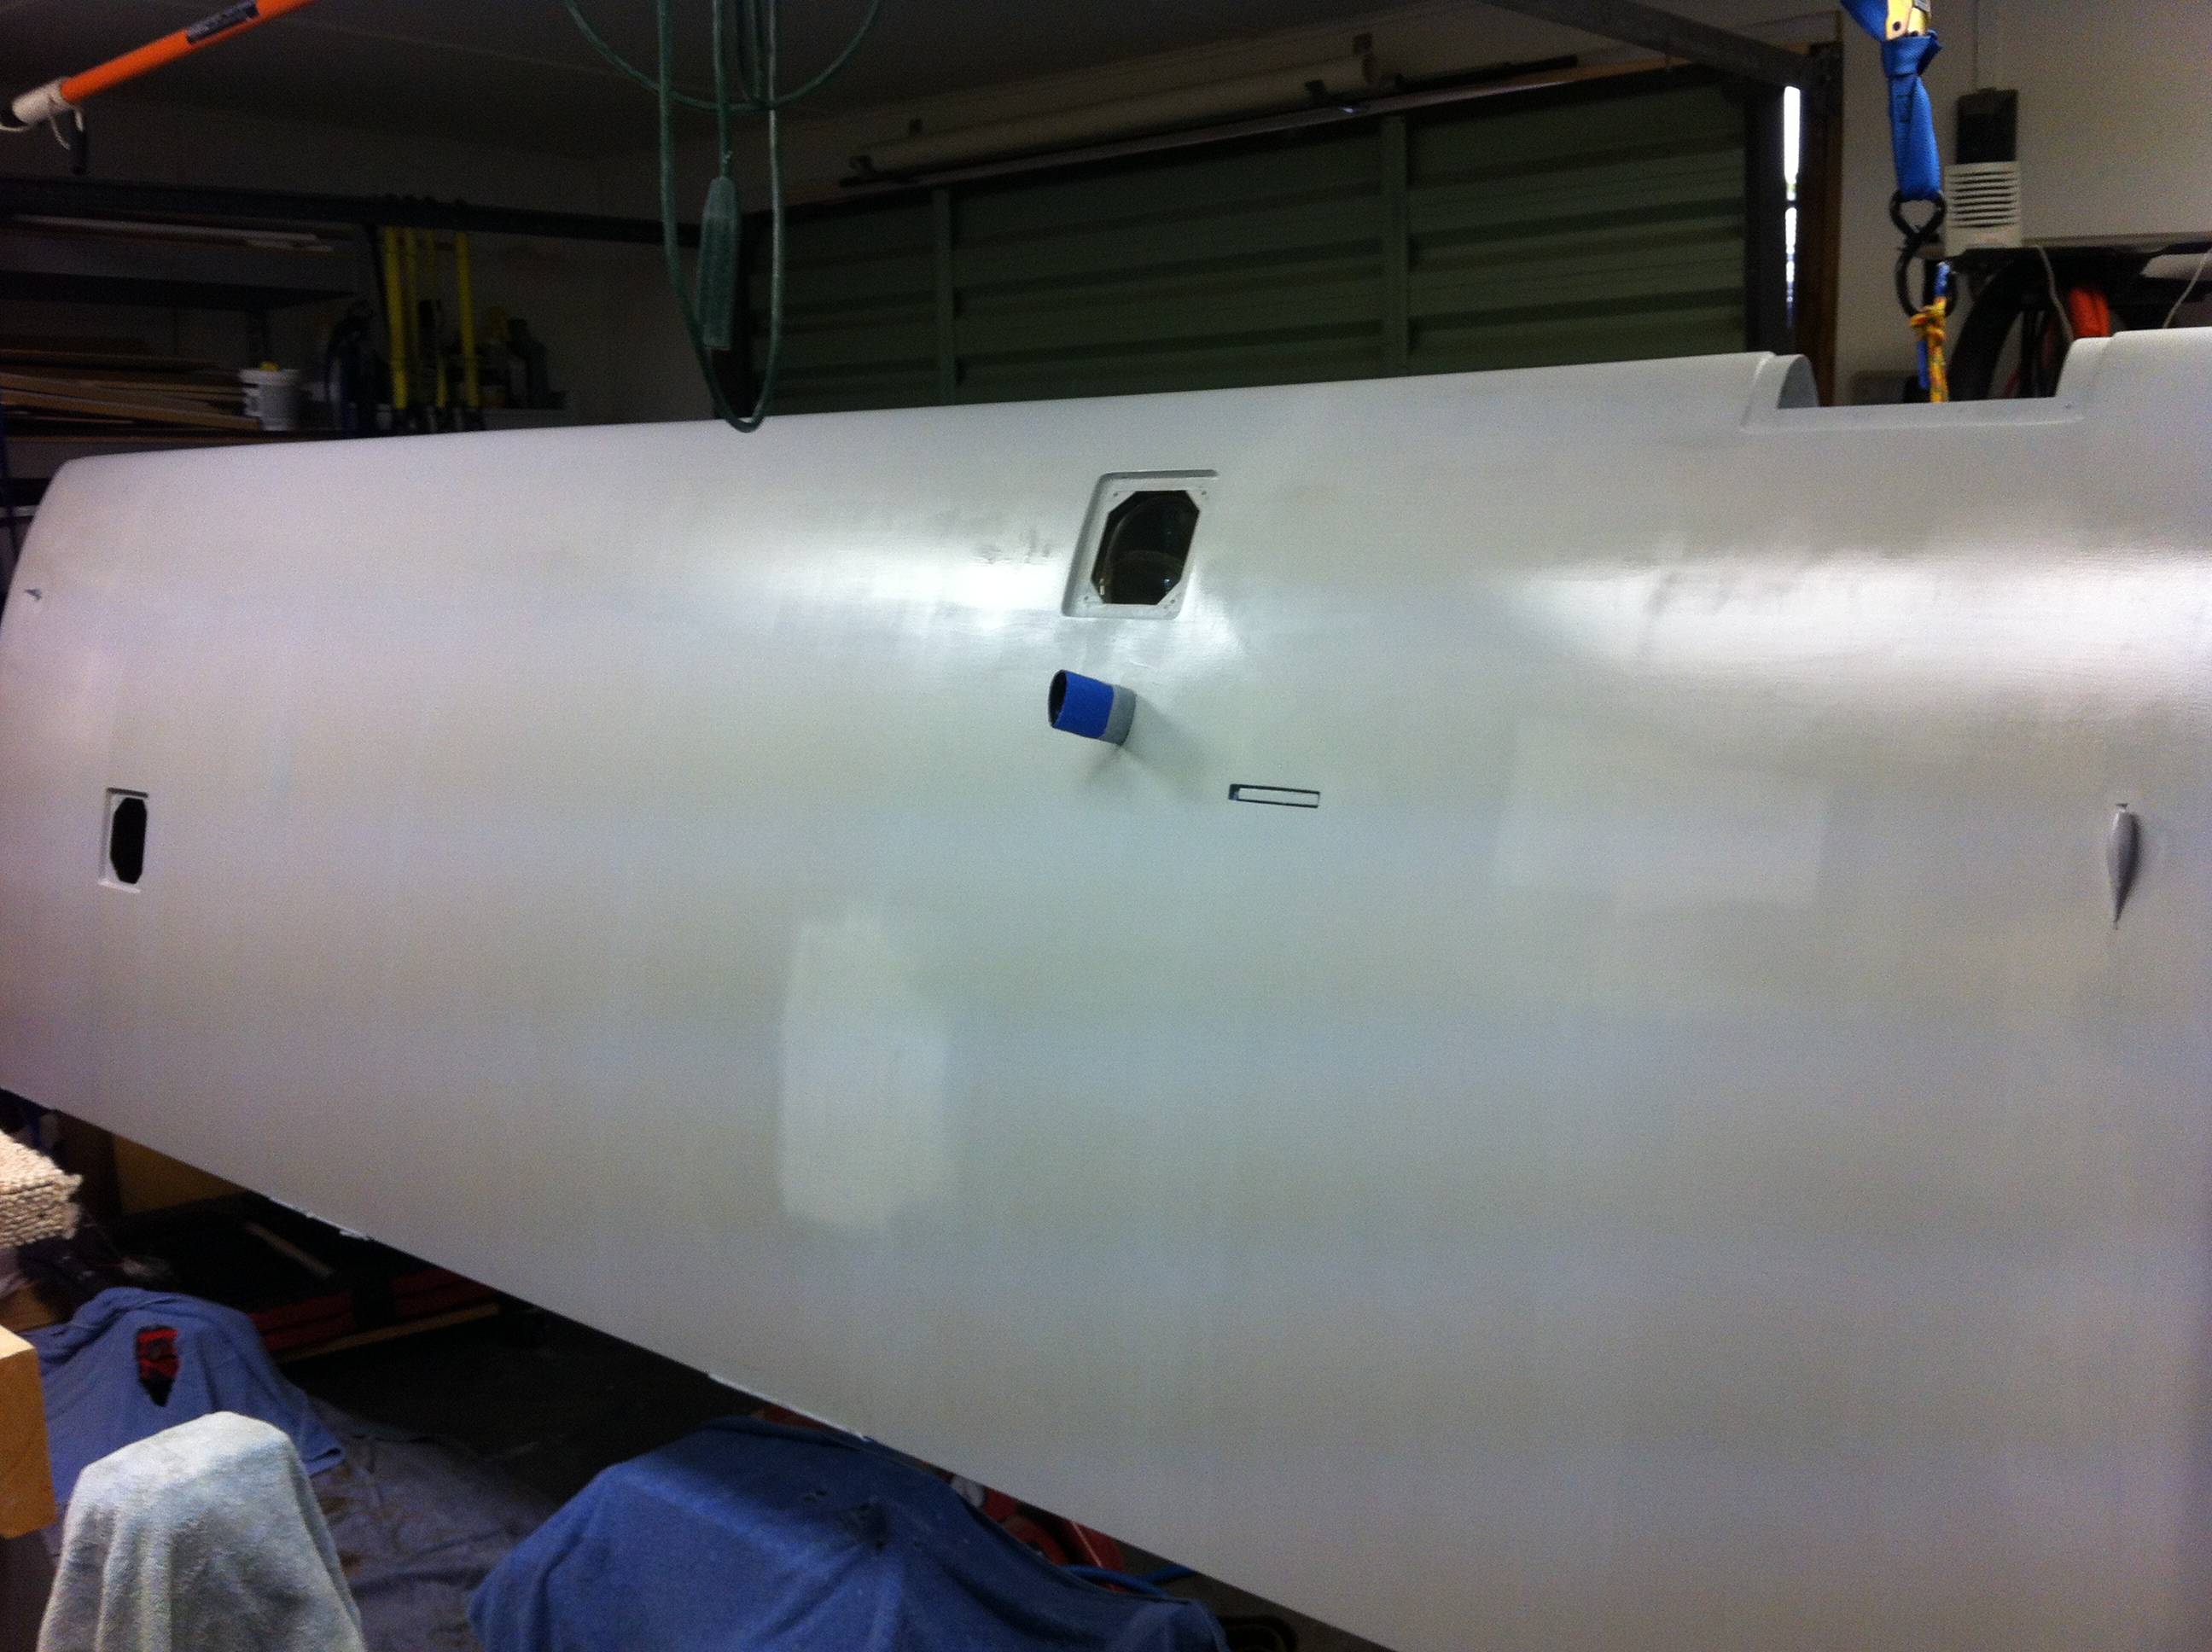
| Using
a very light weight (1.5 oz) high fiber count glass the wing is covered
from tip to tip on bottom and top. (This is called deck cloth and
used in the boat building business to cover teak without showing)
Once the glass is covered with a thin layer of epoxy the entire wing
will be sanded again. |
|
 |
 |
 |
 |
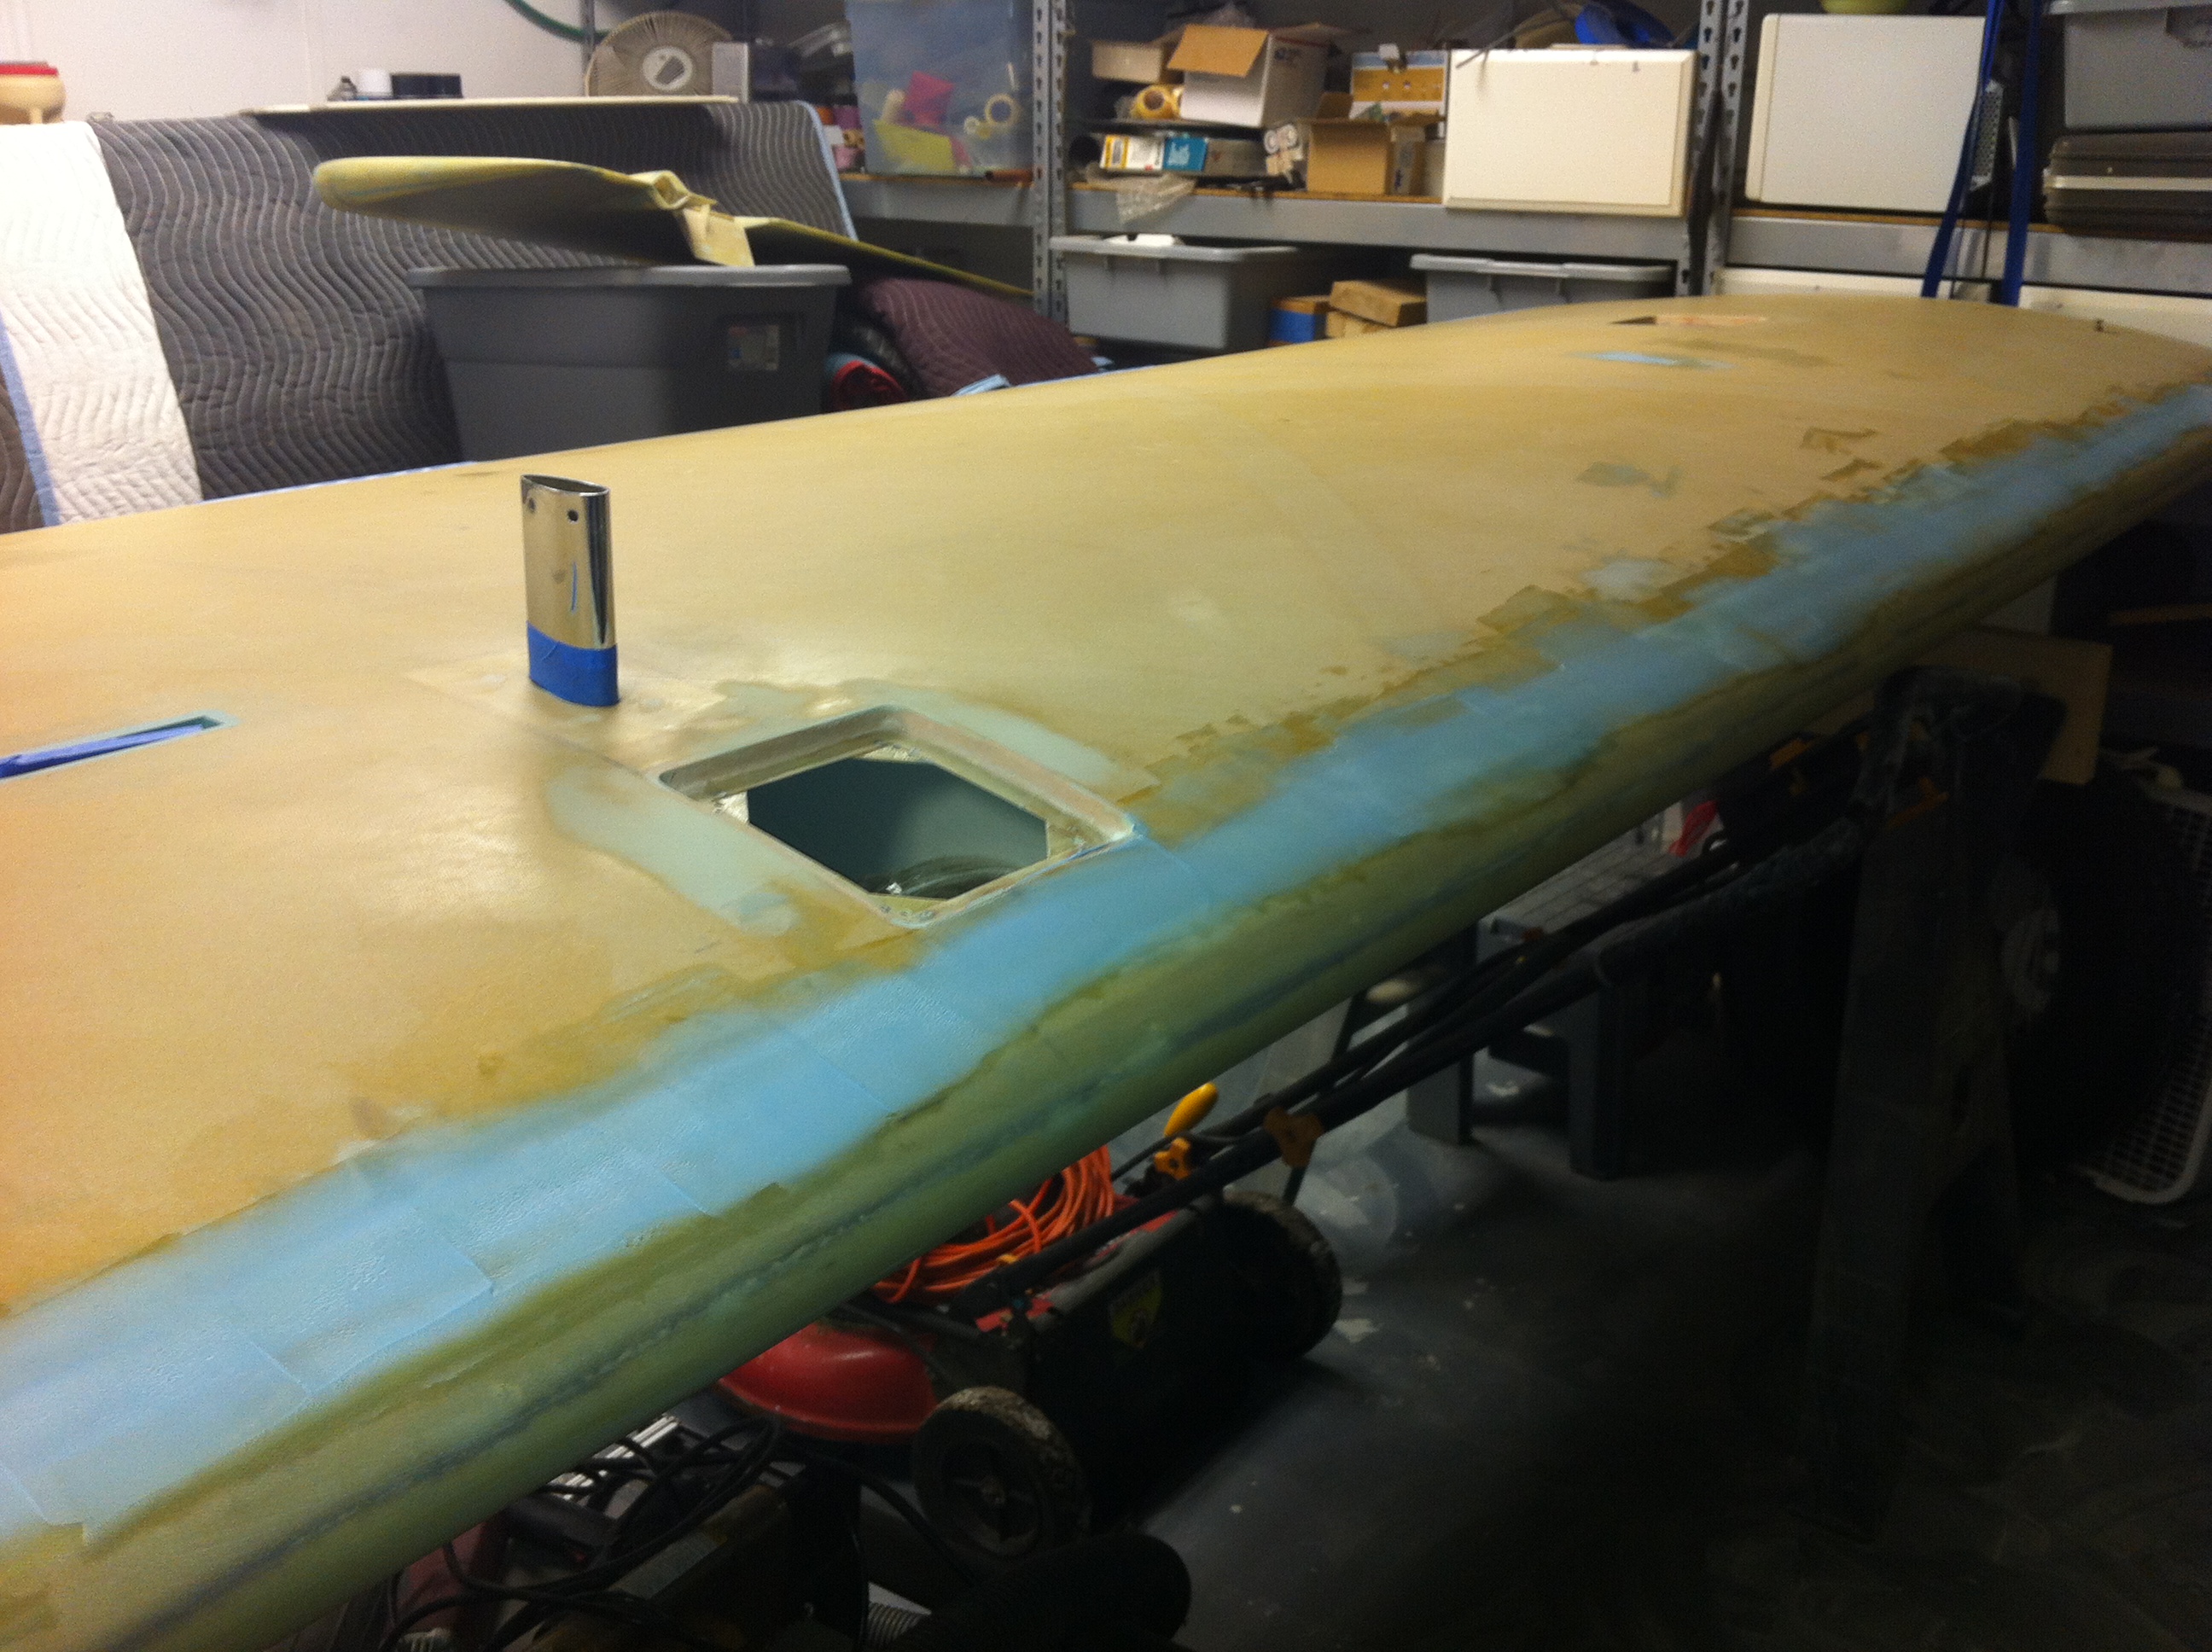
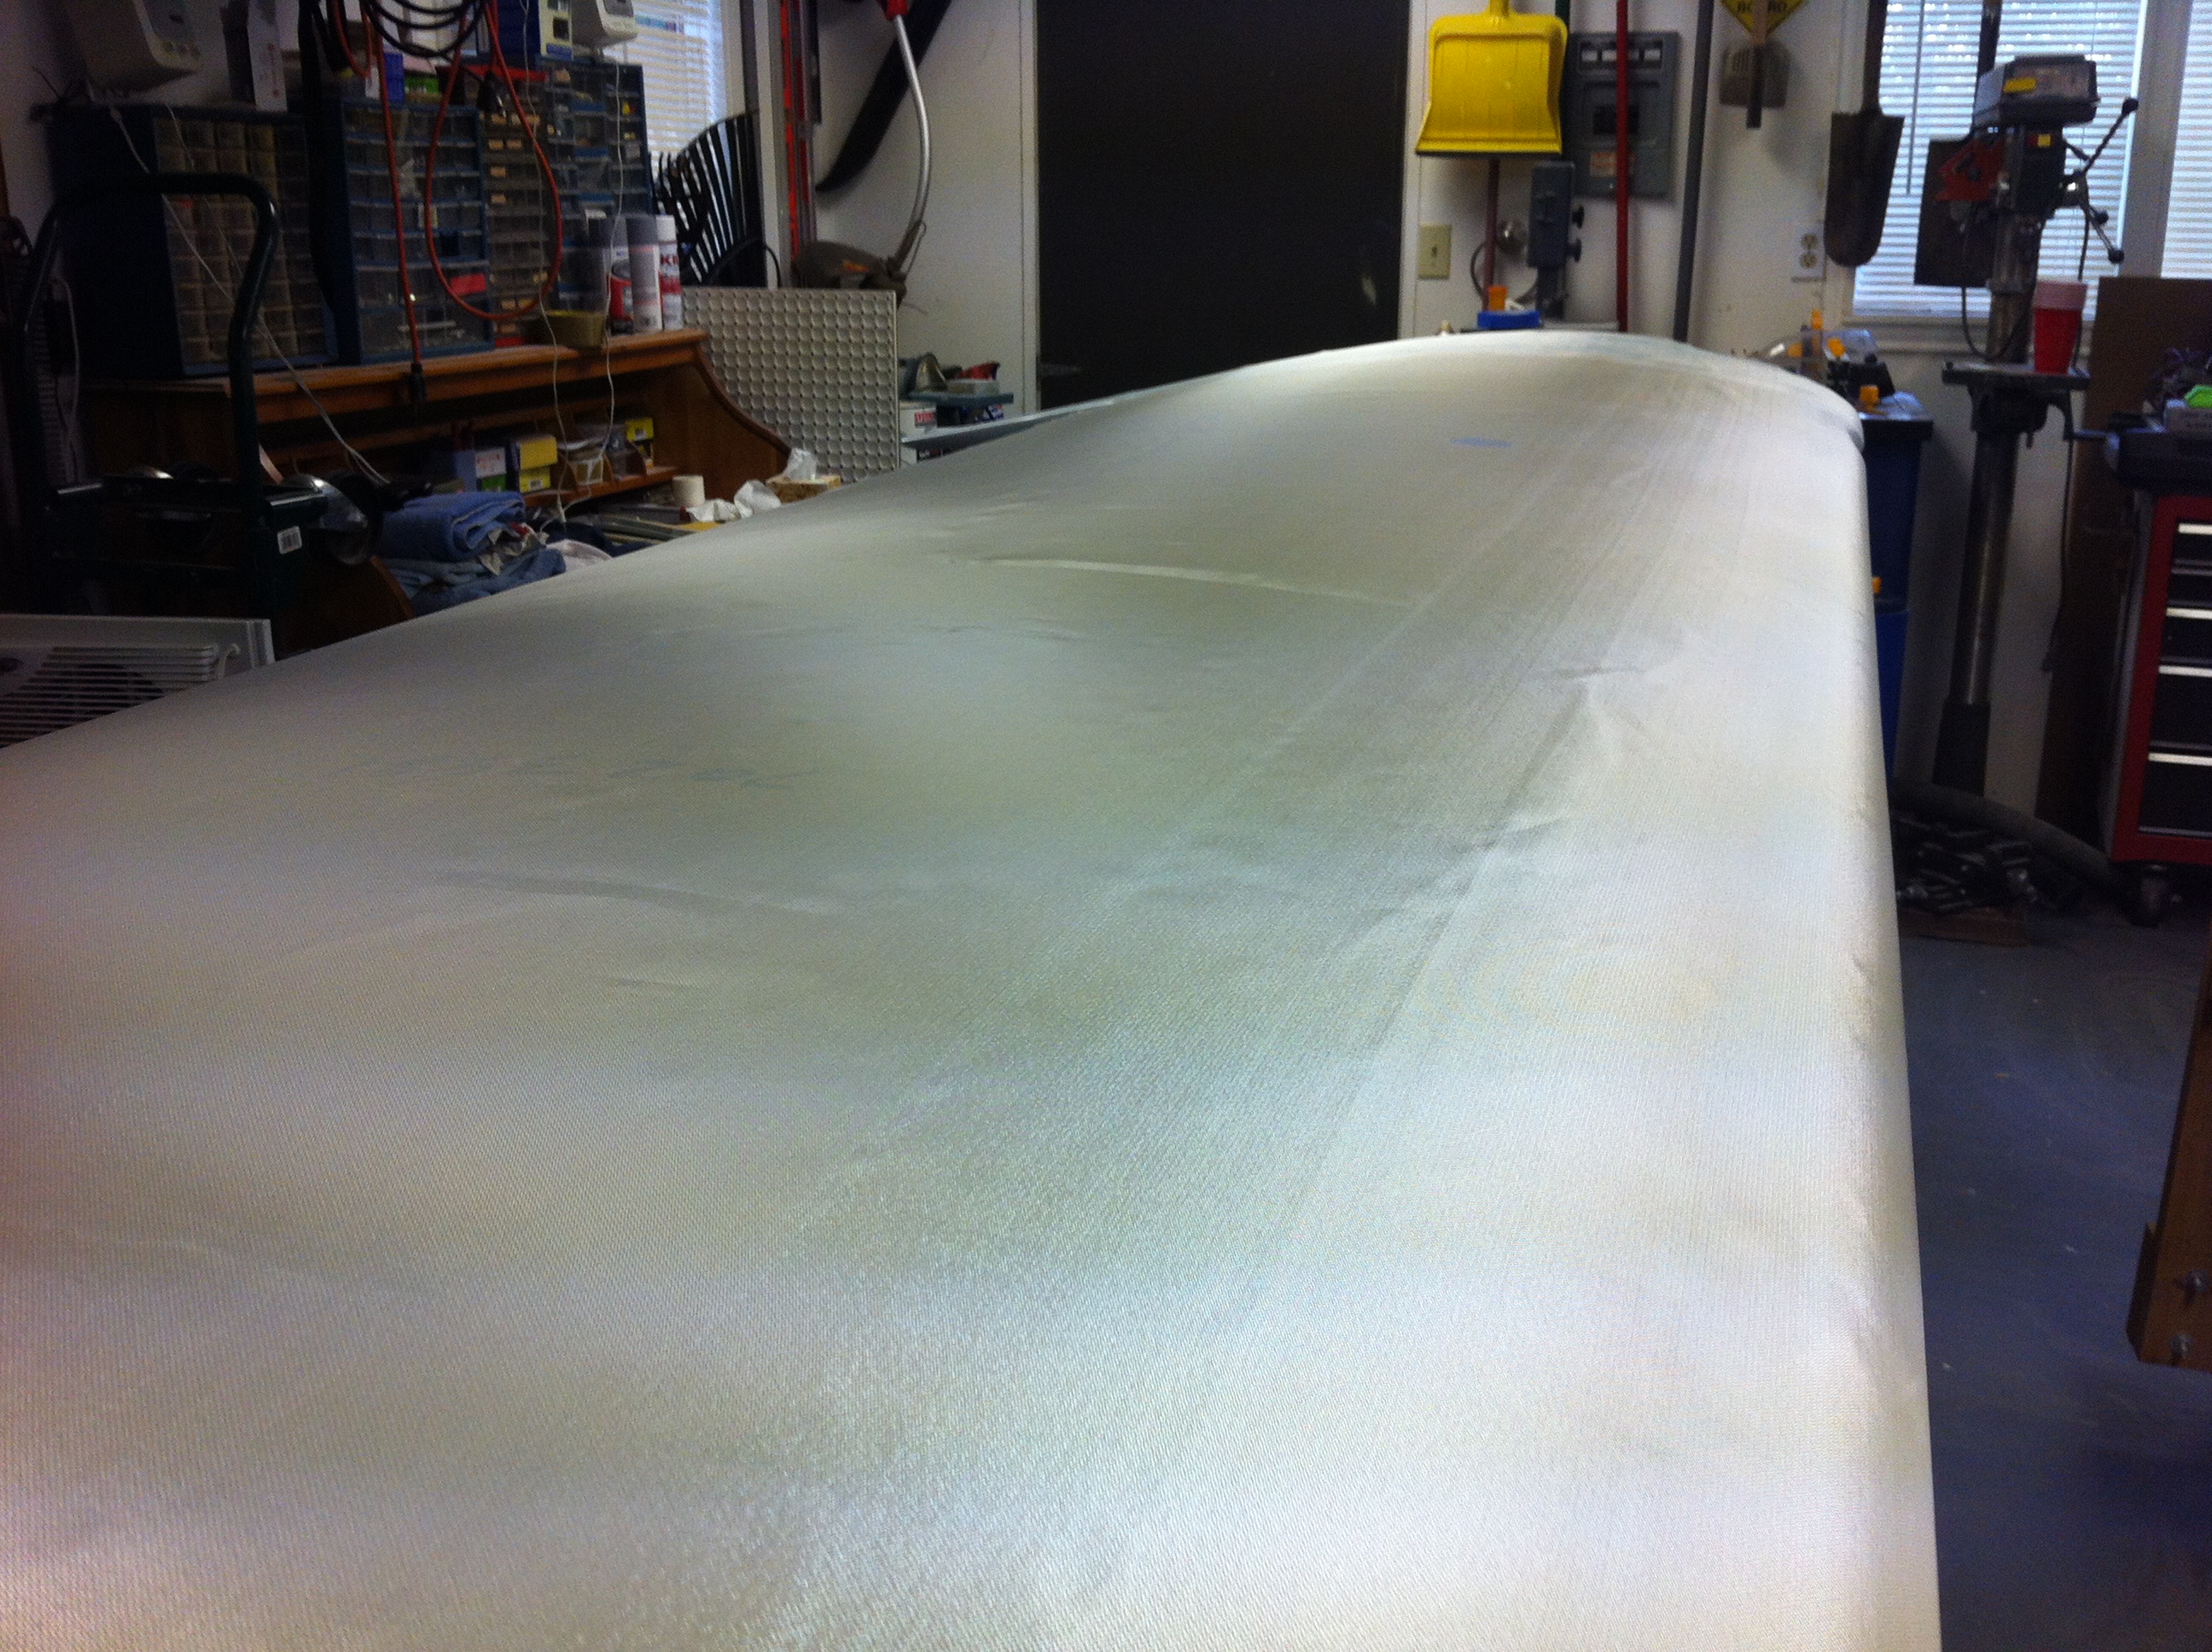
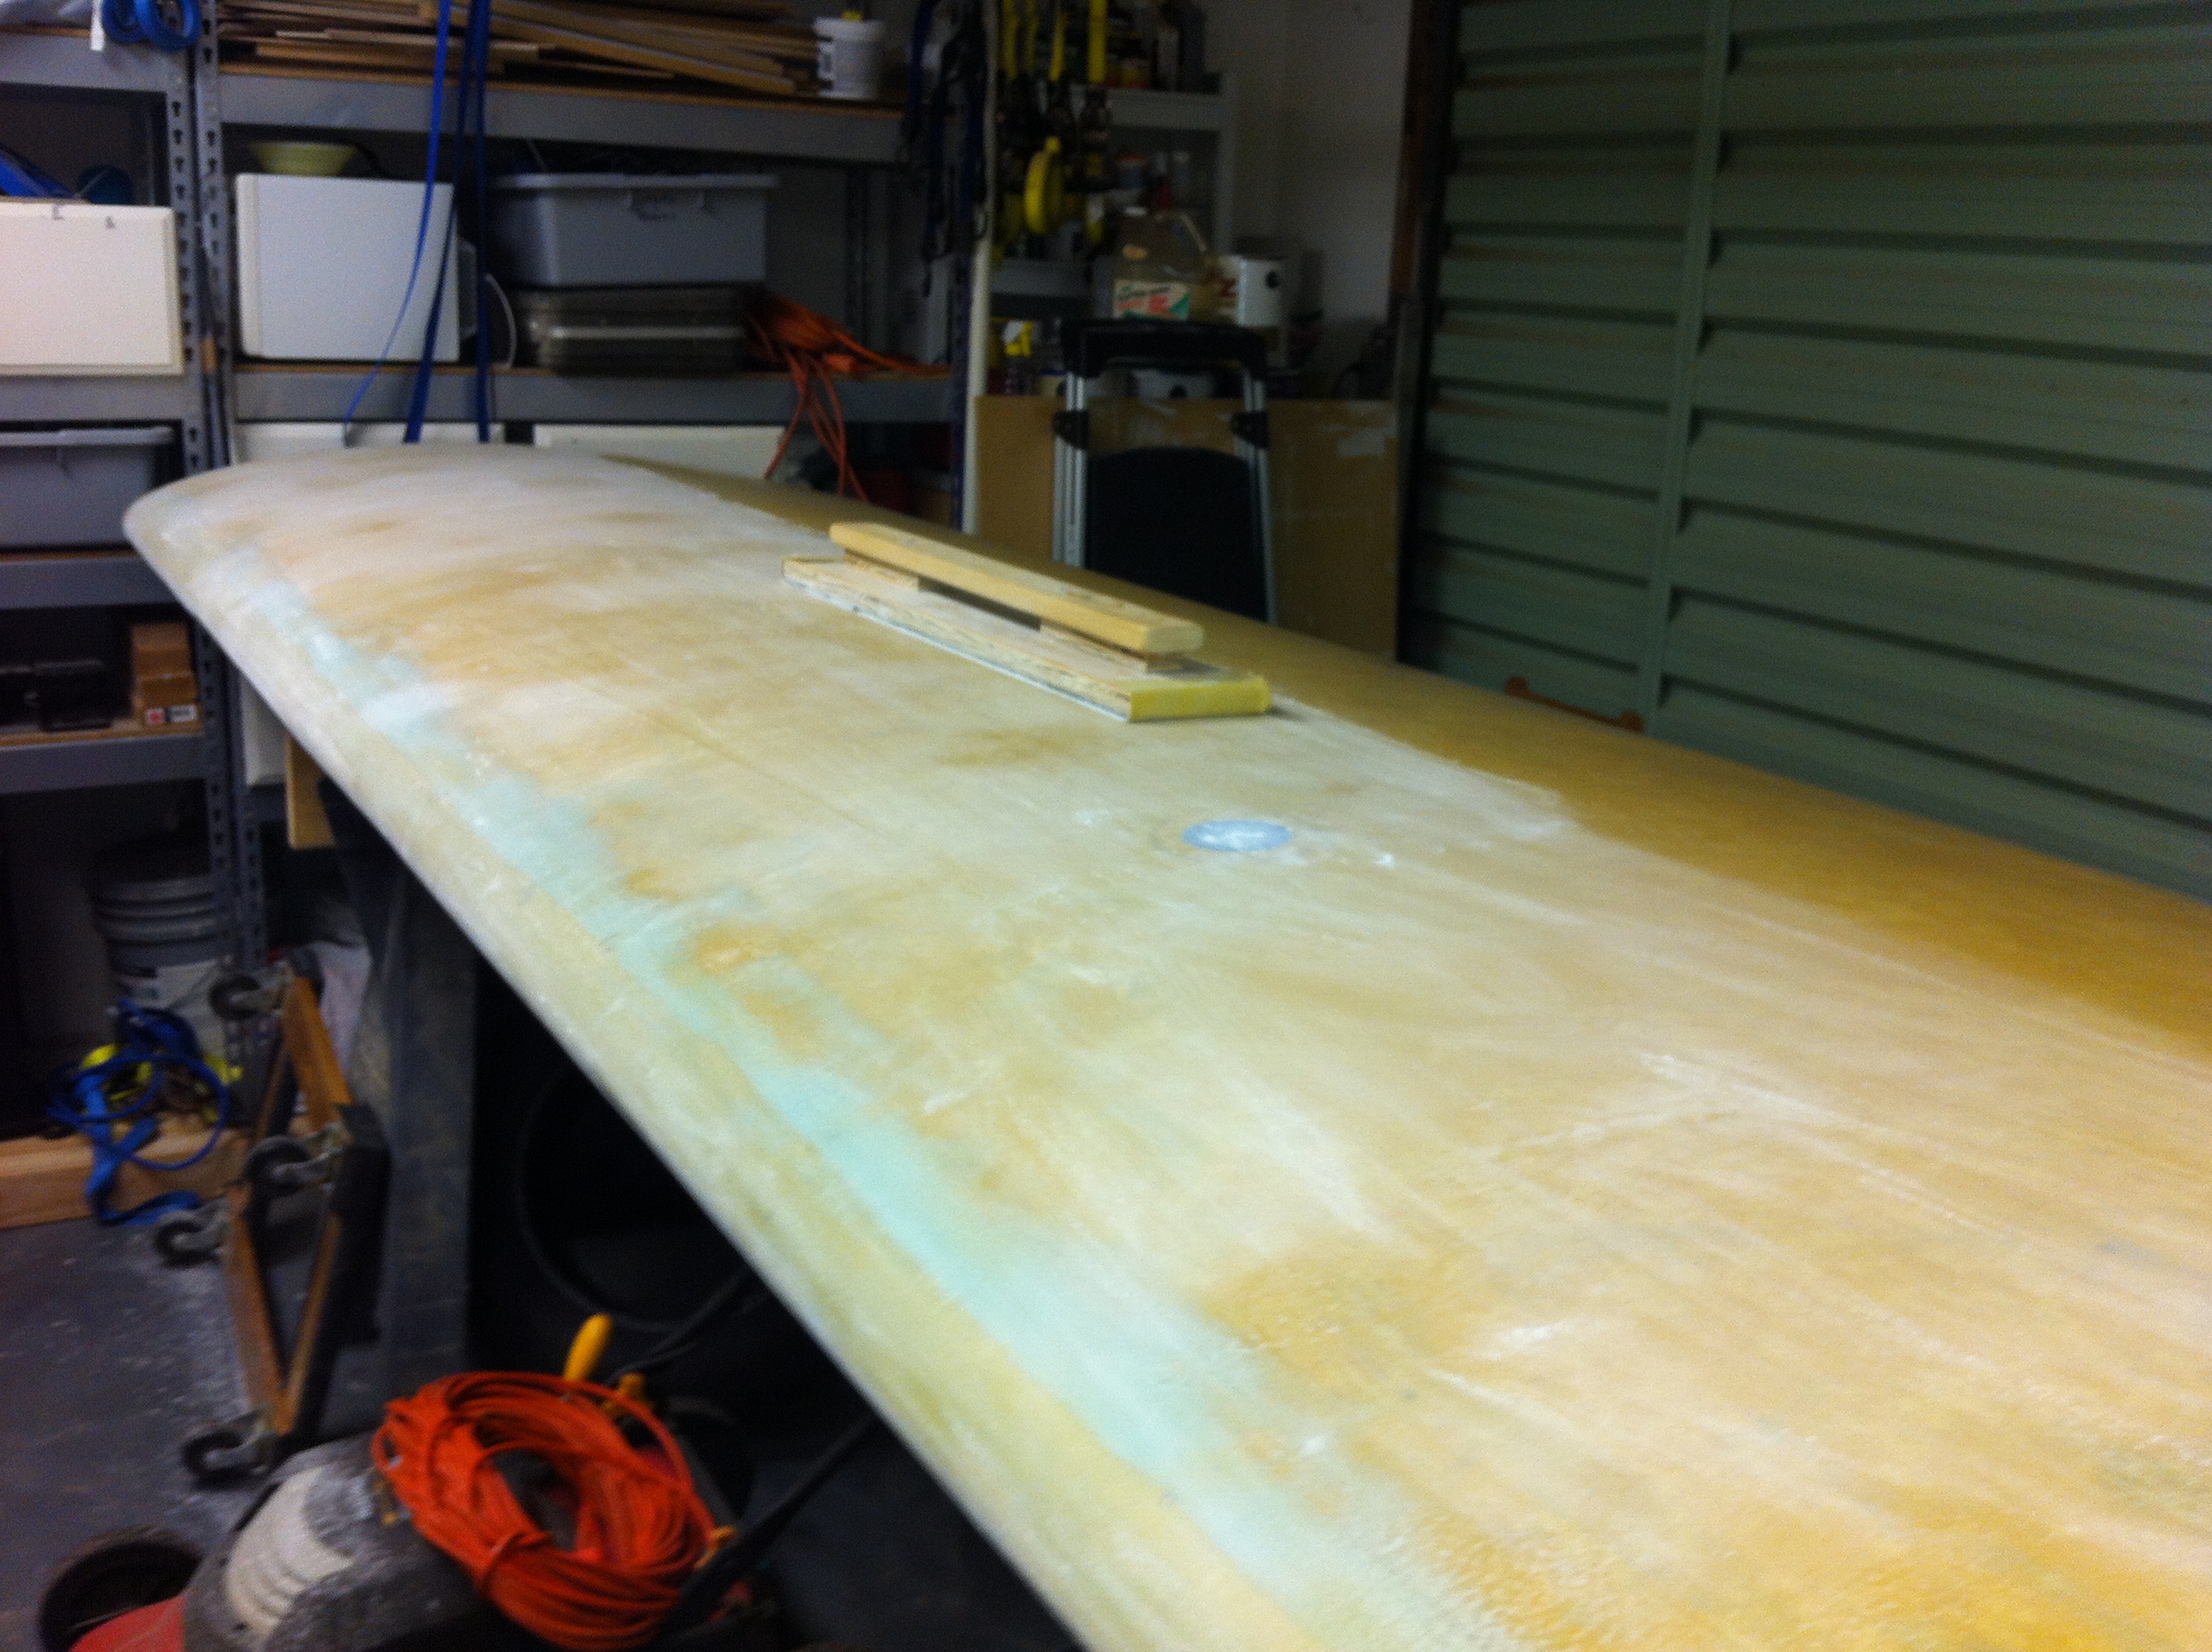
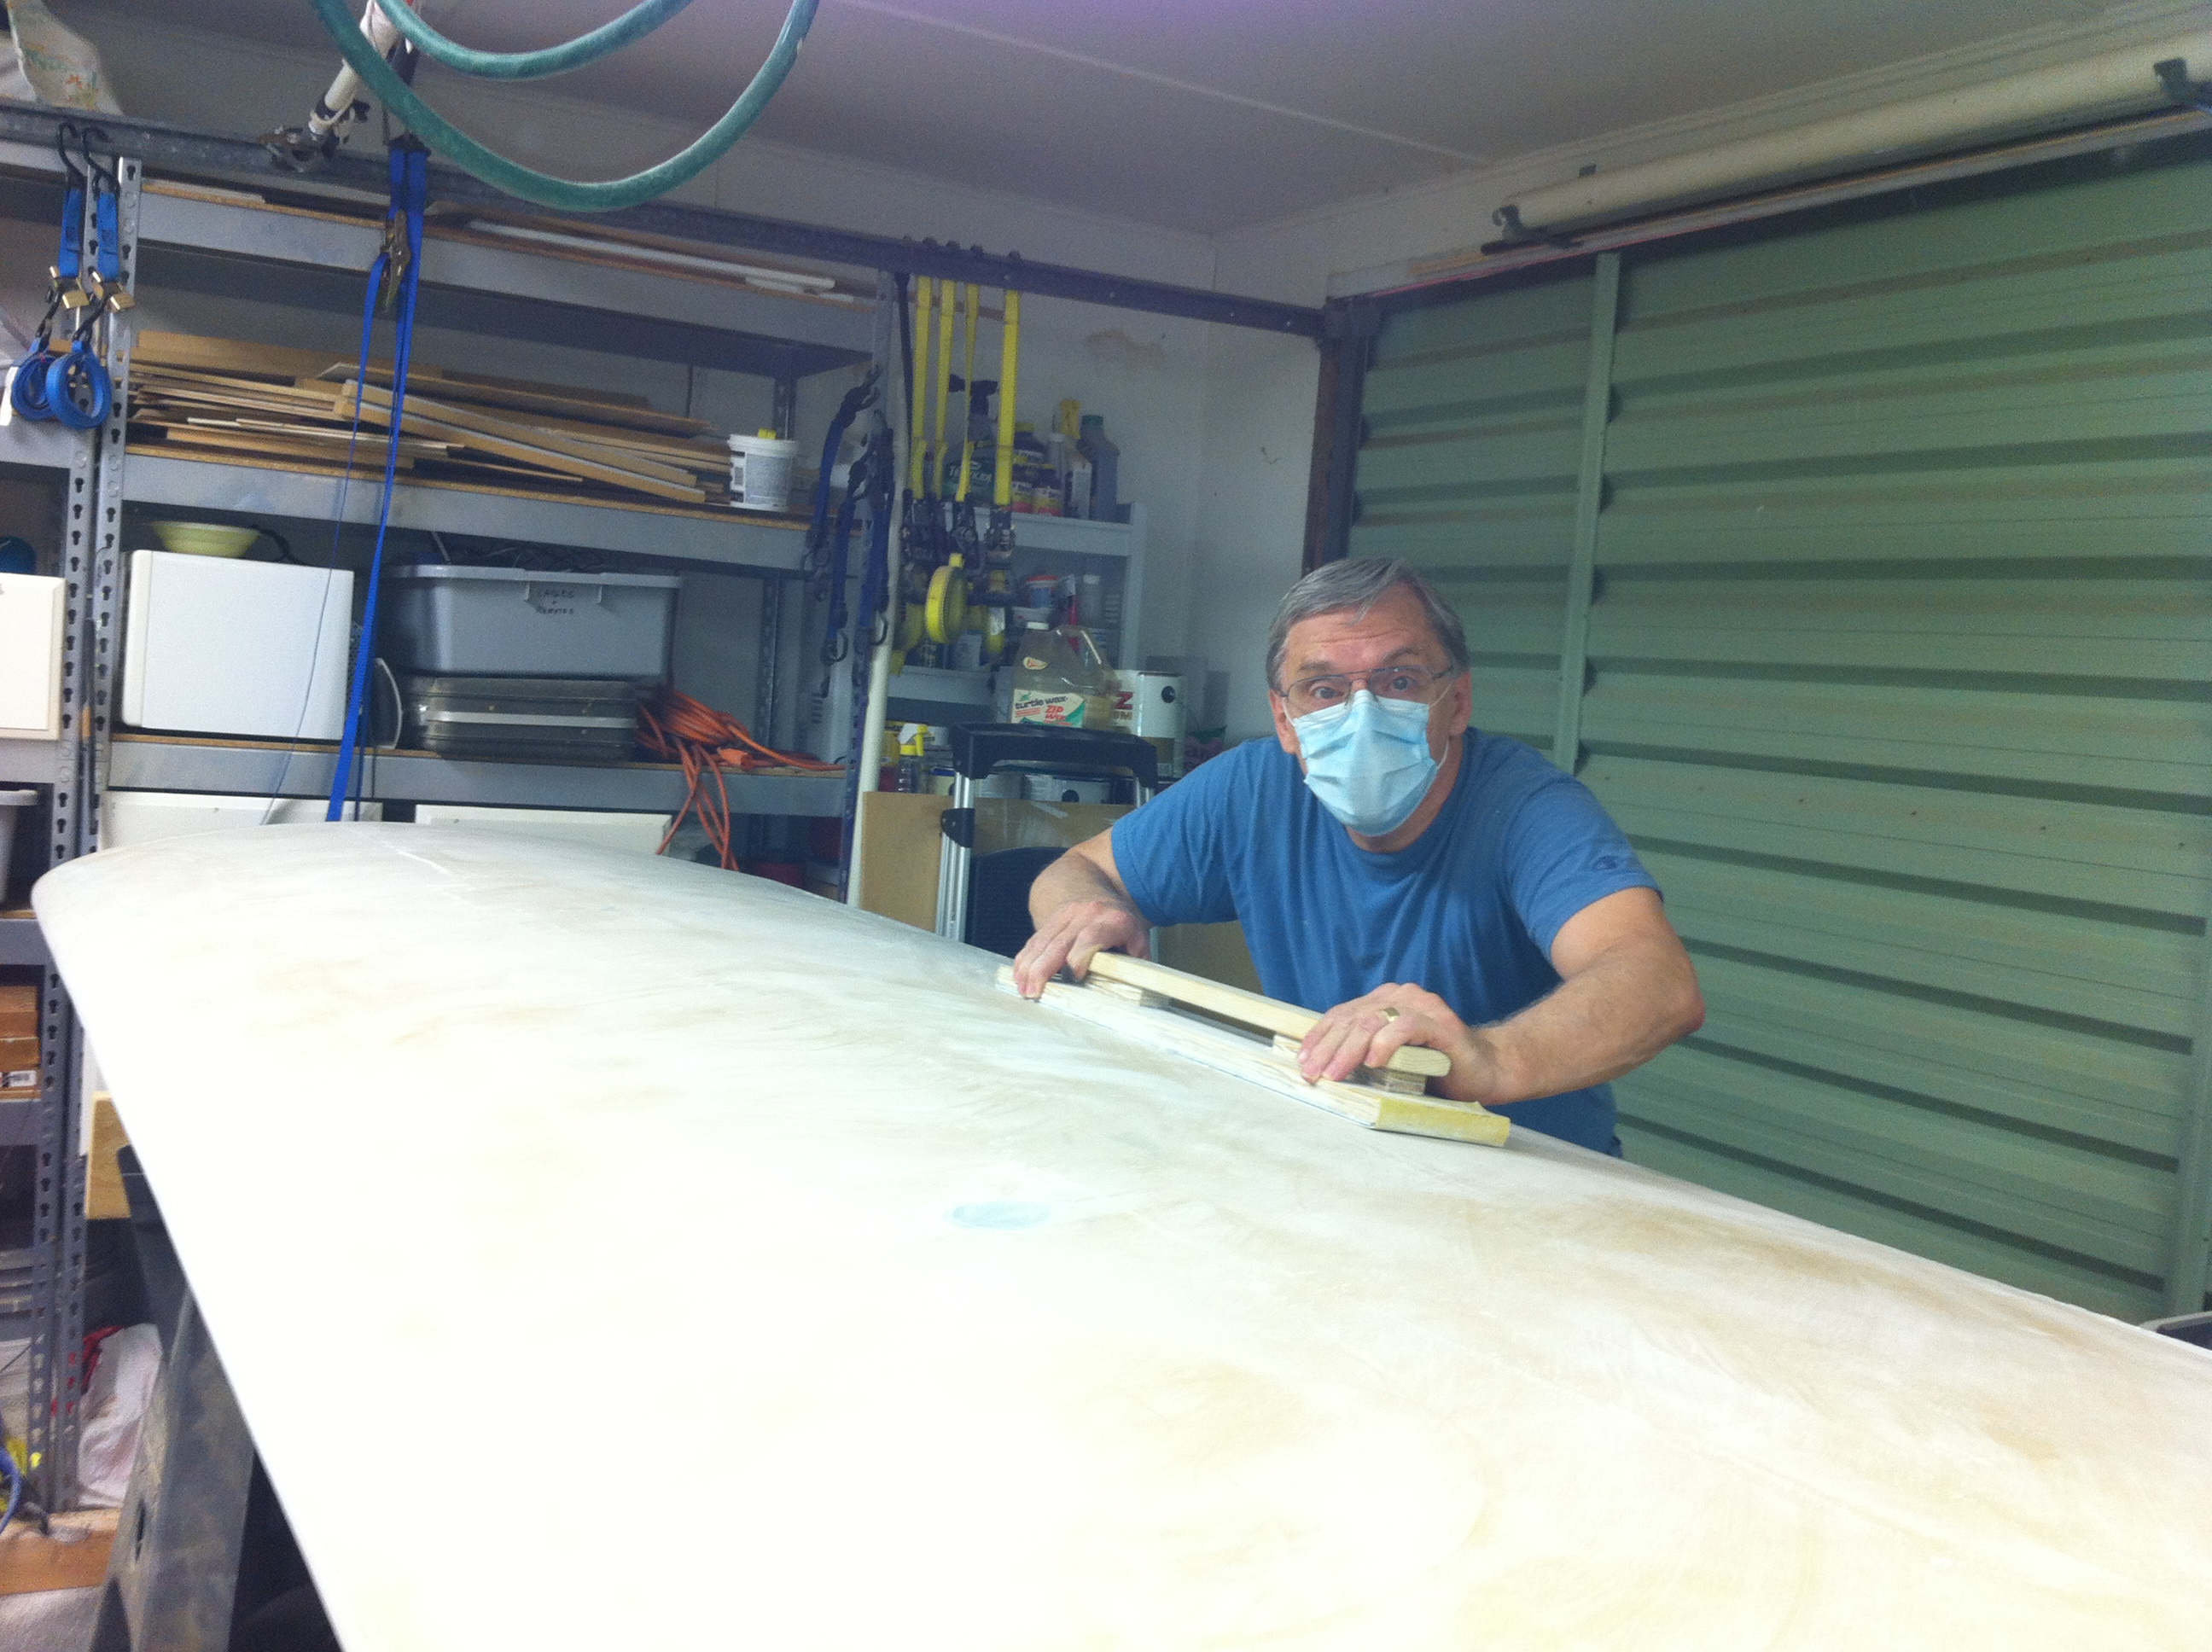
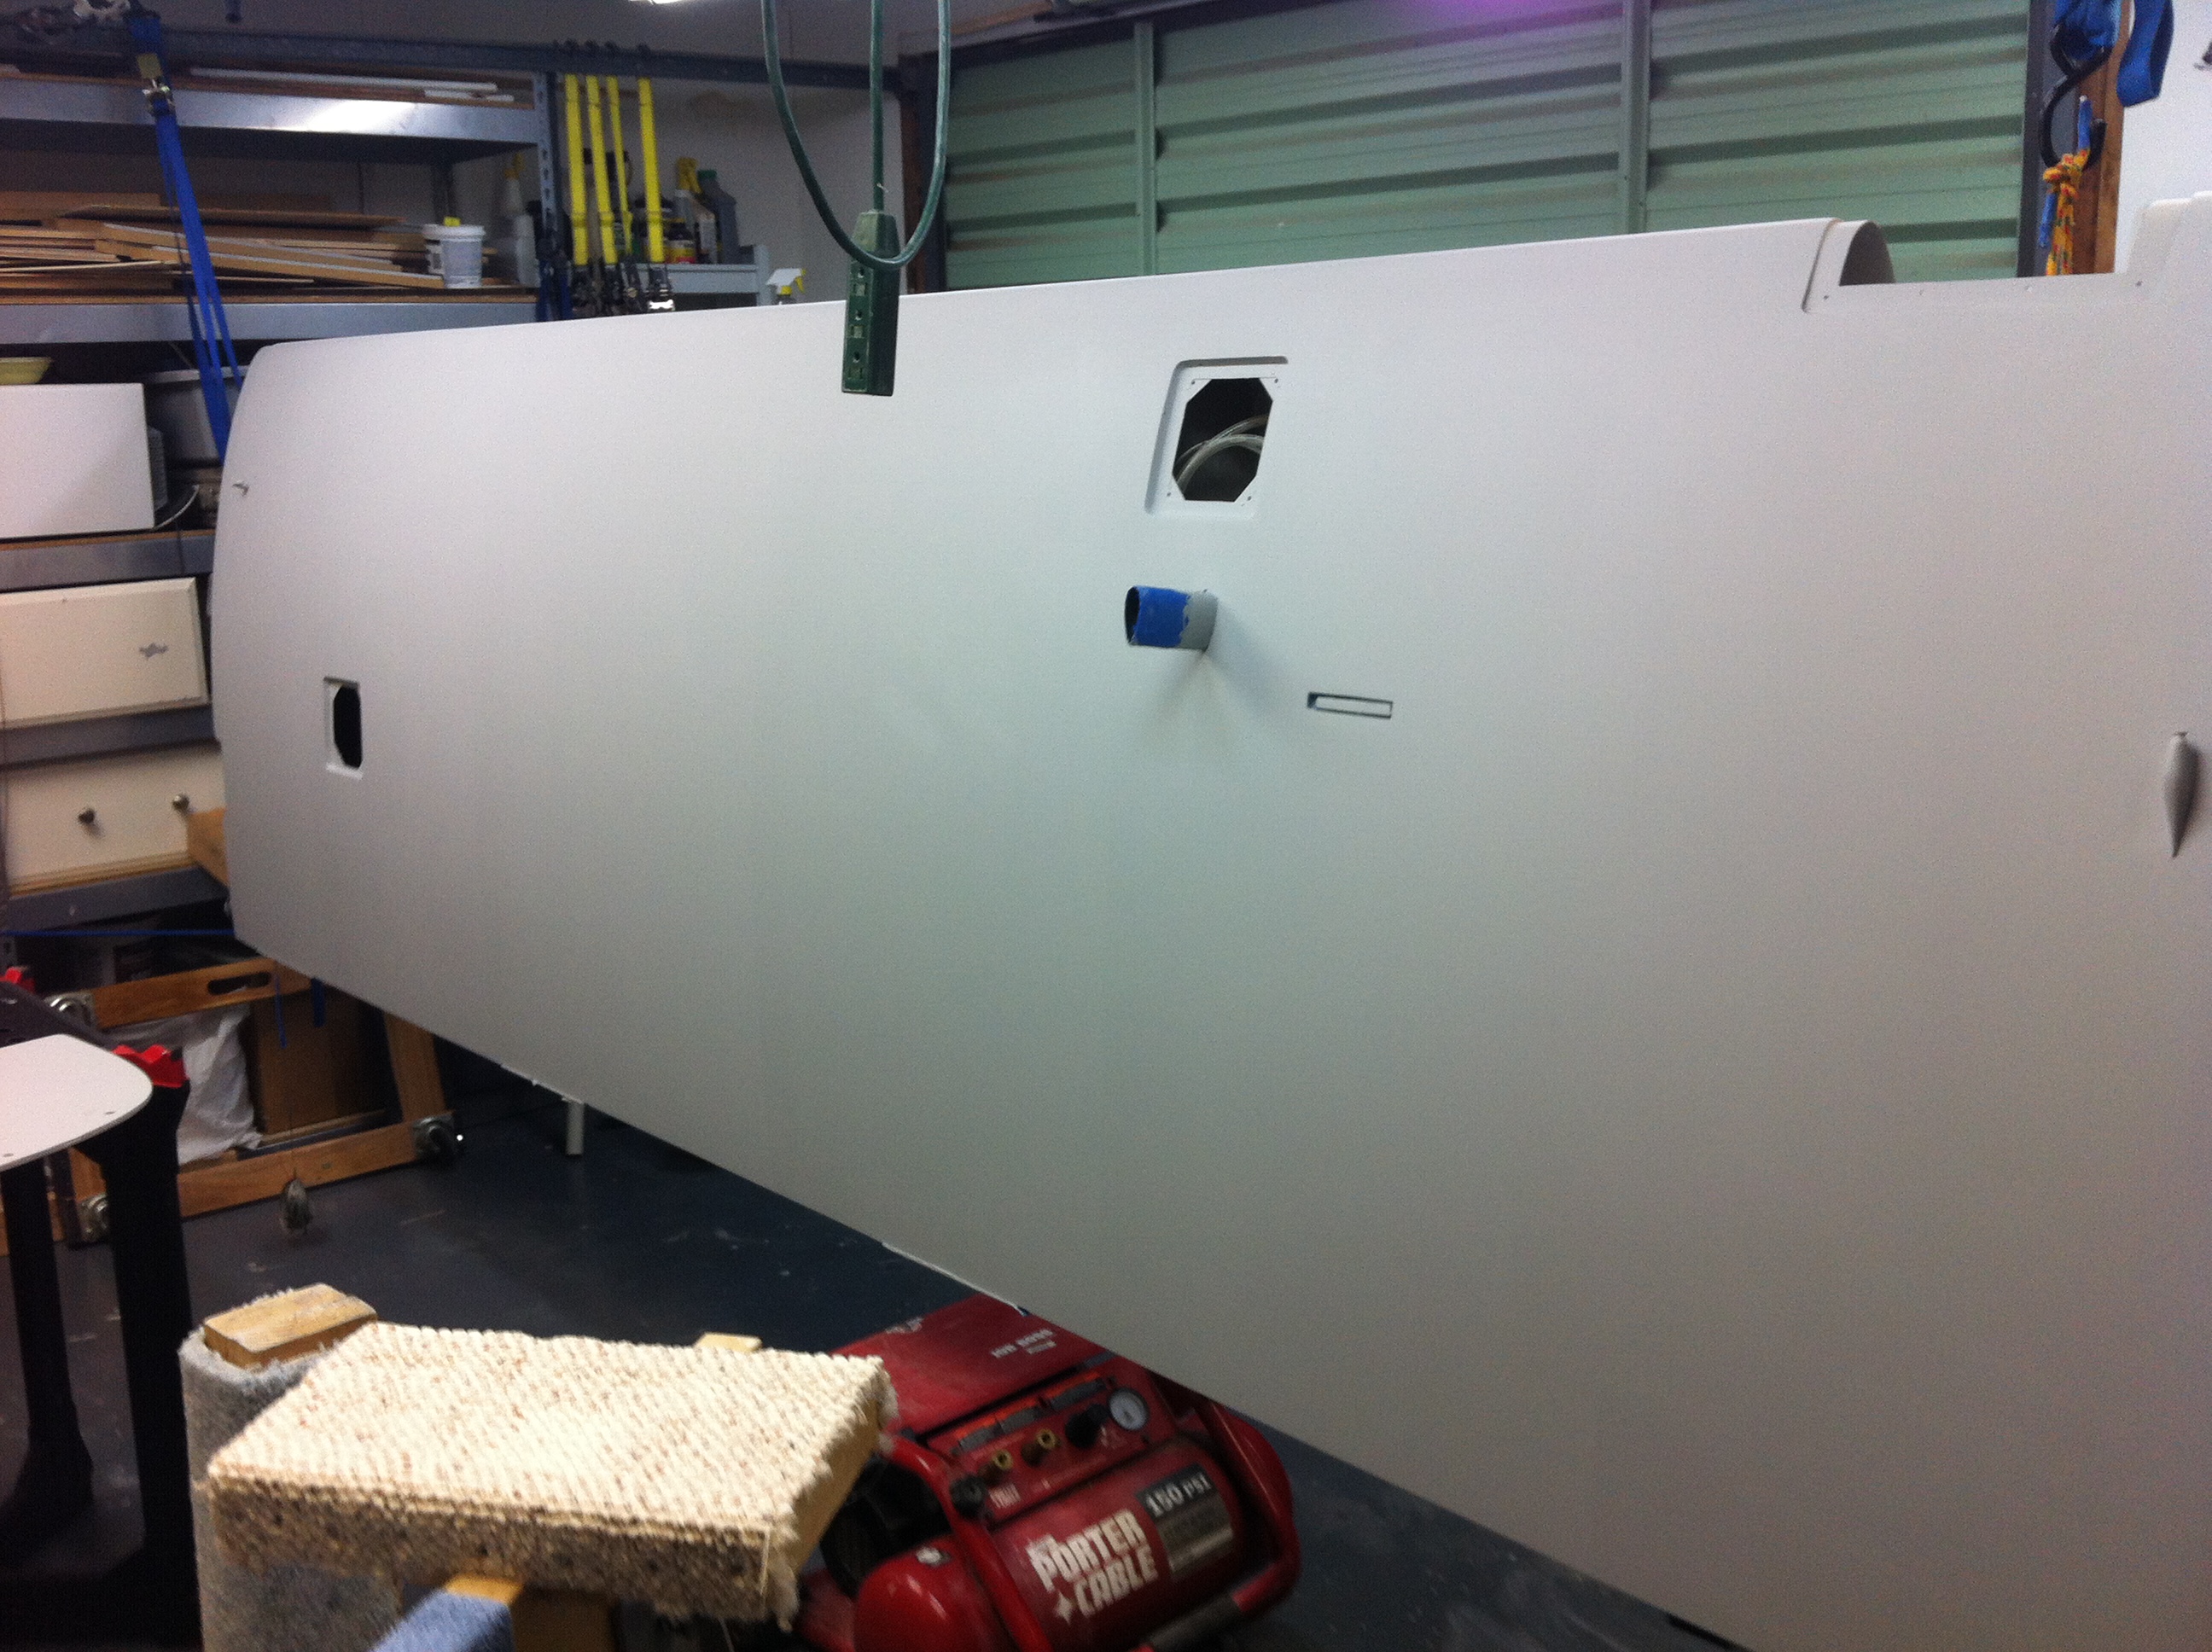
| The
glass and epoxy is sanded again using a wide fine grade paper using a
long board. Once the final sanding is complete, the wing would be
primed. |
|
 |
 |
|
 |
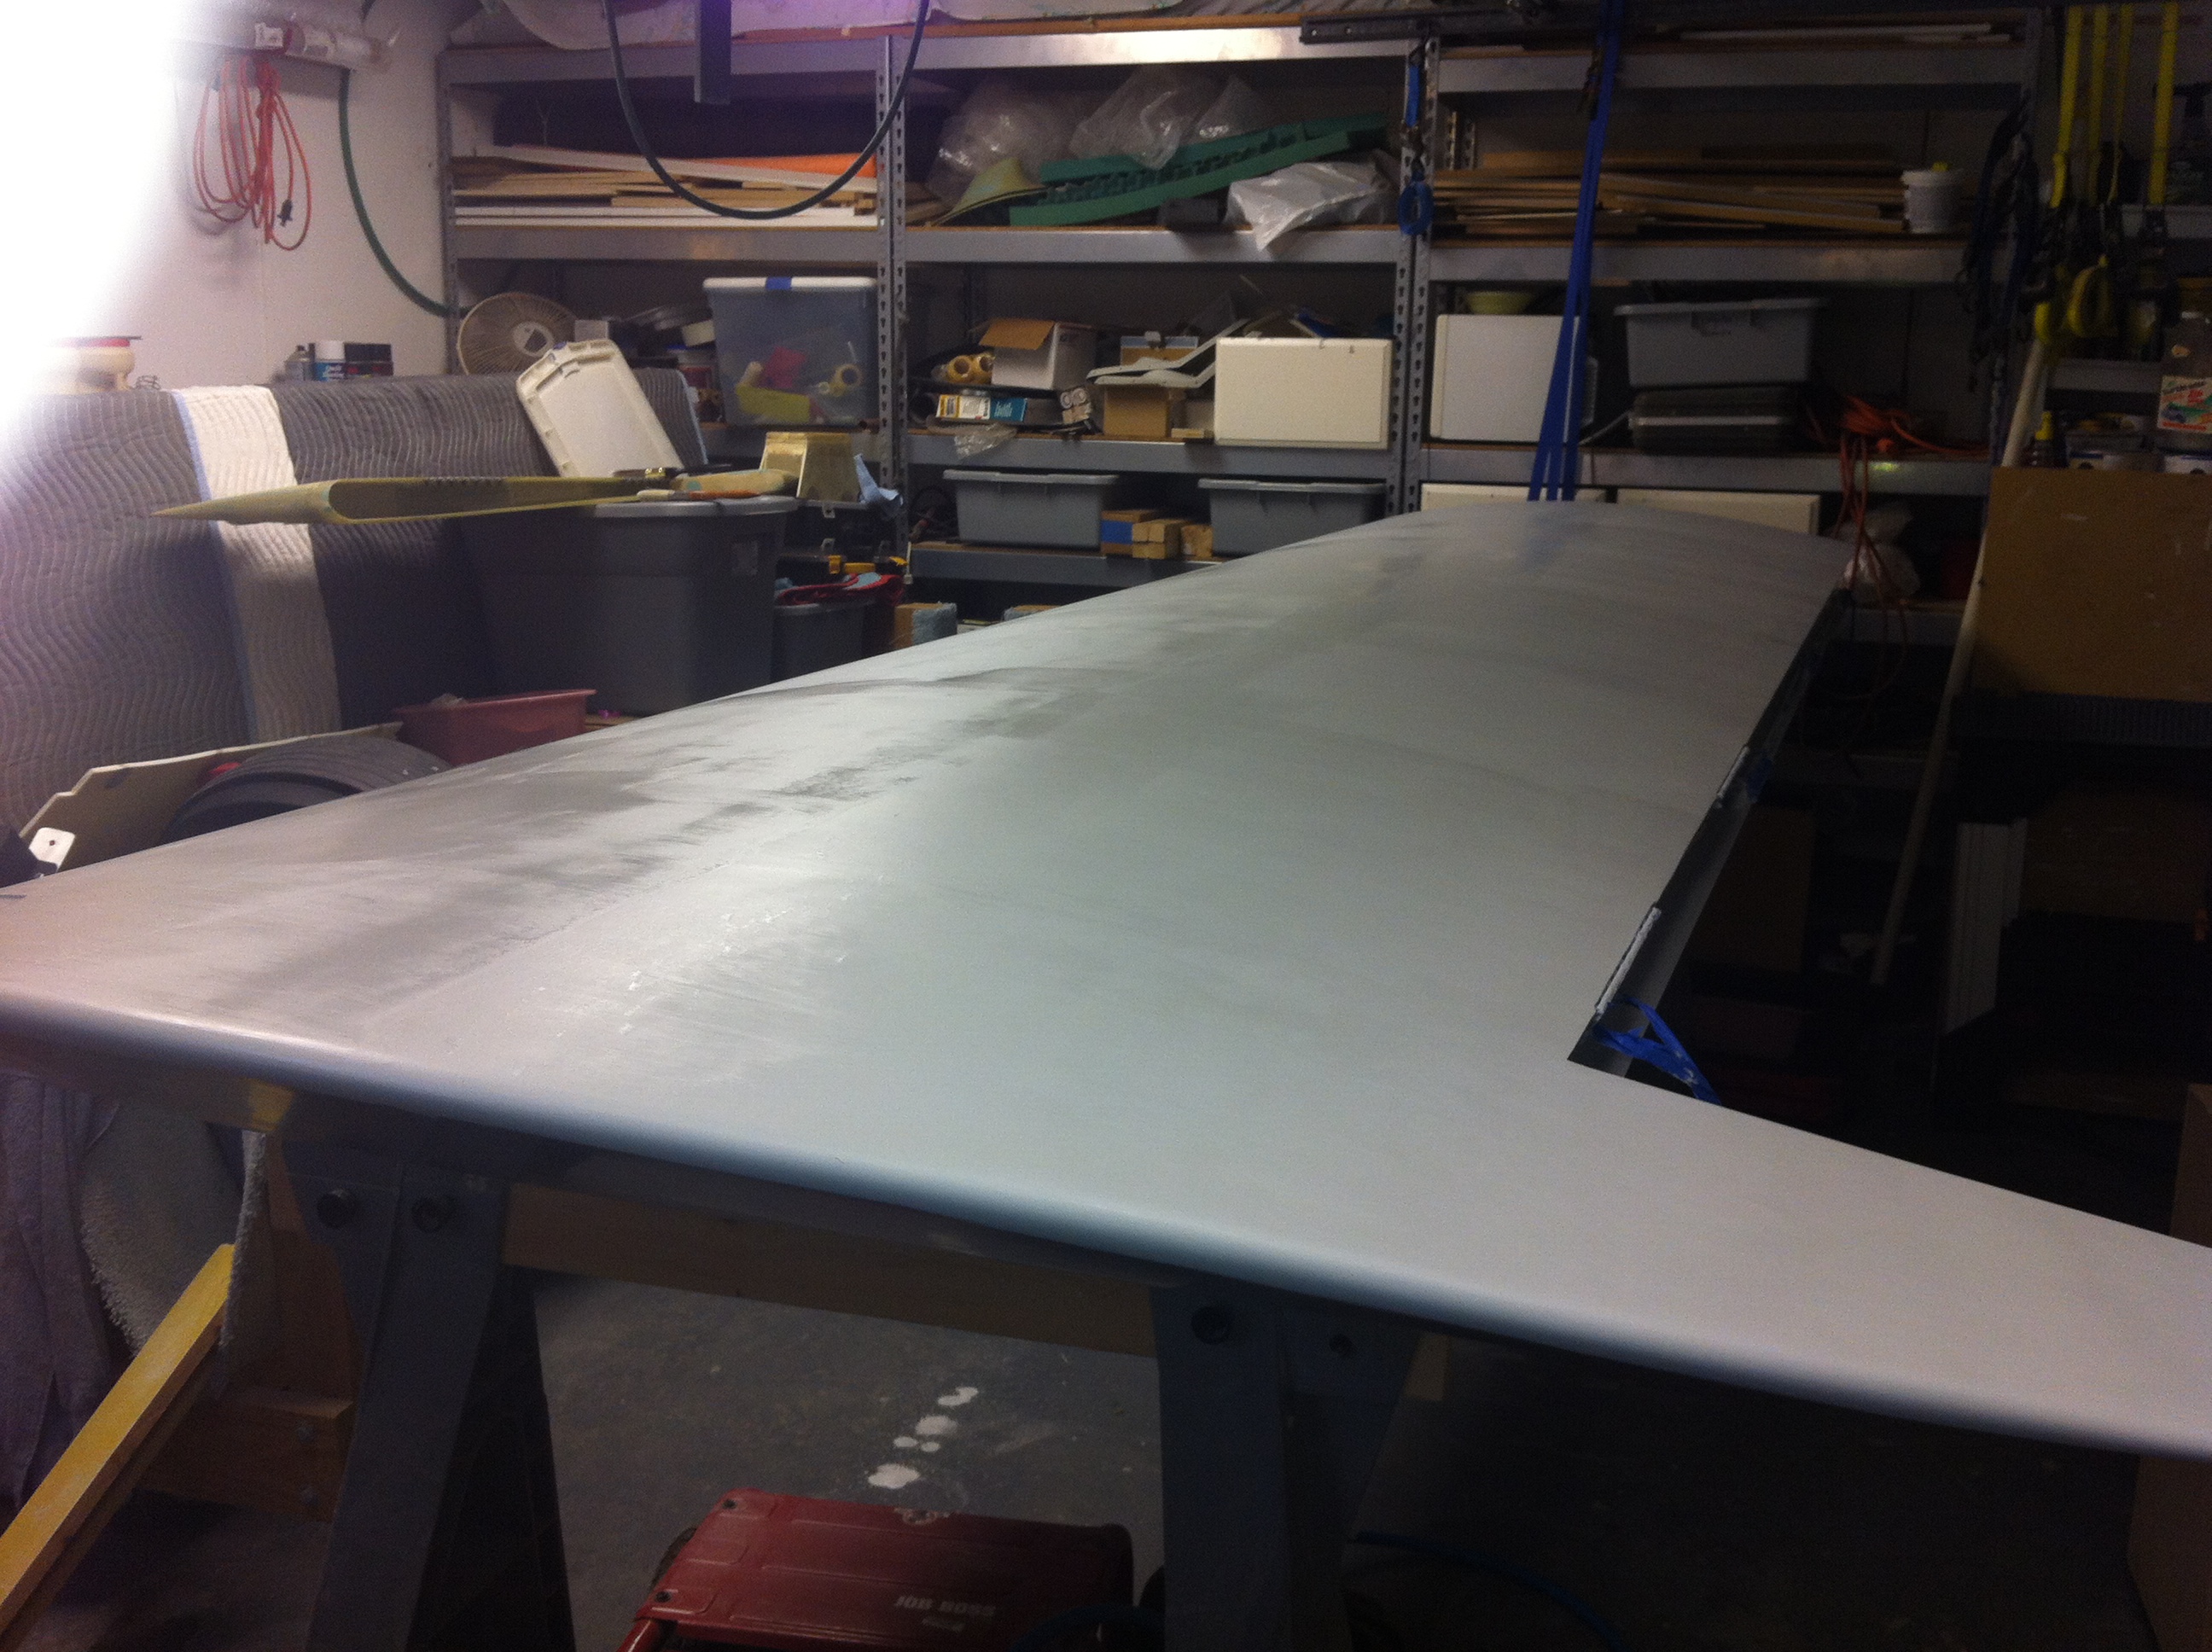
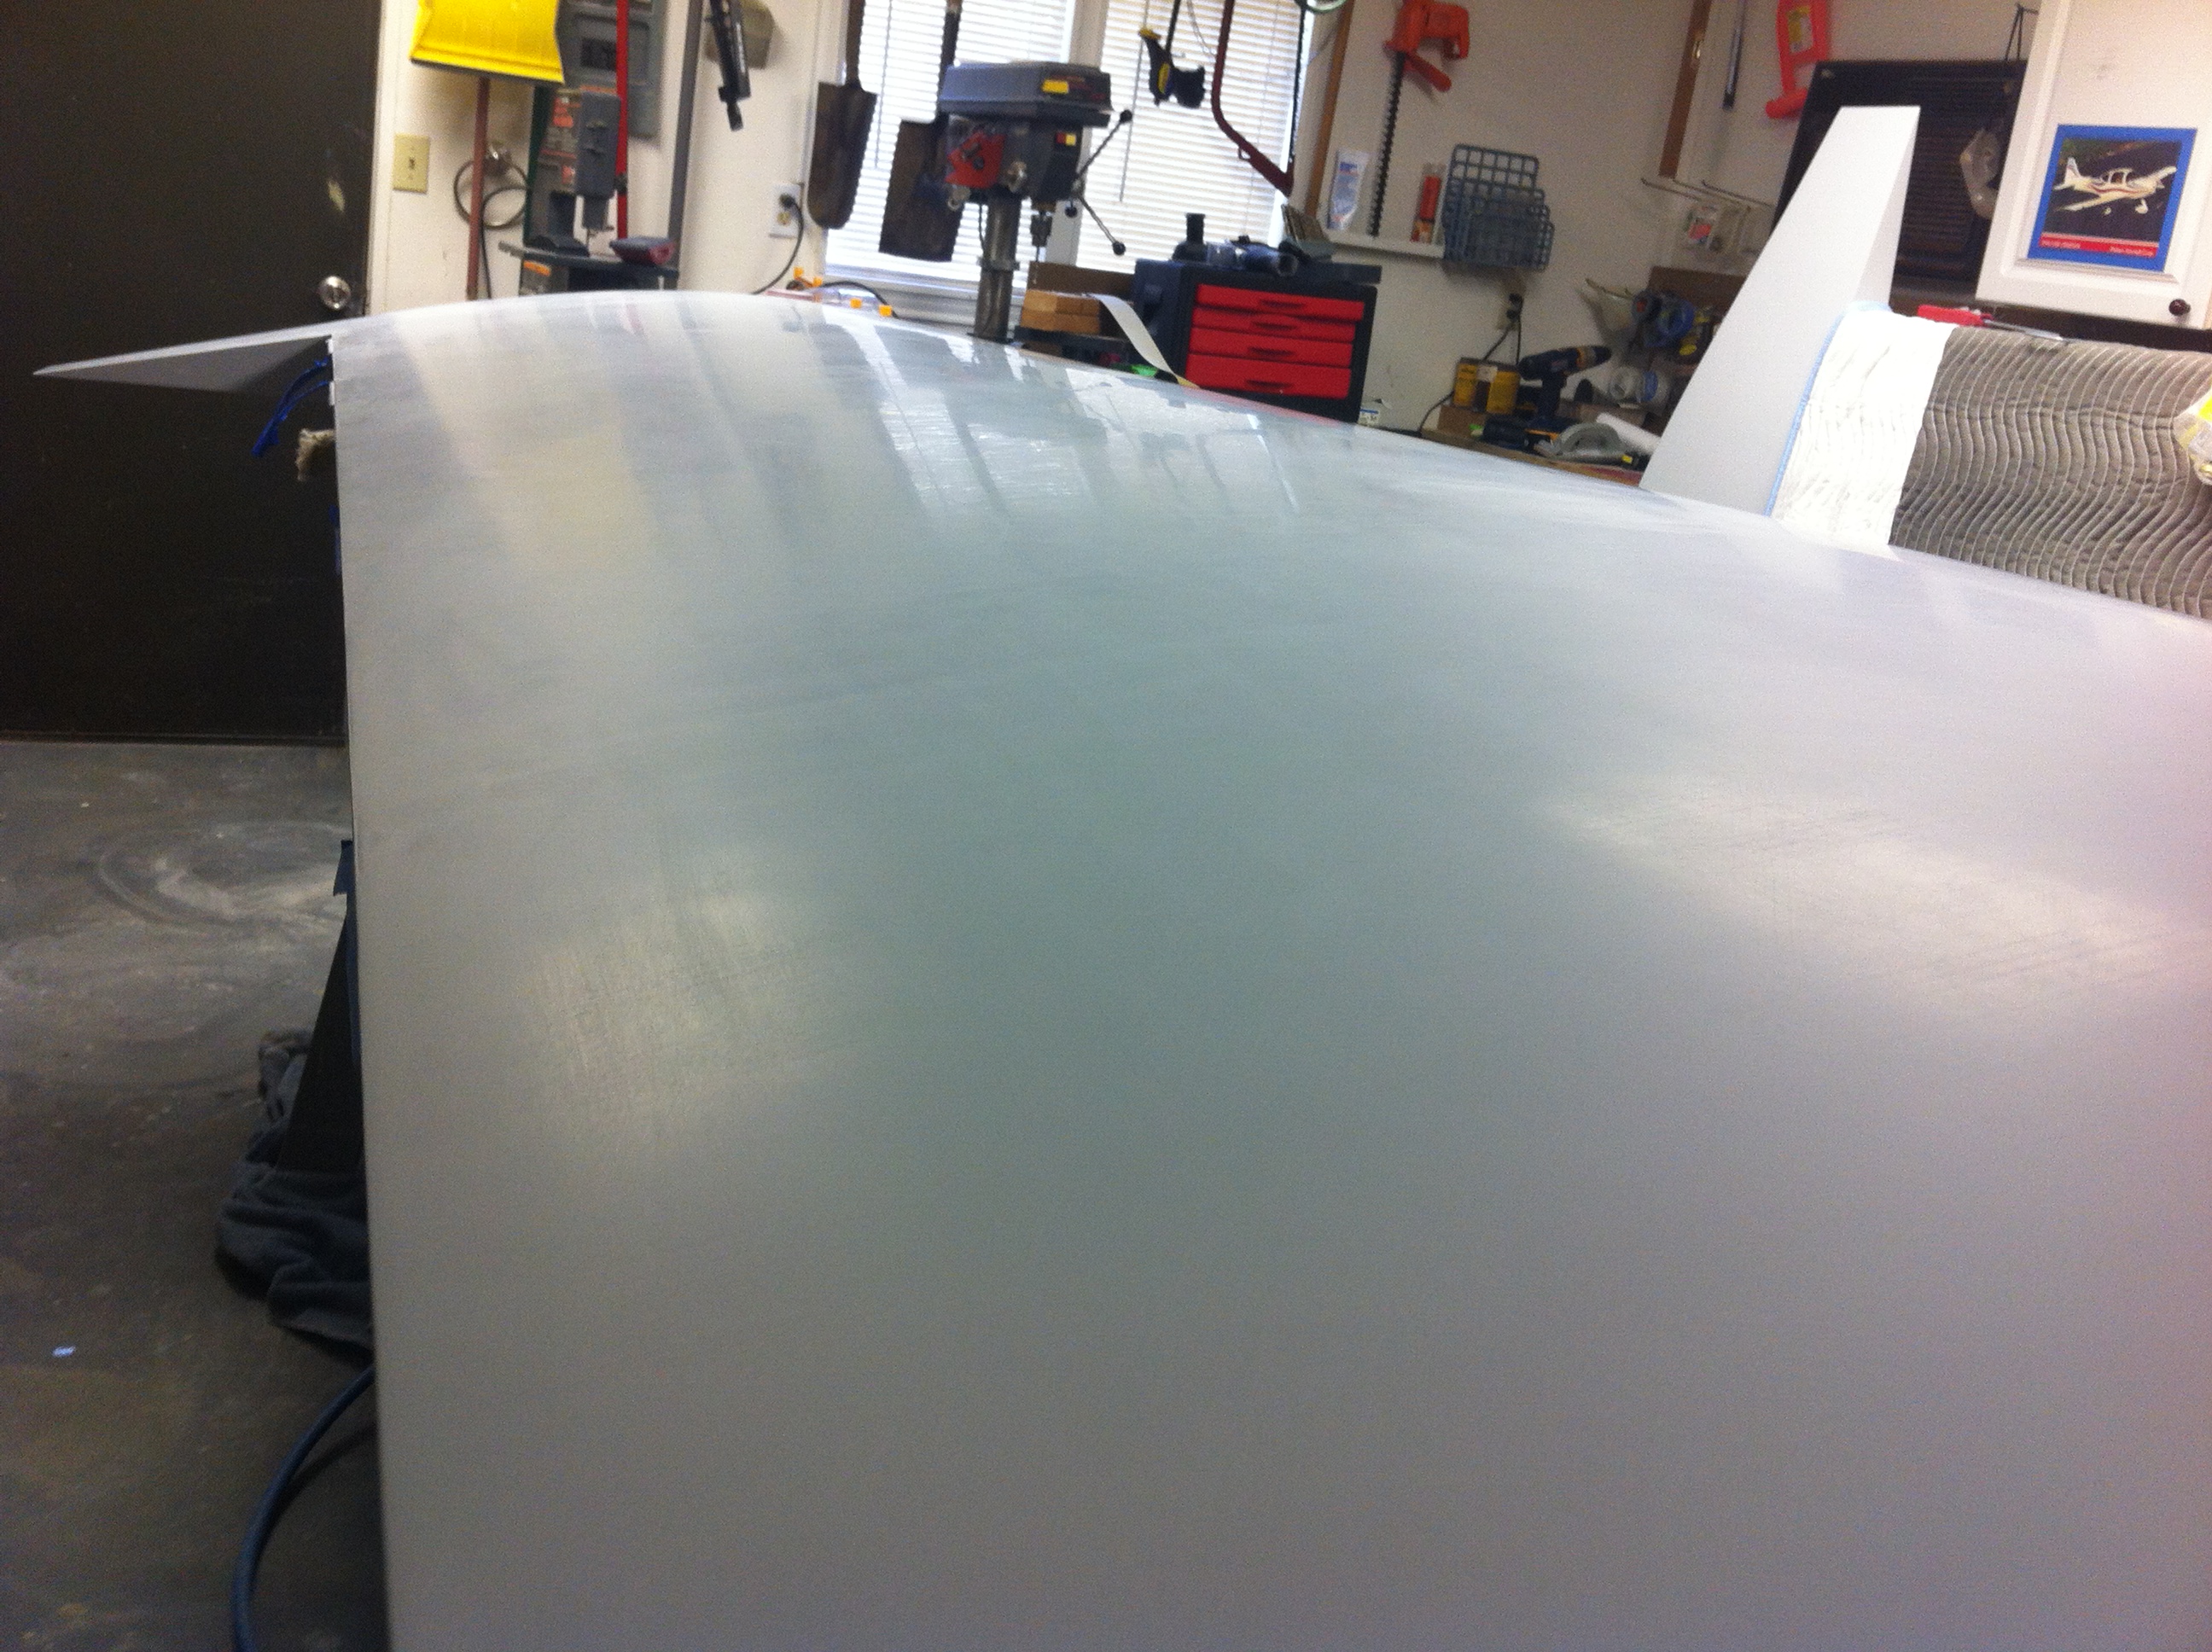
| Multiple coats of primer and sanding between coats produces a super almost mirror like finish on the primer. |
|
 |
 |
 |
 |
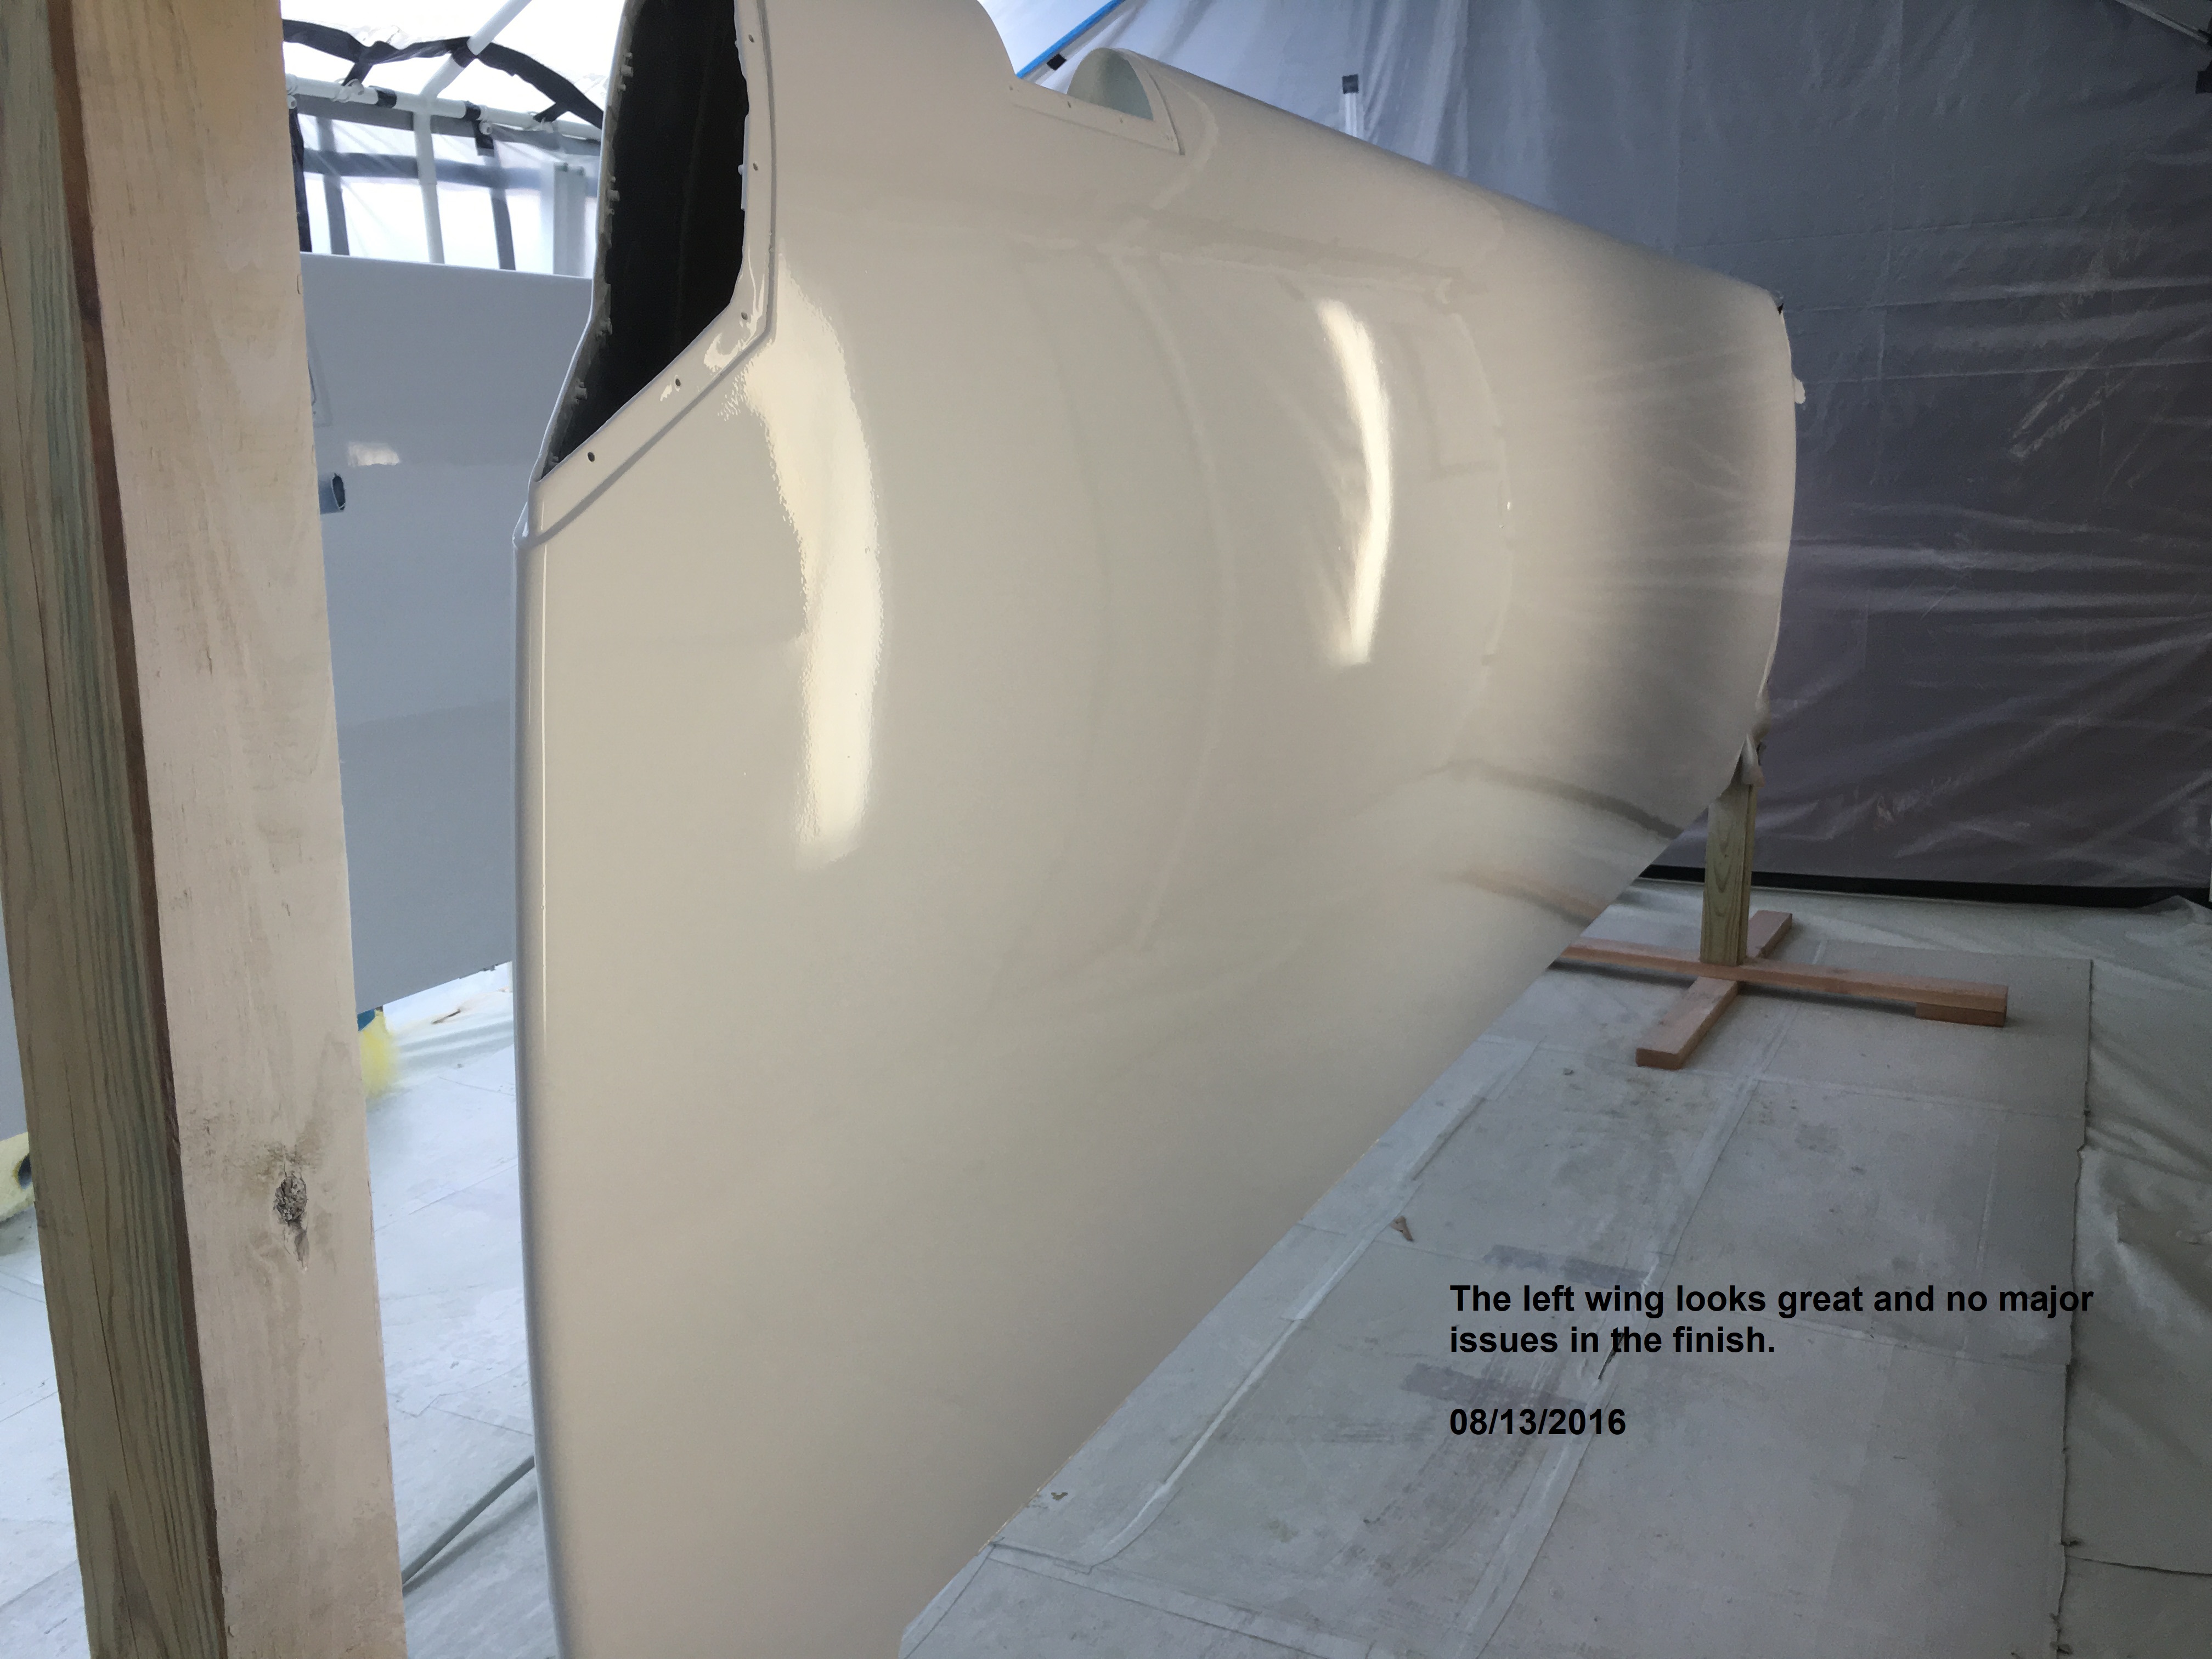
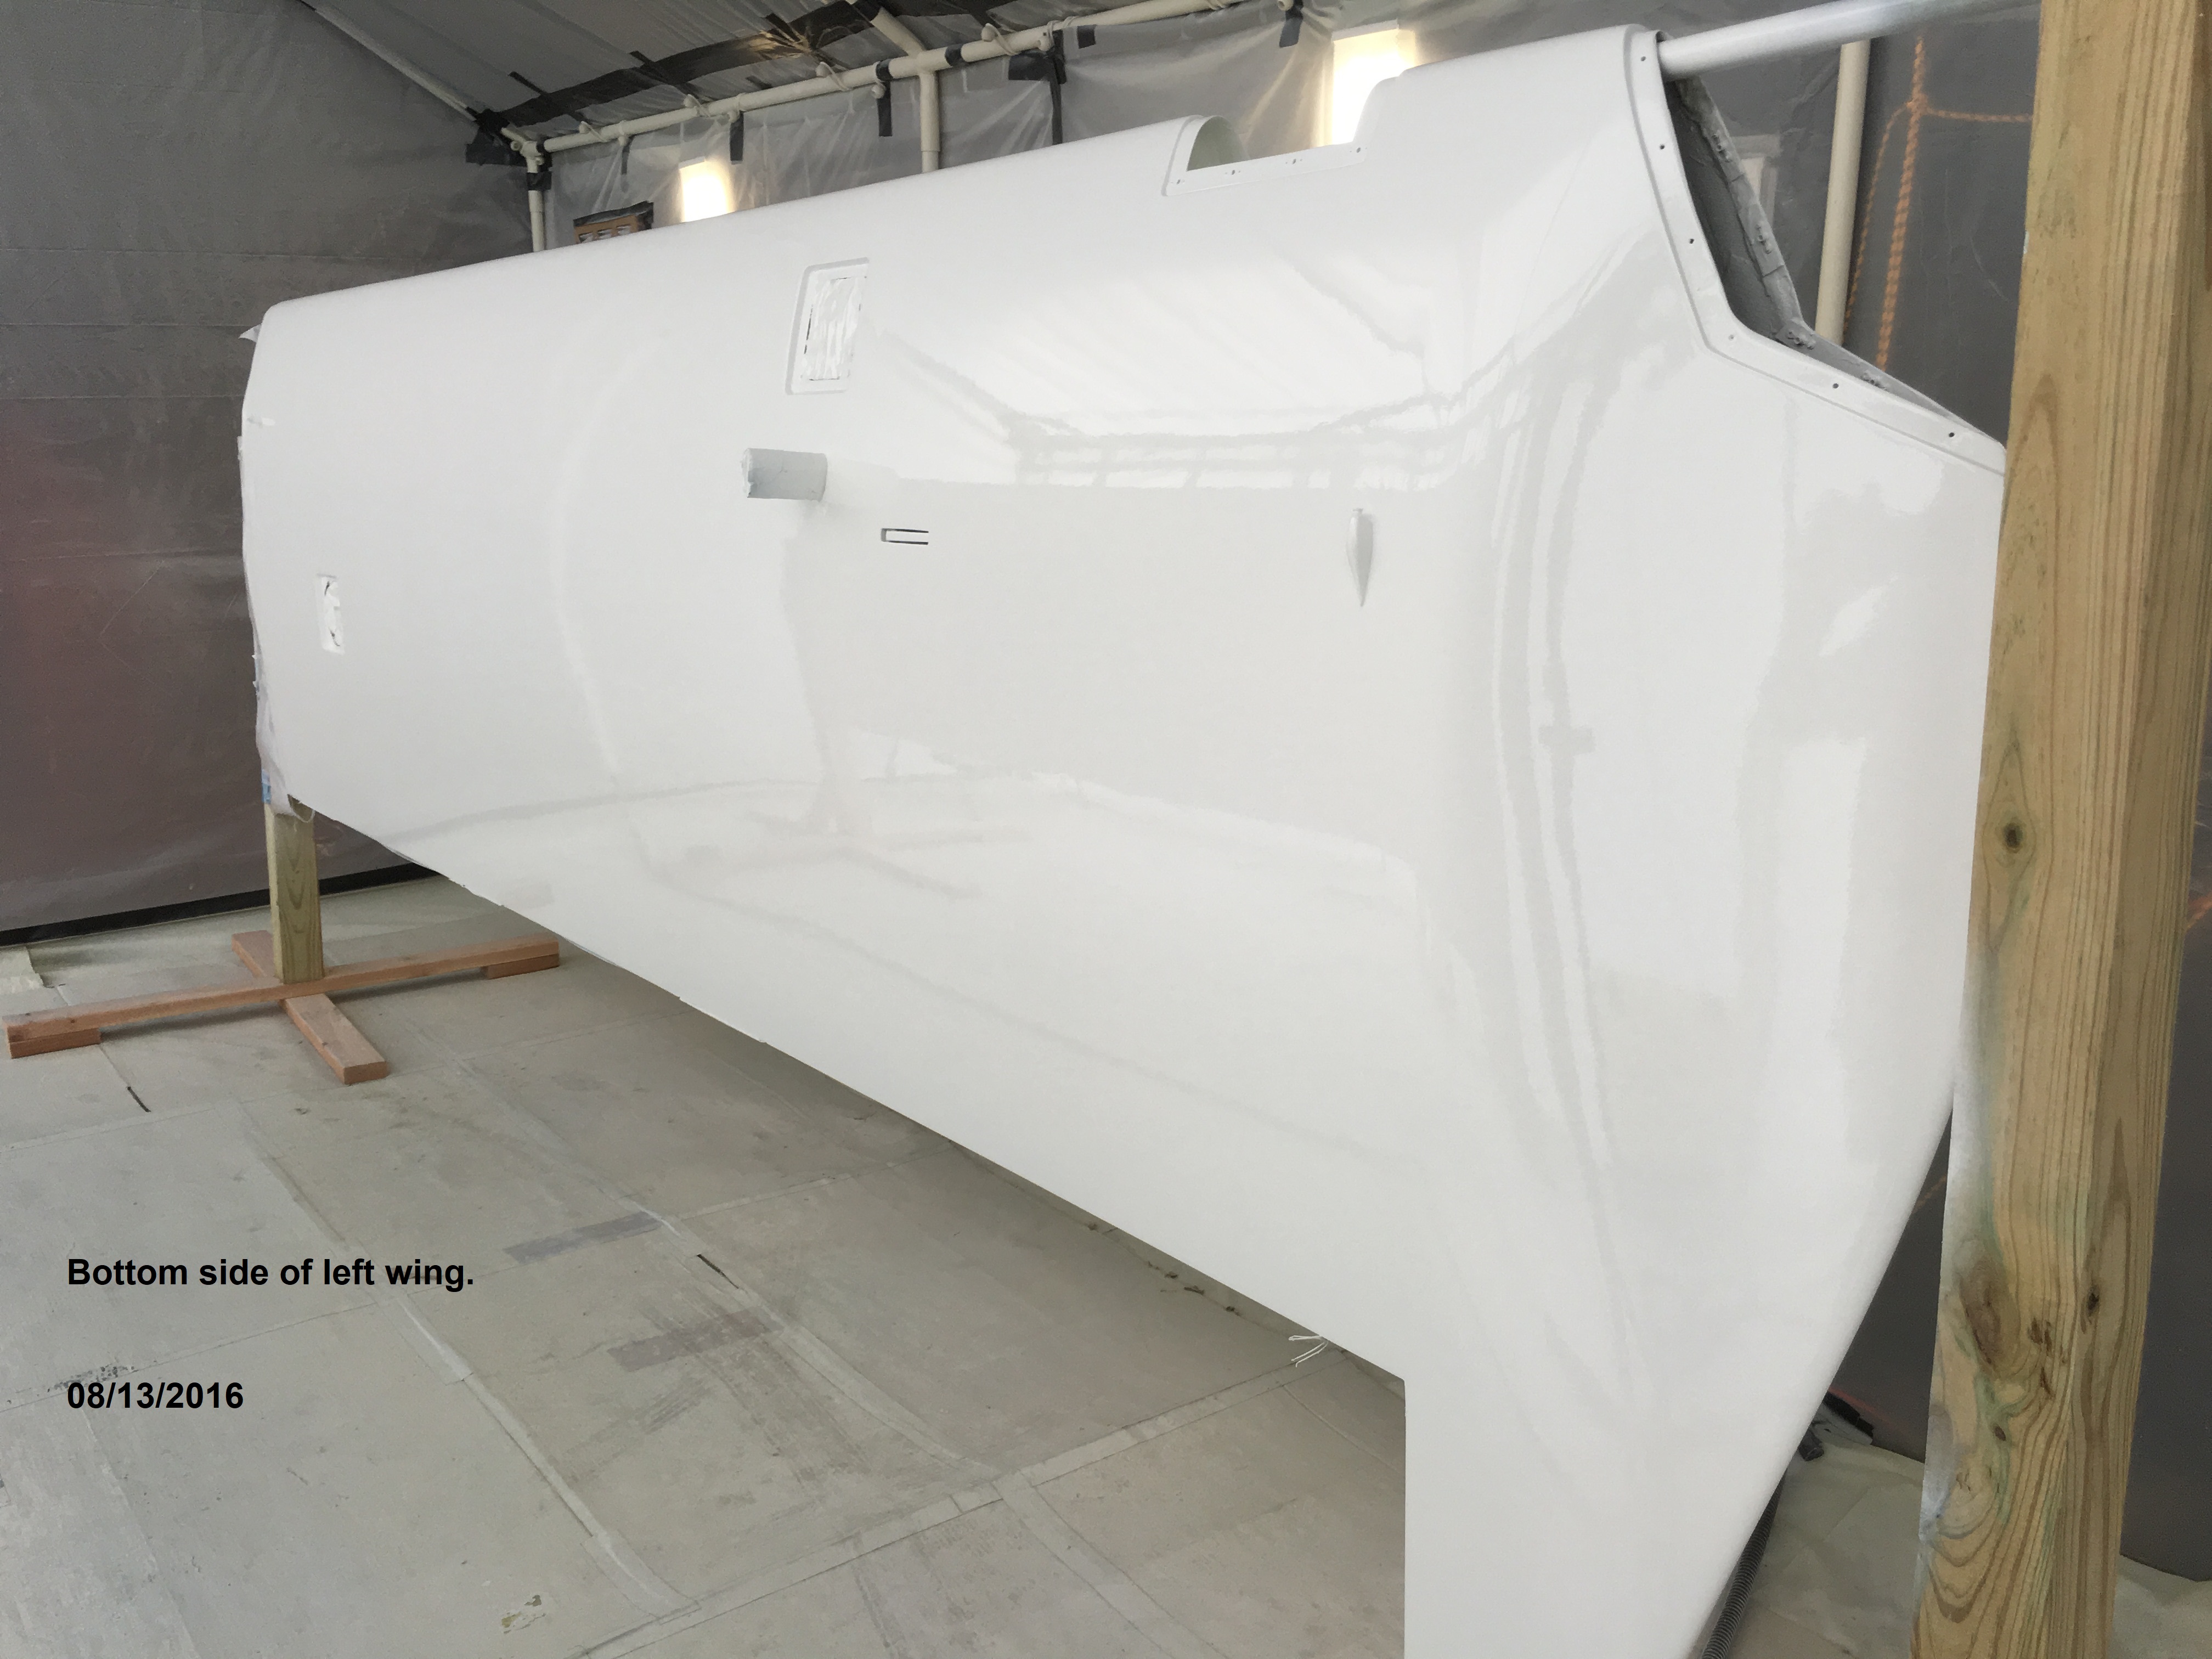
| I
did make one major mistake in the wing finish process that I came to
regret. The length of time between priming the wings and the
final painting of the wings was months/years and as a result the final
paint did not bond properly with the primer and I had to repaint each
of the wings. The end result shown below came out good but NOT
great. |
|
 |
 |