
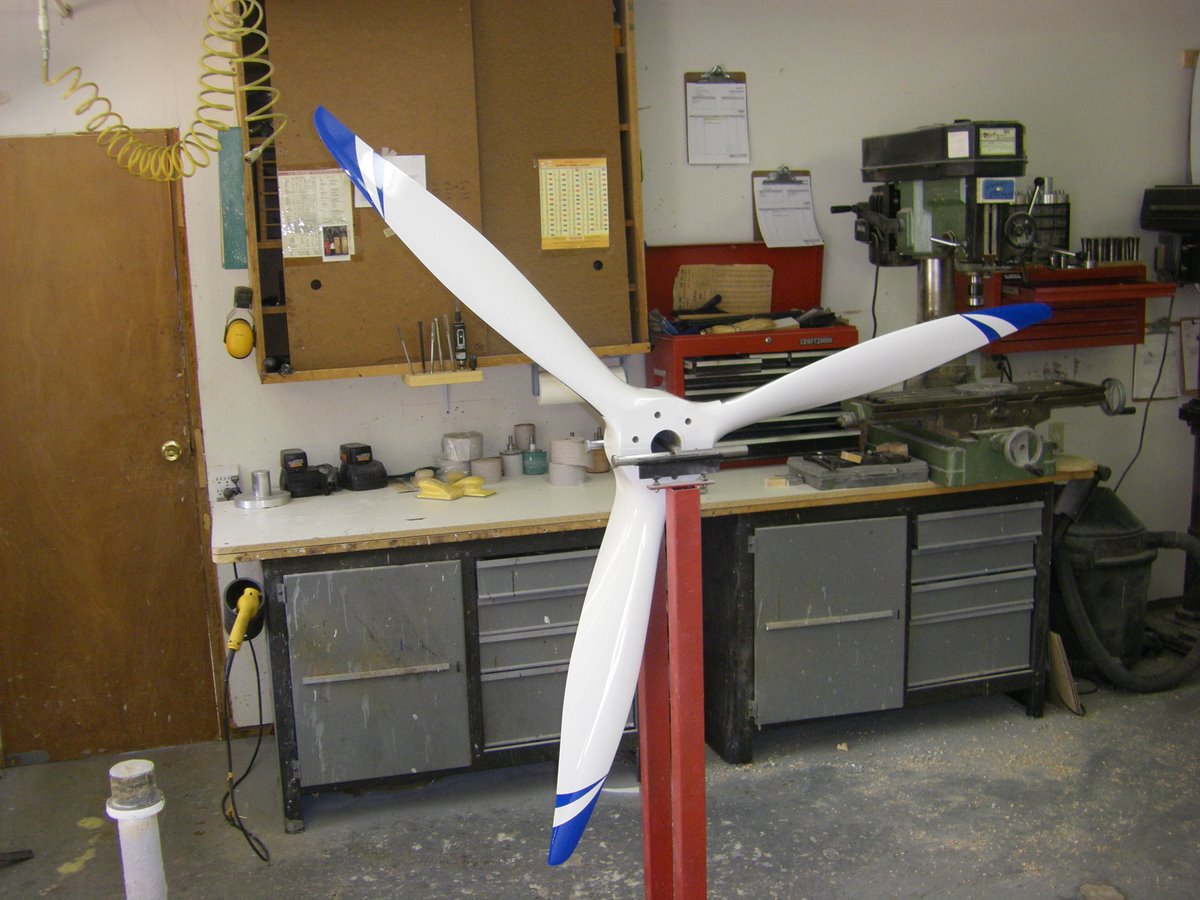
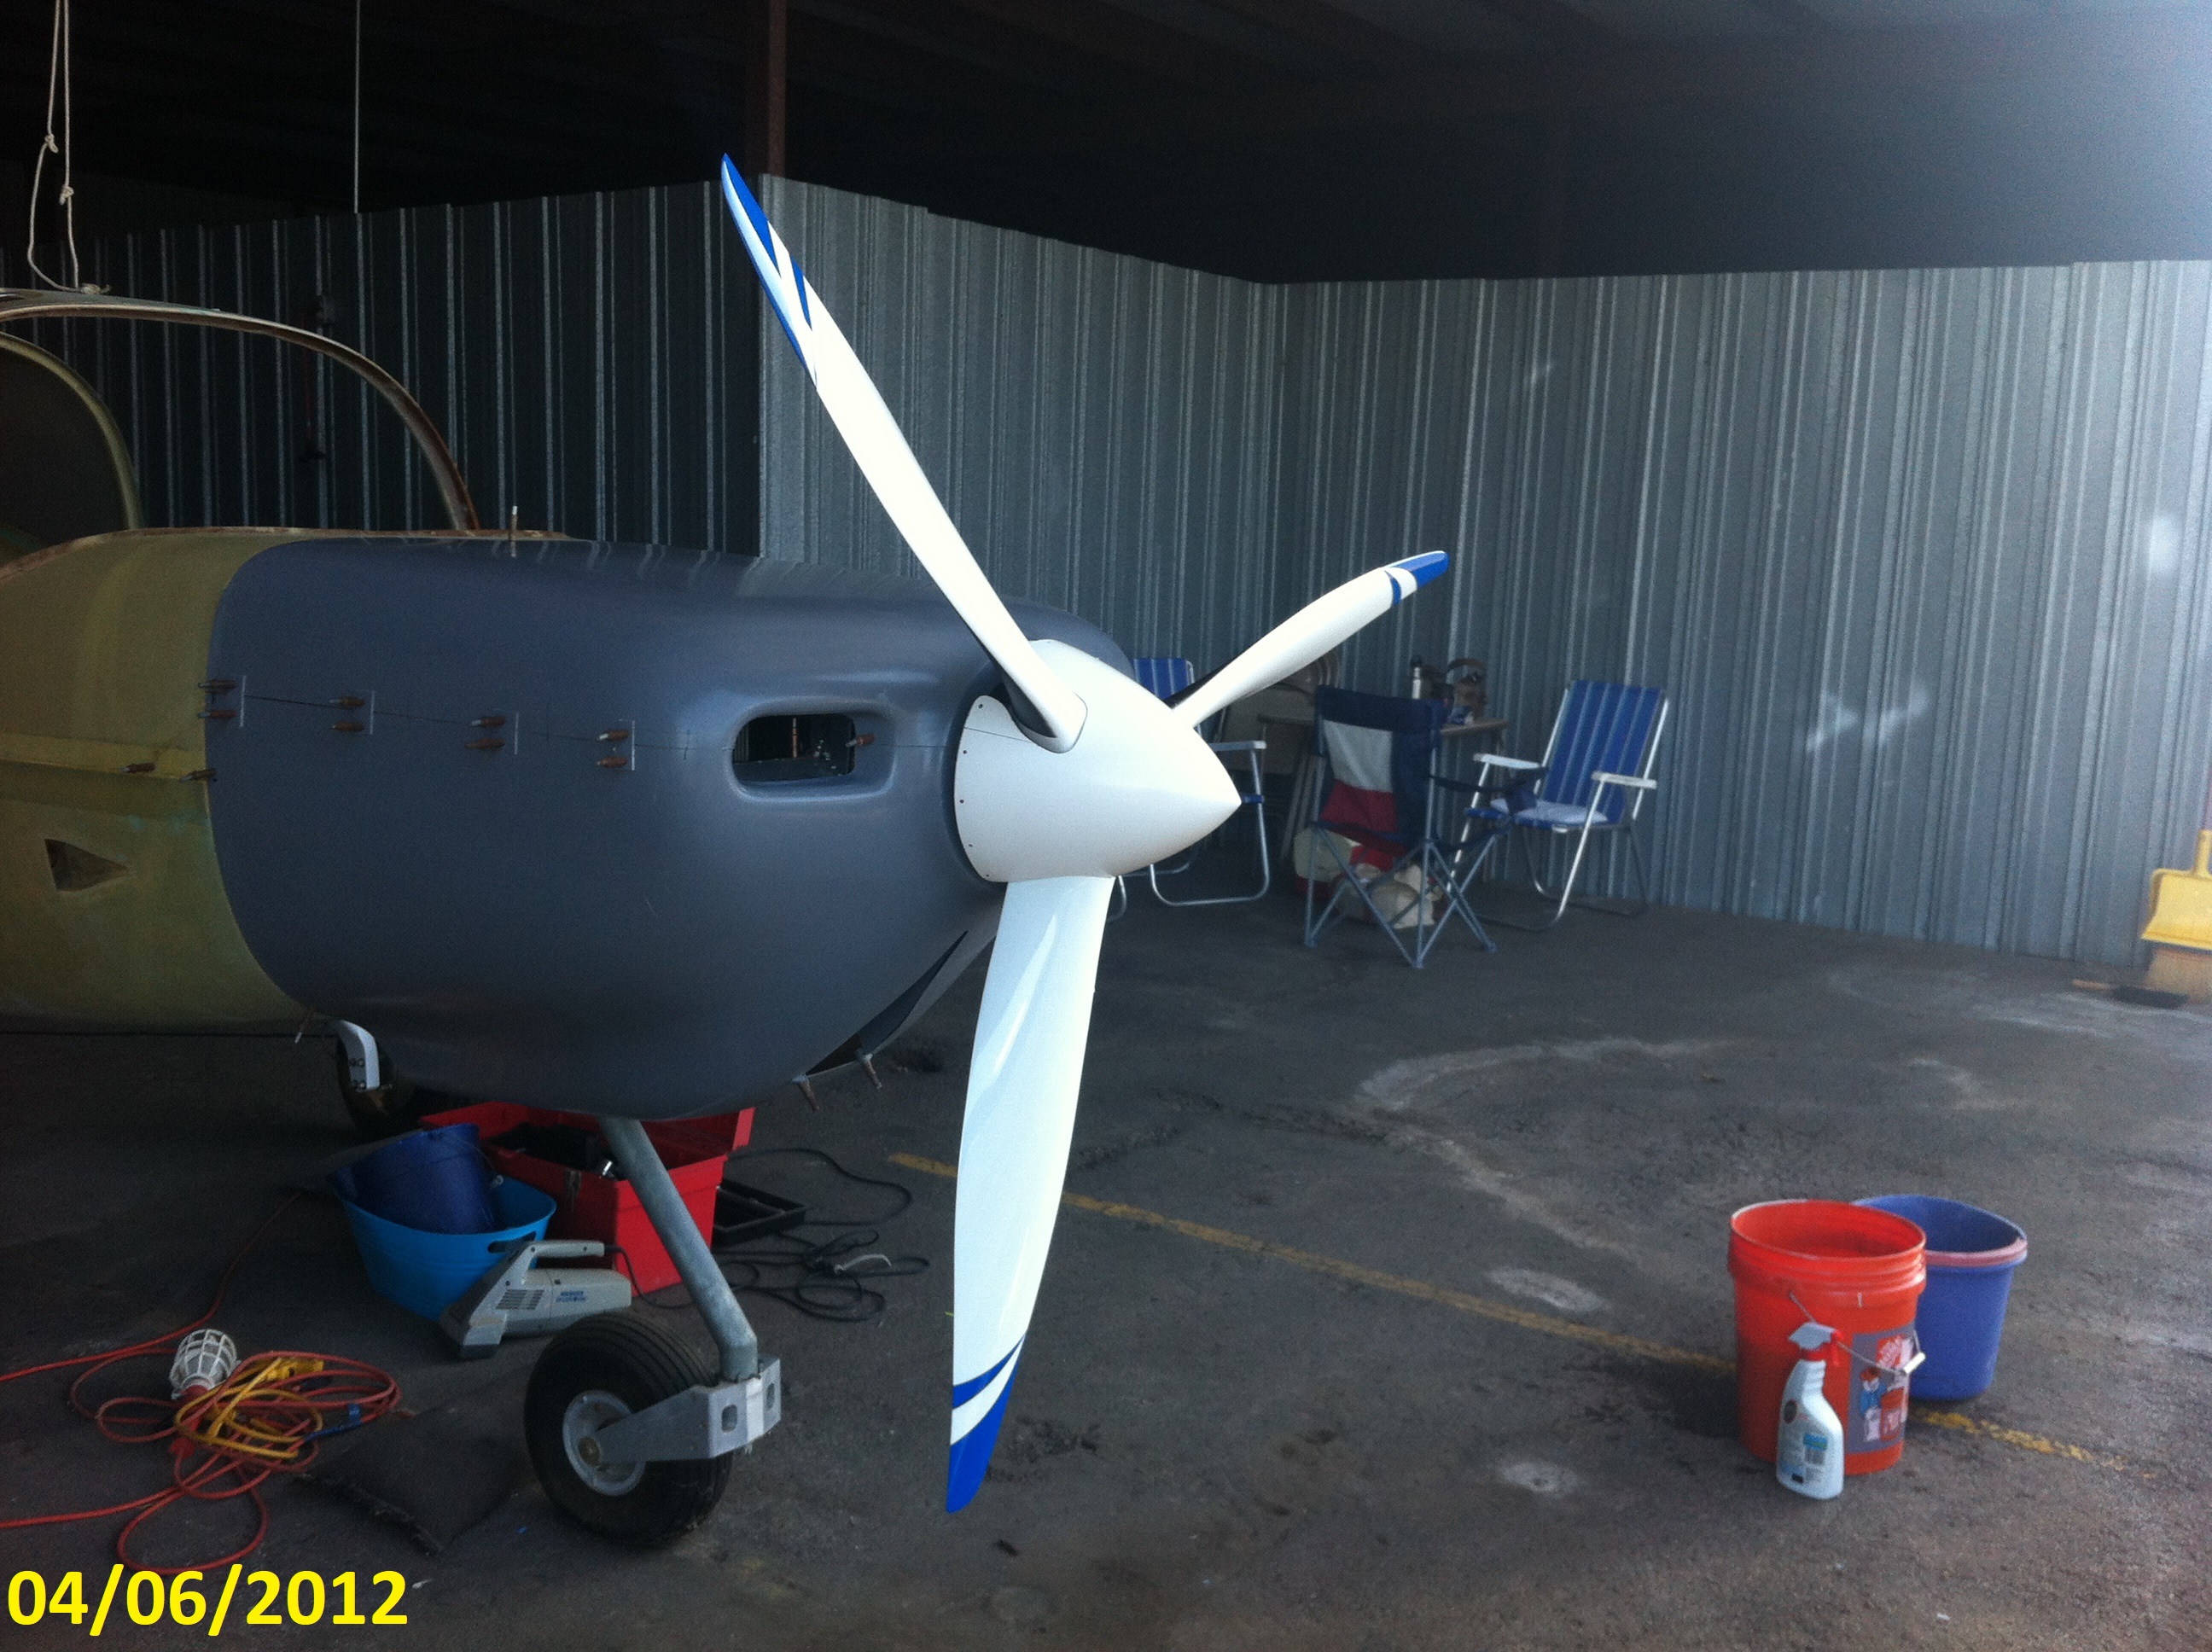
Propeller, Spinner, and Propeller Extension
| After
extensive research on the pros and cons
of different propellers
I finally picked a three blade wood/composite propeller from Catto
Propellers.
After seeing the end result, I can say that Craig Catto is a true
craftsman. This is a beautiful piece of workmanship that I will
be
proud to put on my aircraft. |
|
 |
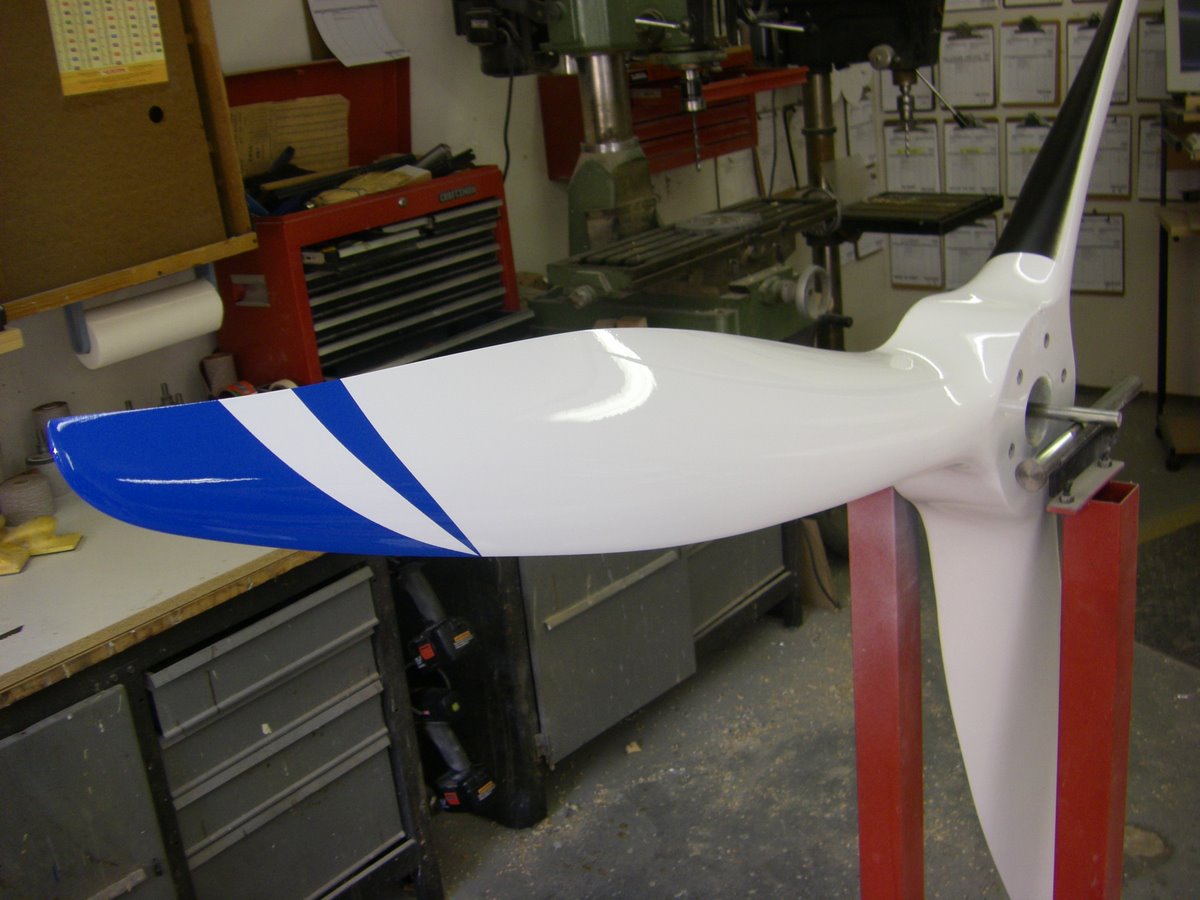 |
| The above photo was taken by
Catto Props before shipment. |
|
 |
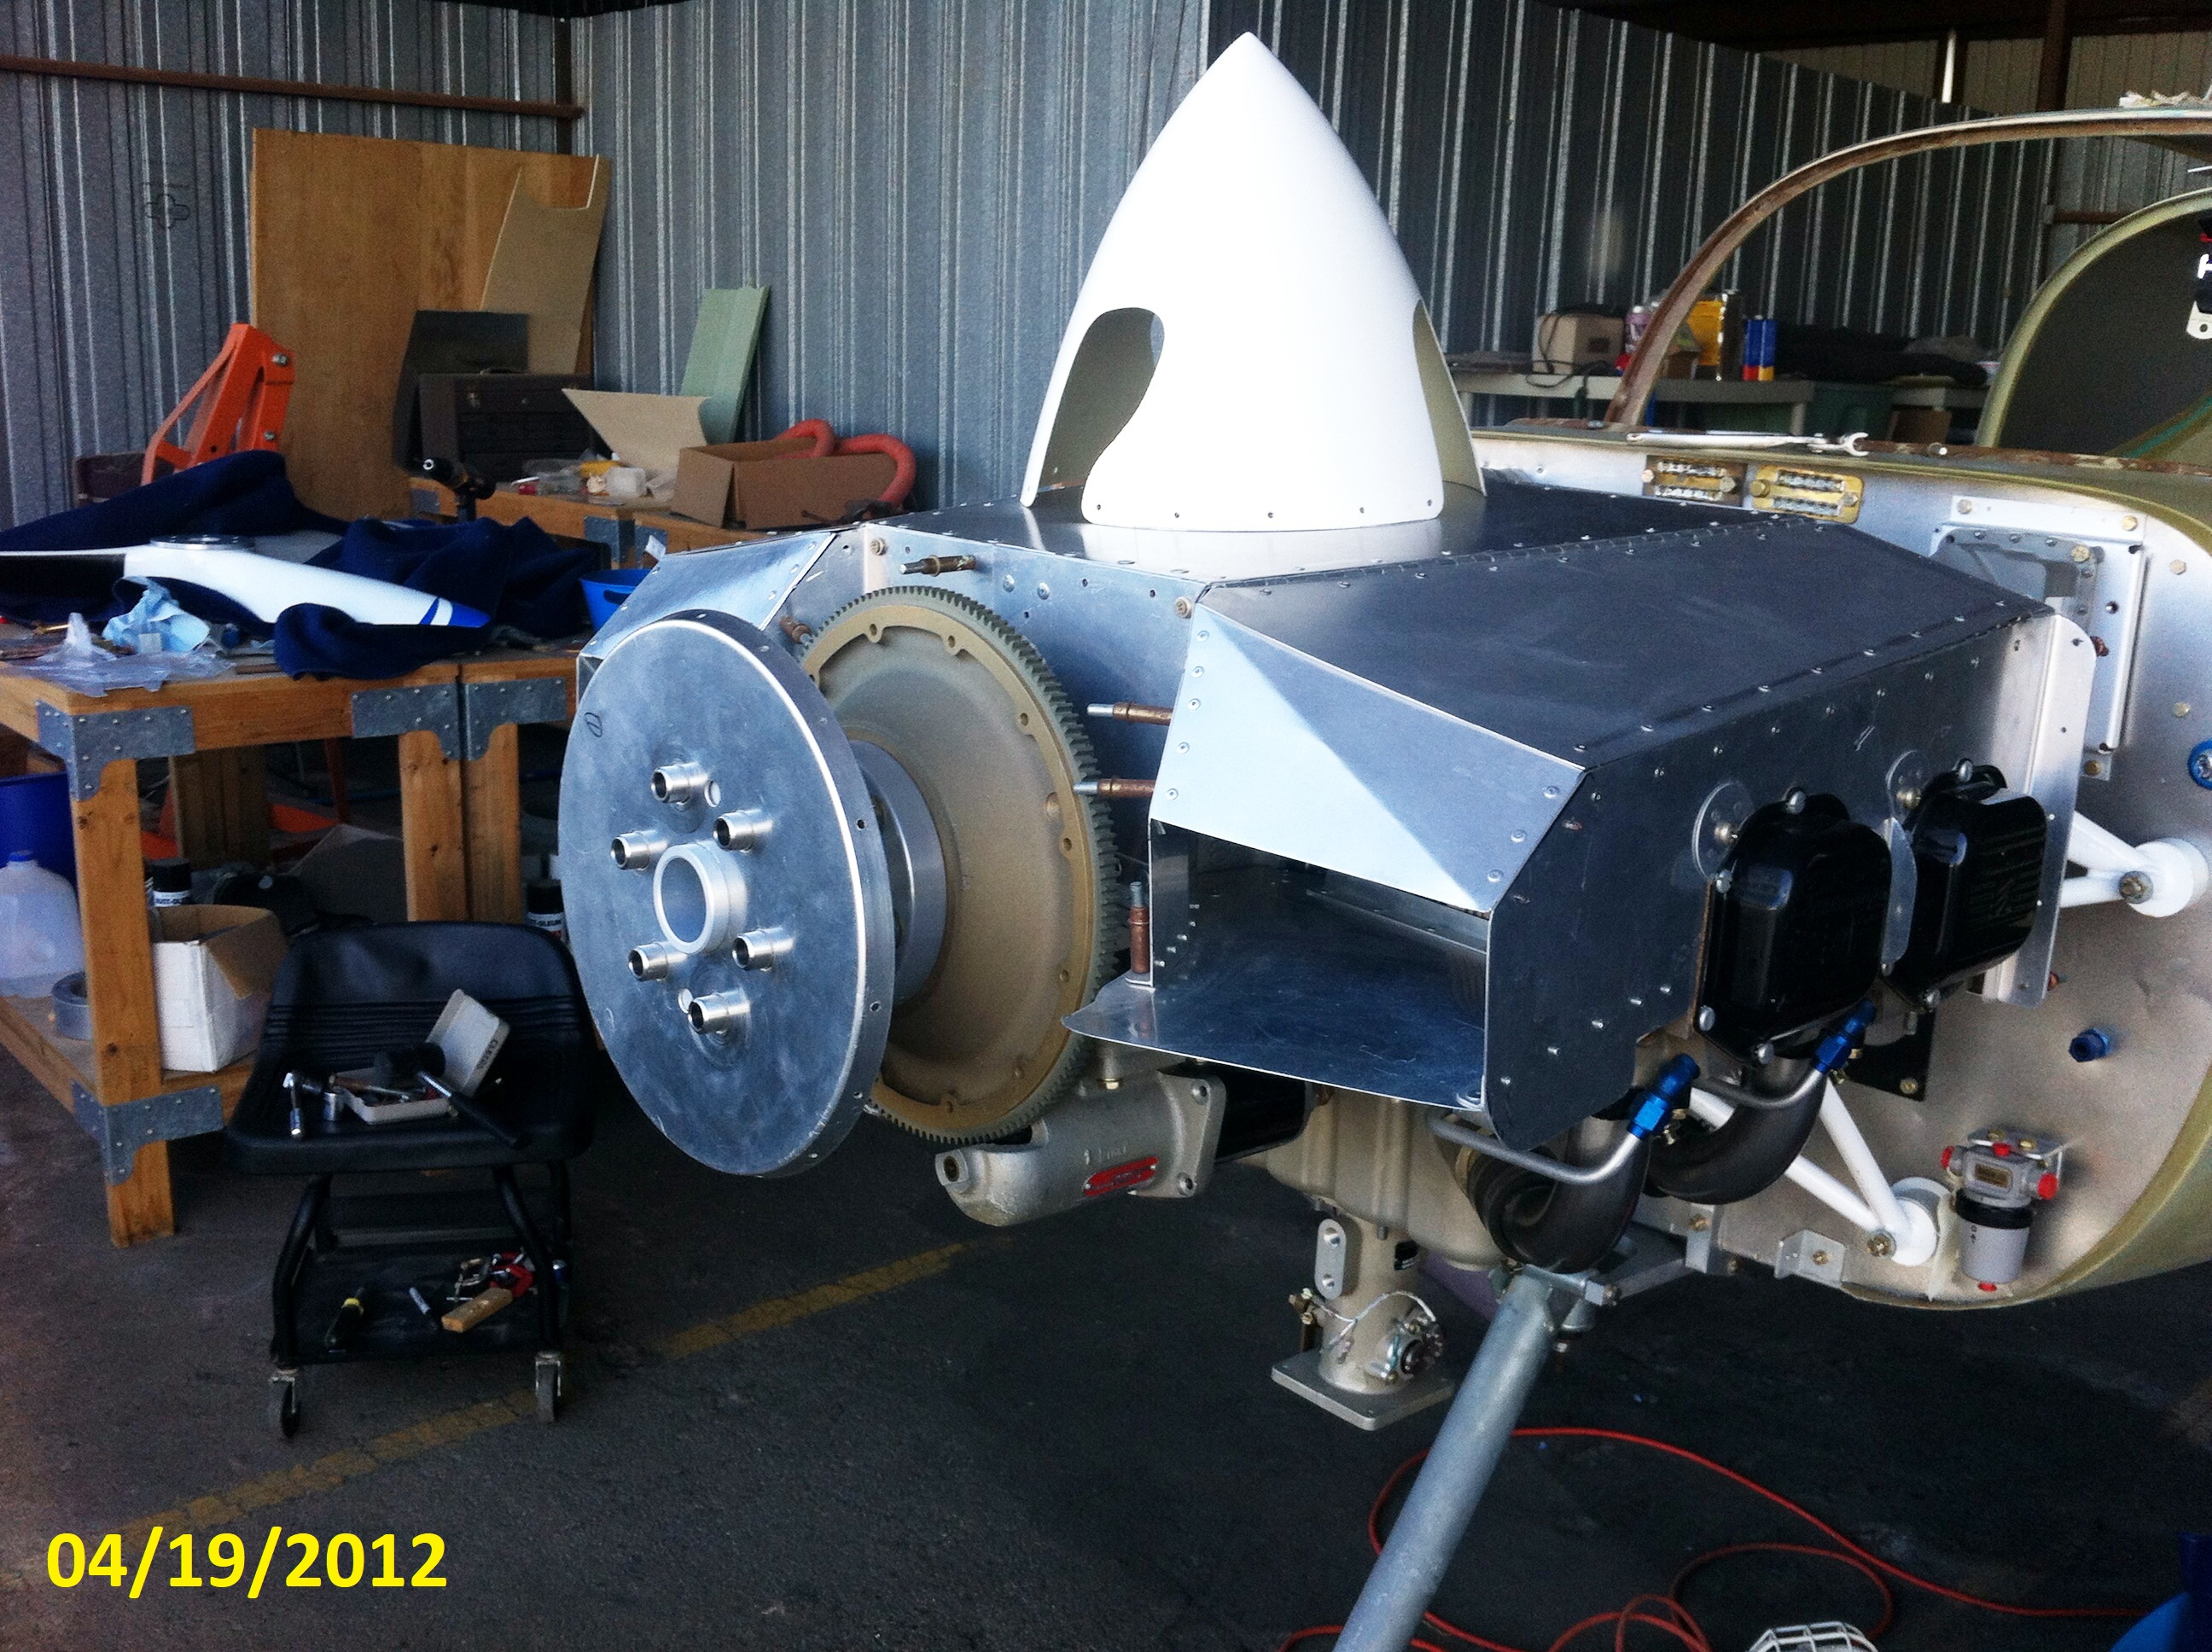 |
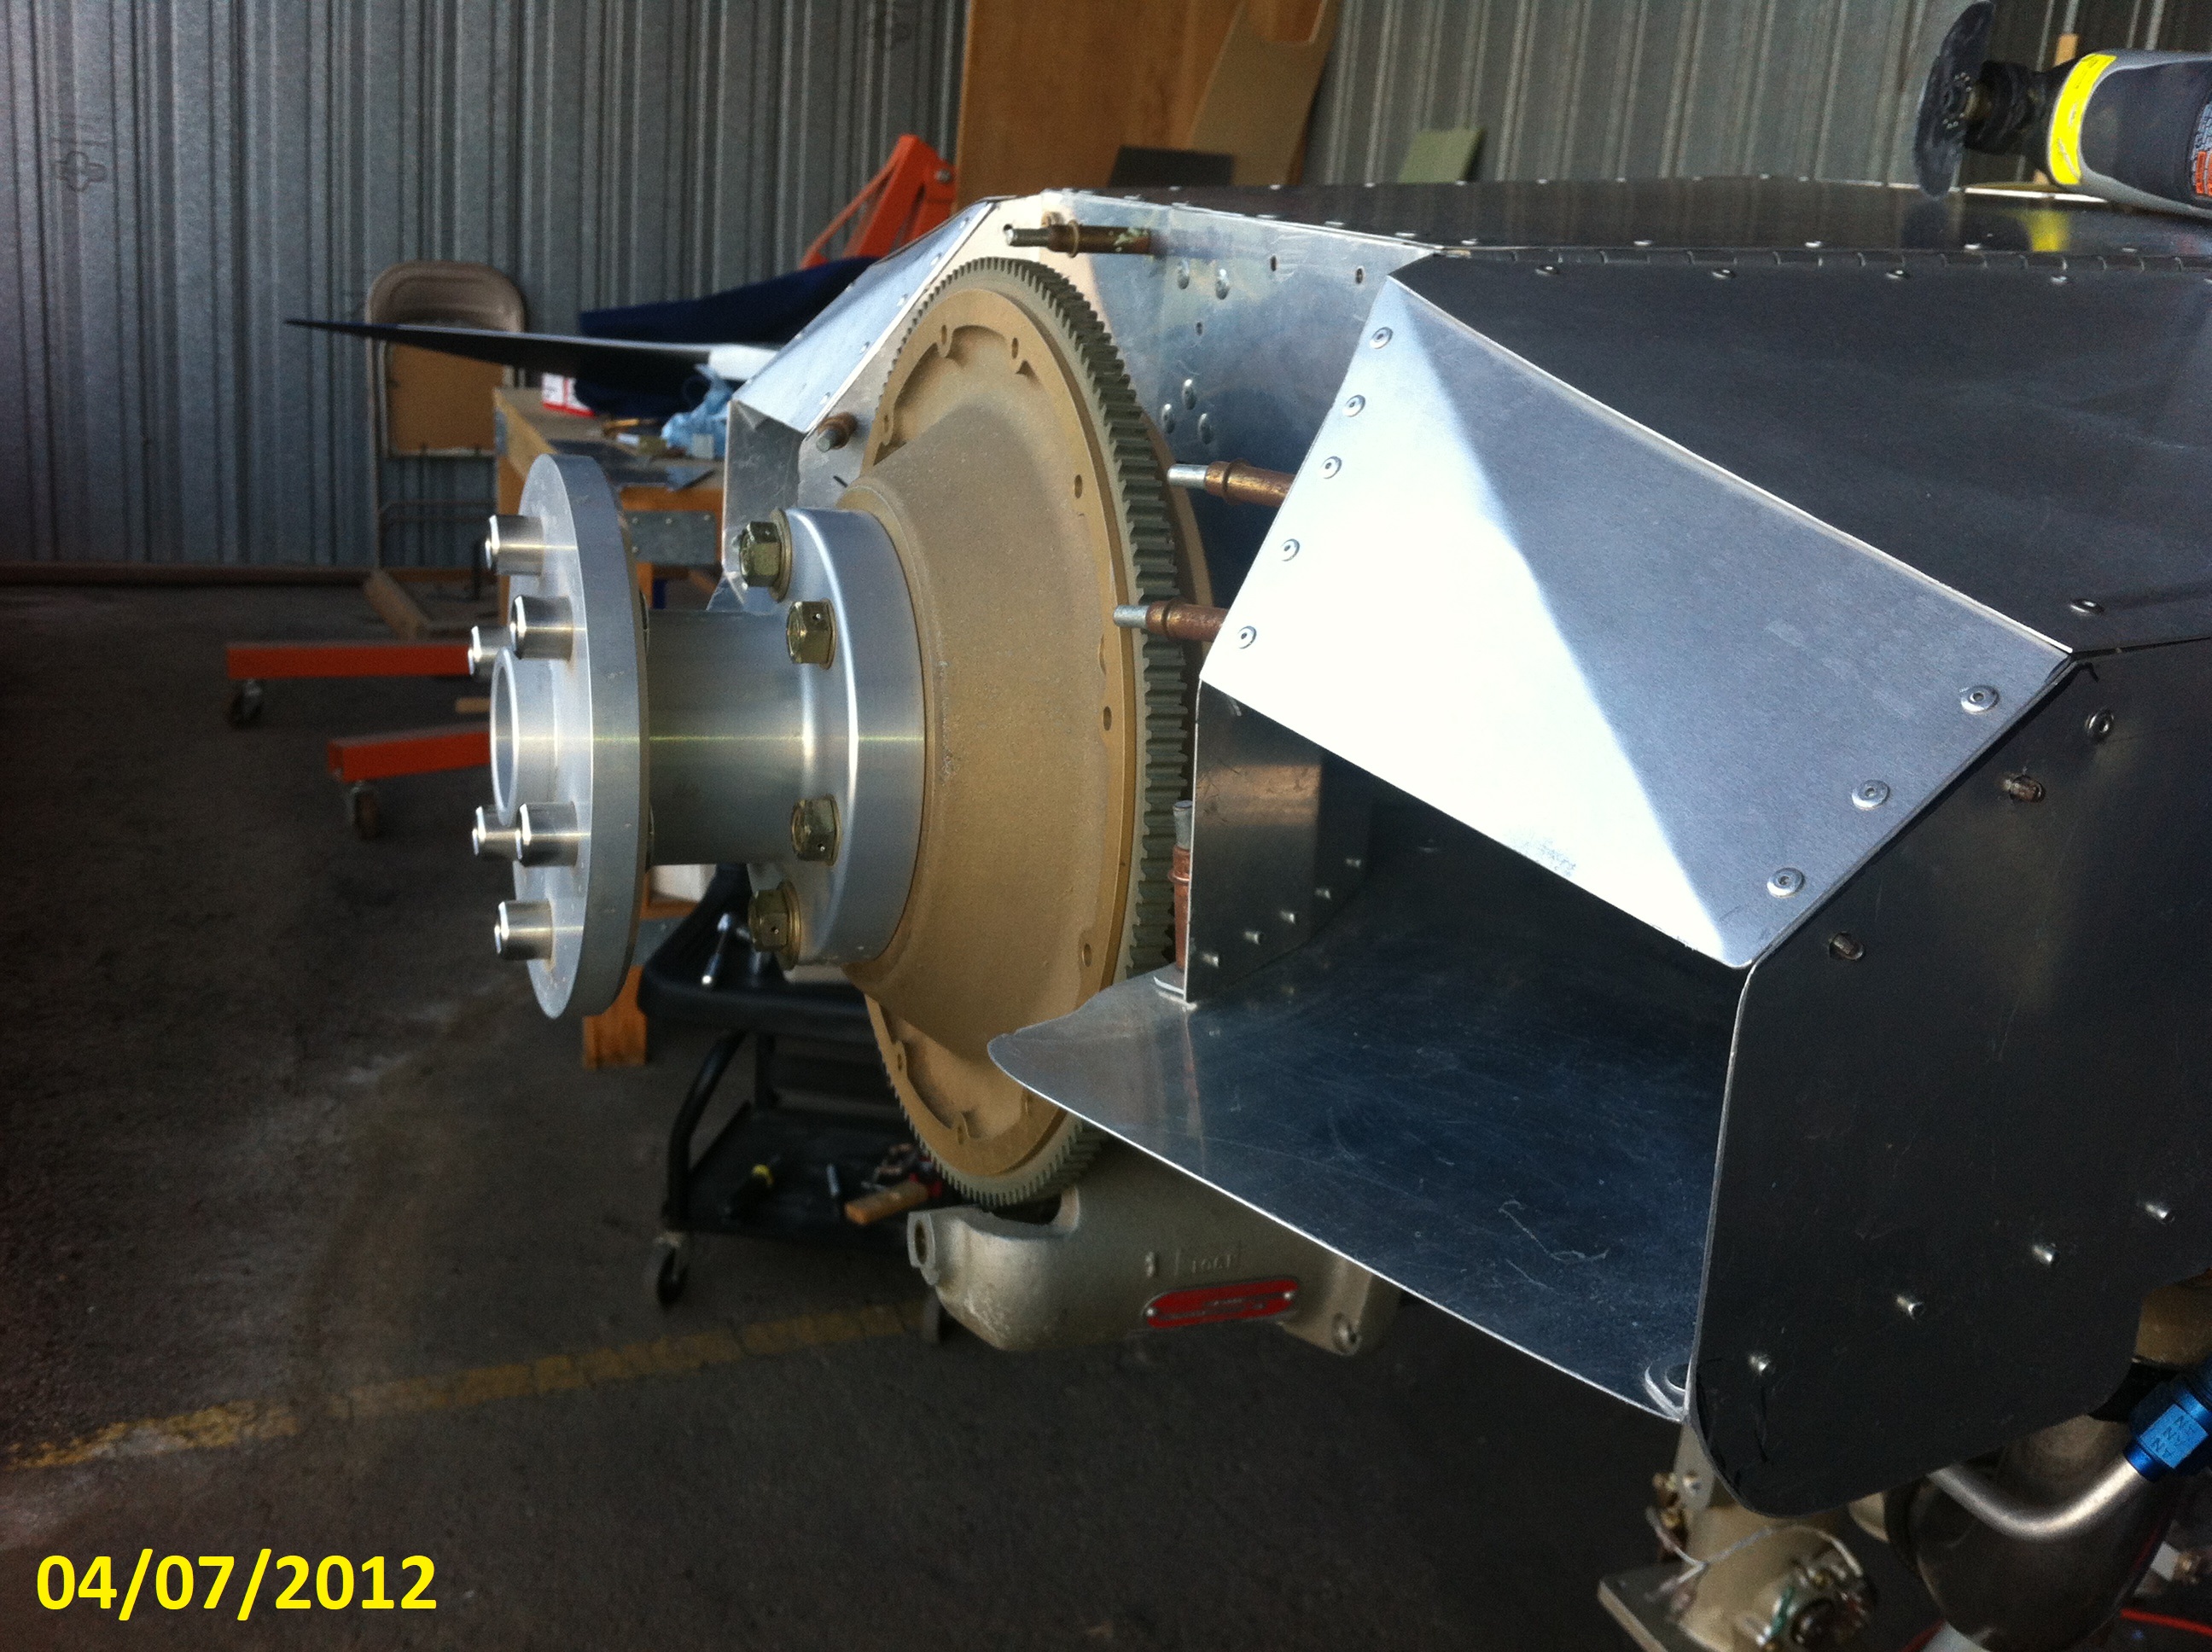
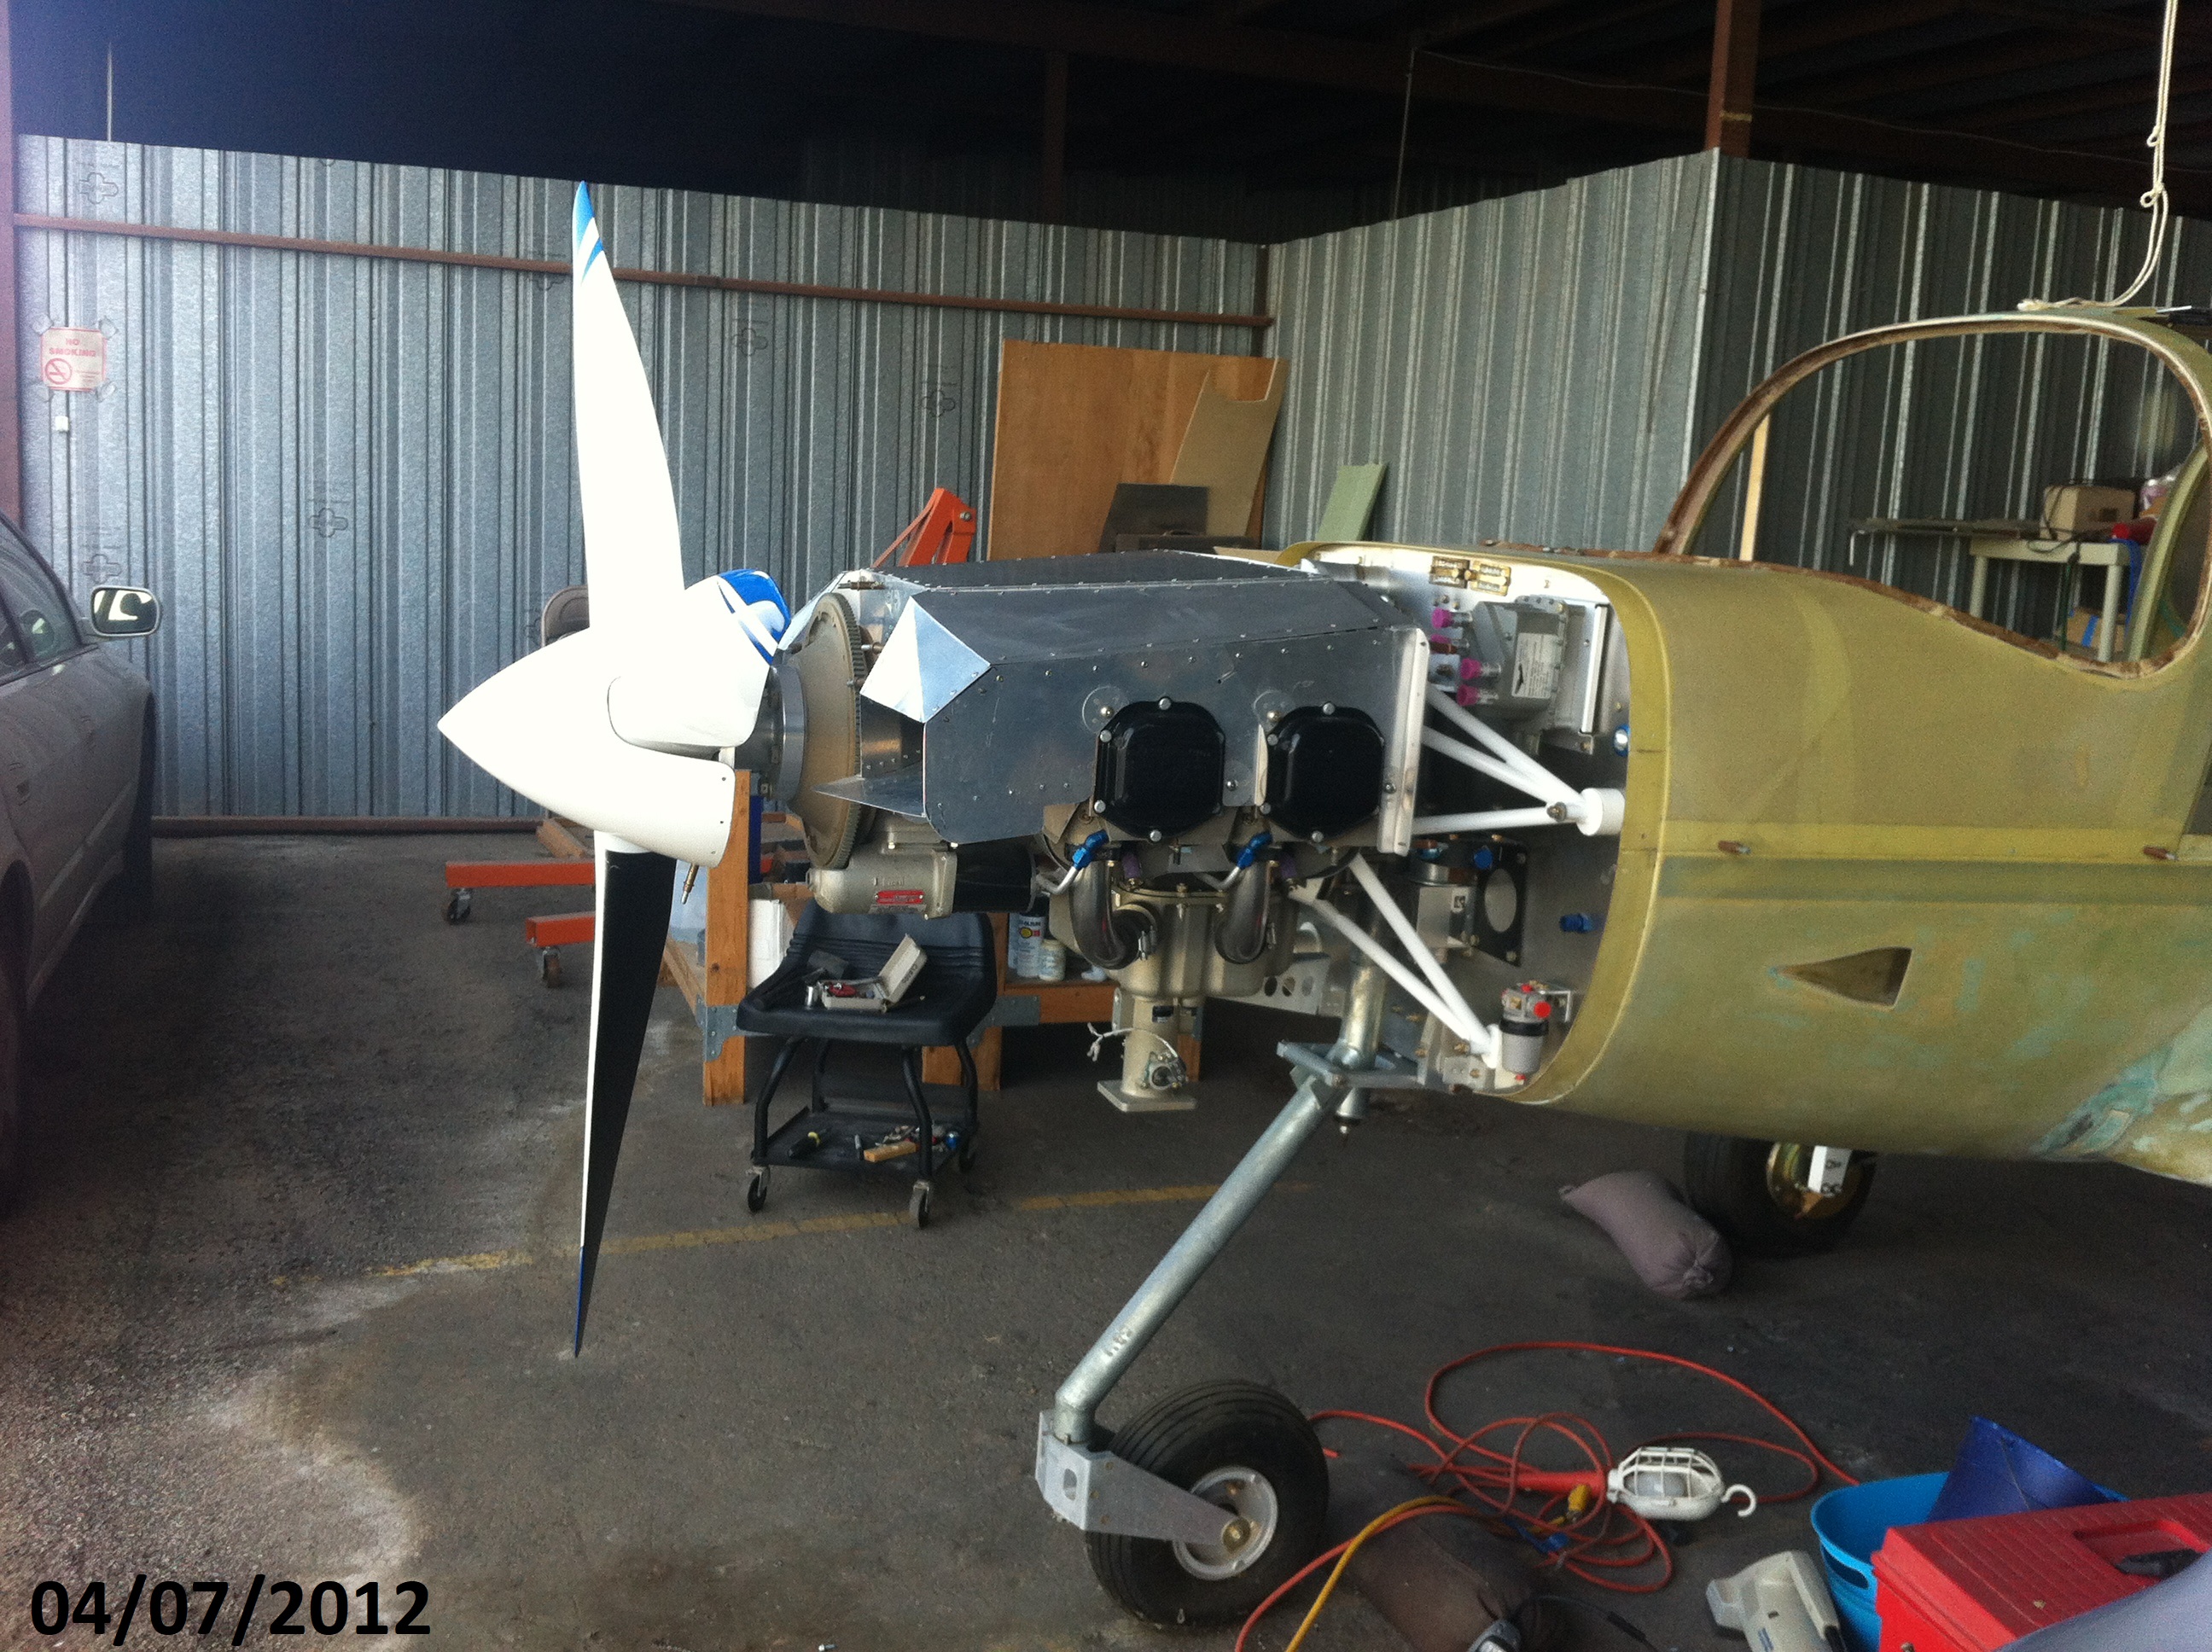
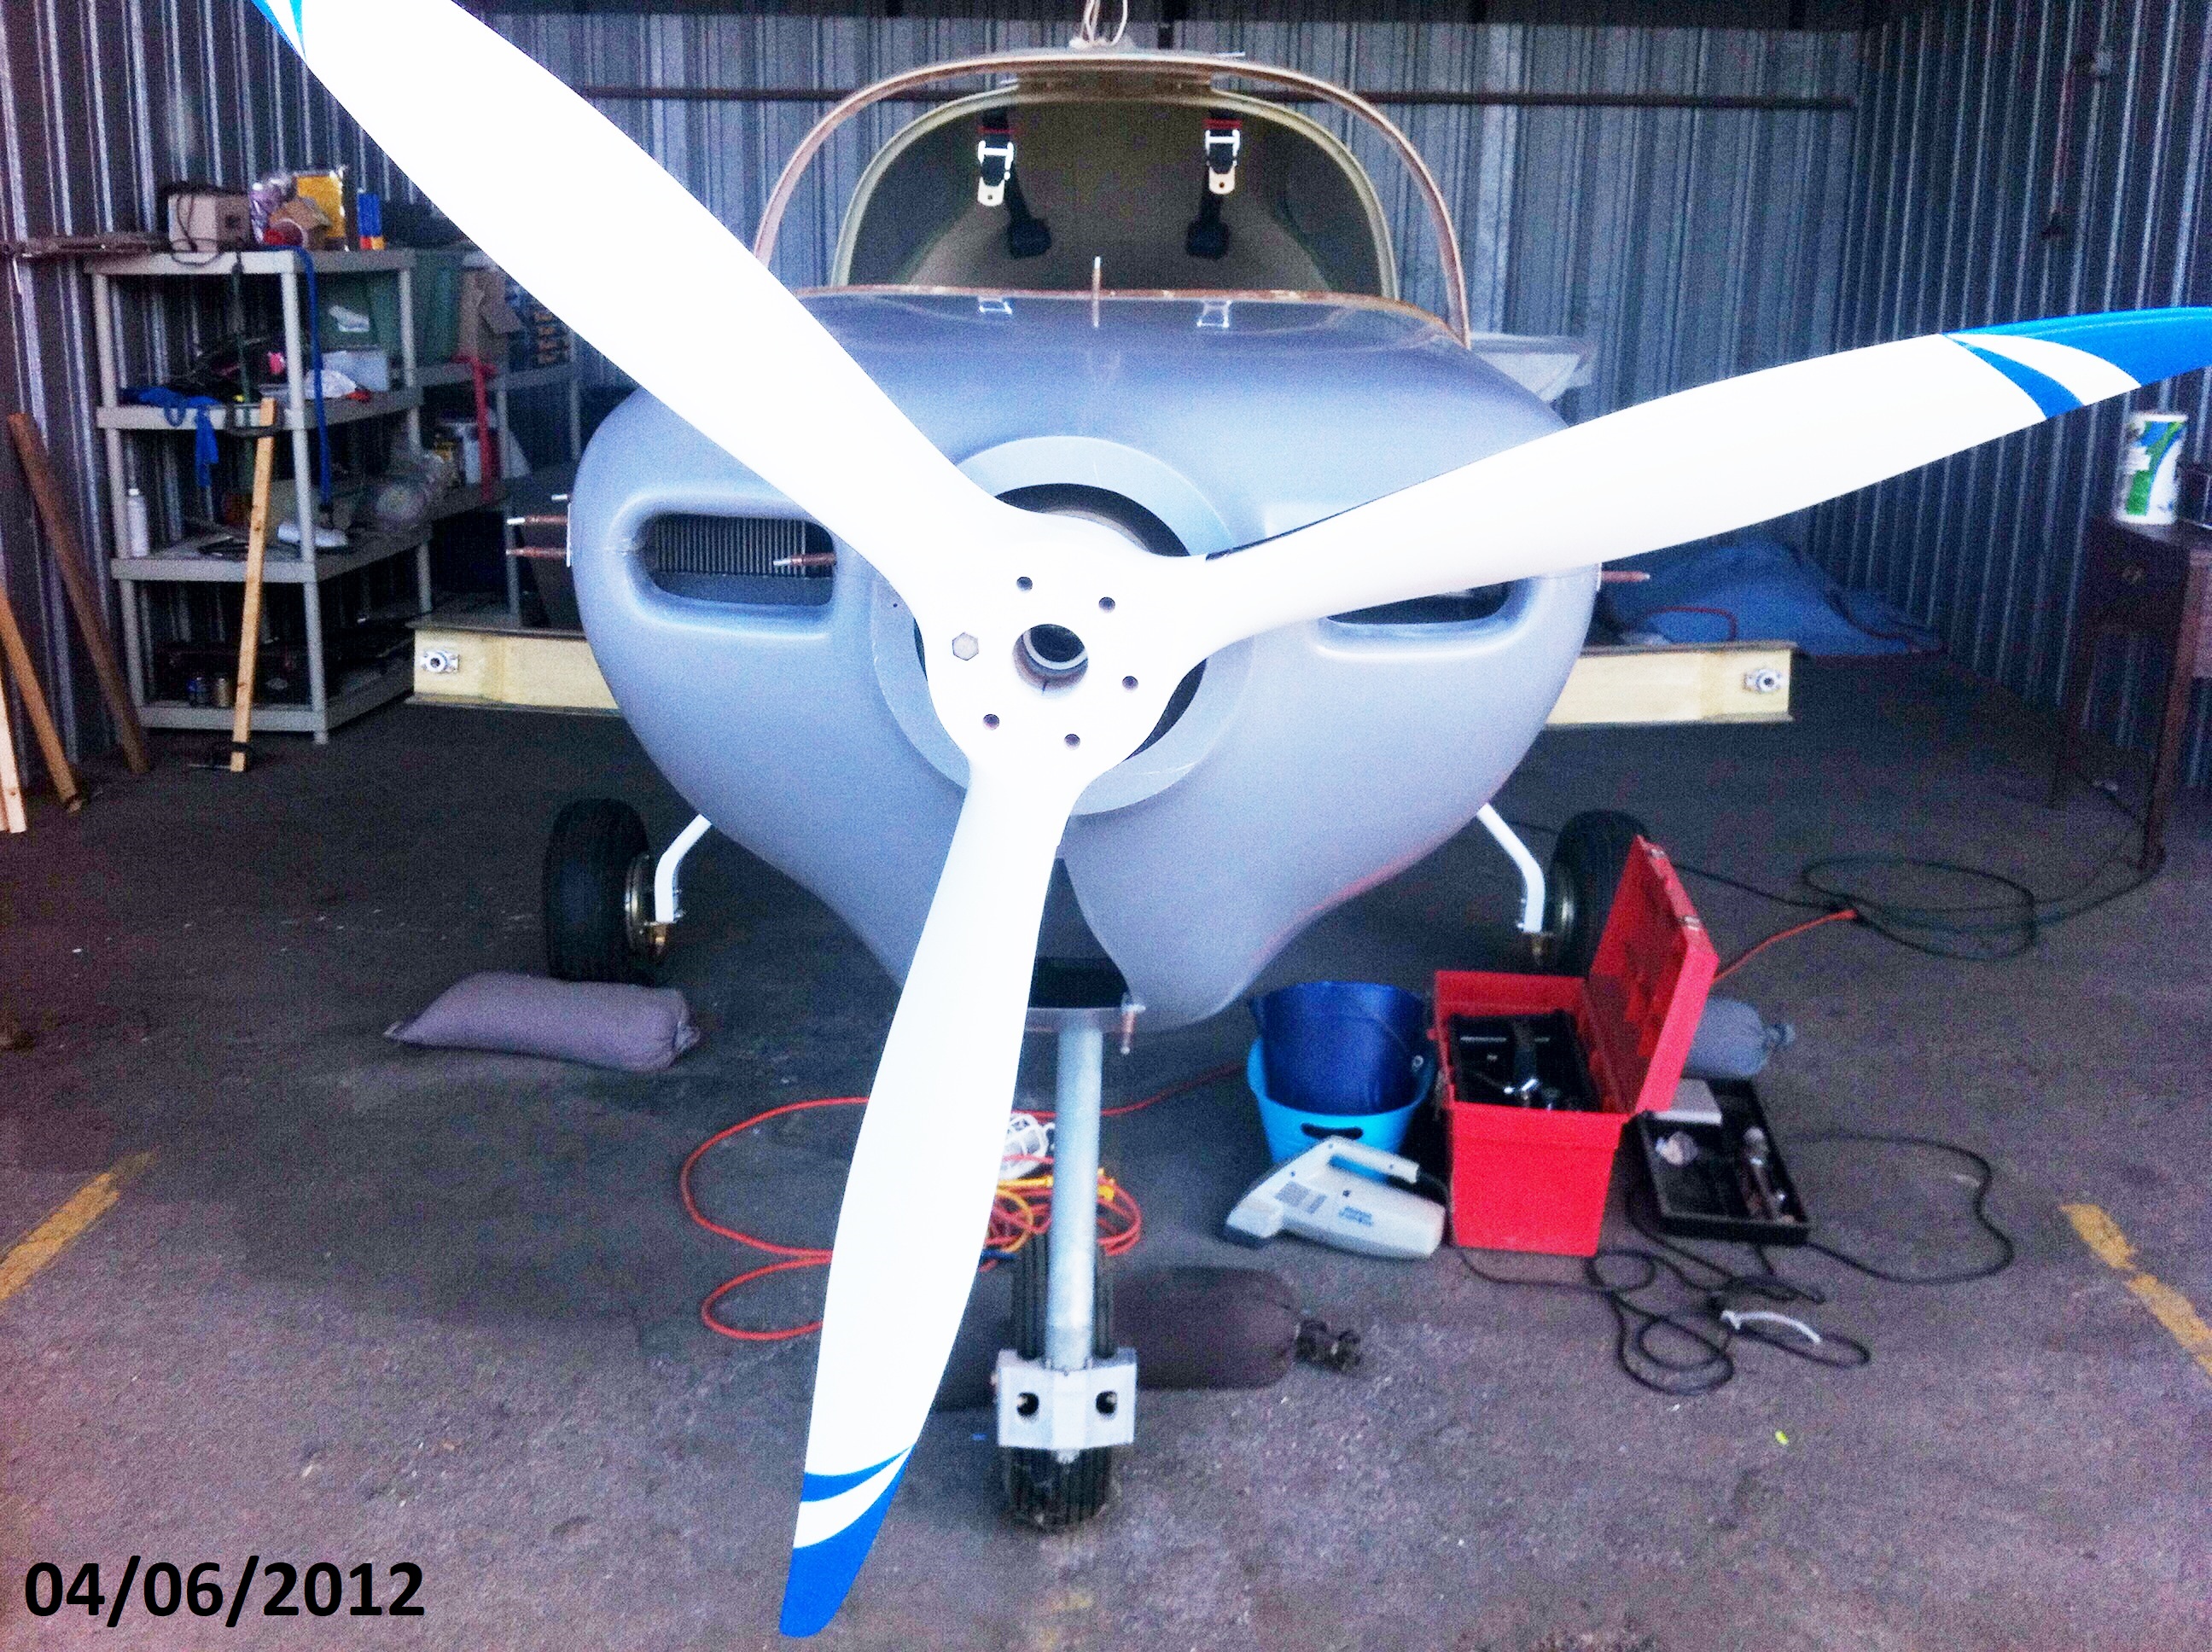
| Above
and below show the prop
extension installed on the flywheel for installing the prop. |
Installed
the spinner mounting
plate and the propeller with the
crush plate. |
 |
 |
 |
 |
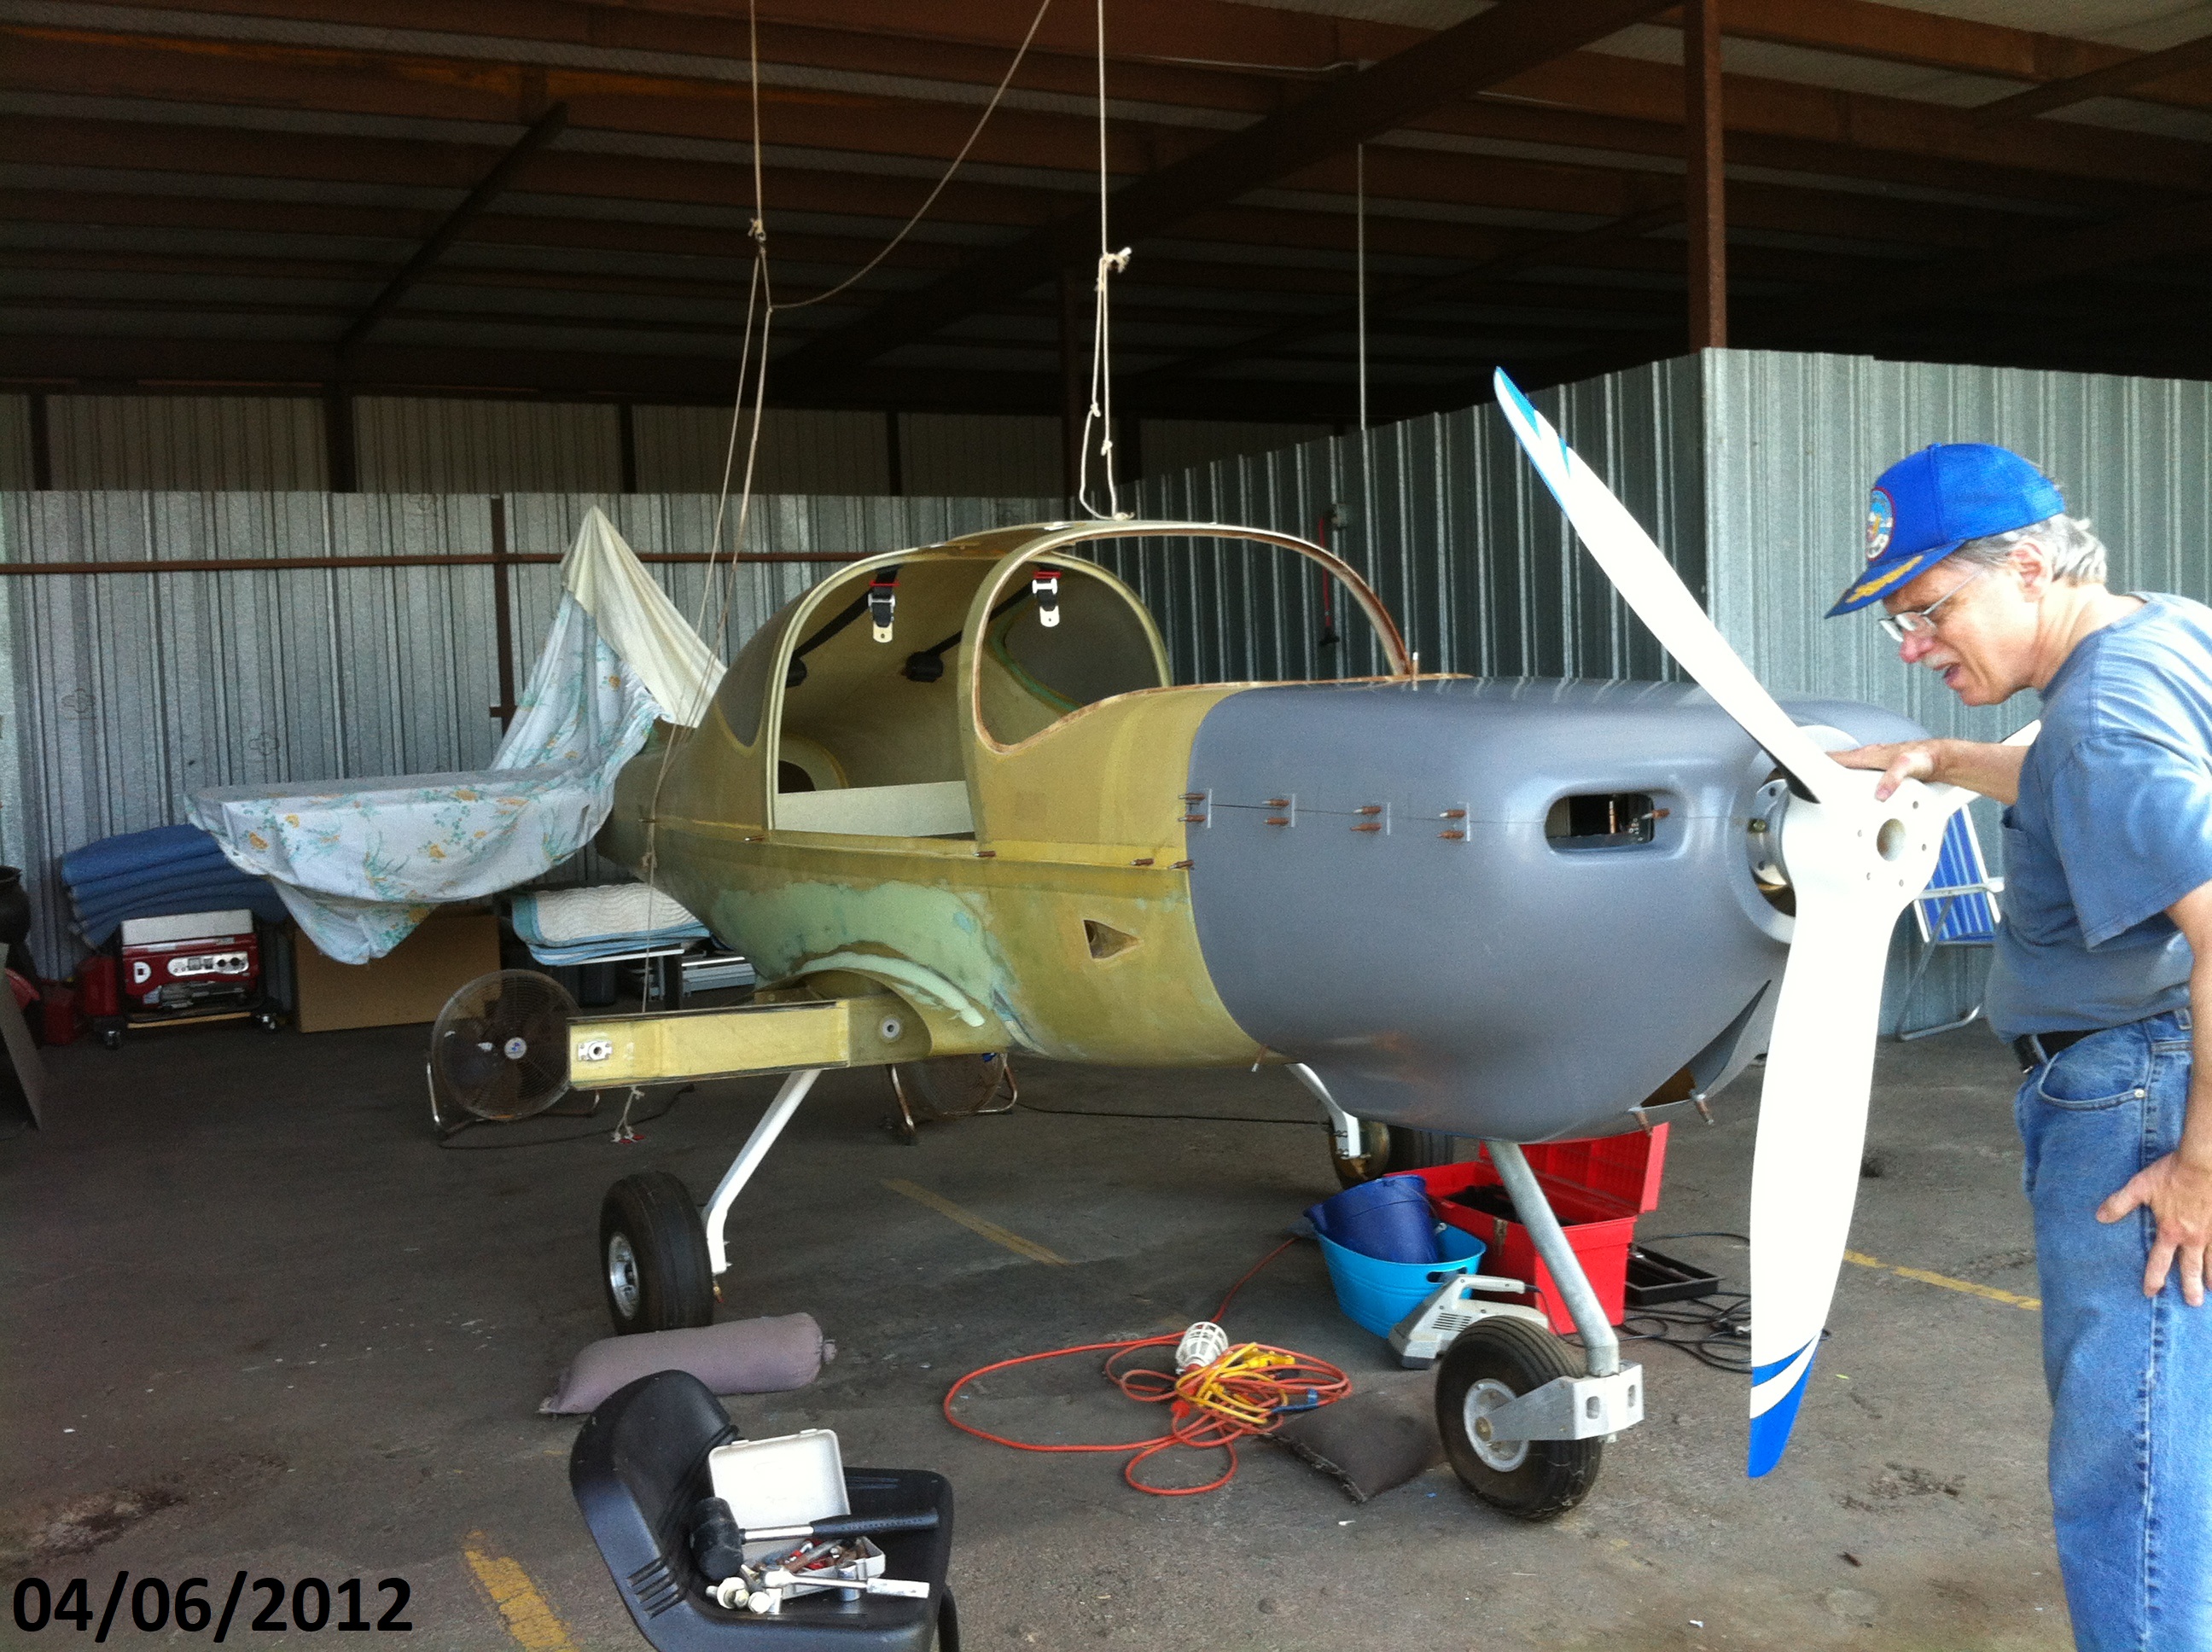
| Installed
spinner for first time
and then wife took my photo for proof
that I actually did work on this plane. |
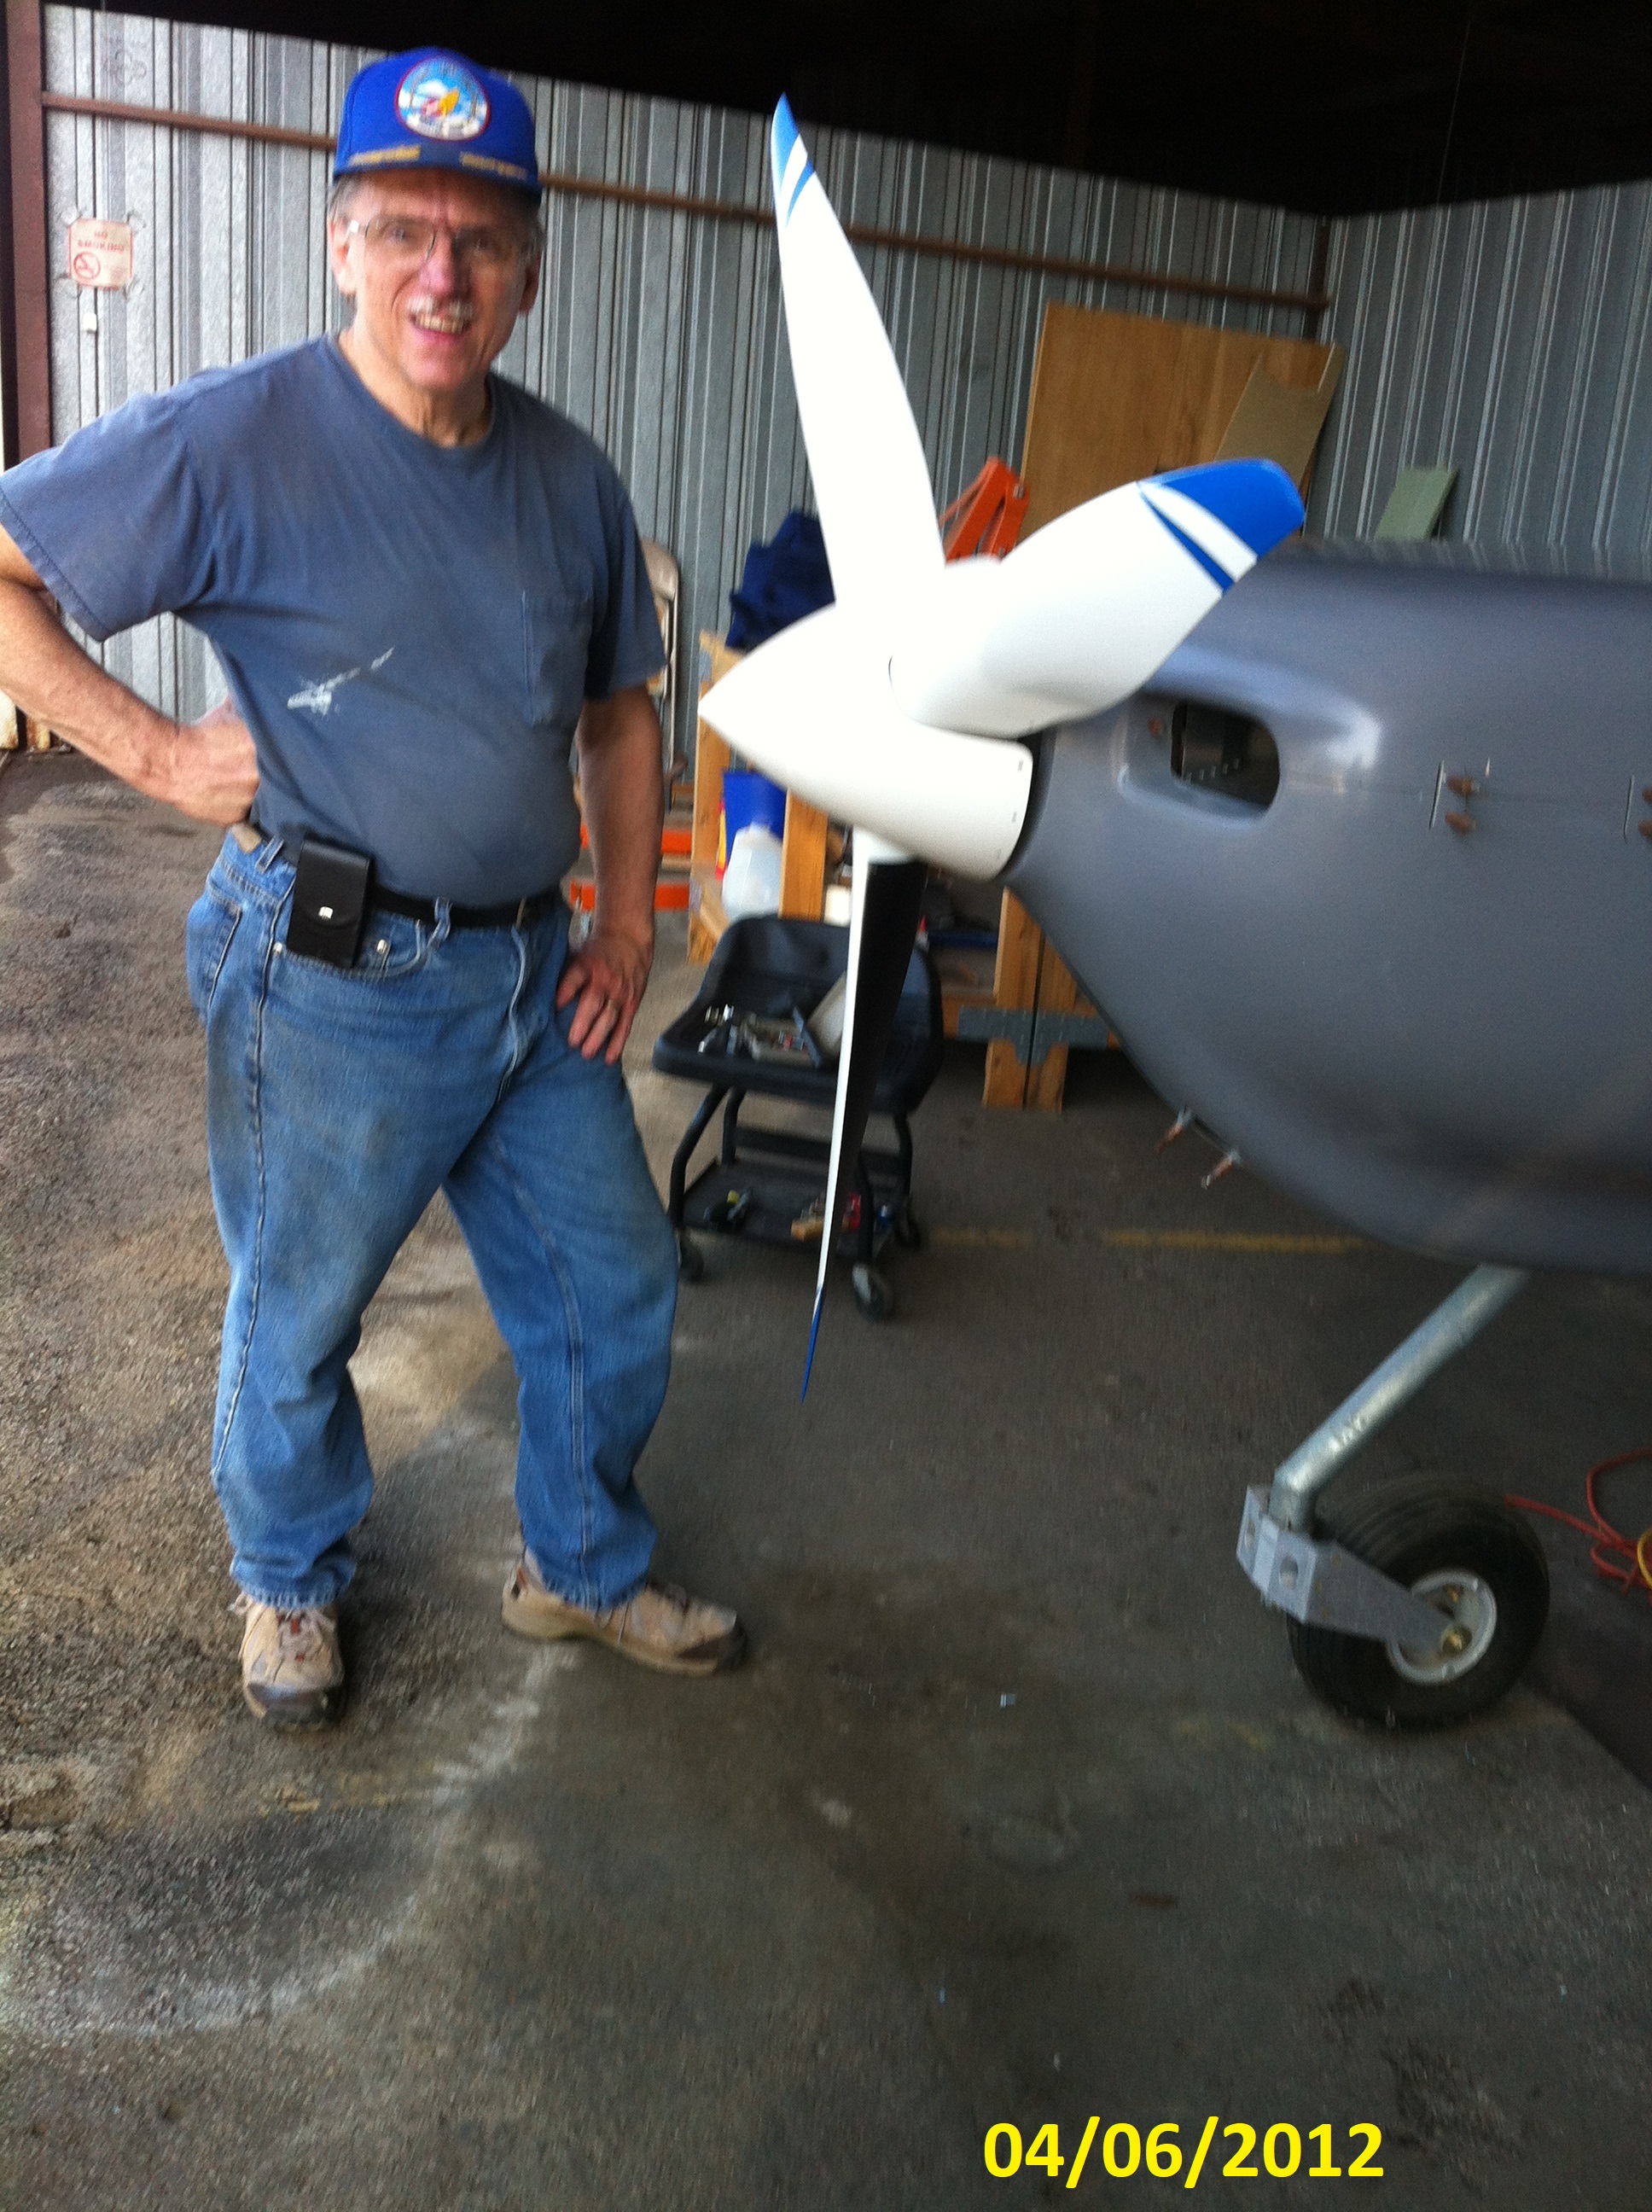
OK,
more photos of ME at my
best. HaHa. Took everything off and put the cowling on. |
 |
 |
 |
 |
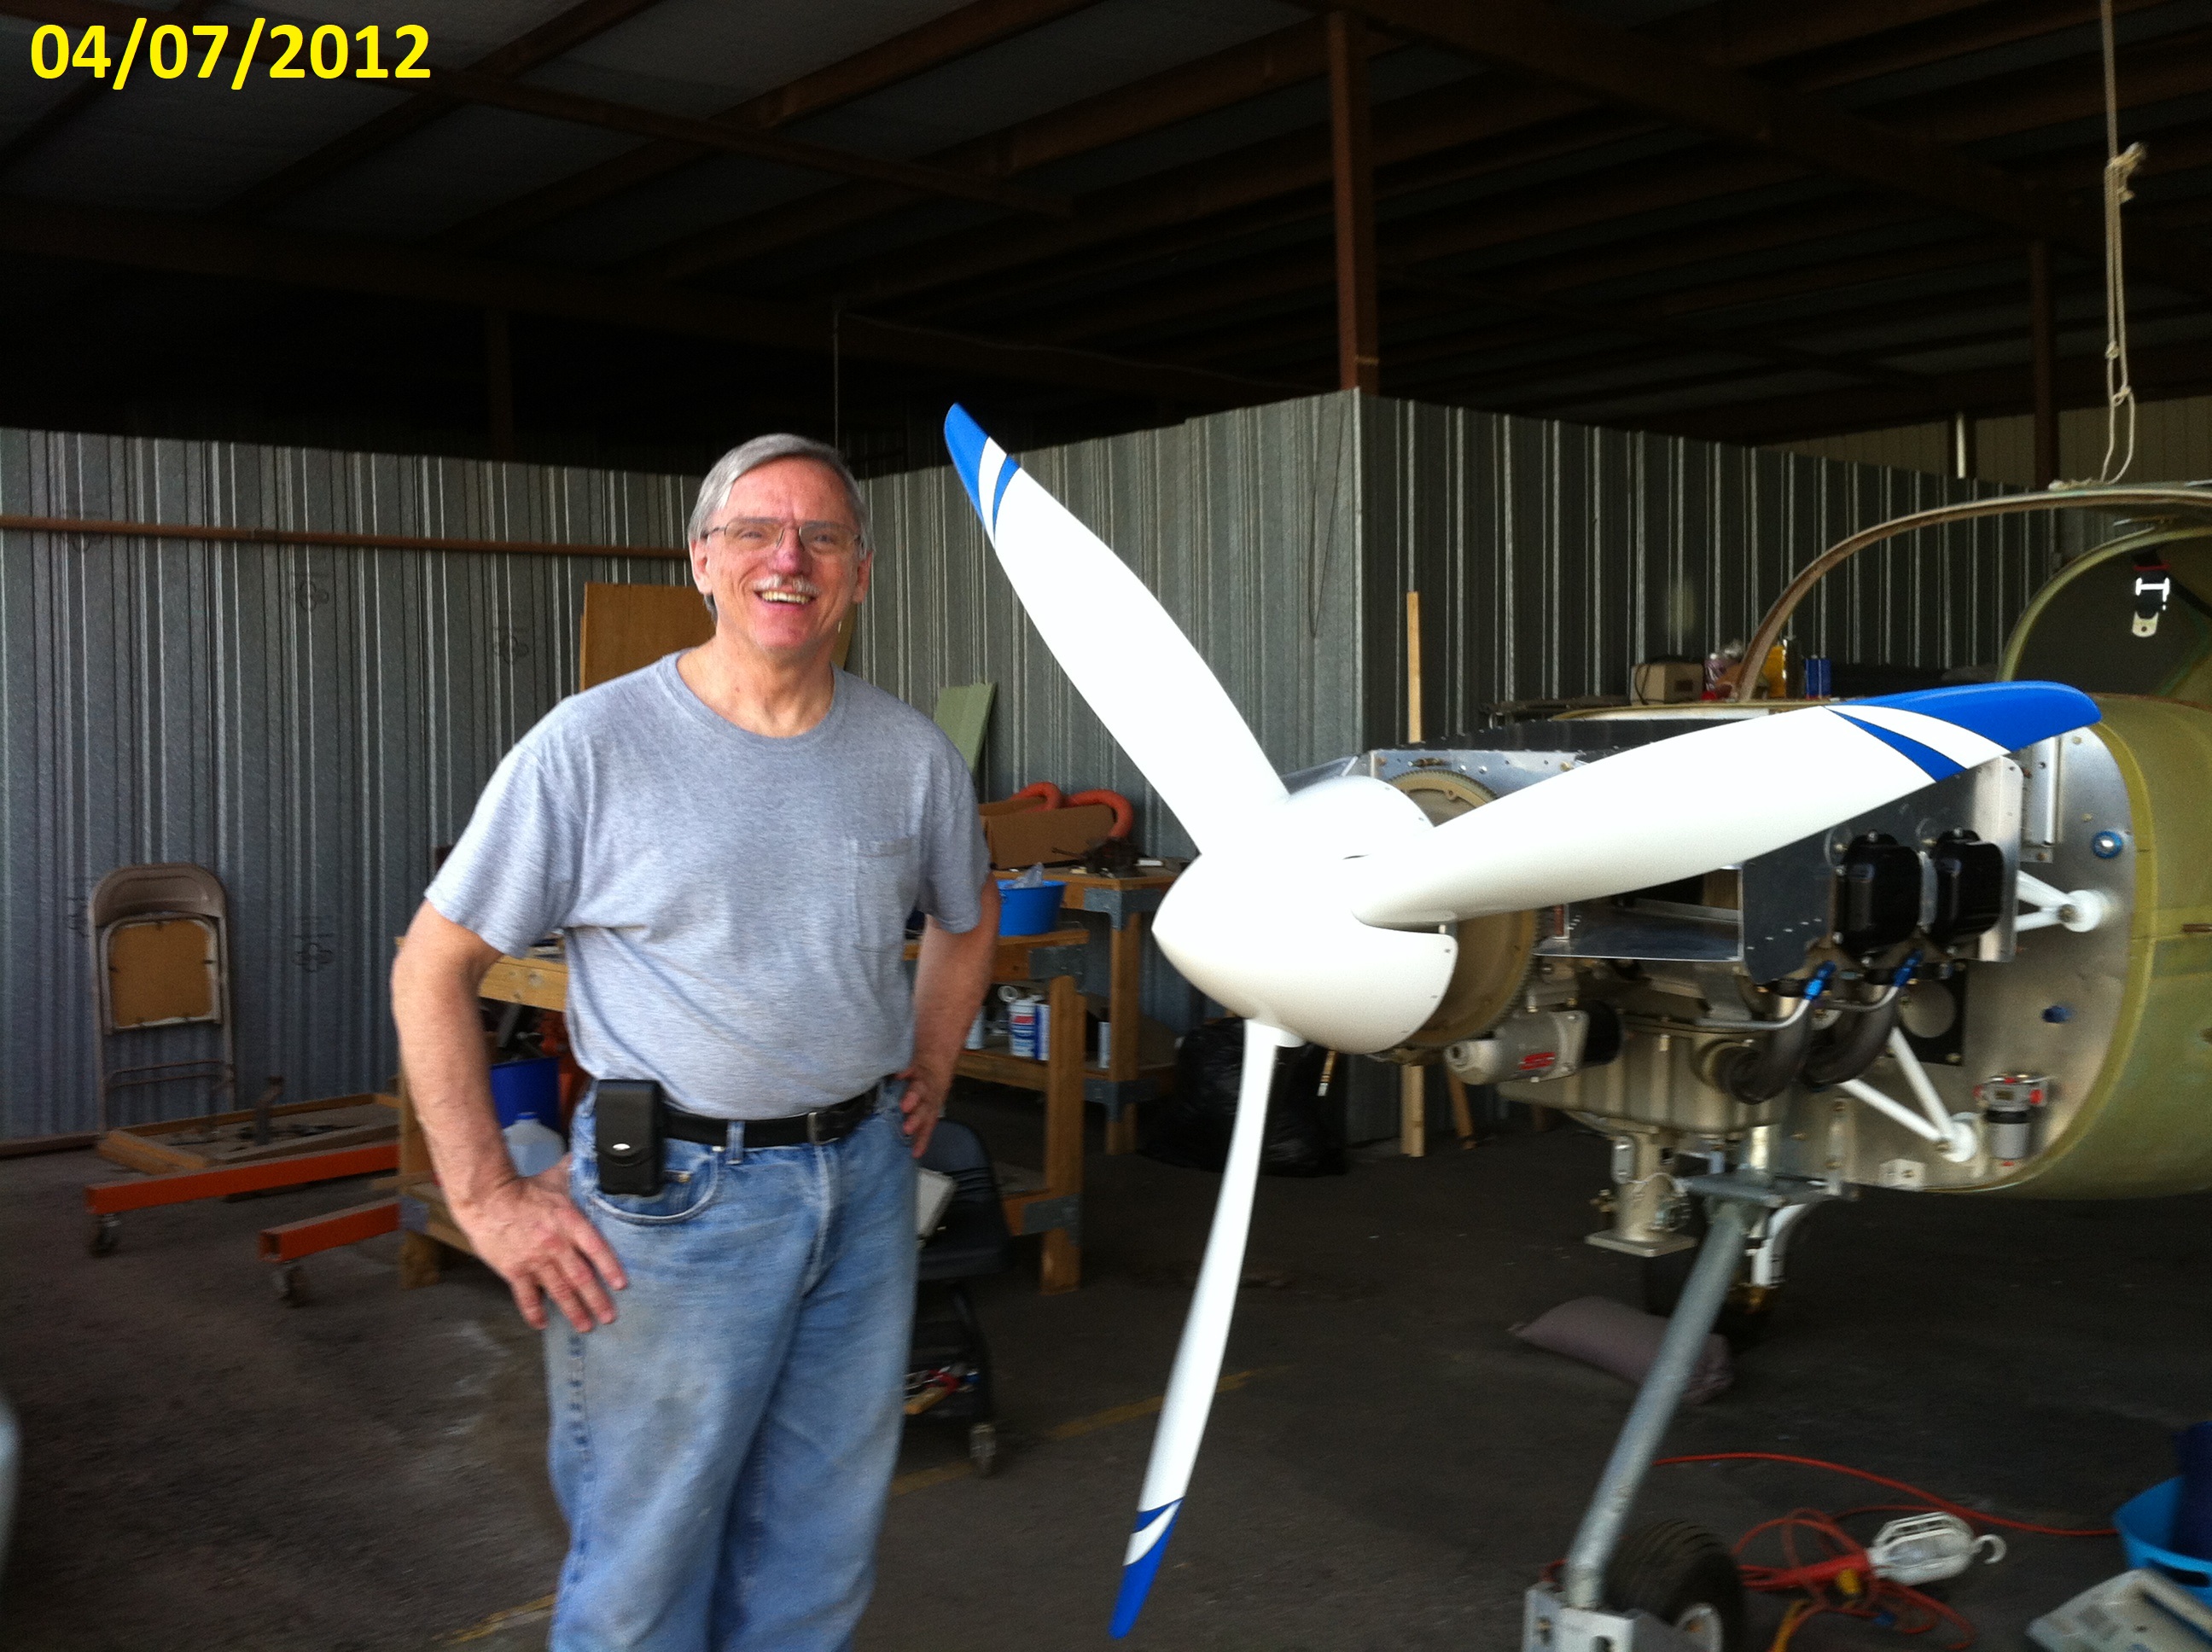
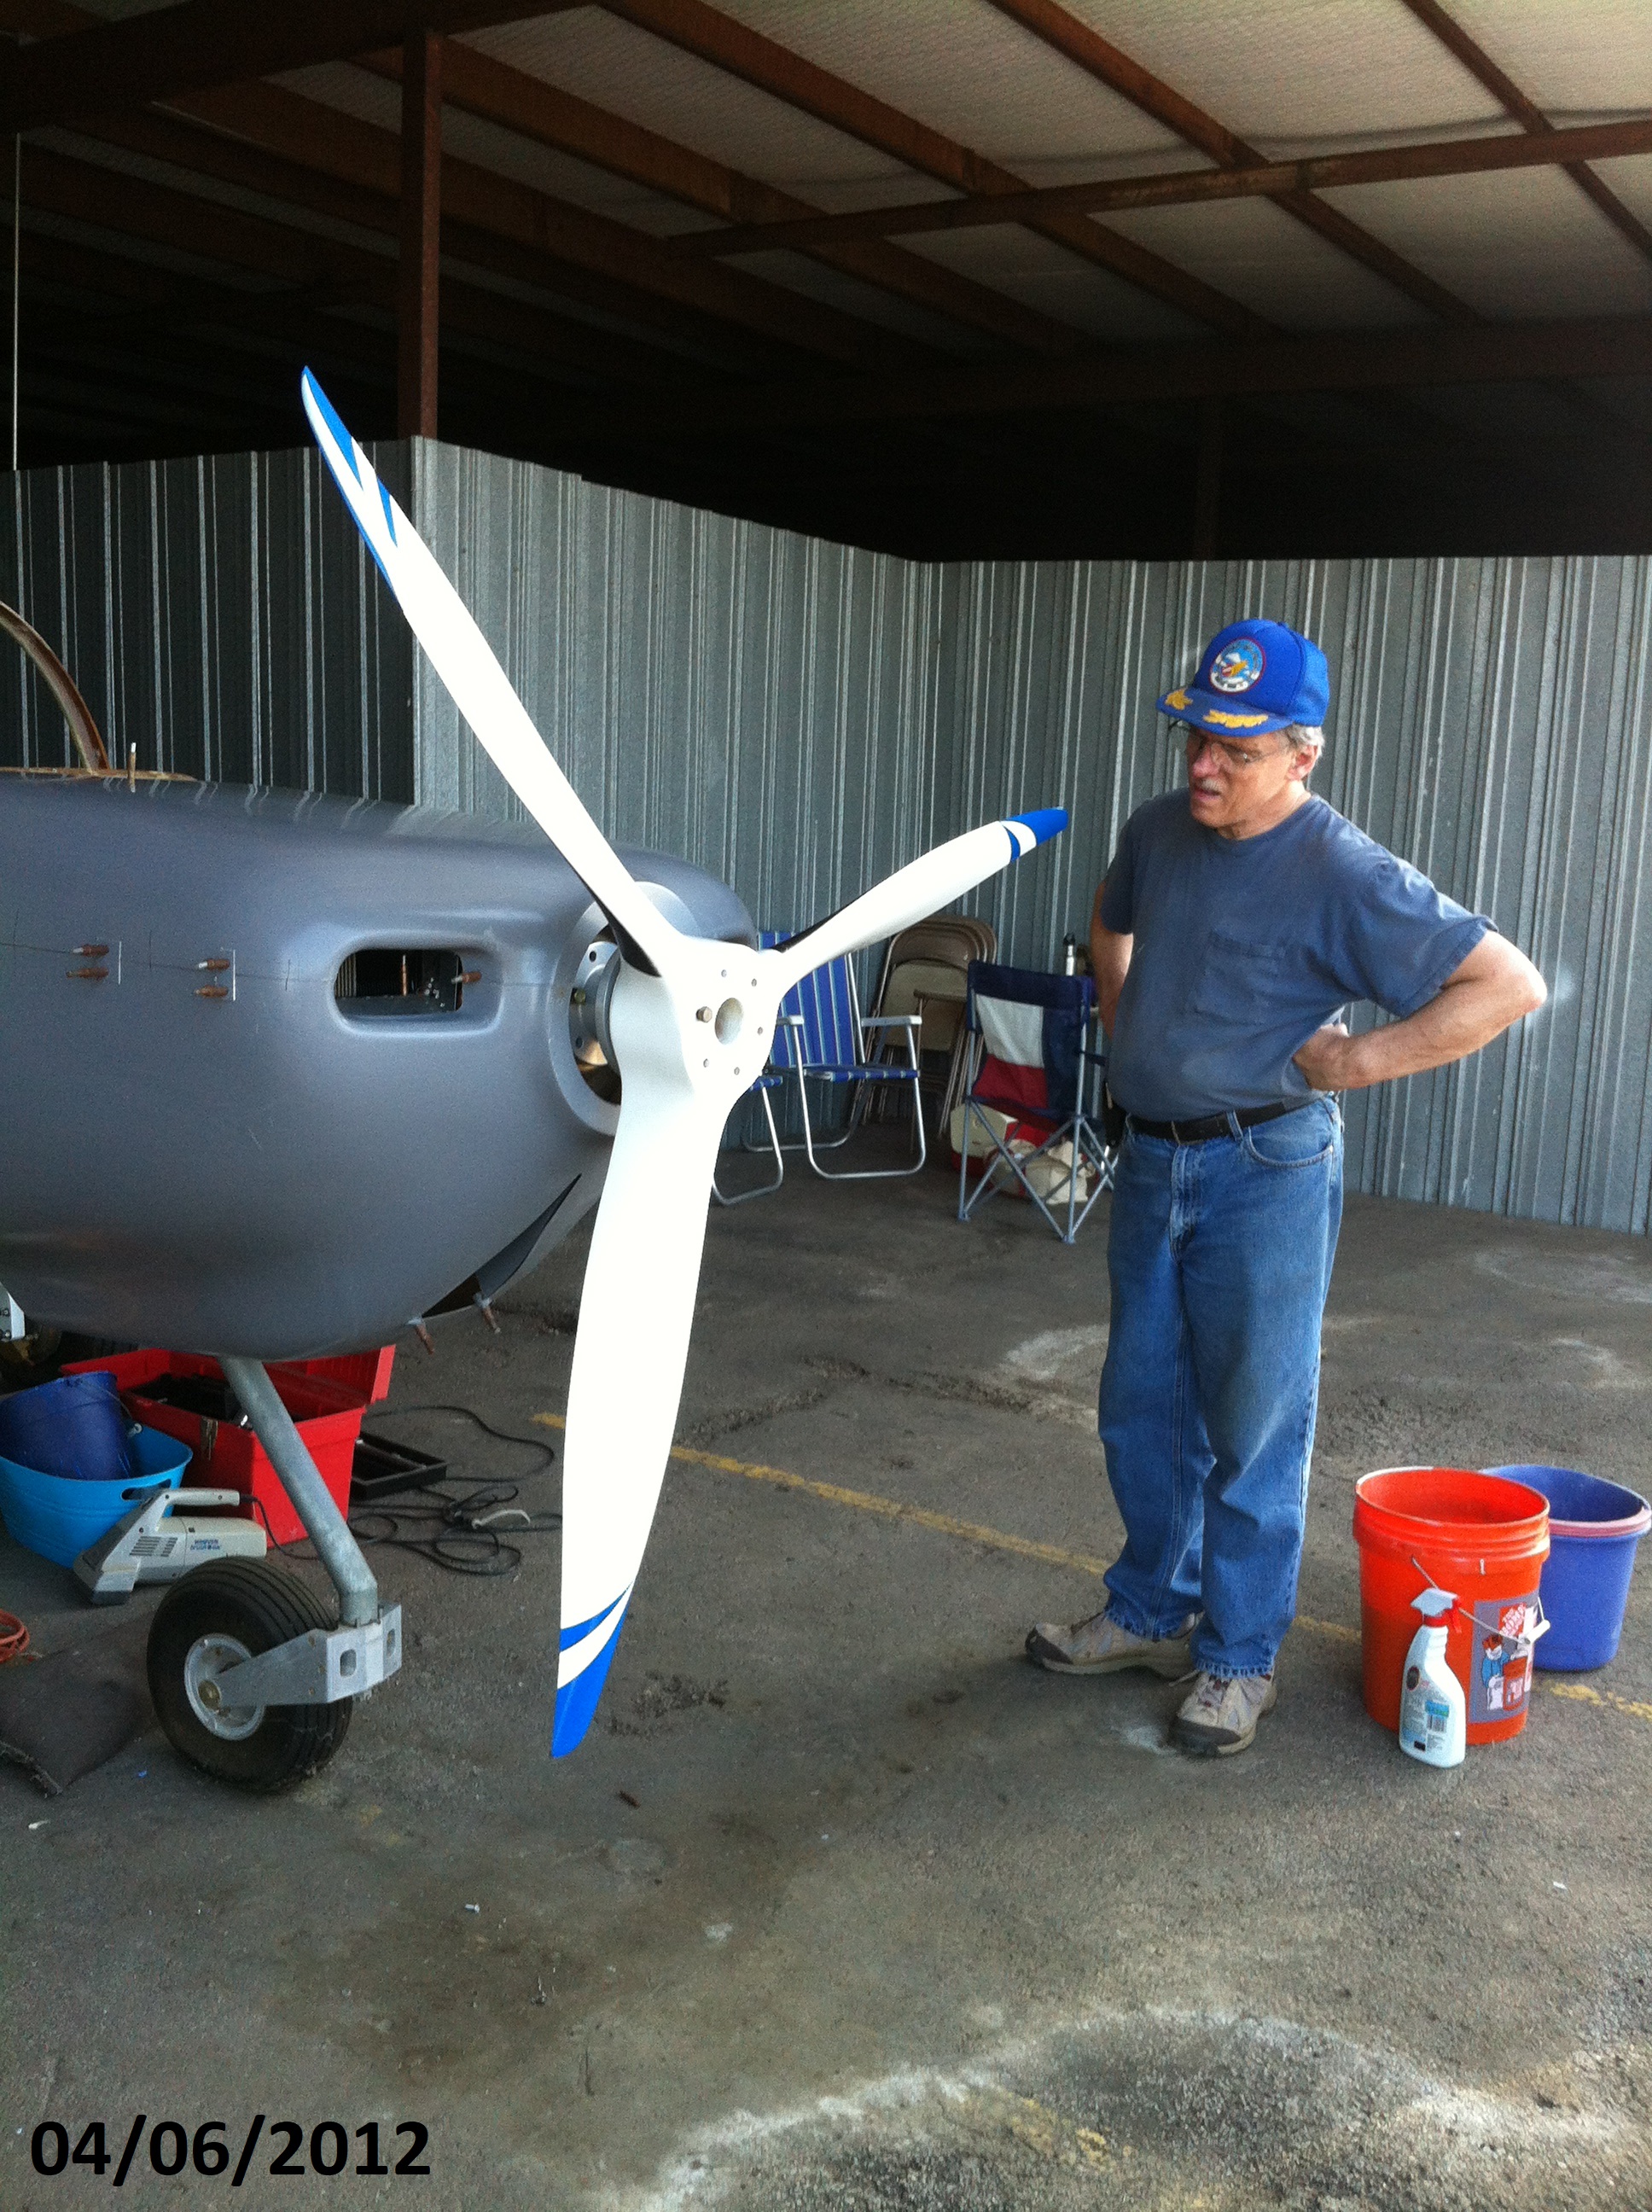
| The
real purpose of this process
is to get the propeller positioned for spacing purposes. |
I
had to go through this process
several times as it turned out. The first time I tried it, the cowling was too
far forward (or prop too far
back) depending on point of view. |
 |
 |
 |
 |
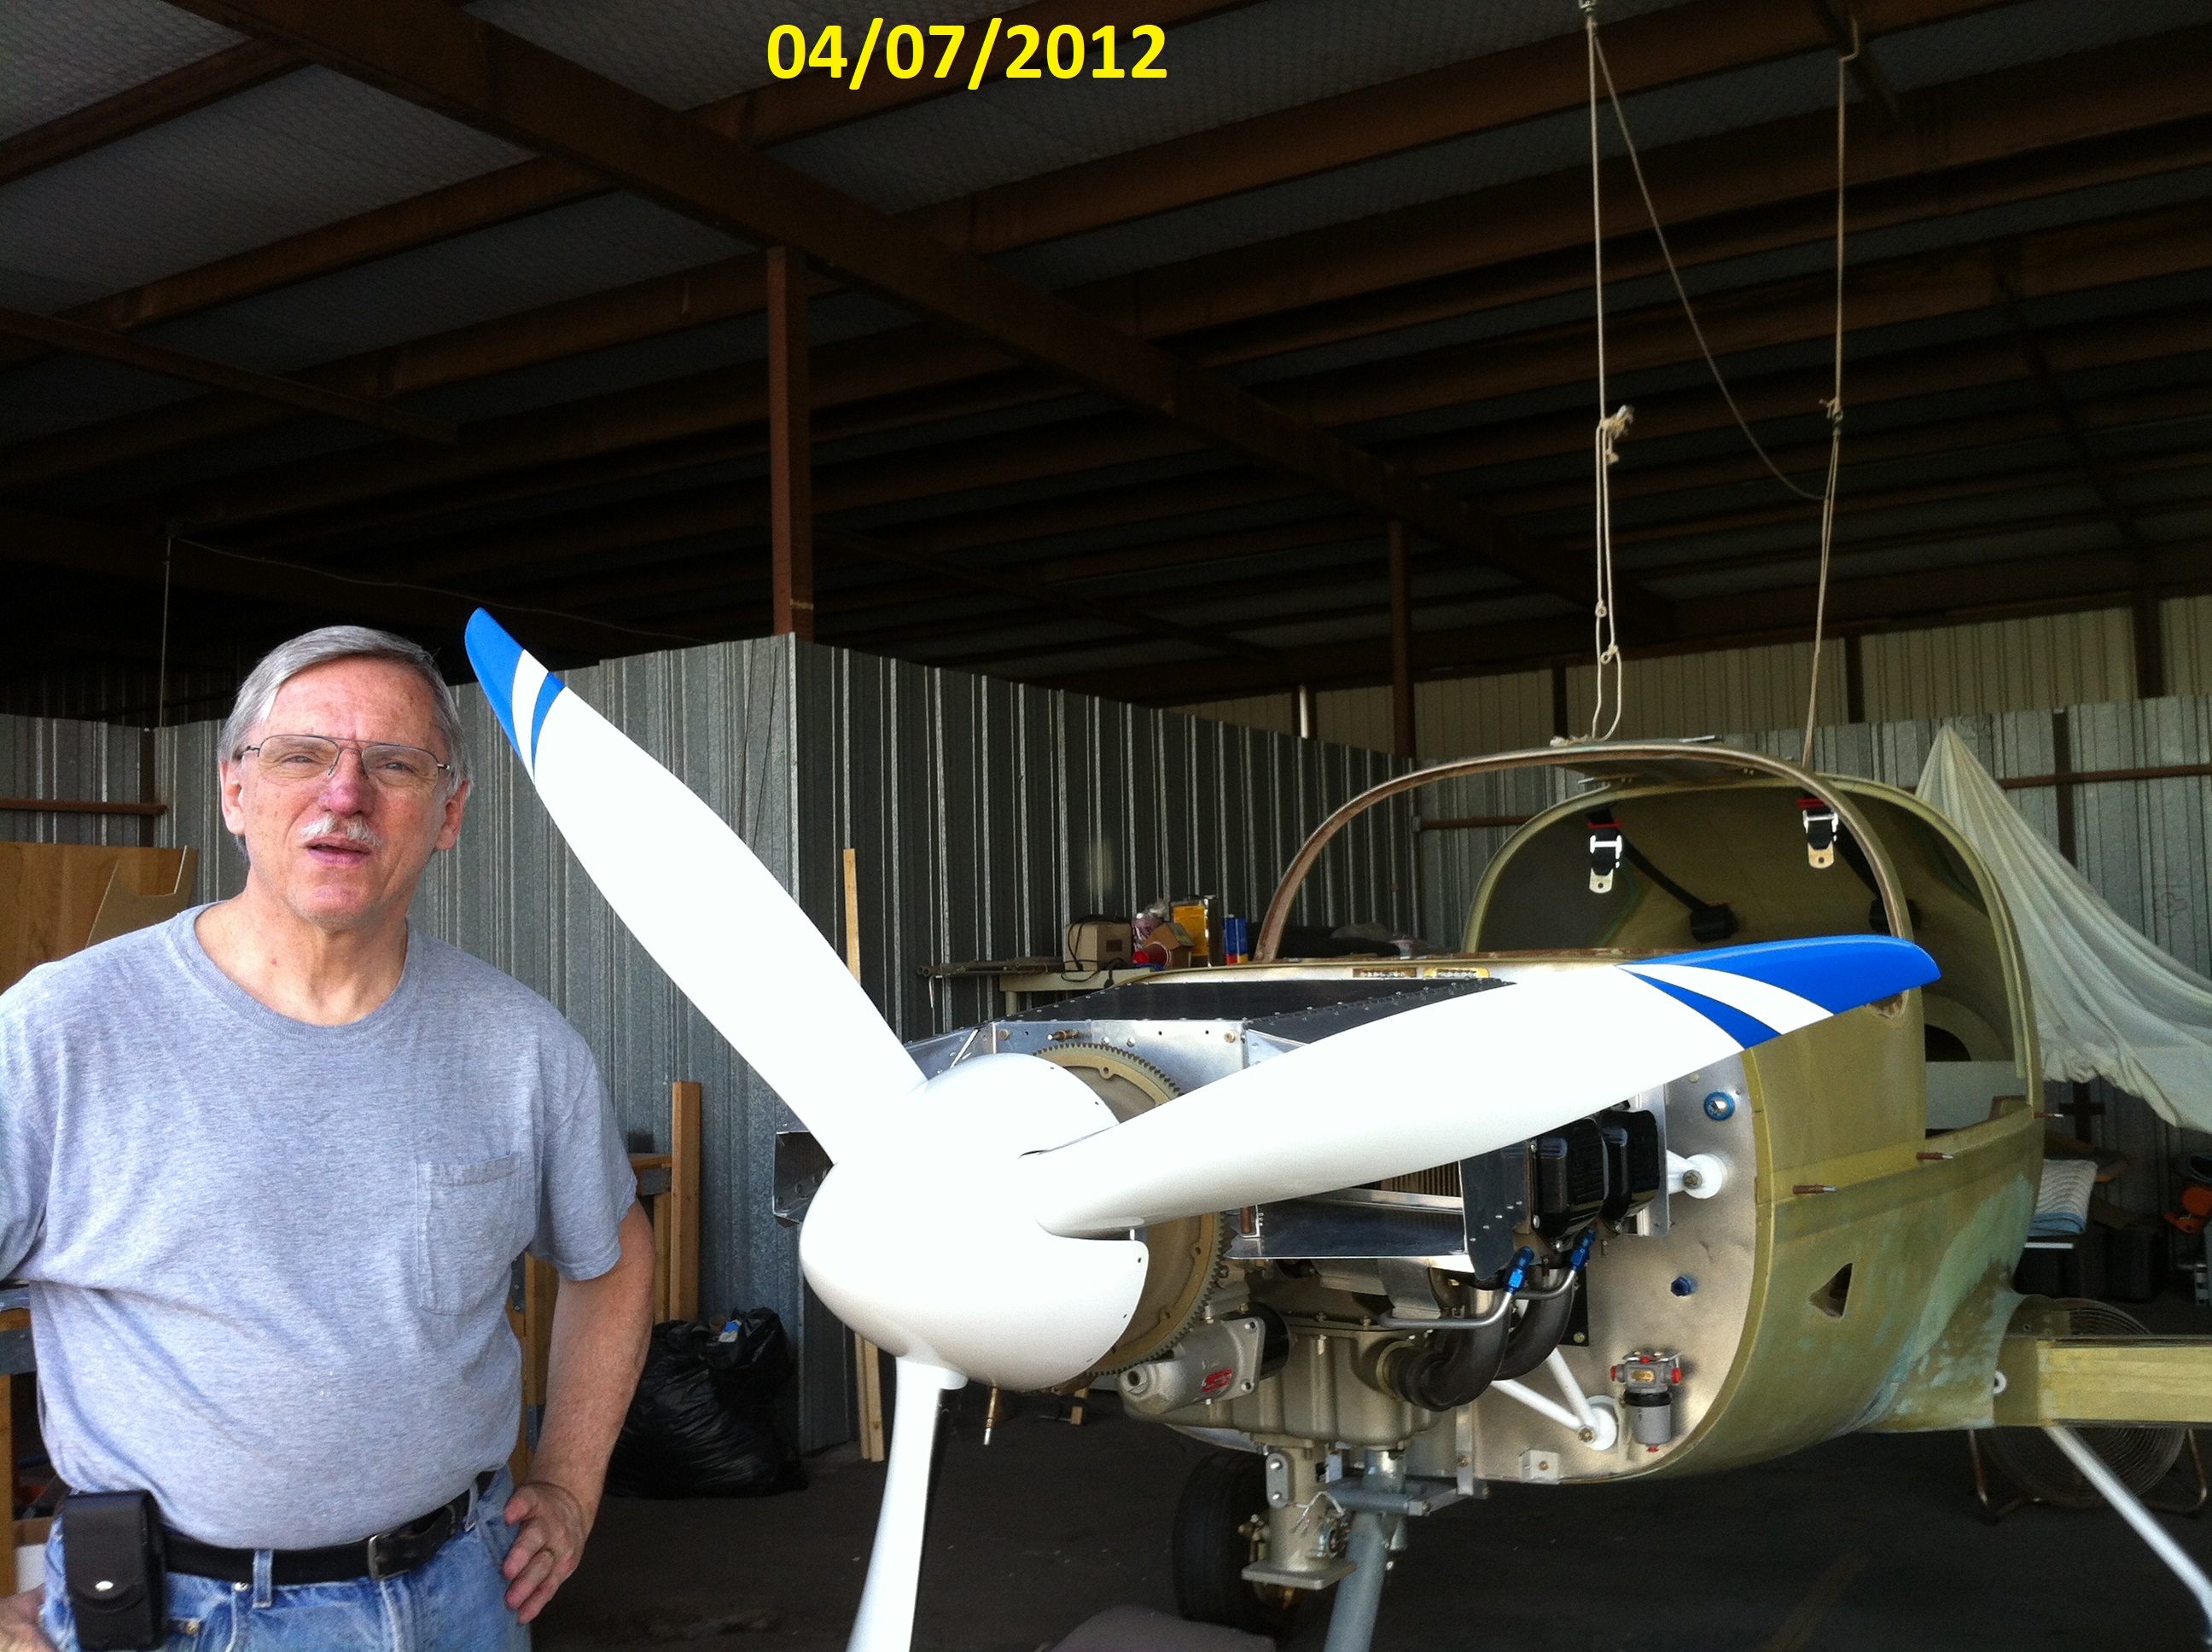
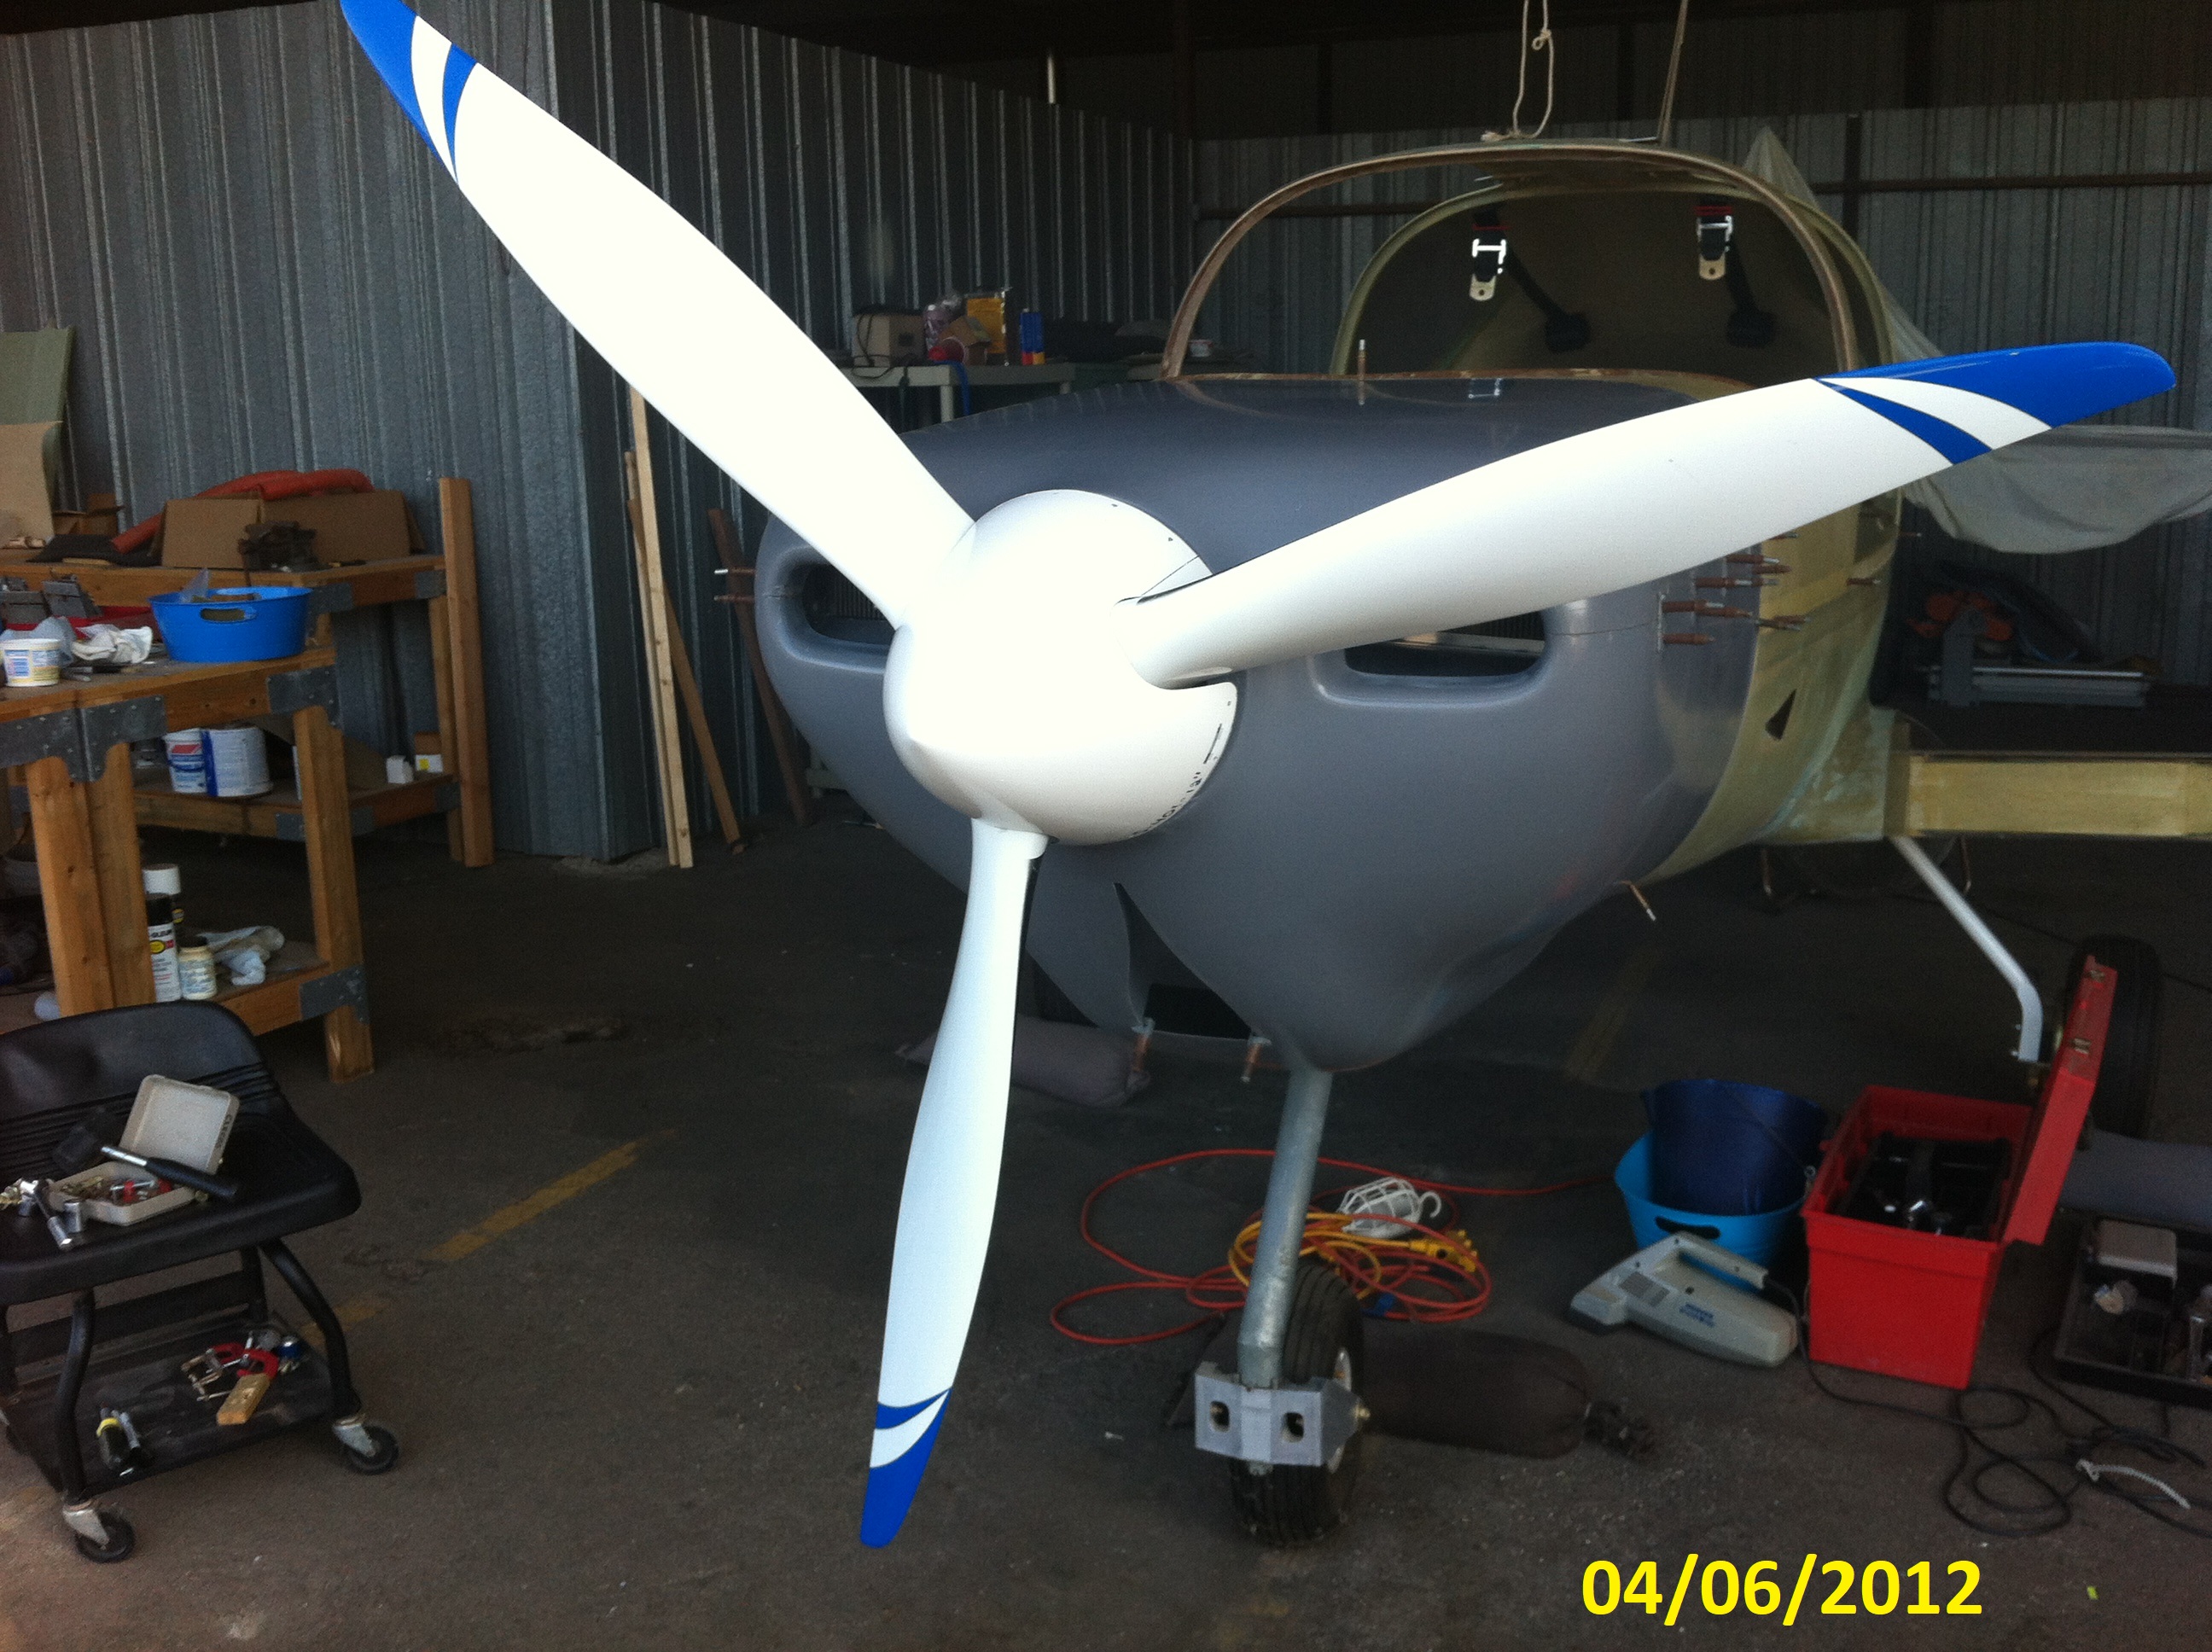
| I
had to repeat the process of
installing the prop and checking the spacing multiple times while installing
spacers on the engine mount. |
The final
result was a closely
spaced and aligned prop to cowling. There was still an uneven gap that
required filling on cowling. |
 |
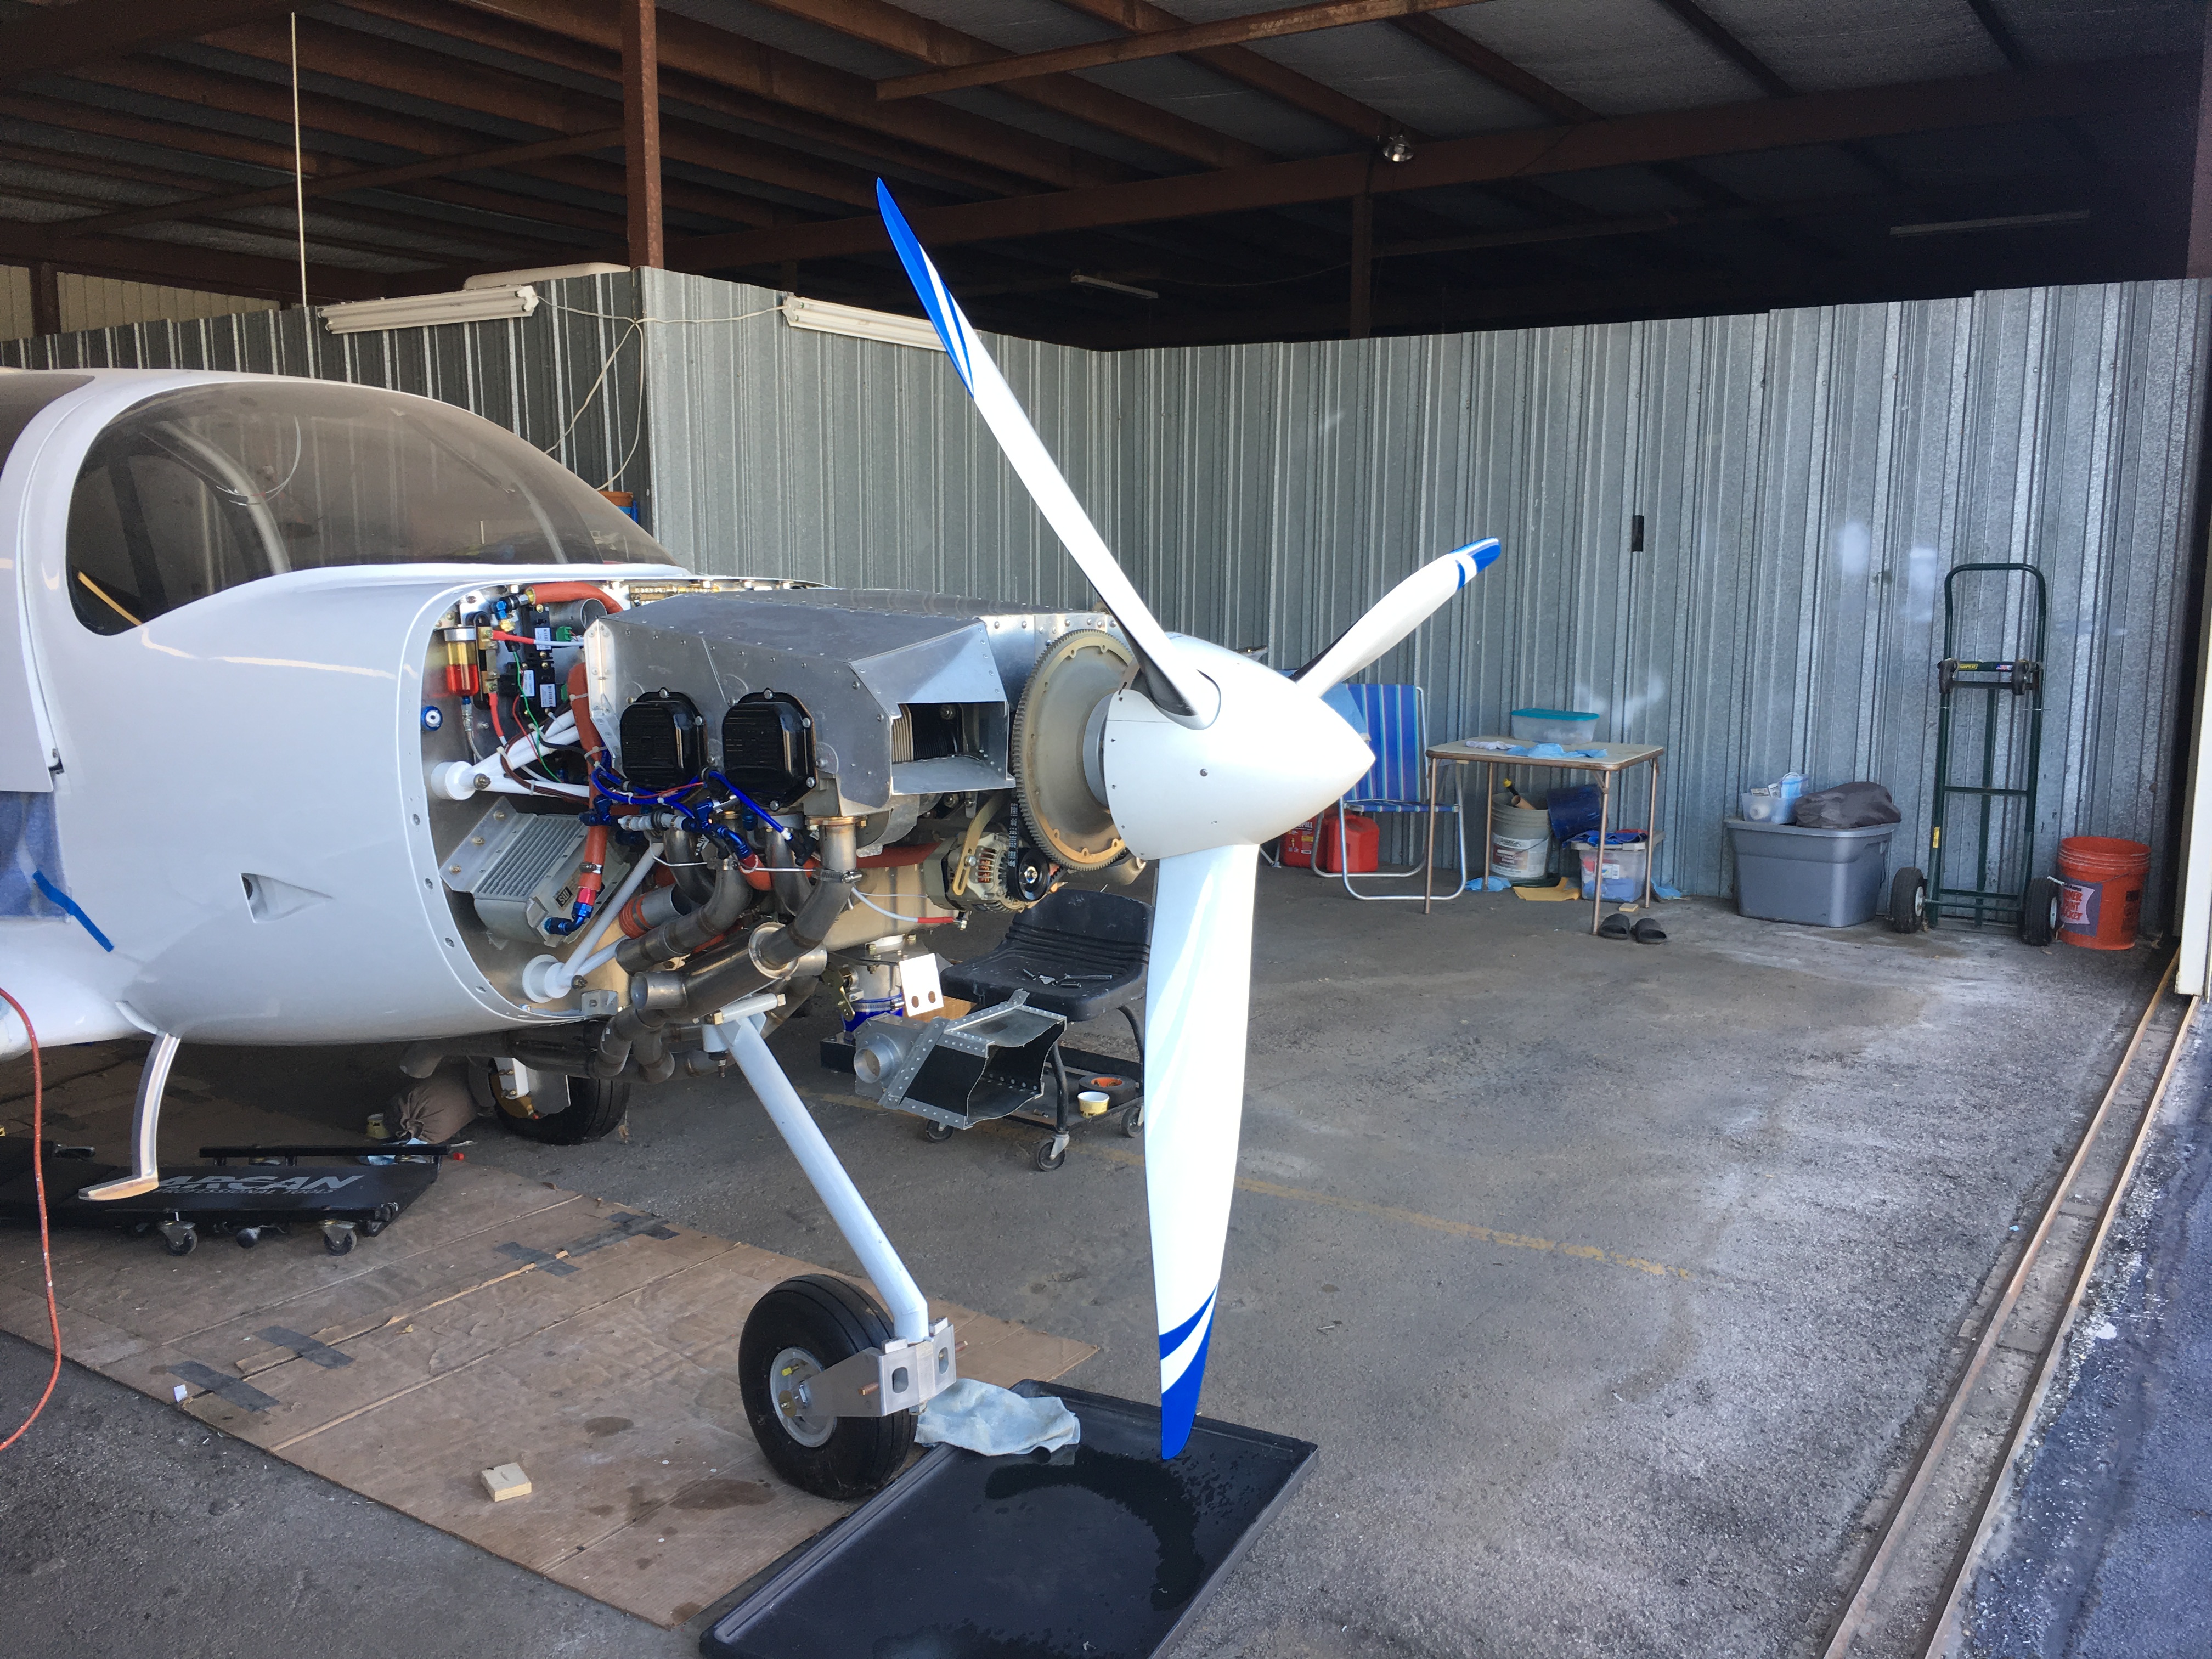 |
| Several
years passed before this
point and final install of the flywheel
and spacer. The black tape around the spinner it being used to locate the front screw plate for
the spinner. |
The
front spinner nut plates had
to be located and drilled by mounting and drilling in place. A blind process that I got right the first try. You can see one screw in place. |