 |
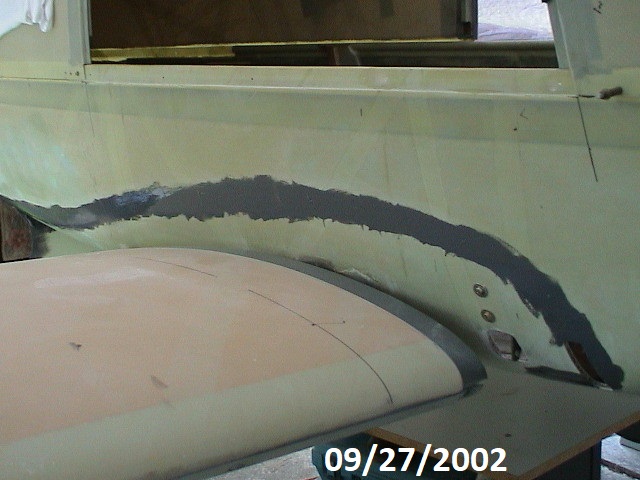
Preparation for bonding the wing fairings included
prewetting the bond area on the fuselage. Make sure to sand and
clean the area befor bonding. |
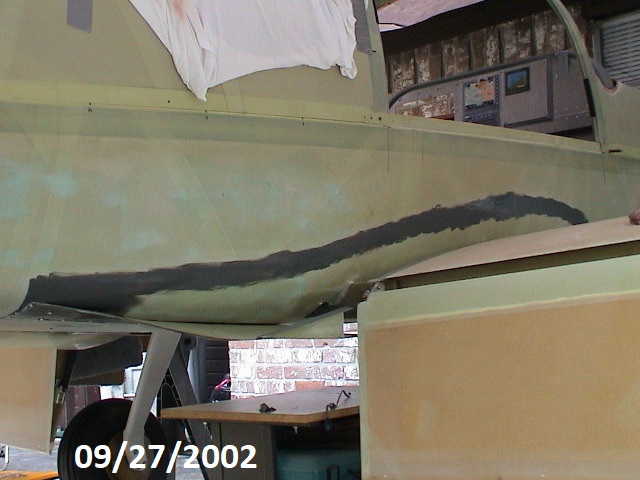 |
I put the lower fairing on first. |
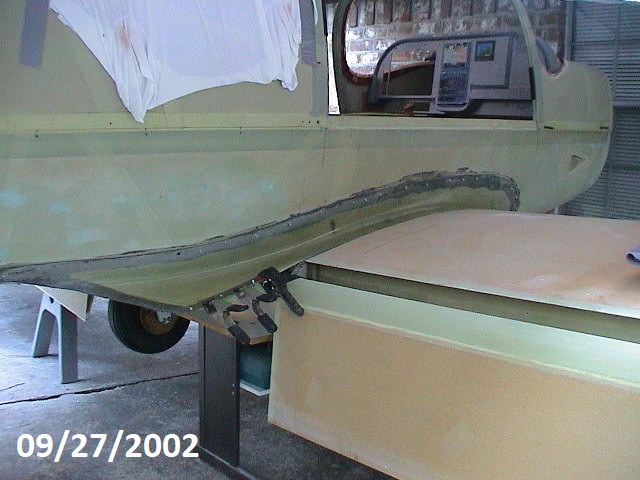 |
The fairing is bonded in place and screws positioned every
few inches to clamp the fairing to the fuselage. I made a big
mistake with the screws and tightened them down too much. This
resulted in pulling the fairing too tight and resulted in low spots at
every screw as well as pulling the whole fairing out of shape slightly. |
 |
The big problem was not pulling the flaps into their full
retracted position during cure. It resulted in the trailing edge
that fits over the flaps pulling down too far. Raising the flaps
to their retracted position caused the fairing to bow up and form a
large gap at the point where the flap joins the wing. |
 |
After a great deal of additional work I was finally able
to get the fairing to fit without a significant bow. |
 |
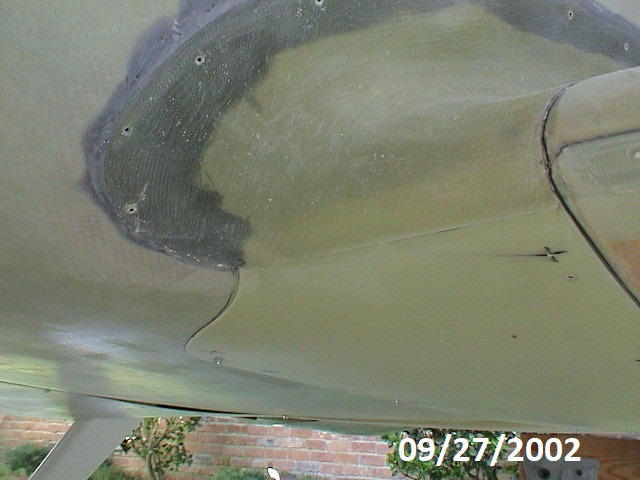
It took a great deal of sanding on the underside of the
fairing where it overlaps the flap as well as sanding the end of the
flap to form a joggle. I also had to cut the fairing at the point
where flap is mounted to the wing. Once I got a reasonably goot fit, I
pulled the flap into the retracted position. I then added some
glass to the top of the fairing to stiffen it and cover the cut. |
 |
The lower wing root fairing slides under the upper wing
root fairing at the leading edge. Once the filler is added and
sanded it should look pretty good. |
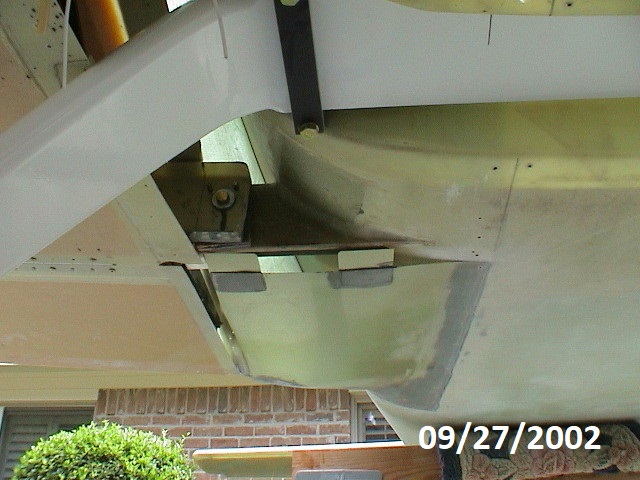 |
I placed overlap tabs on the rear lower fairing and on the
lower wing root fairing. These tabs will overlap to hold the to
fairings together. A couple of screws should keep everything in
proper position. |
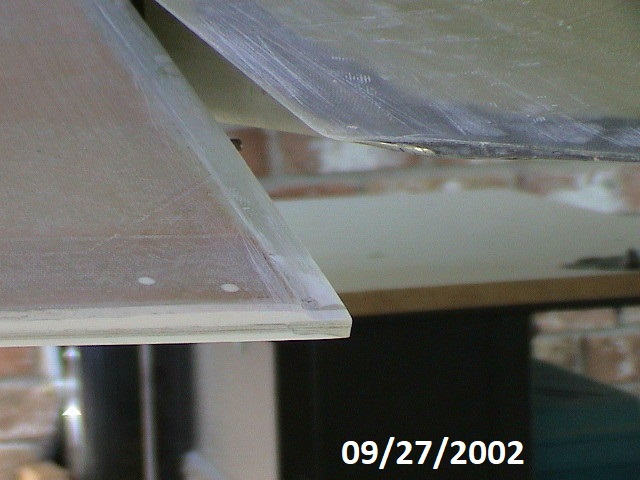 |
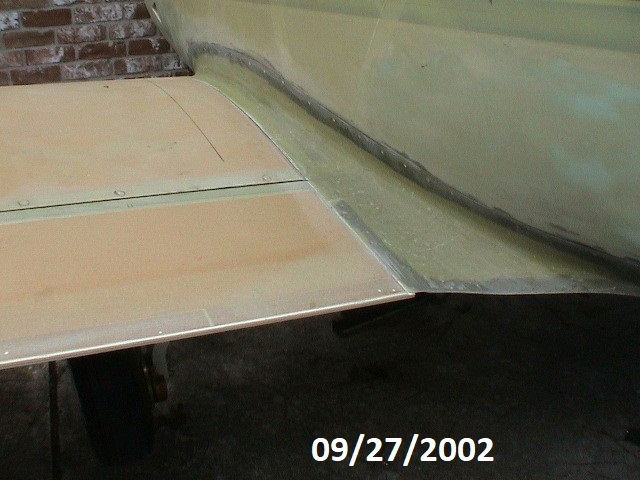
This shows the amount of sanding that had to be done to
the flap end to form a small joggle for the fairing to fit over the
flap without forcing the fairing to bow. I am not thrilled with
this solution but I believe it will come out looking nice. |
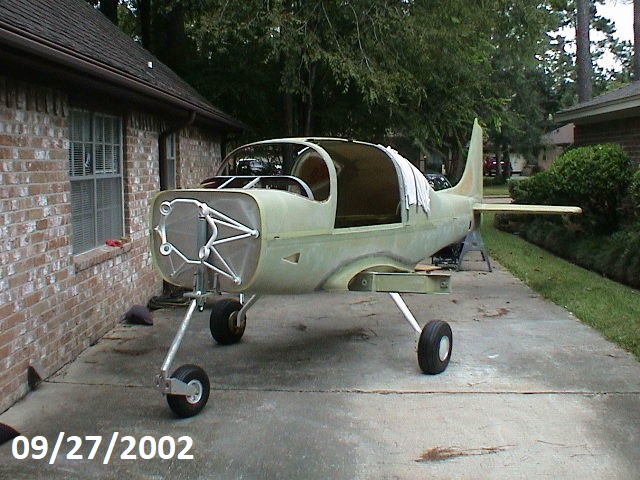 |
The preassembly is done and the wing root fairing is ready
for fill and finish. |