 |
N247BR
Pre-Assembly Wing Install
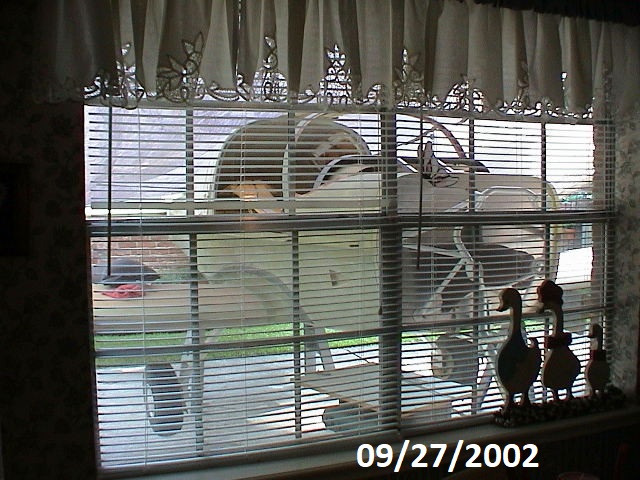
Or what my wife had to put up with outside the
breakfast window for a
month.
It also got more than a little attention from the neighborhood. But NO complaints.
|
Part 1 Setup
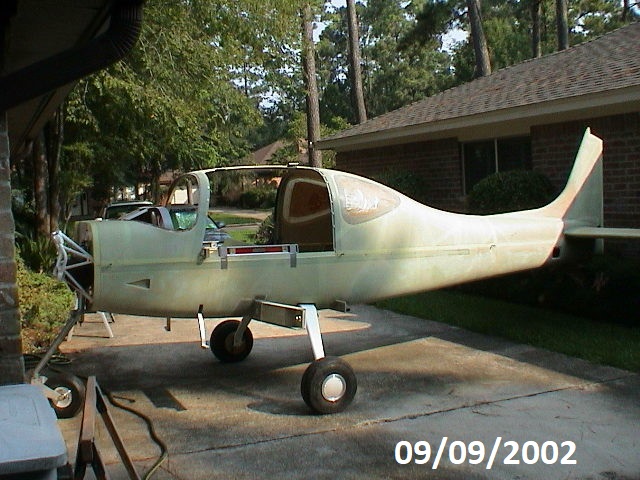 |
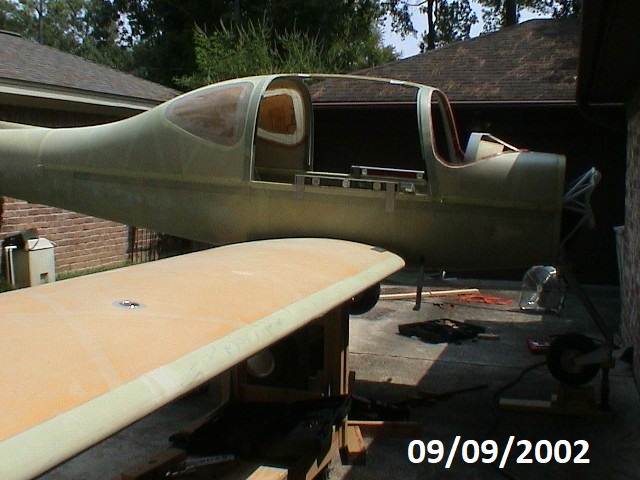
The fuselage is pulled outside and turned crosswise in the driveway. There was just barely enough room to position it without getting into the neighbors shrubs. It was thigh but worked. |
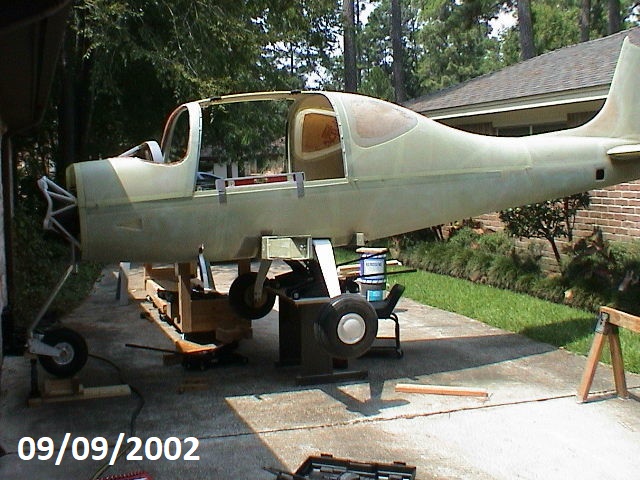 |
The process of jacking the fuselage was a tedious process. I had a couple of slips but nothing serious. The real problem is finding a point to use for the jack that will not be in the way of installing the wings. The tricycle gear doesn't make for the most stable platform either. |
 |
I finally found a workable solution but not one I am super comfortable with. The jacks are on a table under the center of the fuselage. It works well because you have good control when trying to adjust to wing angle or level the fuselage. |
 |
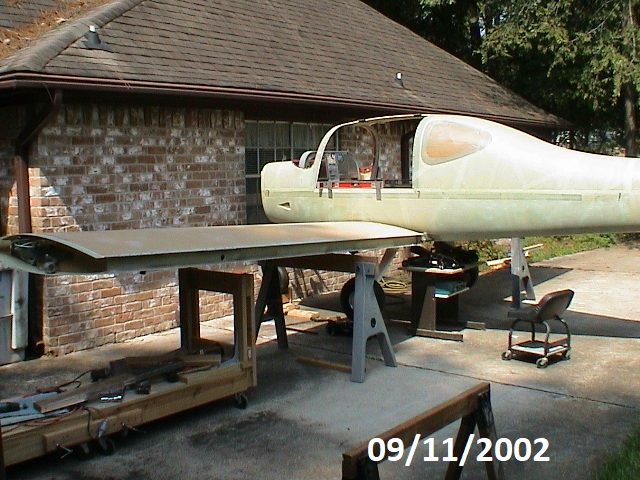
The plane is setting on almost a 3 degree angle to the right side and the nose is angled down. The wing is on the cart and level. This put the main spar right on the level of the opening in the wing. I was then able to roll the wing into place and either use shims under the wing or make minor adjustments to the jack to align the spars for insertion of the bolts. This worked very well because I had total control over everything and didn't have to rush because my helpers were getting tired. |
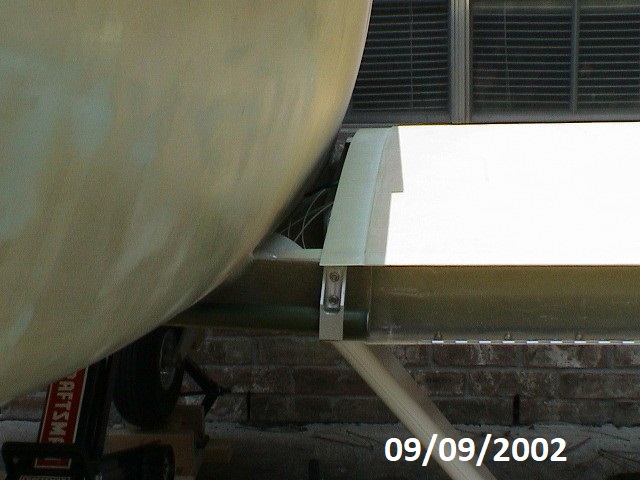 |
The wing is in the approximate position and I am ready to insert the bolts. The inside bolt, next to the fuselage, went in first. I finger tightened this one. The bolt inside the wing took a bit more effort. First I used a small bolt to feel for the opening and determine if I was high or low. I then eigher jacked the fuselage or shimmed the wing. The small bolt would catch at the top of the open or the bottom. When it didn't catch anywhere, I inserted the spar bolt and partially tightened. Lots of thick washers under the head. |
 |
Once the wing was set and the bolts tightened, I move a
sawhorse under the wing and move the cart out. I then loaded the
other wing and repeated the process.
The alignment for the second wing required the sawhorse under the right wing to be move inboard as the fuselage was tilted the other way to keep the fuselage from tipping toward the wing. |
 |
The second wing was a bit of a problem. The flange for the inner fuel bay was sticking up just enough to keep the wing from going into position. The opening was just barely large enough to squeeze my arm in and work at clearing the obstructions. After some futile efforts I finally tacked some 40 grit sandpaper to a 2x4 and used it to sand down the obstruction. The wing then slipped into place without a problem. |
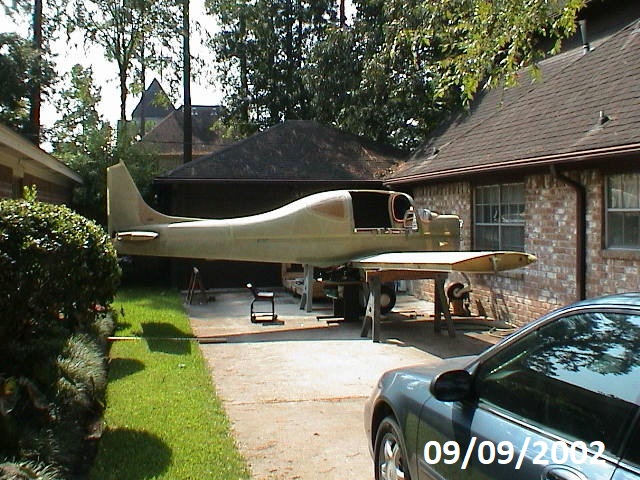 |
Both wings are now connected and the plane is resting on the jacks and sawhorses. I have leveled everything to the longerons and locked it in place. The levels are visible on both sides and one is position accross the fuselage. They were taped into place for quick visual reference in case something slipped out of position. |