N247BR
Final Painting - Preparations
| Even this final paint process was NOT
without some additional
challenges. First problem was the lack of adequate electrical
power in the hangar. I had tried using the turbine units to apply final
coats of primer to the fuselage but couldn't get the three stage
turbine and the fresh air system to run at full power. I was able
to complete the application of the primer but not if I had any lights
on when trying to spray. I finished the primer application and
sanded it down in preparation for final color coats. I had made
arrangements for a guy who had been painting some local planes and was
a custom car painter to apply the color coats for me. He tried
using the turbine unit with the System Three Epoxy paint that I was
using. First problem was the lack of power to the turbine
units. Five minutes into the process, the circuit breaker
tripped. The circuit breaker was at the far end of the hangar on
the other side of the fence. Took 5 minutes to locate the breaker
and reset it. We cut off all other electrical except the turbines
and tried again but we didn't have enough power to atomize the
paint. Add to that, my painter had never used that type of paint
before and wasn't sure of how to thin it for spraying. We gave up
about 1/2 way through the first coat on the fuselage. Yet another
total failure. Add to that, my guy said he didn't want to
continue with the System Three paint. |
|
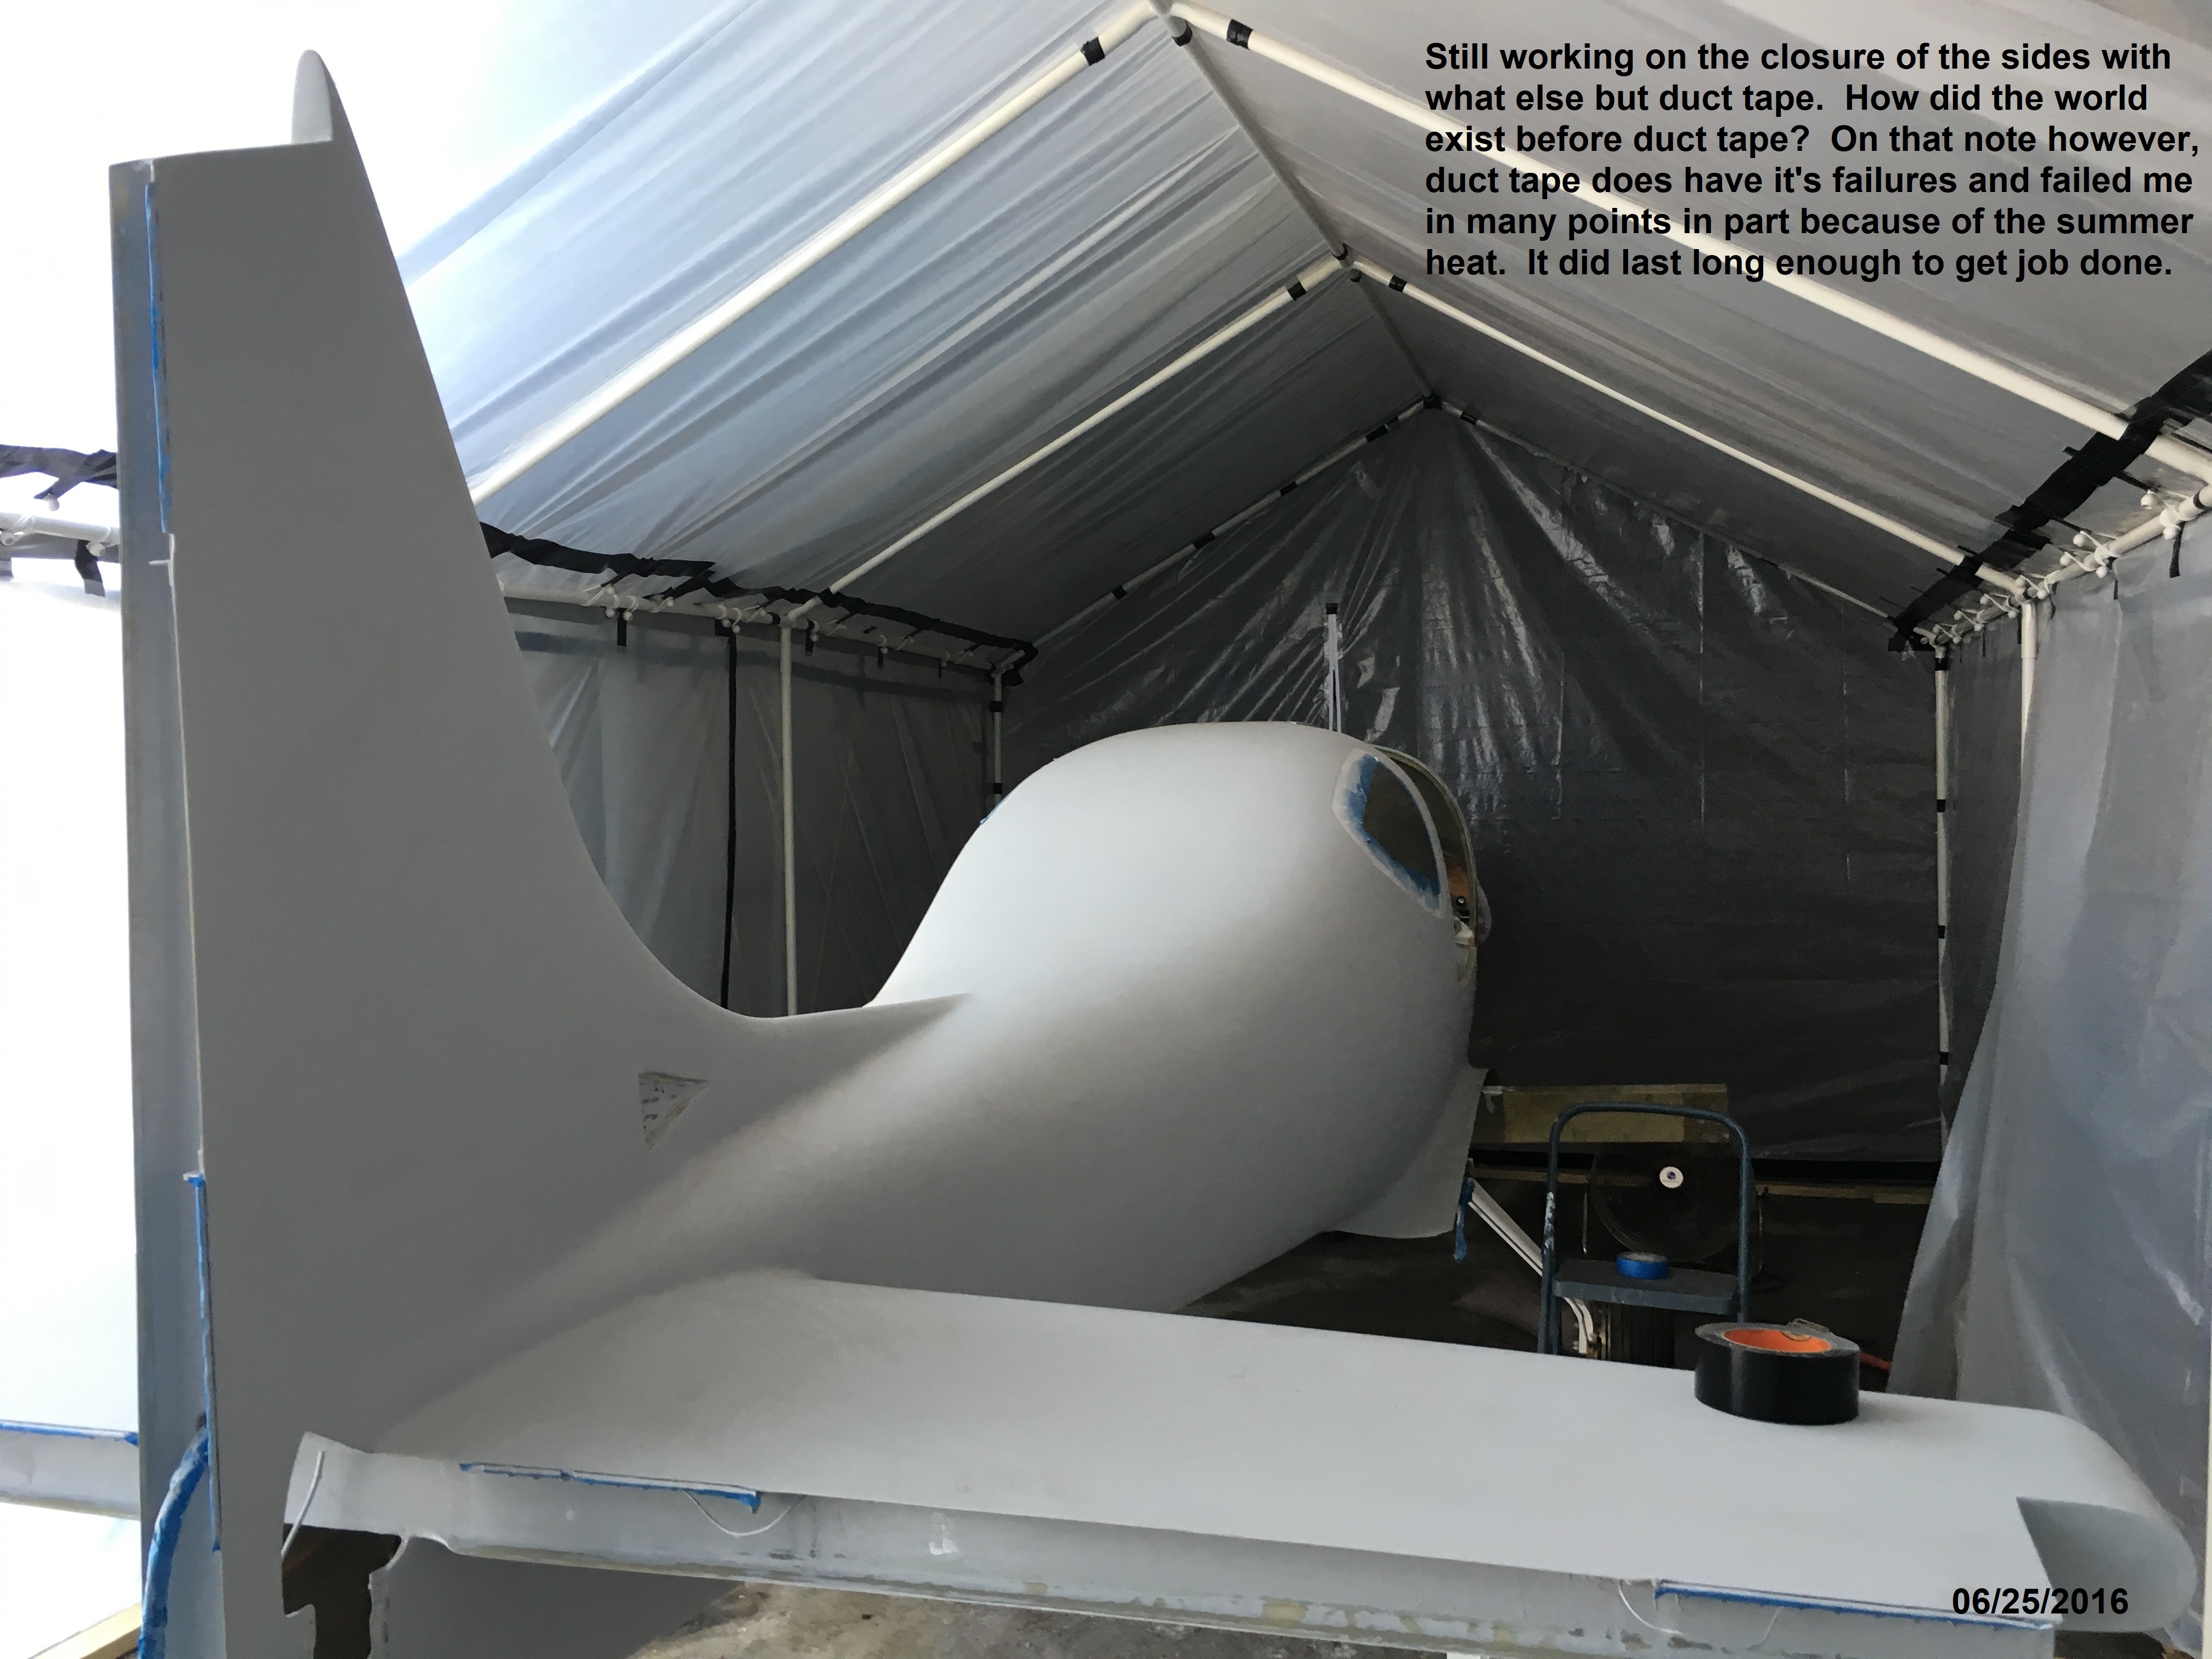 |
This is still part of the paint
booth assembly in the hangar. The side curtains are up and
connected at the top but the bottoms have not been anchored to the
bottom plate and the seams have not been taped. |
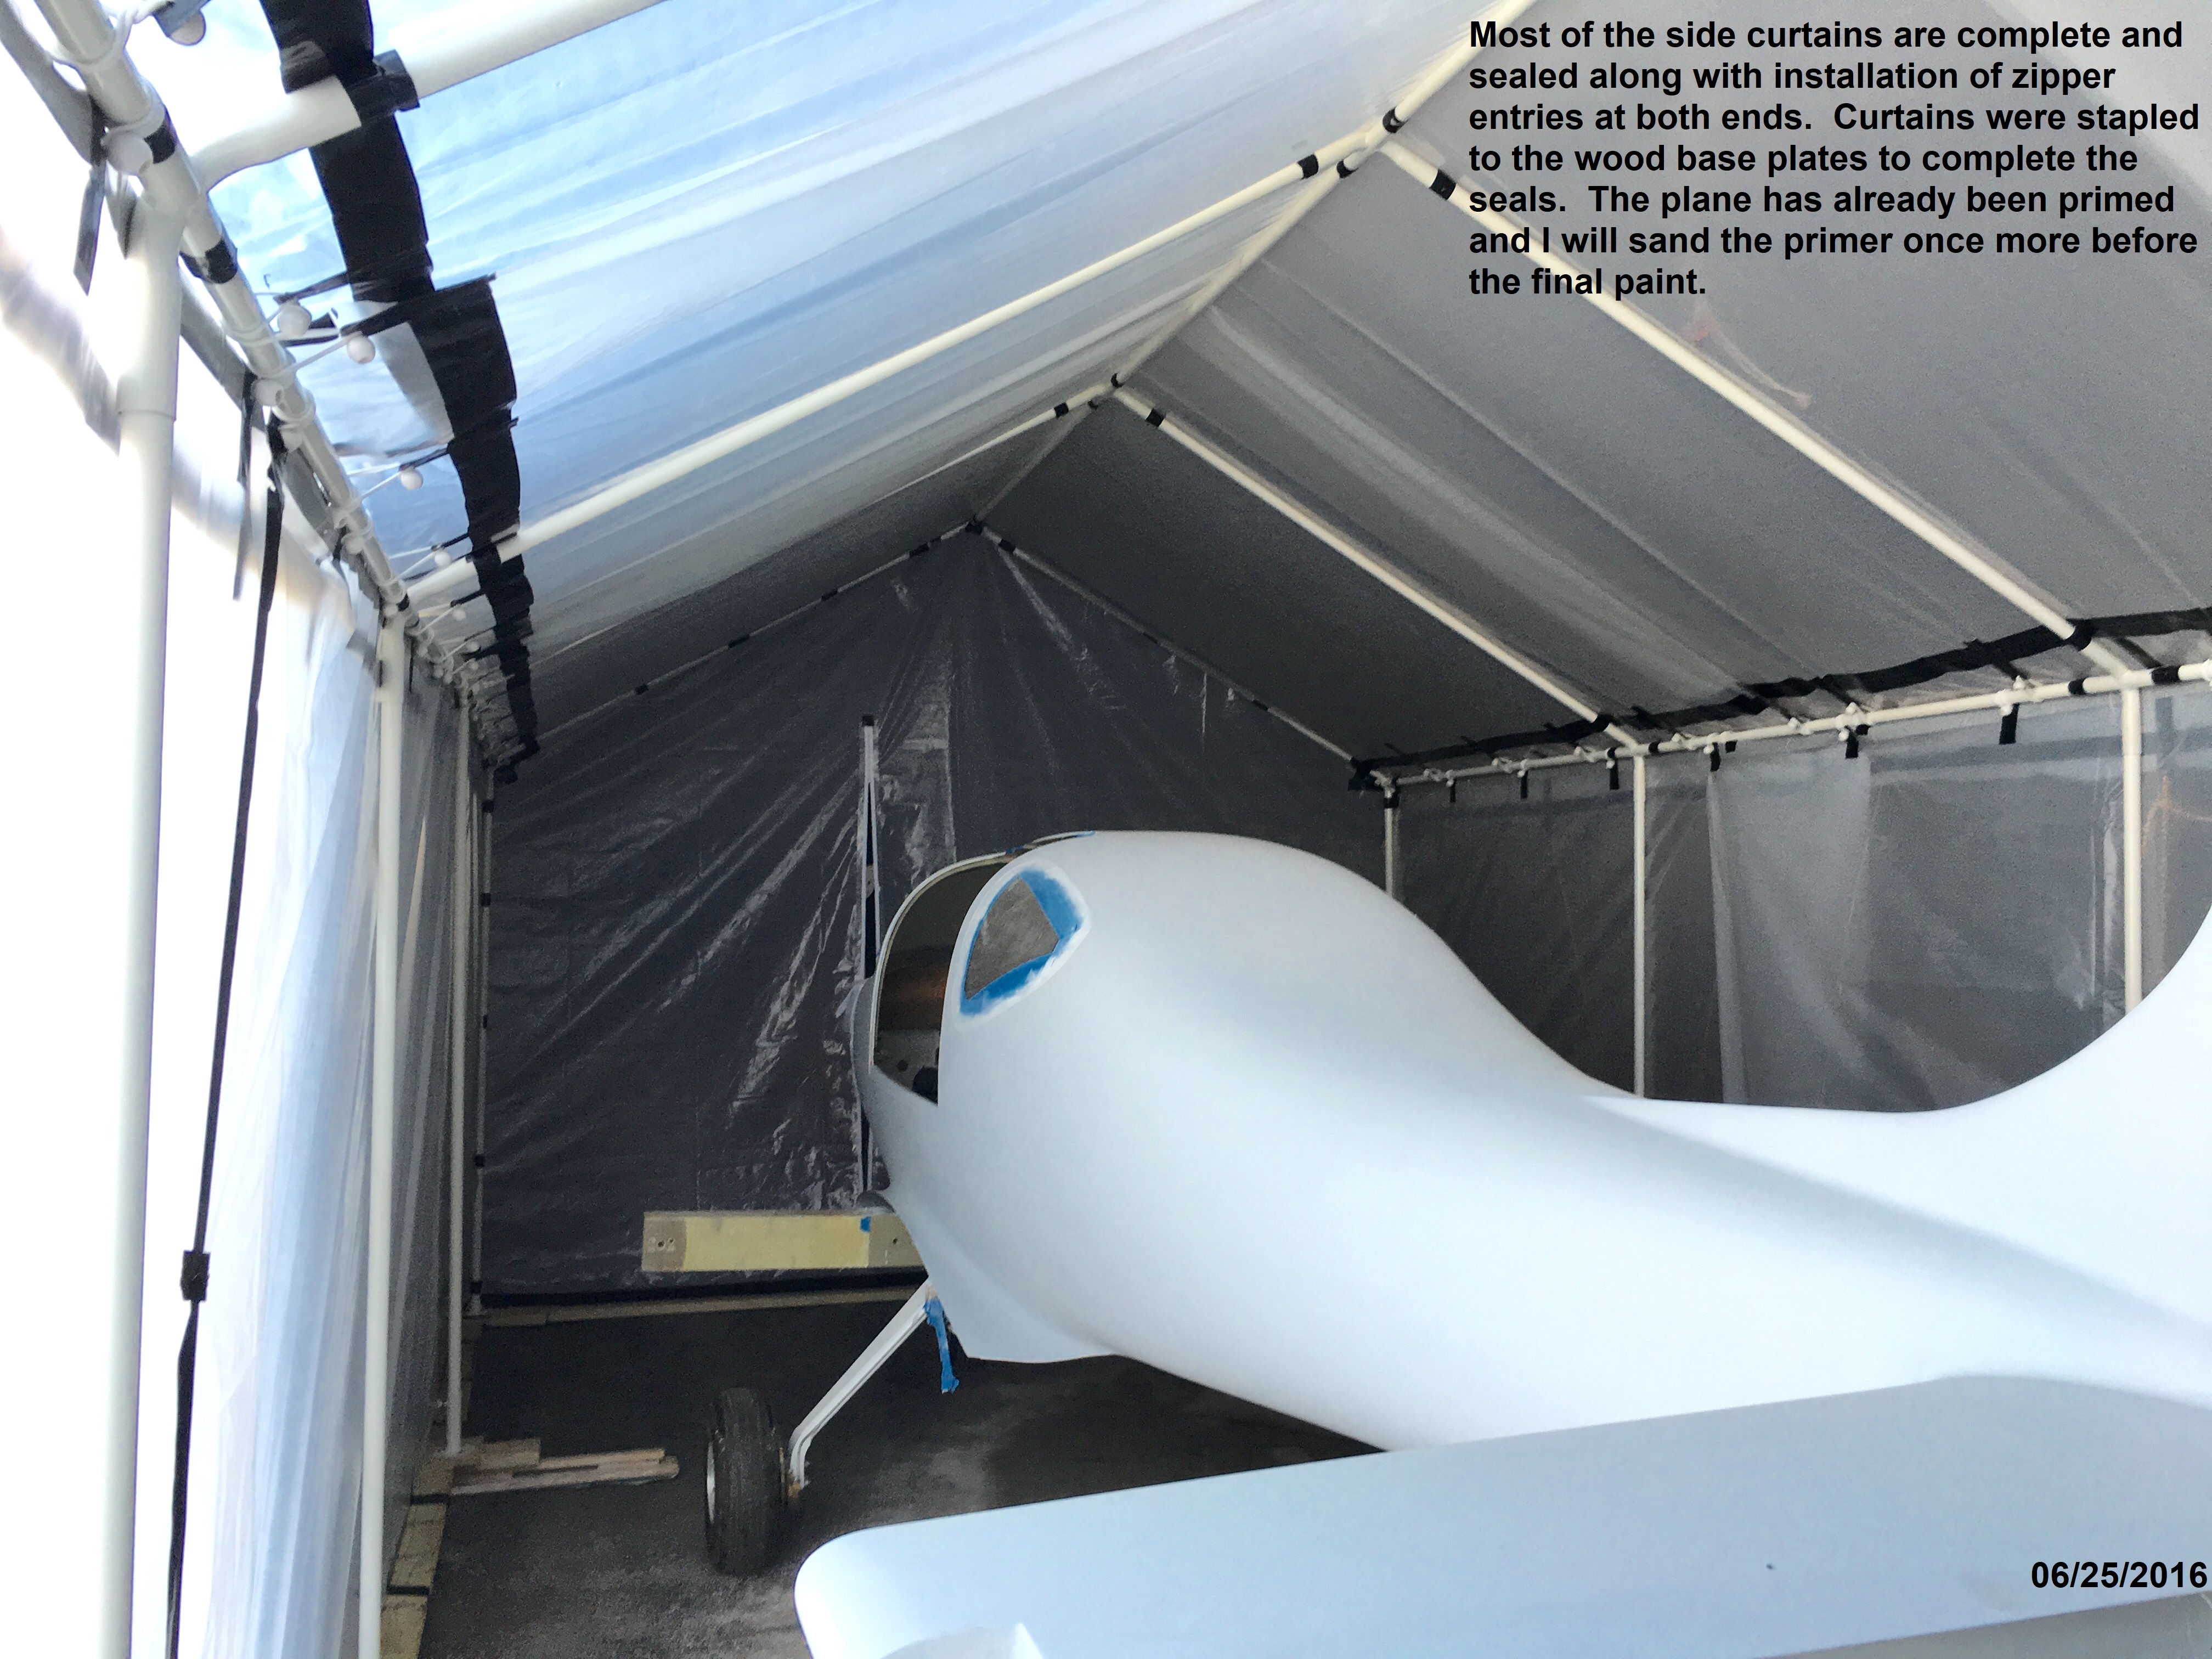 |
Still
working on the paint booth. Almost complete at this point ant the
ends have been tied down with the entry zipper put in place. |
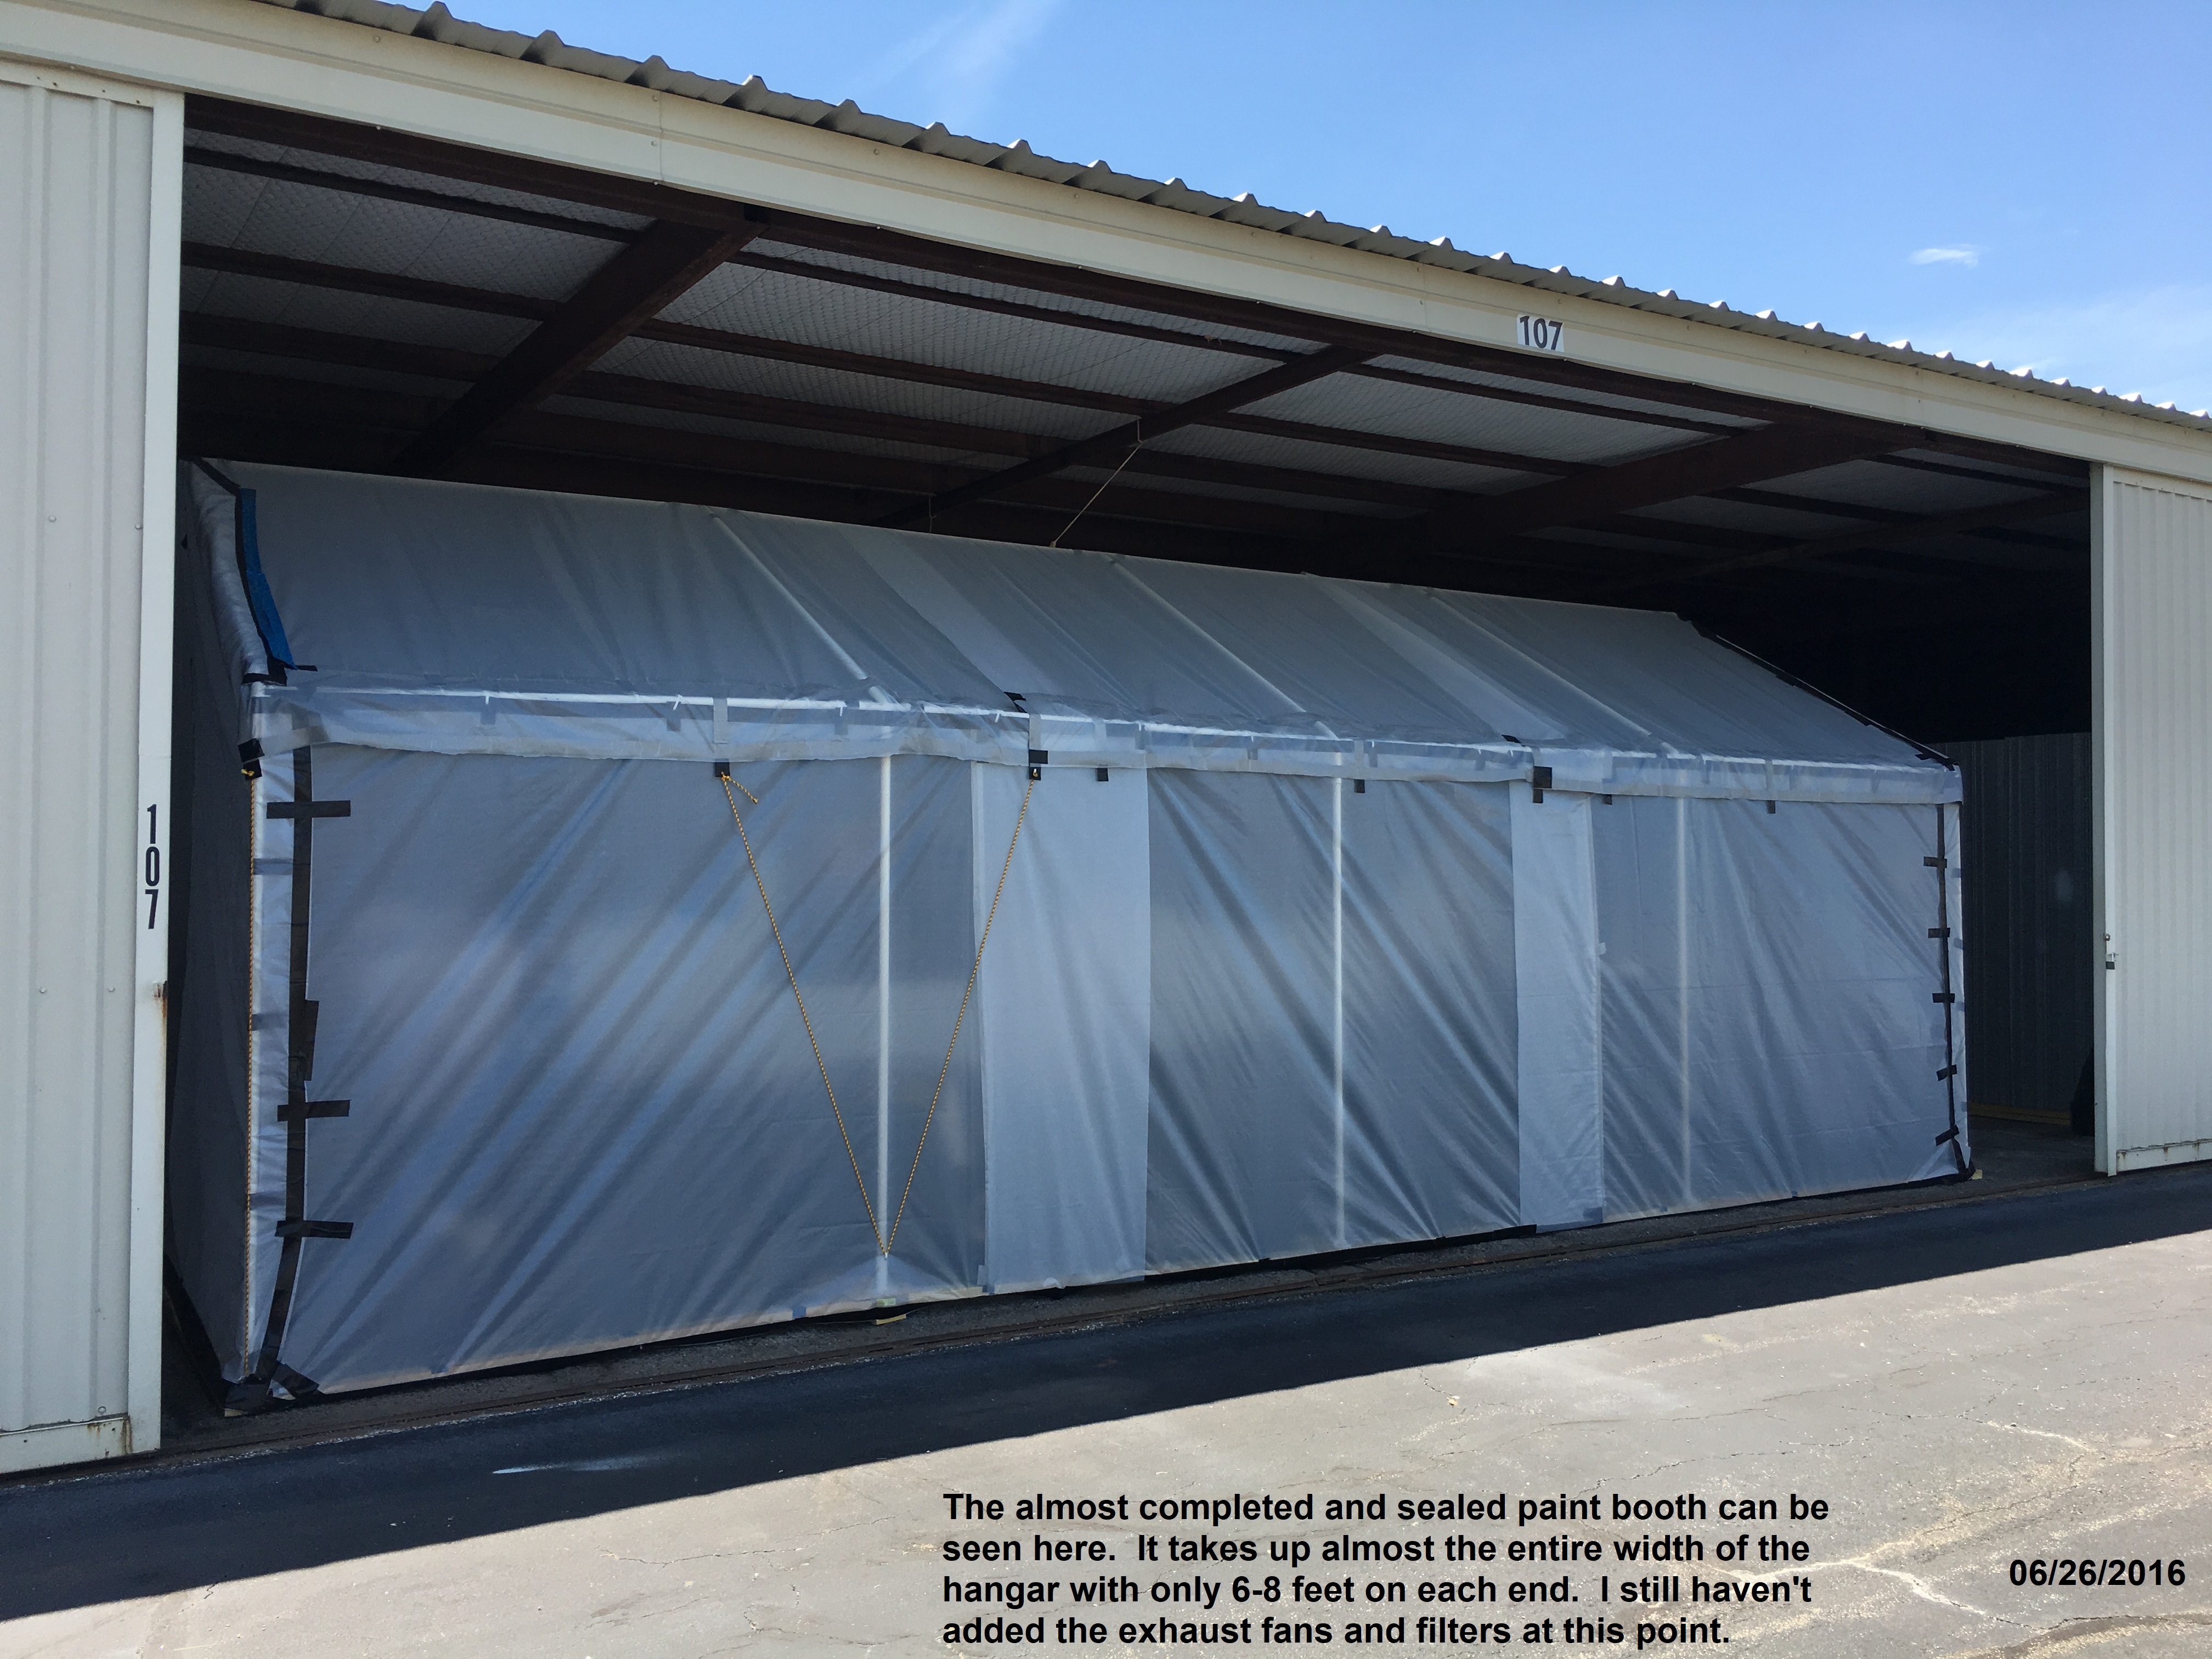 |
This
was the completed paint booth before the exhaust fans were
installed. I was afraid that the airport management was going to
come down on me for painting in my hangar but I later found out
they had zero problem with my setup since I had taken every precaution
to ensure that overspray would not get out of the paint booth. |
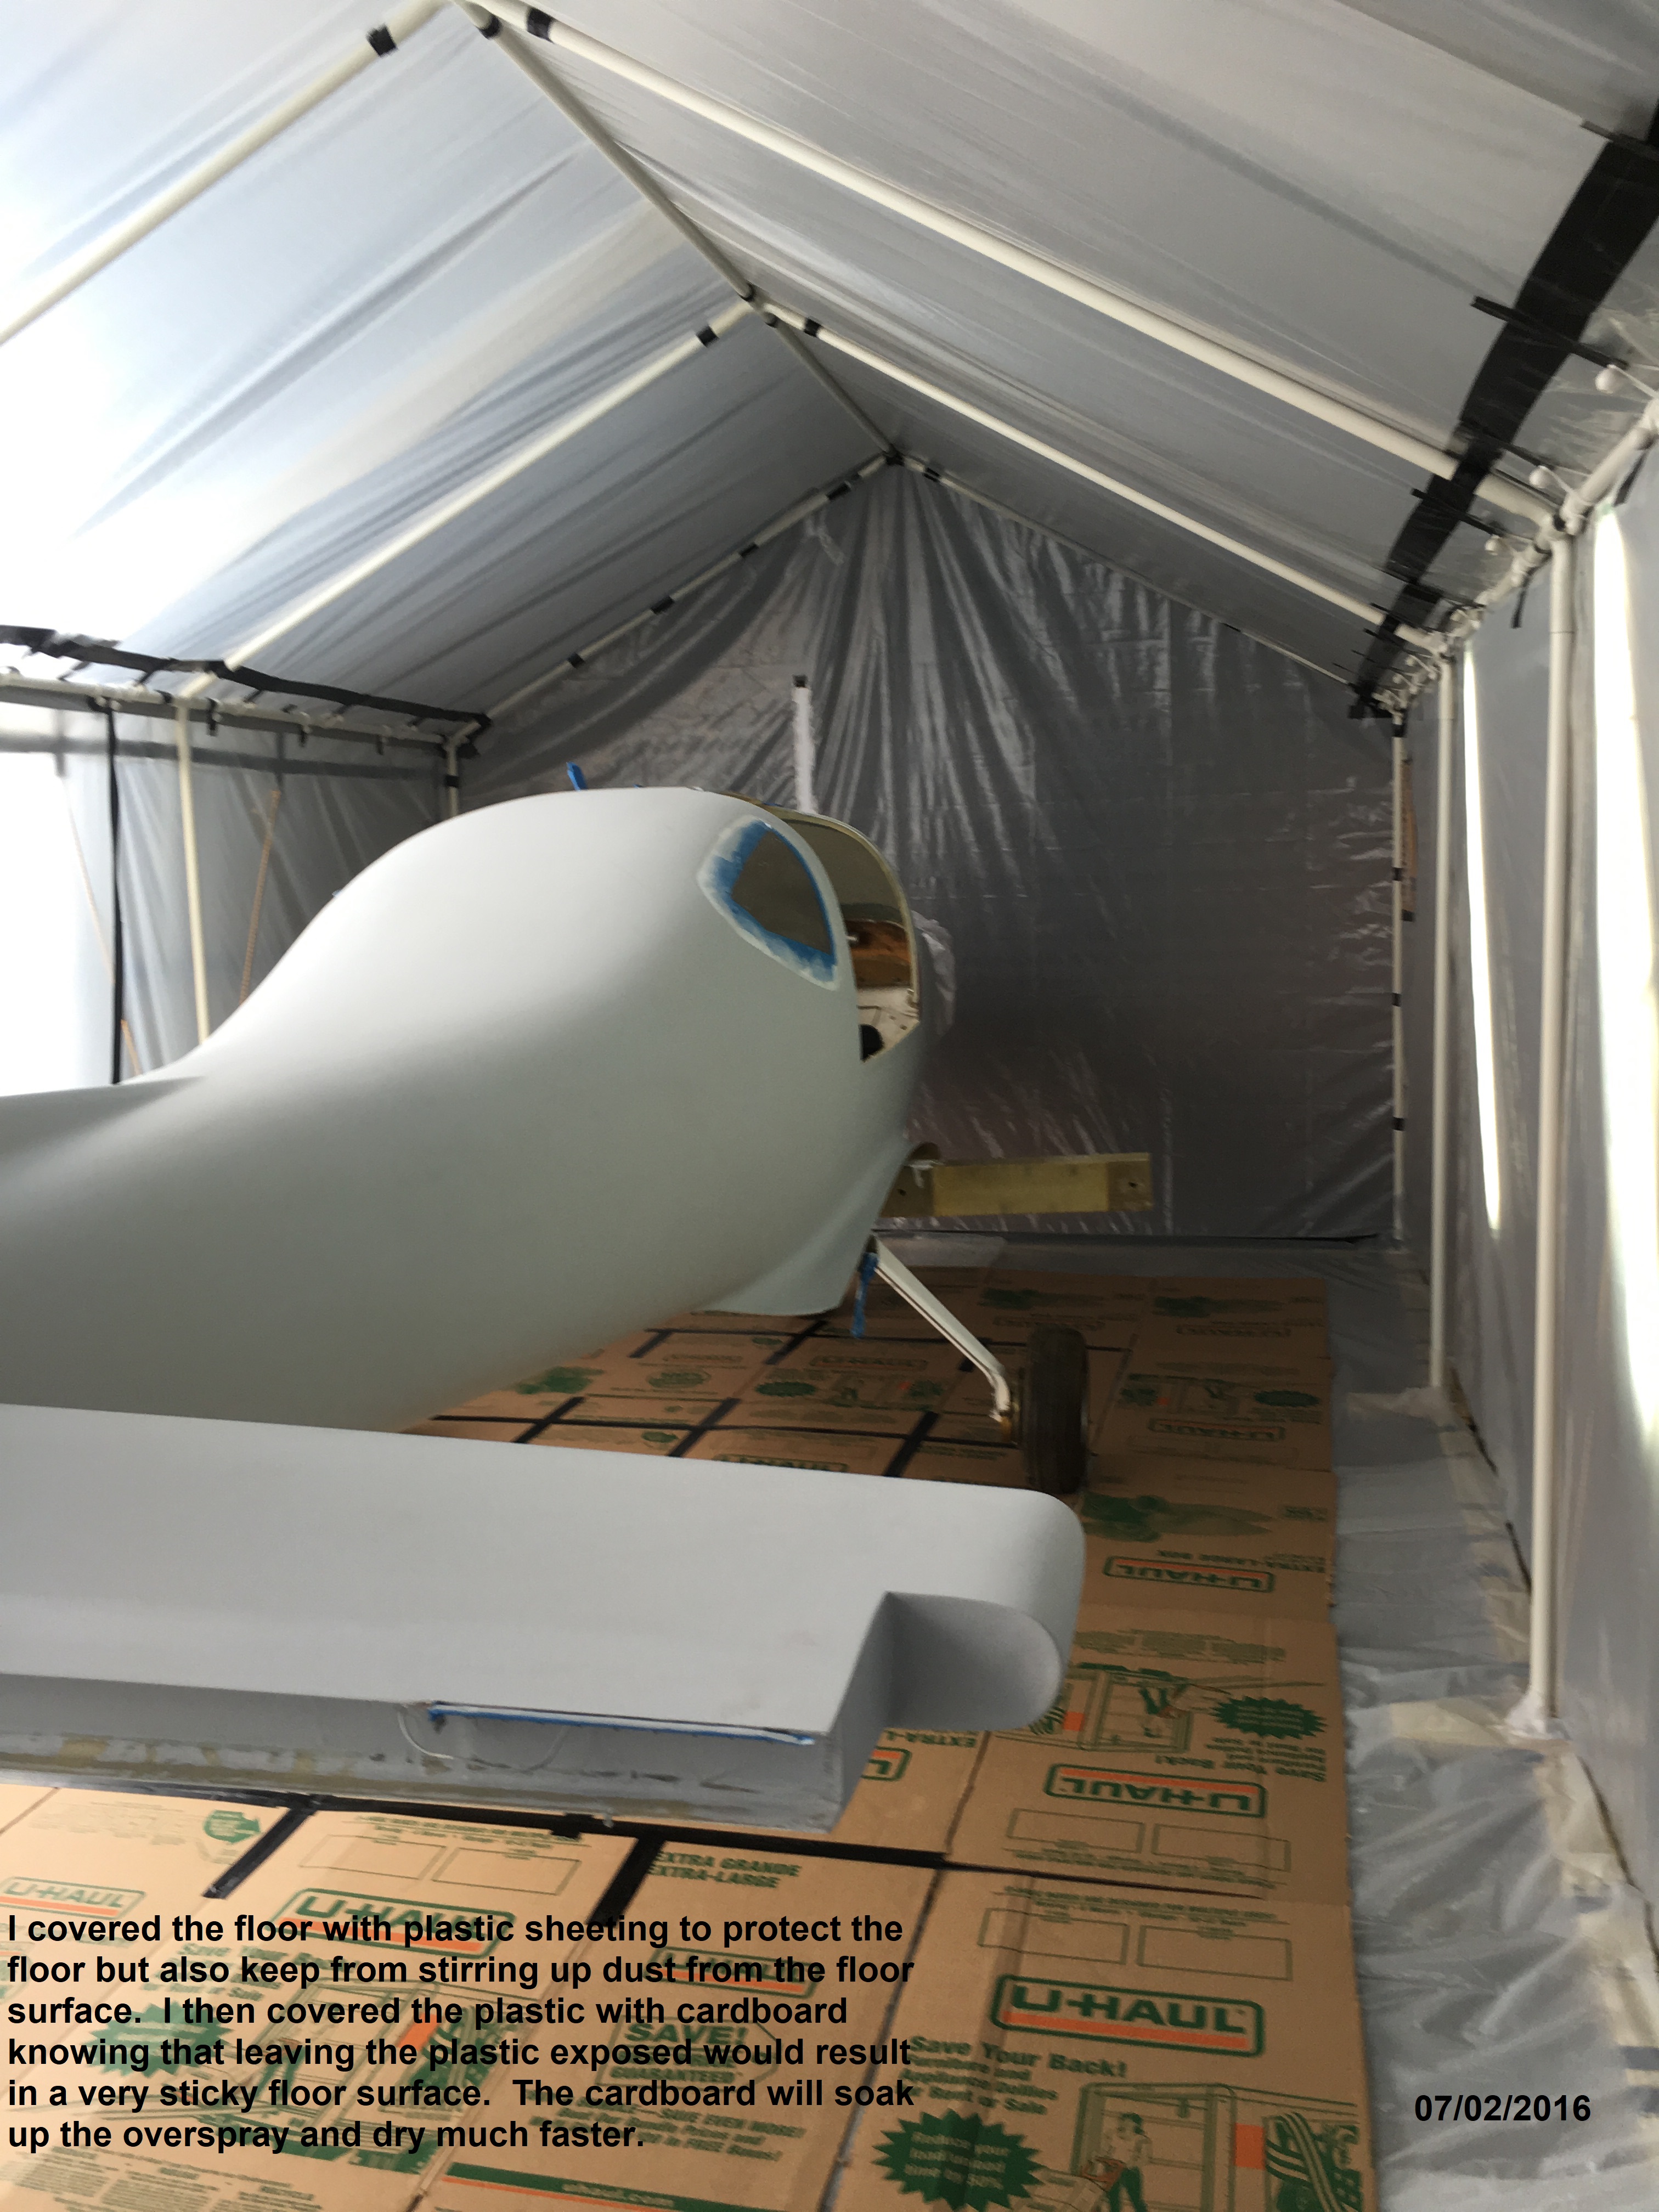 |
I
was concerned about both paint escaping the booth and paint getting on
the floor so I covered the bottom of the paint booth with plastic
sheeting. Then I placed a cardboard covering over the plastic,
not to protect the floor but to keep from having the paint form a
sticky surface on the plastic. The cardboard absorbed the paint
and kept the plastic from getting torn. This shot also shows some
of the lights along the side. |
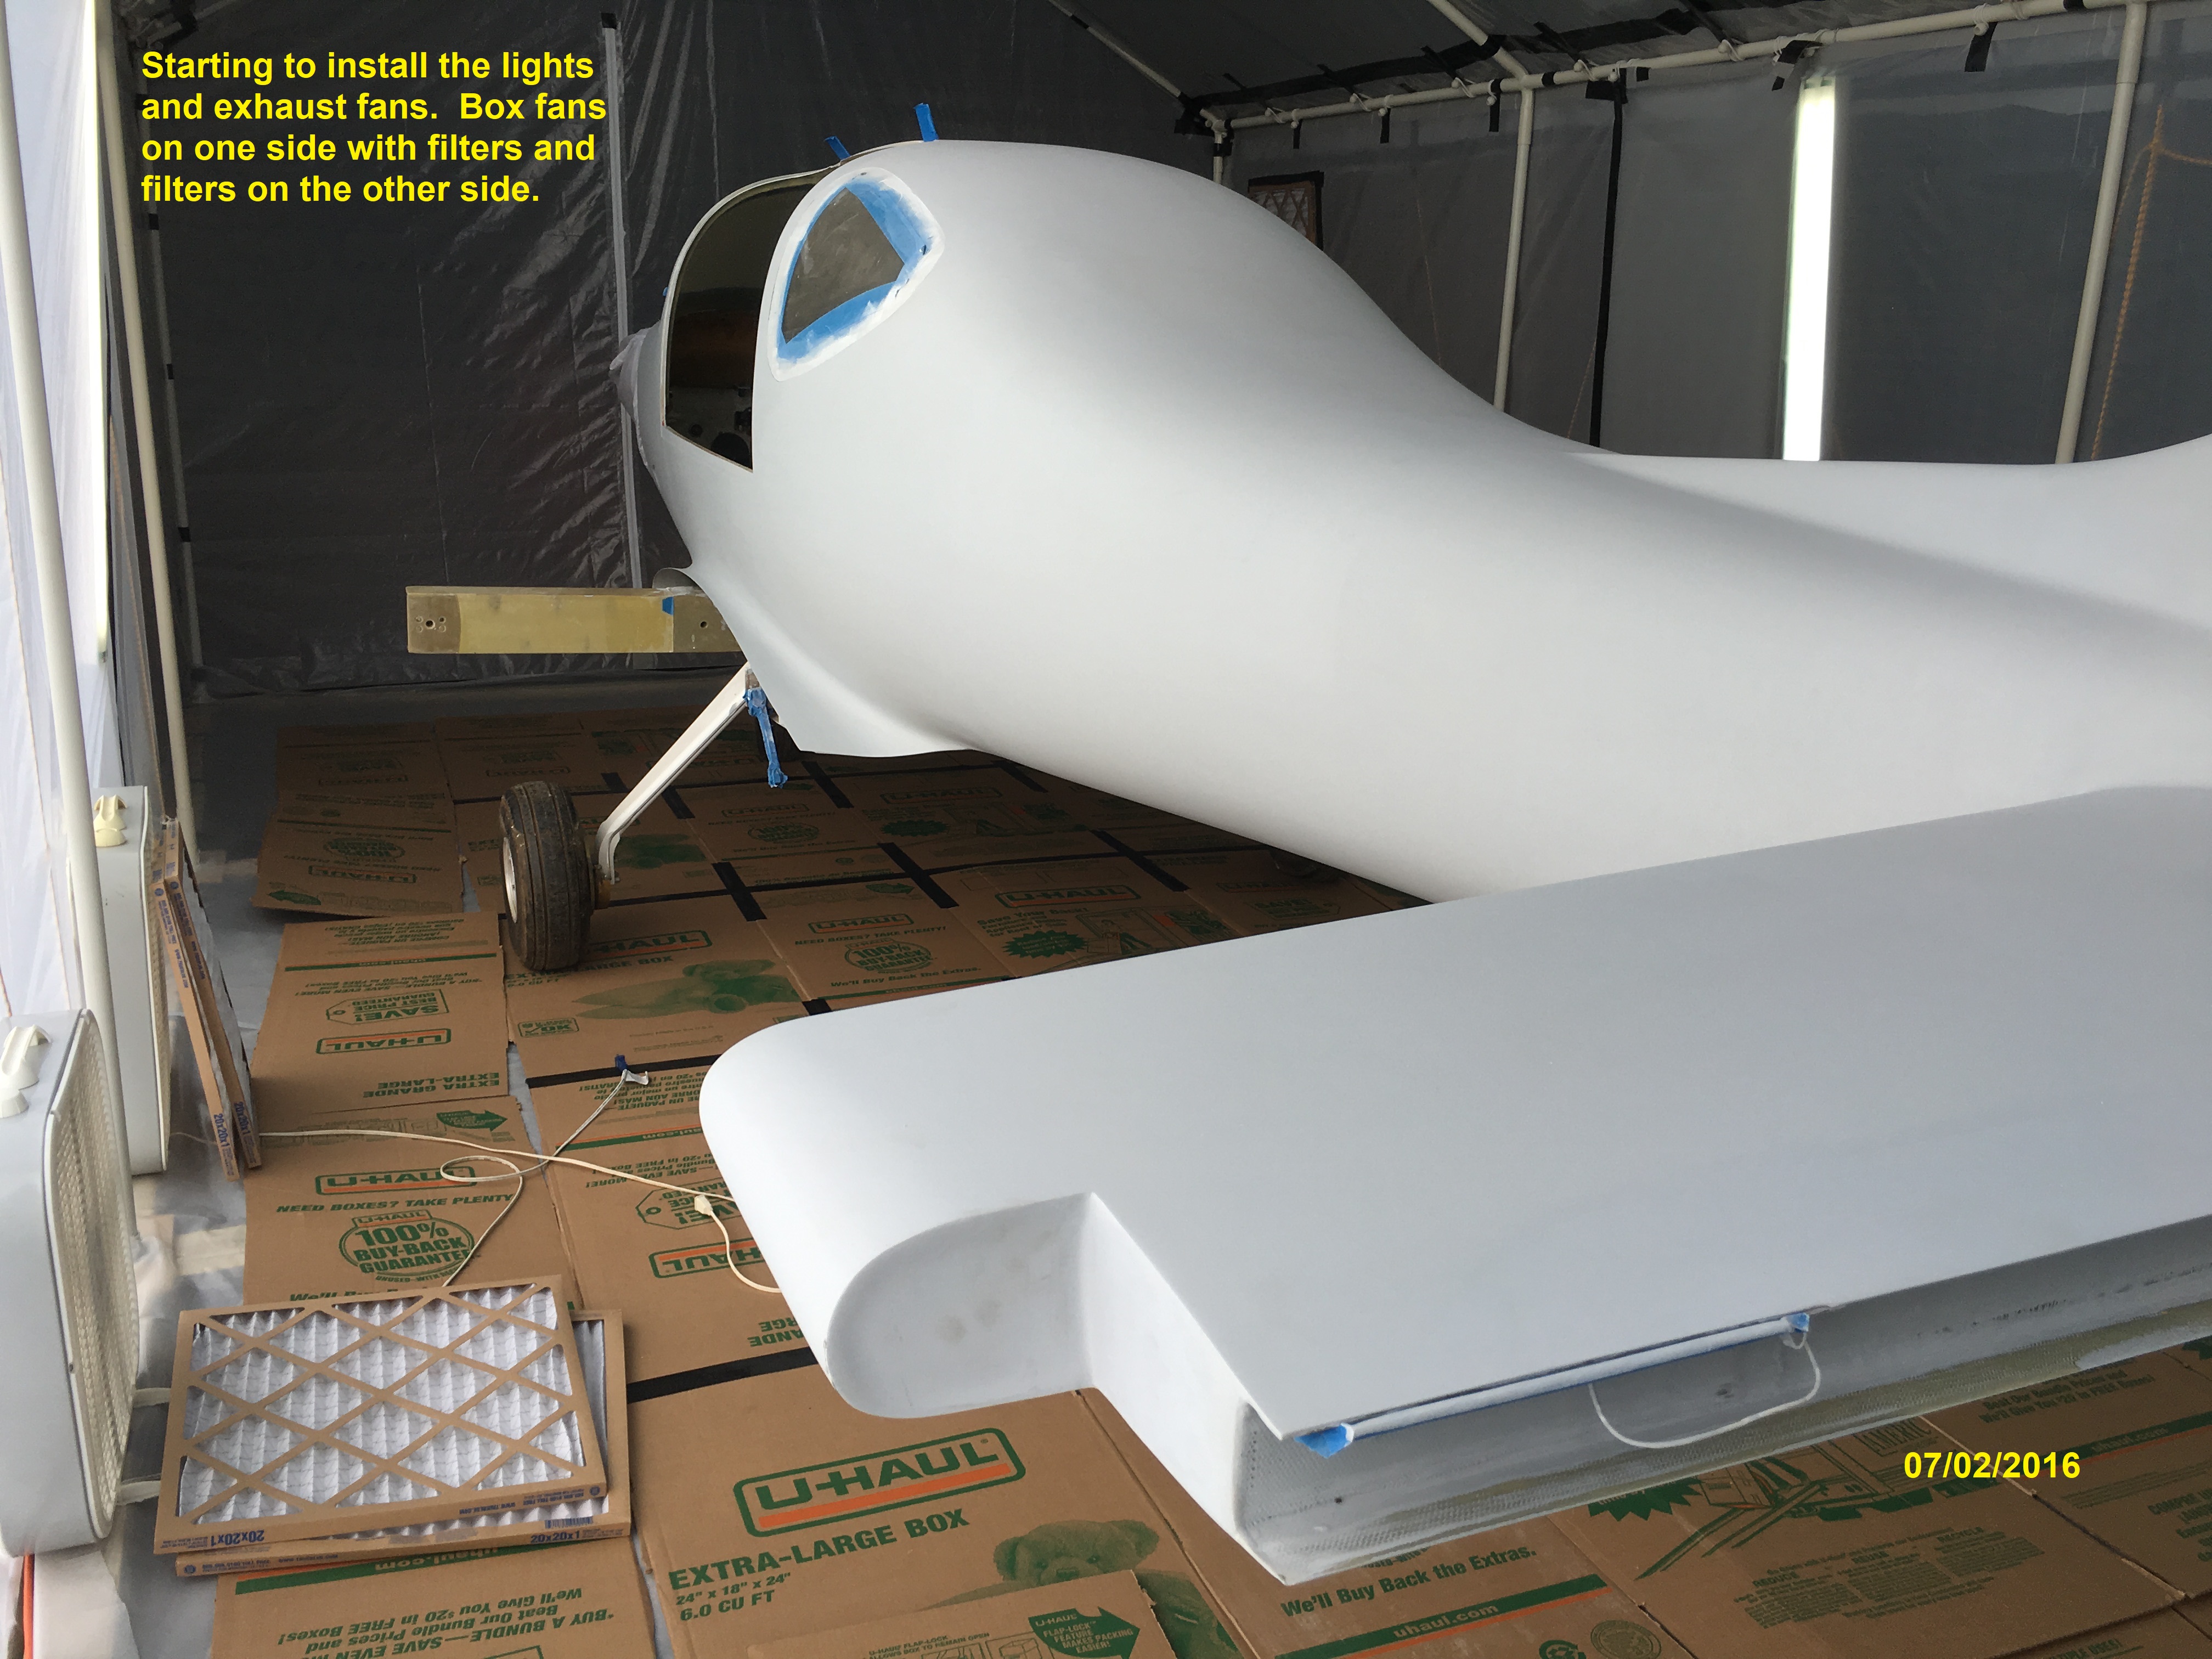 |
I
placed inlet openings with filters on one side of the paint booth and
exhaust fans on the outside side to pull the paint overspray and fumes
out. I used some cheap box fans with filters taped to the inside
of the fans. Started with two inlet filters and two exhaust fans
but that wasn't enough and the filters I used would clog up too quickly. |
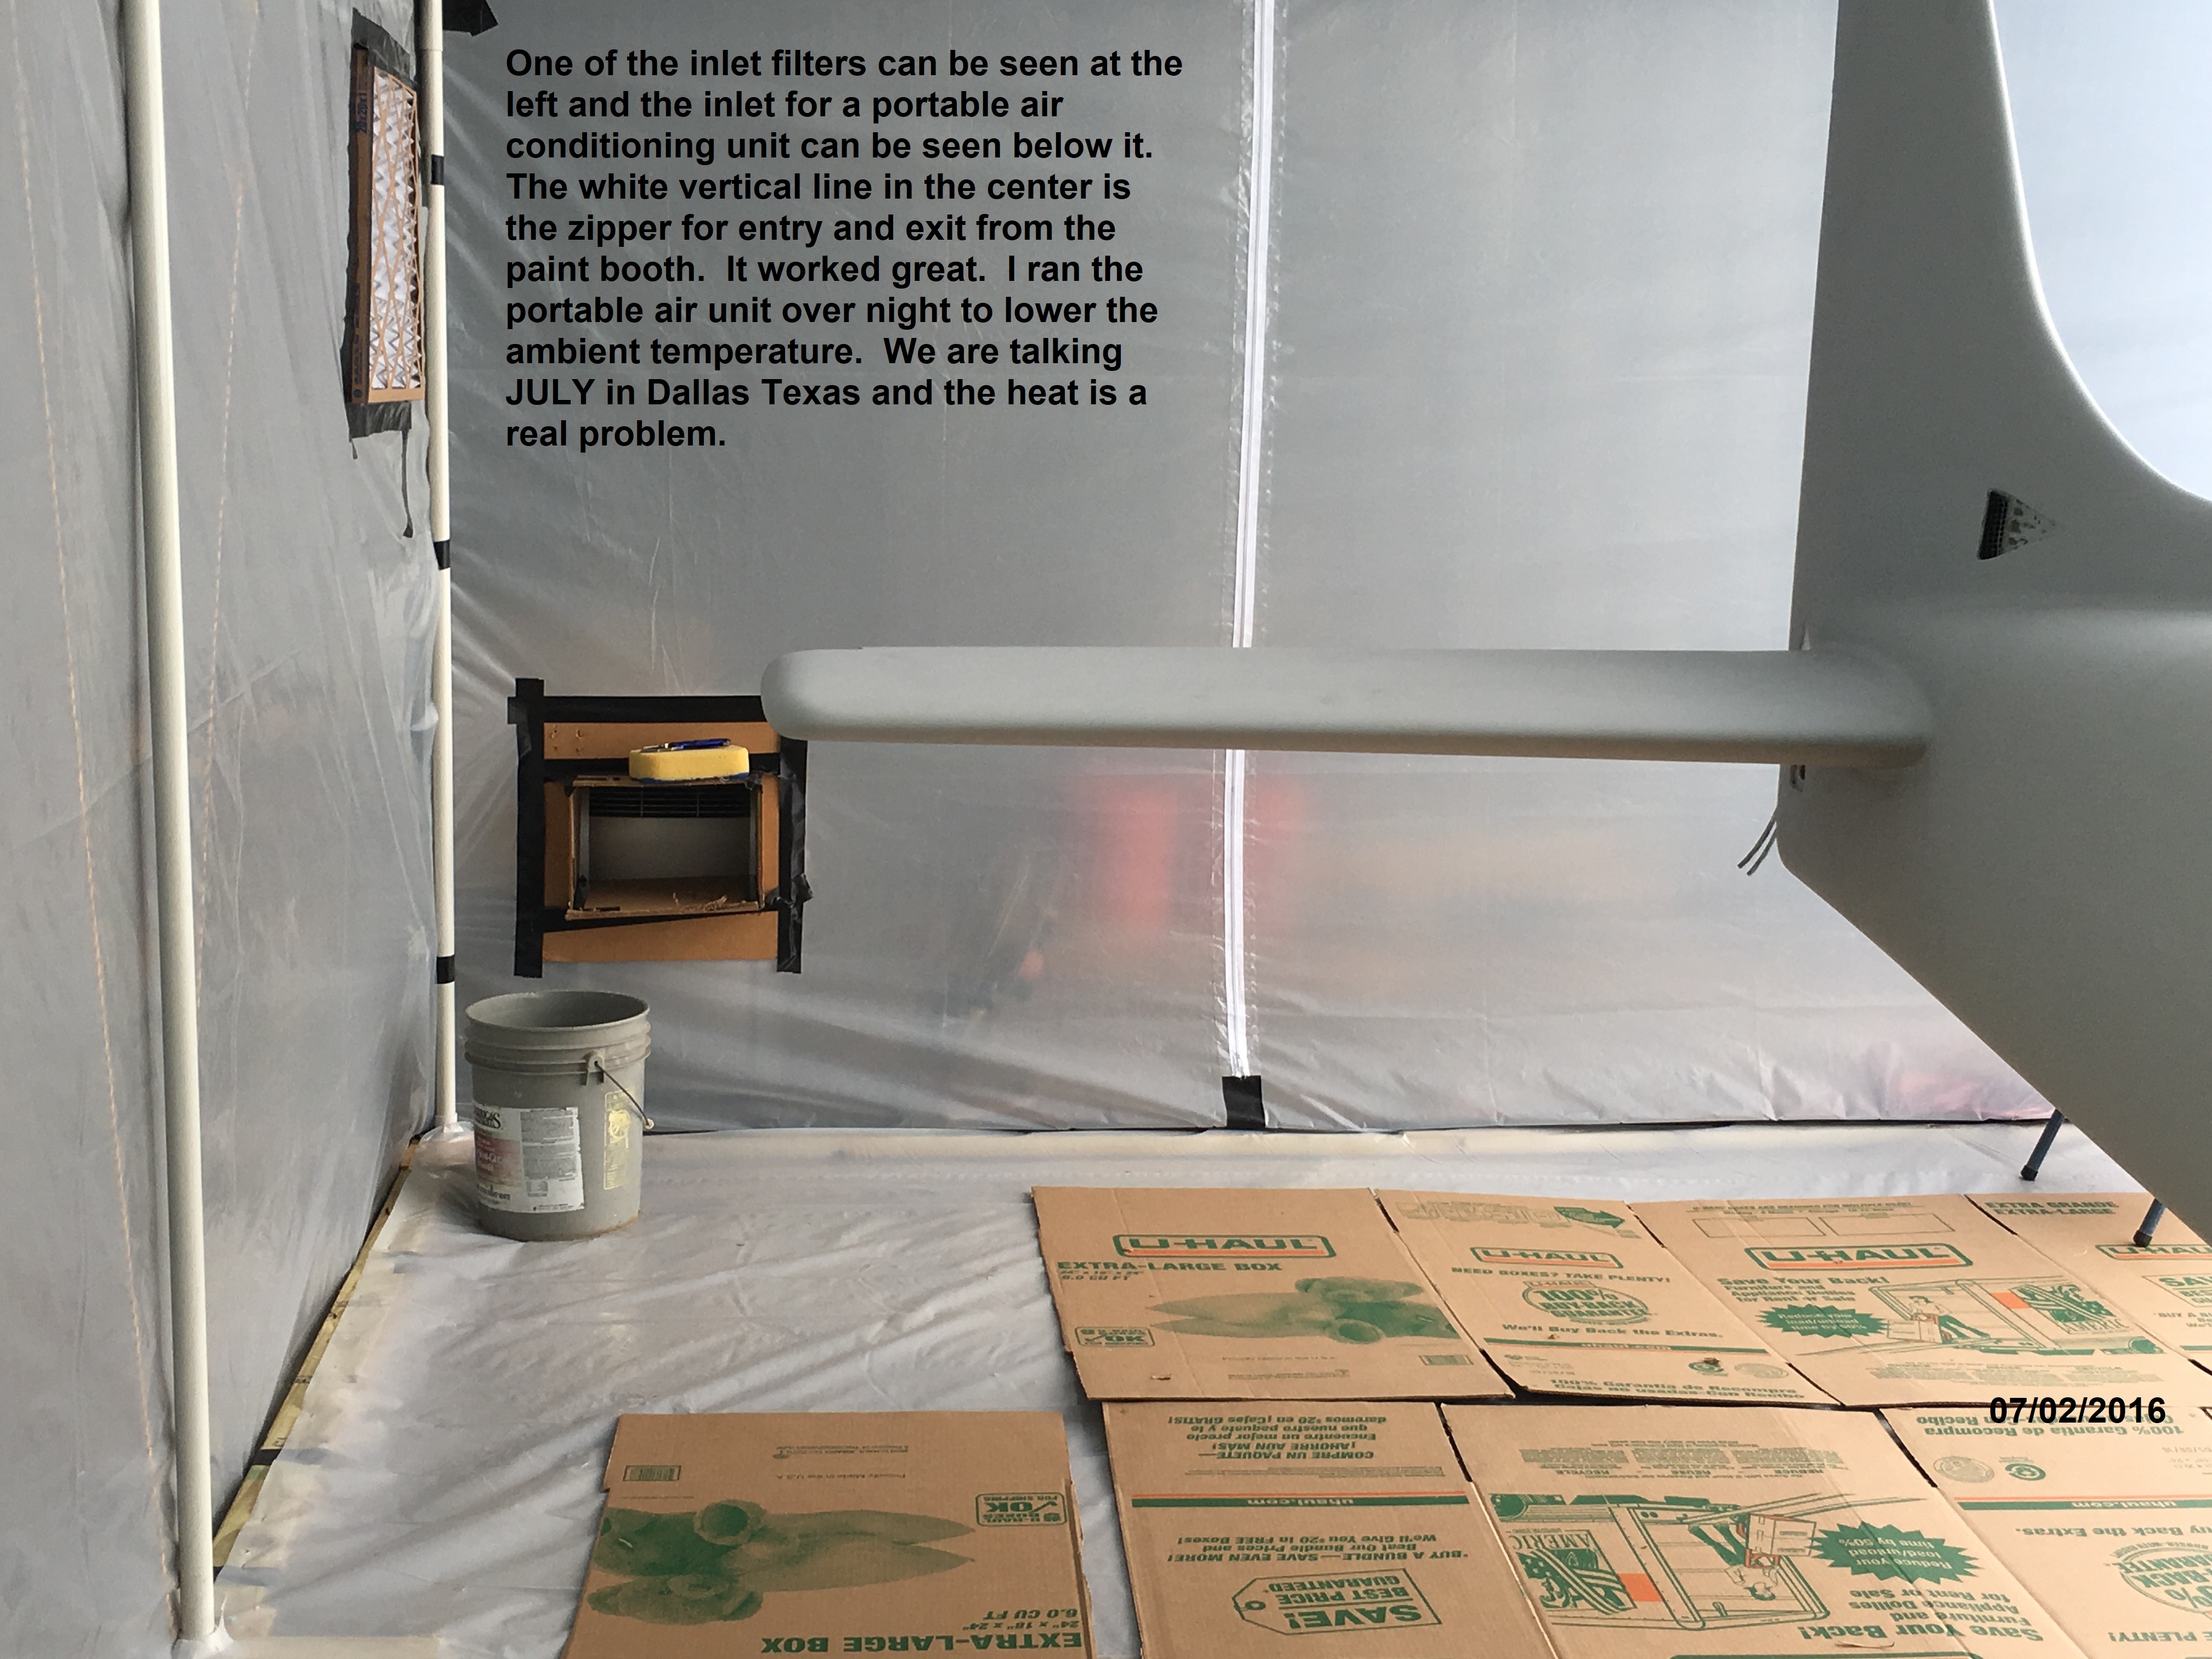 |
In
addition to the inlet filters and the exhaust fans, I had bought a
portable air conditioner that I used to lower the air temperature
inside the paint booth. I started the air the night before and by
the next morning the temperature was down to an acceptable level for
painting. (It was SUMMER in Dallas and without the air unit, the
temperature would have never gotton below 85-90 degrees.) |
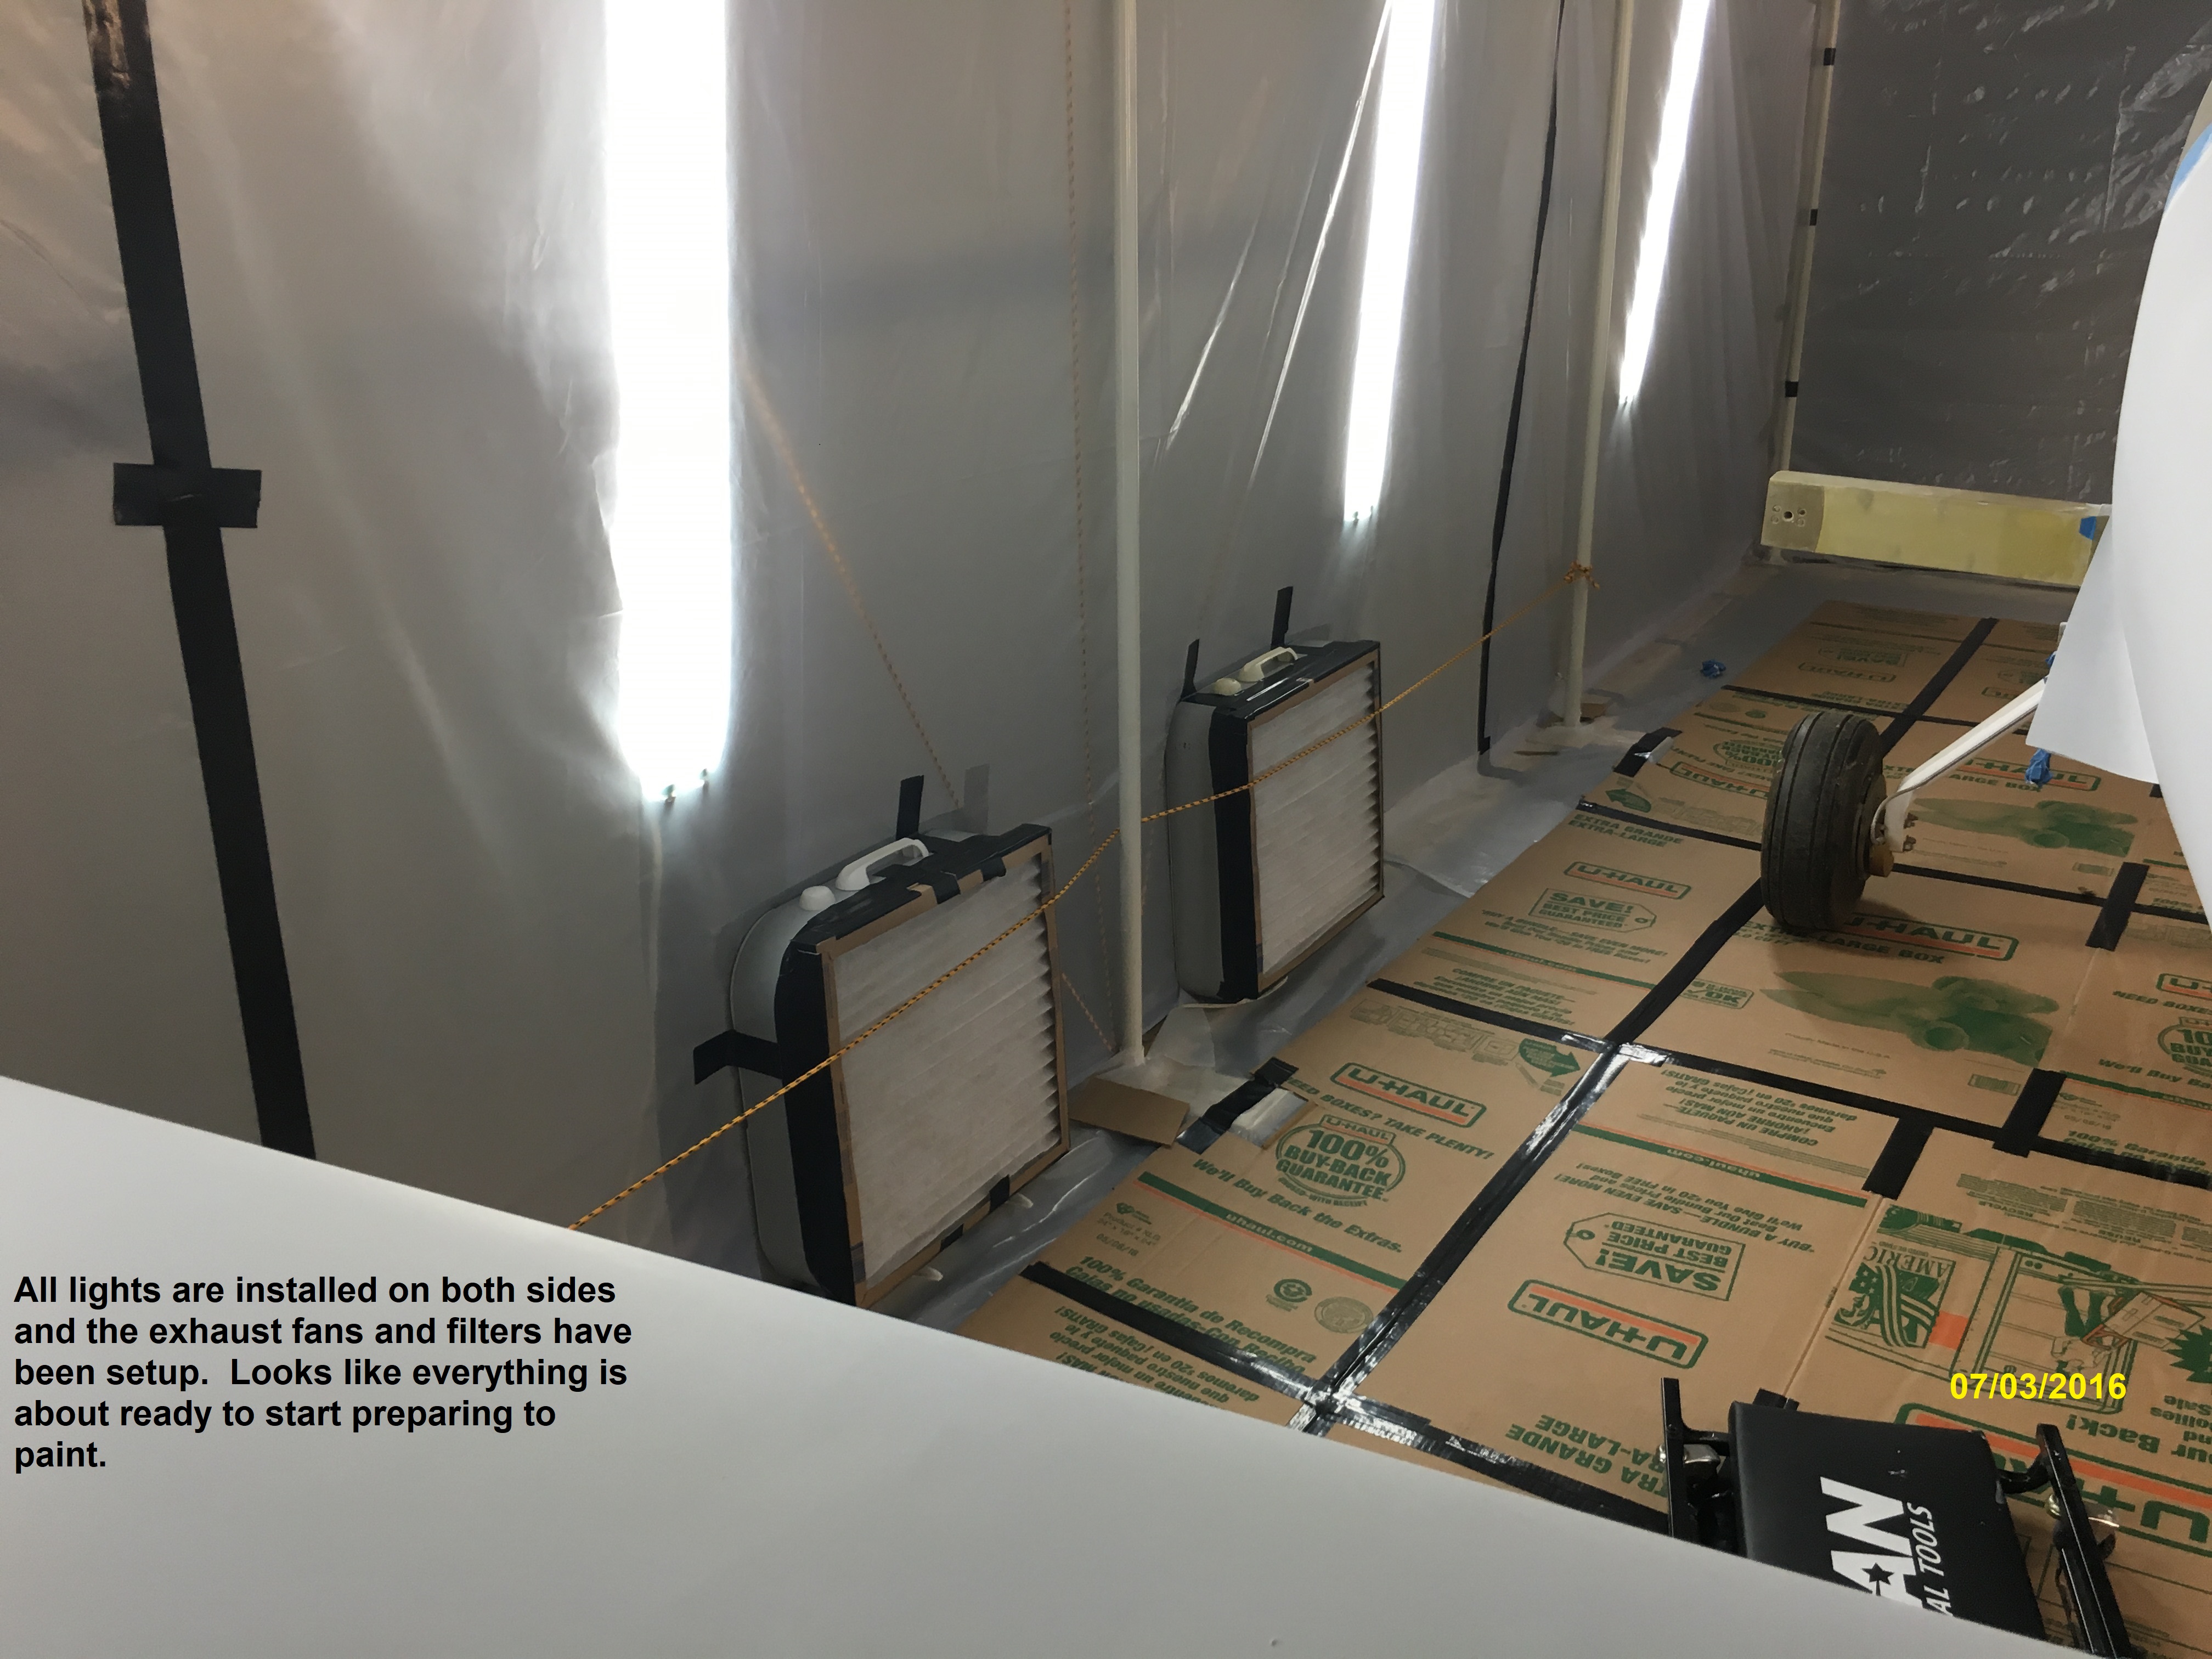 |
The filters have been taped to the fans and all of the lights installed on both sides of the paint booth. Everything is about ready for for starting the painting or at least I thought they were. Next was to tape and cover everything that I didn't want paint on, final sanding, and a solvent wipedown. |
 |
The
lighting wasn't perfect but it was good enough except they drew power
that we didn't have to spare. |
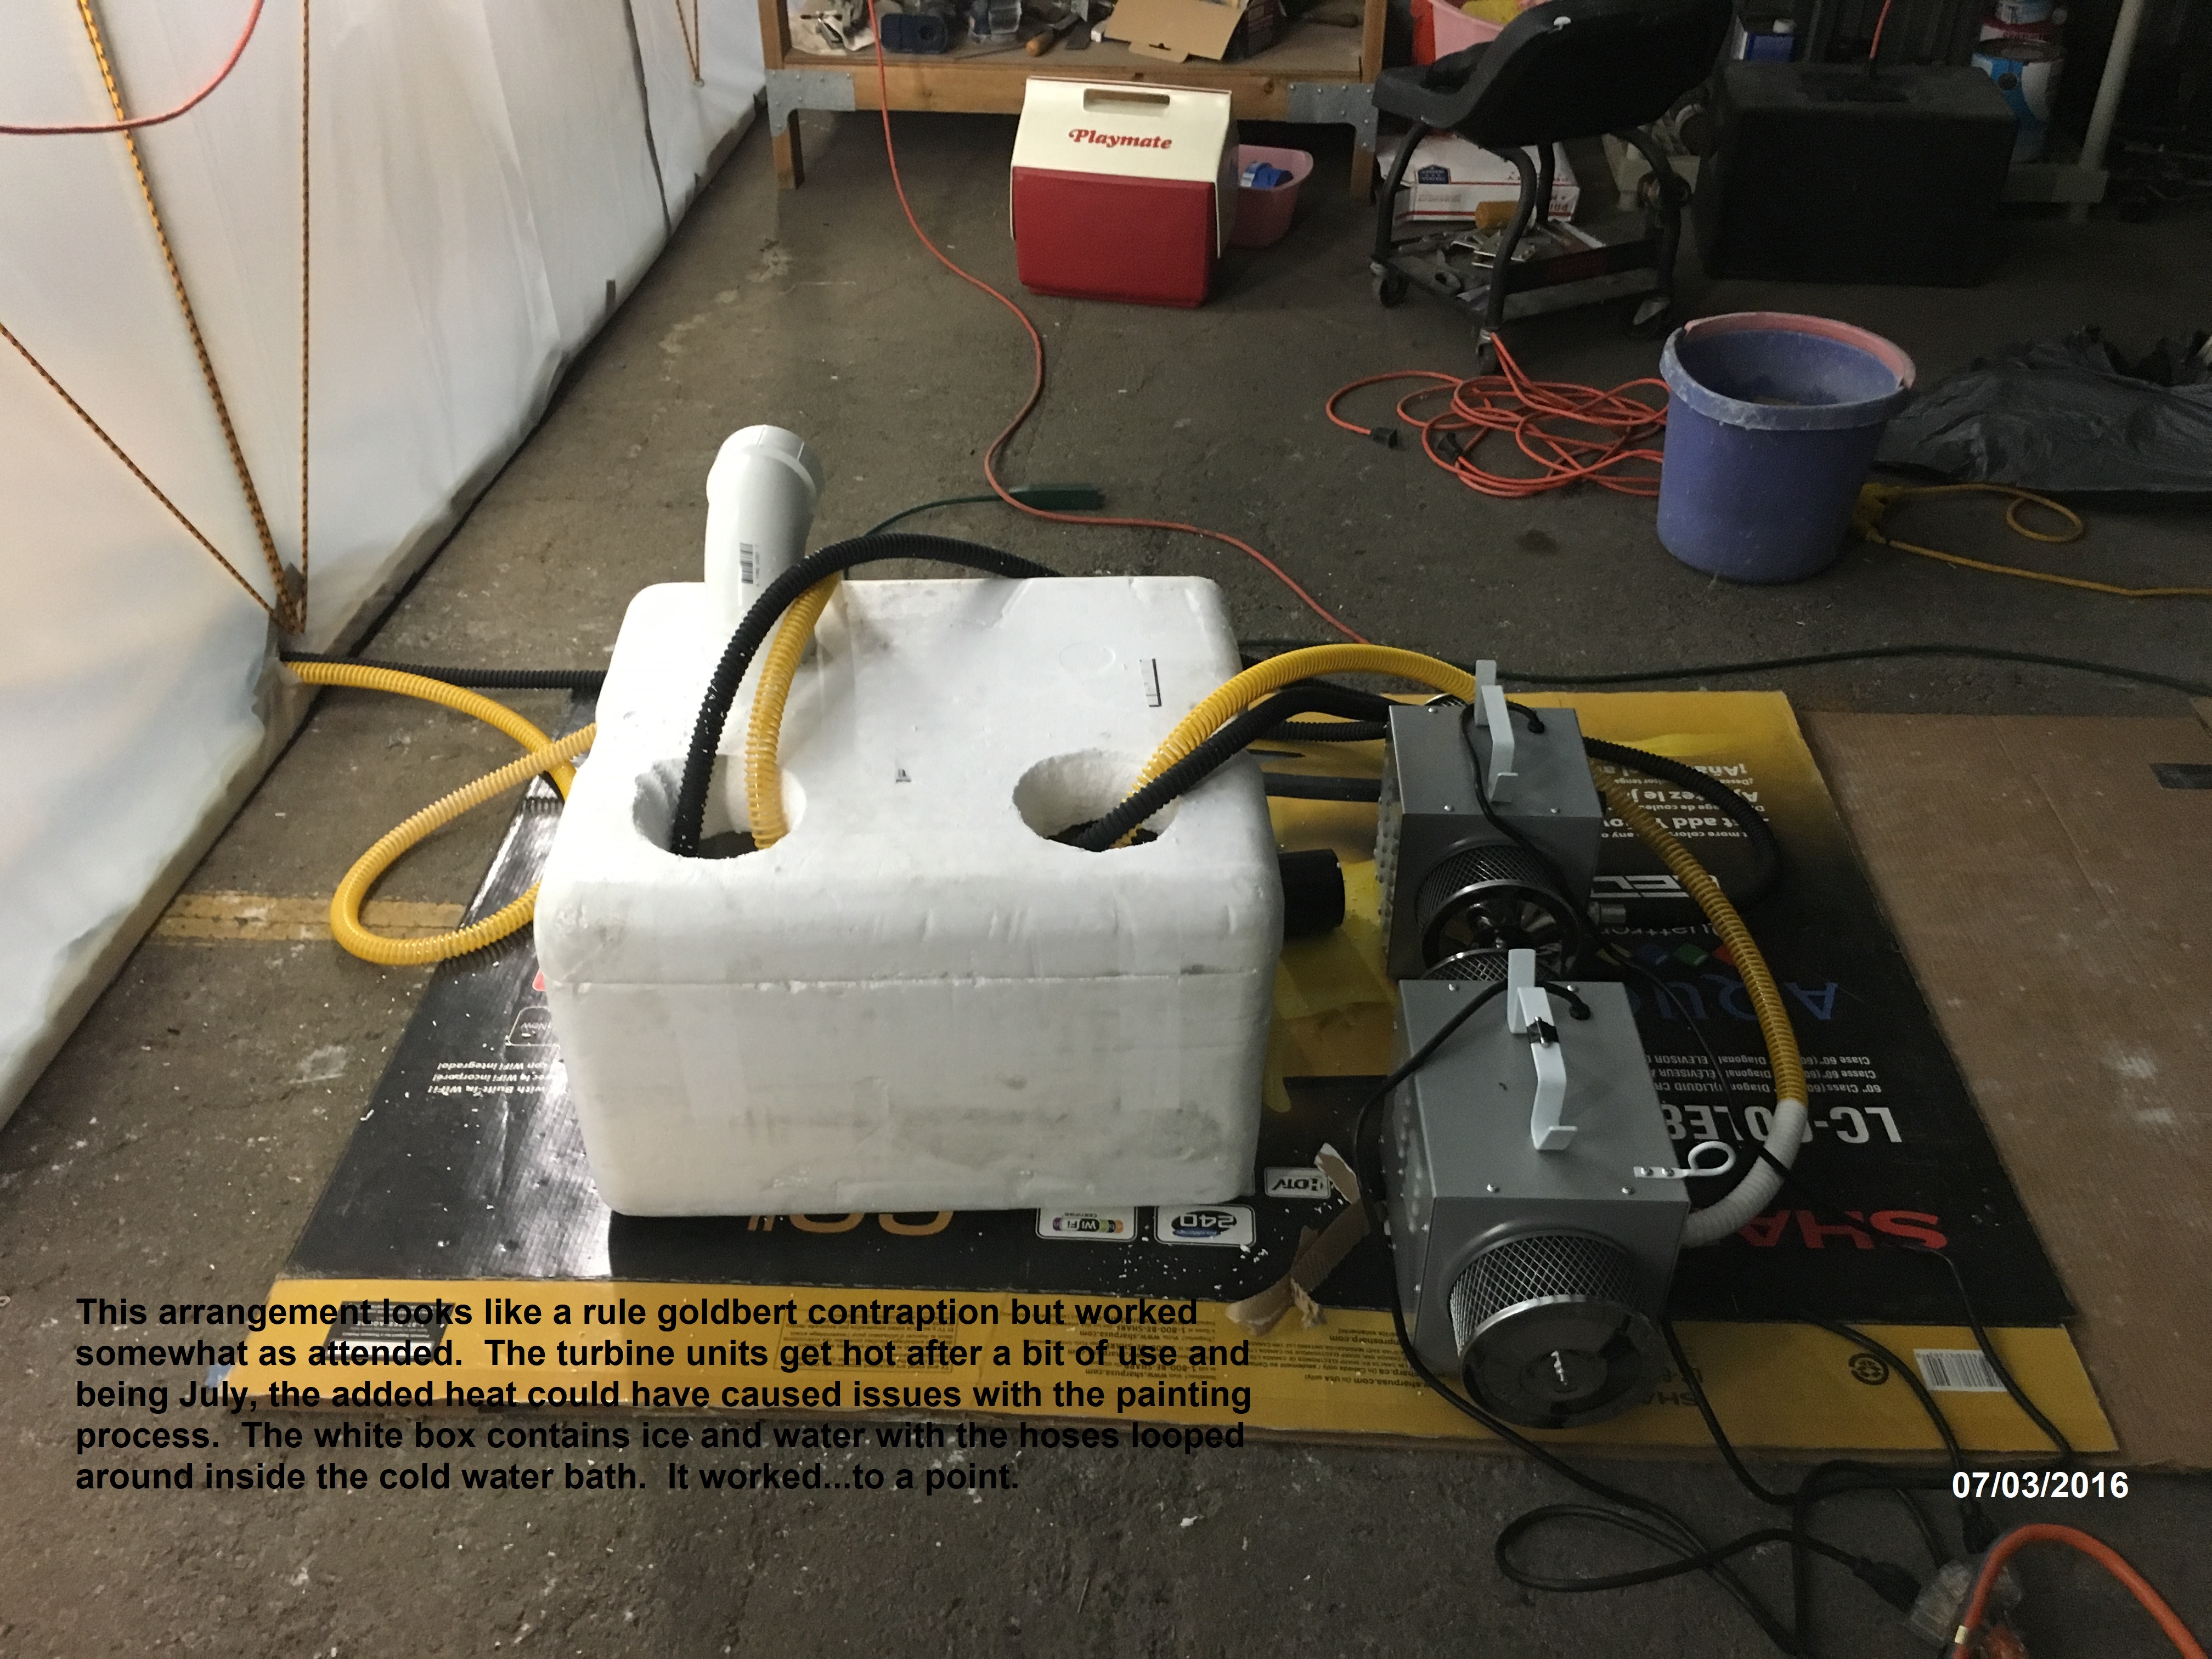 |
Now
doesn't that look like the perfect setup of all time? It was
summer and the turbine units had a tendancy to get hot after a few
minutes use and that wasn't great for painting in a hot
environment. The styrofoam box is filled with ice and water with
the air hoses looped around several times under the ice. It
worked up to a point but the whole thing was way too much for the power
available in the hangar. The only elecrical power in the hangar
is one double plug attached to a 20 amp breaker over 200 feet away at
the end of the hangars. I could get both of the turbine units
running but they never got up to full capacity. As soon as I
turned on the lights the power dropped off even more and after about
5-10 minutes it tripped the circuit. |
| The breaker was at the far end of the hangar, outside of a fence that requied me to drive a half mile to get out of the airport and get access to the breakers. Did a reset and tried again with some of the lights turned out. Didn't make any difference, between the lights, fans, and air units there was just too much of a draw to get good paint coverage. | |
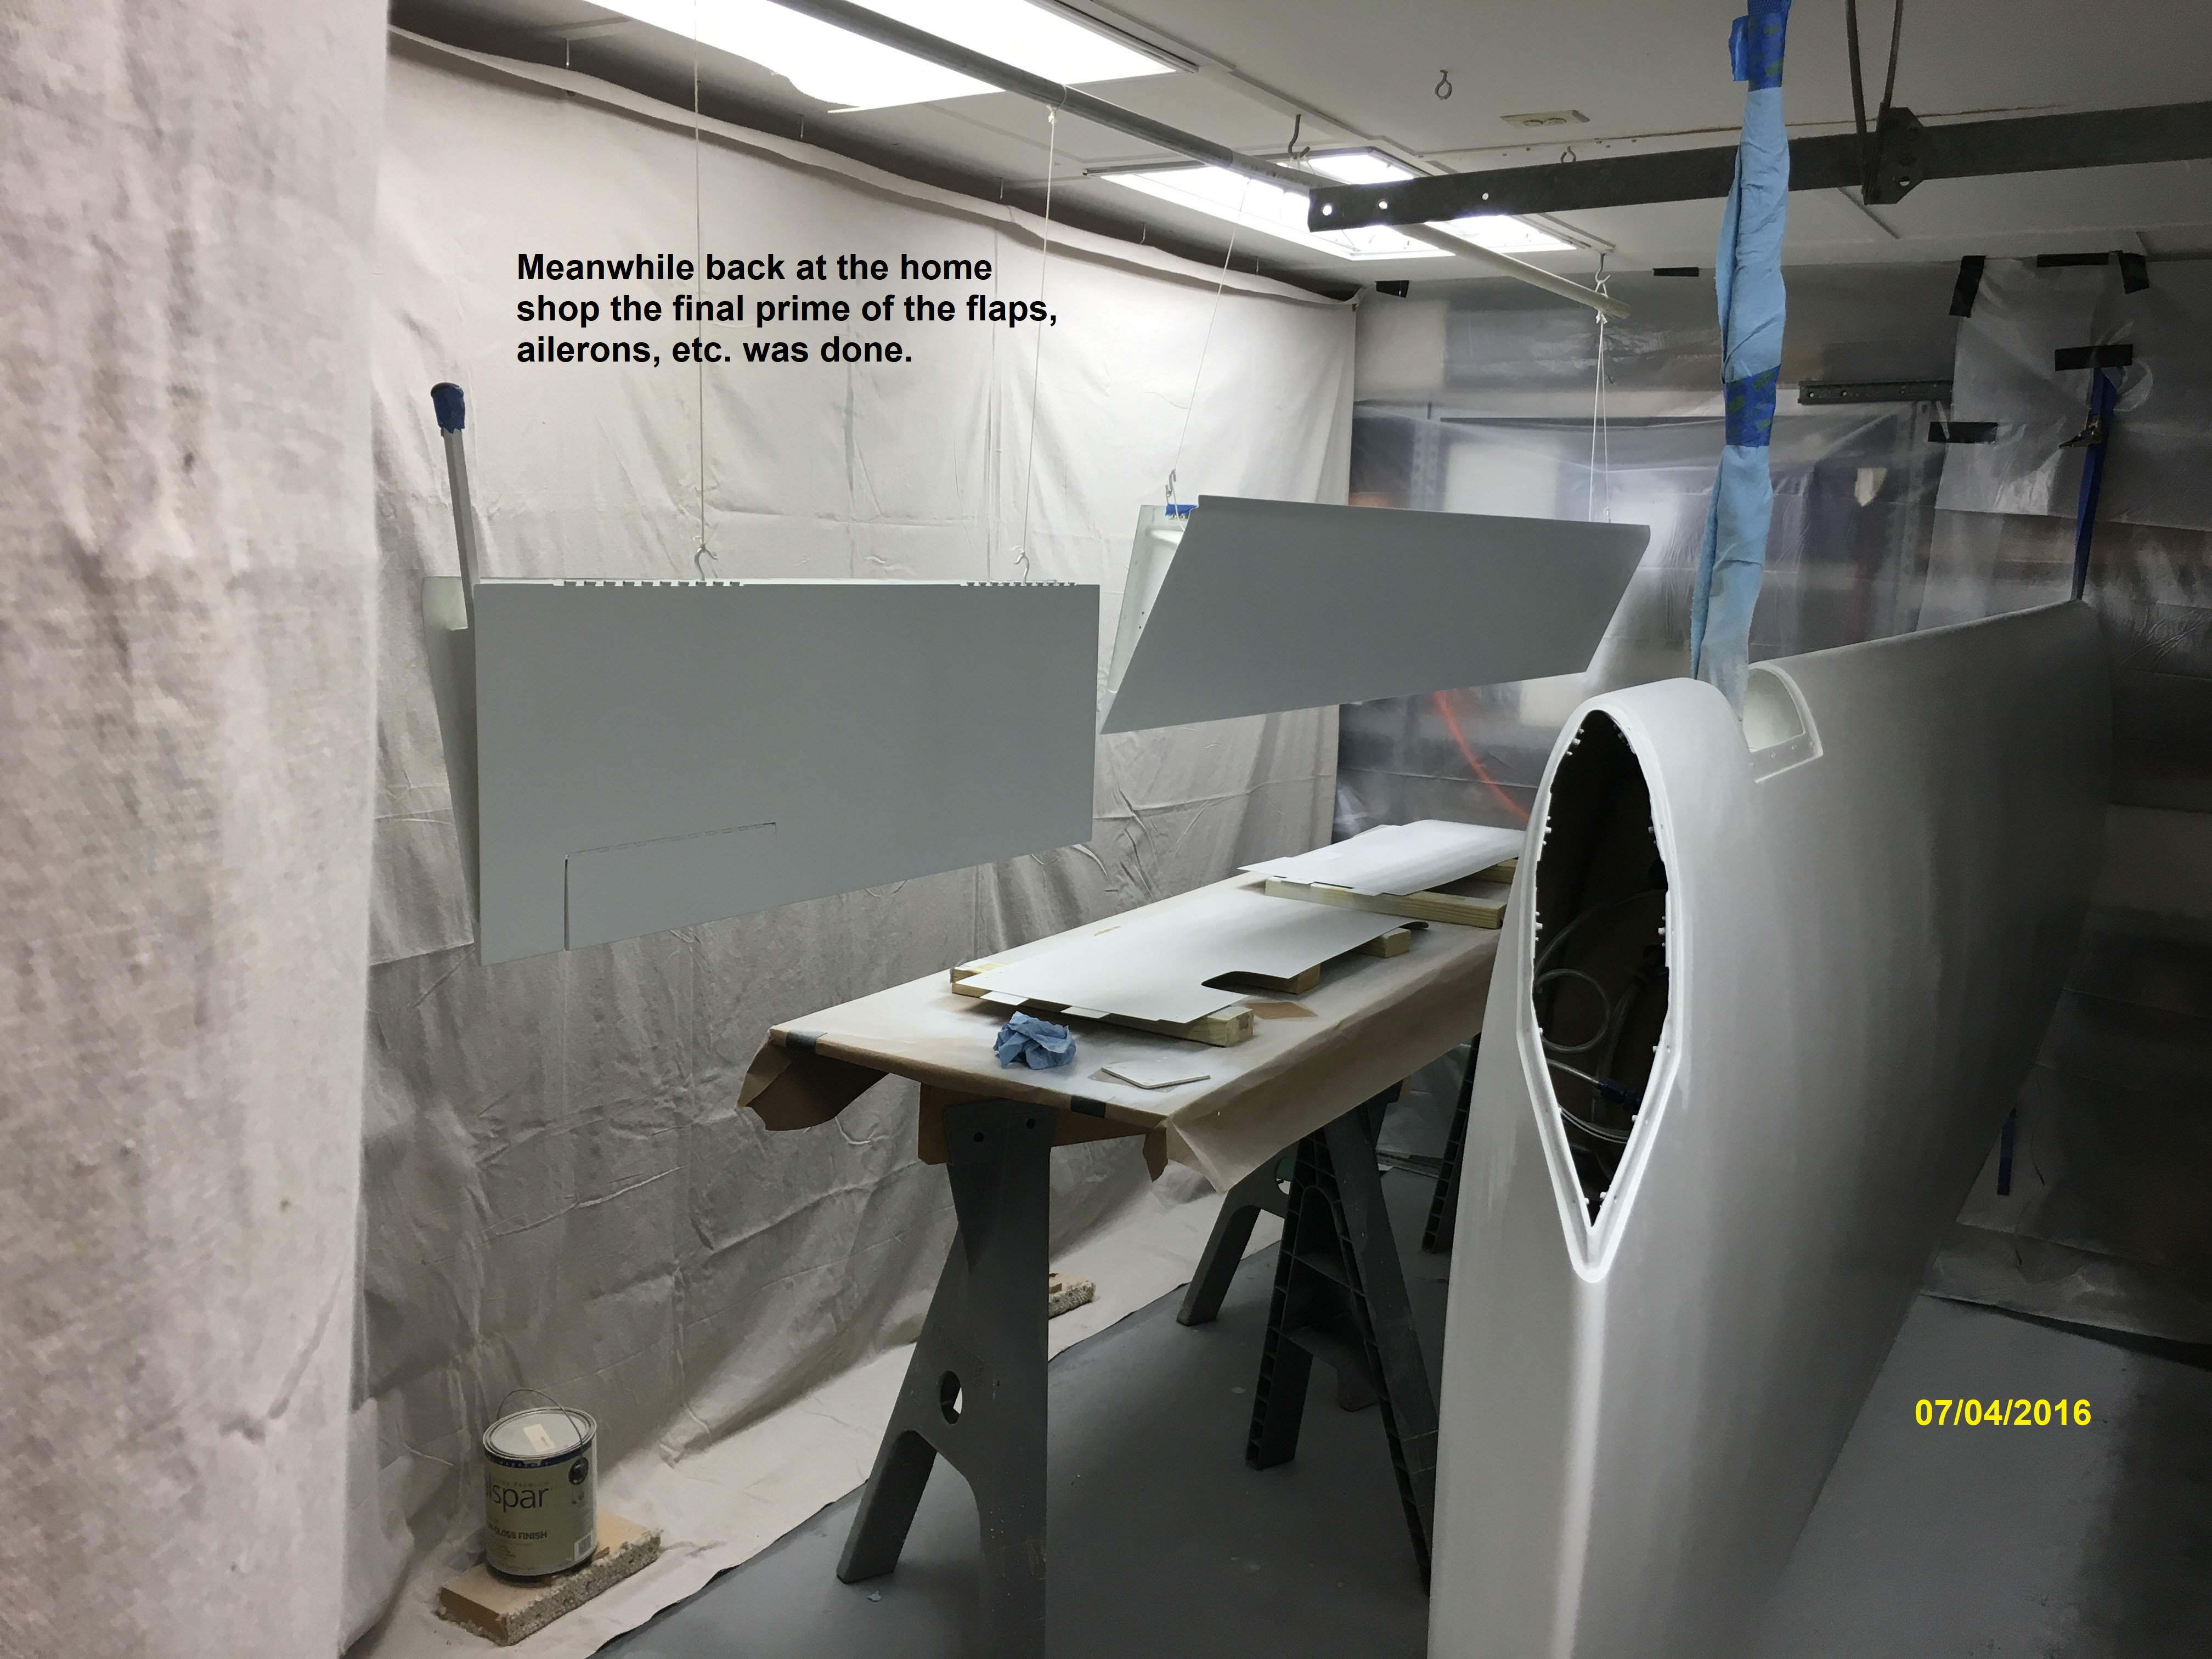 |
I
had better luck at home with the primer coverage but that was the only
place I could use the turbine unit. Too bad, it worked great when
it had the needed power supply. |
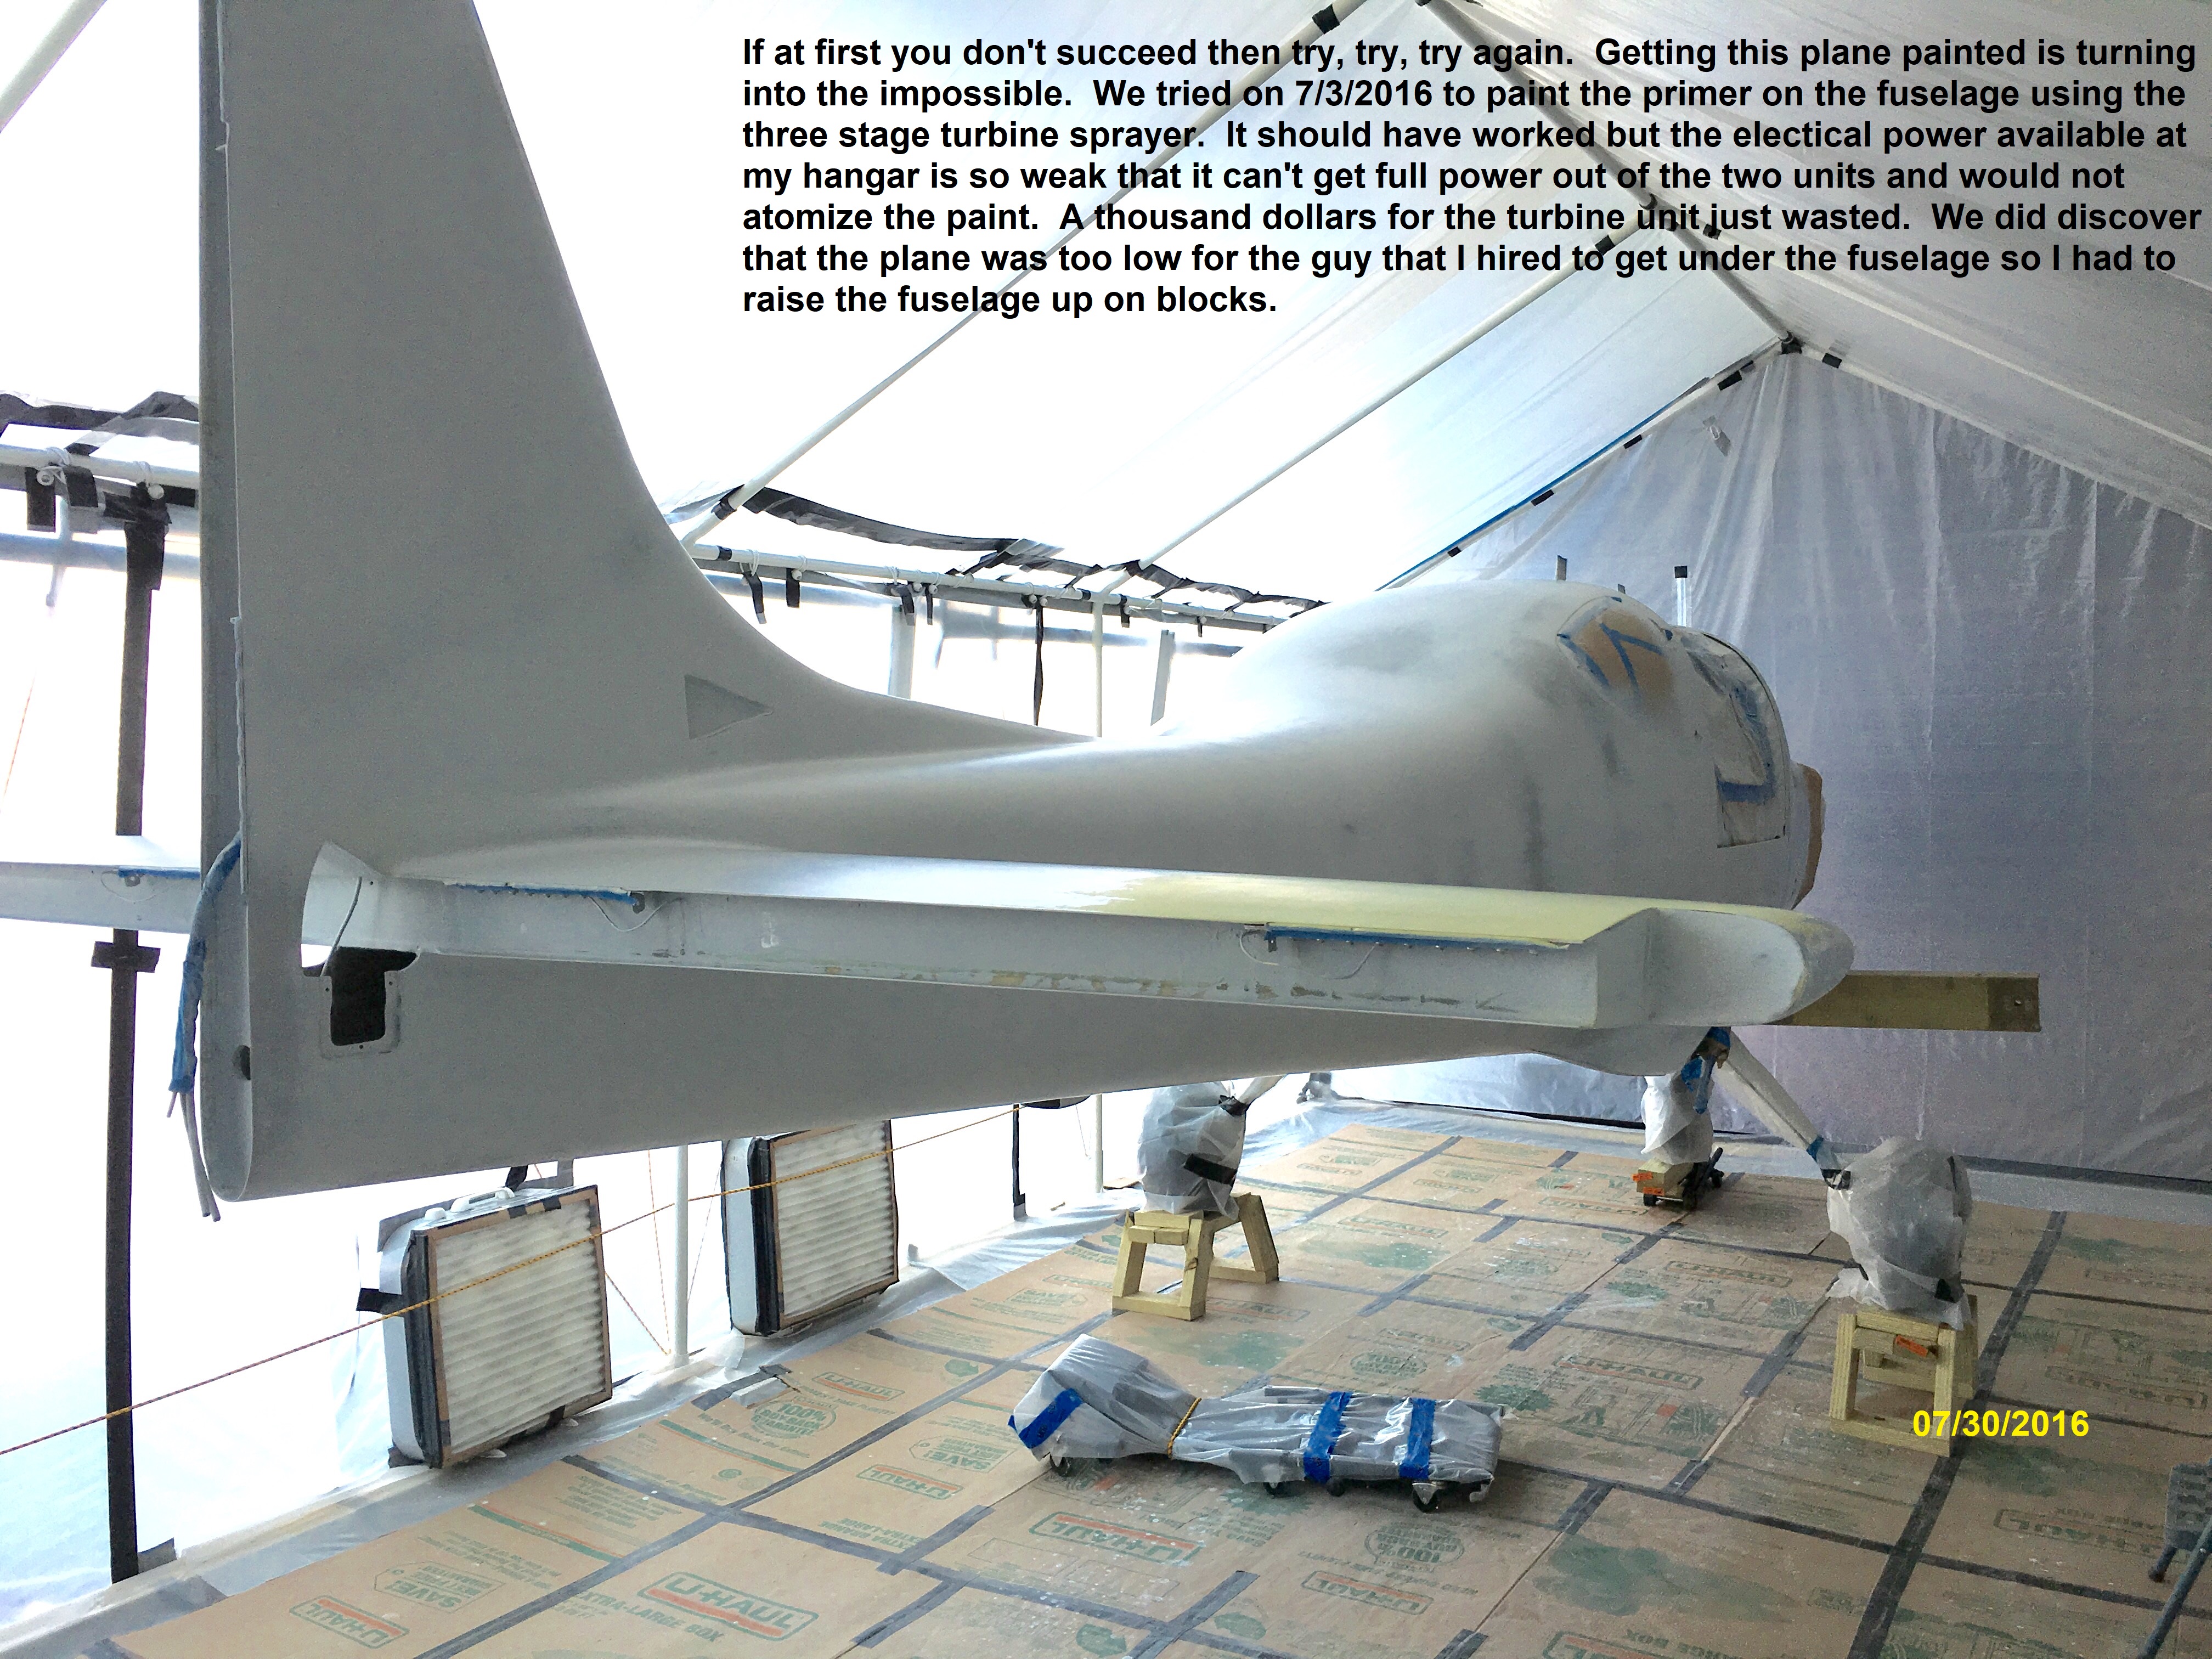 |
Well, we tried with the turbine units and
once again
failure was an option. We did learn a few things beyond the lack
of power from the first attempt. We learned that the fuselage
needed to be elevated to allow may paint man to get under the plane to
paint. He is a big, tall dude and even with the creeper, it was
impossible for him to move around under the plane thus the need to put
the plane up on stands. This did work much better but then
required a stool to get to the top. |