
N247BR
Final Painting - Fuselage
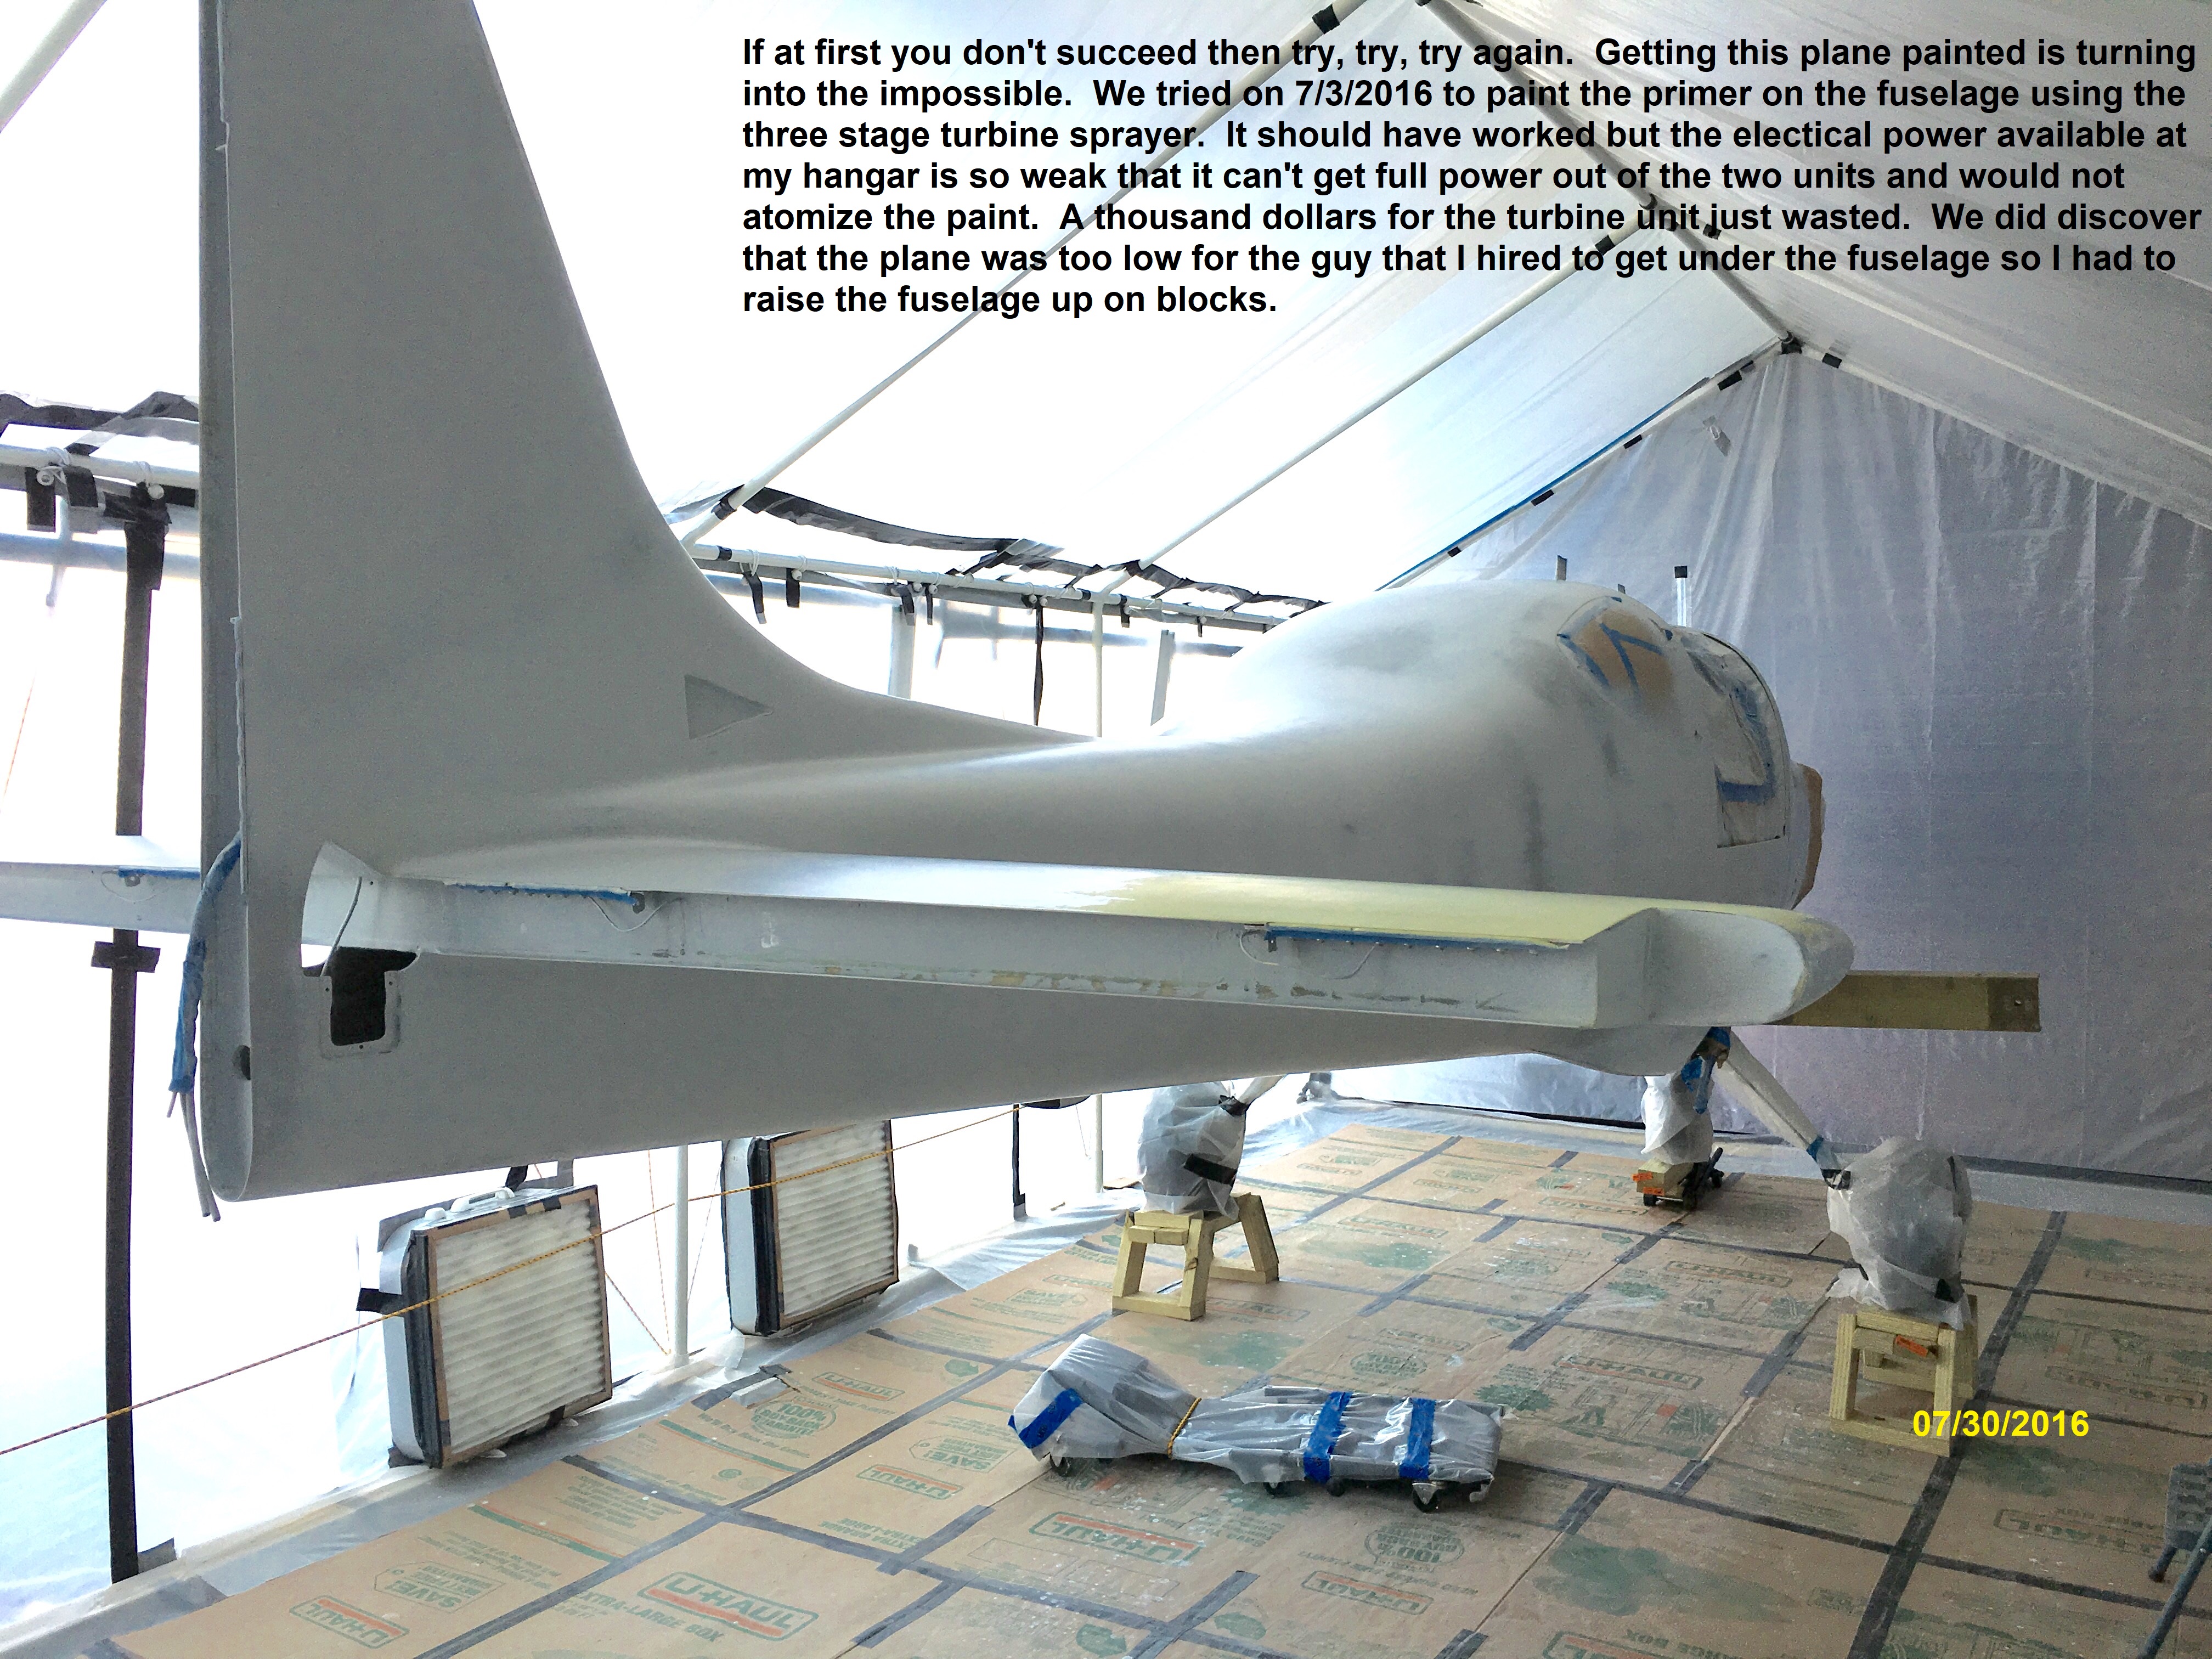
| It the painting had gone on like the
original System Three Primer
this plane would have been completed 3 years ago but after two attempts
to use the System Three Epoxy paint, the last with the sprayer I had to
finally give up, sand it down and find a new paint to use.
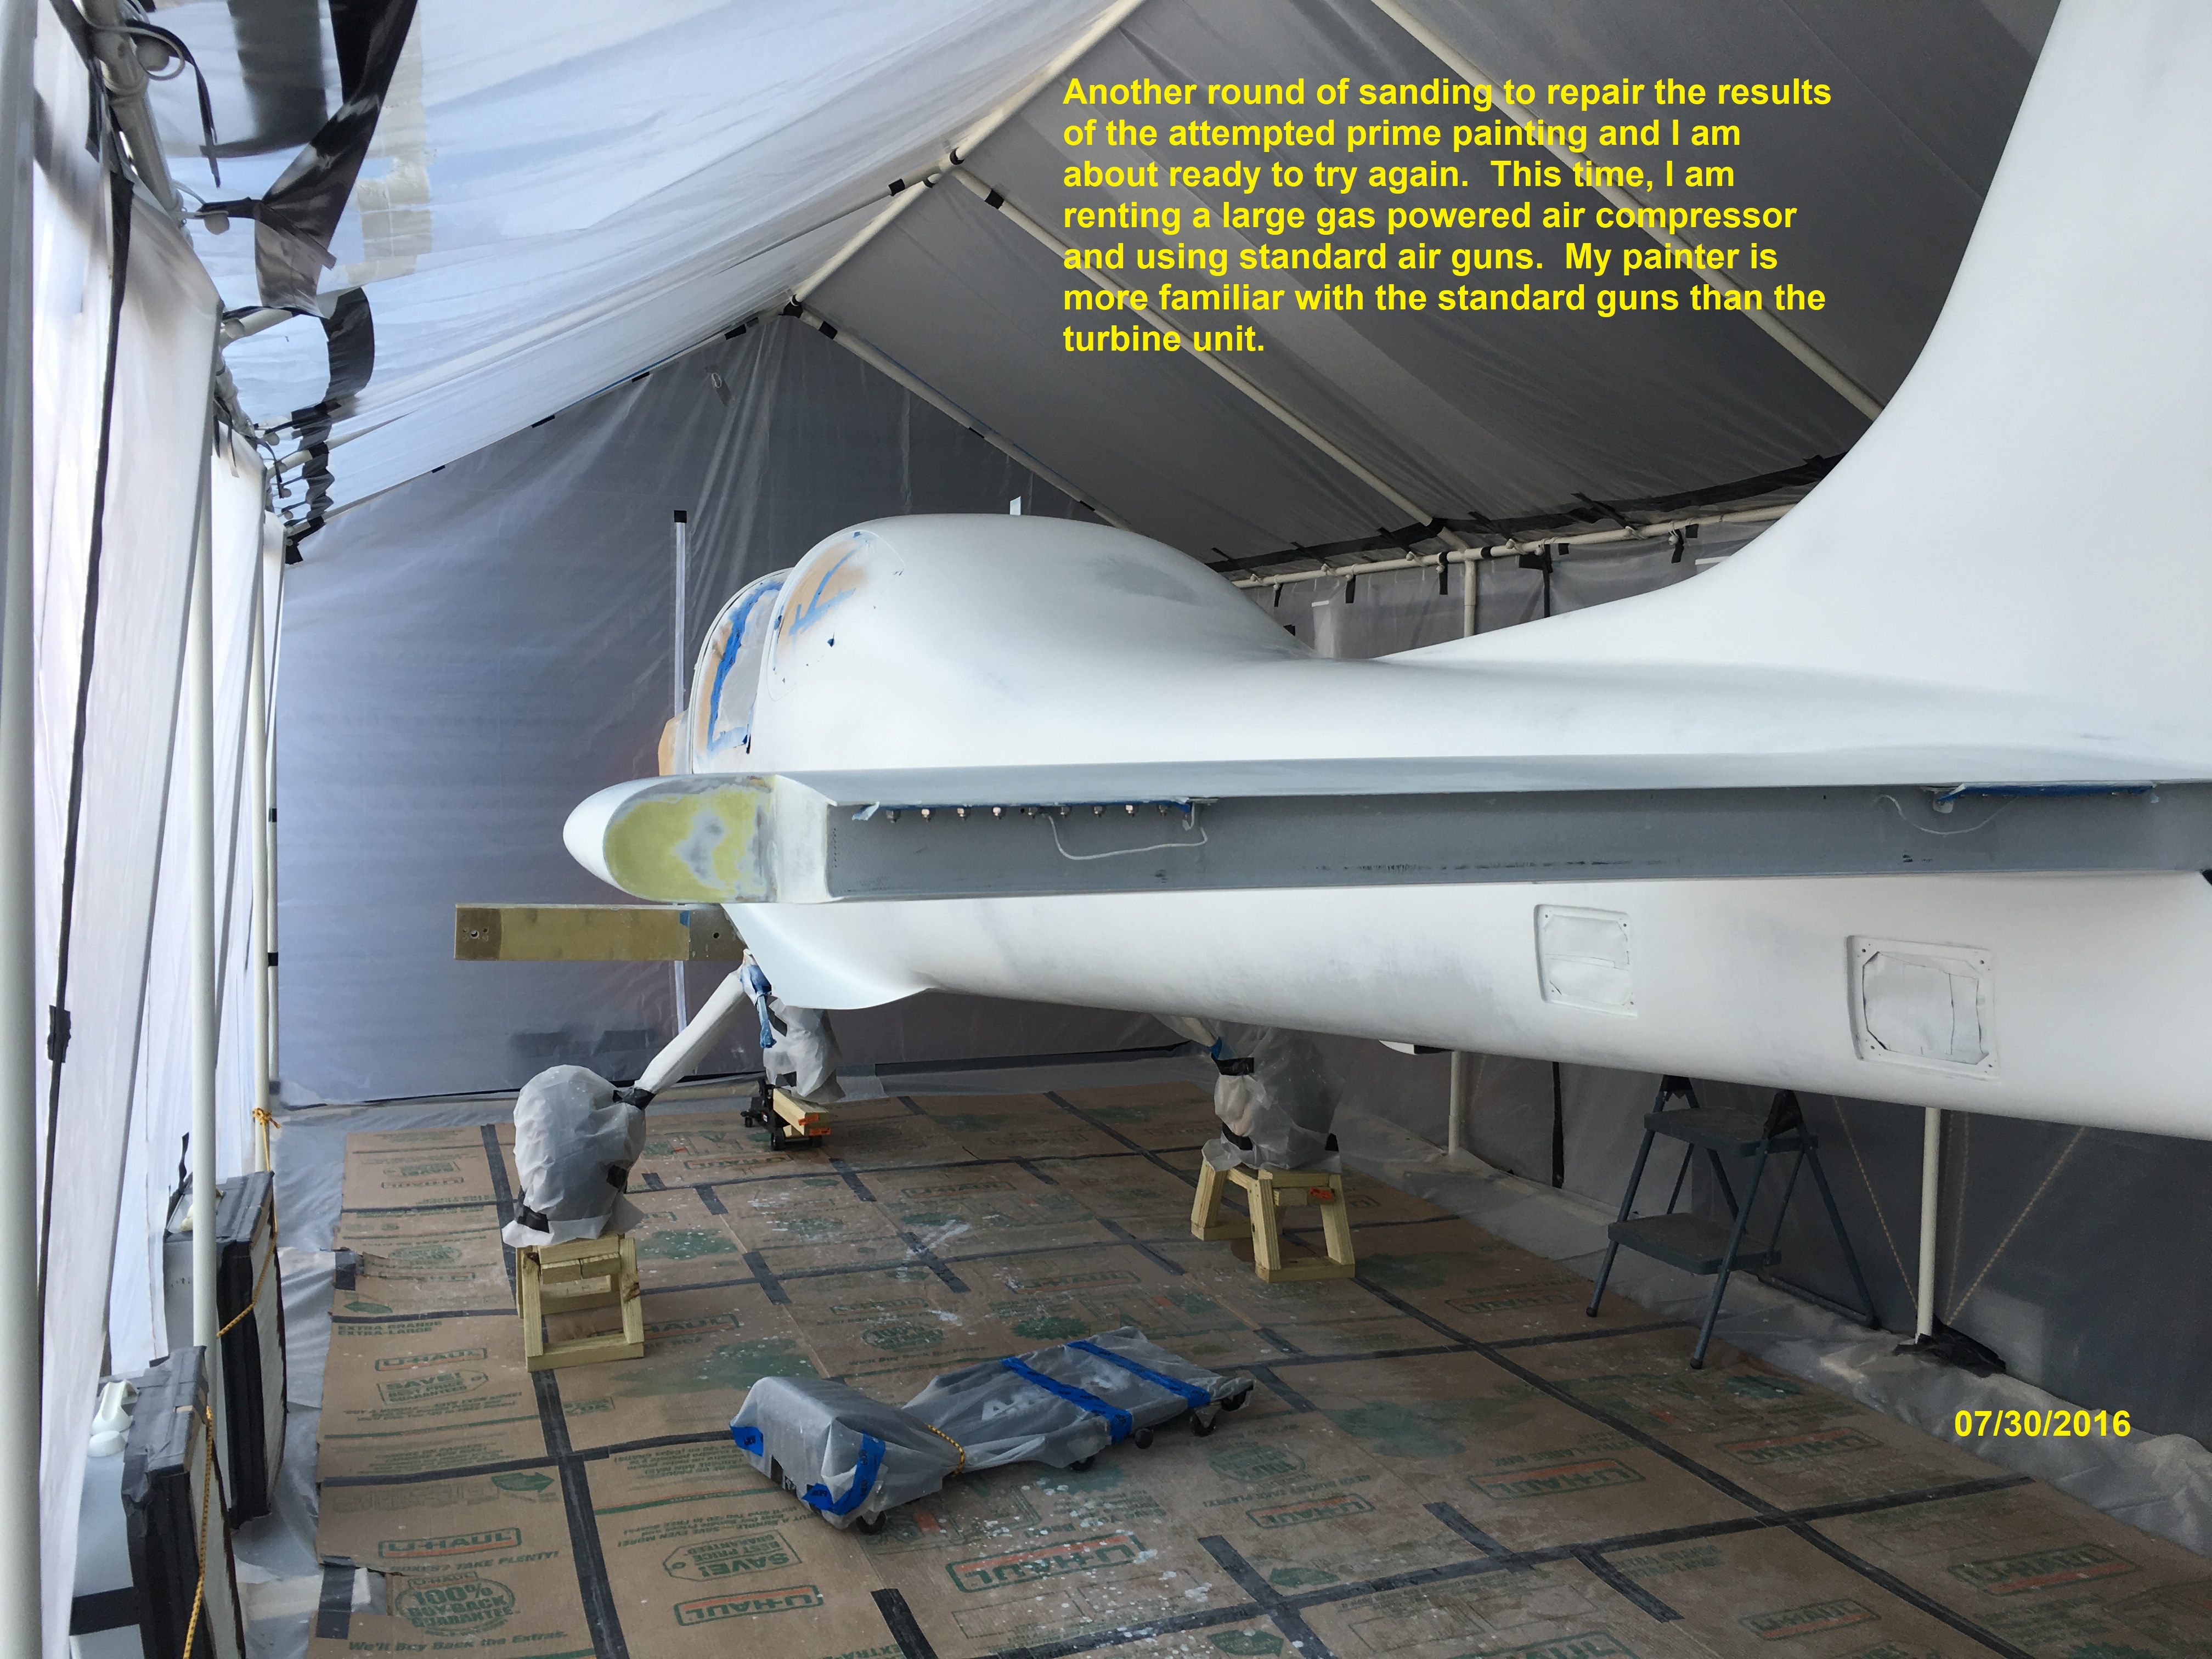
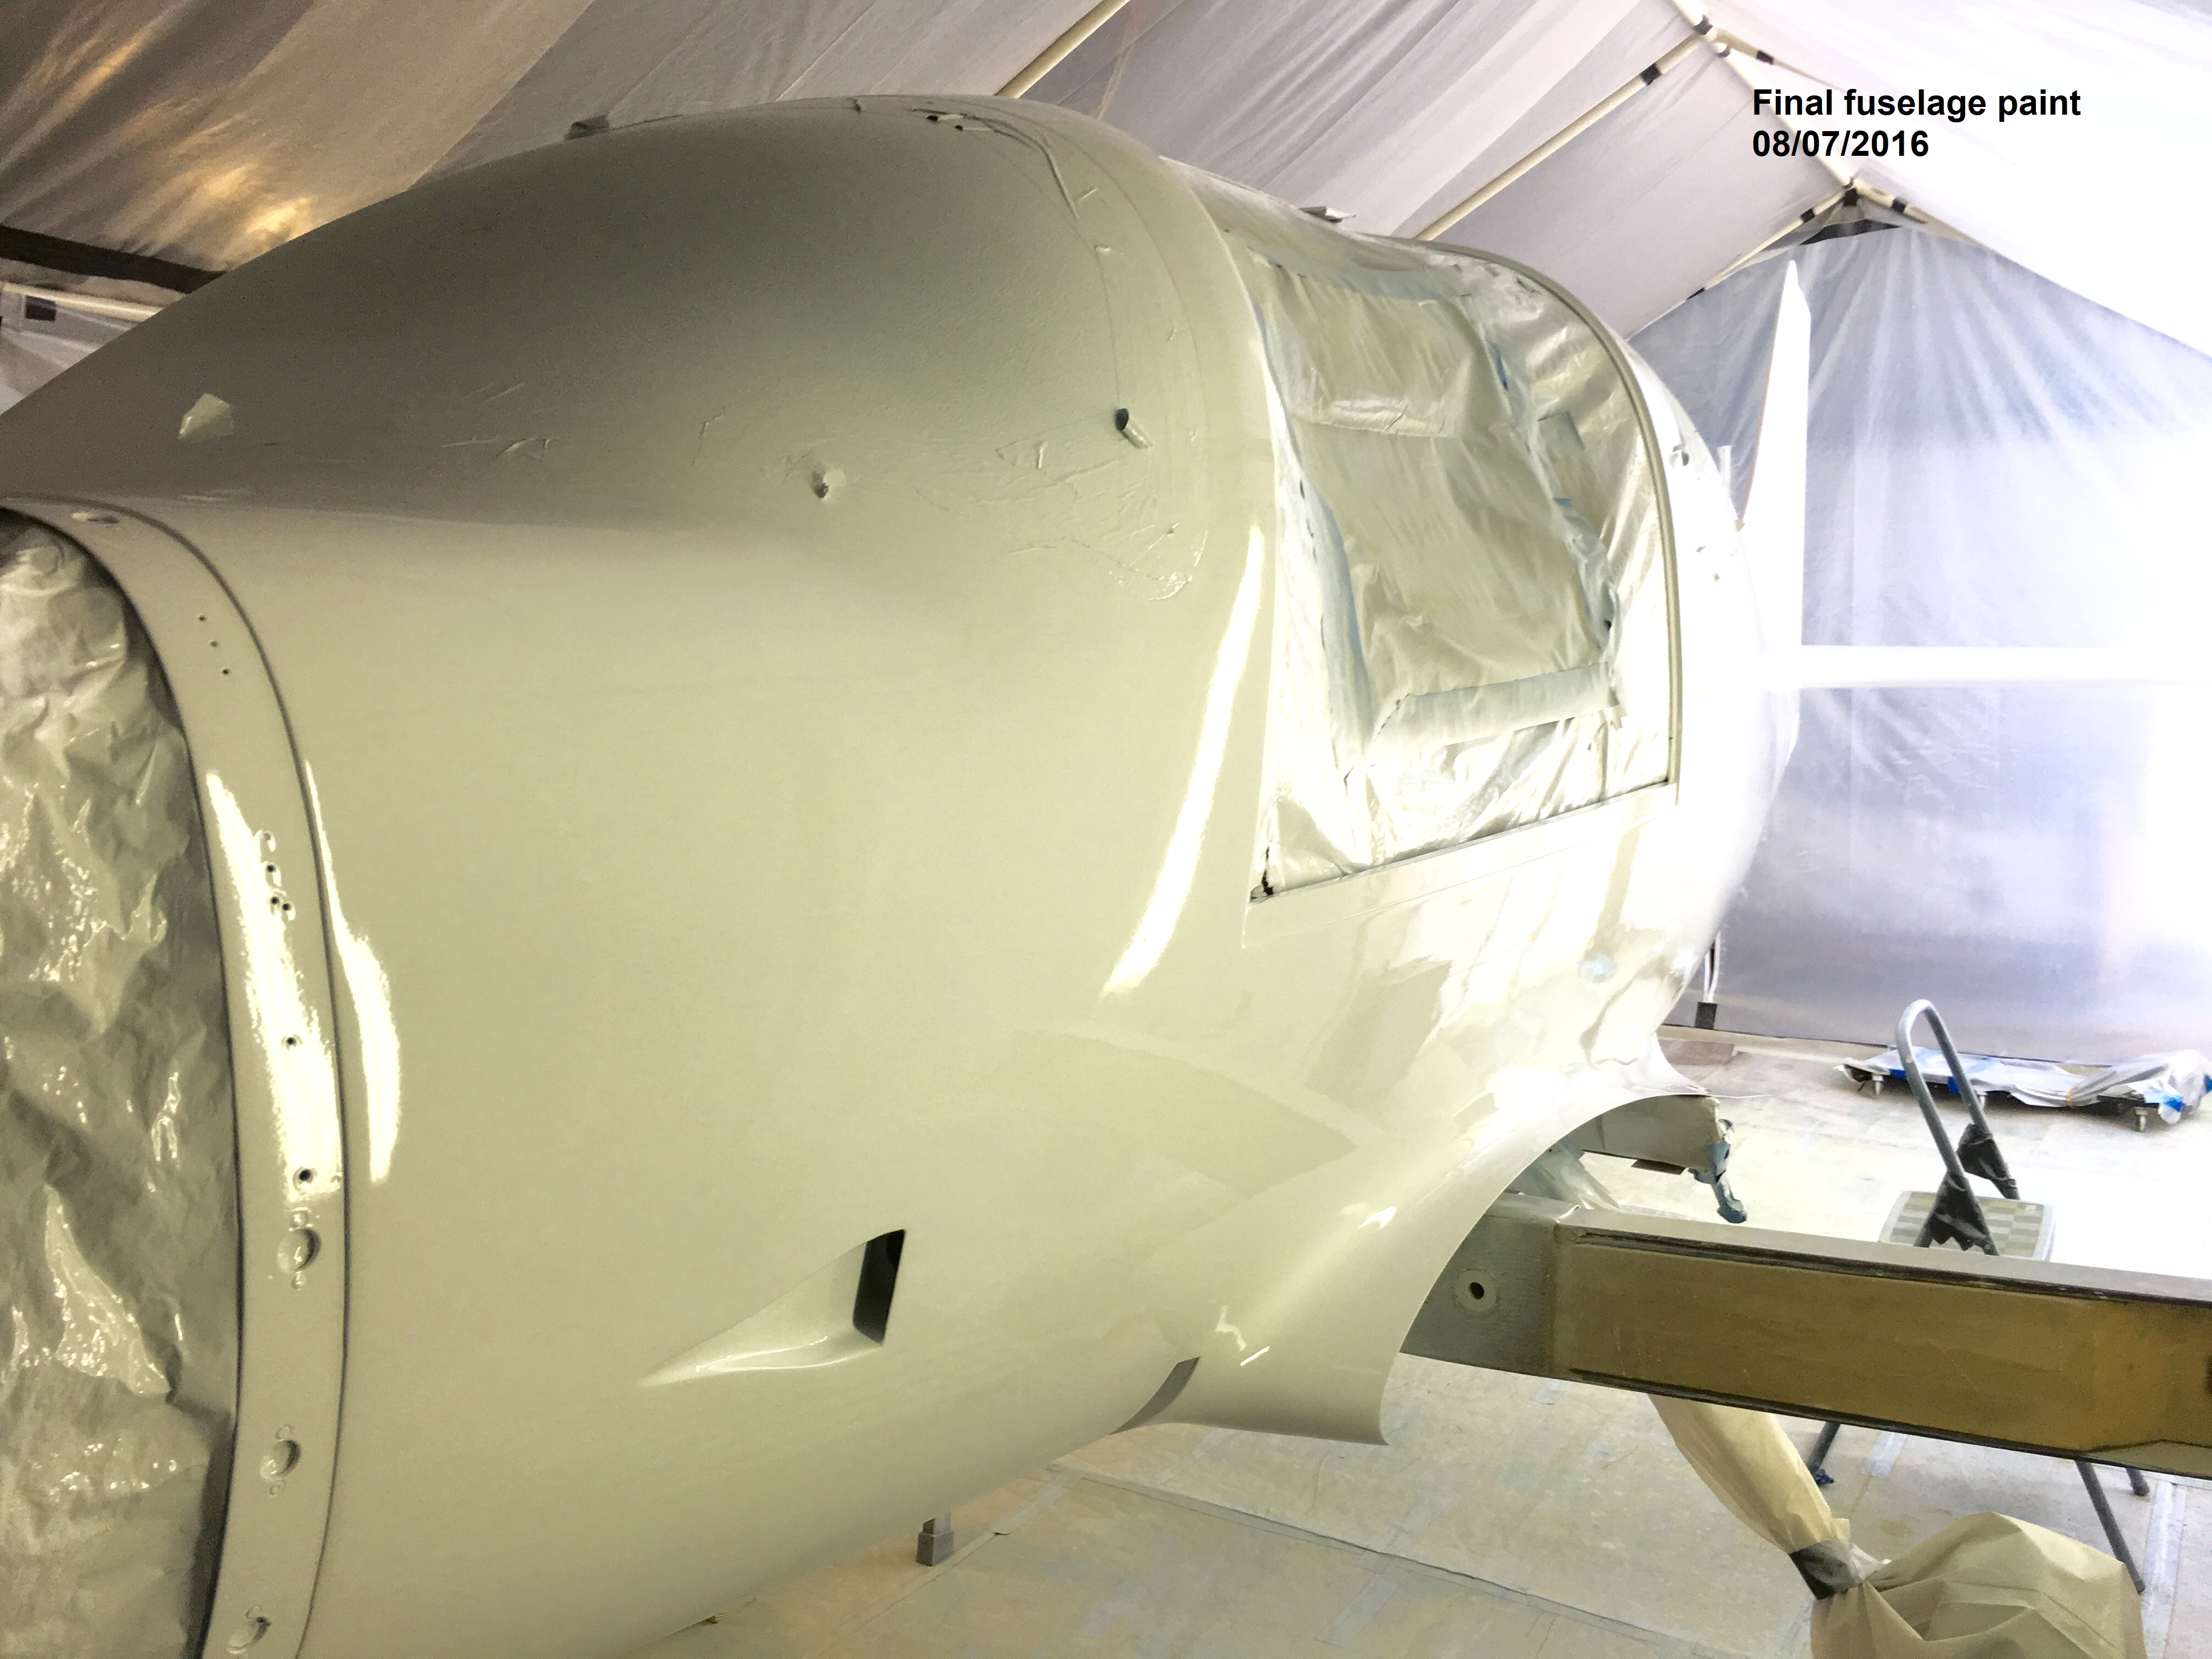
Finally went with the PTI paint from Aircraft Spruce and even though
the guy doing the spraying didn't likestuff, it went on clean and
covered well with a good finish. |
|
 |
 |
 |
I
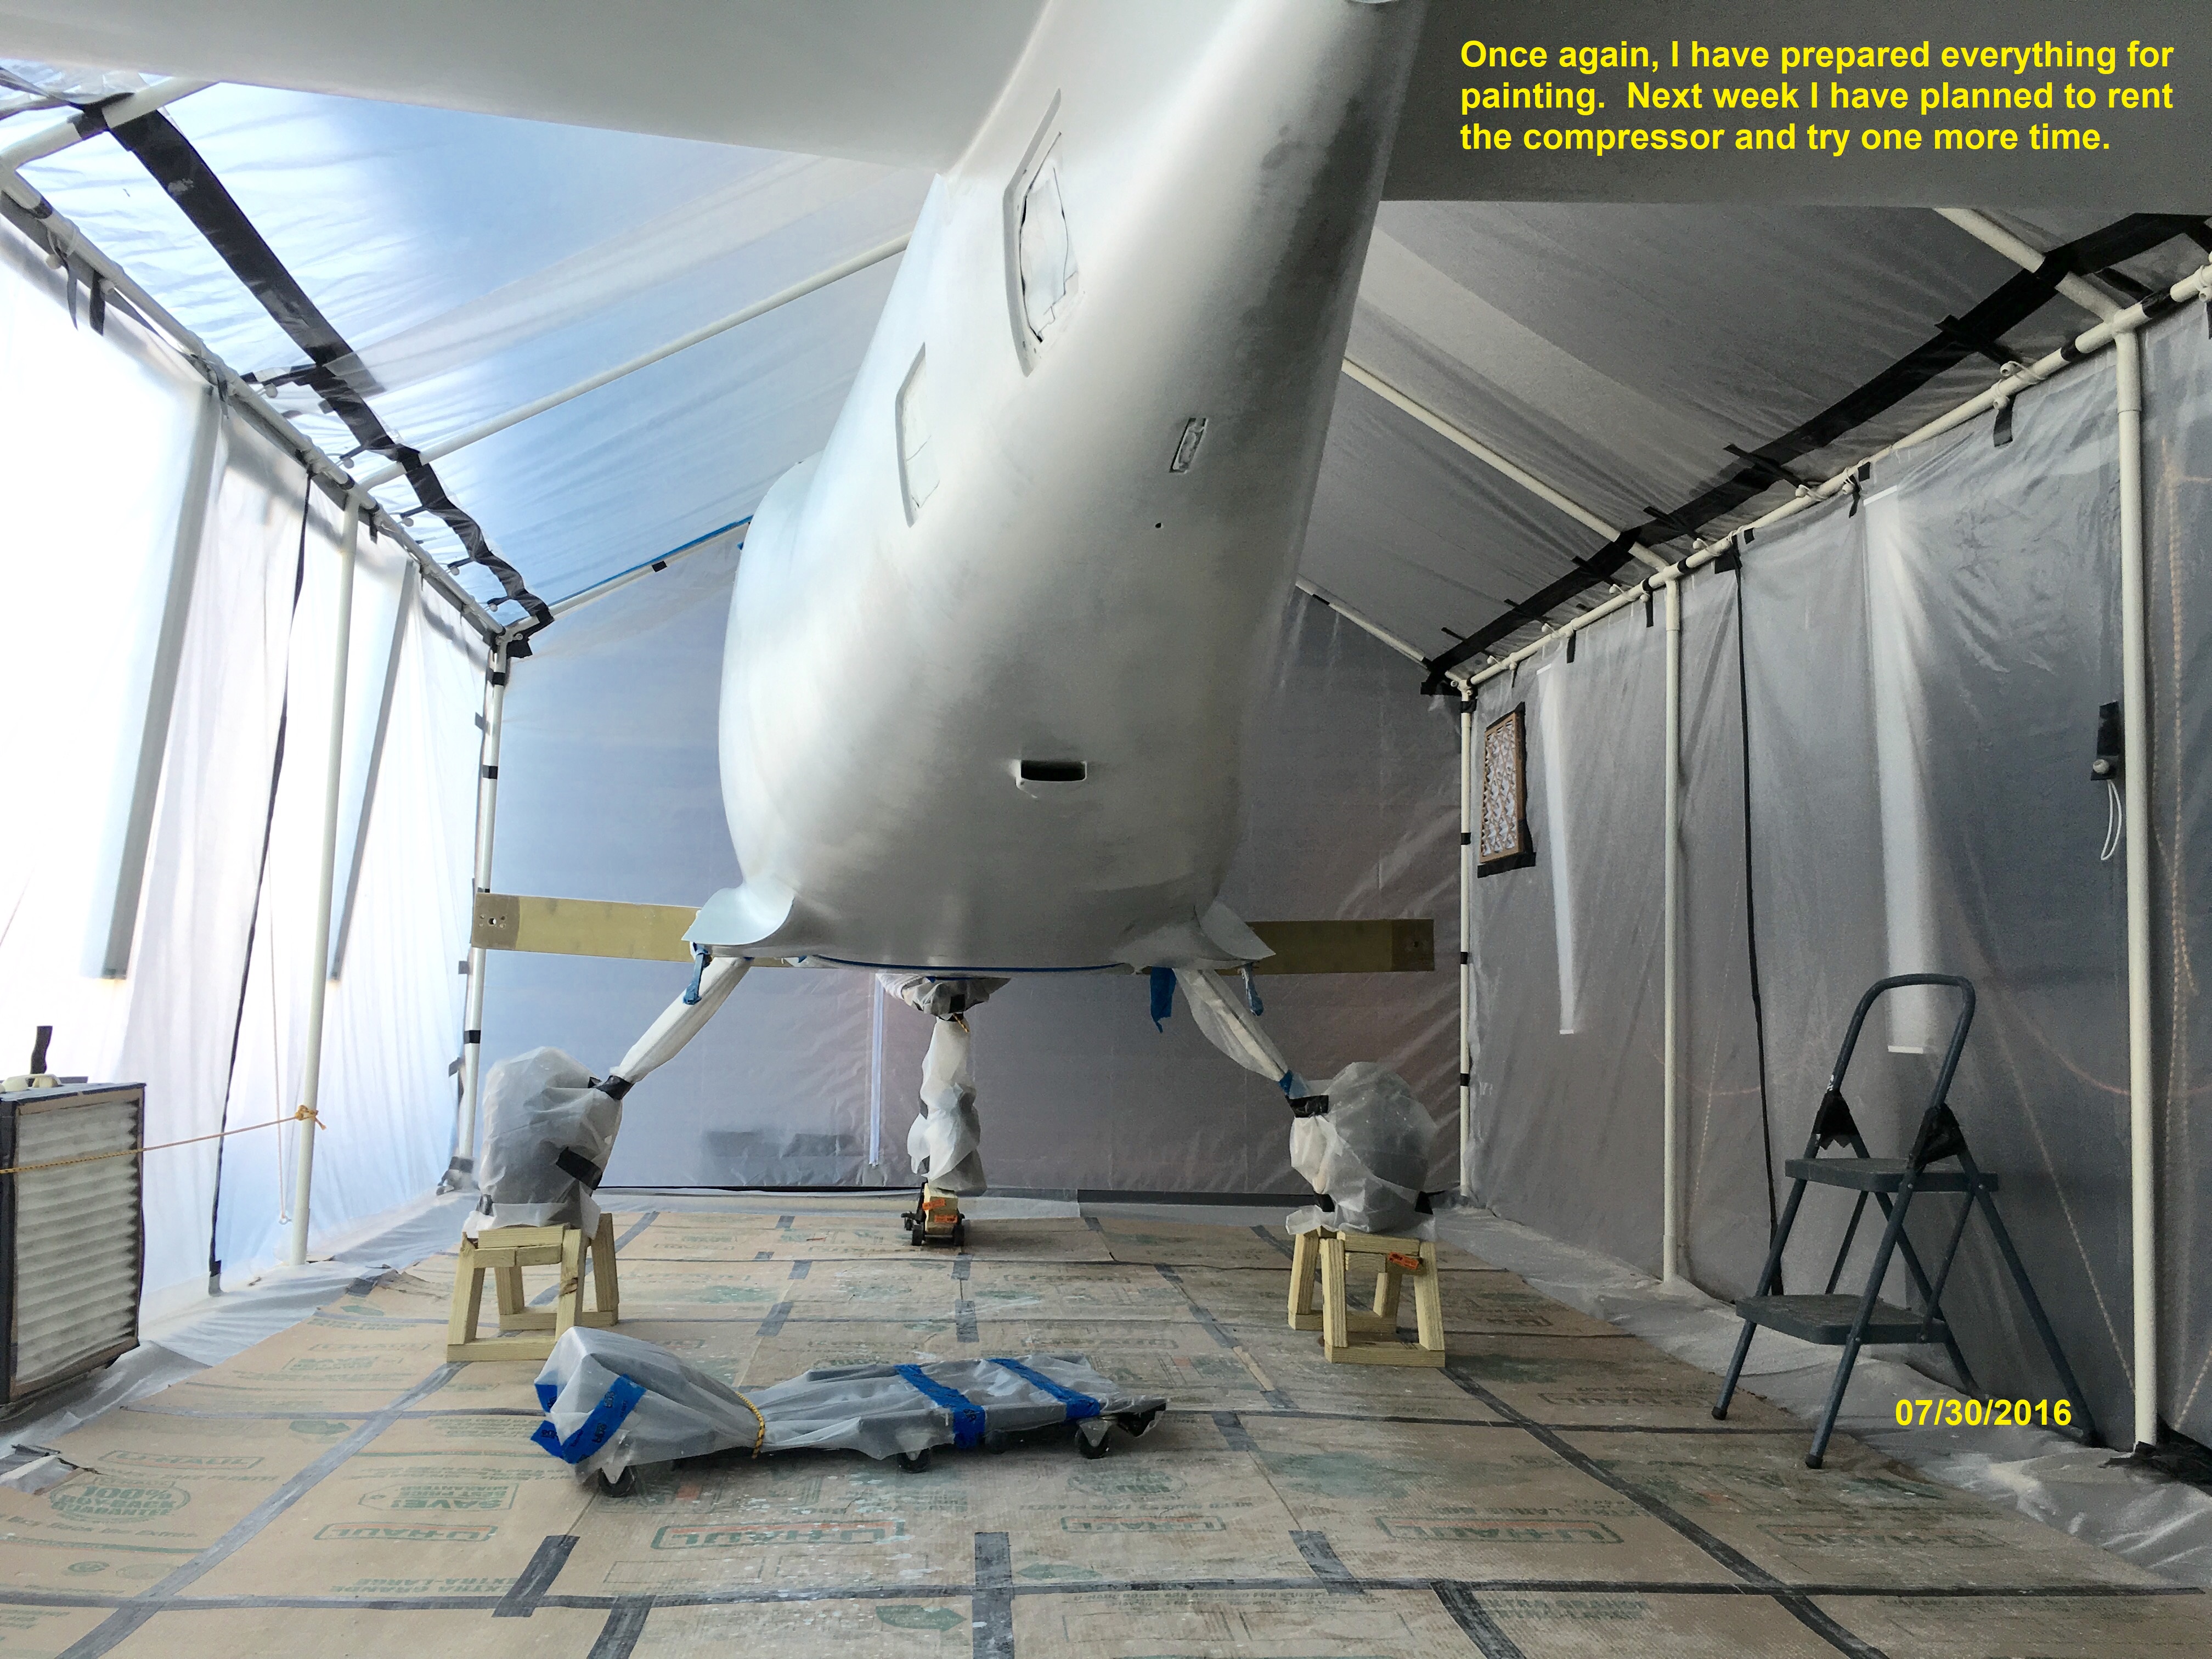
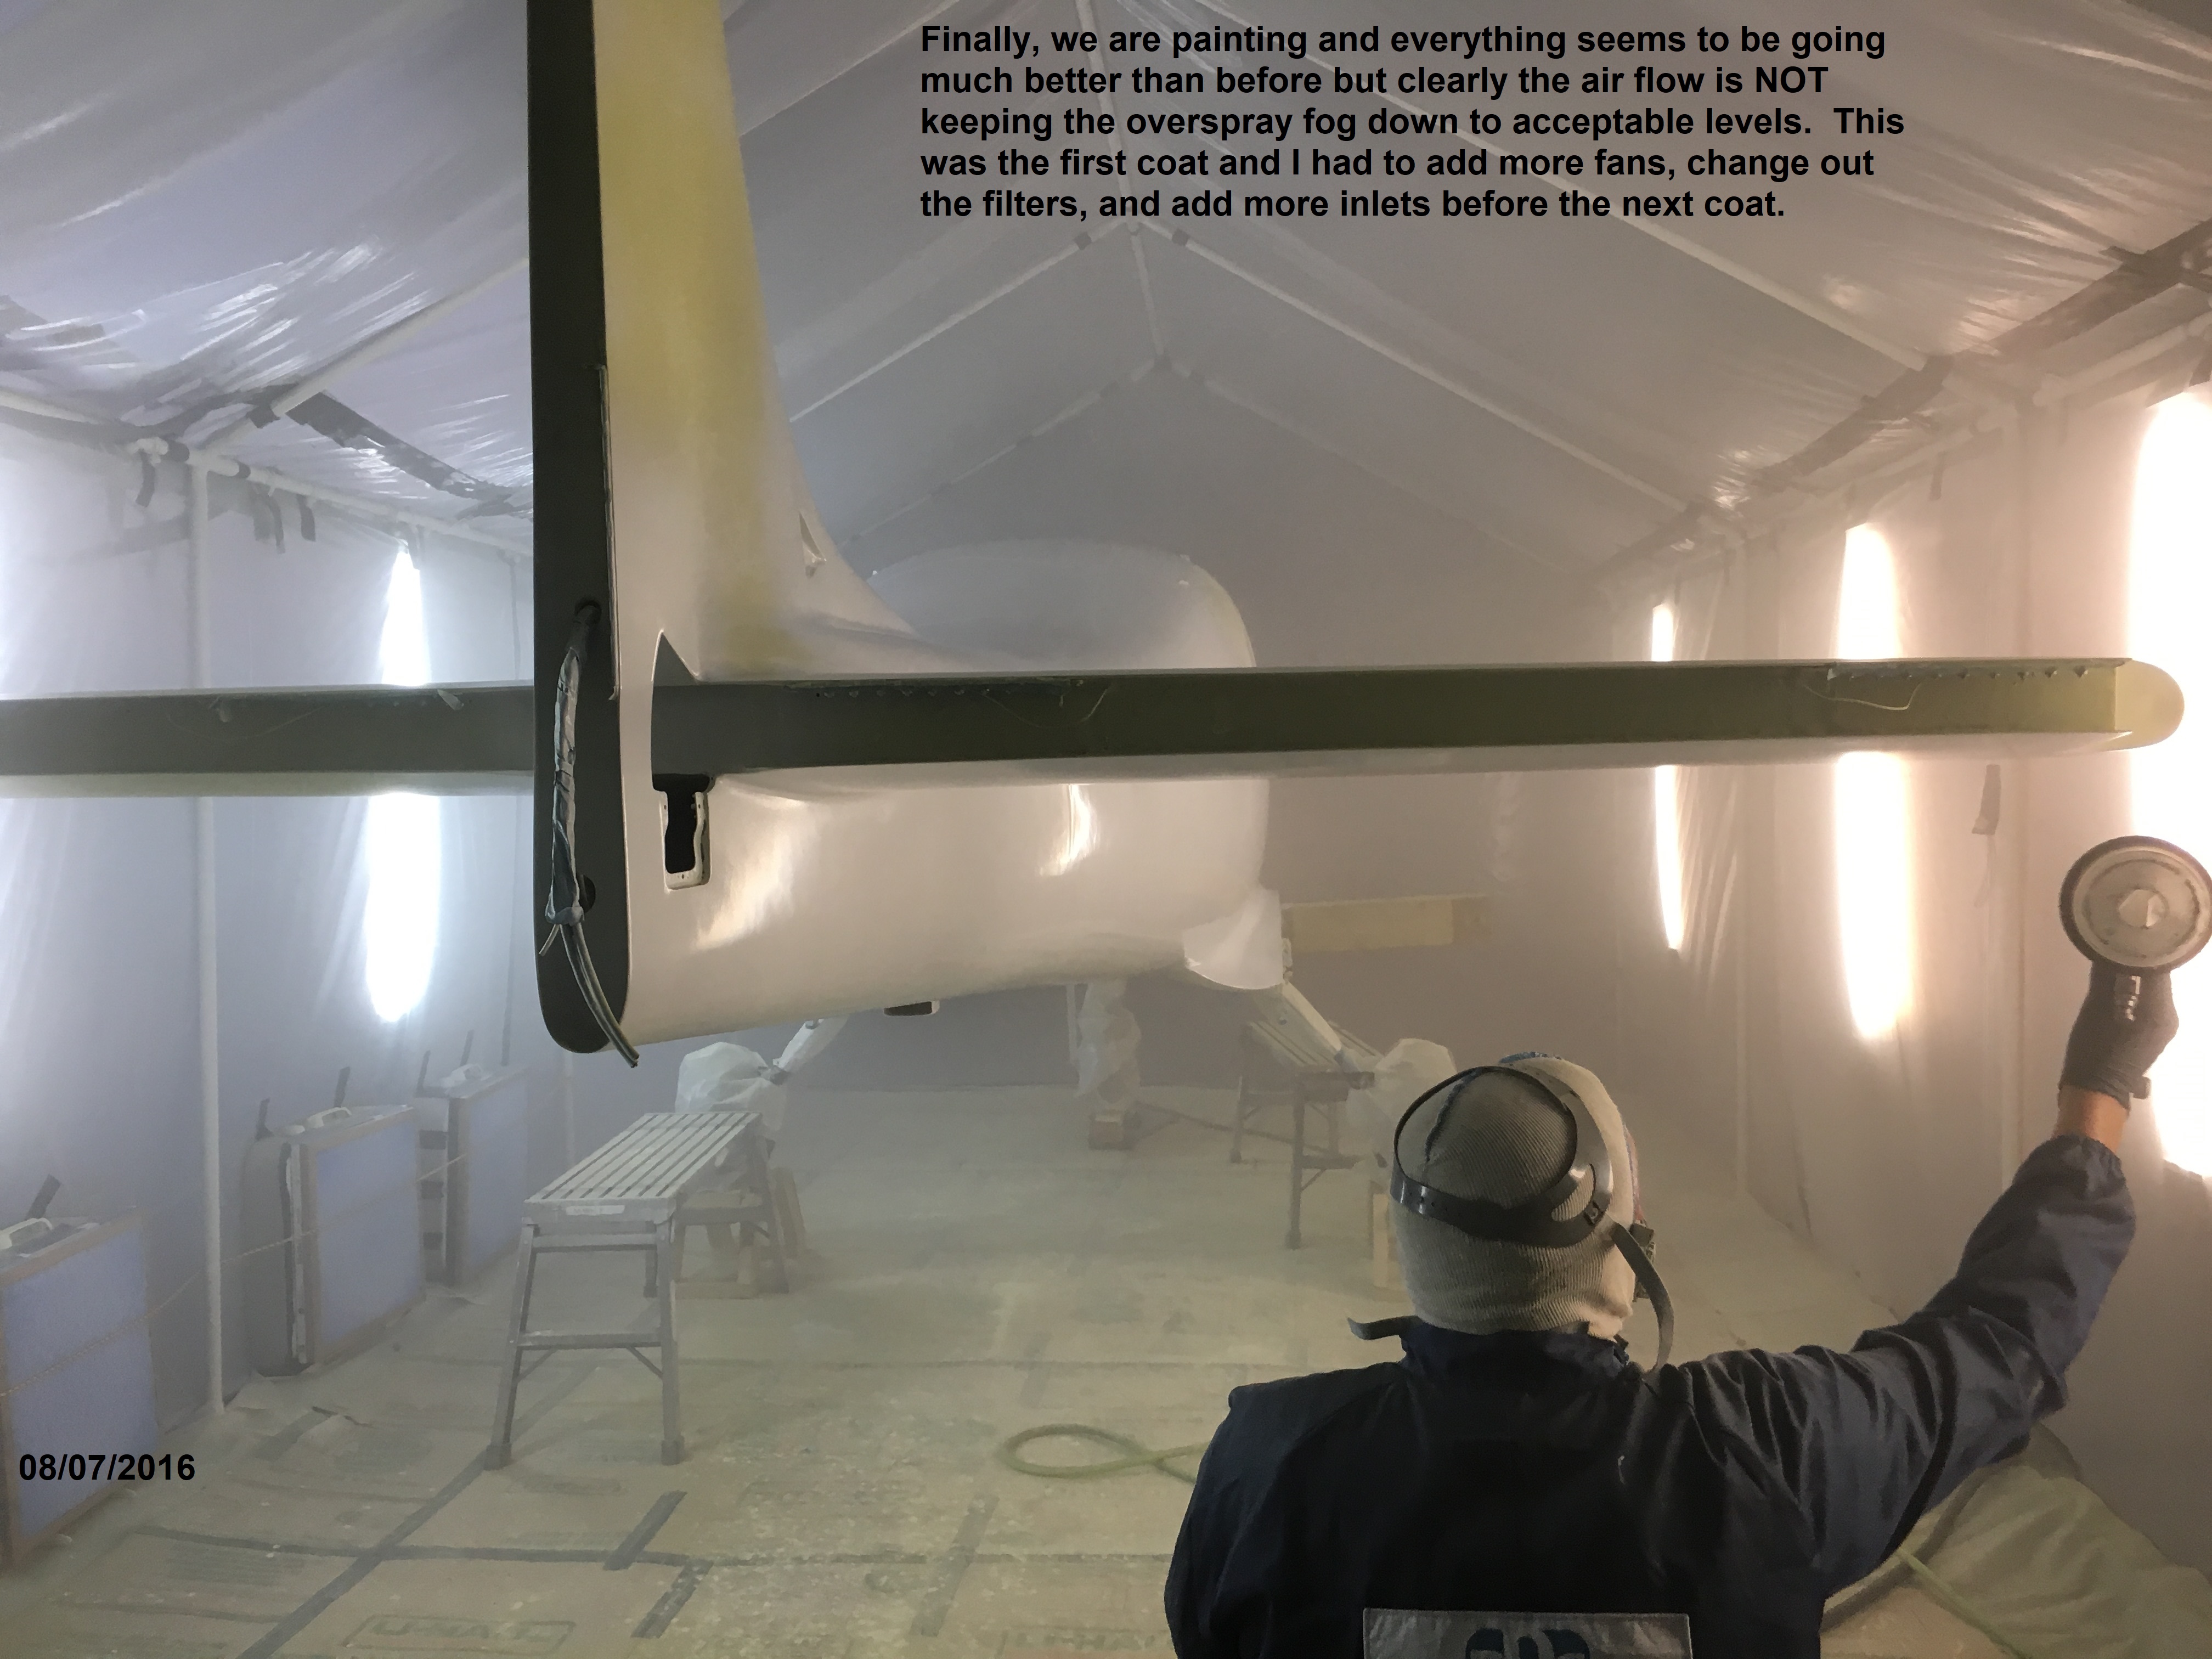
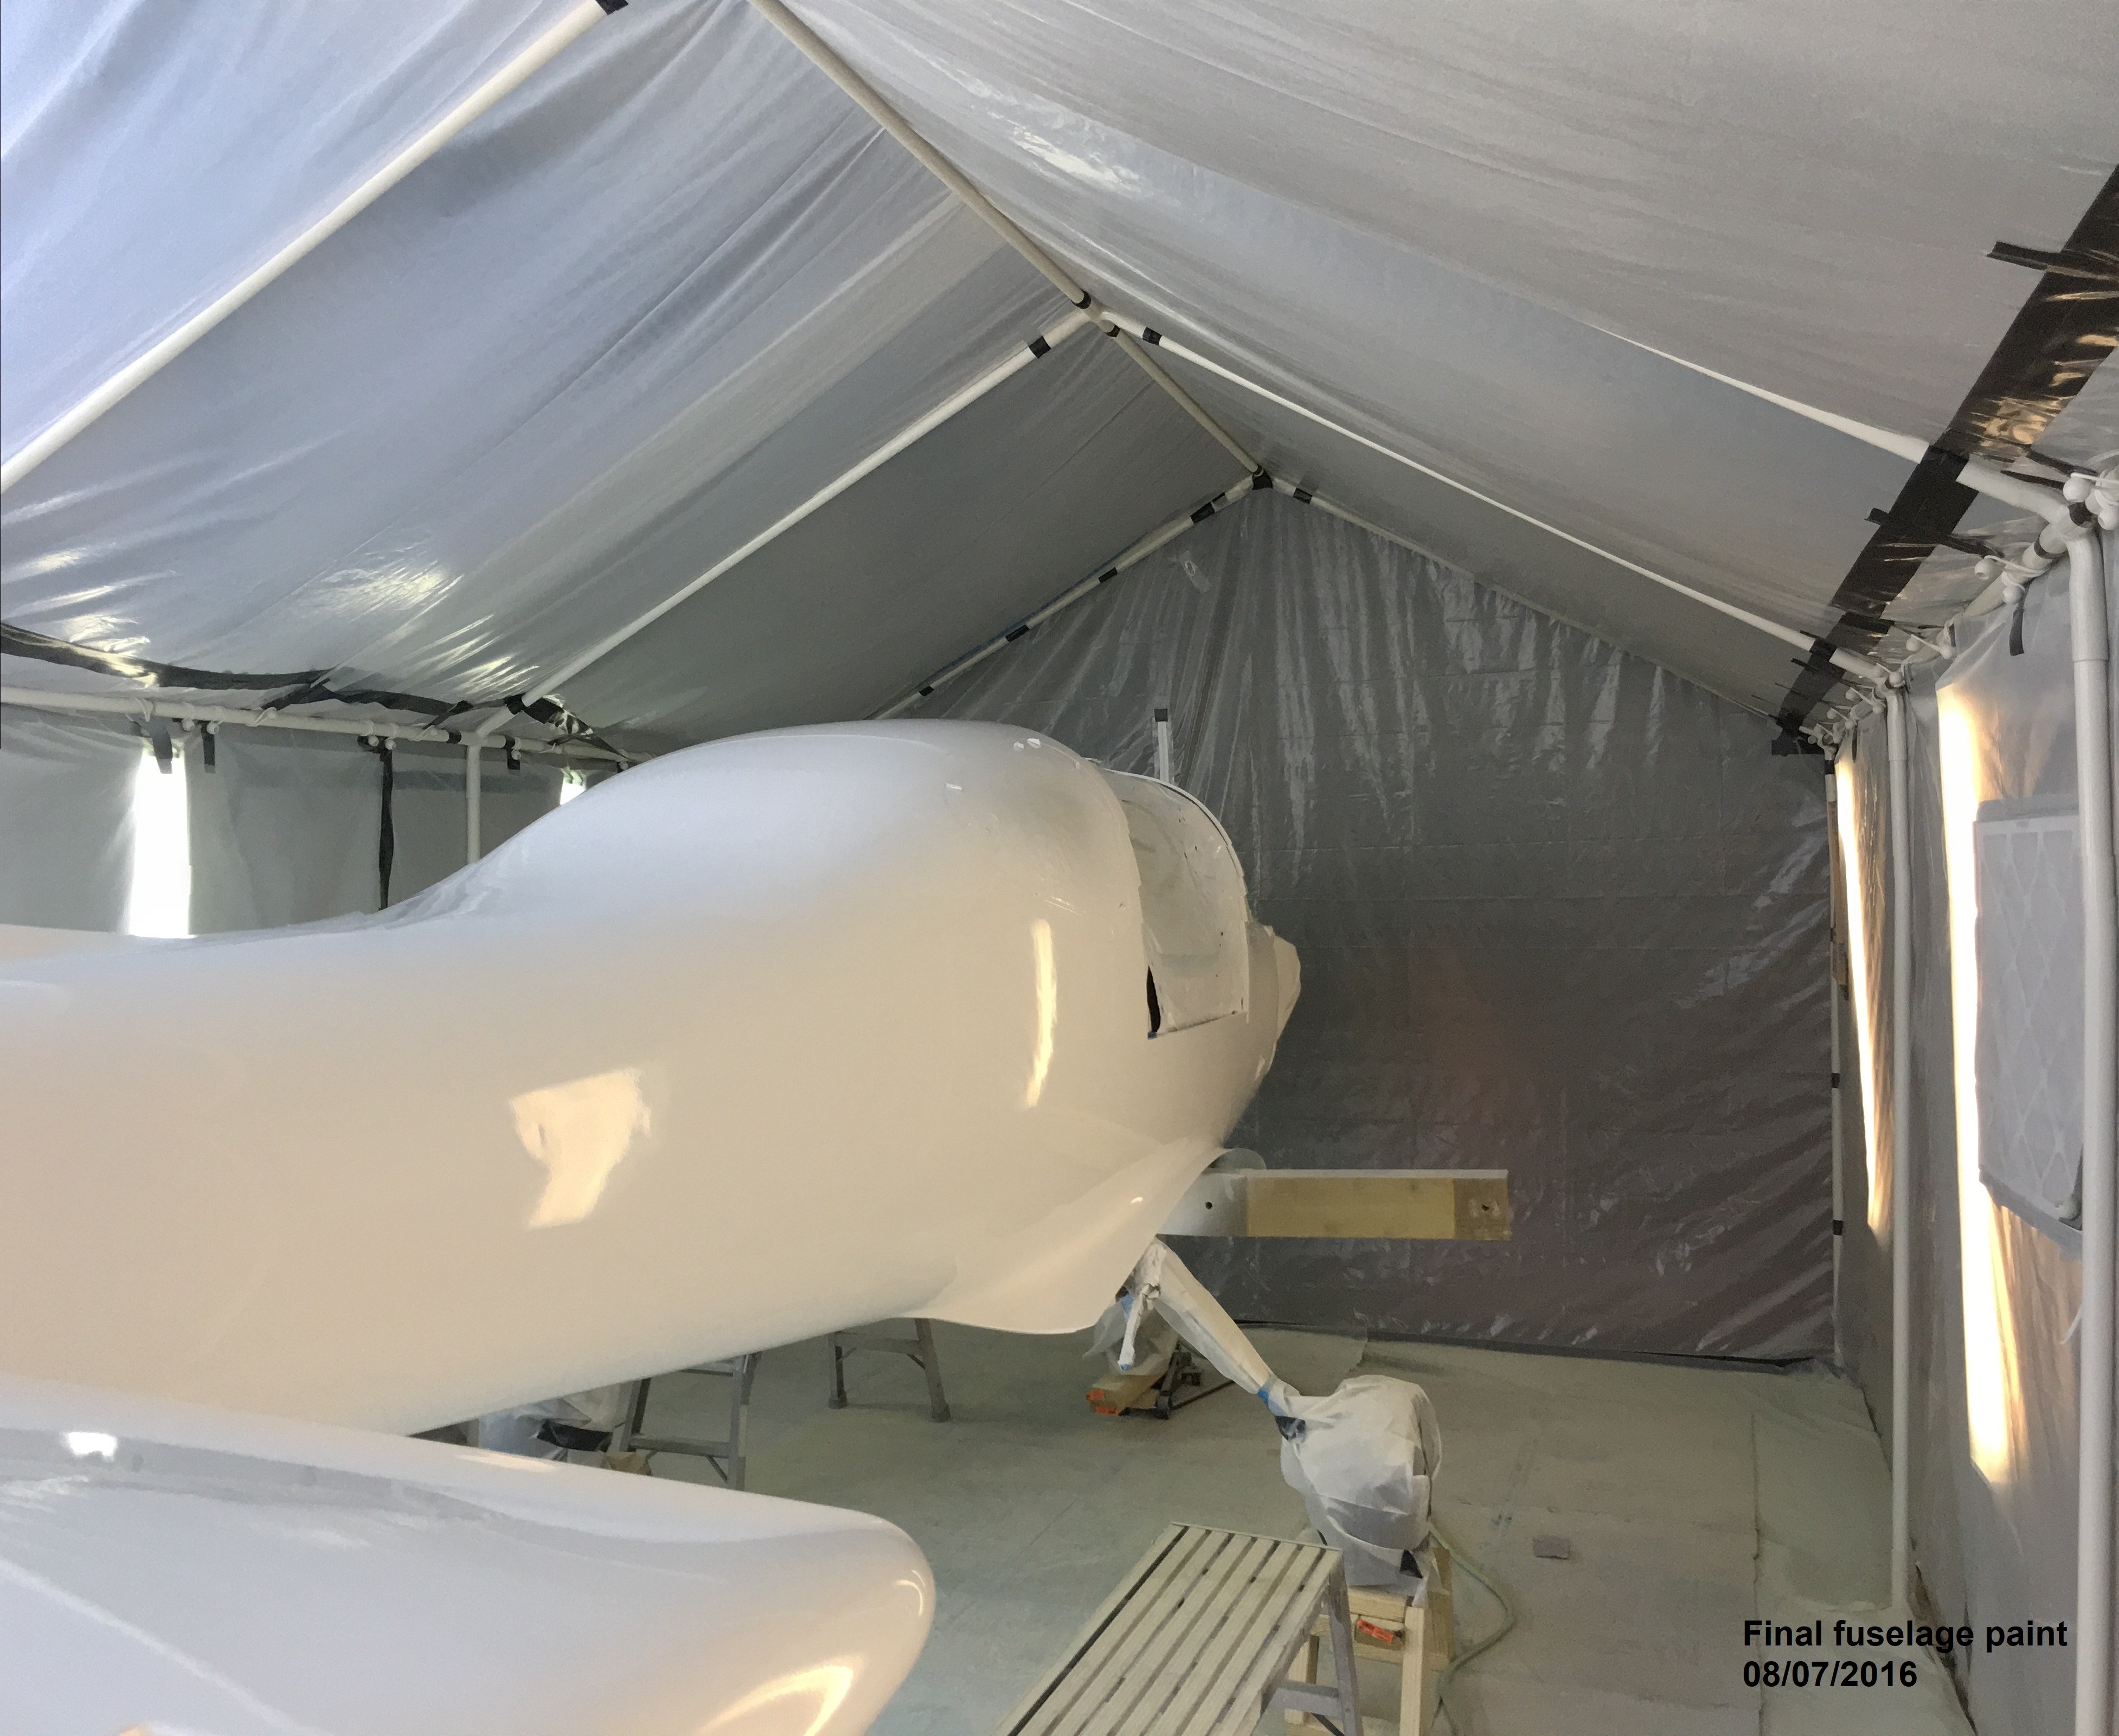
rented a gasoline powered compressor and sit it at one end of the
hangar. Sanded off the last failed paint and cleaned up the
fuselage yet again. Started at 6am in the morning because it was
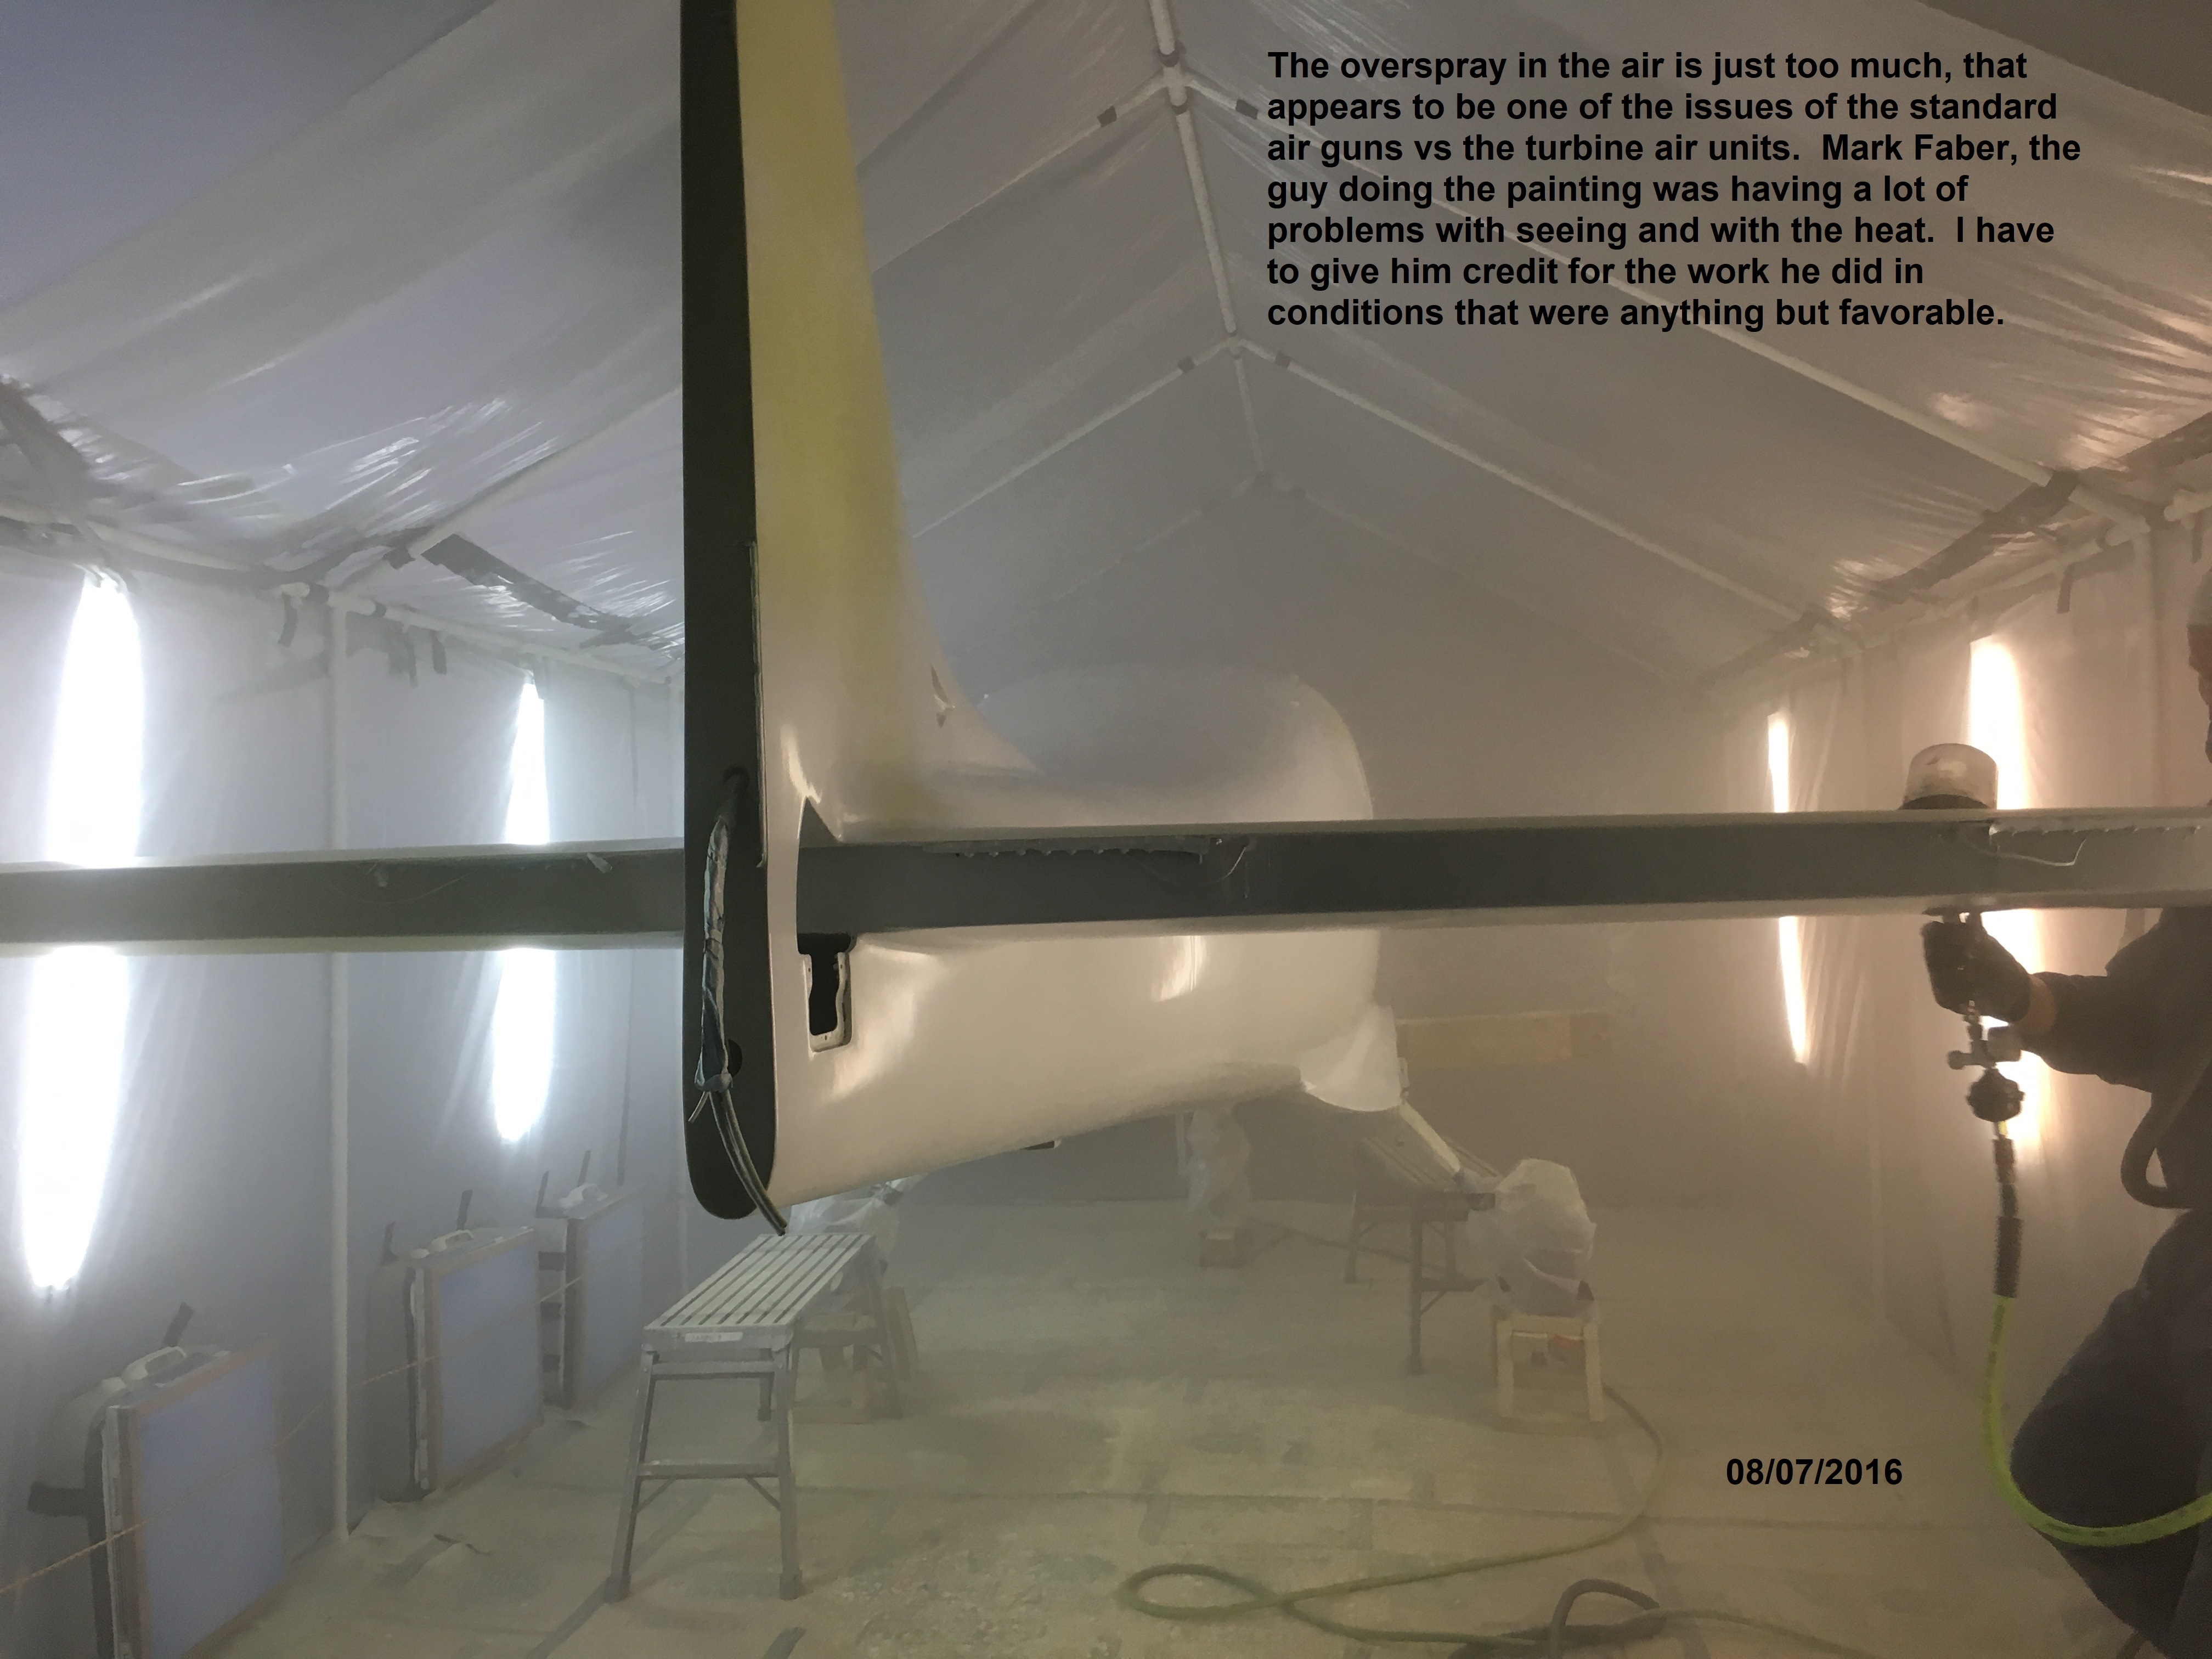
so hot and I couldn't keep the booth cool while we were spraying.
We wiped it down with thinner just before starting the painting
operation and got busy. I had placed two exhaust fans with
filters on the one side but they proved to be ineffective in pulling
the air through and keeping the overspray down enough to see. After the first coat, which you can see being applied below, I cut openings and added two additional exhaust fans before starting the second coat. It worked better but I had to make a run to Home Depot to get more filters since they were clogging up by half way through the process. Painting the fuselage in one process is a lot of paint to be applying at one time. |
 |
 |
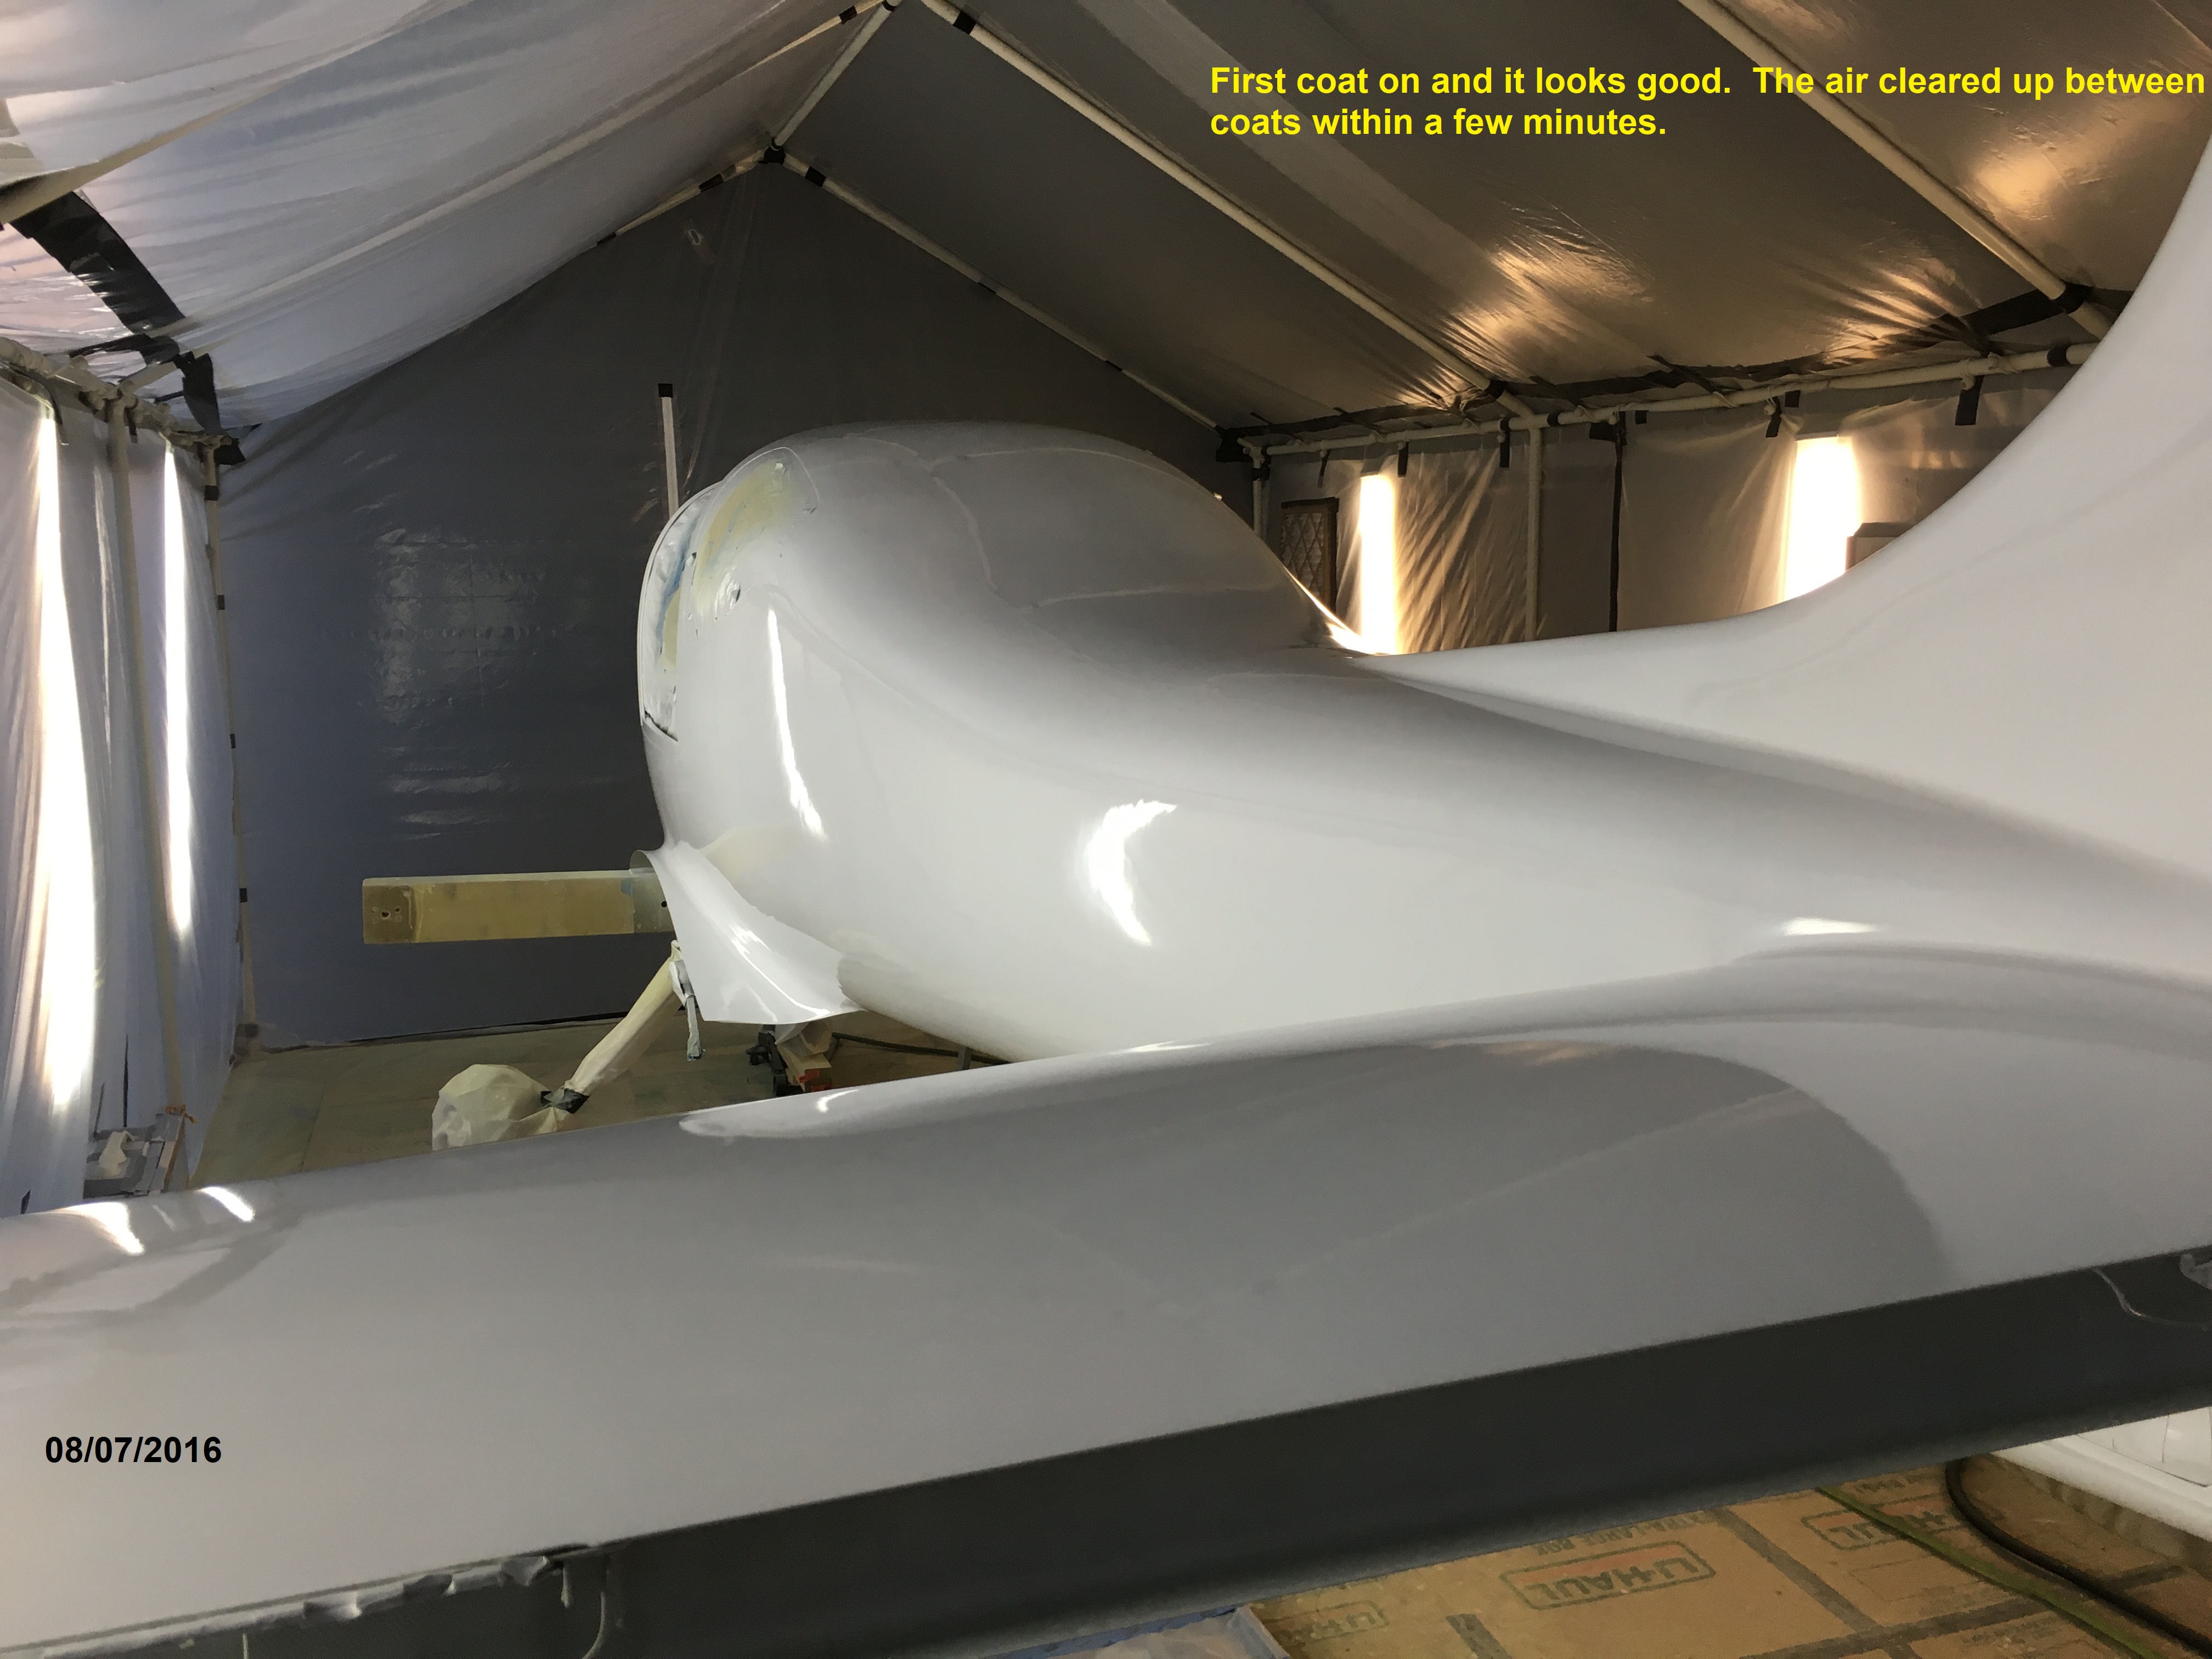 |
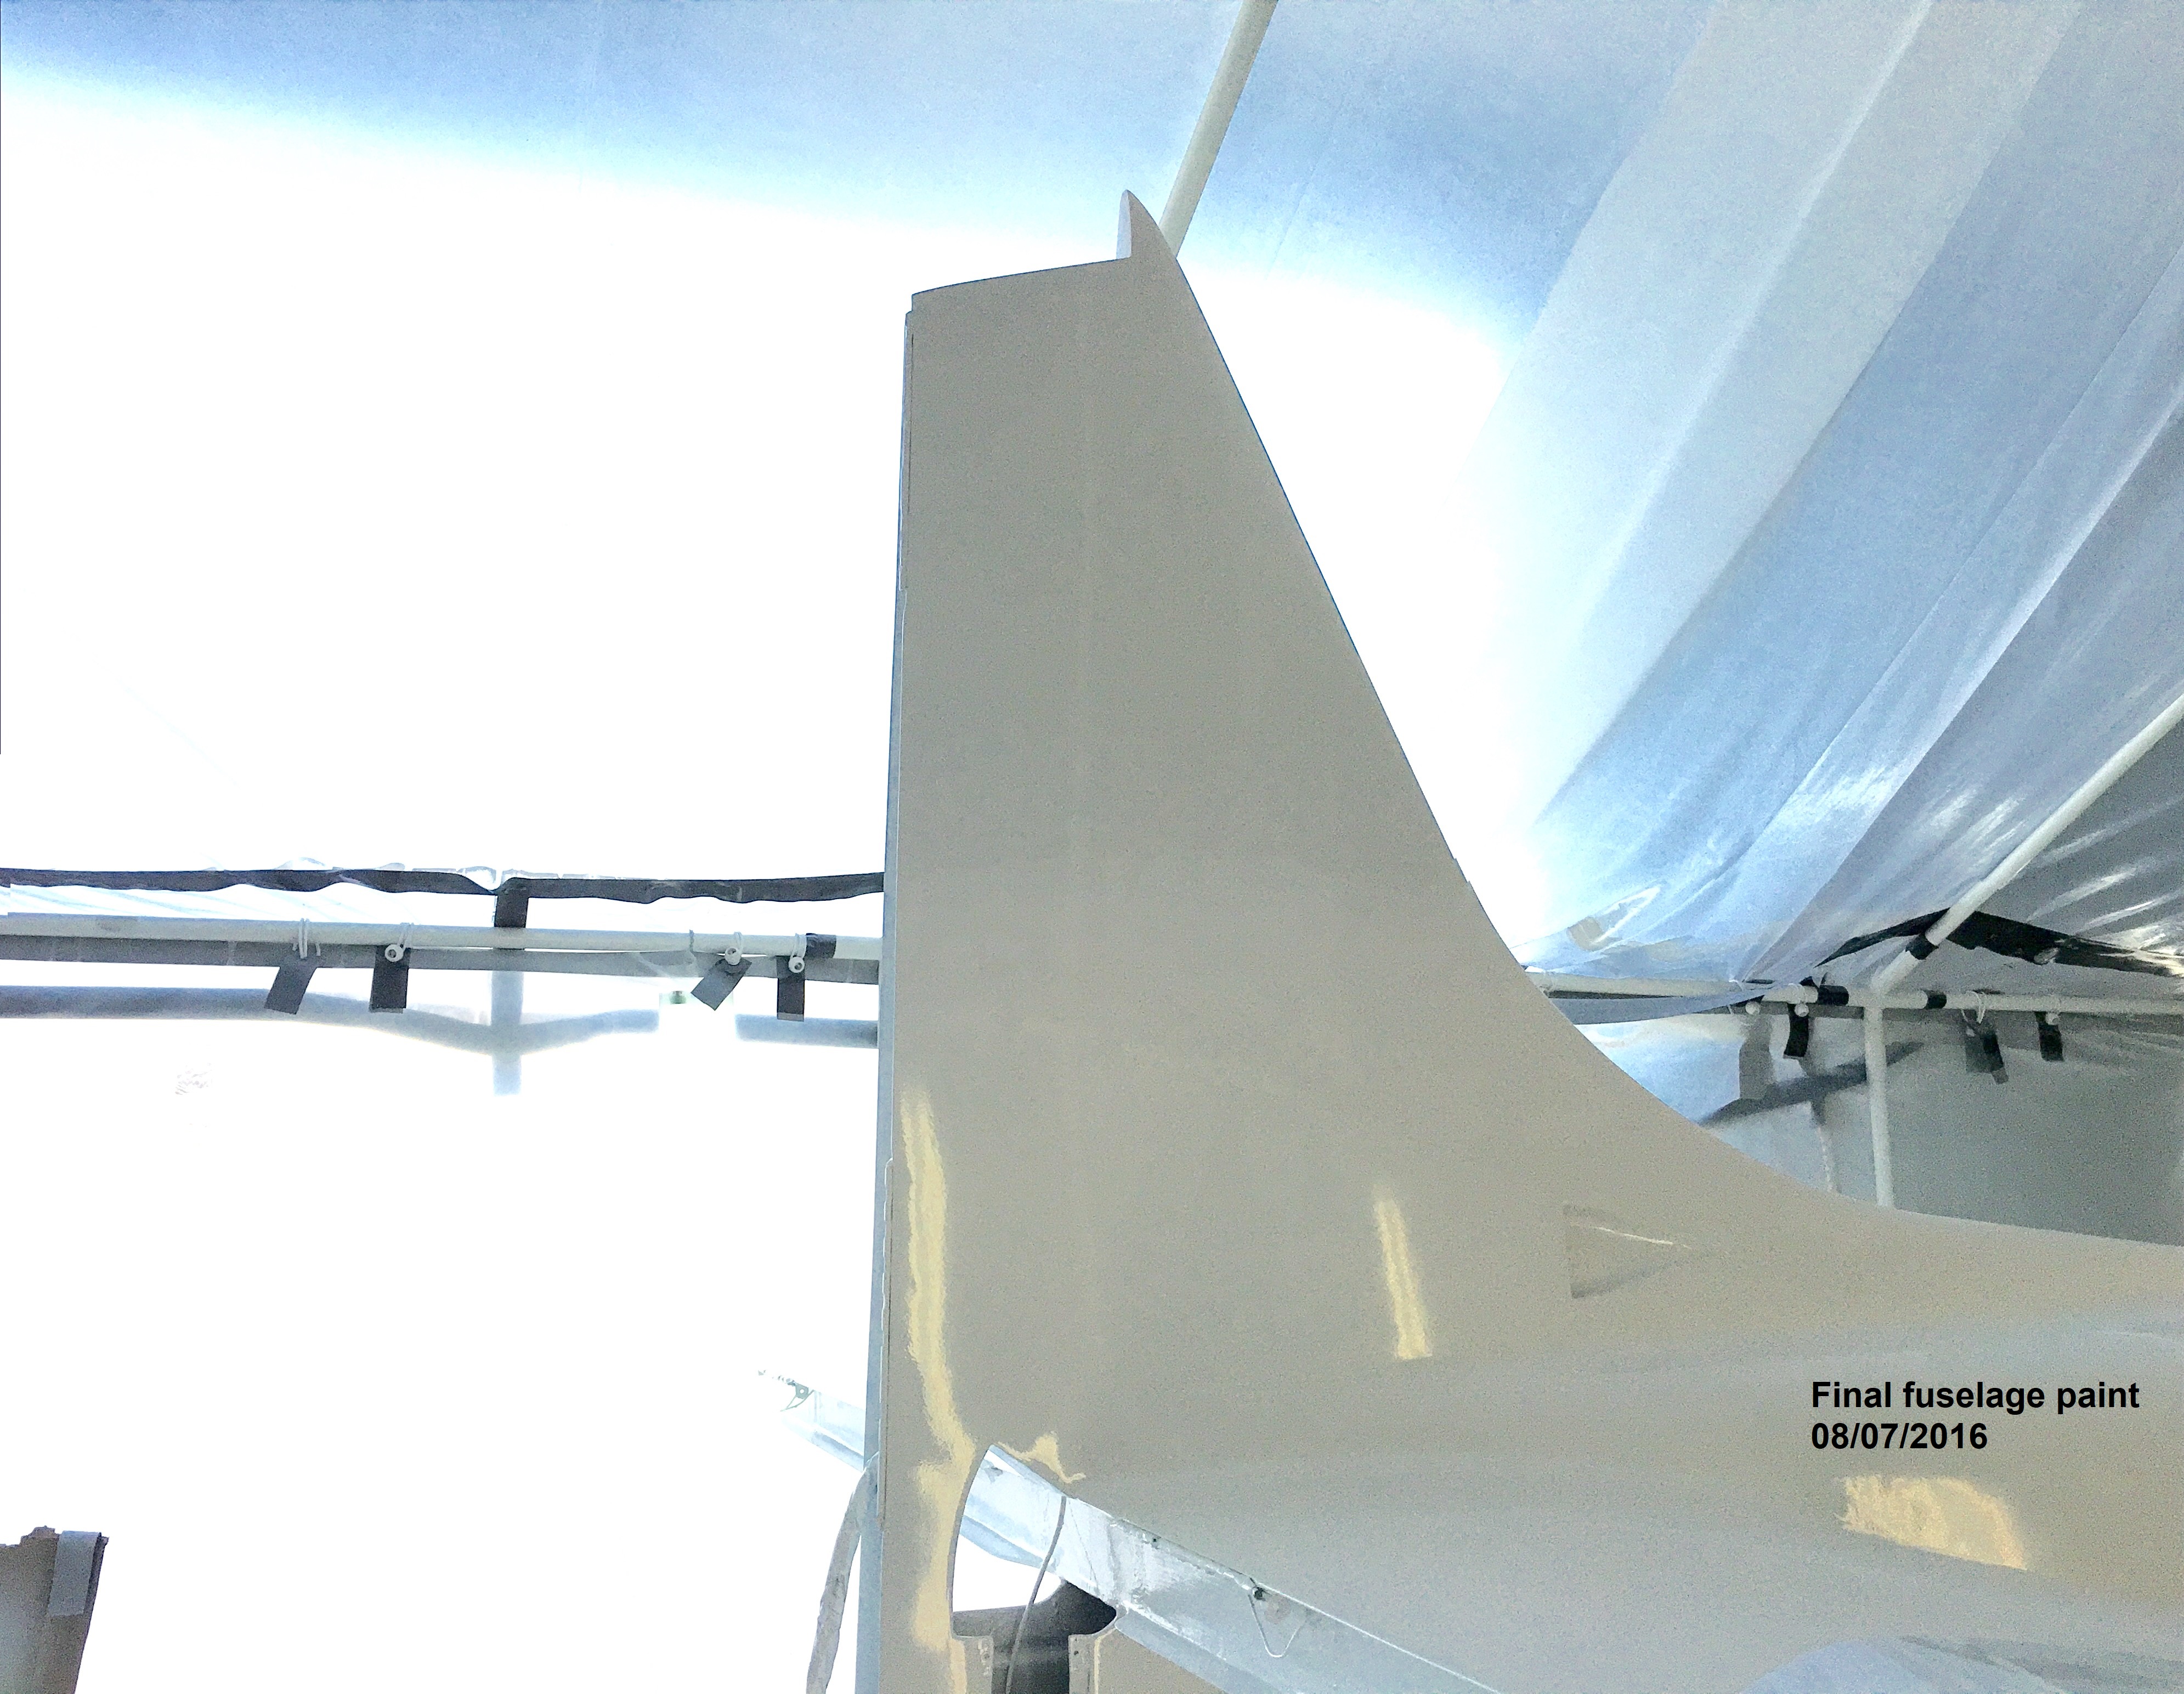
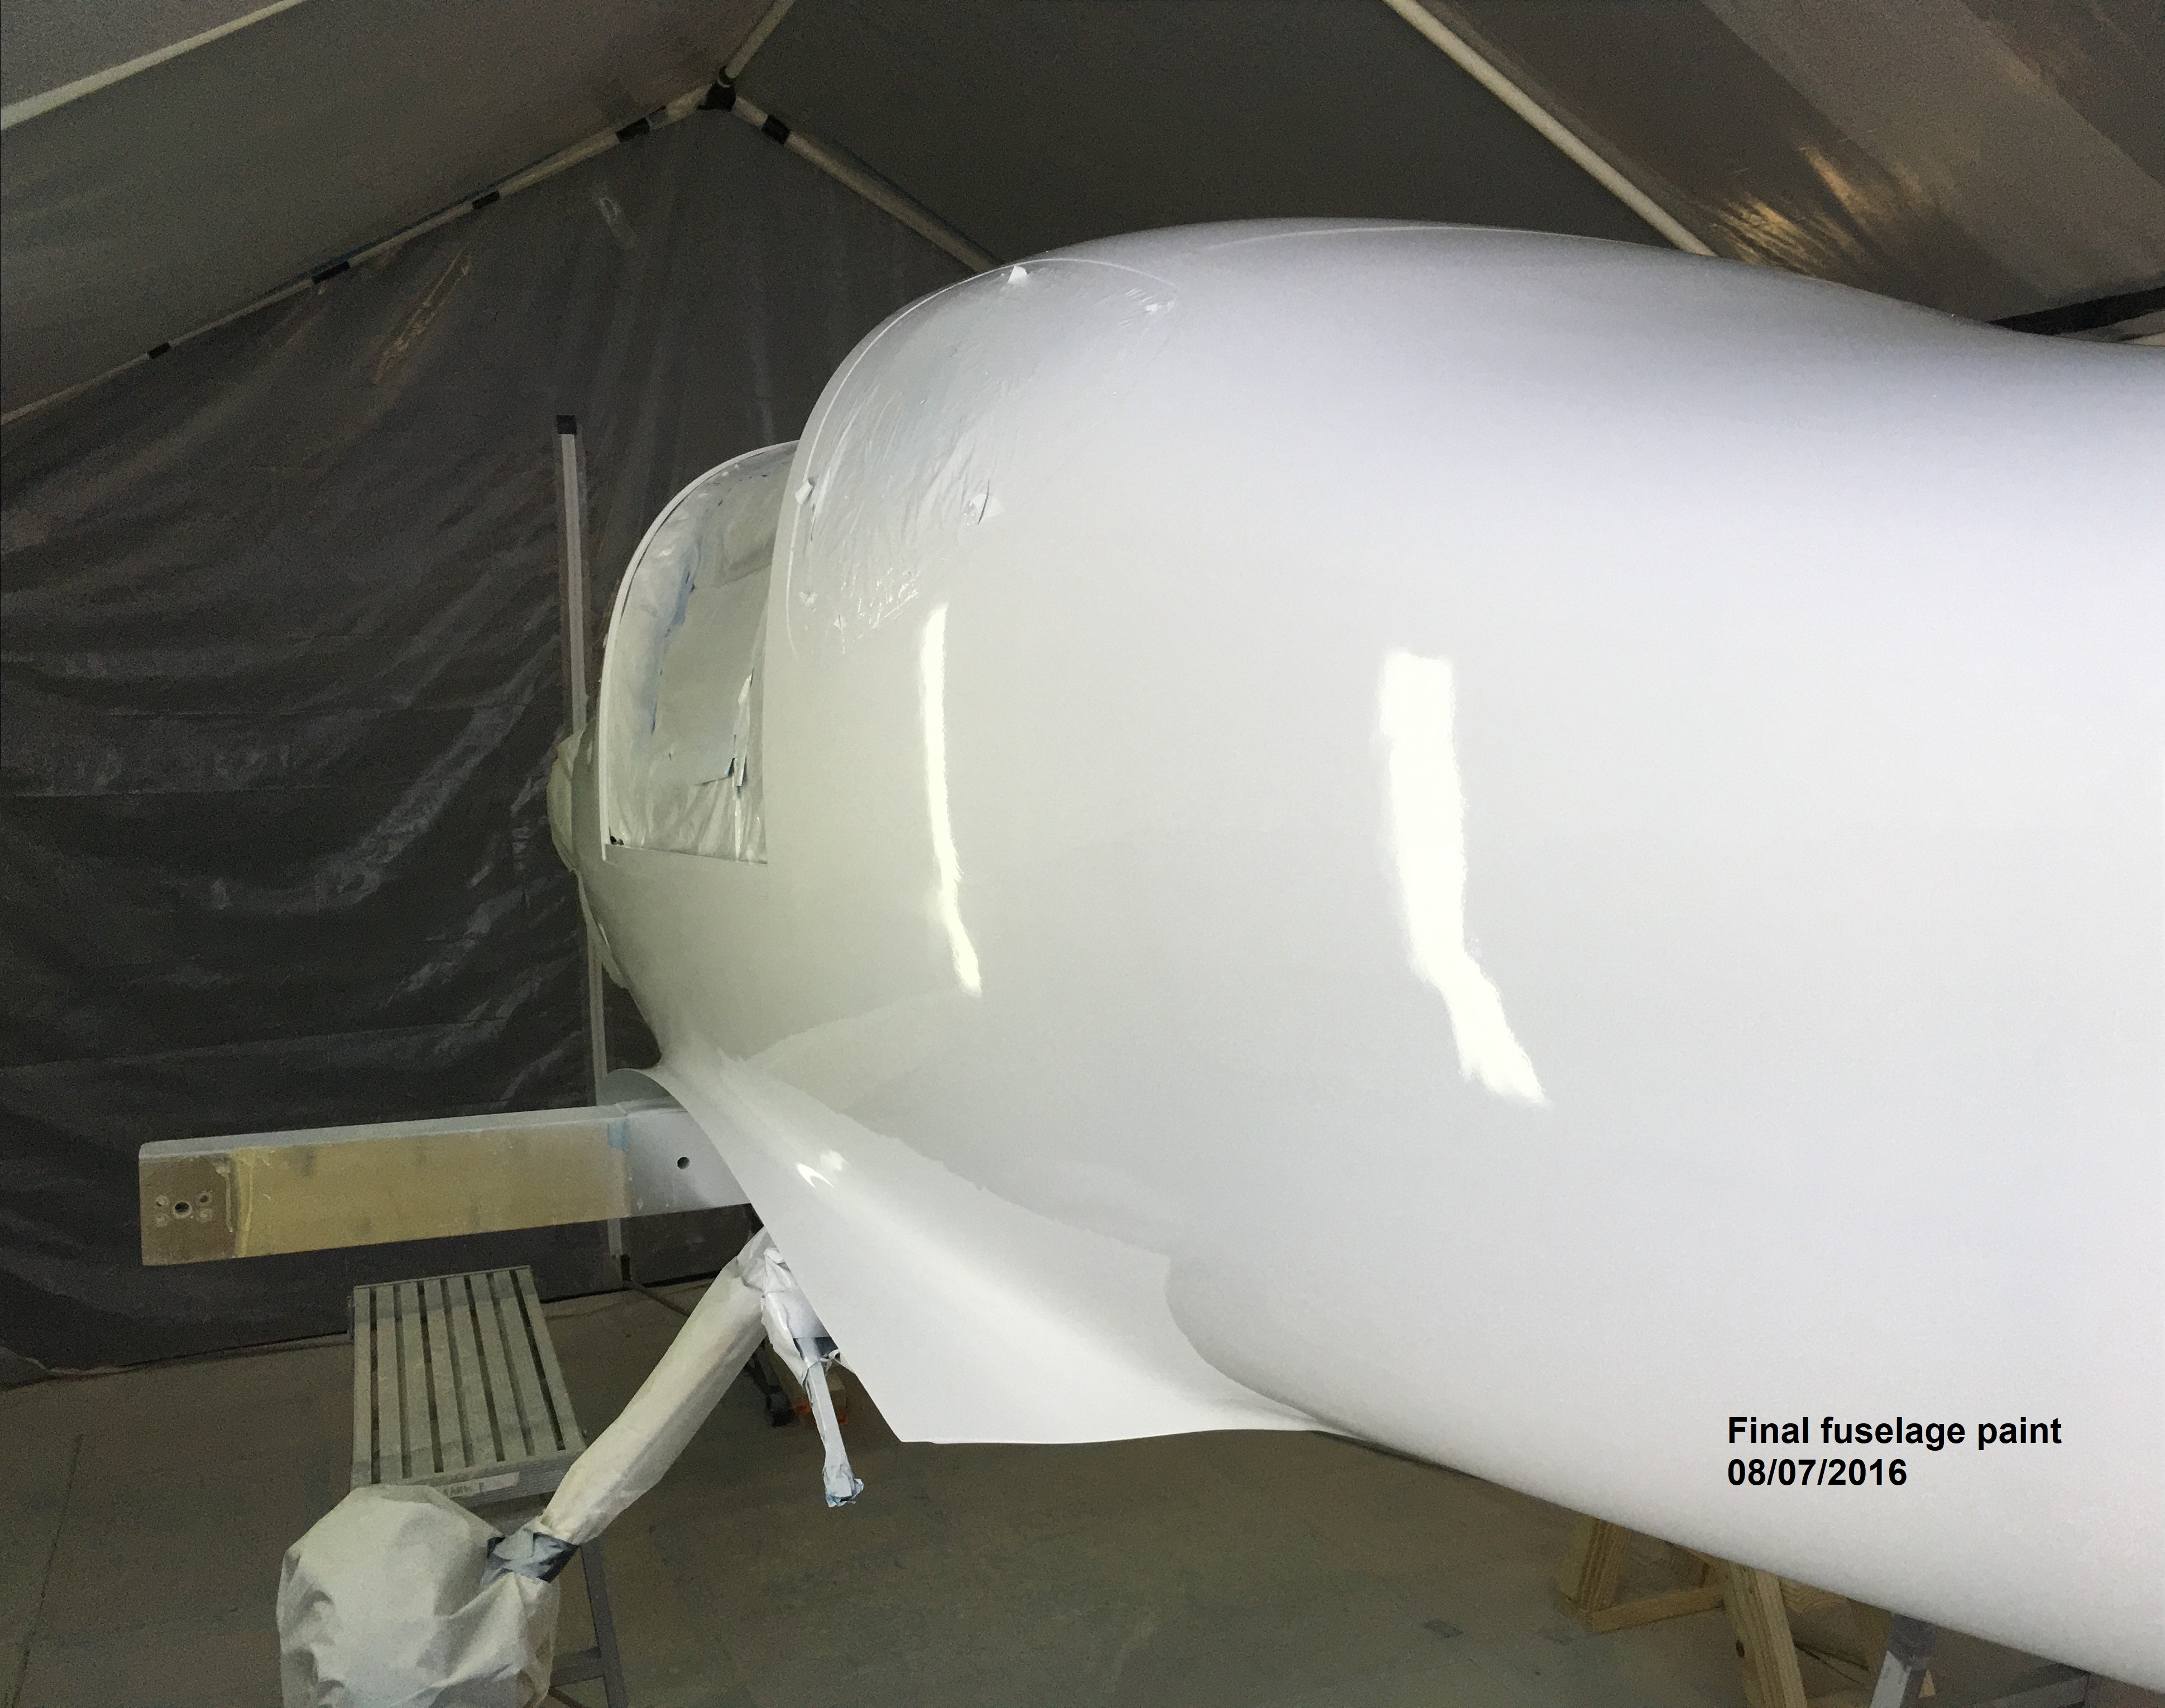
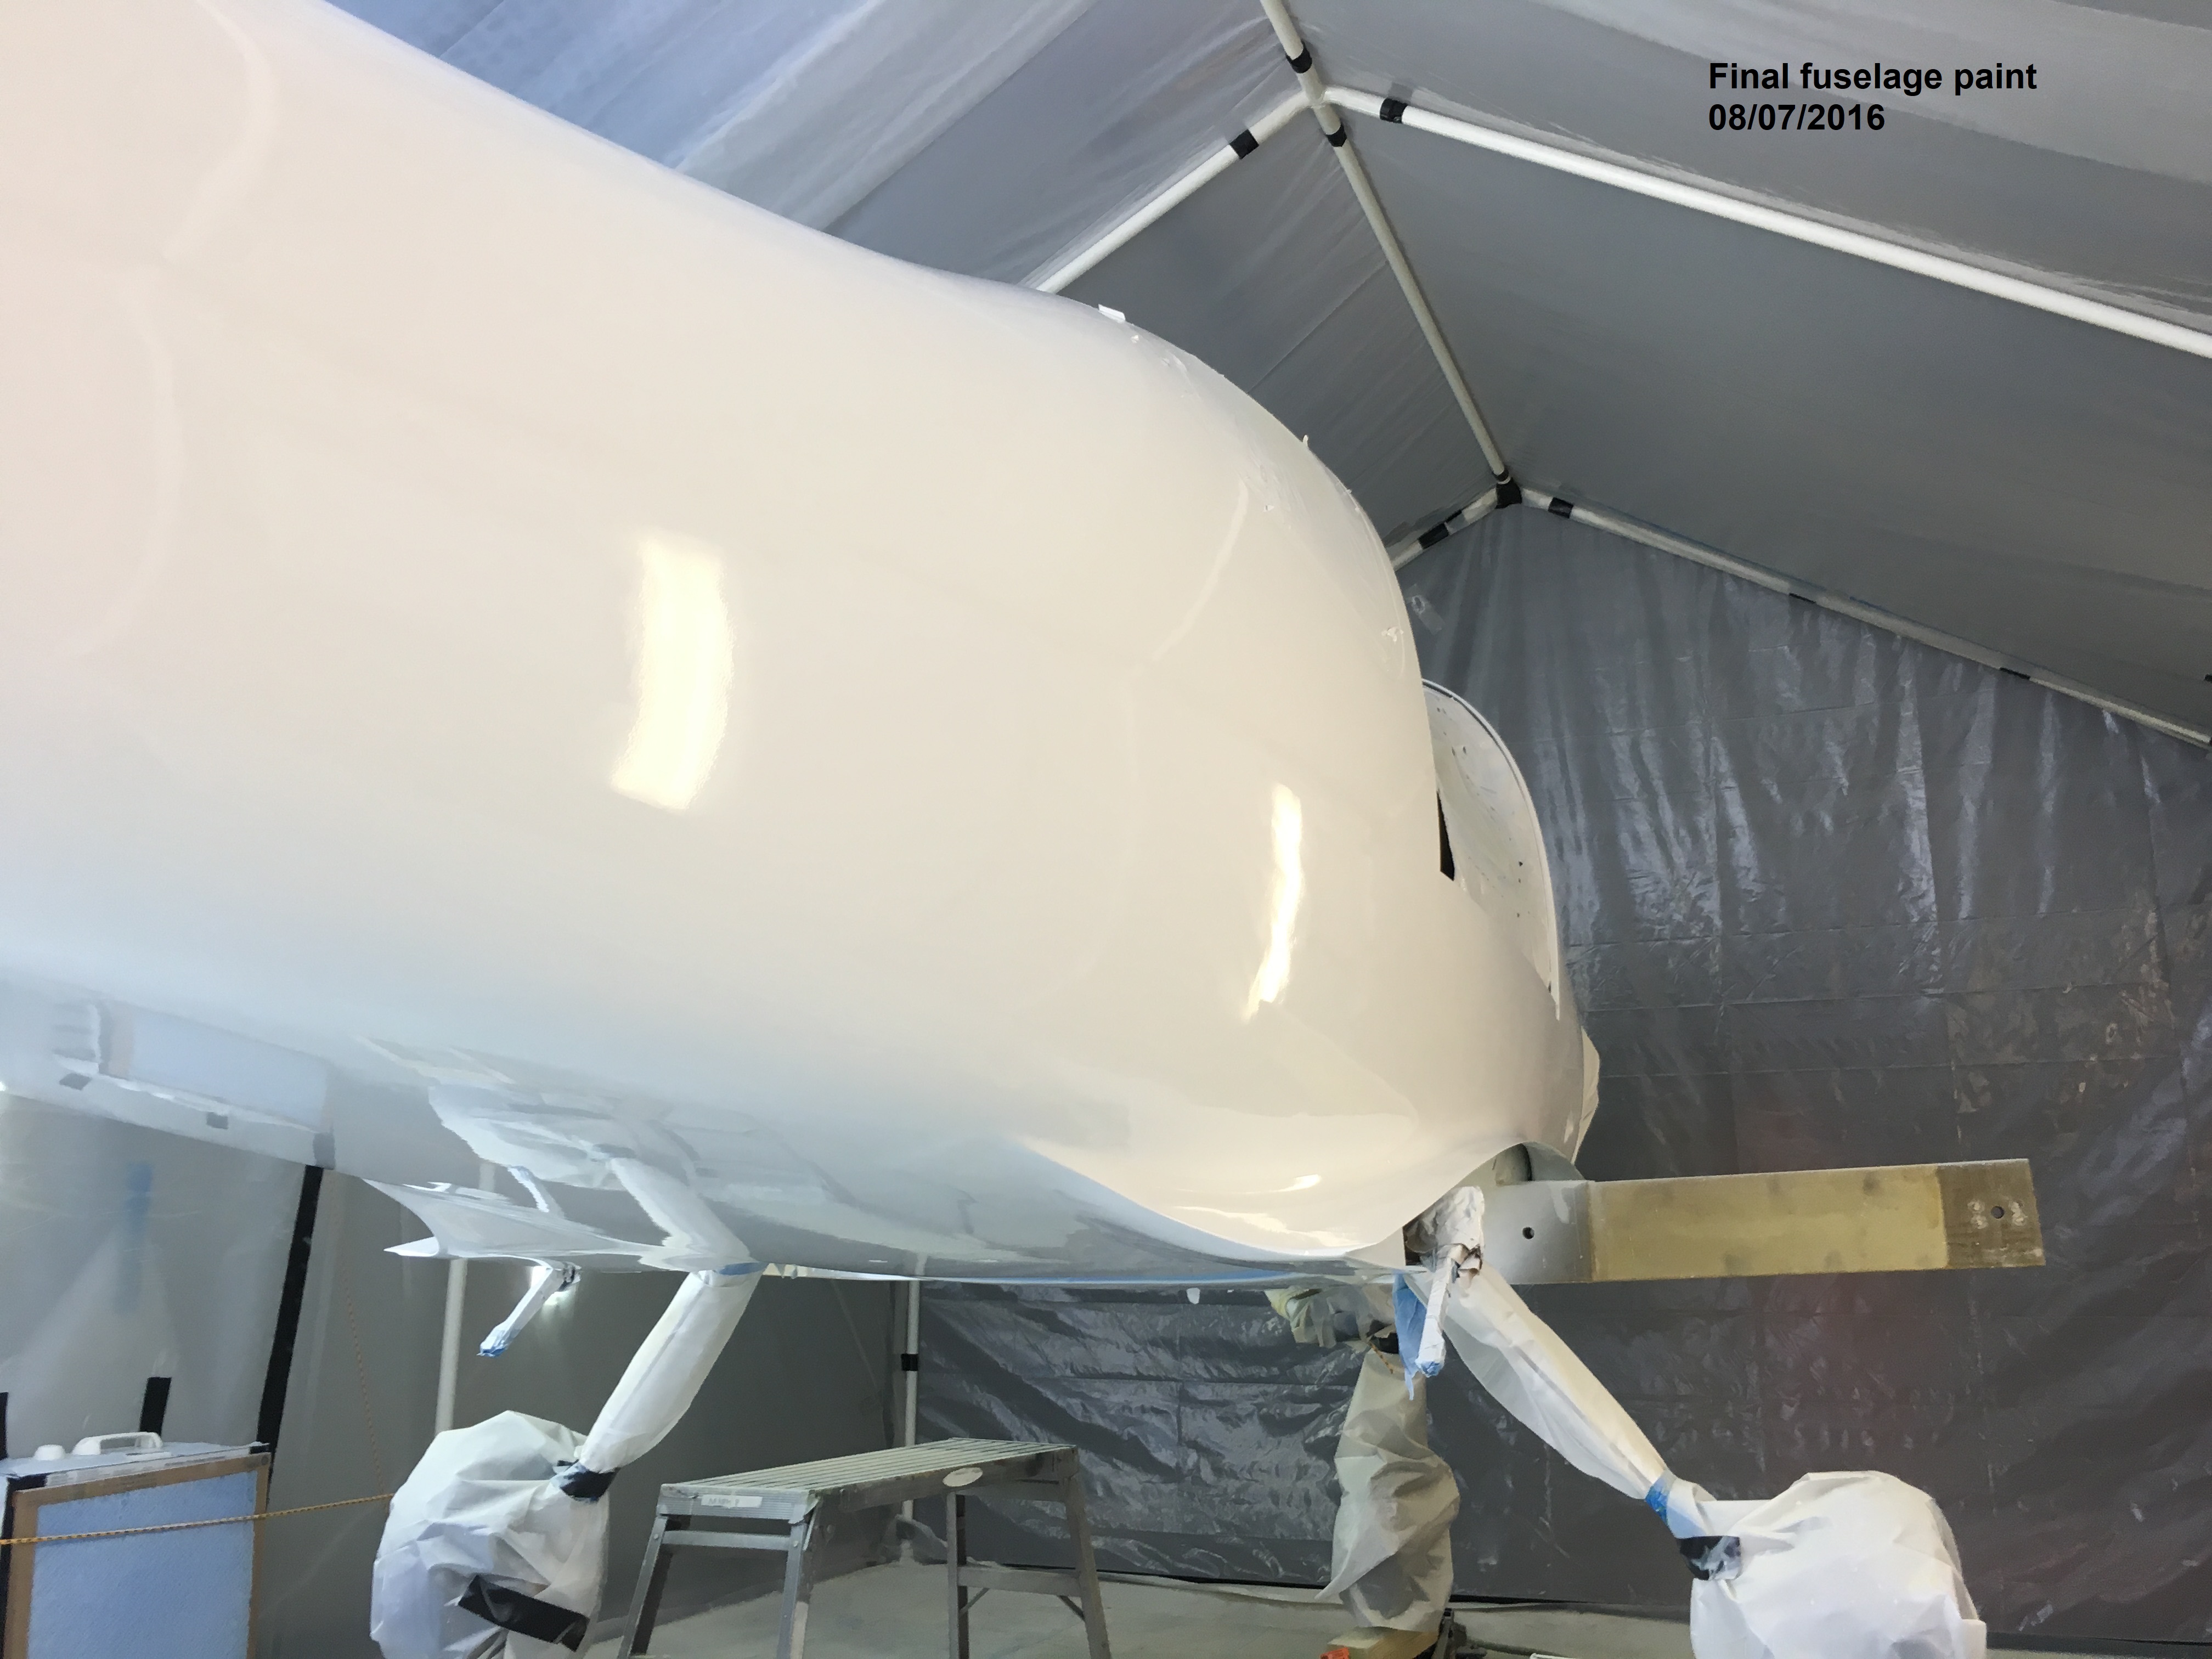
The
first coat can be seen on the left and it was looking pretty good for
just one coat. Below are shots following the final coats.
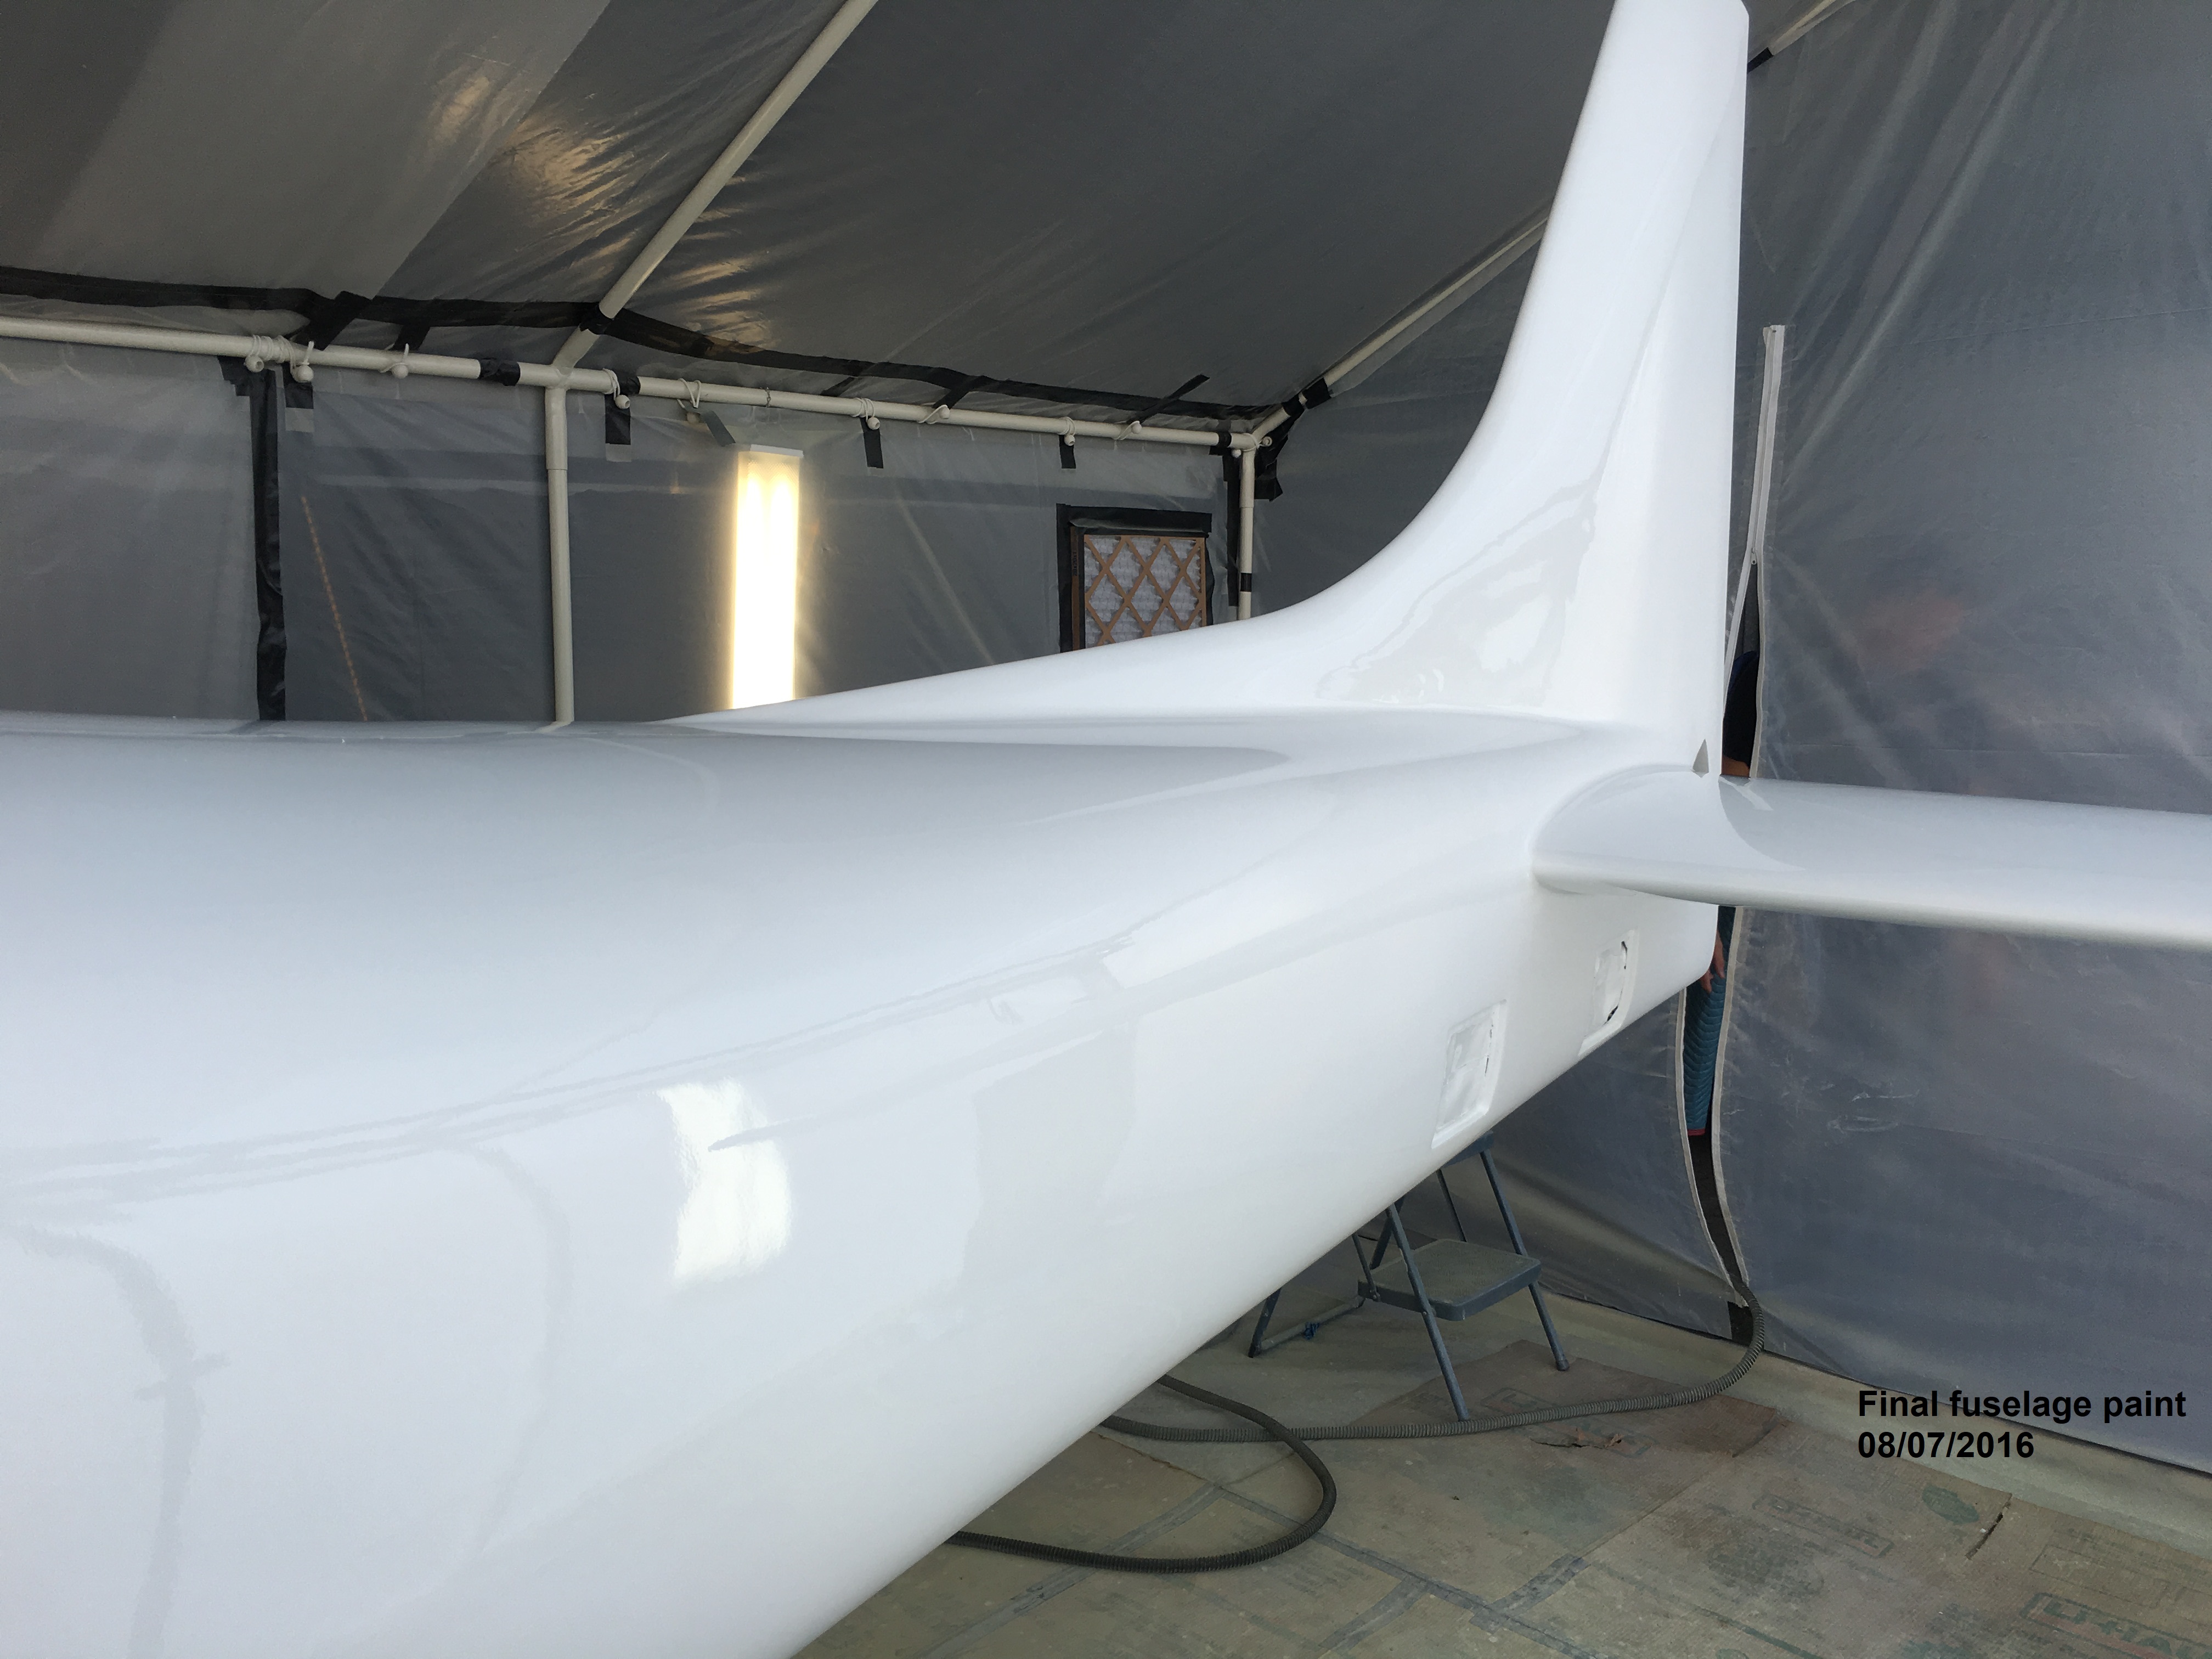
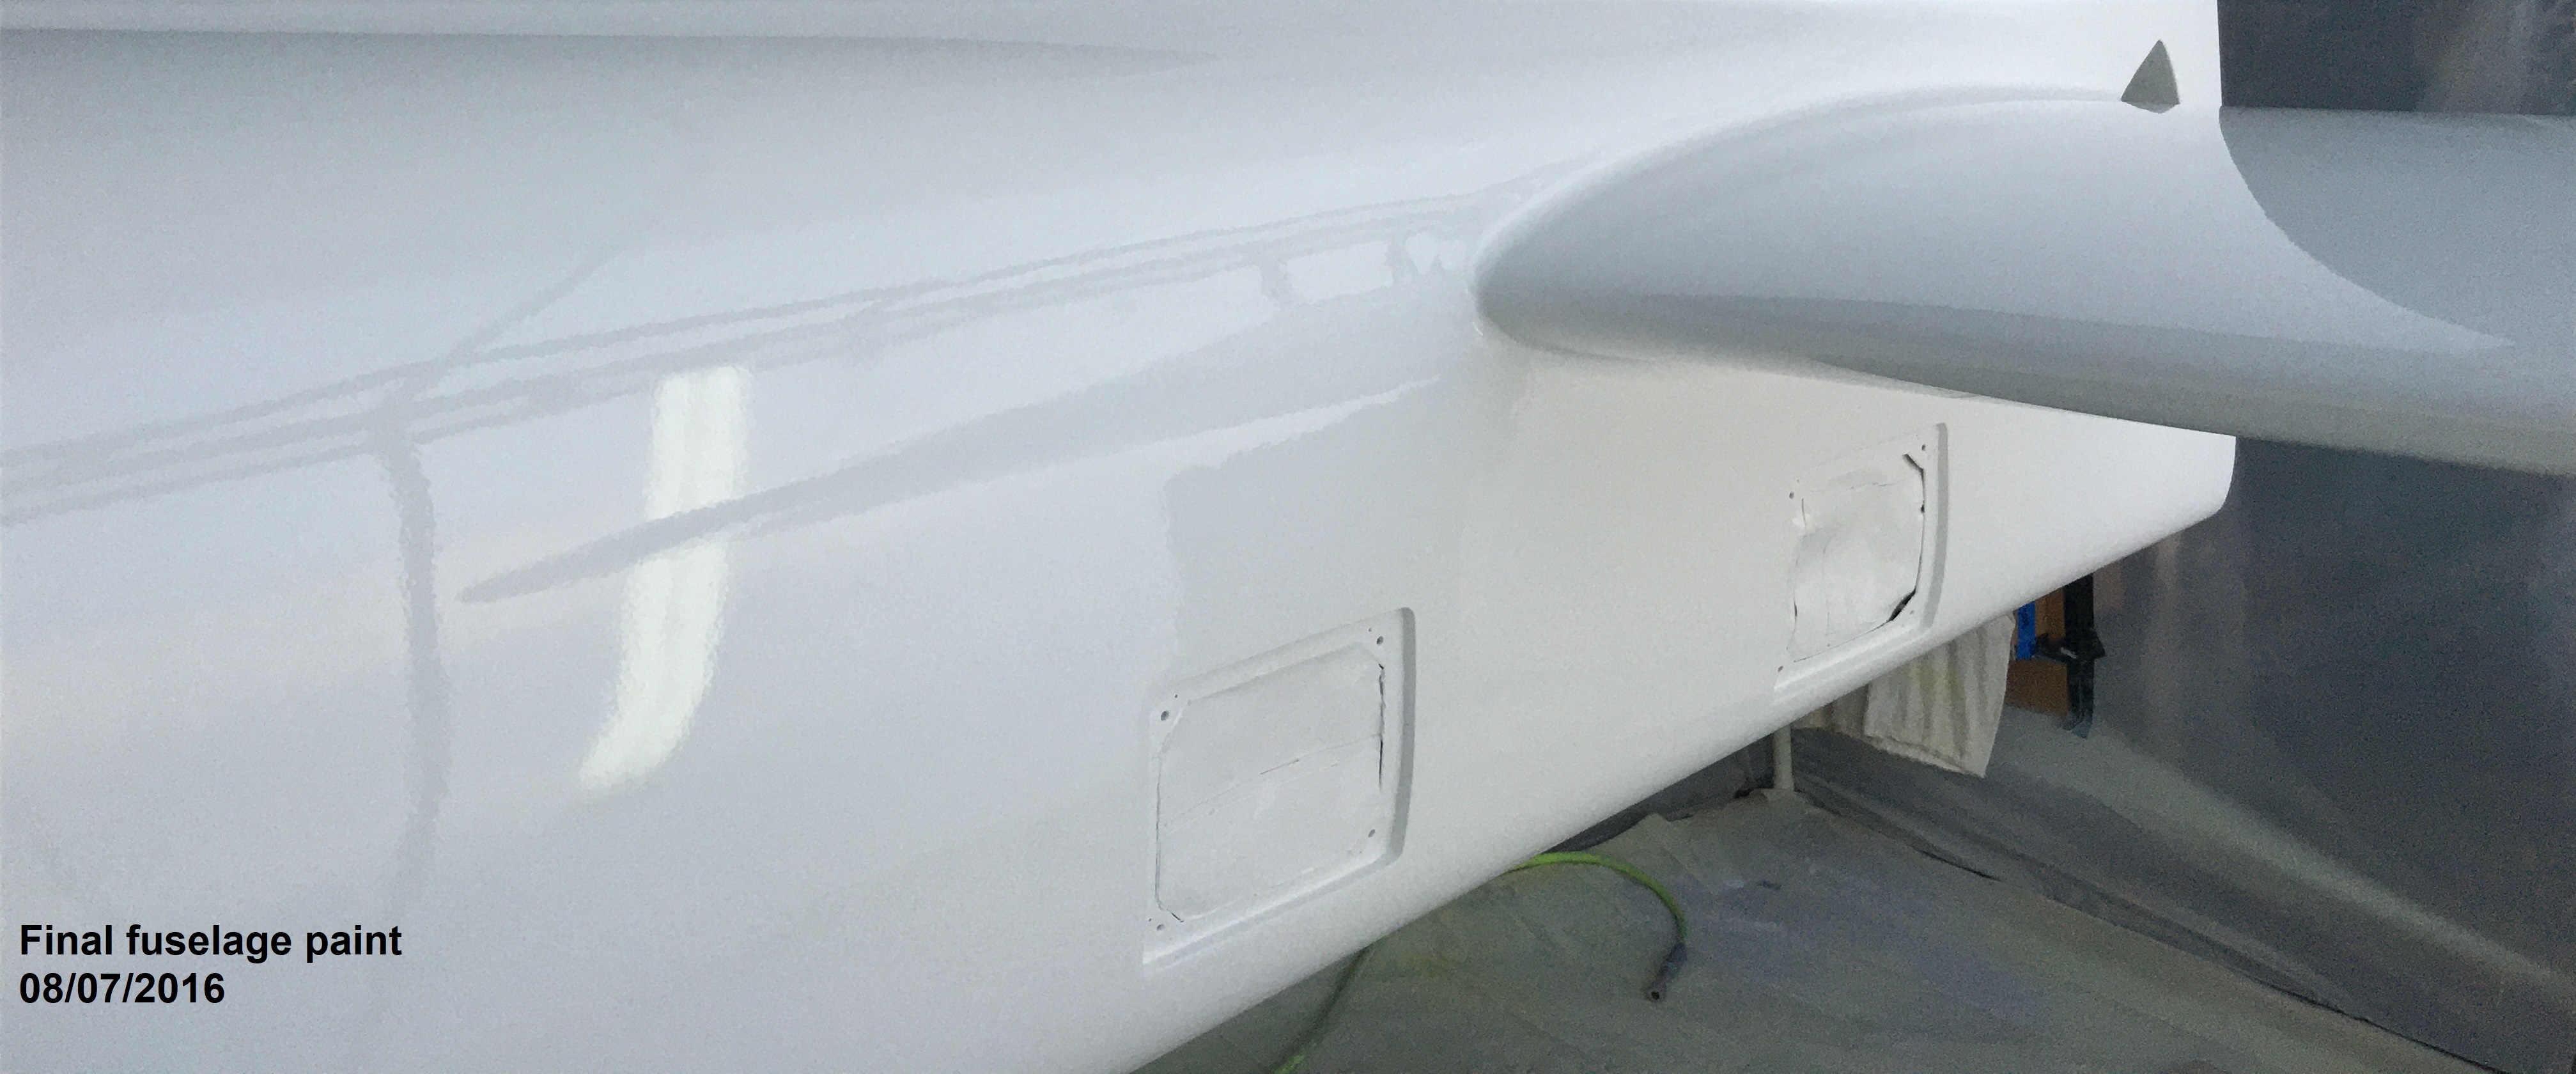
Finally, after three years of trying I got a good looking final color
coat on the fuselage. |
 |
 |
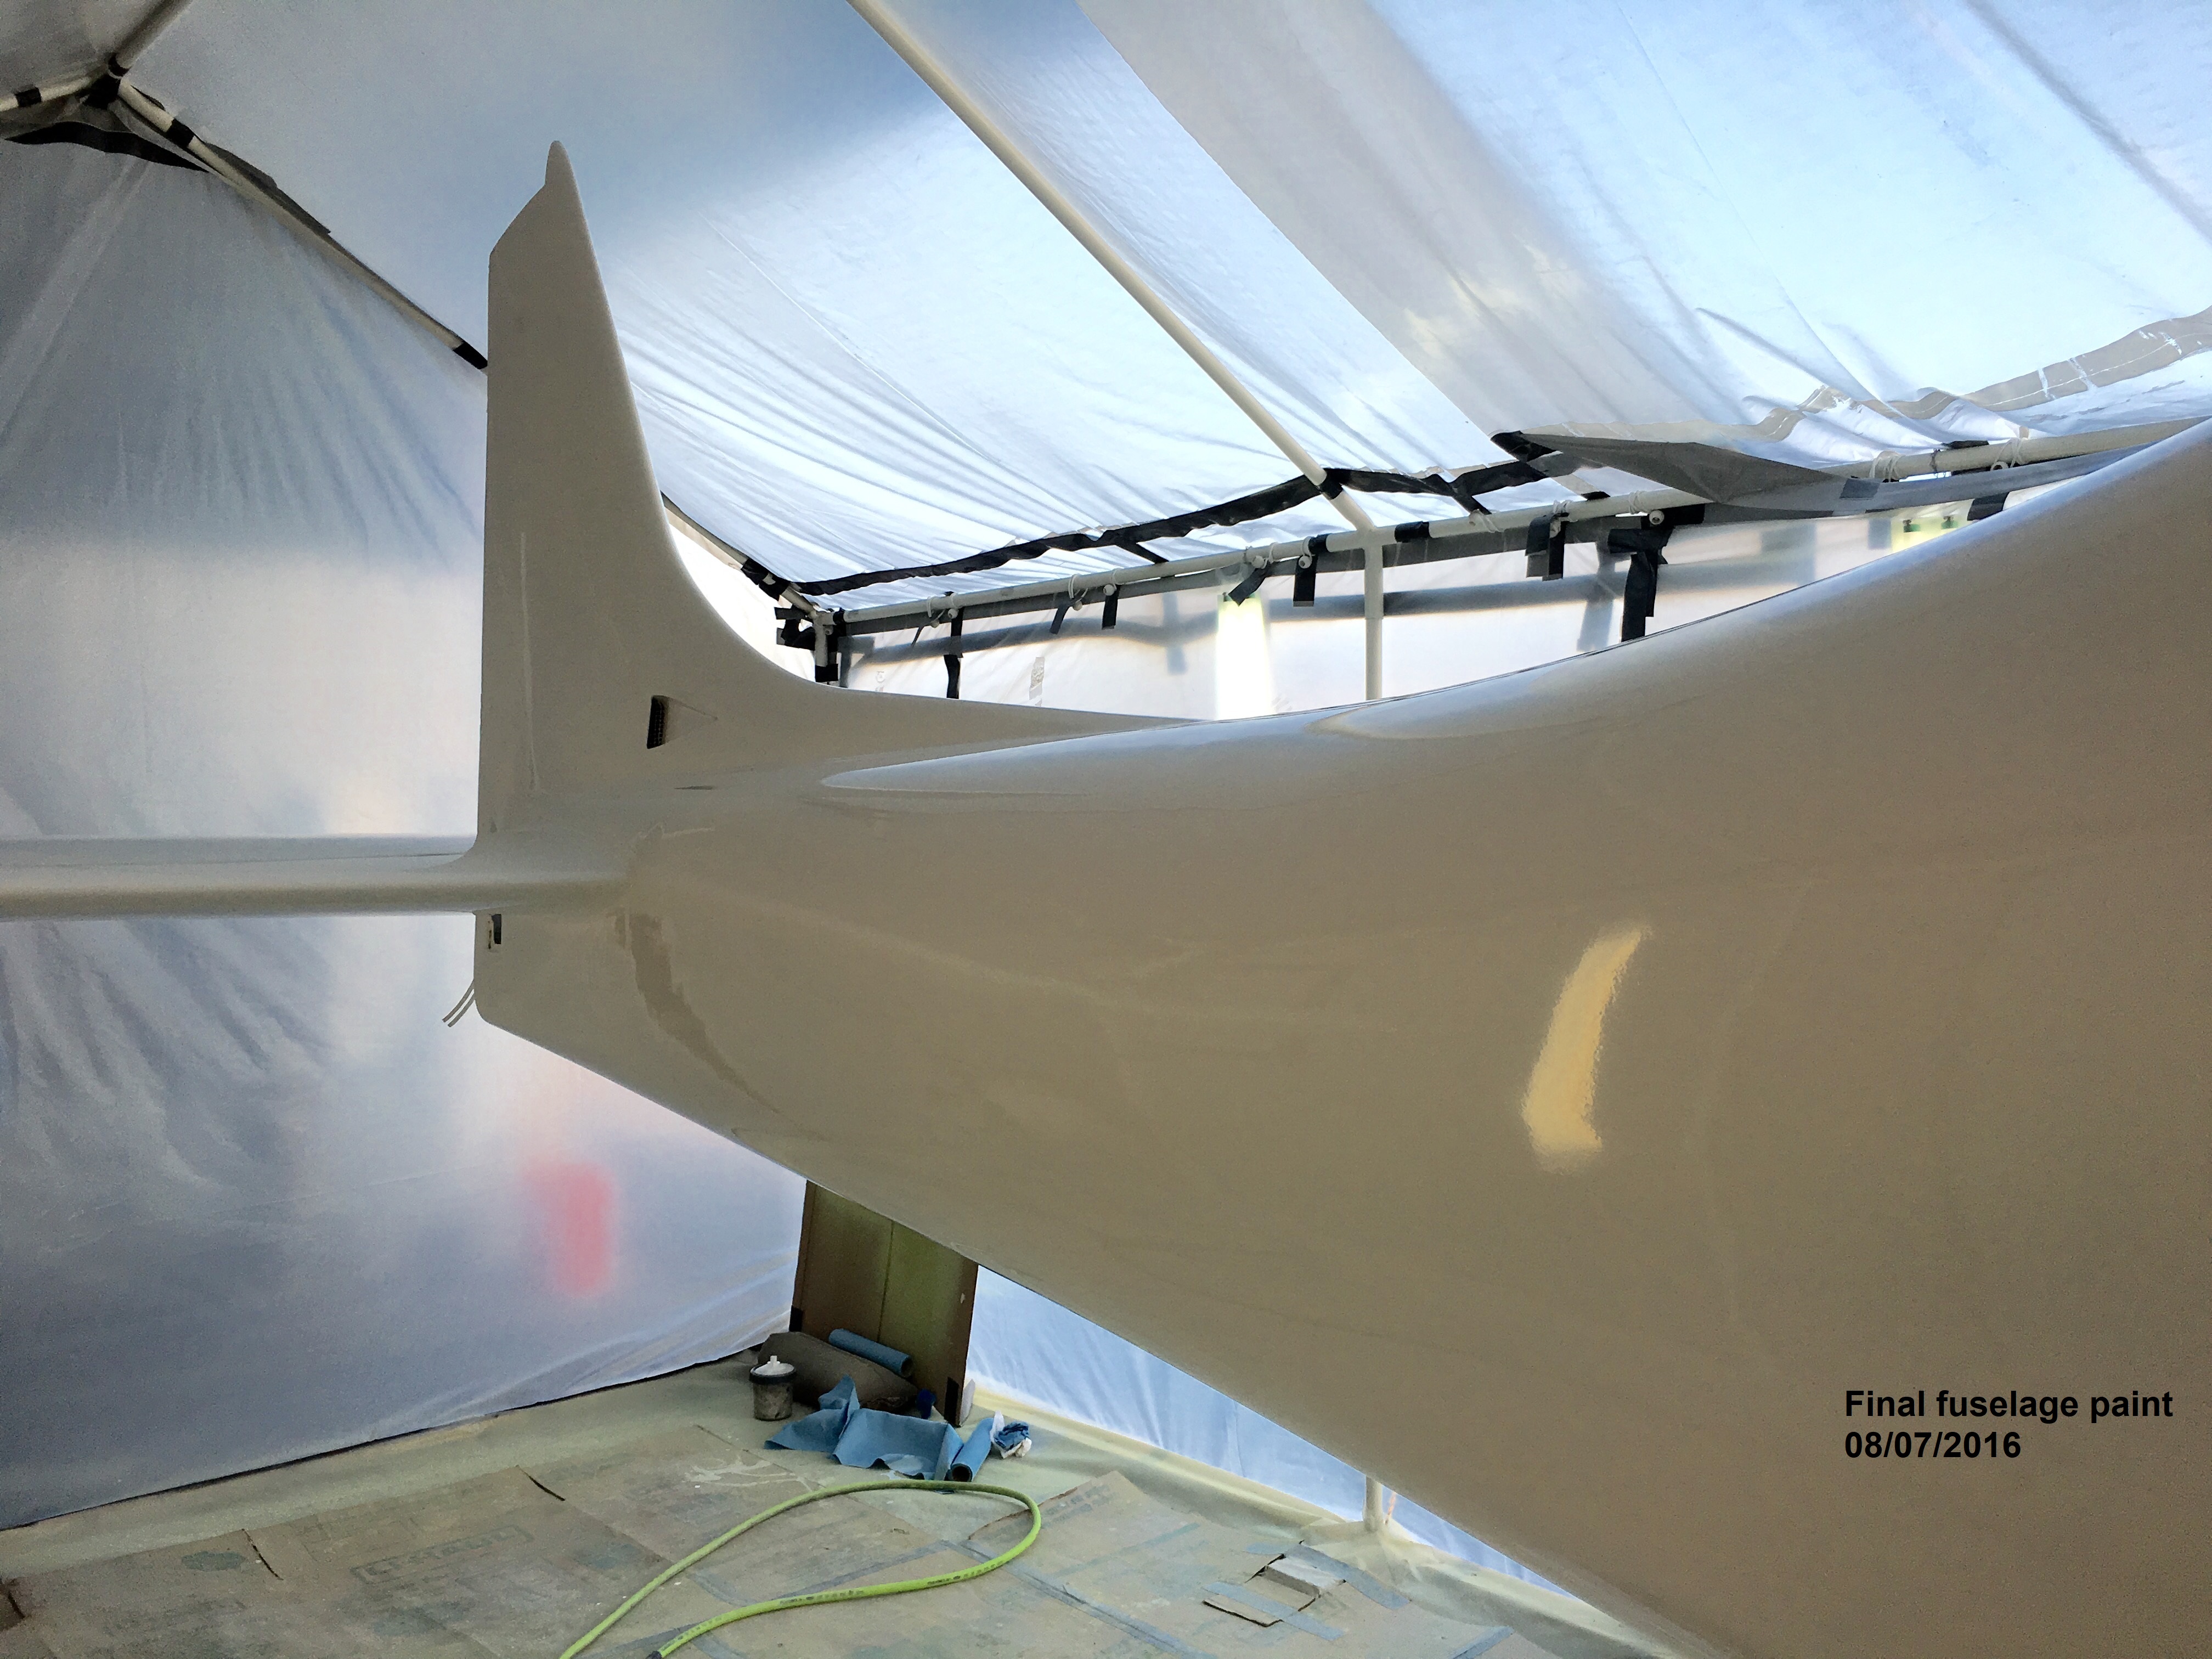 |
The following photos show the completed
paint on all sides and surfaces. It really looks good. |
 |
 |
 |
 |
 |
 |
 |
 |
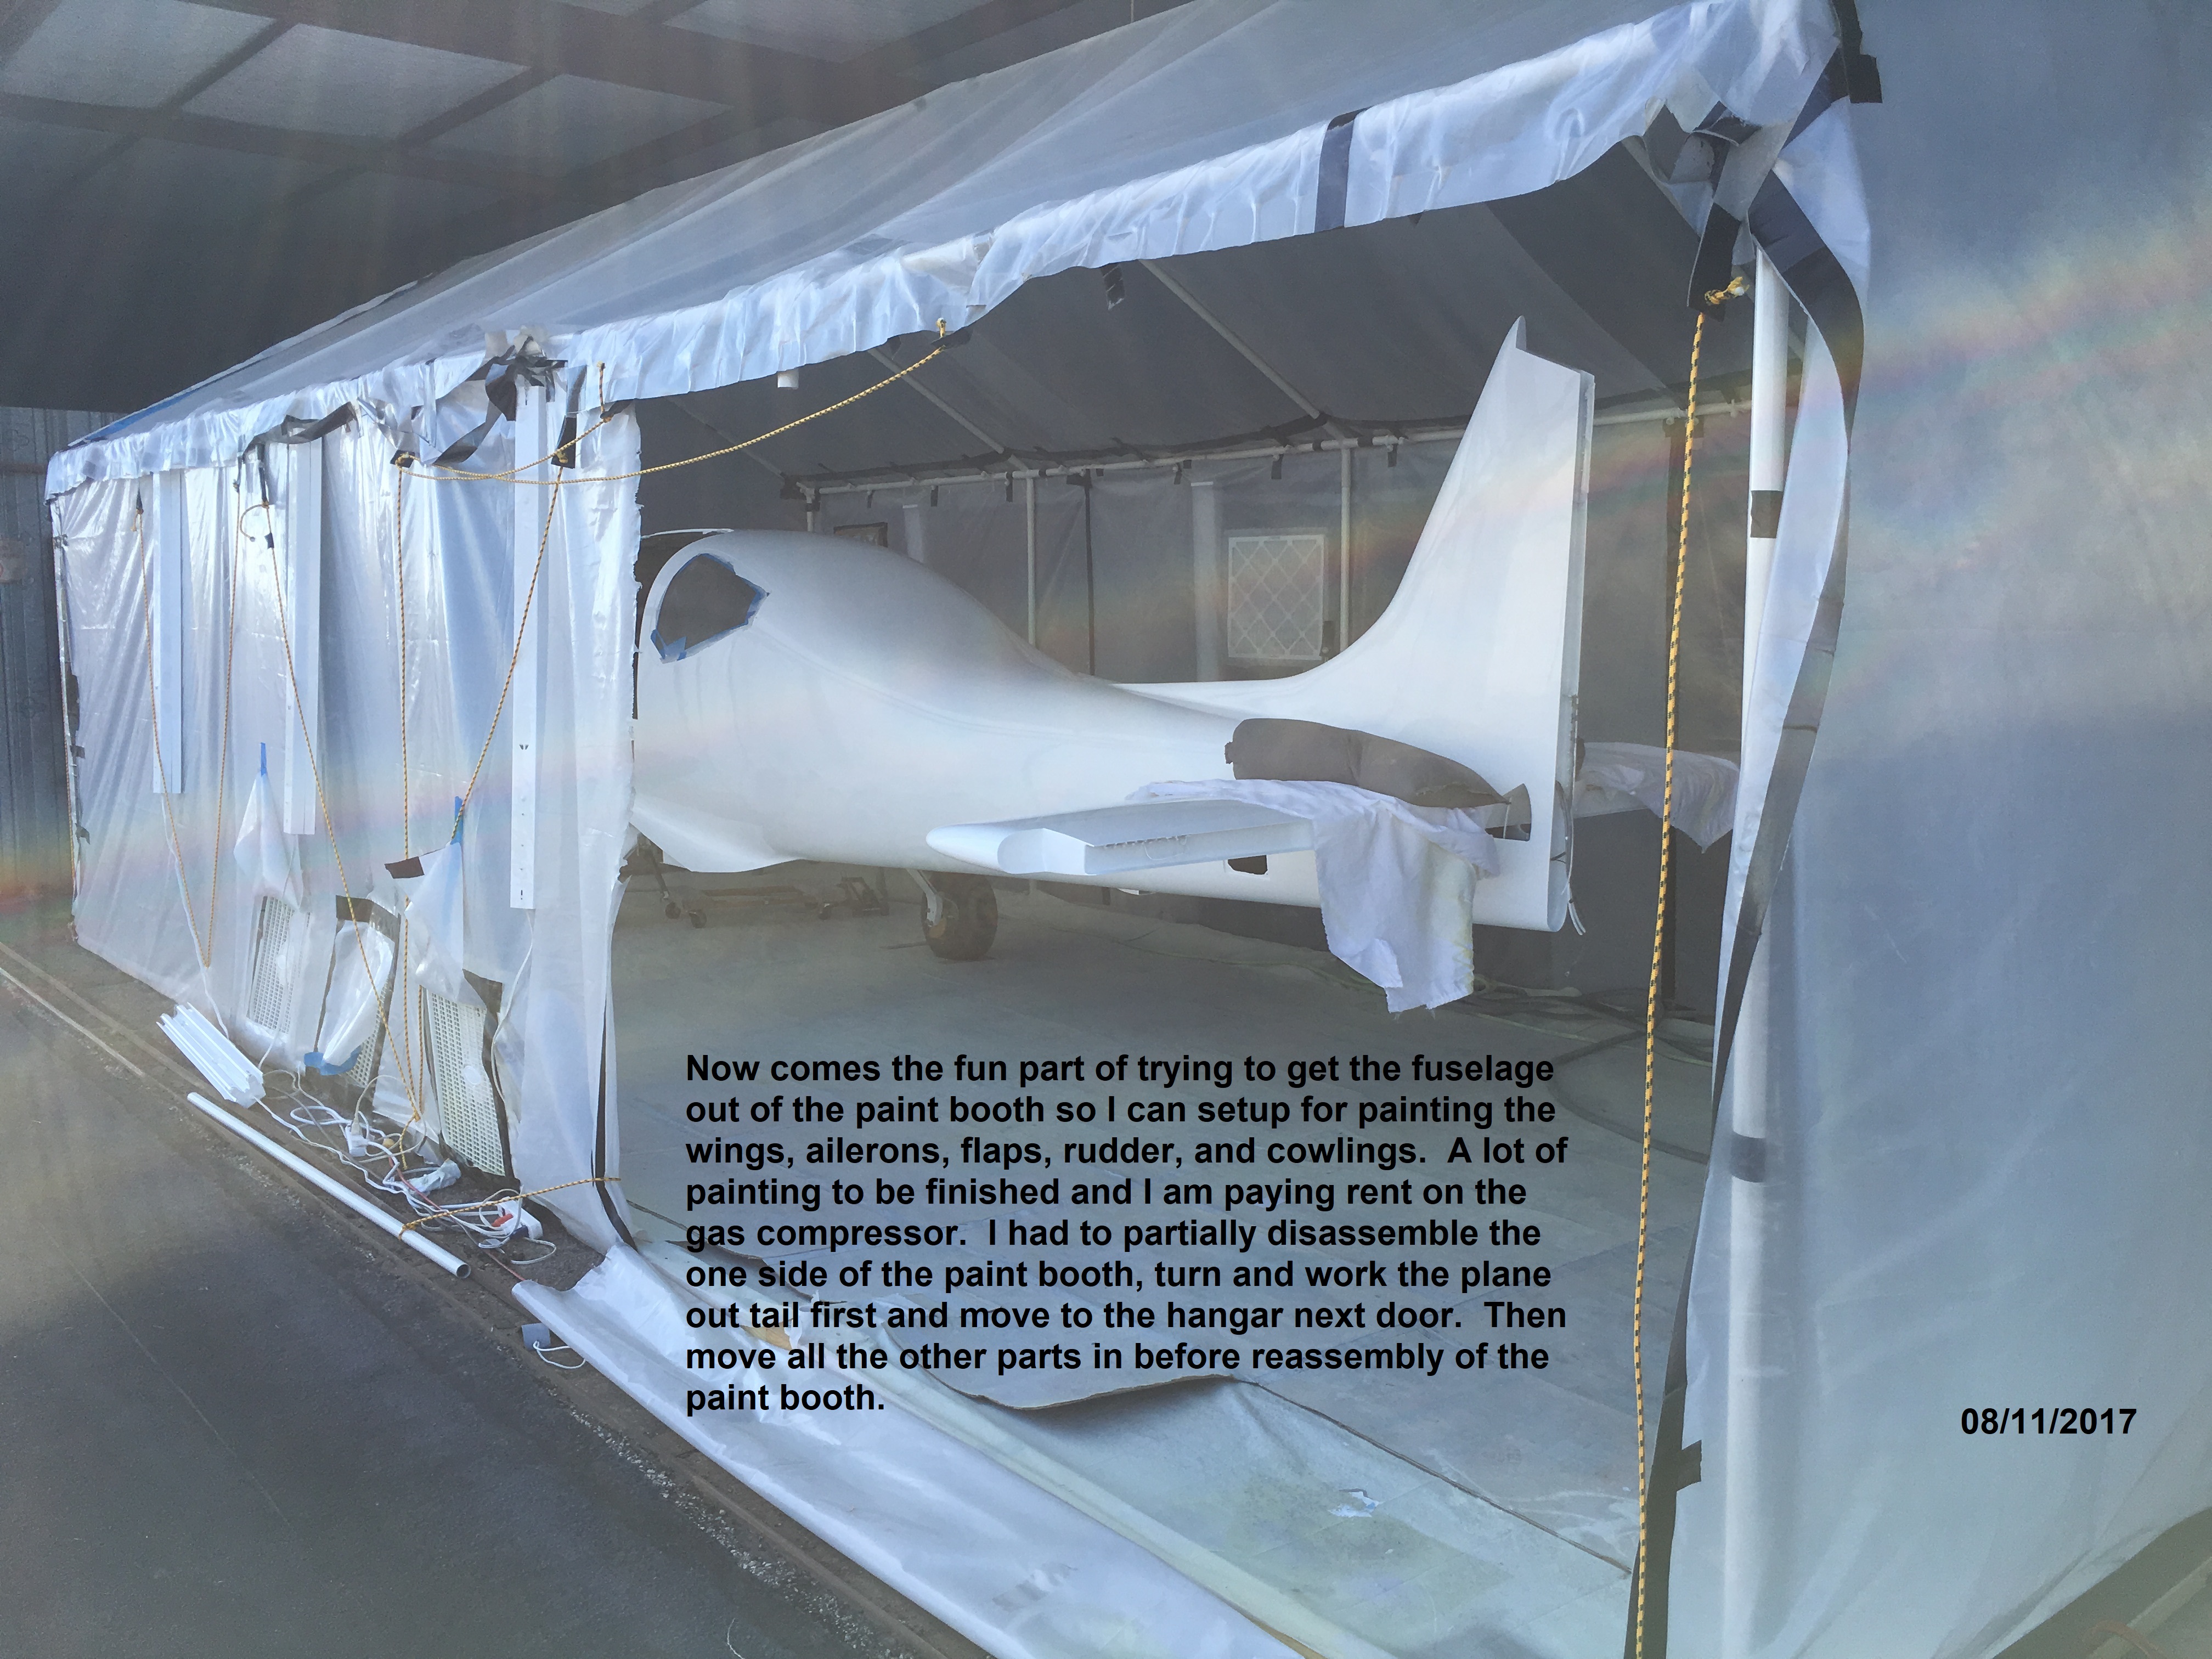 |
In order to get the fuselage out
of the paint booth I had to partially disassemble the one side of the
paint booth, weight the tail down with sand bags, and pull the plane
out tail first with the tail dropped to clear the upper steel
rod. It was just wide enough to get the horizontal stabilizer and
wheels through the opening. |
 |
 |
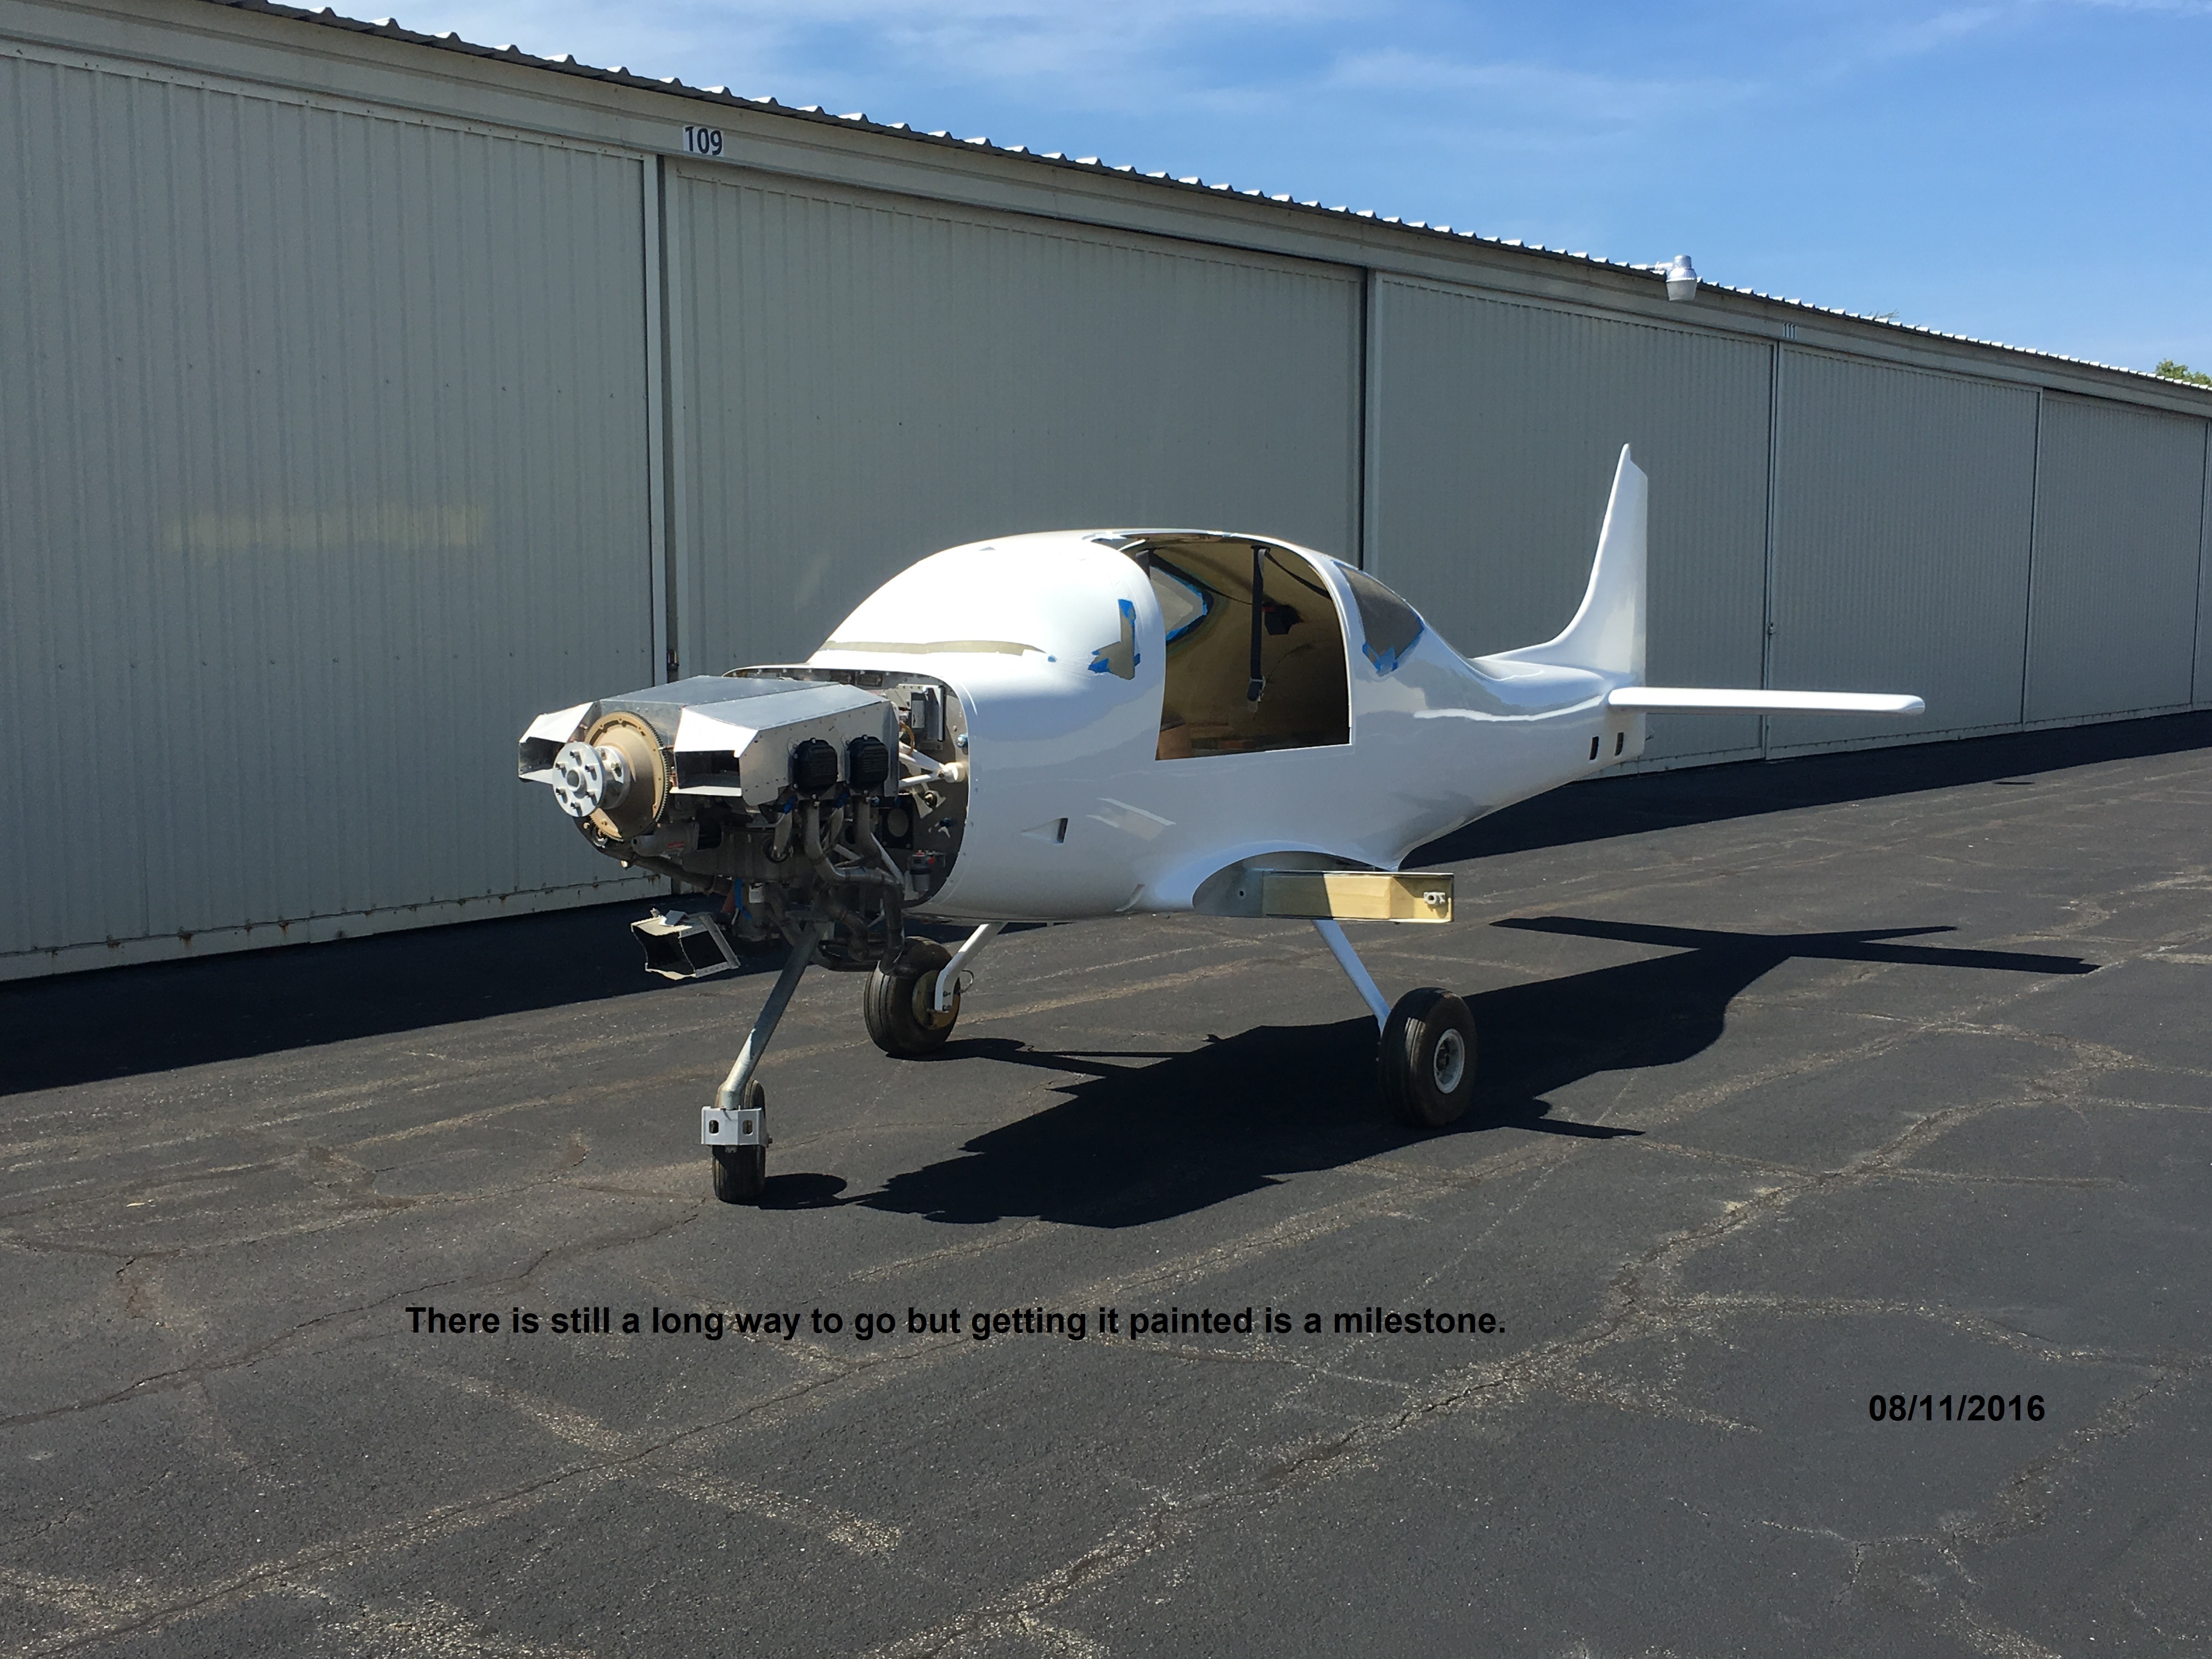 |
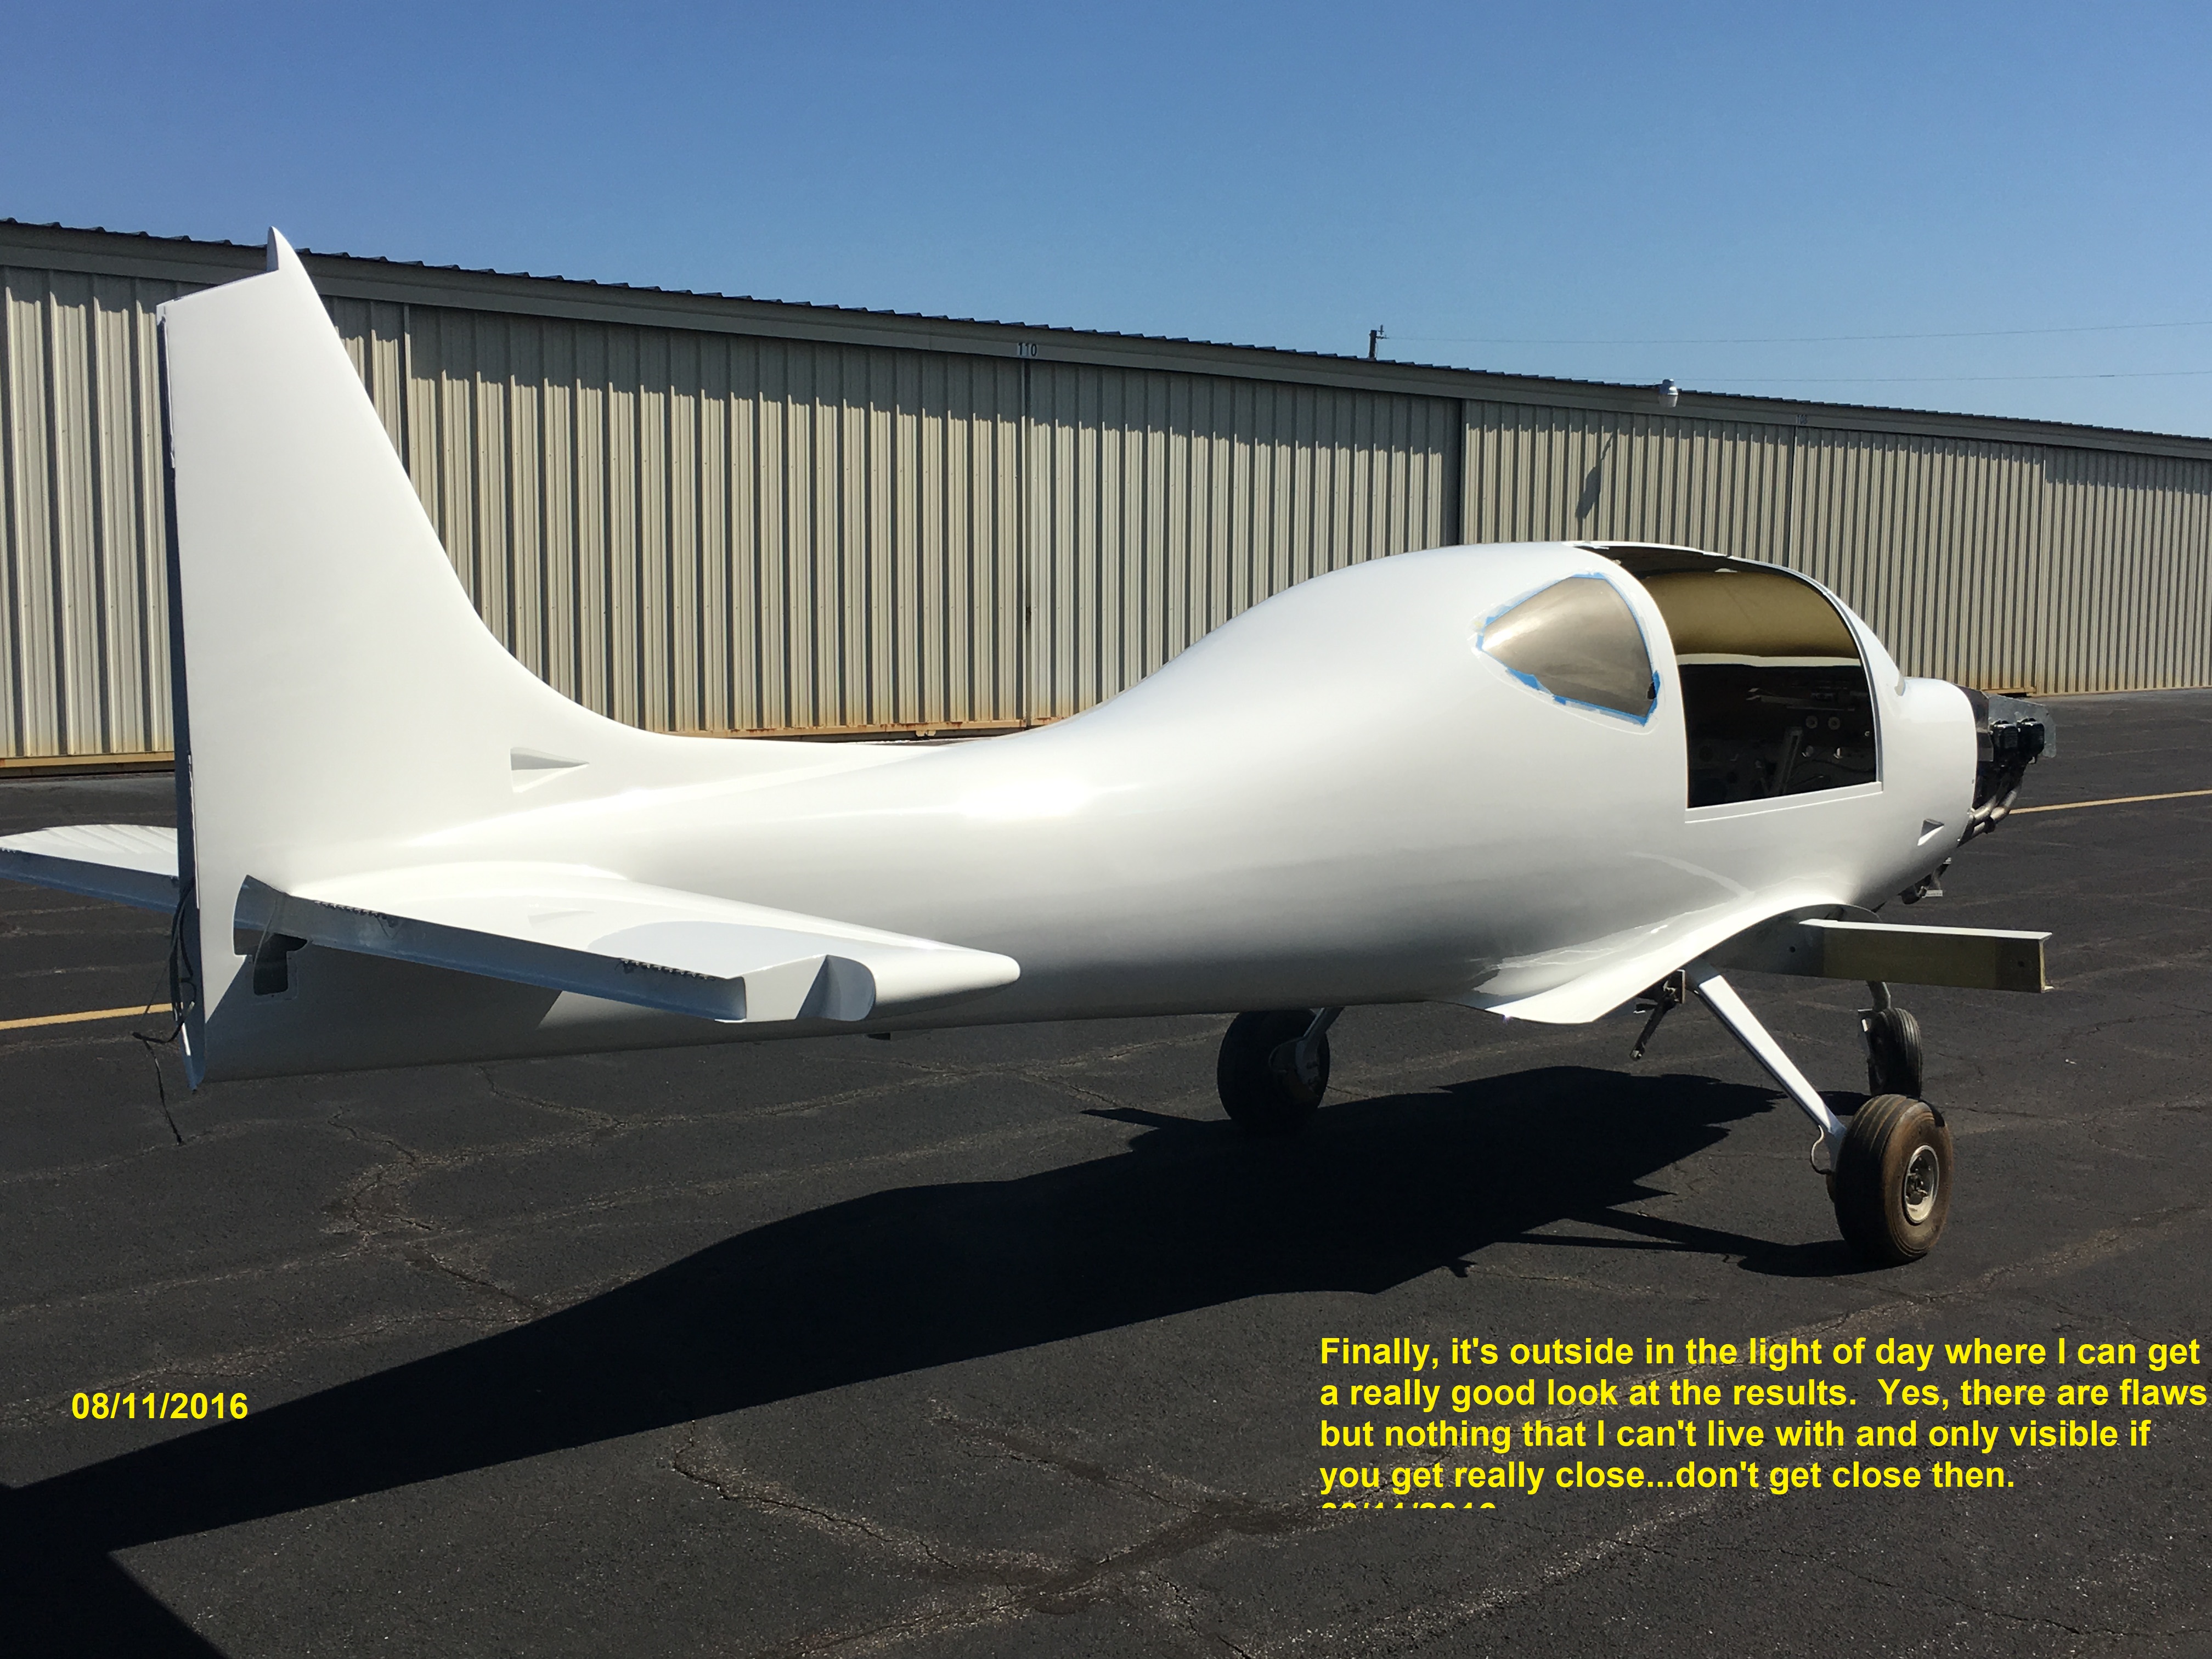
Finally,
moved it outside into
the light of day and did a complete examination and while there ae
flaws in the paint, you will only see them if you are up close and
looking for them. I am happy with the results and time to move on to the wings and control surfaces. |