| I wonder....is there some significance to the fact that we start
most
airplane projects with the TAIL?
The KIS Cruiser Kit, like many other homebuilt aircraft kits,
can be started
with the horizontal stabilizer and elevator kit. Often this
portion
of the kit can be purchased separately and used as a test kit to
determine
if you are really interested in, and have what it takes to build an
airplane.
It also provides an opportunity to see if you are going to feel
comfortable
with the construction techniques.
The KIS Kit can be purchased in that manner if you choose to
start that
way.
I had decided to purchase my kit in two parts, a fuselage kit and
a wing
kit. The horizontal stabilizer and elevator were part of the
fuselage
kit but I had them shipped early since it was going to take a couple of
additional months to prepare the fuselage kit. I just couldn't
wait
three months to get started once I had finally decided to do it.
|
 |
The Tail Kit contains two premolded fiberglass pieces
which form the top and bottom of the horizontal stabilizer and the
elevators. A long "U" shaped molded fiberglass piece forms the
rear spar of the stabilizer. A flat prepreg fiberglass panel is
also included. The outline for the ribs and elevator spar are
drawn on this panel. Included also are a supply of fiberglass
cloth, epoxy resin, hardware, and Hycell Glue required for completion
of the assembly. |
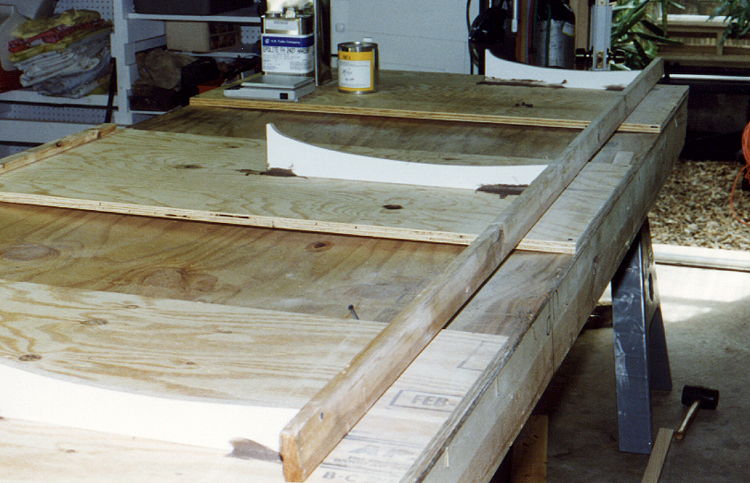 |
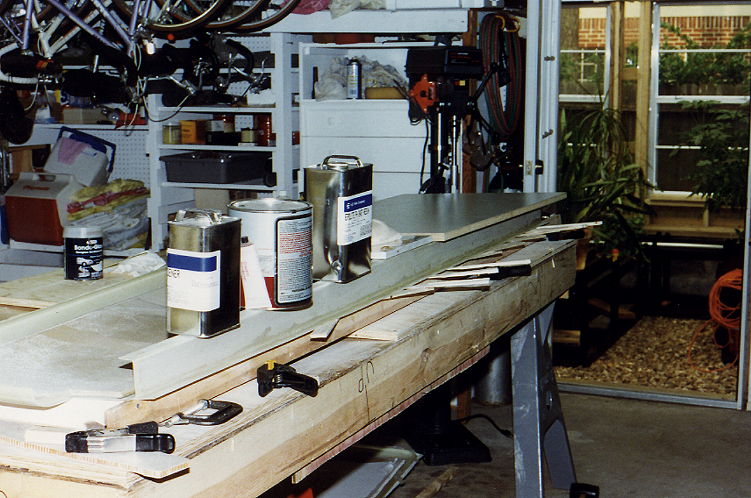
The first steps involve preparation of a work surface to
hold the stabilizer during the subsequent operations. Patterns
are provided for braces to support the stabilizer on the work table.
A cross brace supports the spar edge during assembly.
(NOTE! Use a totally straight edged hardwood board for this
piece to avoid any warpage. This is not specified in the manual
but is very important. I did not and there was a slight warpage
in mine which transferred to the completed part.) |
 |
|
 |
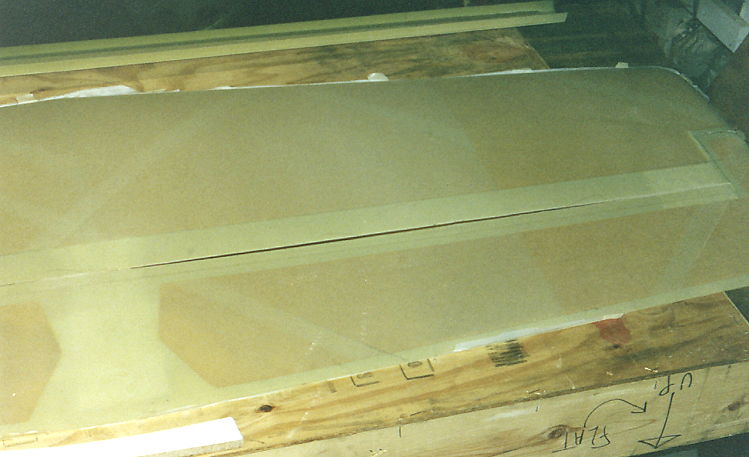
Next step involves locating scribe lines on
the molded parts for separating the elevator panels from the horizontal
stabilizer. The scribe lines are etched lines in the molded parts
and are just barely visible. A sharp pencil run along the lines
helps to make them show up. The elevator is separated by
carefully cutting along the scribe lines. This cut is very
important and must be done with a smooth straight cut for proper final
fit. The manual indicated that some possible problems in the area
of the elevator counter weights. I second that and add my own
caution. I carefully cut according to the lines and found that
the side edges on the stabilizer did not align by almost 1/2 inch.
I recommend double checking the position of the lines on both the
top and bottom. |
 |
|
|
|
 |
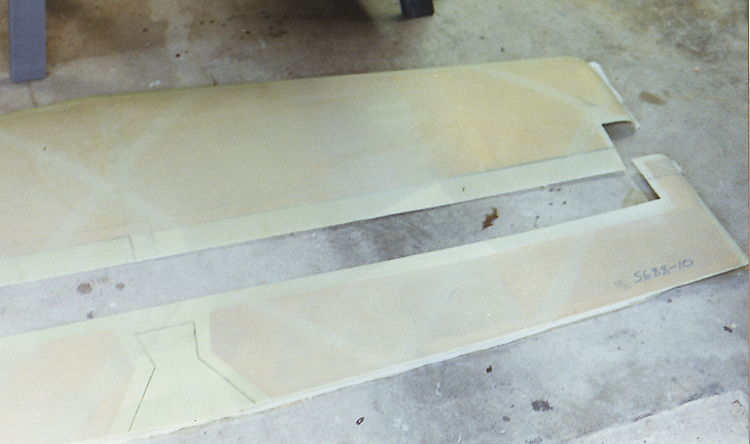
Once separated, the top of the stabilizer is mounted on the work area
and the rear spar positioned and bonded into place. |
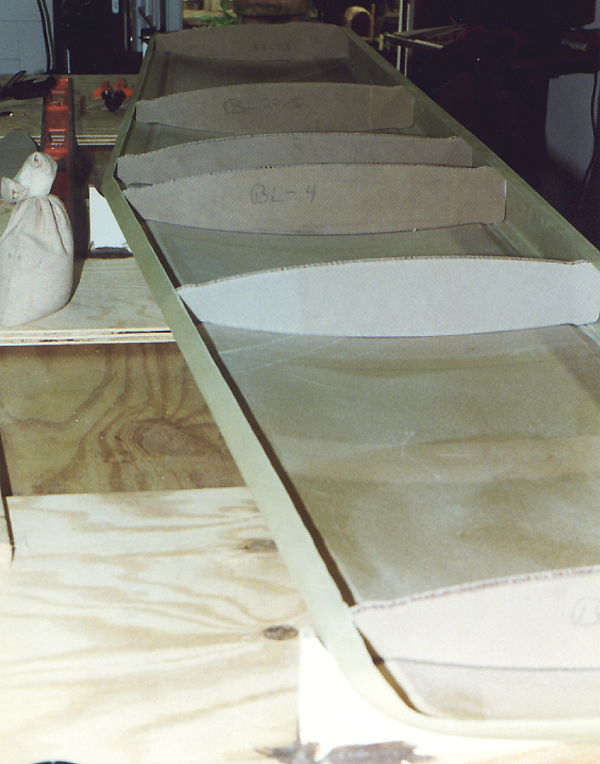 |
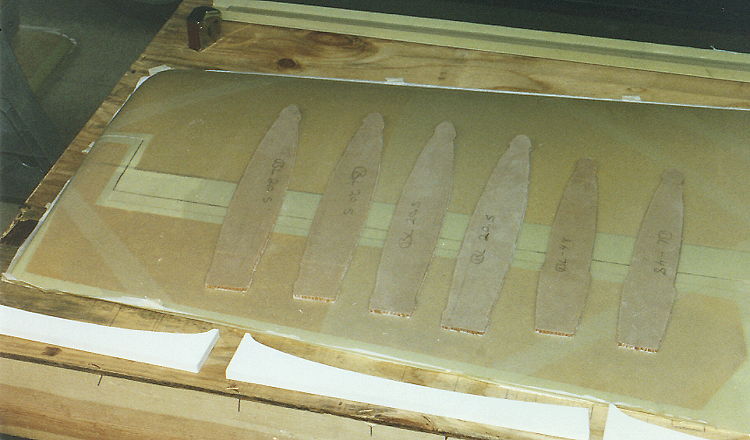
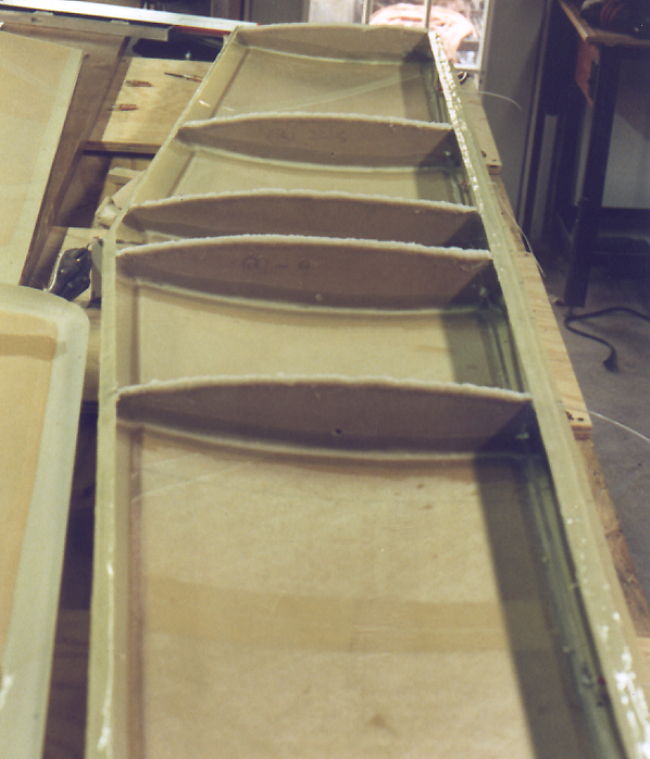
The ribs, which are cut from flat prepreg panels, are
then positioned, checked for proper fit, and glassed into place. |
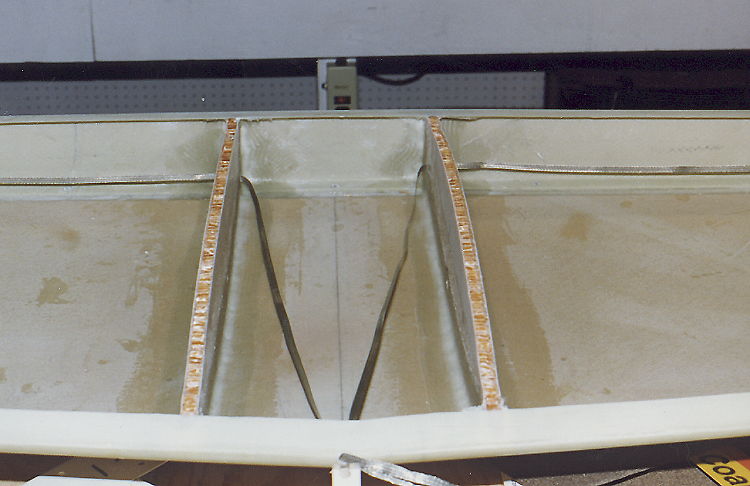 |
Once all the ribs are glassed in place, they are trimmed to fit with
the bottom panel. This shows the ribs prepared to receive the epoxy/flox
mix for joining to the bottom stabilizer panel. Shown also are the
electrical bonding ground wire which I chose to include. This is part
of a bonding wired that links all metal parts of the airplane. |
 |
 |
 |
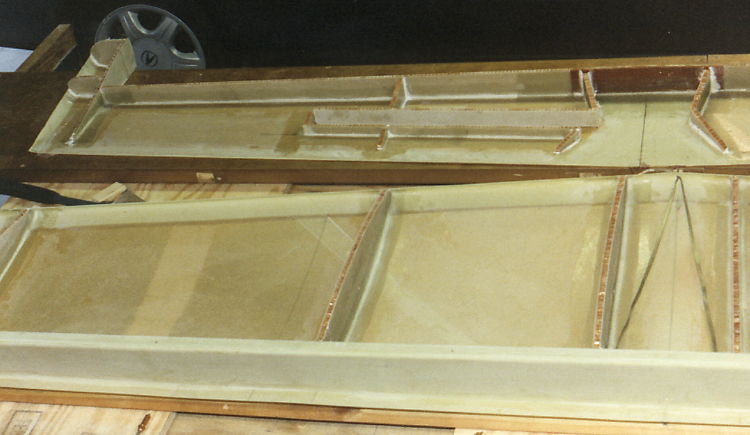
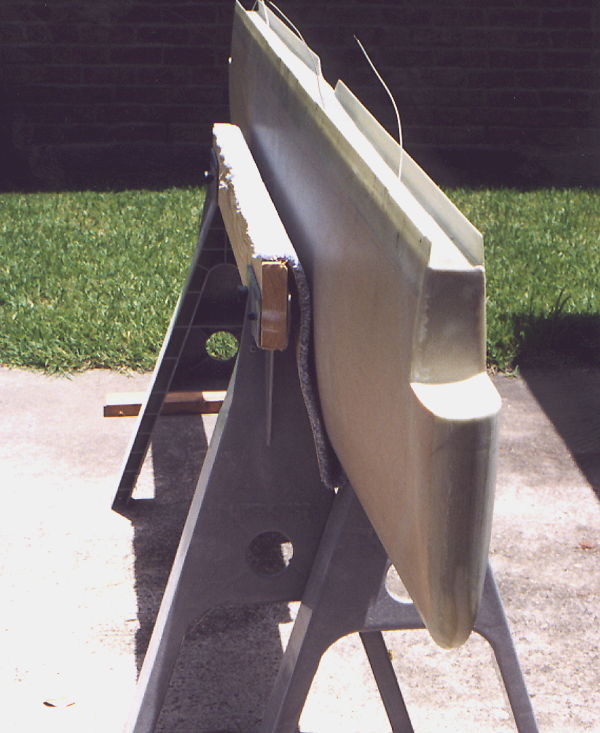
The above photos and left show the horizontal and vertical stabilizer
both ready for closeout. |
 |
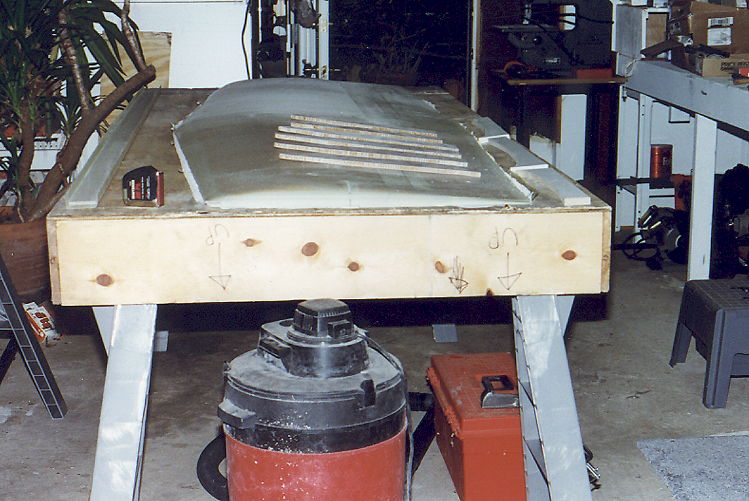
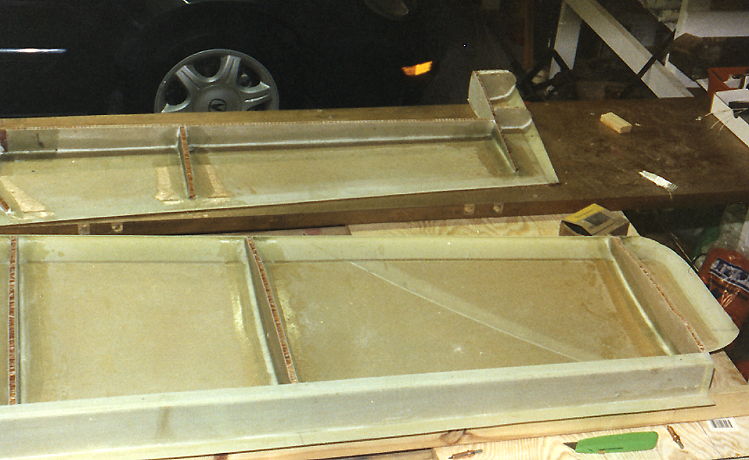
The stabilizer has been finished, the front edge and spar have been
covered with Hycell Glue, and the ribs have and epoxy / fox fillet for bonding
to the bottom panel. Everything is ready for final closing of the
Horizontal Stabilizer. |
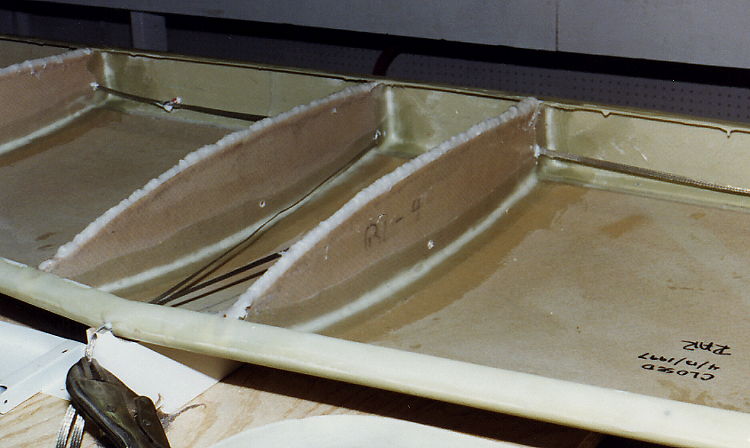 |
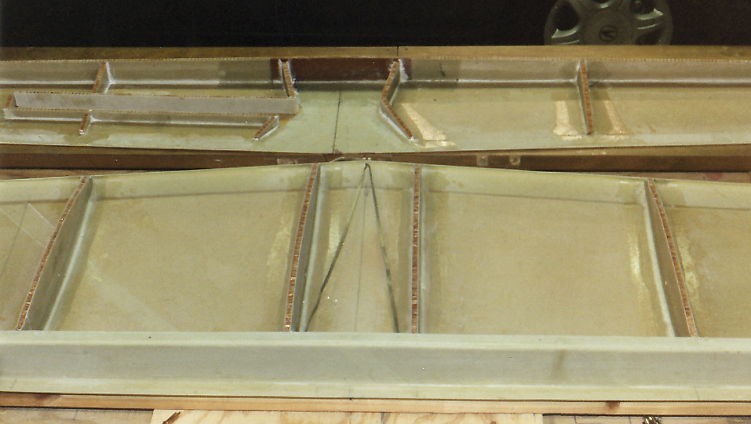
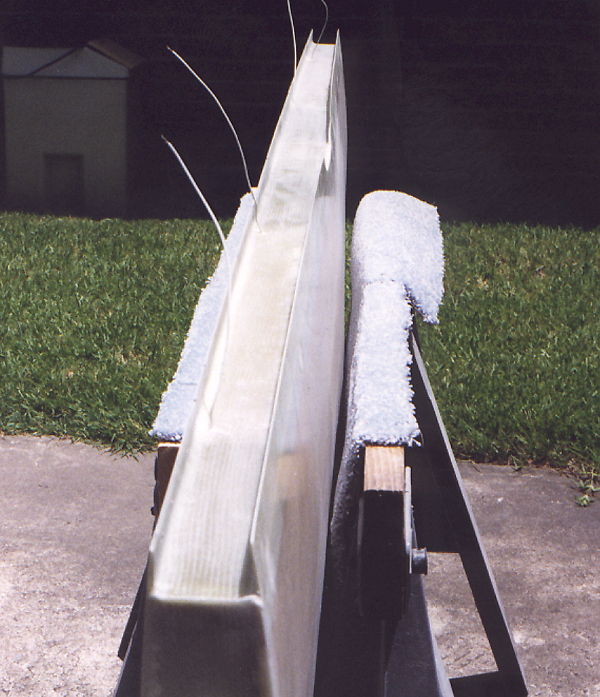
The above is a close up of the epoxy / flox fillet just prior to close
out. The inside of the bottom panel have been painted with epoxy and
glue spread on the leading edge and spar joints.
|
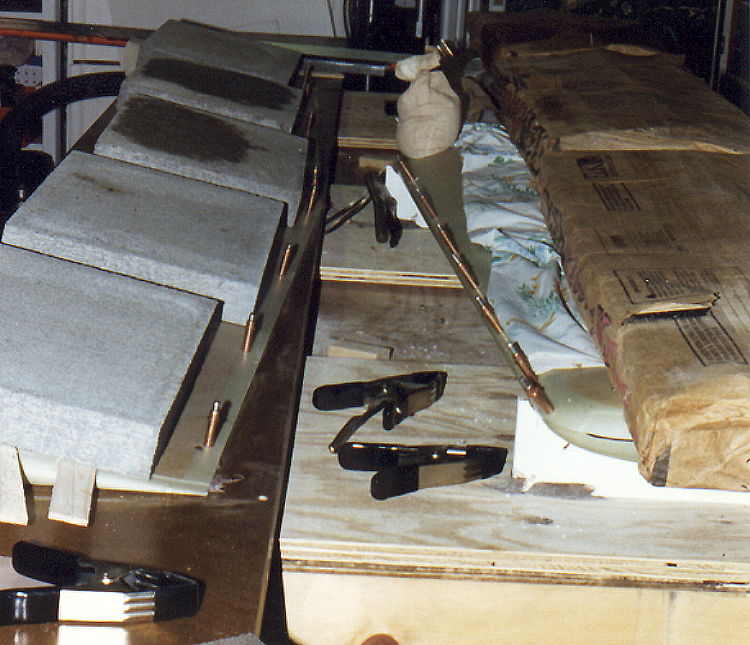 |
A lot of clecos, some lead, several bundles of shingles and you have
enough weight to close out the stabilizer. |
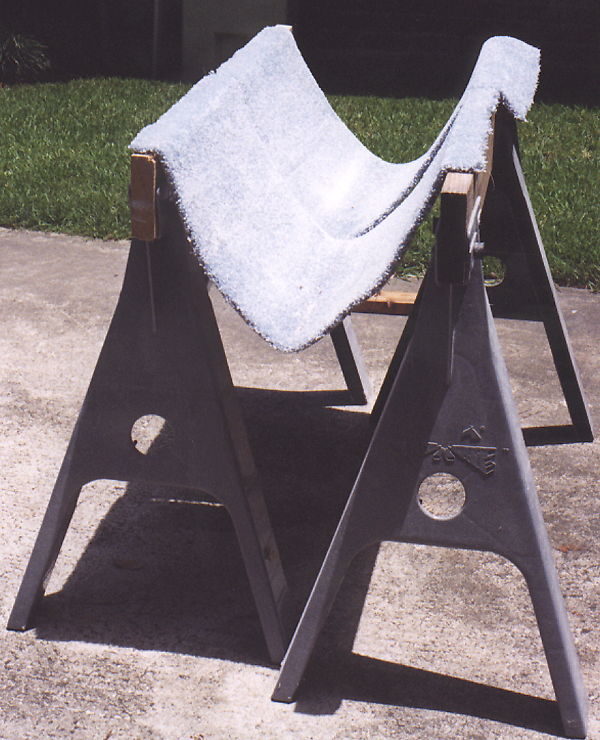 |
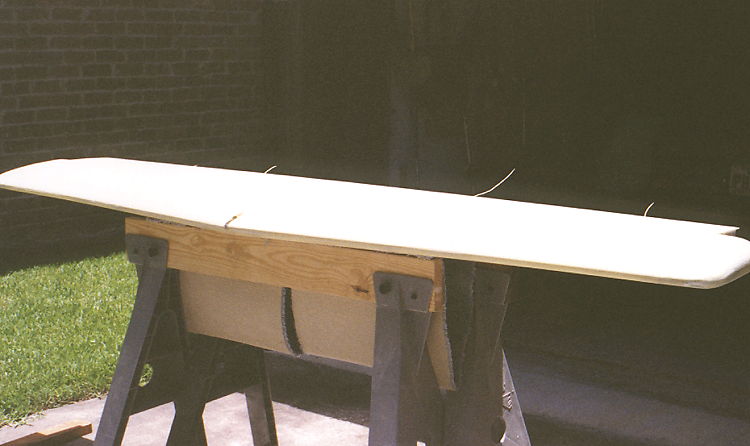
A cheap and handy method of holding the horizontal stabilizer, elevator
and rudder during construction and some finishing operations. Just
a couple of lengths of carpet tacked to the tops of two sawhorses. They
hold the parts and protect them at the same time. |
 |
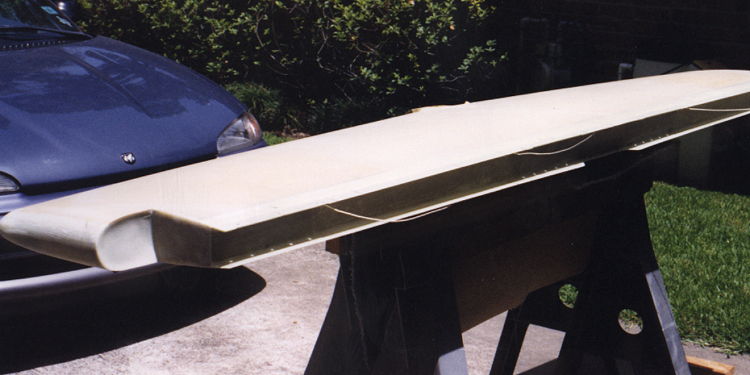 |
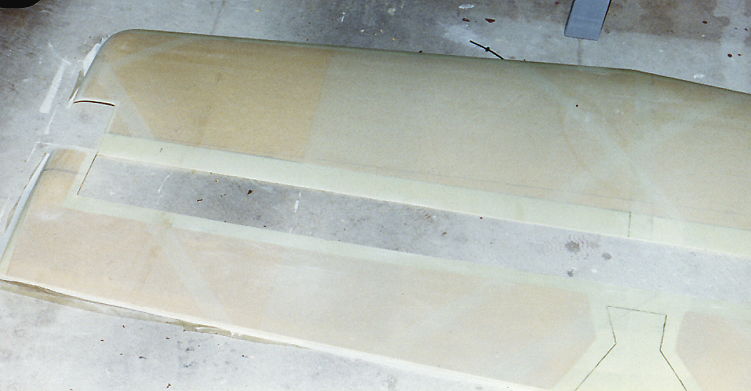
| The forward edge of the stabilizer is joined by the overlap of the
upper and lower halves of the molded parts. This forms a very rigid
and rather thick edge. Some filling and sanding are required to produce
a clean smooth edge. |
After closing the stabilizer, the inside of the spar area are glassed
and additional glass added for the hinge mounting areas. The counter
balance area is filled and glassed. Two ply fiberglass bids are then
applied to the ends to finish out the stabilizer and it's just about ready
for installation. |
 |
 |
| This above shows the arc shape I formed to allow for closer tolerance
between the elevator counter weight and the stabilizer. This provides
for about a 1/4 inch gap that is consistent through the entire movement
cycle. |
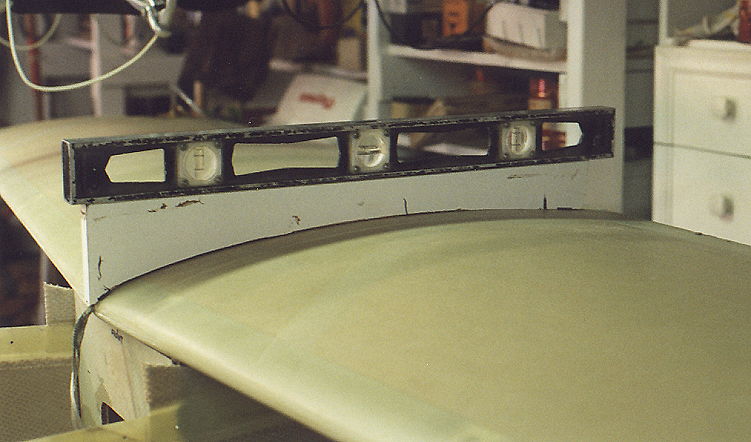 |
Installation
of the horizontal stabilizer starts with making a template for leveling
the horizontal stabilizer. The fuselage must be leveled side to
side and front to back before mounting the horizontal stabilizer.
A bulkhead is place under the front of the stabilizer and the fuselage
tub is cut to the shape of the bottom of the stabilizer. Once
everything is set, a side to side level operatoin is made to ensure the
position is exact.
|
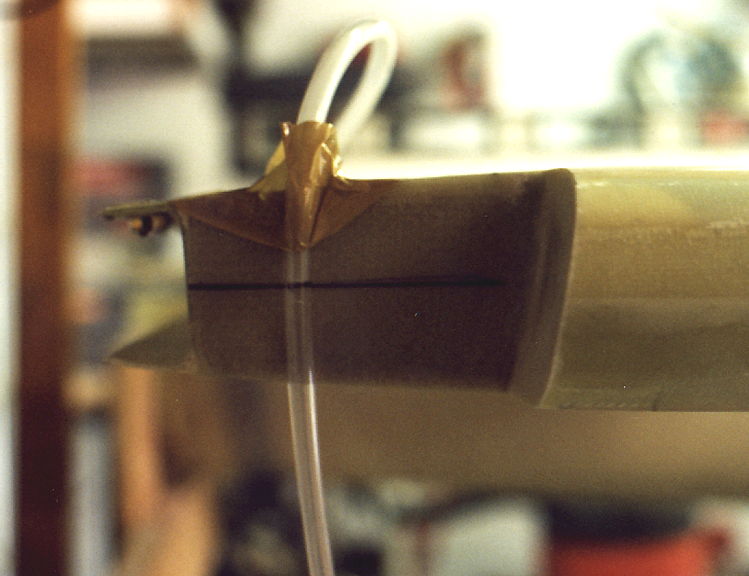 |
The sides
of the fuselage under the horizontal stabilizer are adjusted until the
horizontal stabilizer is perfectly level from side to side. A
water level was used to perform this operation.
Once the horizontal stabilizer is accurately positioned a flox bead is
run underneath the horizontal stabilizer and glass bids applied to the
underside of the stabilizer to join to the fuselage.
|
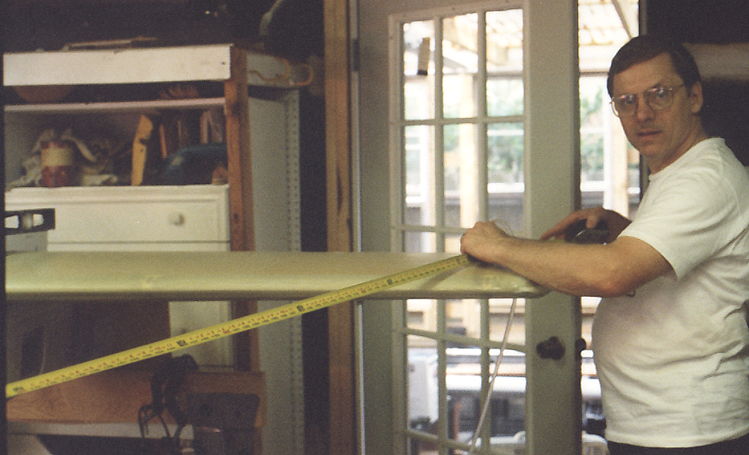 |
In
addition to making sure the horizontal stabilizer is level from side to
side, position accurately from front to back and level, it must also be
positioned exactly the same distance from the front firewall station on
both sides. This was a very time consuming process that required
checking, checking again, adjusting, and checking all of the
measurements again. The bonding process had to be done carefully
to keep the horisontal stabilizer from moving while the bonding
operation was being completed.
(No I was not expecting at the time but I did lose some weight after seeing that photo.)
|
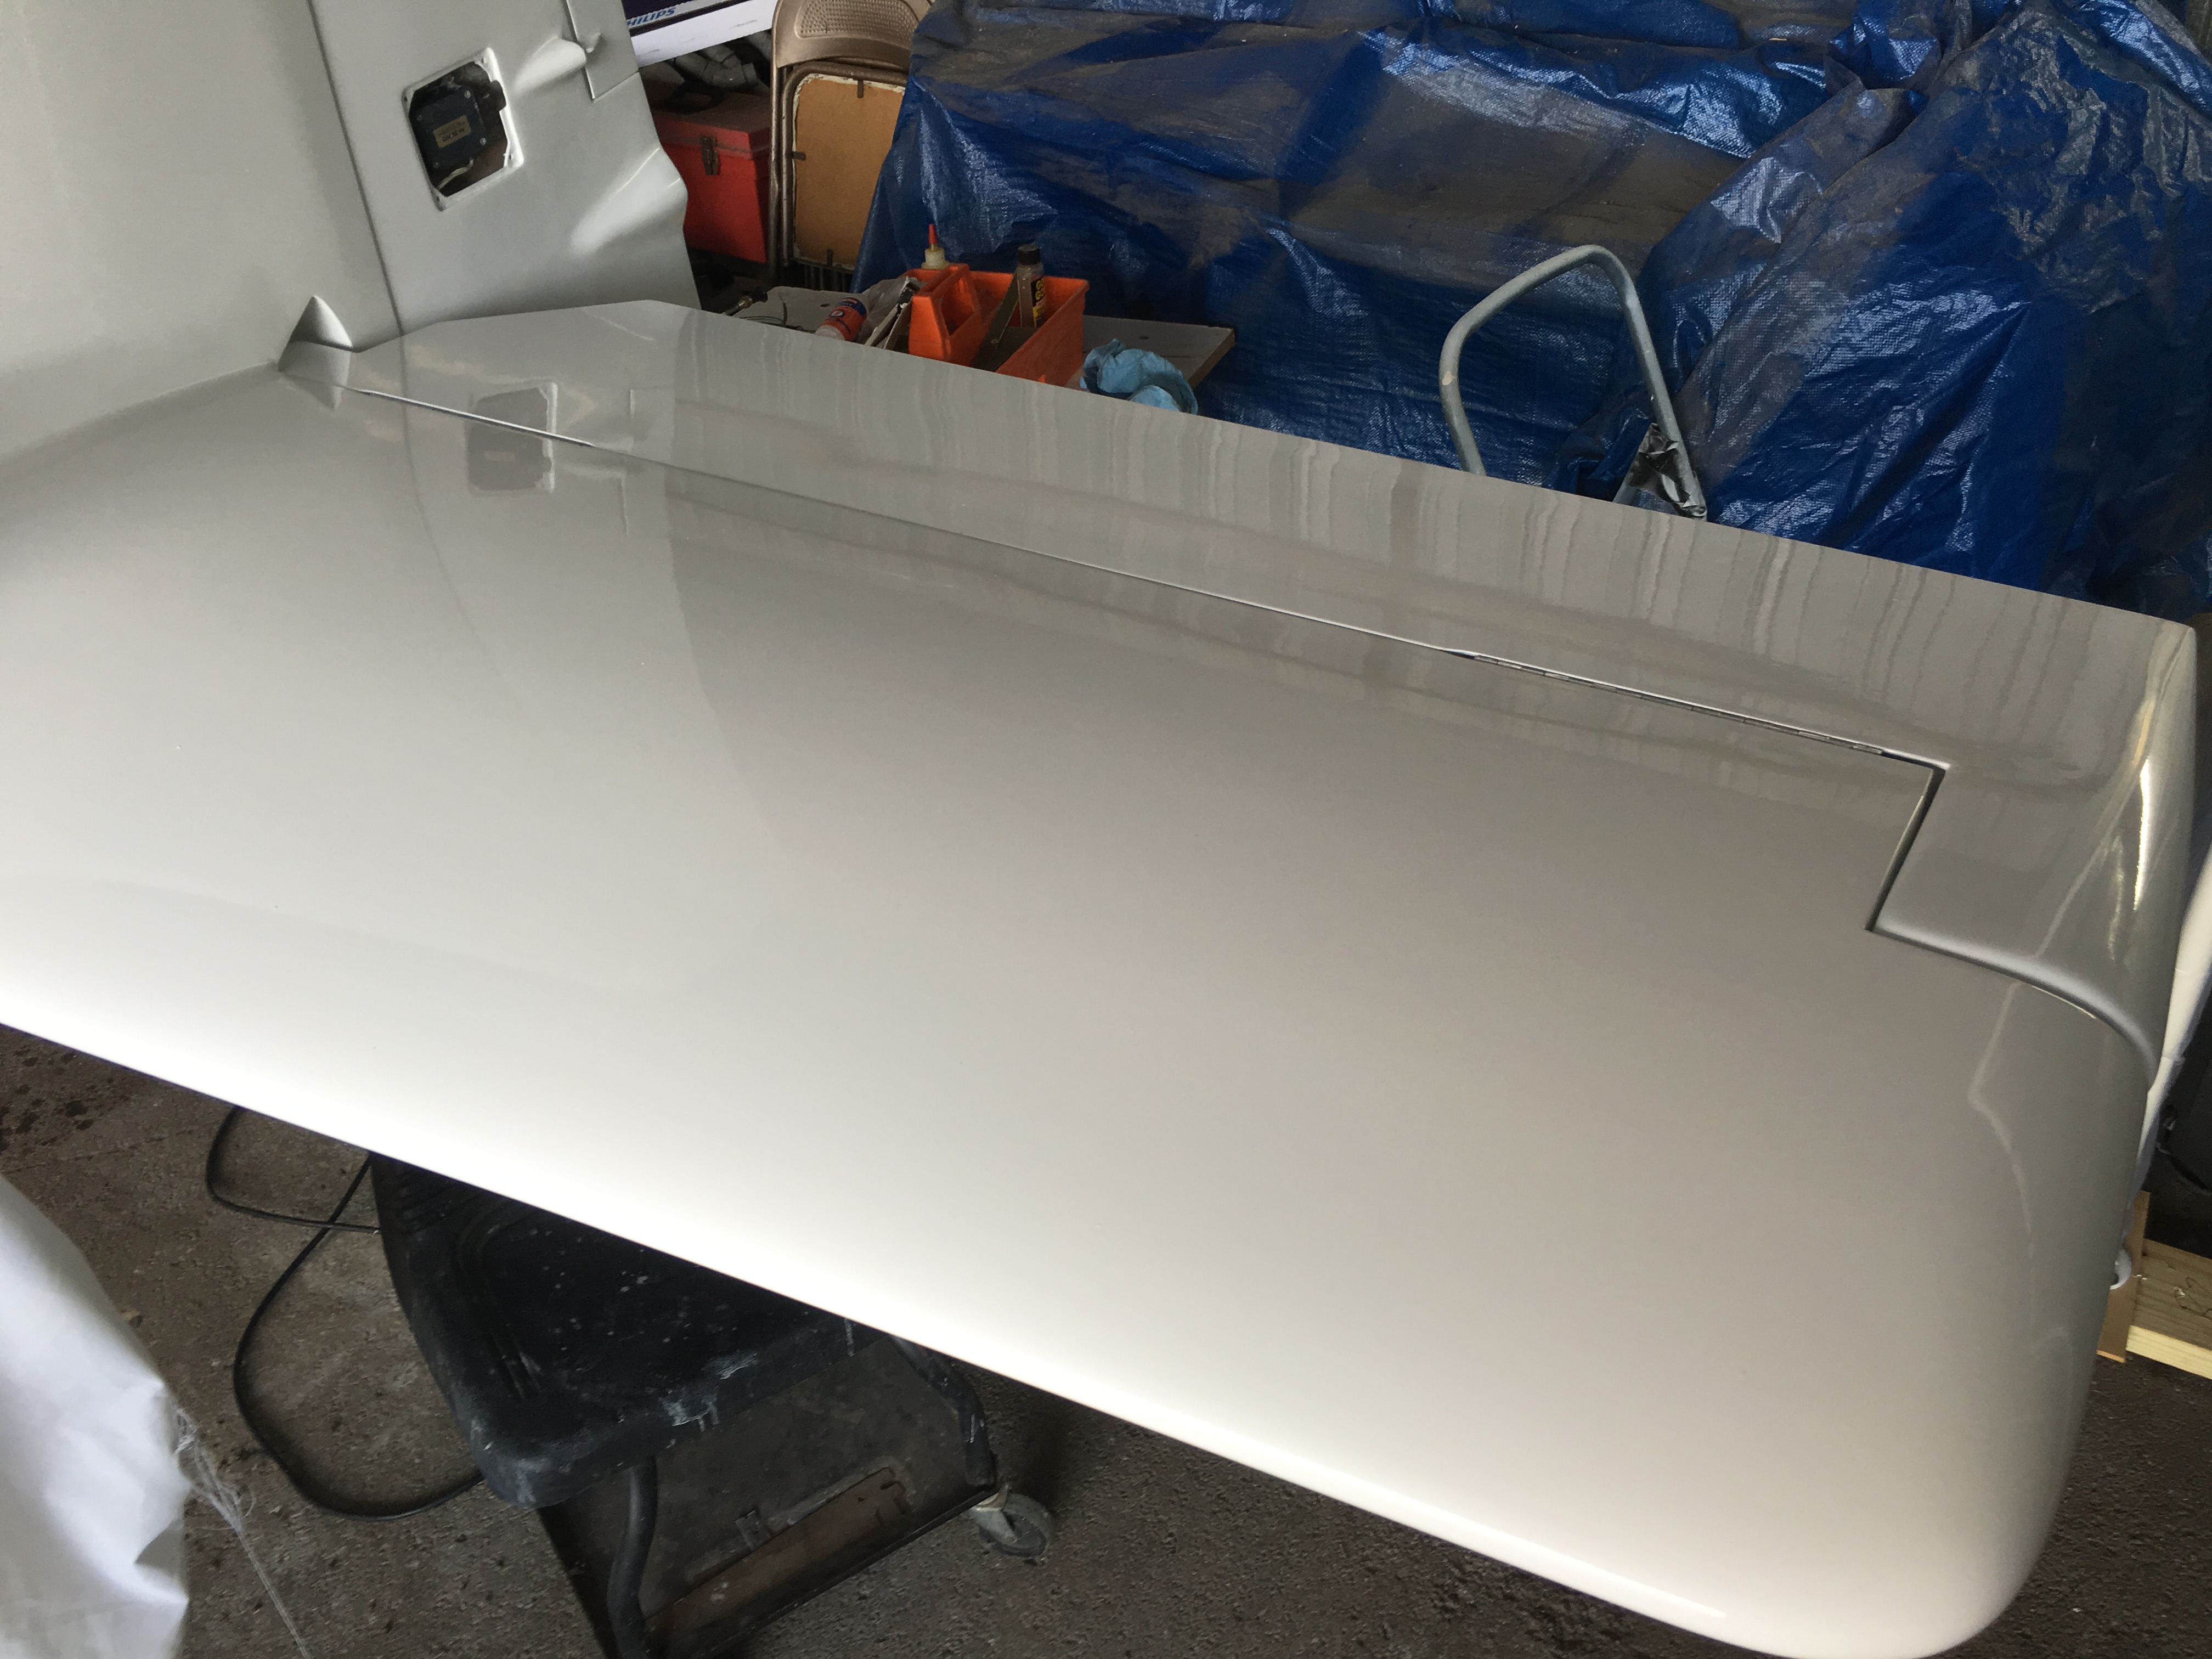 |
The
completed and painted horizontal stabilizer with the elevator installed
can be seen in this photo. The hinge screws have been recessed
and covered with glass to produce a very clean surface between the
stabilizer and the elevator.
|
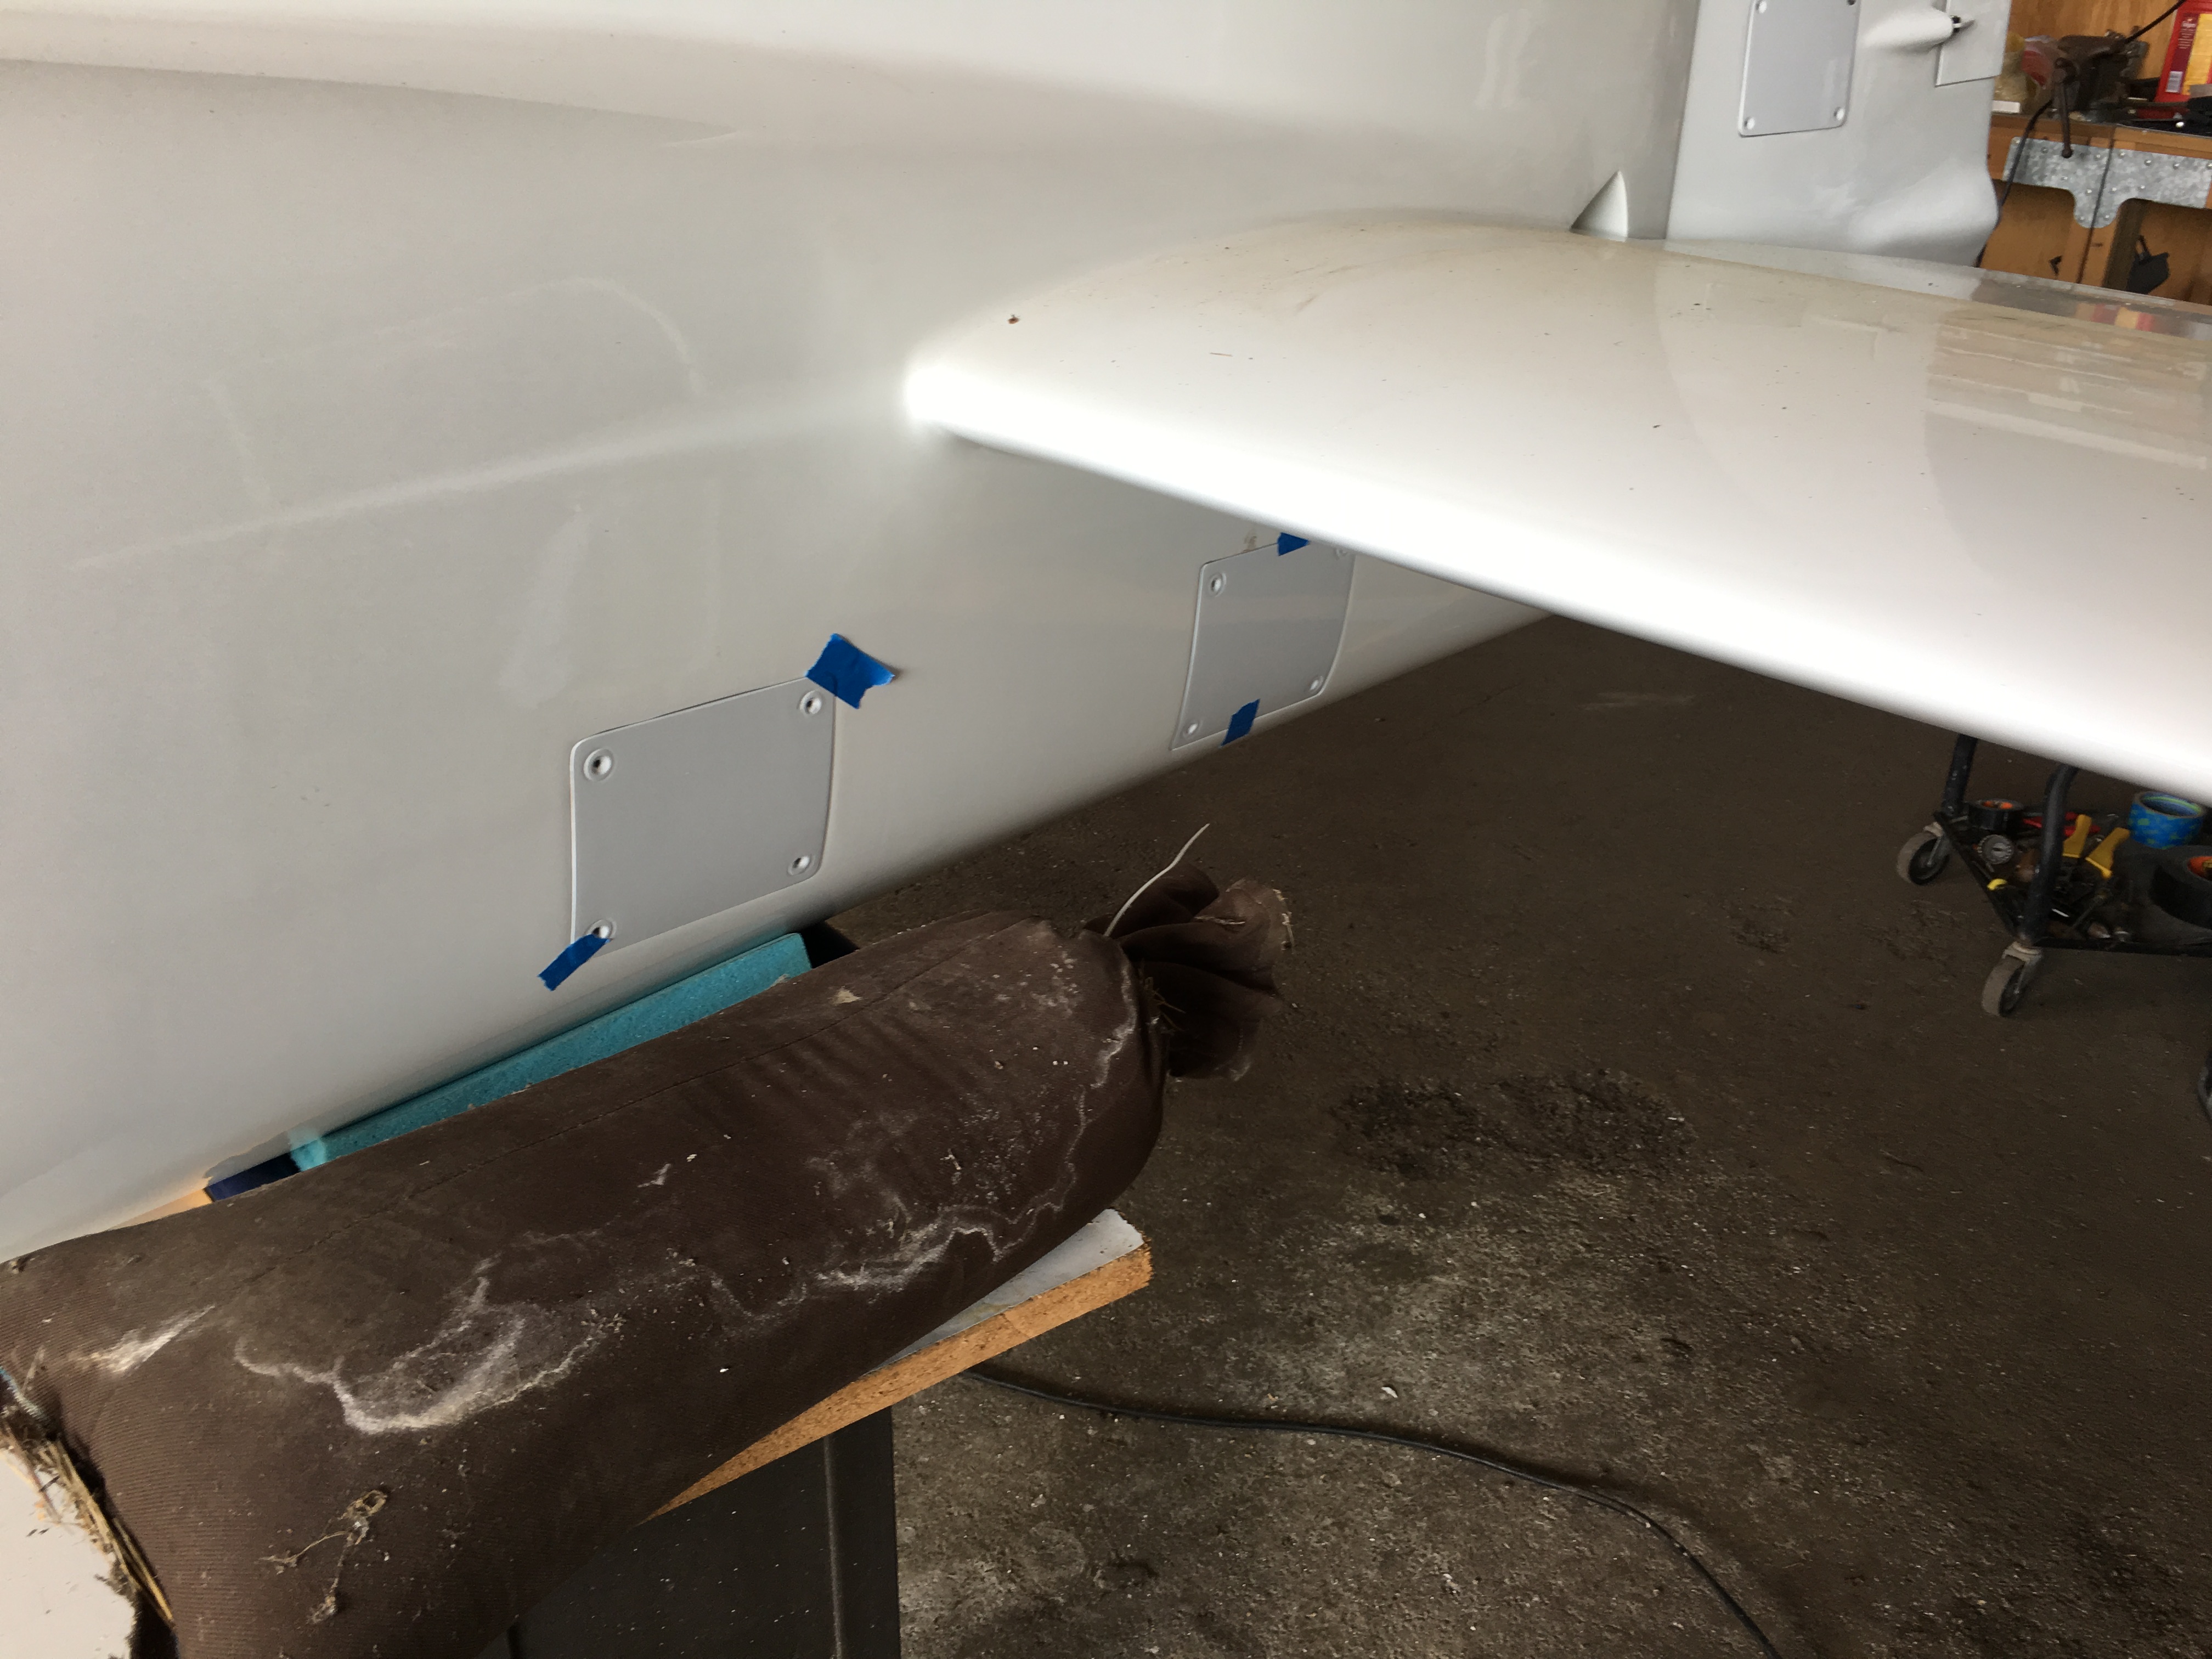 |
The front view of the stabilizer shows a clean smooth transition between the stabilizer and the fuselage.
|