
N247BR
Wing Installation -Pre-Planning
|
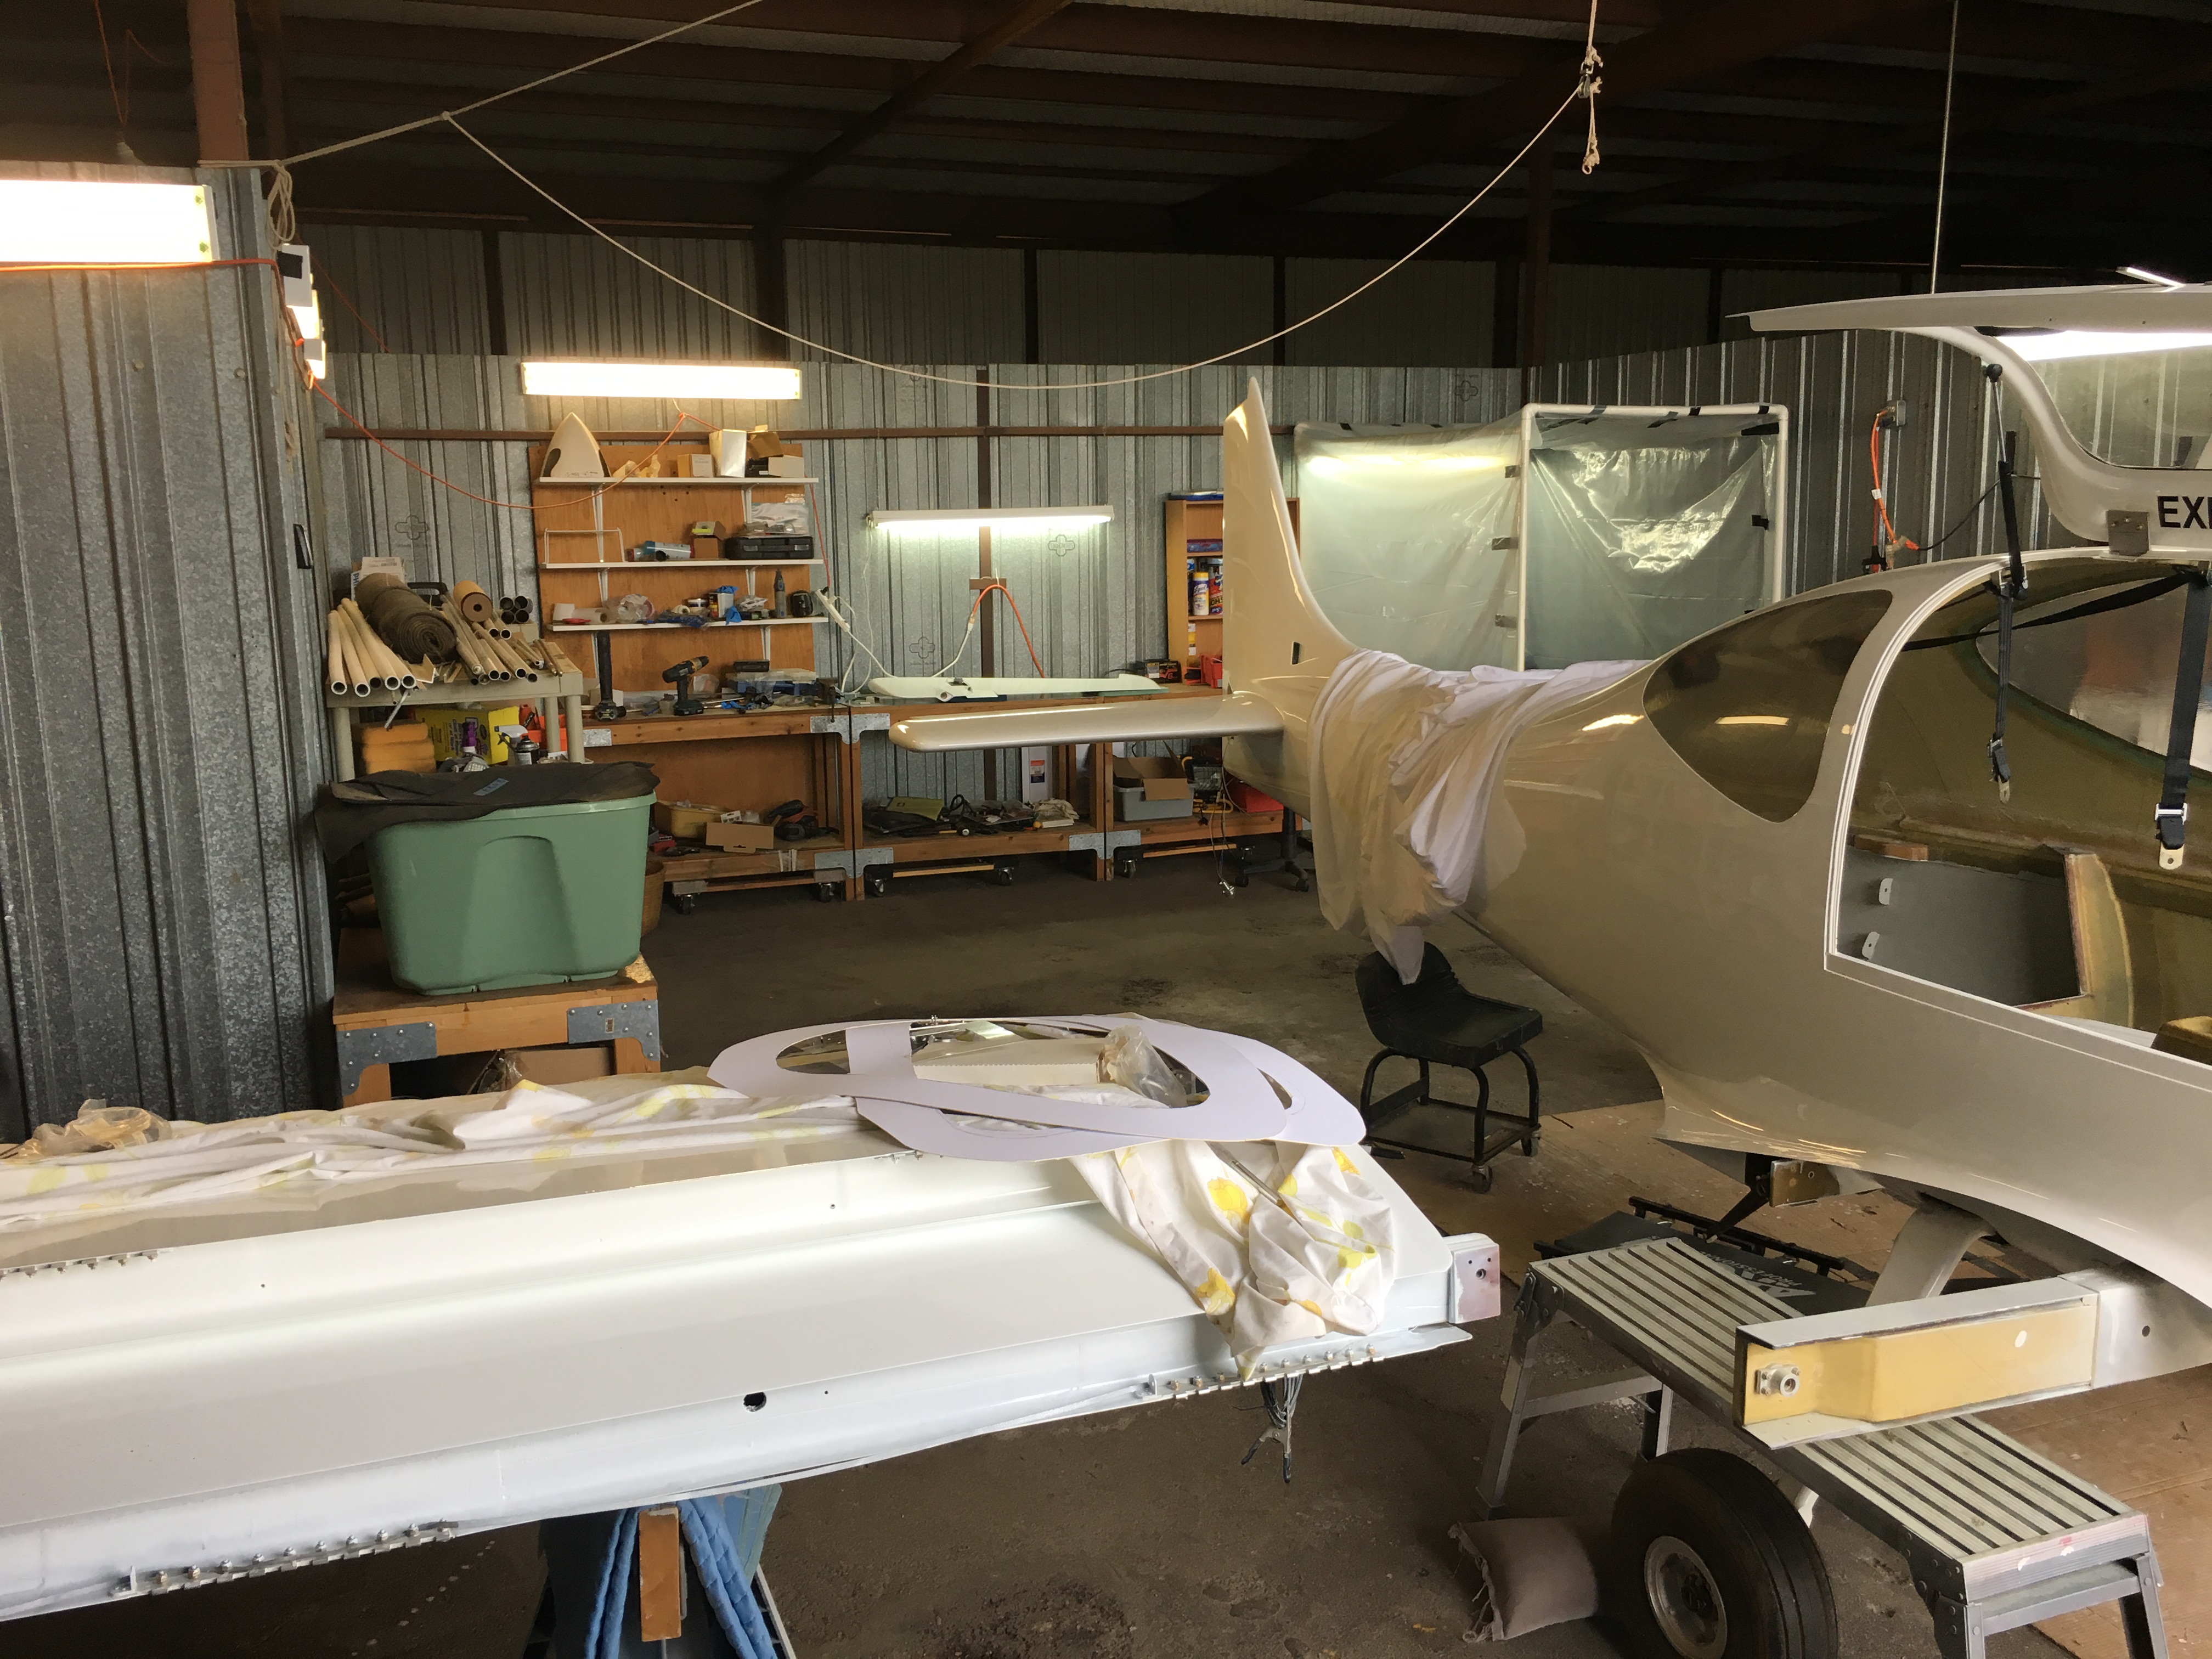
Yeah, well this section was a very long time in coming but some thoughts beforehand. I am for the most part building this project alone and trying to use as little help from others as possible. This brings about some interesting problems about HOW? to accomplish tasks that would normally require several eager and hopefully willing assistants. The mounting of the wings is one such task. I have given this part of the project some thought and have come up with a possible solution which I will detail with photos as I progress, or hopefully progress. The biggest problem as I see it is trying to slide the wing down at the correct angle to the main spar without doing any damage to the inside of the wing in the process. This would normally require several people to hold and guide the wing into position while someone lays underneath to guide and position the bolts once in place. A task that definitely requires some careful maneuvering and patience and more than one person. A single slip during this process and you could easily damage the fuel bays or the inside surfaces of the wing. Alternate methods of mounting would be to use some jigs to position the wing and then allow it to slide into place. These would have to be carefully positioned and the wing slid along them into position. Again, a somewhat daunting task to get two or more jigs positioned correctly. My idea is to basically position the fuselage on some blocks so that the main spar protruding from the fuselage is basically level. Then place the wing on the rolling stands which I built for turning the fuselage around and position it at the same height as the spar. Once done, the wing can easily be rolled into place without risk of dropping or damage. Any misalignment can be handled by shims under the wing or adjusting the blocks under the fuselage. After the first wing is in place the fuselage and wing would have to be positioned for the second wing with an extra stand placed under the first wing for support. Doing it this way should be a one man job. The main advantage I see is that at no time will the wing or fuselage have to be manually held in position. I will document this process and update this section during the initial wing attachment. (Oh yes, wish me luck.) |
|
| 09/30/2002 - Update: | |
|
It worked almost as planned. The actual
mounting and dismounting
of the wings using the above method worked quite well. The only
major
problem encountered during the whole process was in the jacking
process.
You can't jack the plane at any point outside of the main gear of
the
fuselage. It was very difficult to keep everything stable during
the
jacking process. I had to weight down the nose and later the tail
to
keep everything from moving during the process. |
|
| 12/7/2018 - Final Update |
|
| As
a result of the lessons learned in the pre-assembly process I decided
to use the two rolling carts that I had build early on and mount the
wing on the cart at the angle required and use some furniture carts
turned upside down to allow the wing to roll into place. I
thought this was a very good idea and it worked pretty much as
designed. I put the cart on the inside portion of the wing and
used a electronic level to get the angles I needed. Then I
crawled under the wing and proceeded to pull the wing into place.
The first wing went on like a glove and I was able to line up the holes
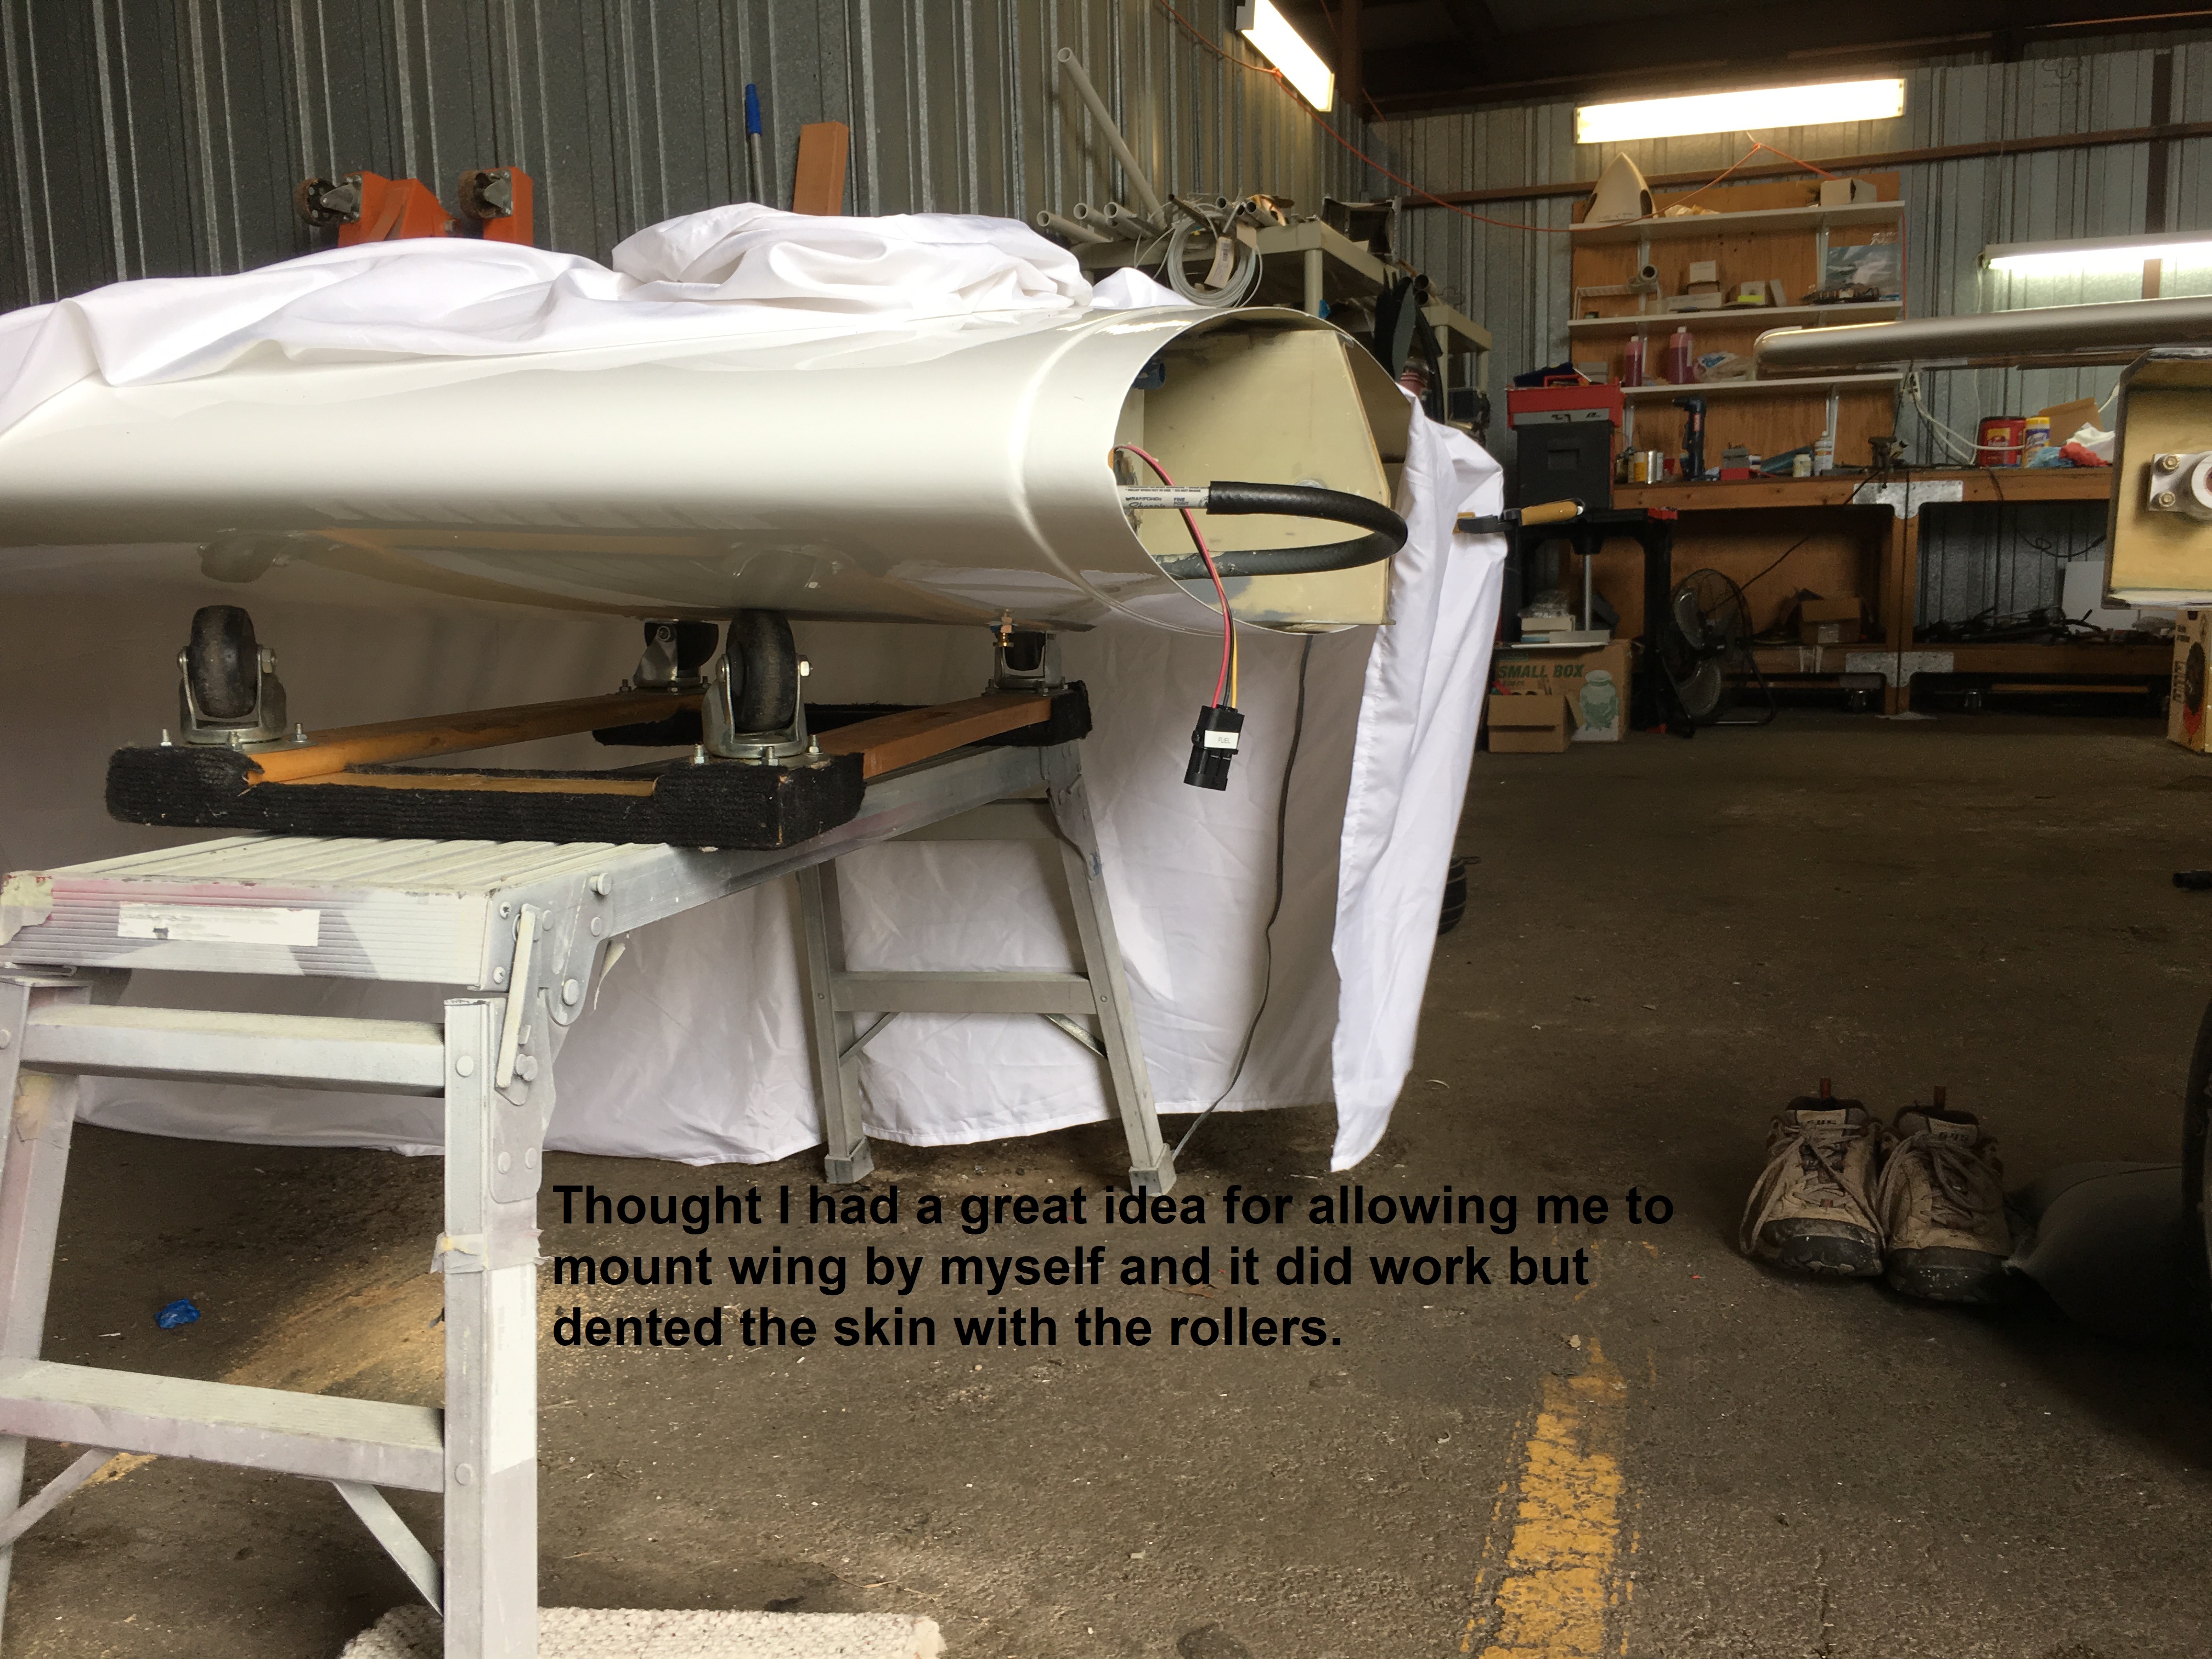
for the bolts and get it torqued down without a problem. The second wing seemed to be going on the same way but NOTHING has ever gone exactly as planned. The first wing took about two hours to line up and install. The second wing took two days most of which was spent trying to get the alignment of the bolt holes perfect and get the bolts in place. There was NO slack in the bolt holes so even a minute fraction of an inch of out of alignment would keep the bolt from going through. I wore myself out crawling under and getting out from under the plane to make adjustment. That's where some help would have made the whole process much quicker. Not many souls around the airport on a weekday morning. One final note on this process that I didn't expect. The wheels of the furniture dolly were not wide enough and put too much pressure on the underside of the wing. This resulted in some indentations of the wing skin. Not serious but enough to be seen if you are looking for them and of course I see every flaw. |
|
 |
 |
| I
started the final assembly process with the rudder and elevator.
Seemed like a good place to start. Seemed like an easy process to
start but like everything else...easy was a relative term. Took
two days to get them mounted because of the very tight quarters.
Took a week for my hands to recover from squeezing them into some very
tight spaces. |
|
 |
 |
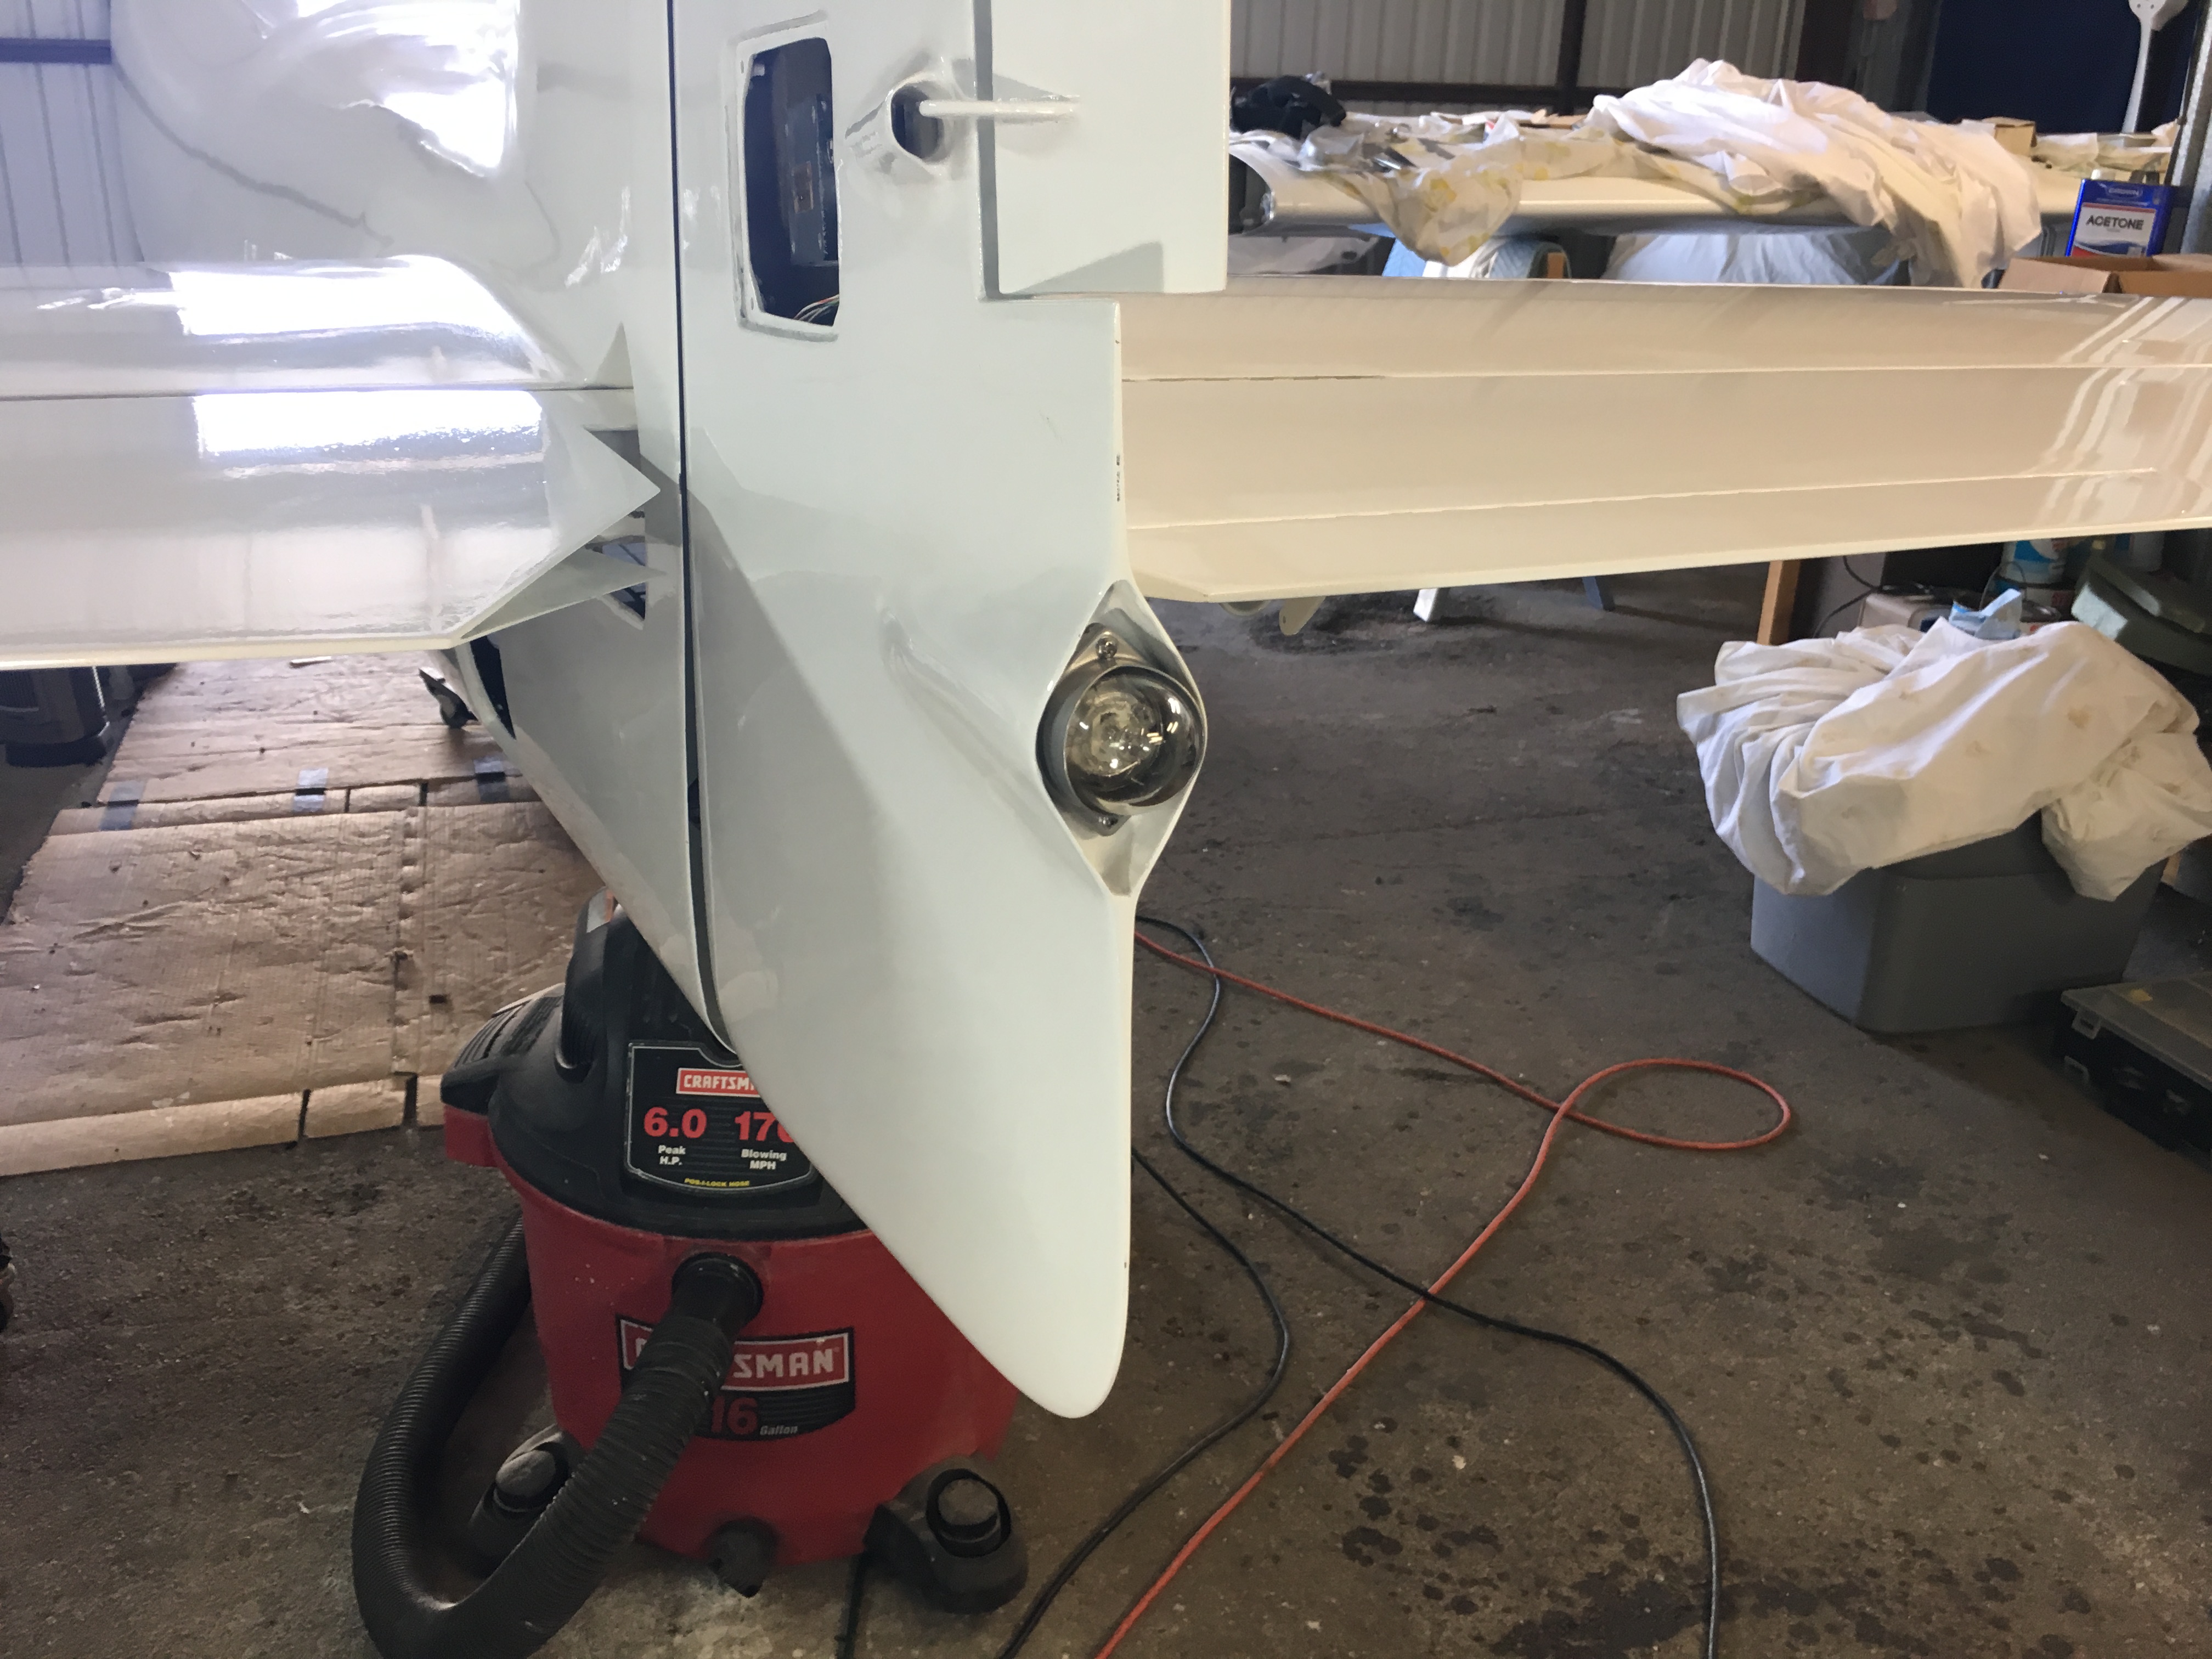
| Tail light and trim tabs installed. |
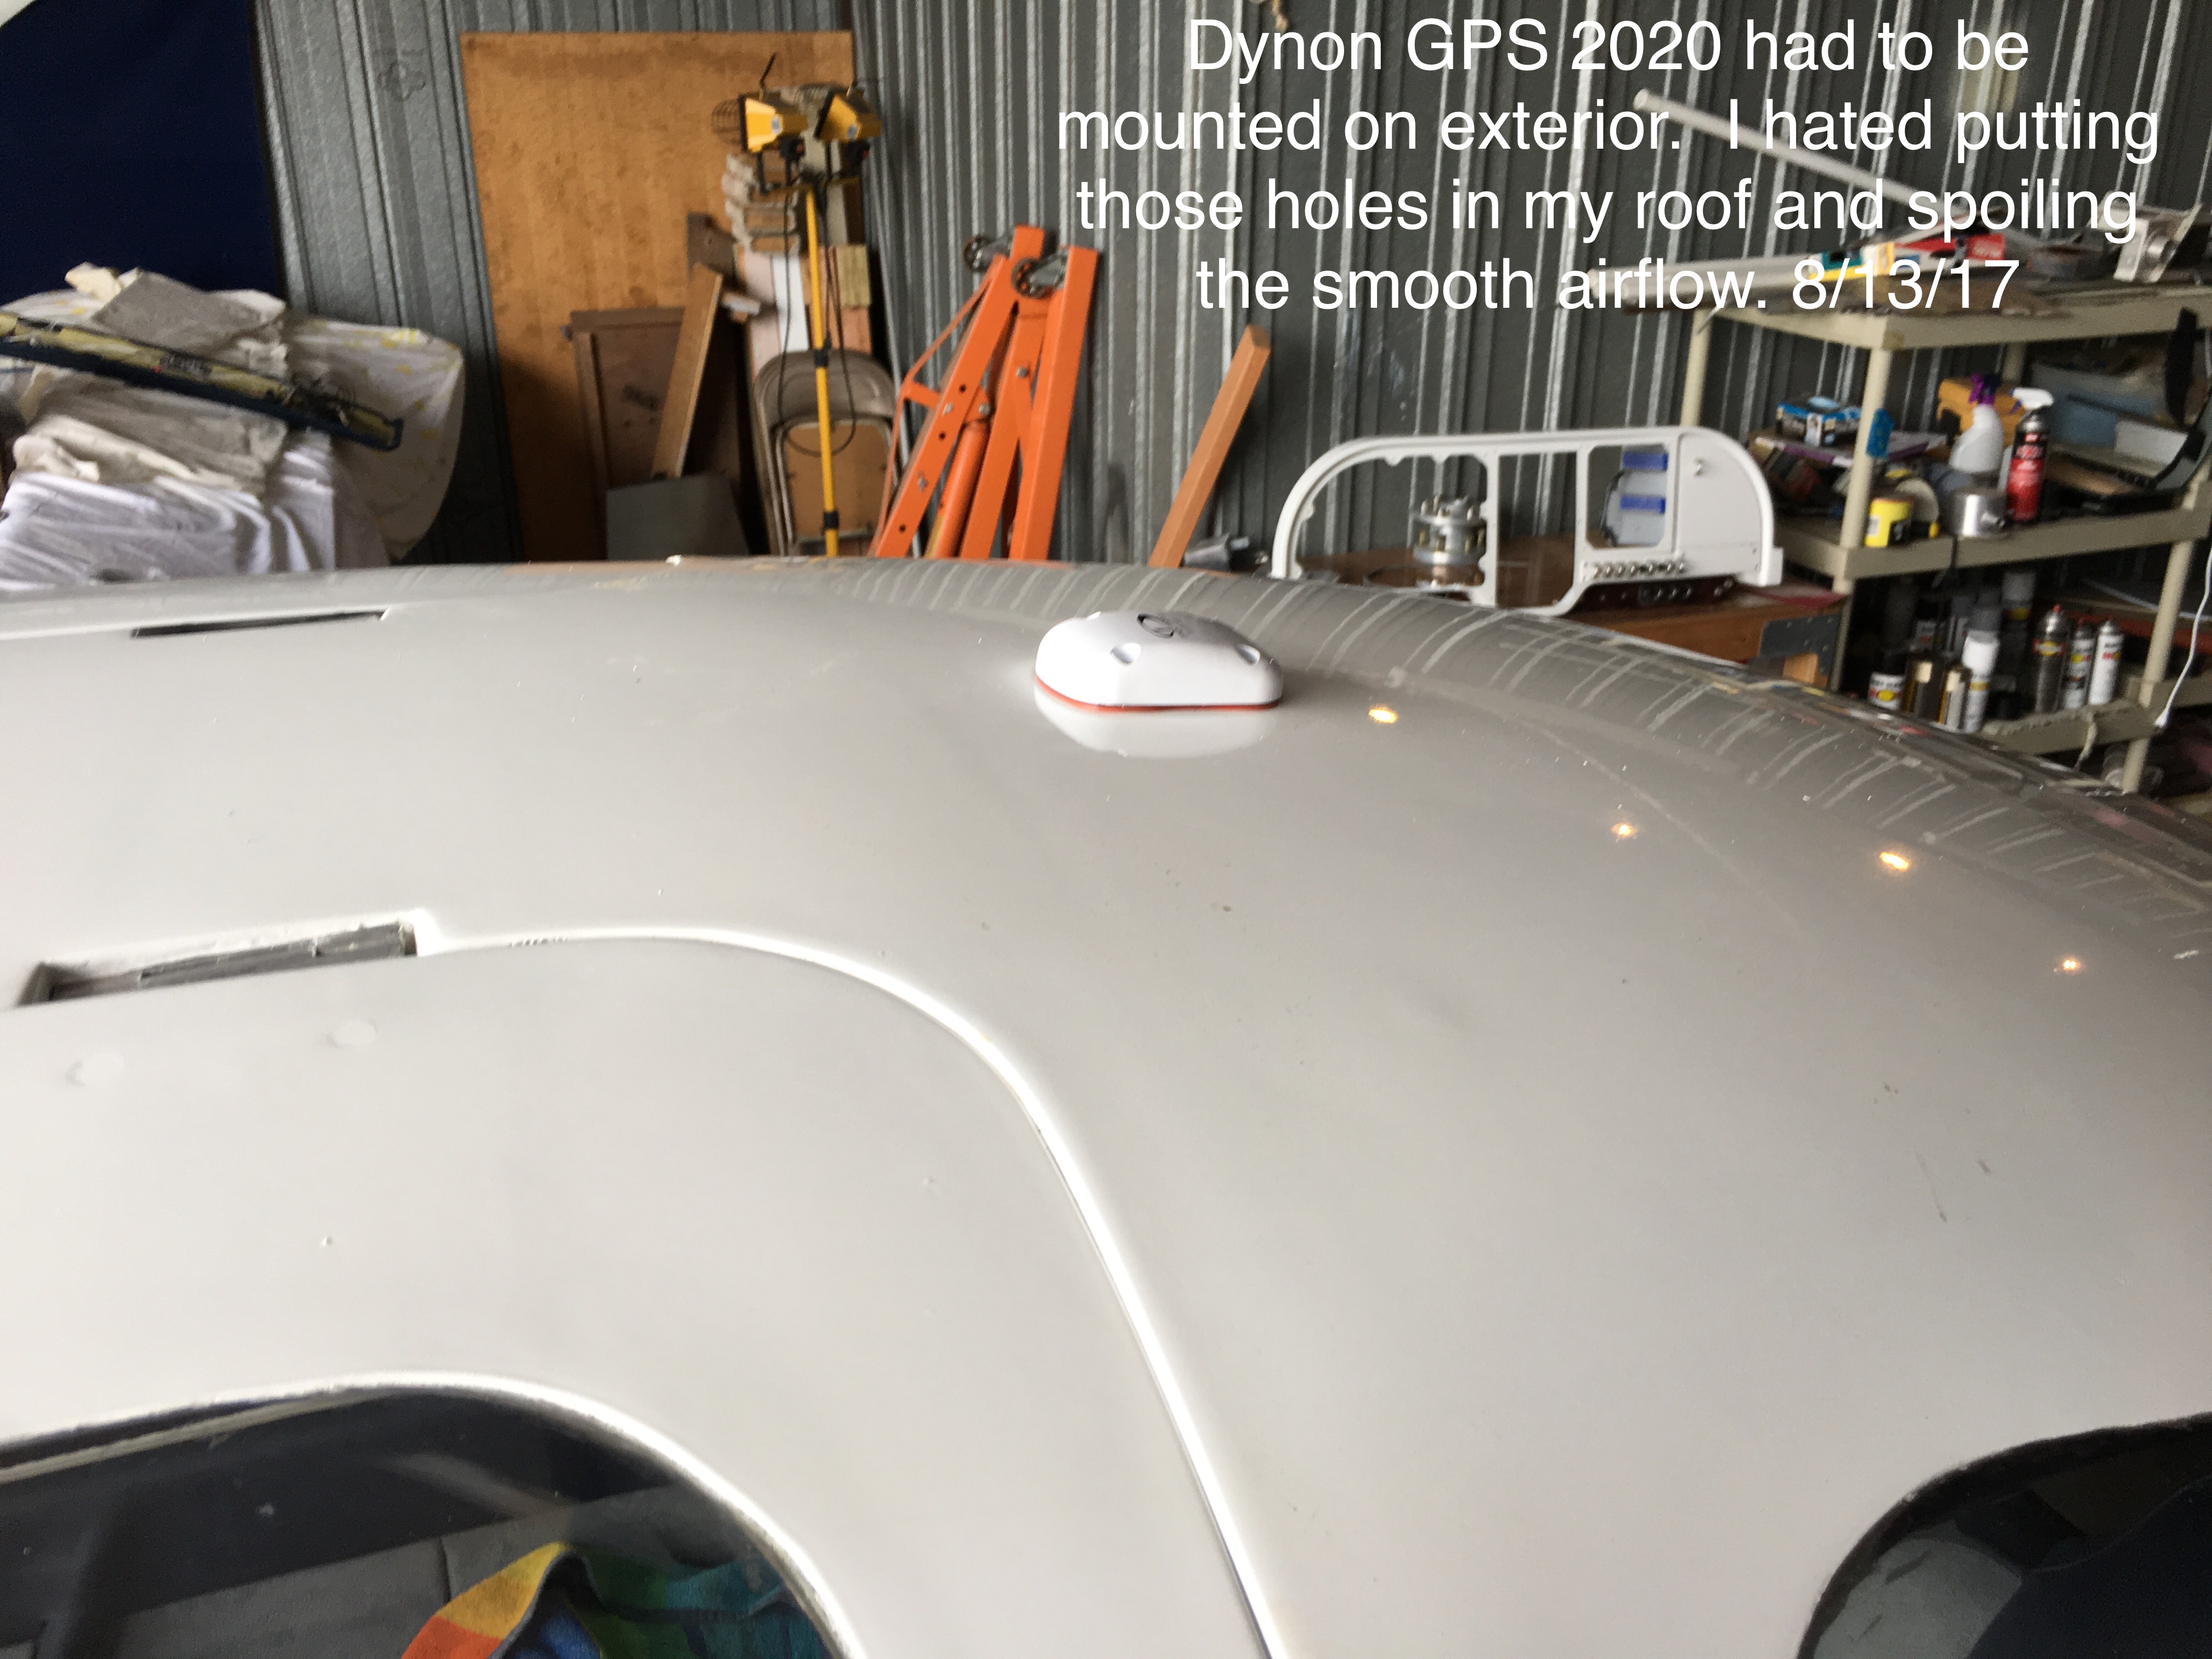
Cutting
a hole in the fuselage top to put the 2020 GPS receiver on was like
cutting a hole in my heart. I hated drilling that hole. |
 |
 |
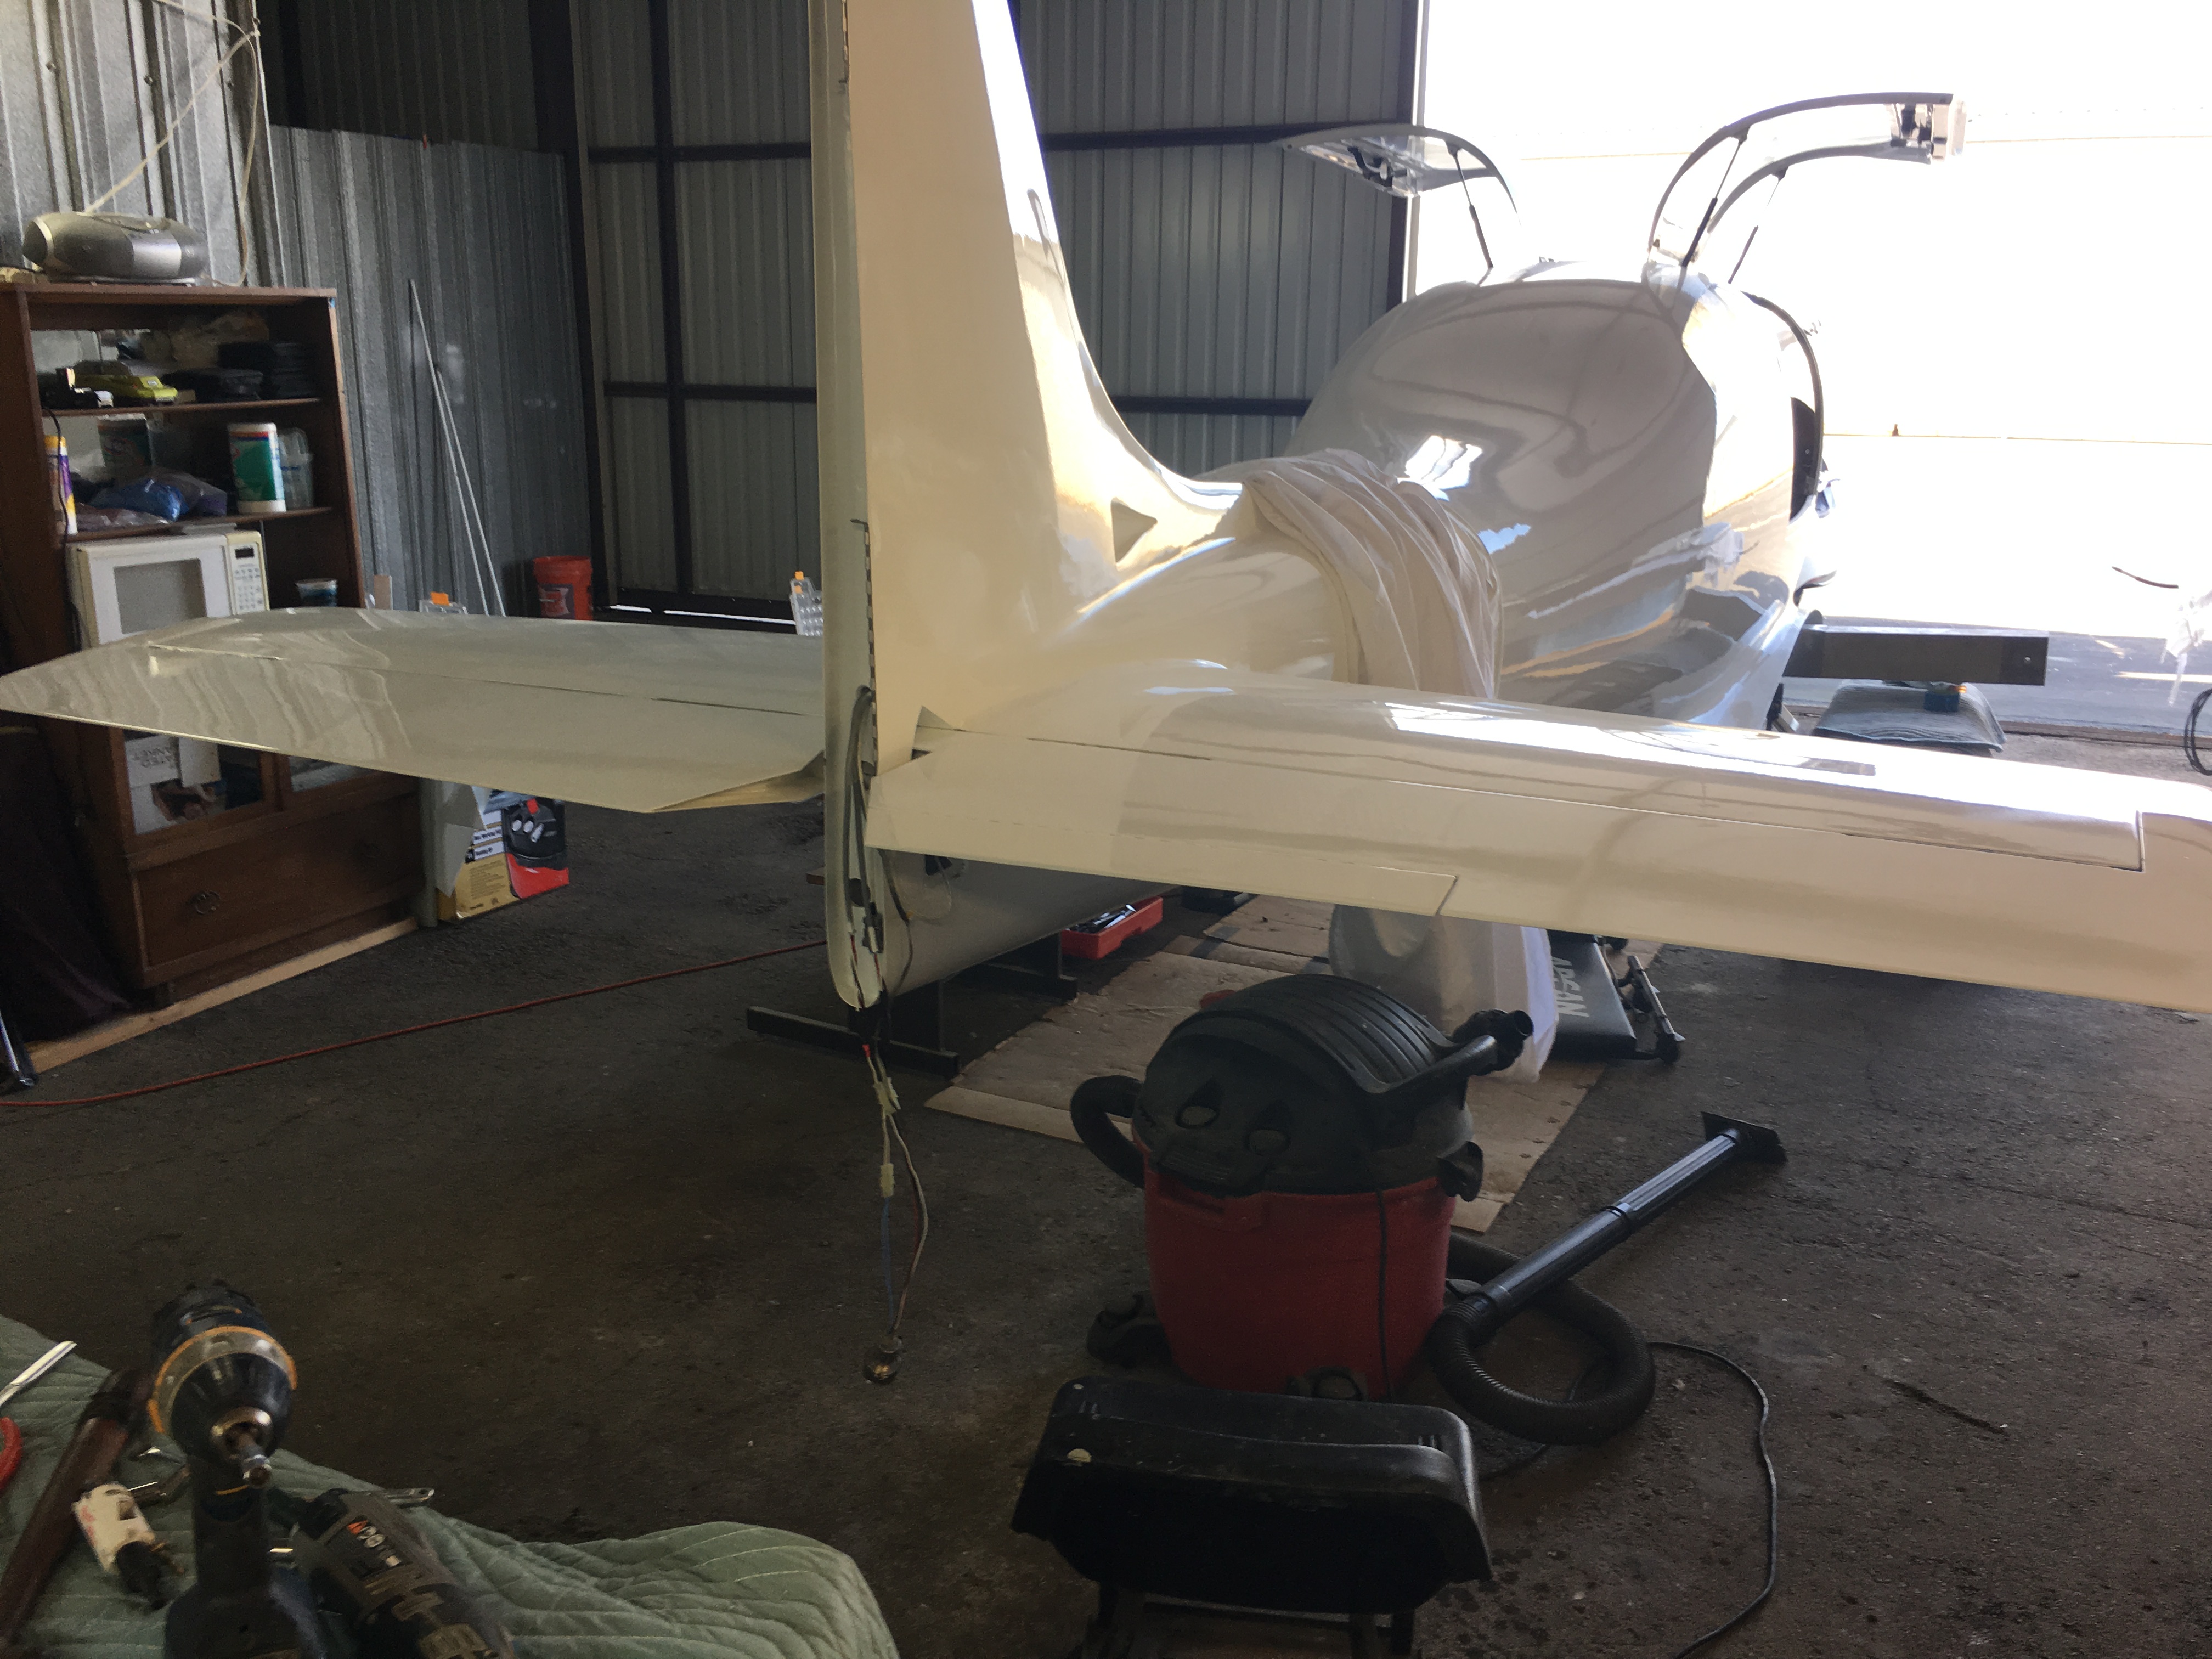
| Had
to clear off the wings and get them positioned for install.
Wouldn't you know I had them in the wrong position which required a lot
of unneeded handling. |
The
wheeled furniture dolly seemed like the perfect solution to being able
to singlehandedly position the wing to the fuselage. It worked
but resulted in some damage to the wing. |
 |
 |
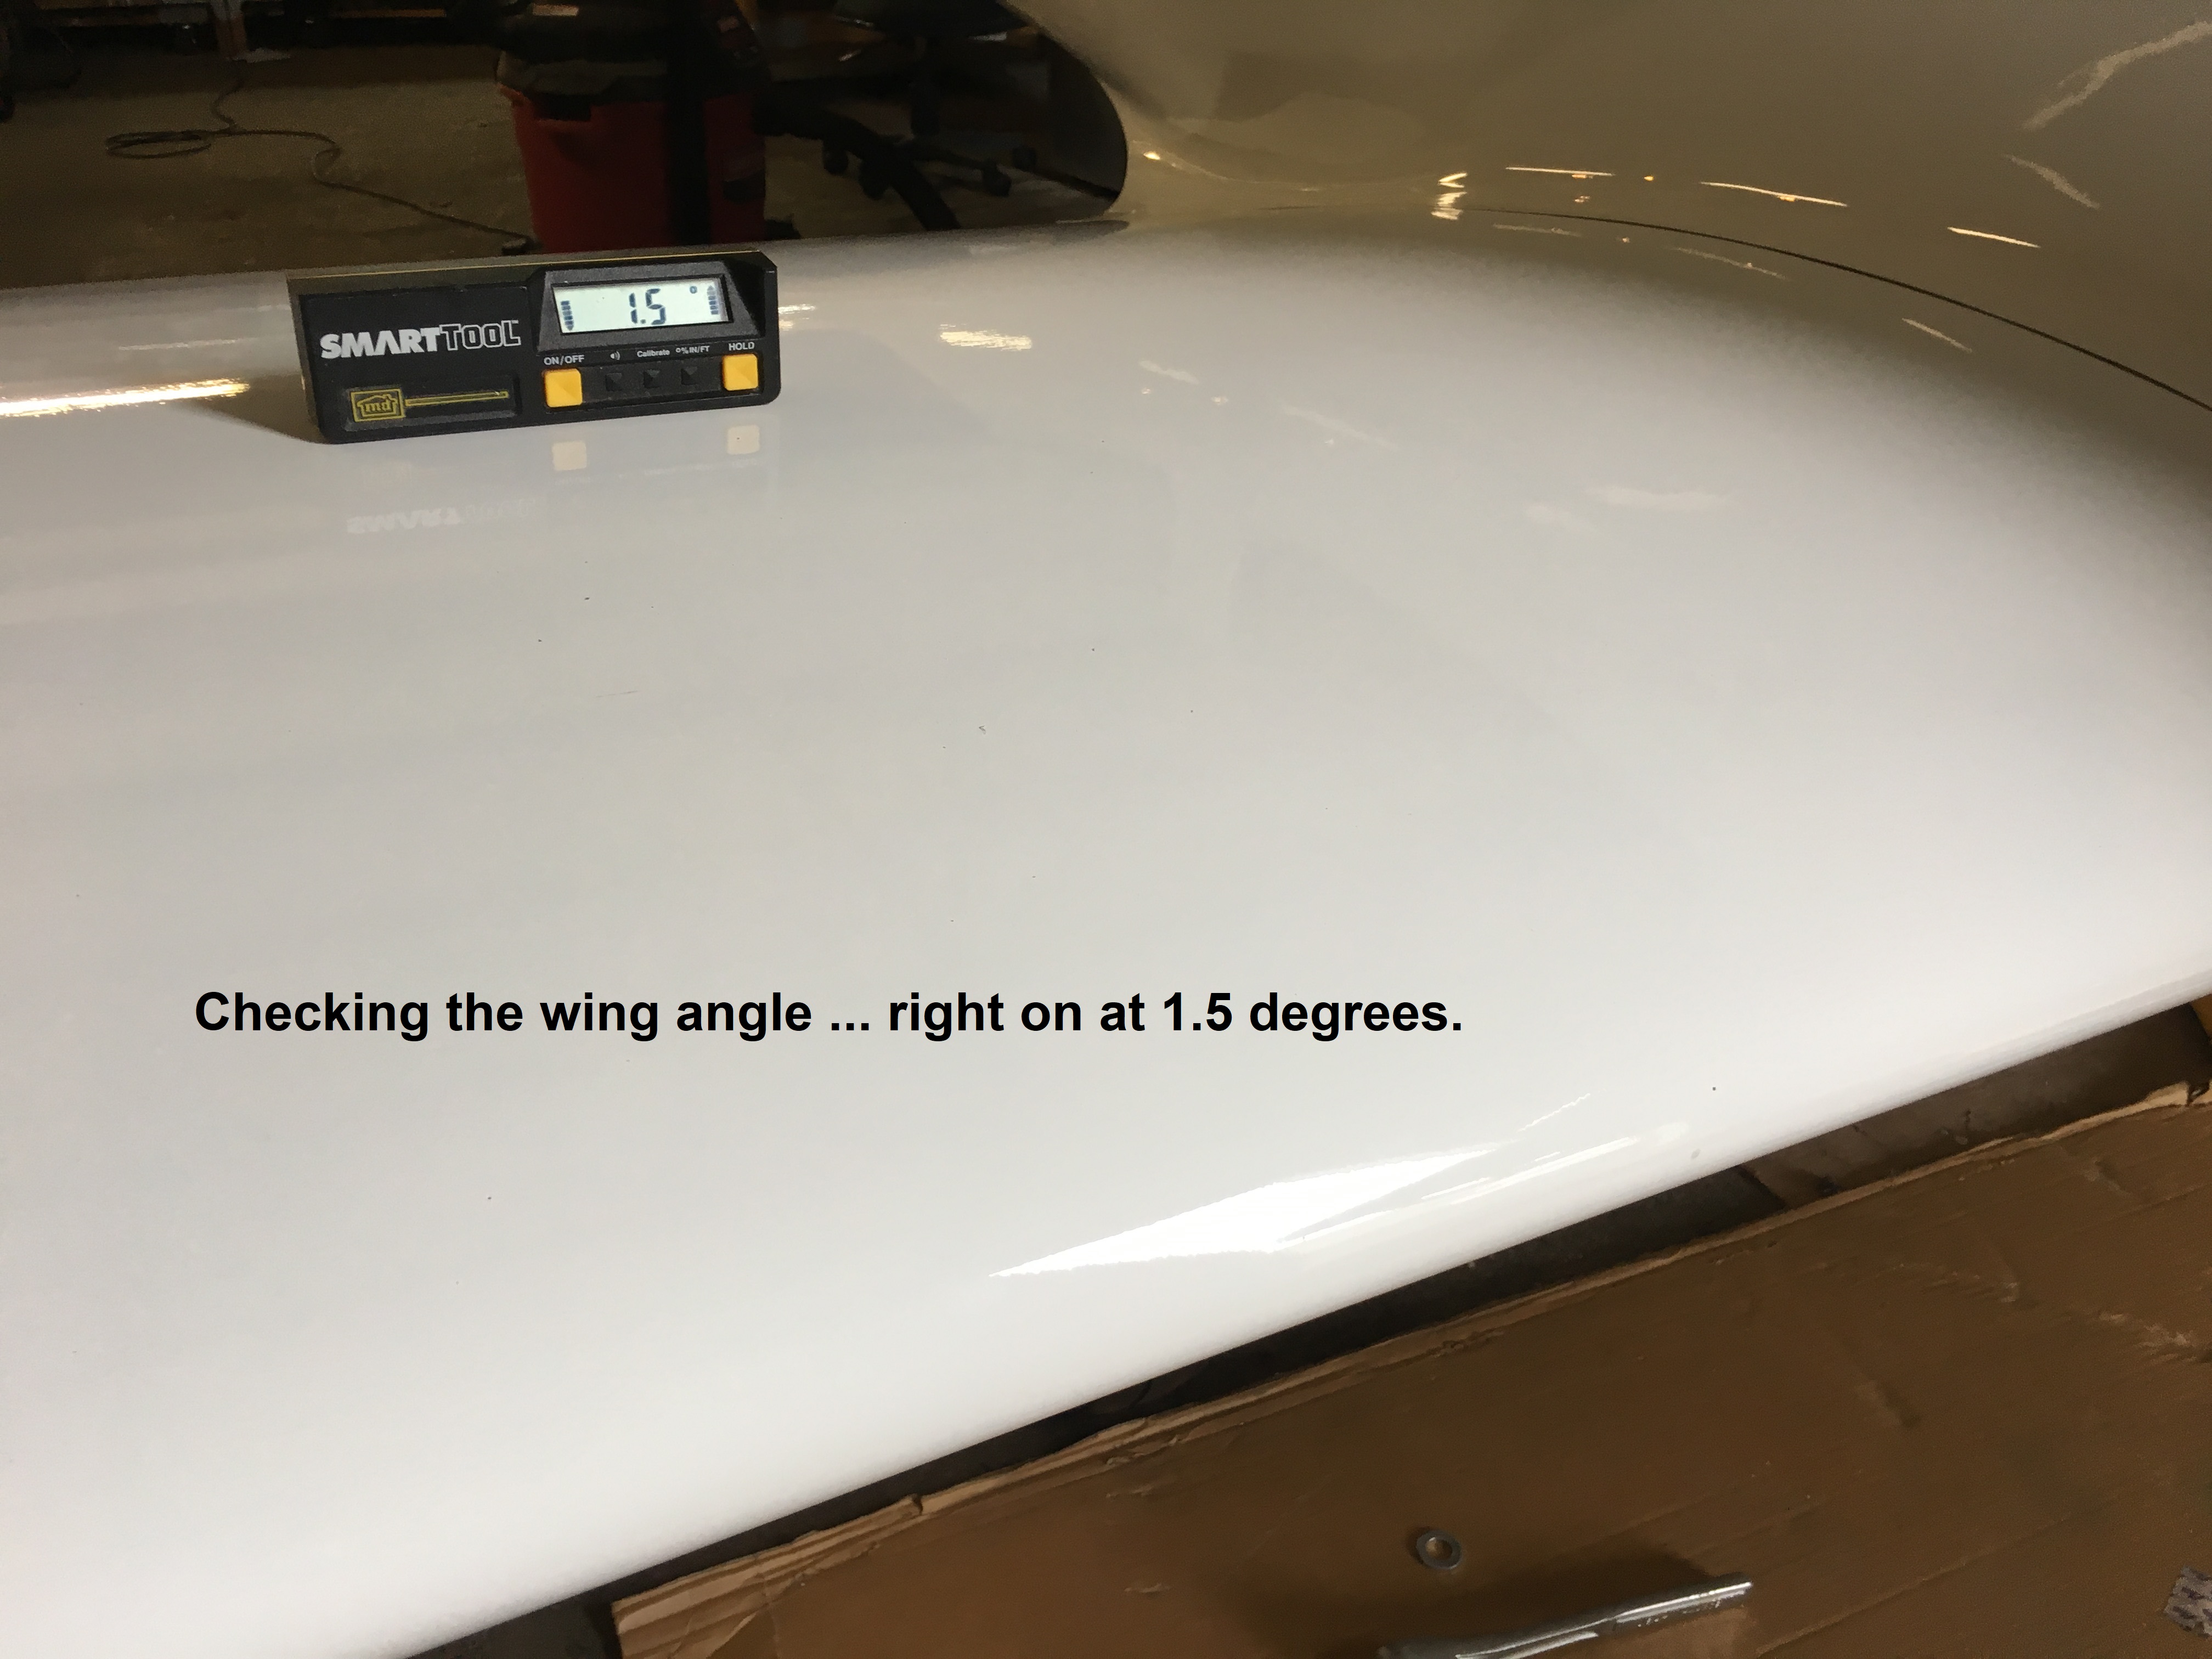
| Checking
both the angles on the final install was proof of the value of the
original pre-assembly process. All angles were spot on. |
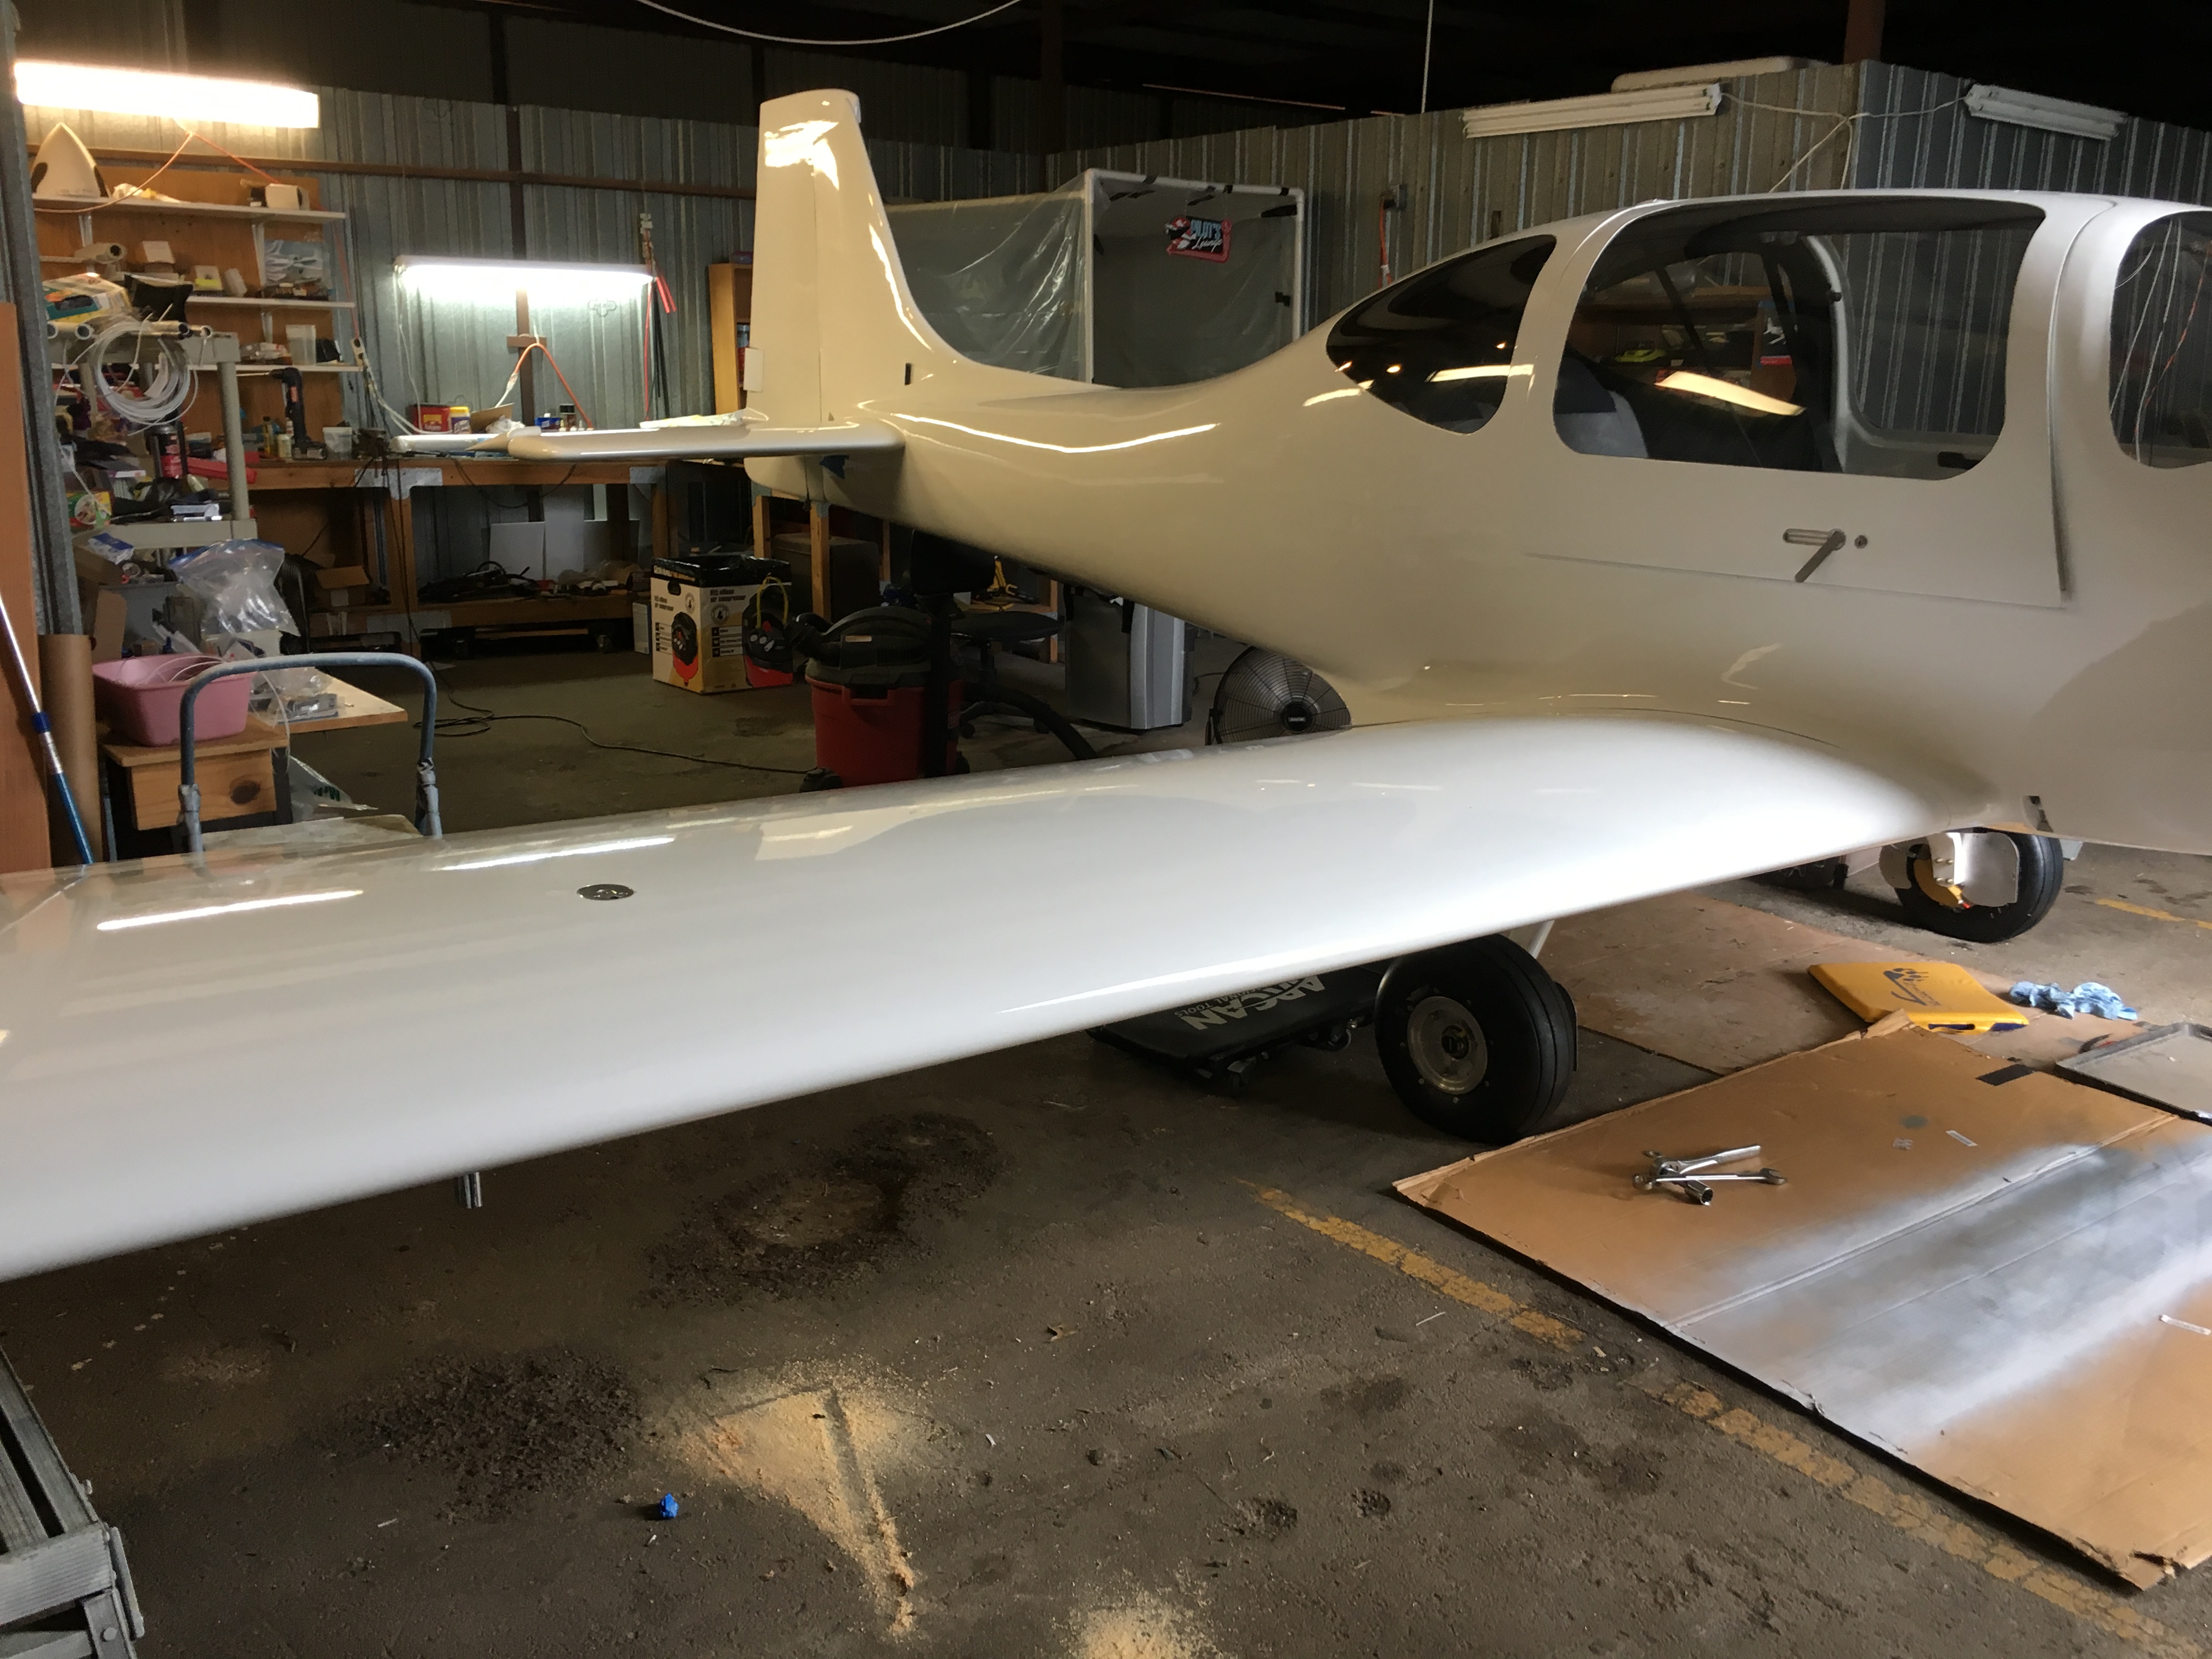
Right wing is
on and I then move to the left wing which turned out to be the problem
child. Two hours for first wing and two days for the second. |
 |
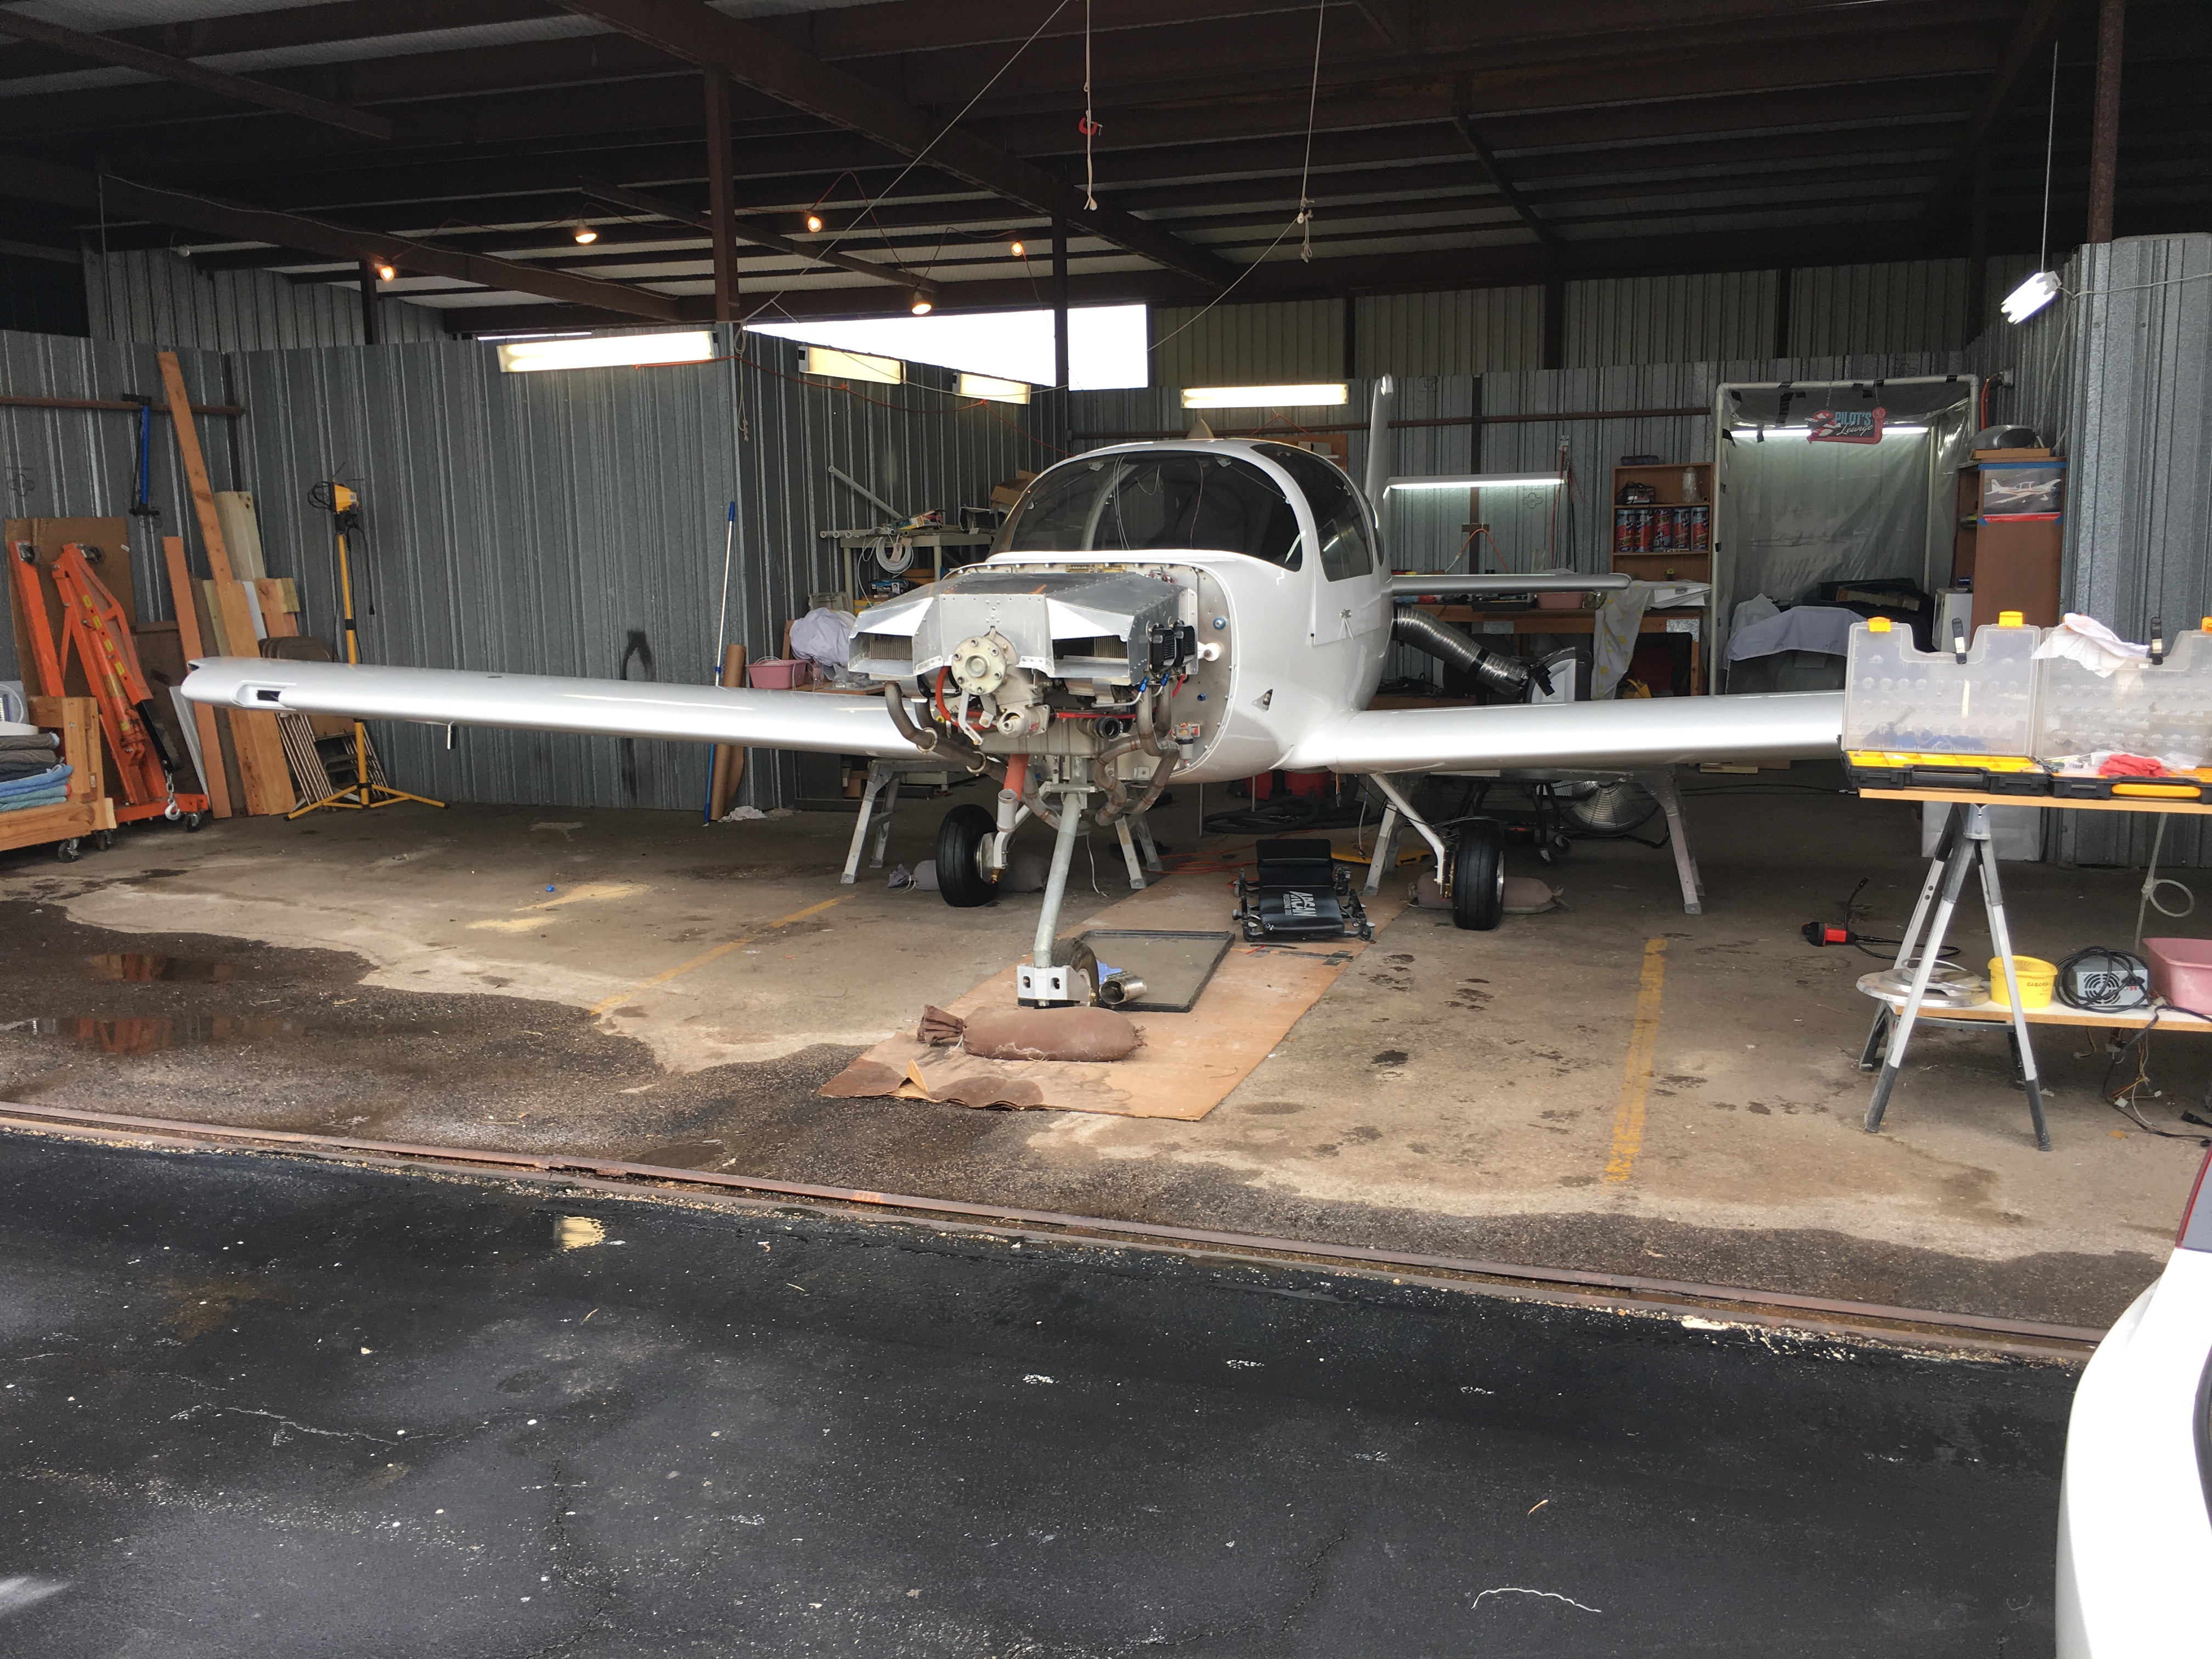 |
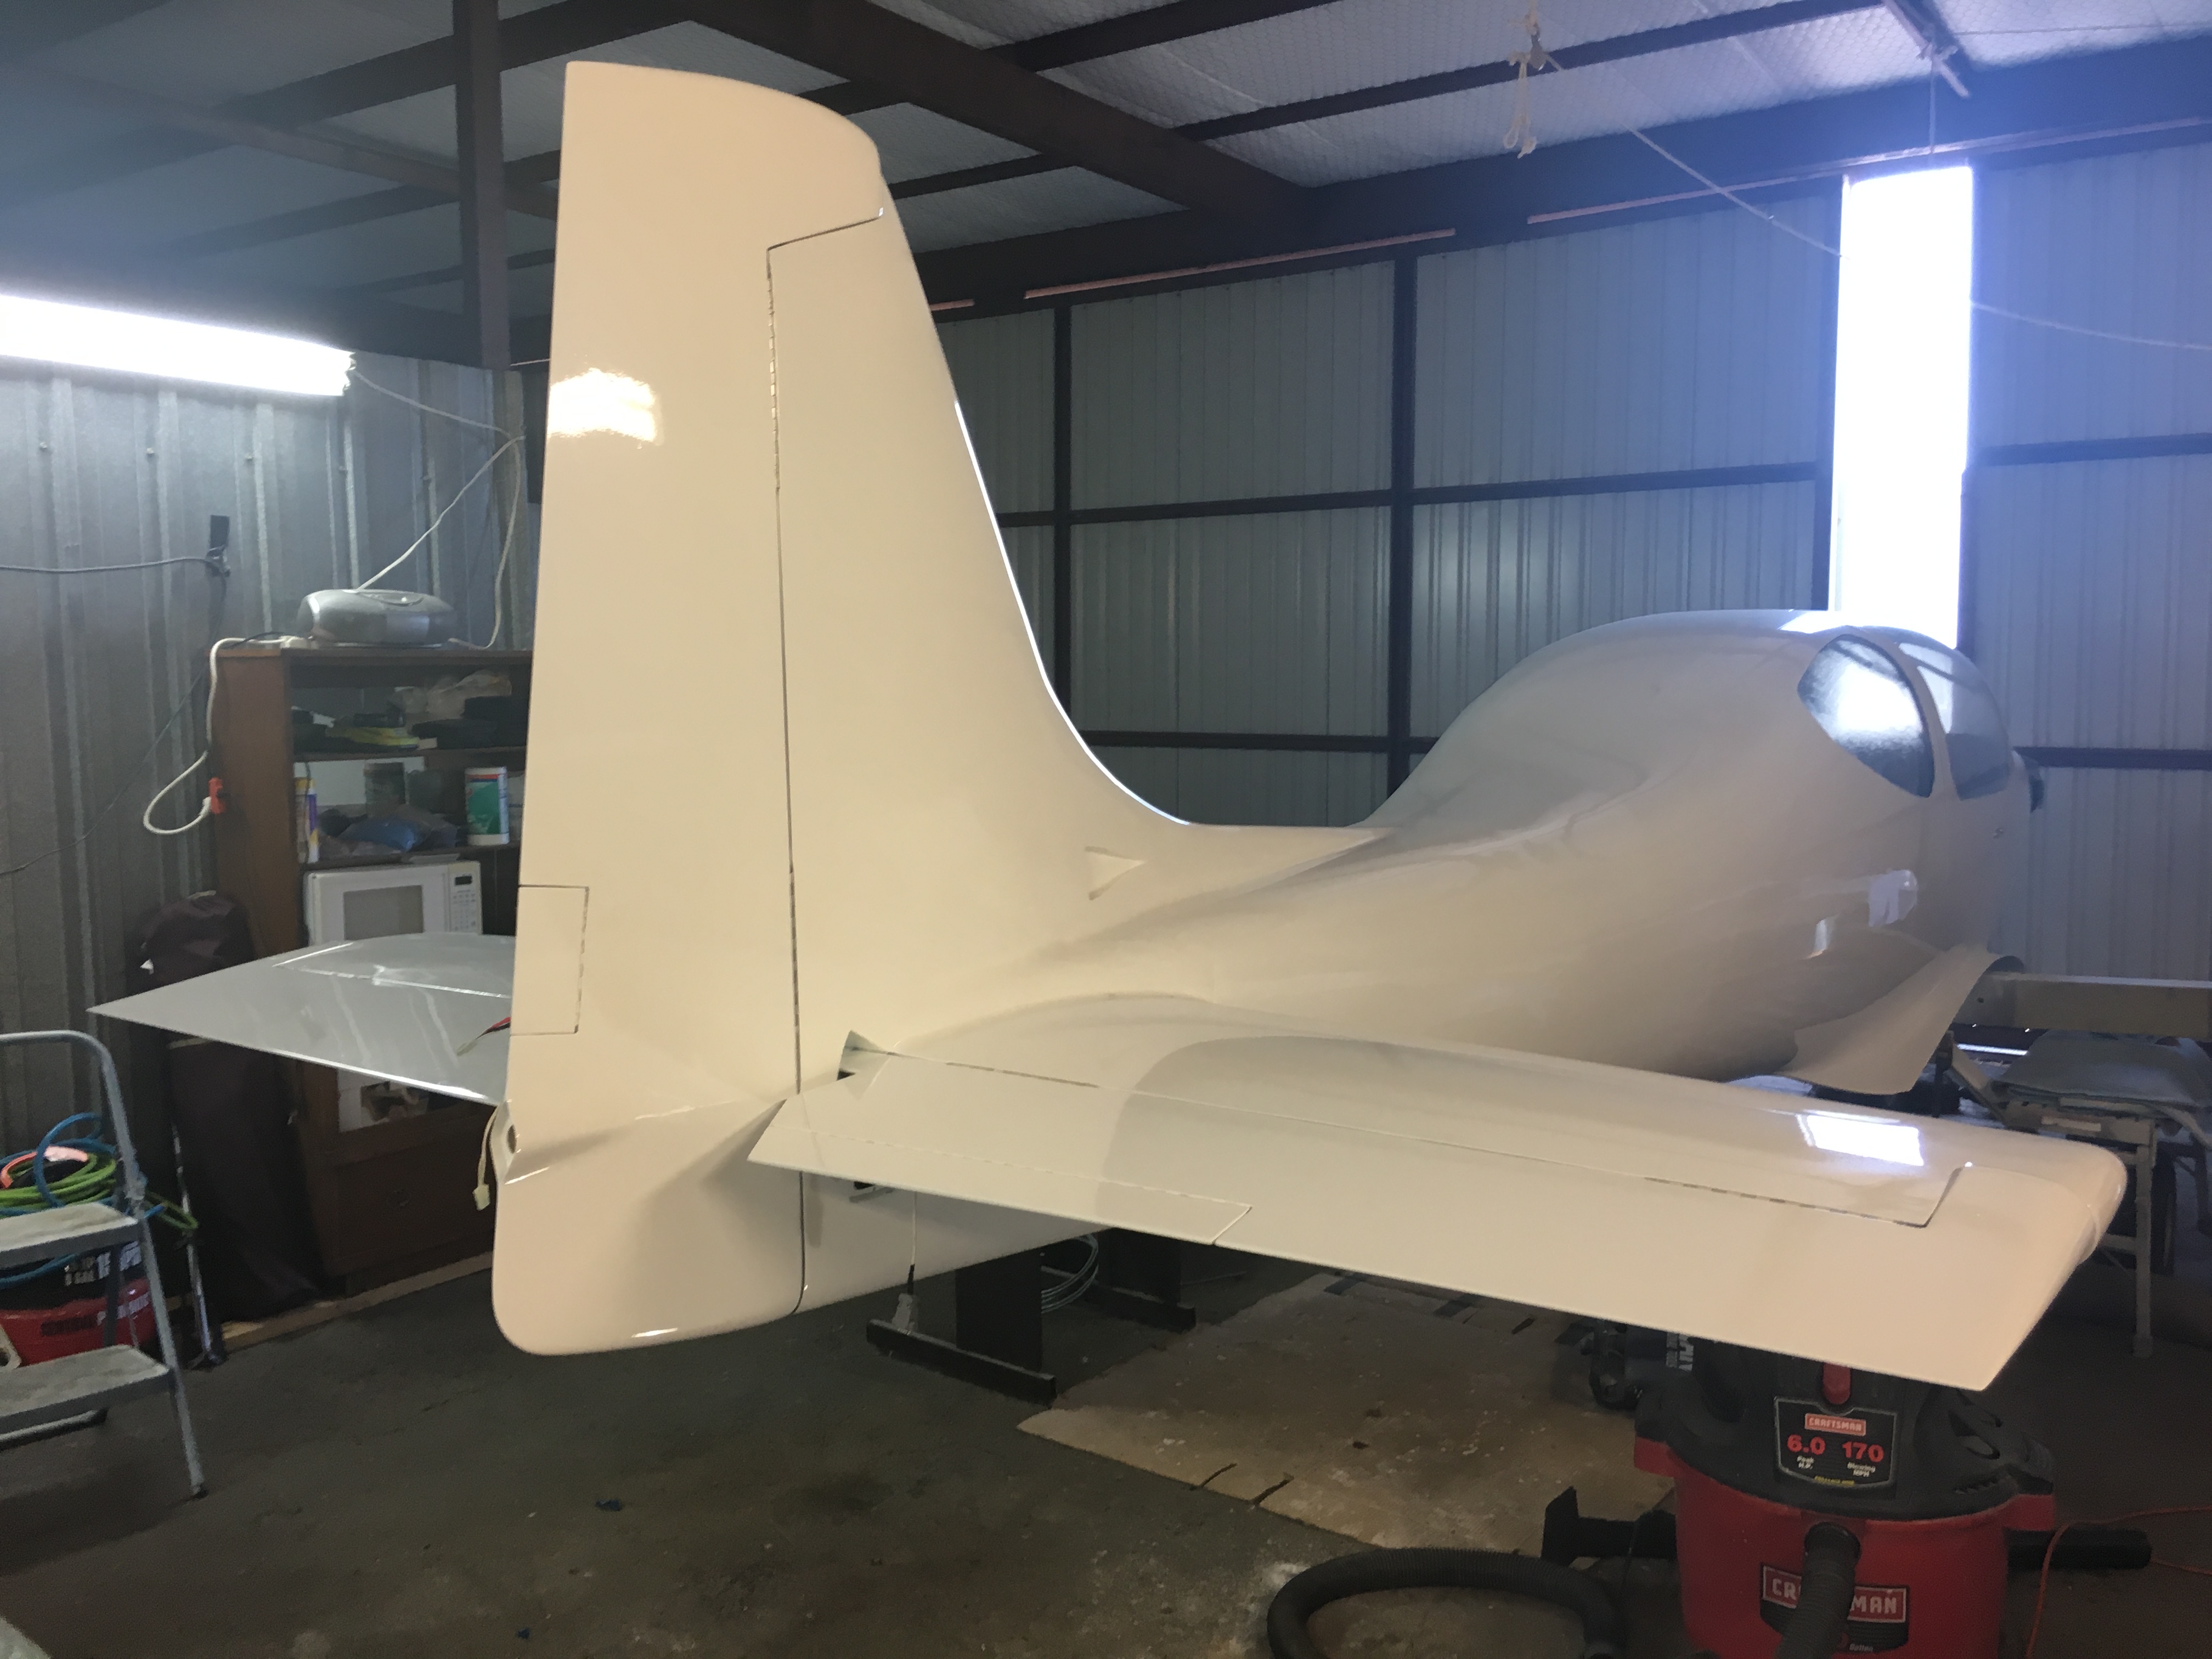
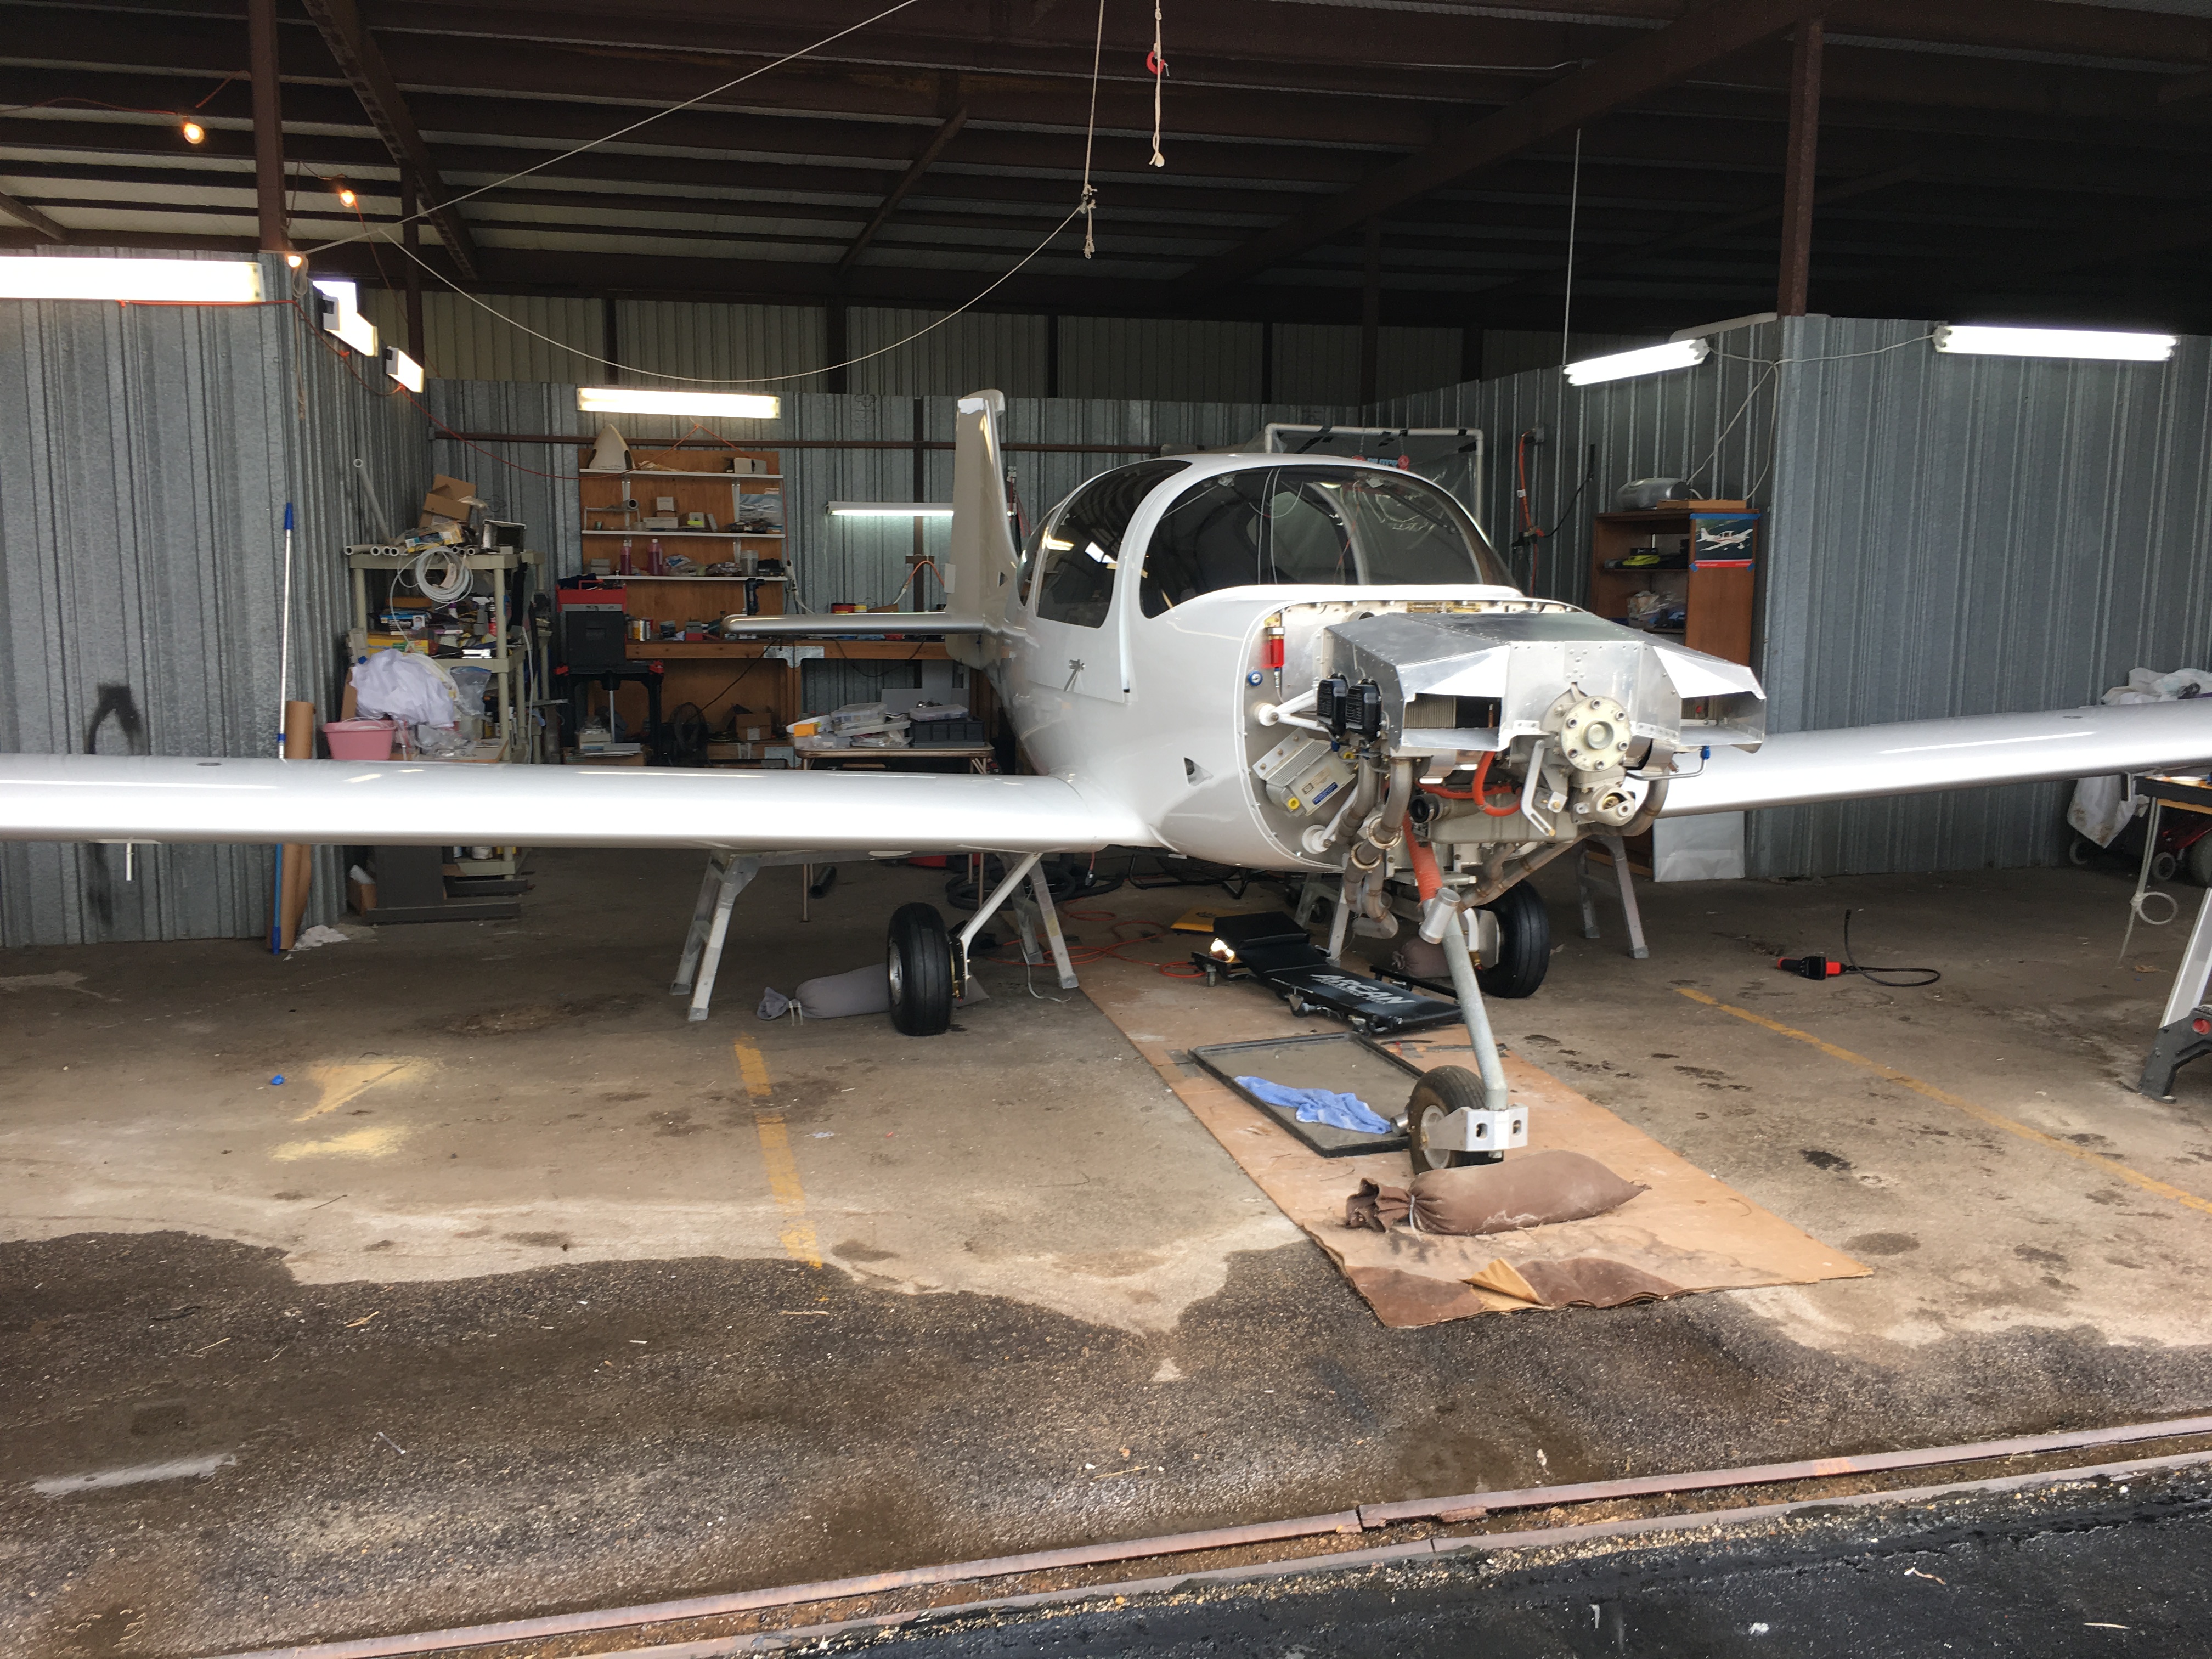
| Both
wings are on now and it is finally looking like a real airplane.
Still a long way to go but this was a real moral boost. |
|
 |
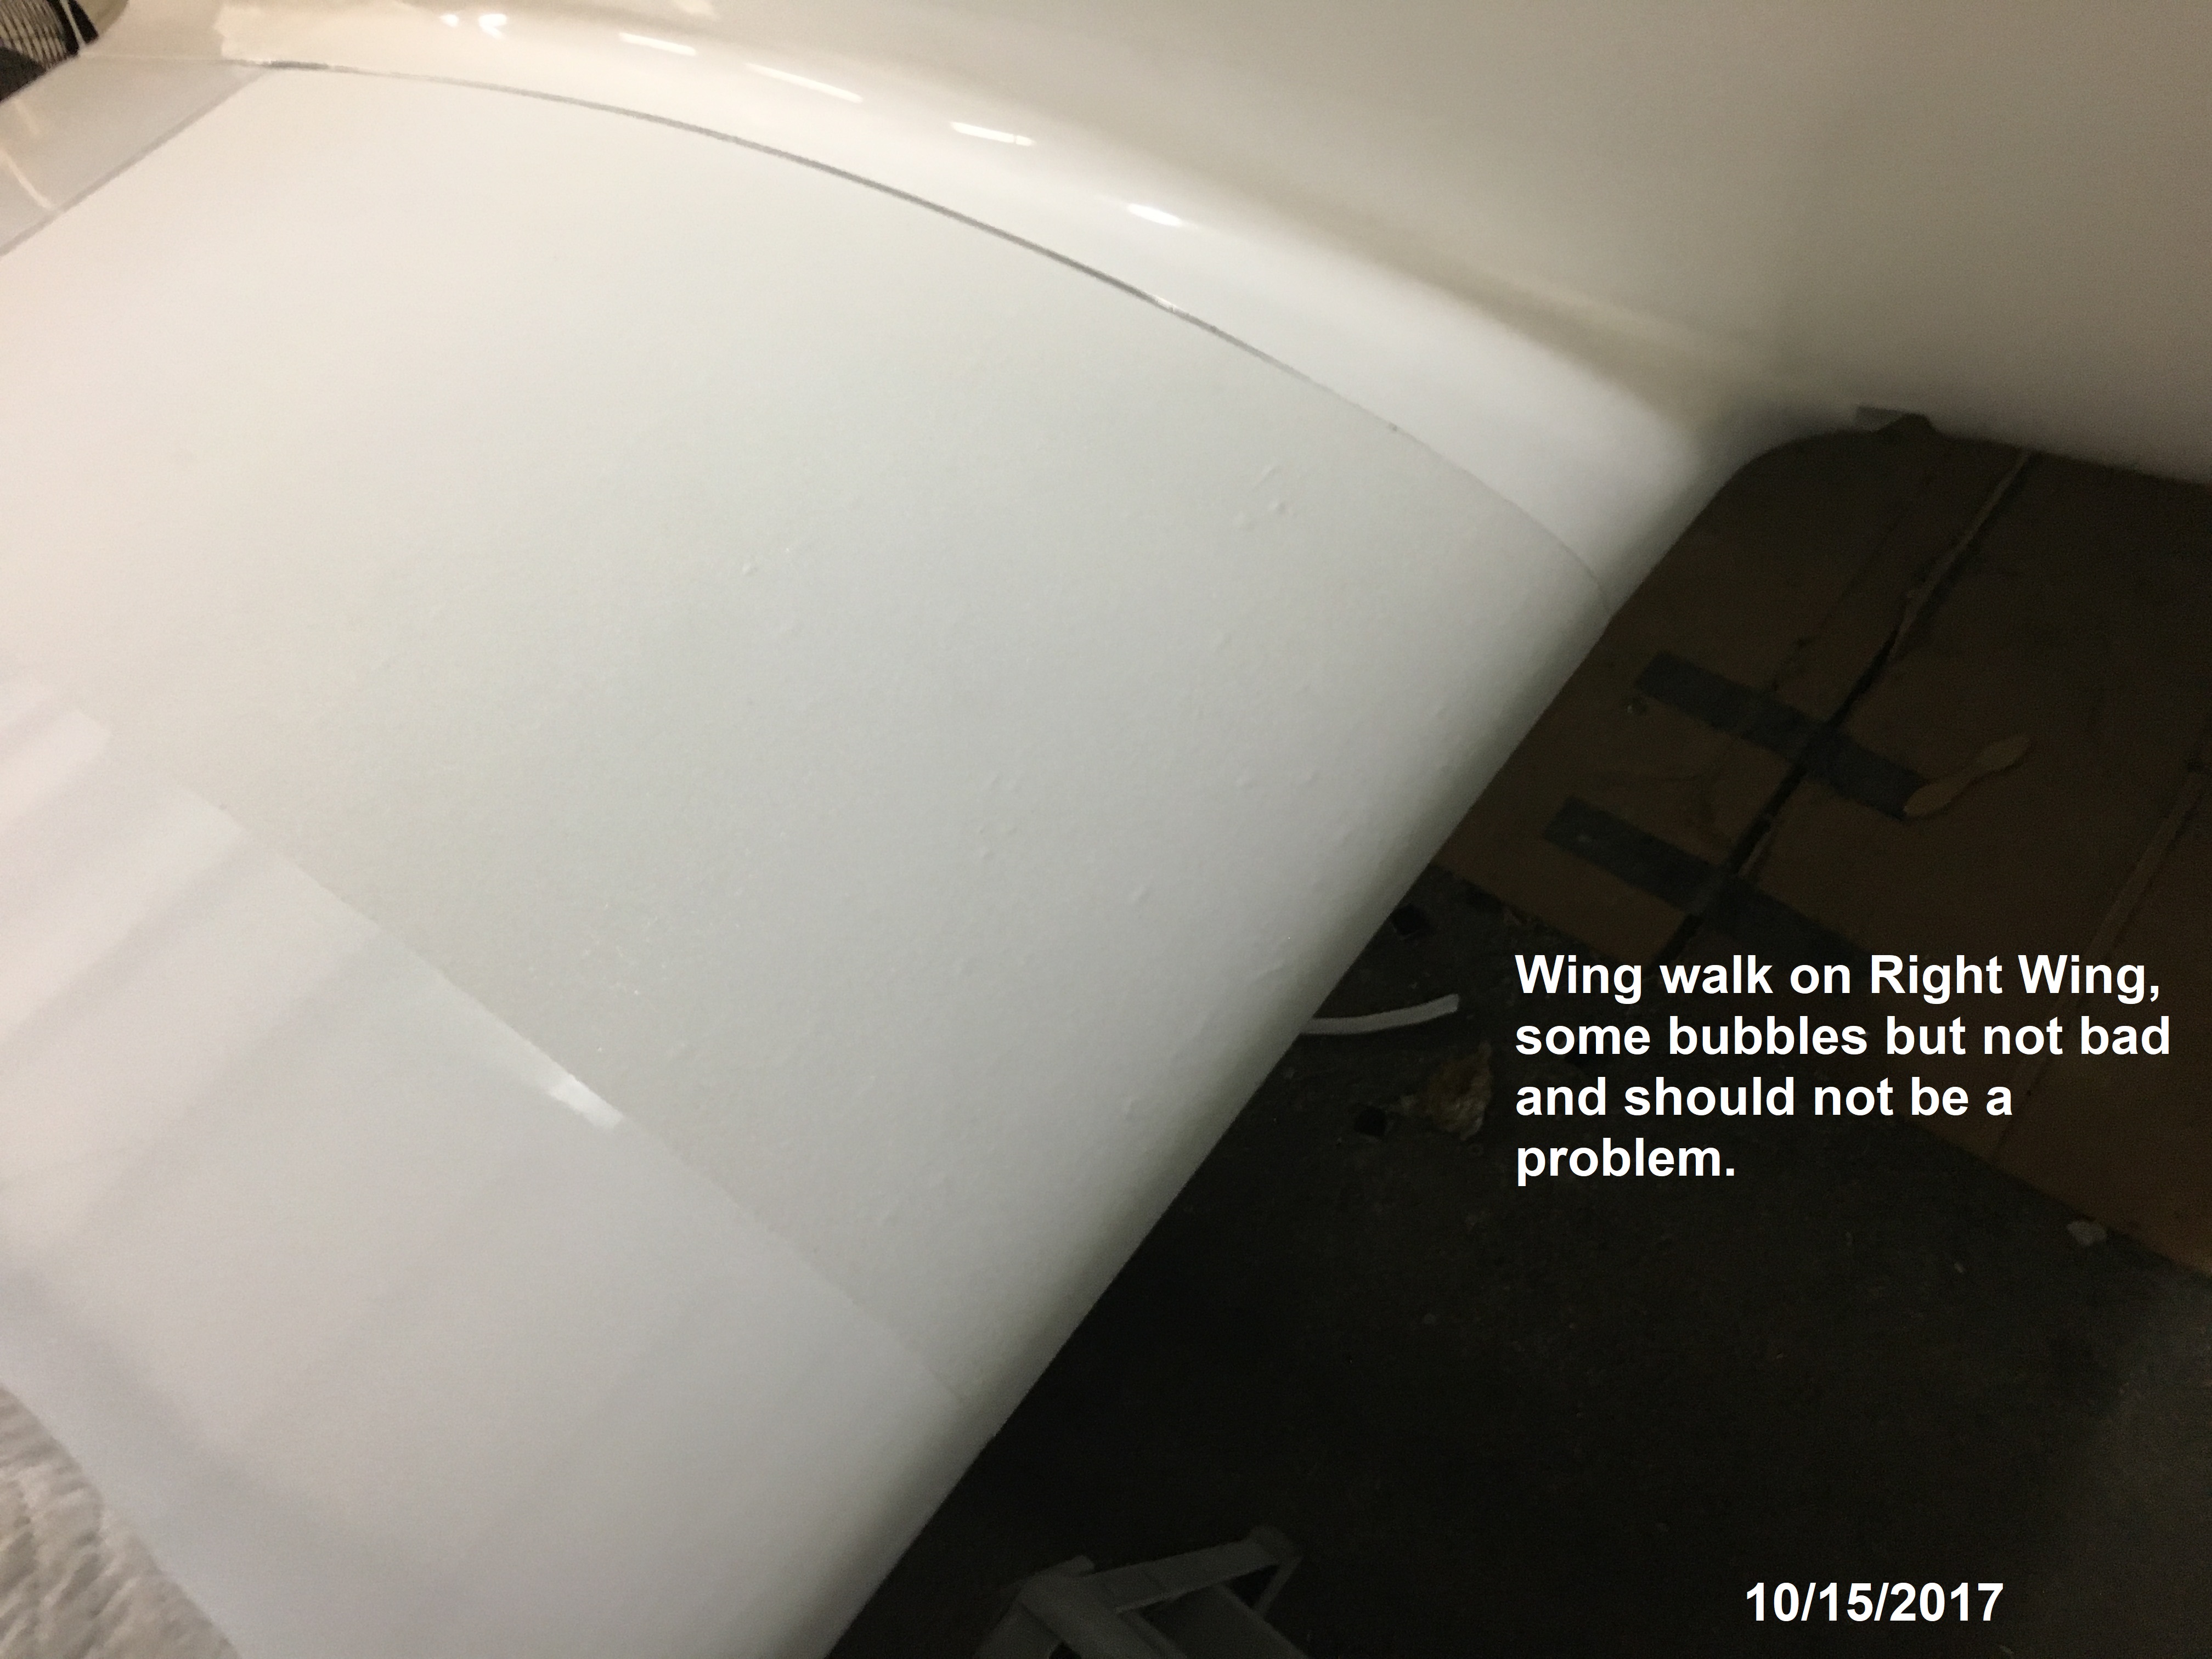 |
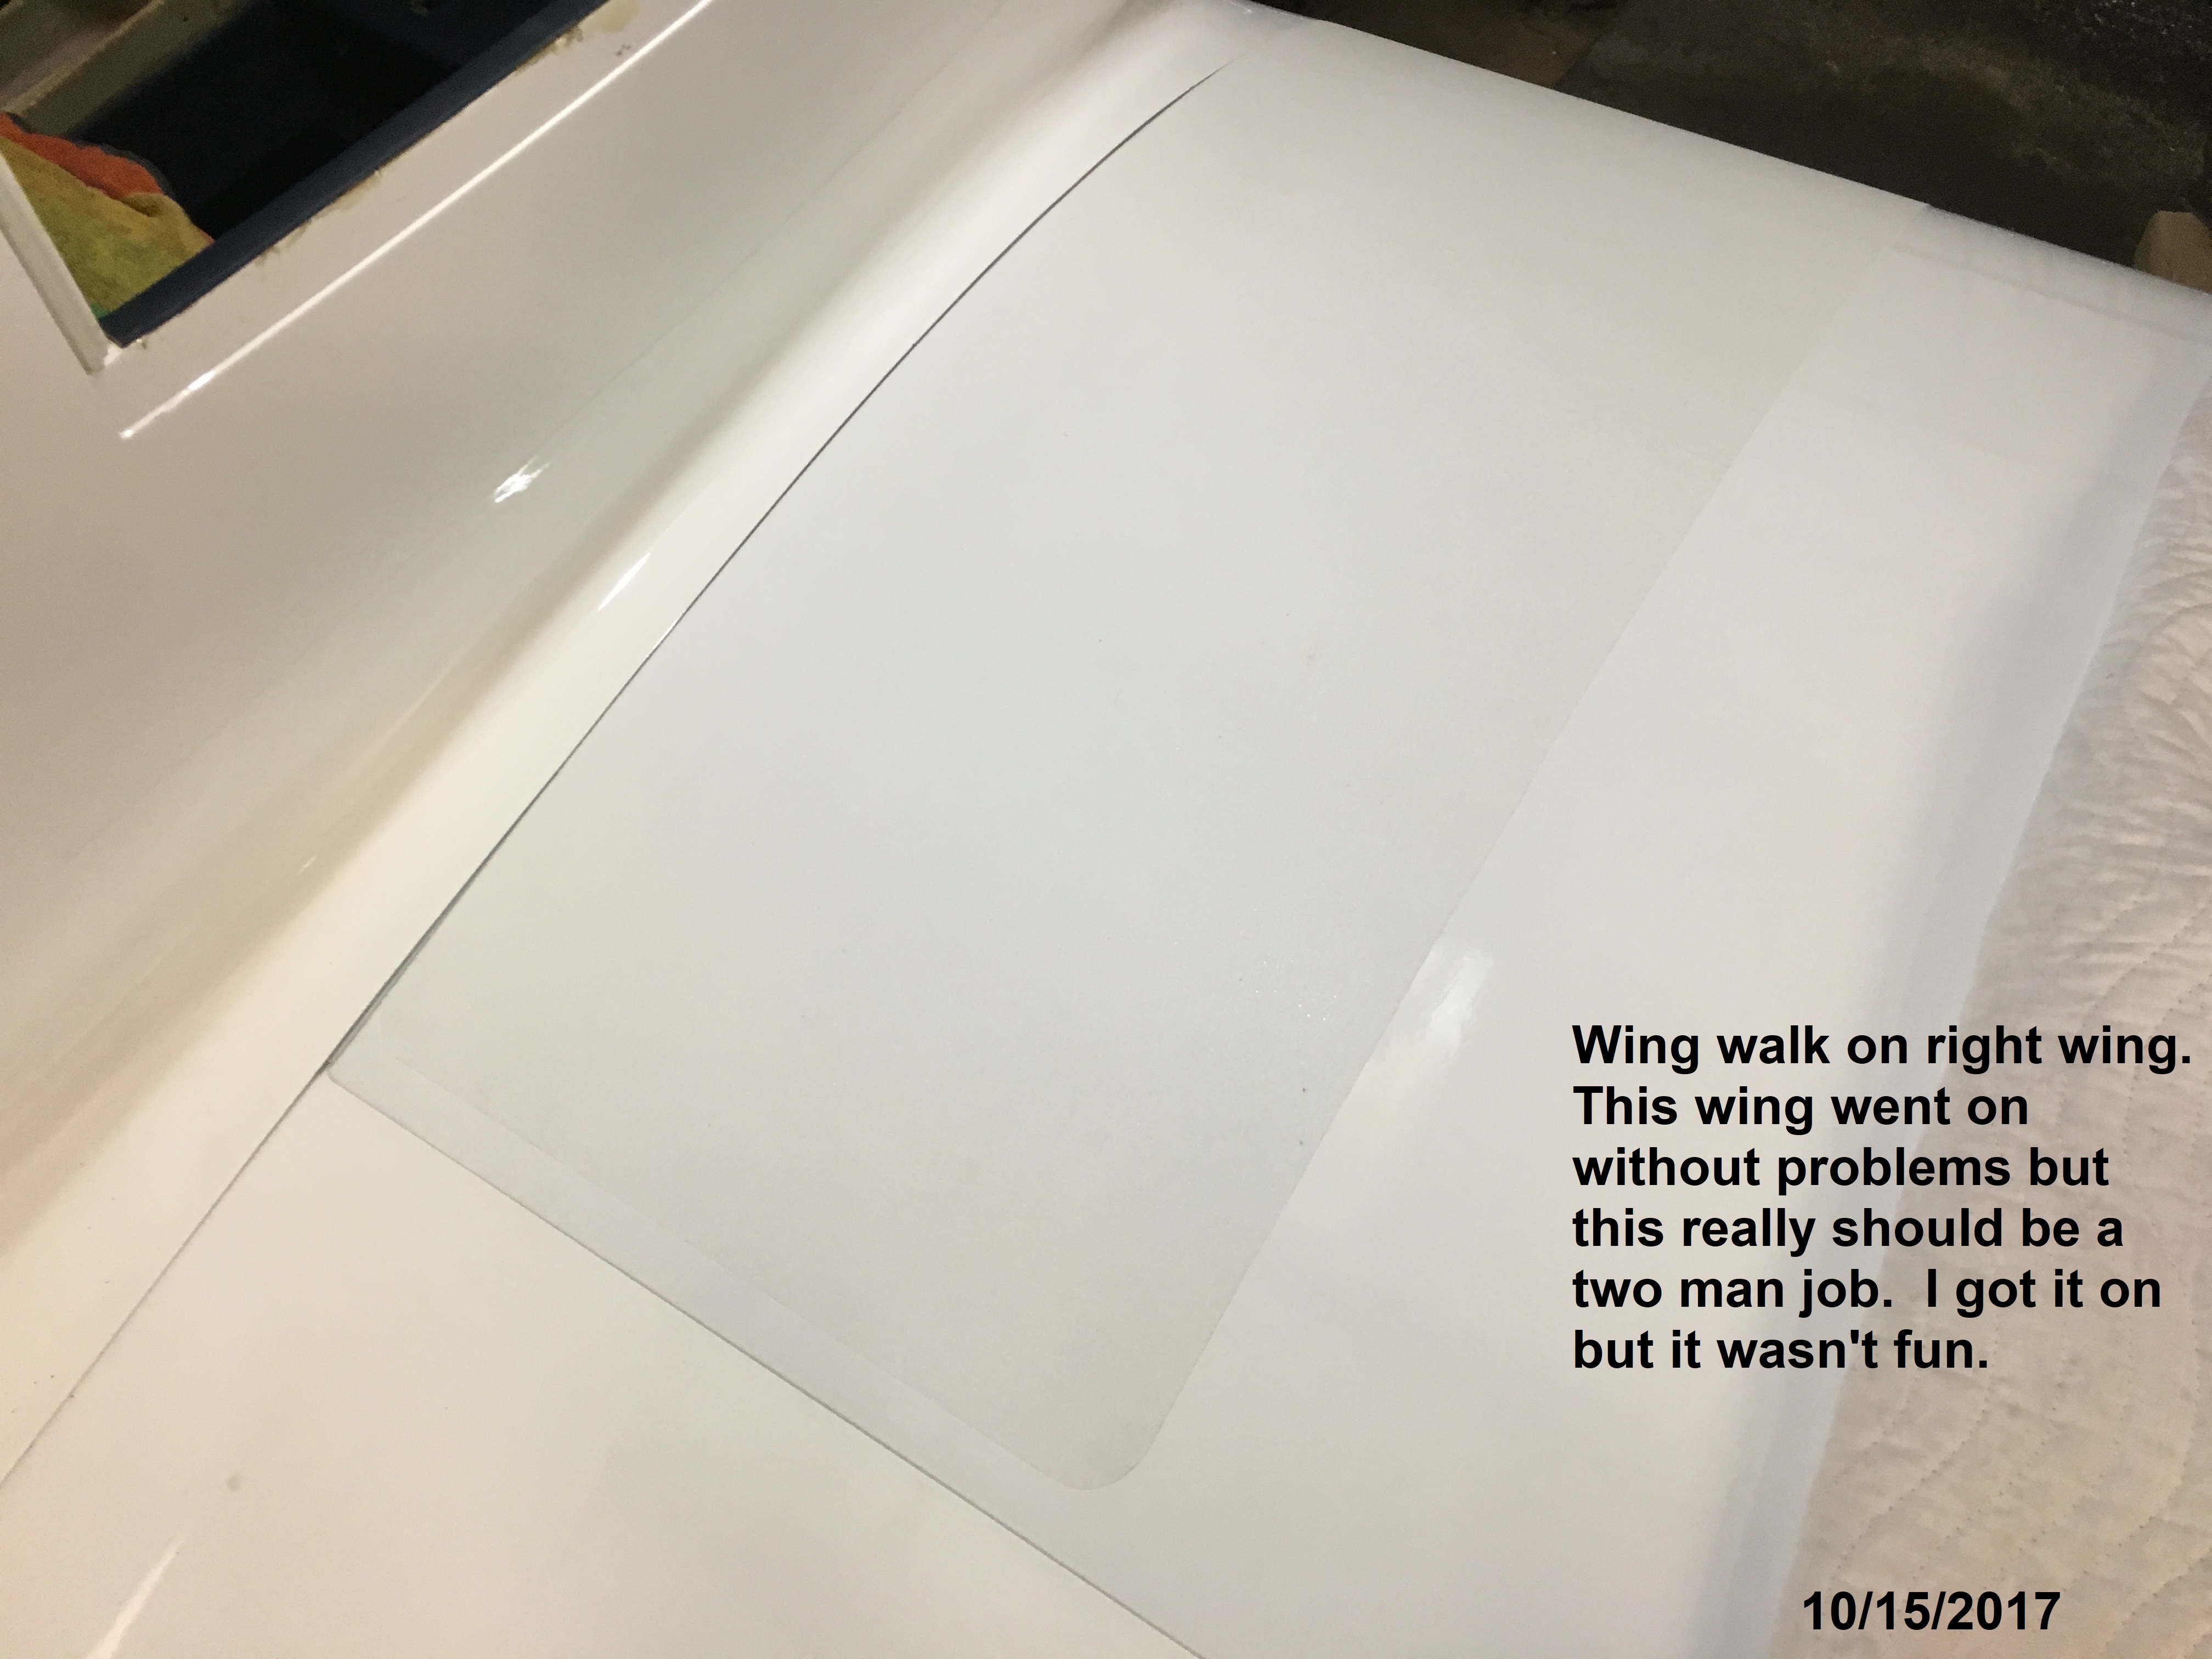
| I
knew I would be going in and out a lot so I installed the wing
walk. After having it on for a while I have mixed emotions about
using the white wing walk. The main issue is that it shows all
the dirt. |
|