| Sometime you plan everything in advance and sometimes things are best done by seeing what works best as you progress through a task. That is the case with the construction of my engine pressure plenum. I started with be baffle system purchased from Vans Aircraft for the Lycoming O-360 Engine. The basic system was a great start and saved a lot of time in preparing the initial system. | |
 |
 |
|
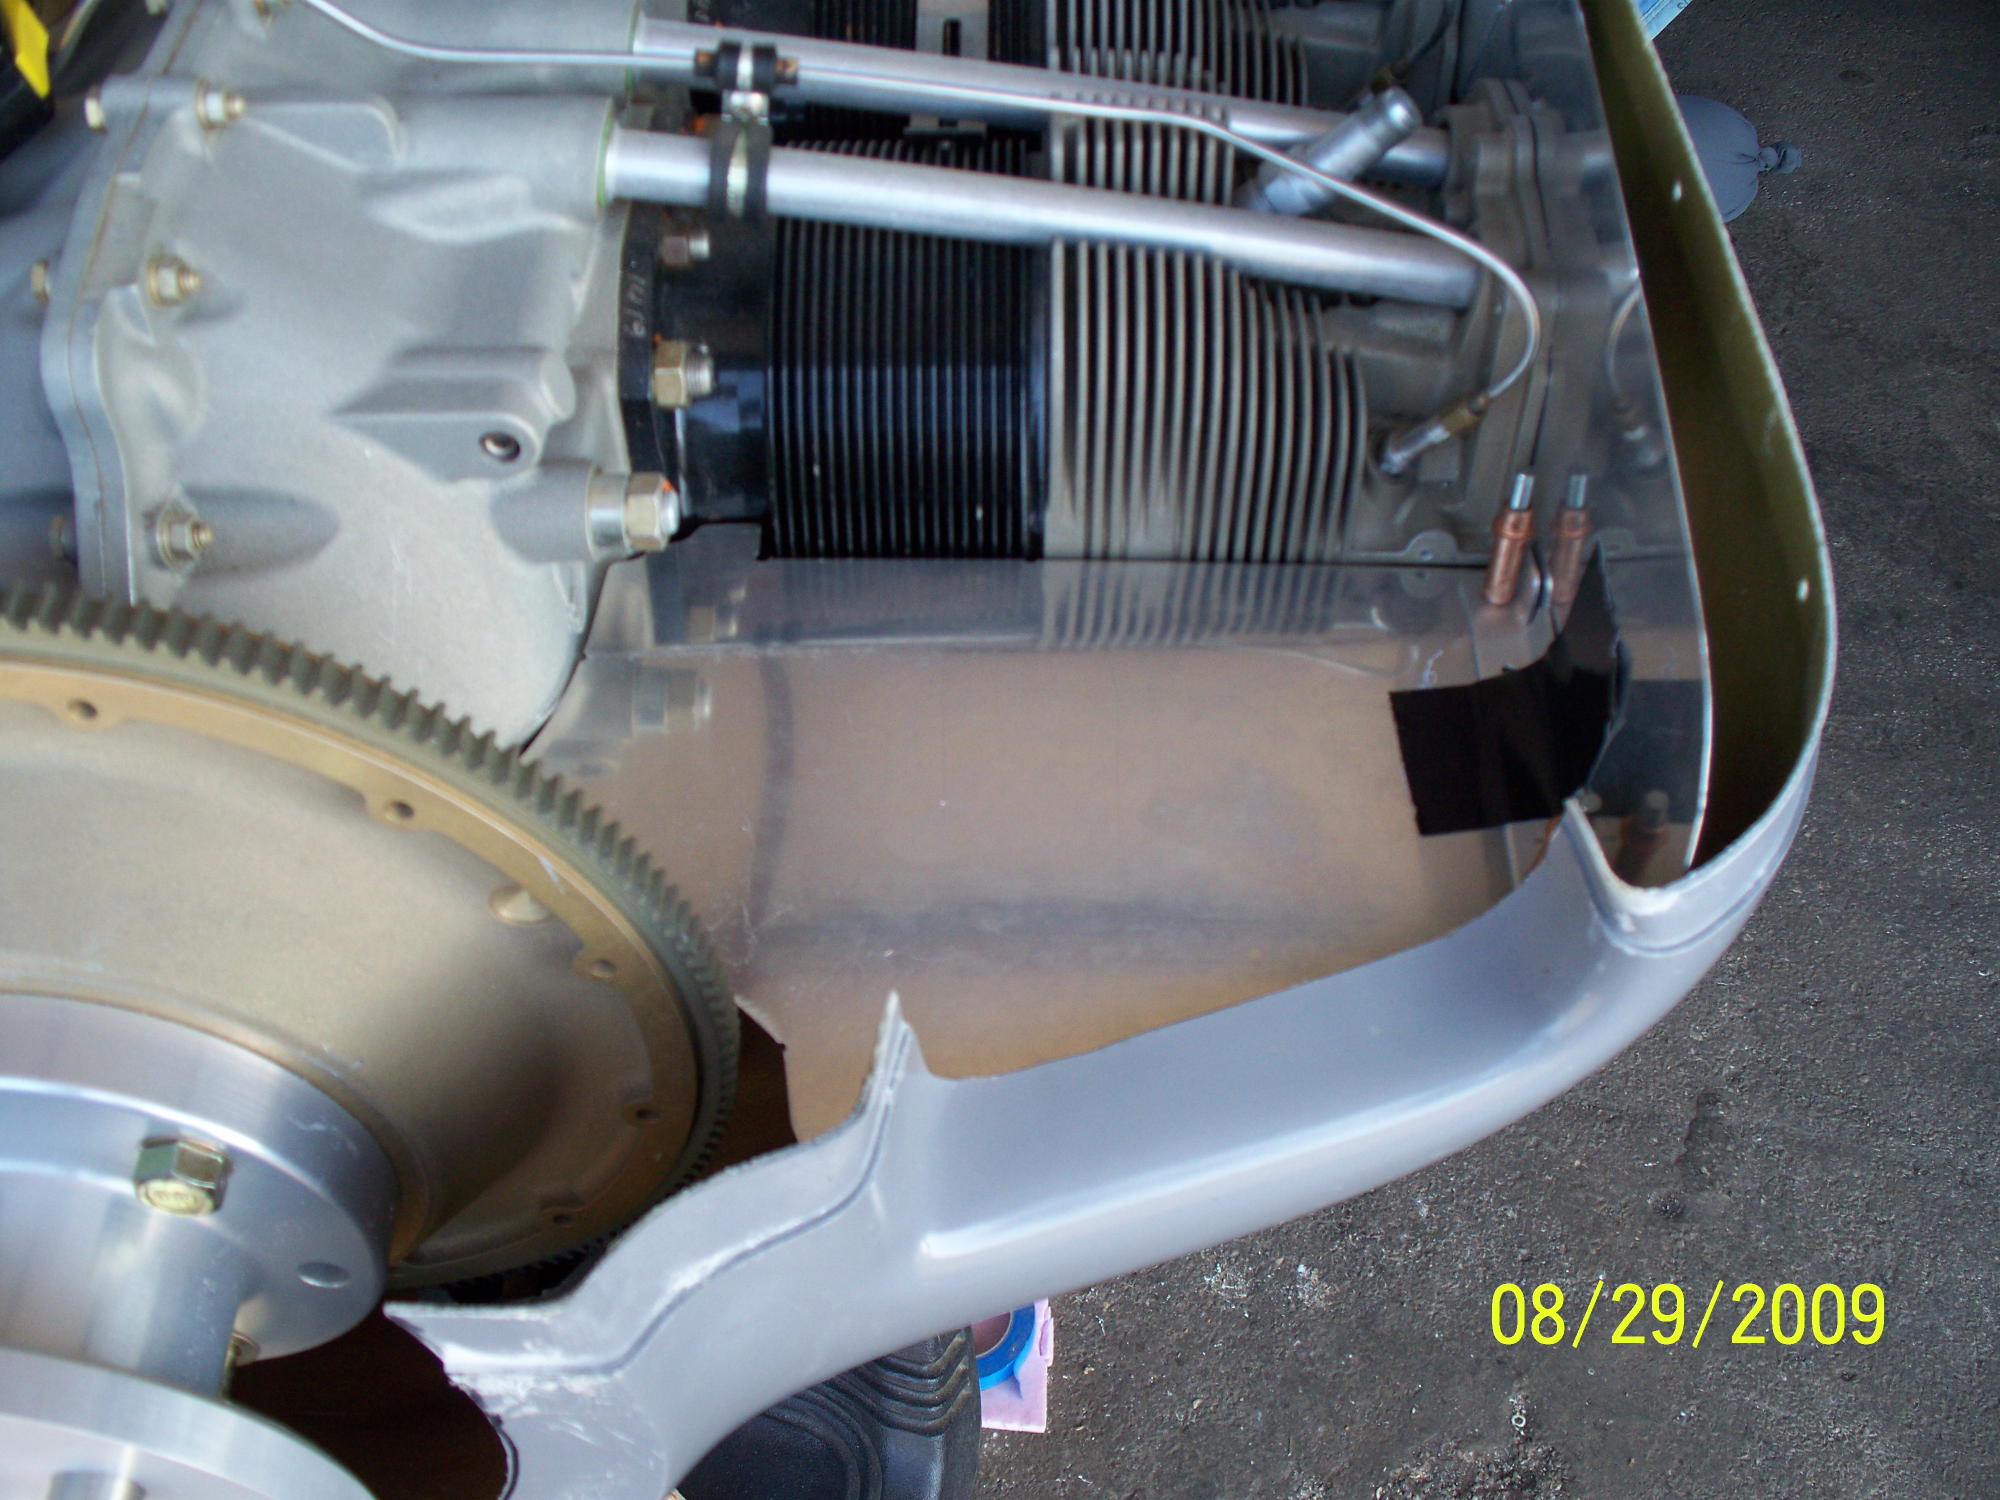
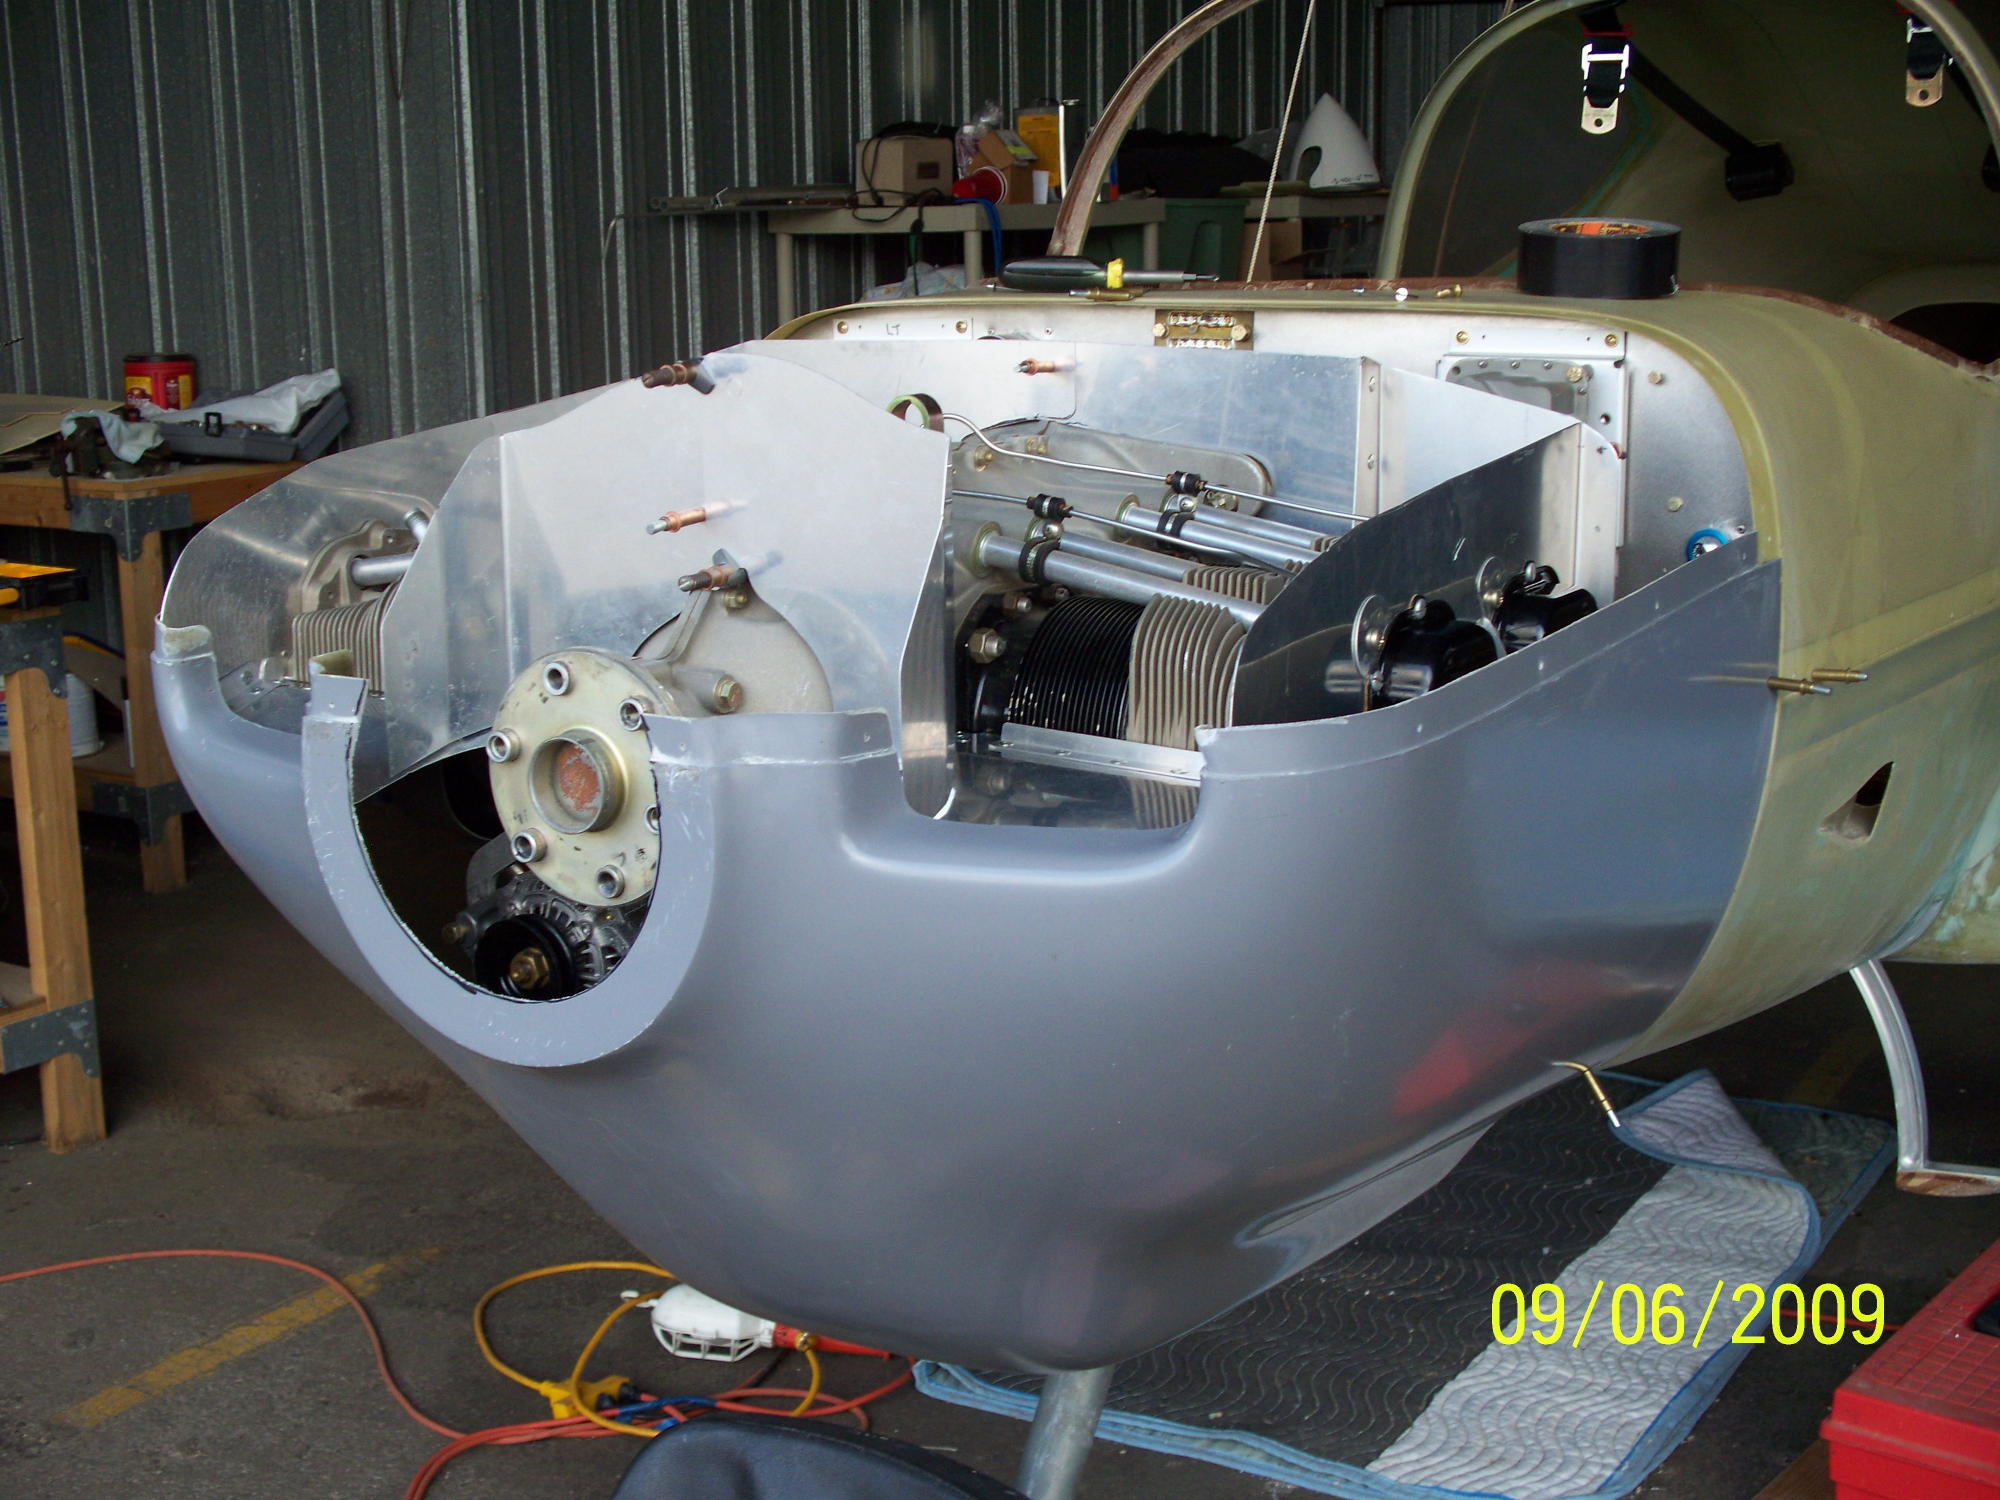
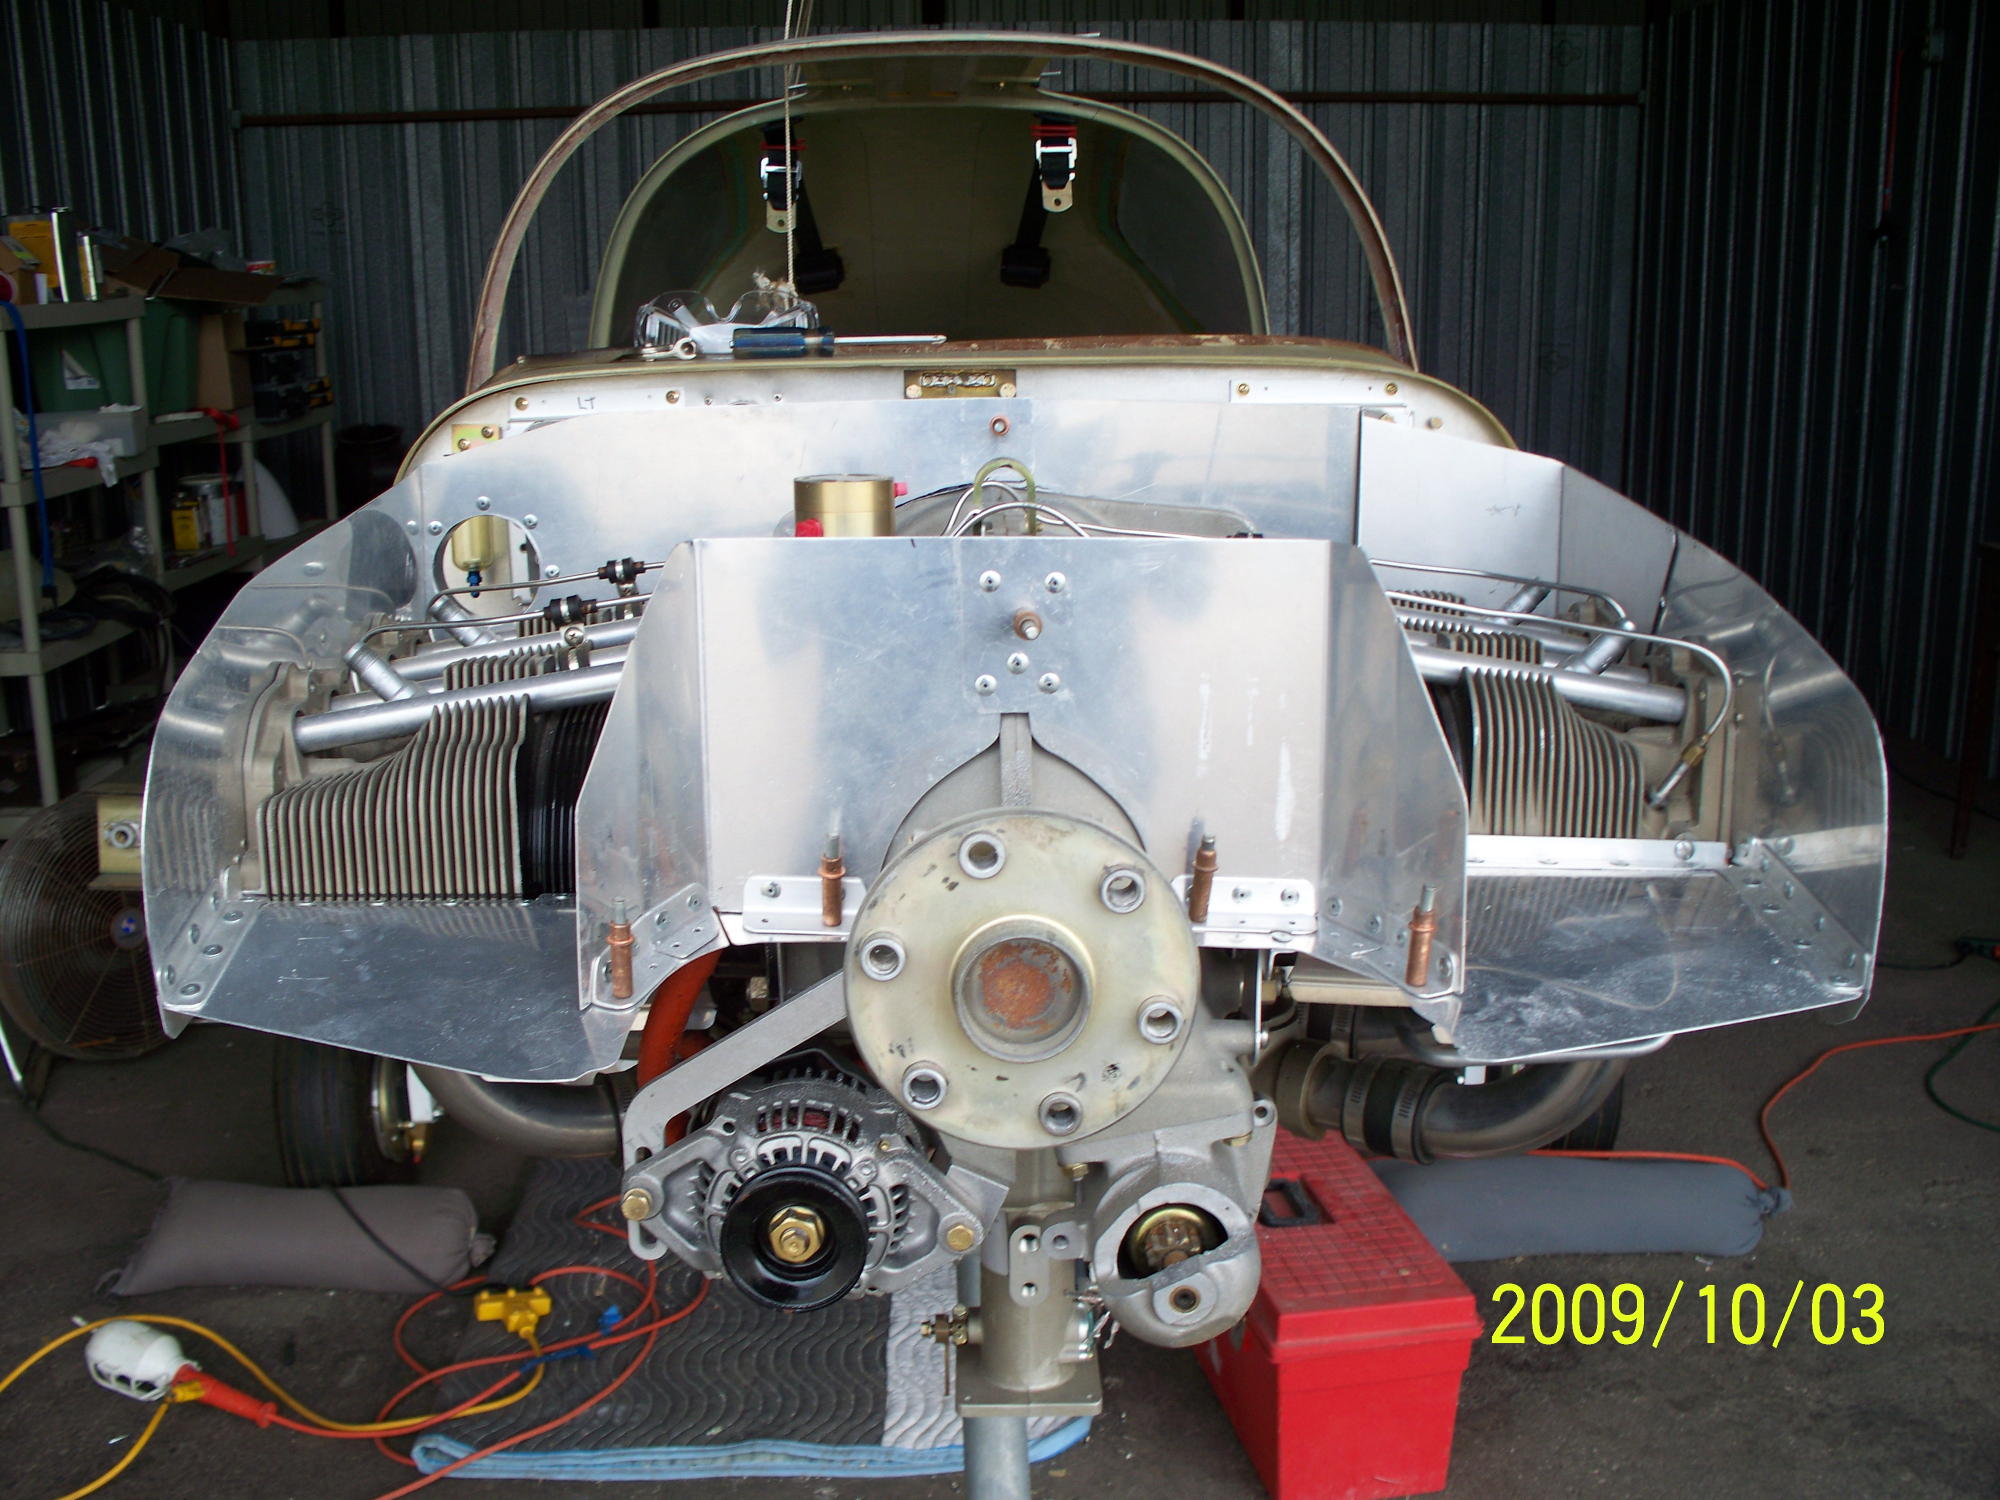
An initial fitting of the baffle shows a
very good fit until you place the top of the cowling in place. |
|
 |
 |
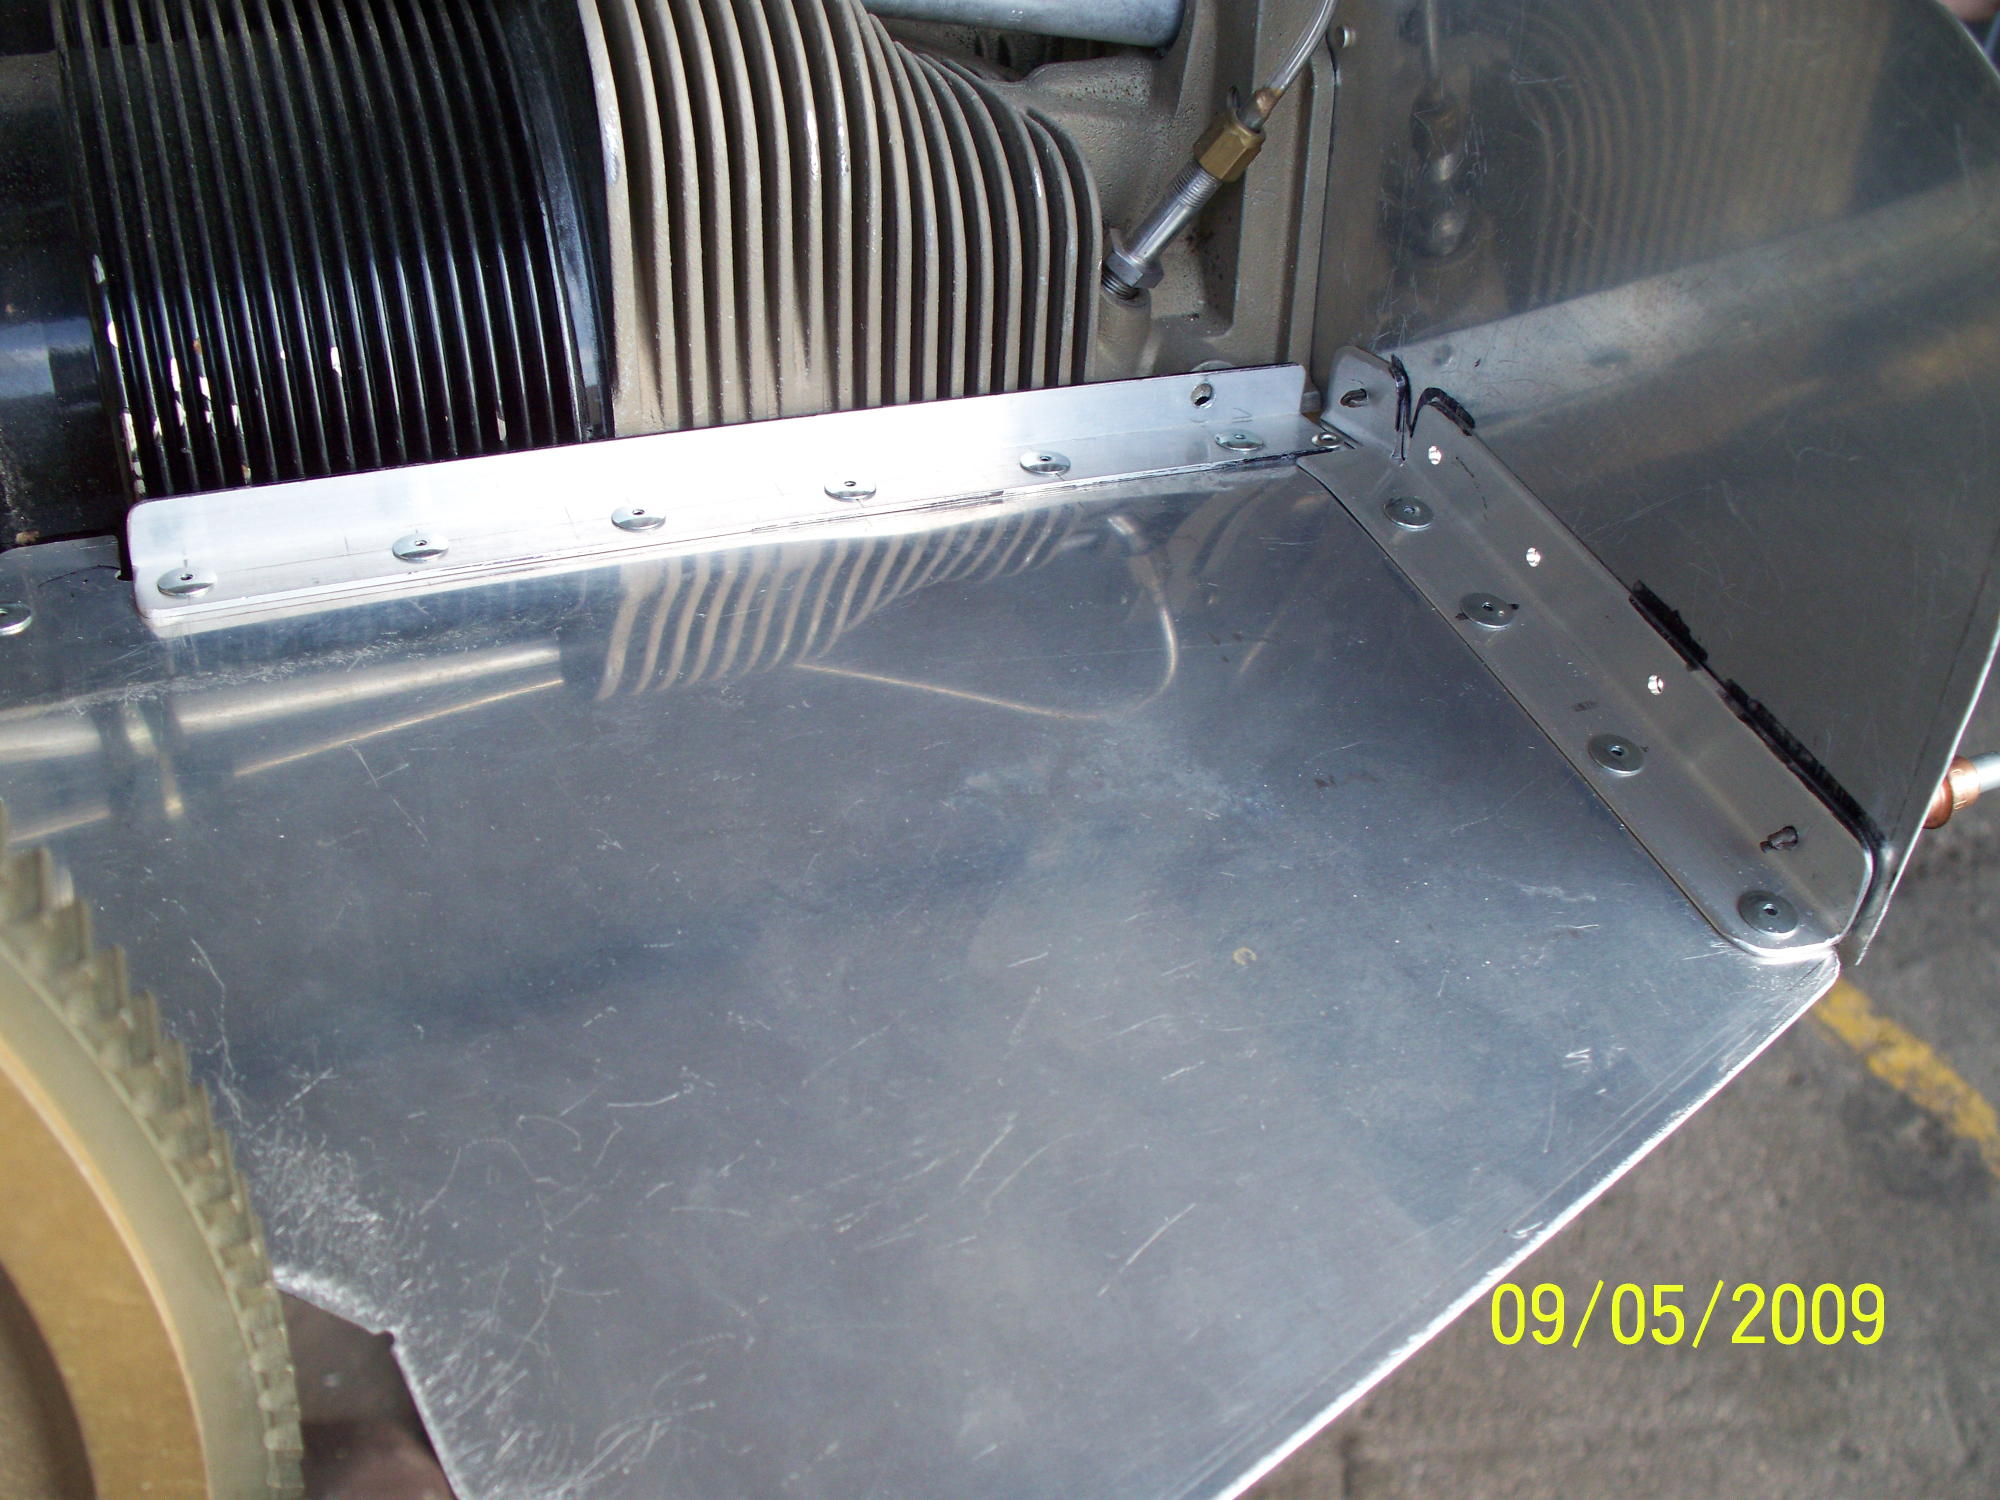
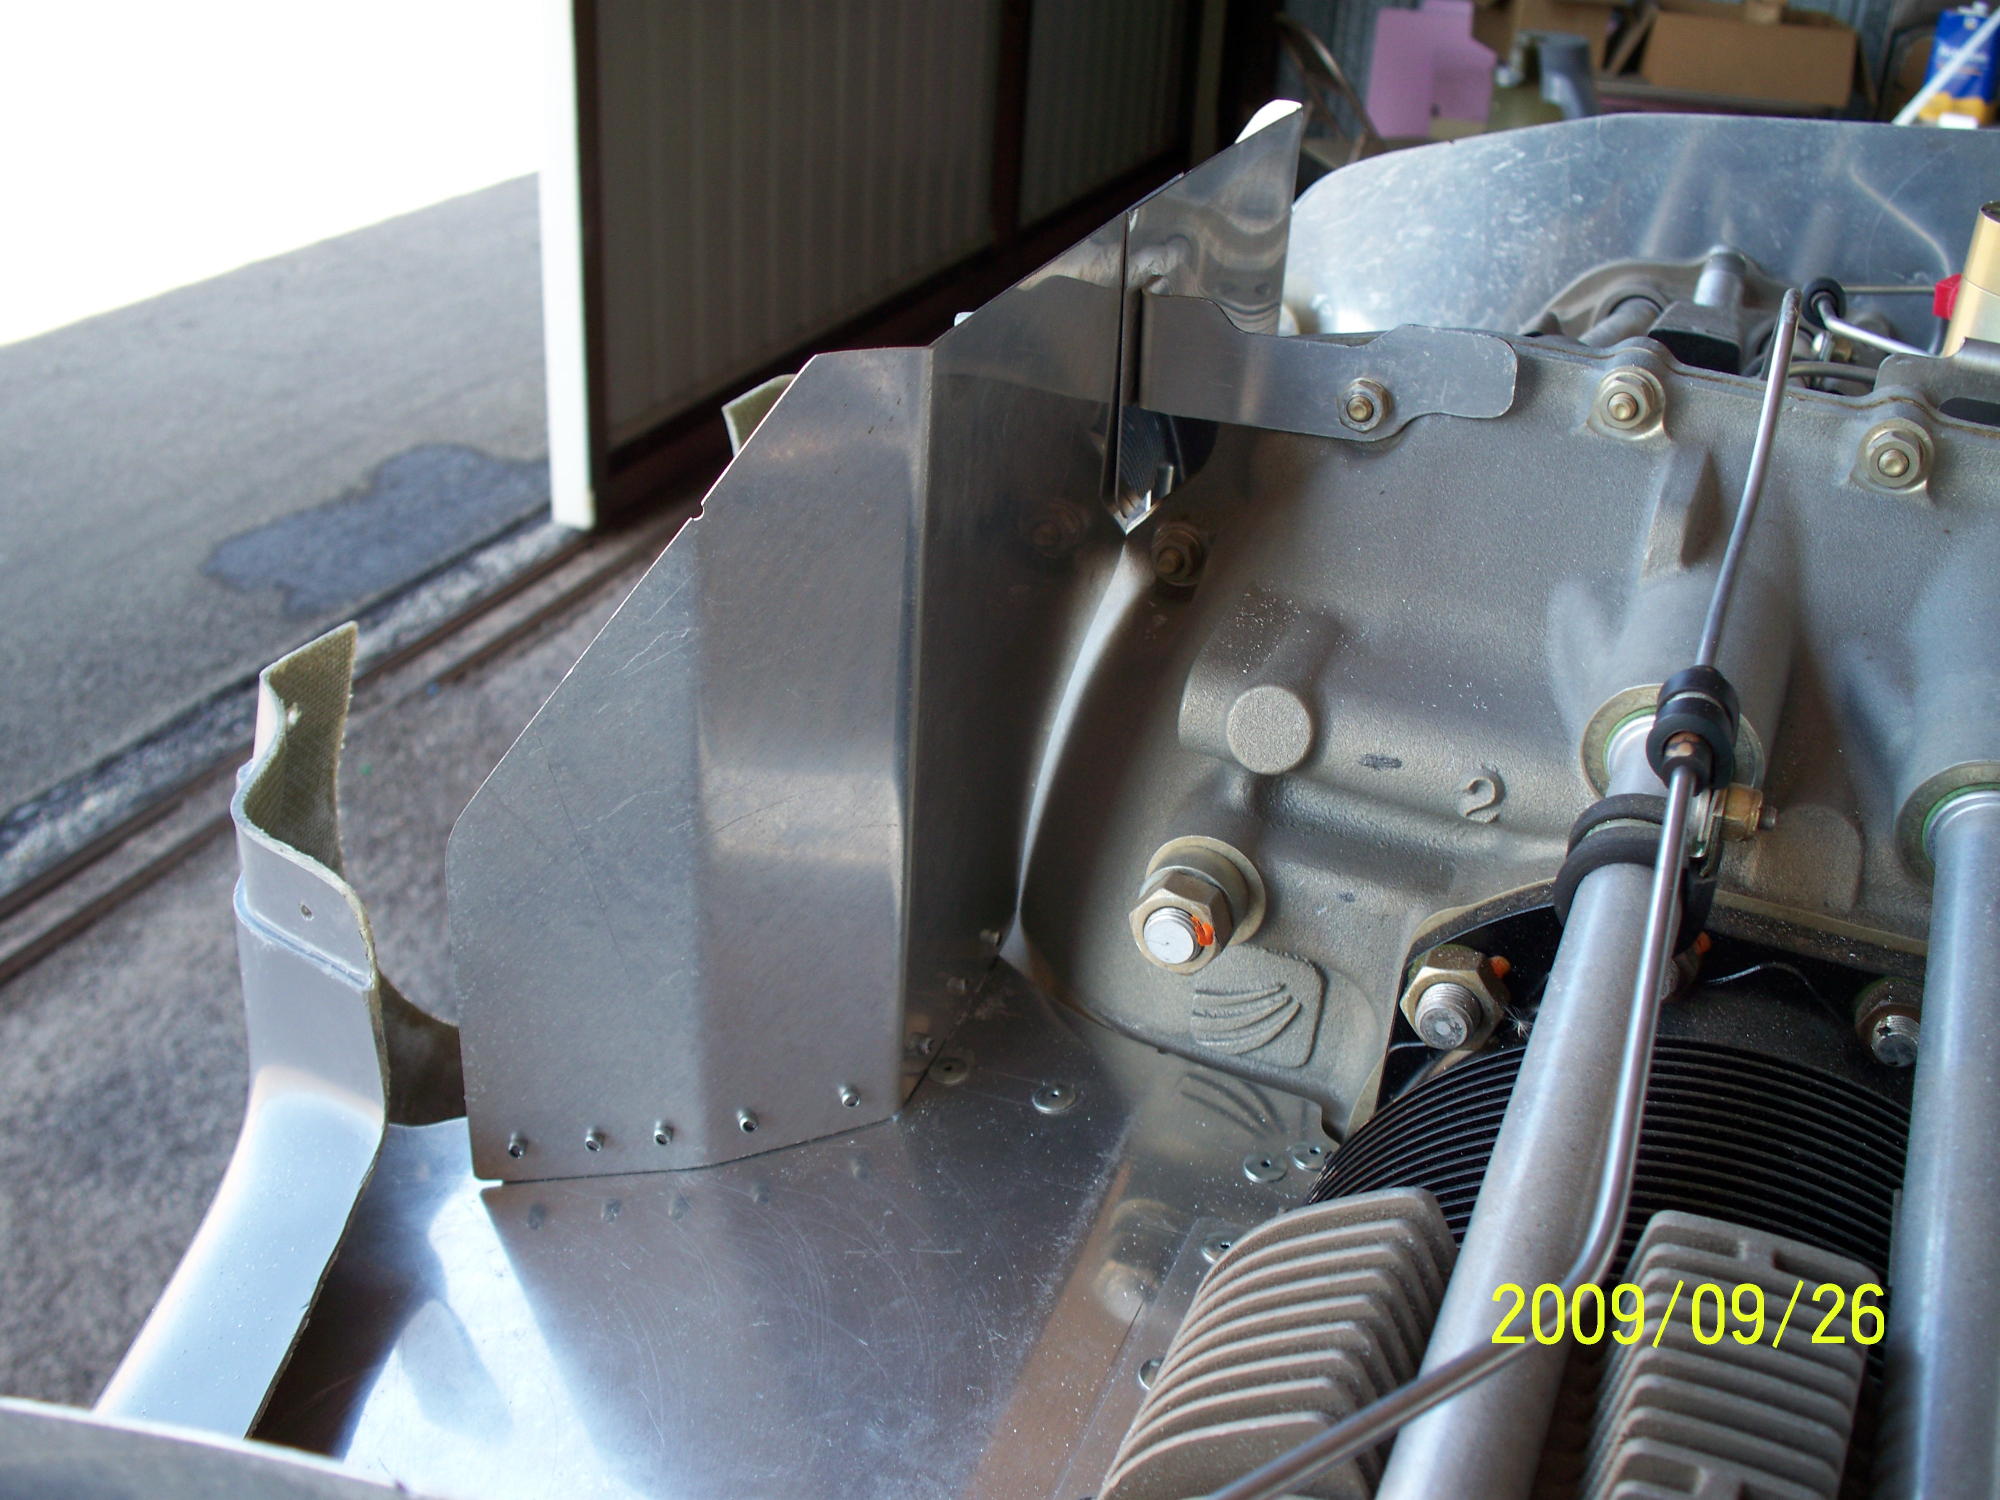
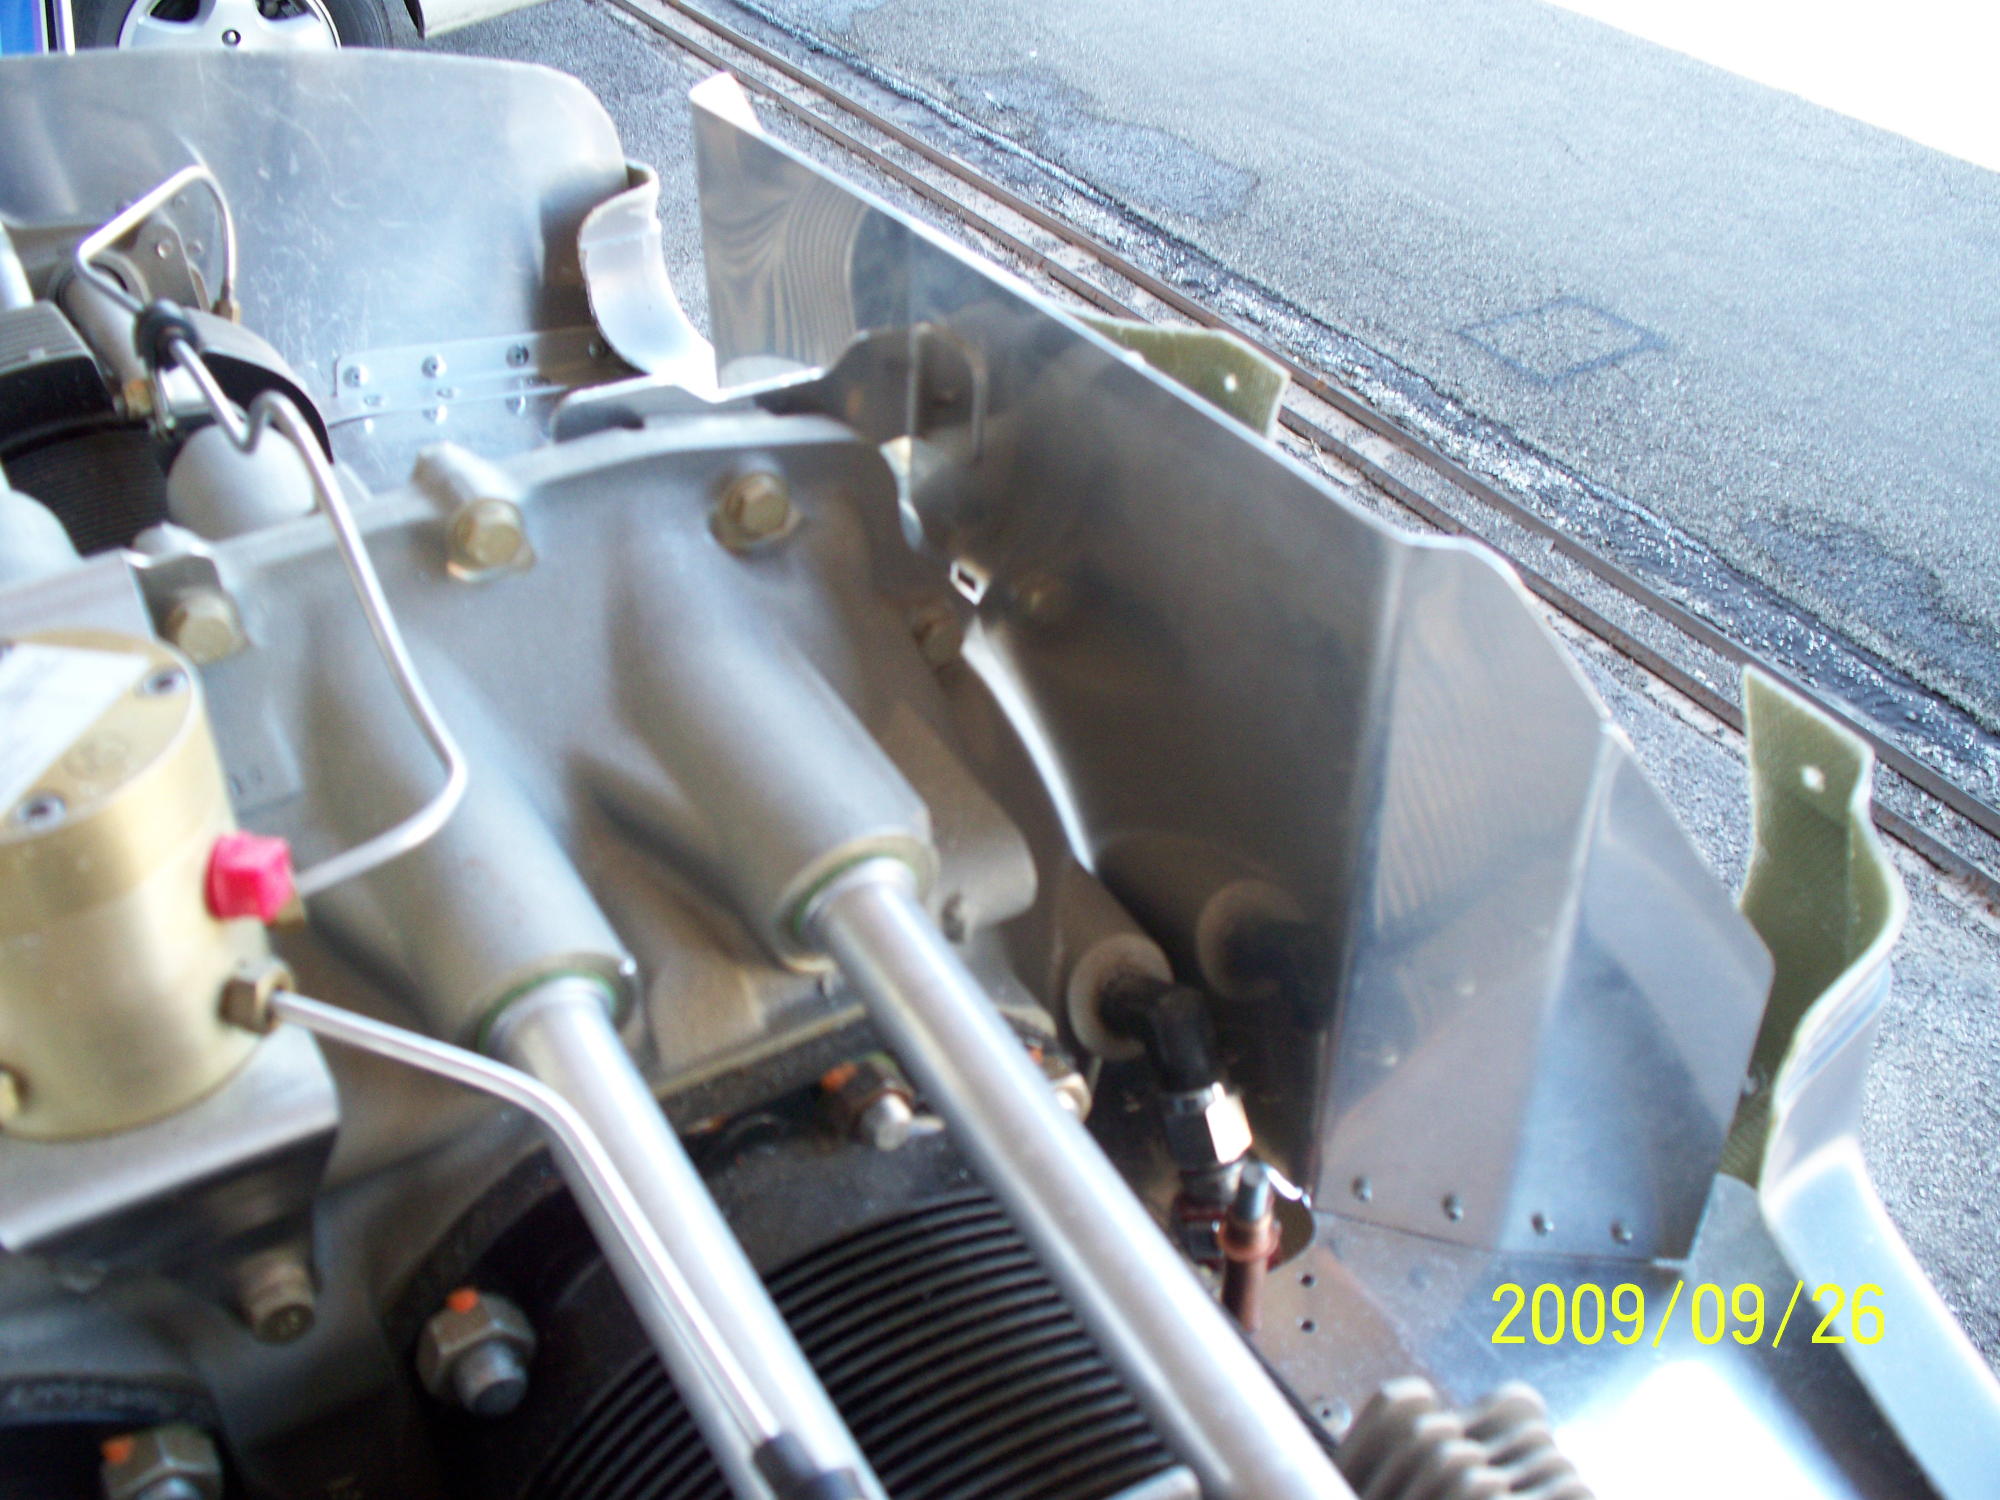
| I started by trimming the front to fit intoand
clearing the inside of the cowling. I then trimmed the back to
clear the top of the cowling. I cut the back to be level across the center 2/3 and then angled down to the lower sides. |
|
 |
 |
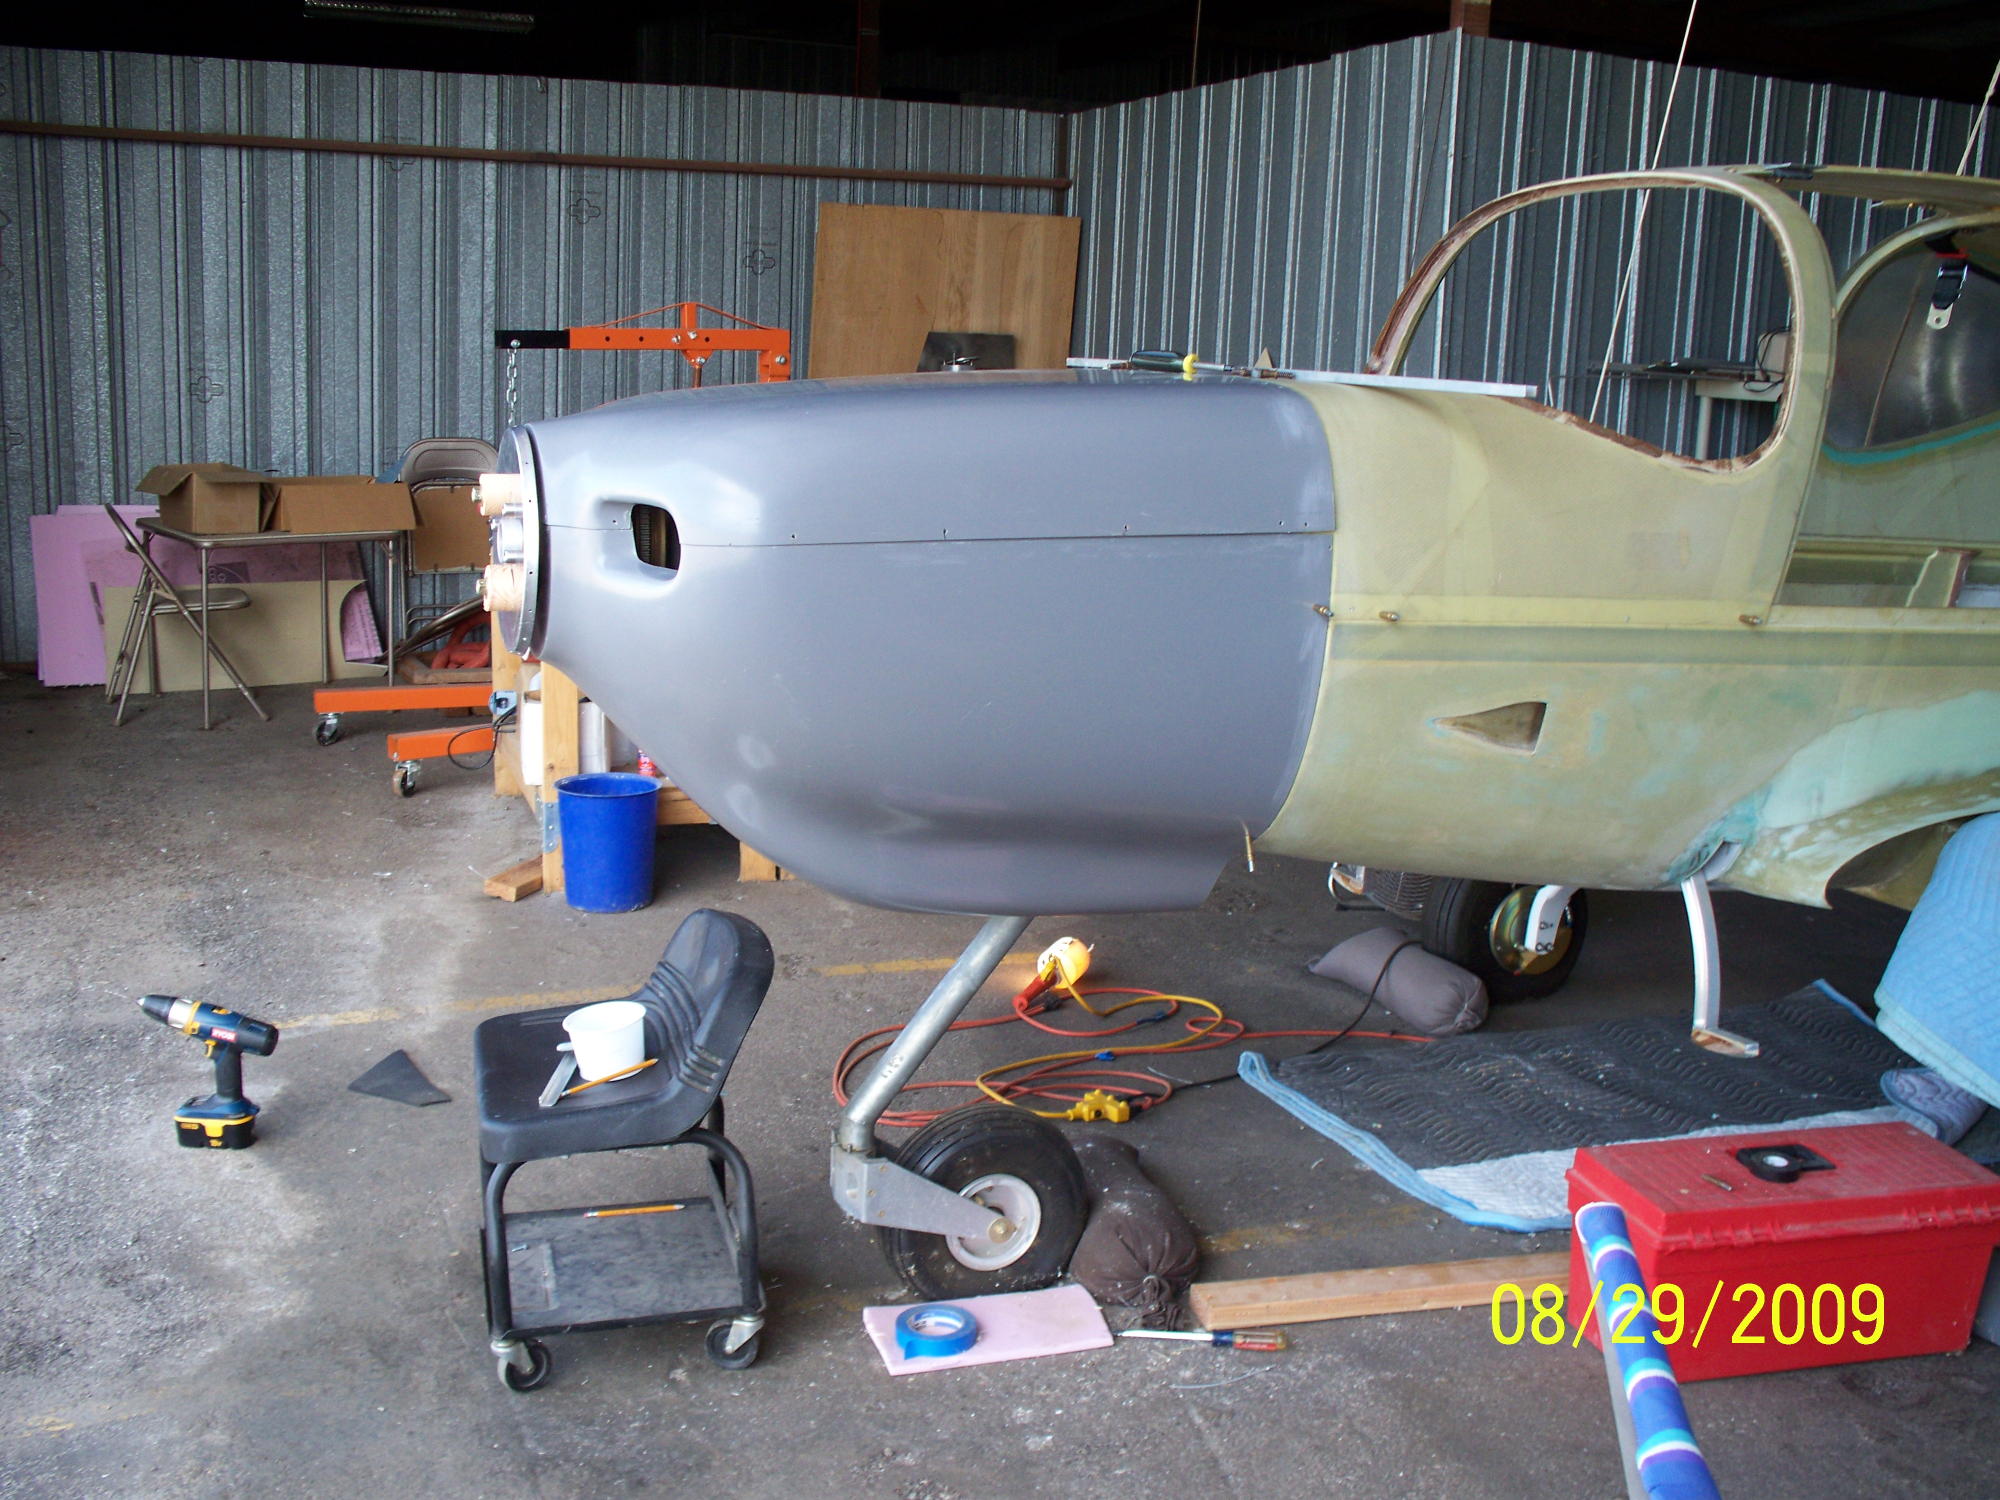
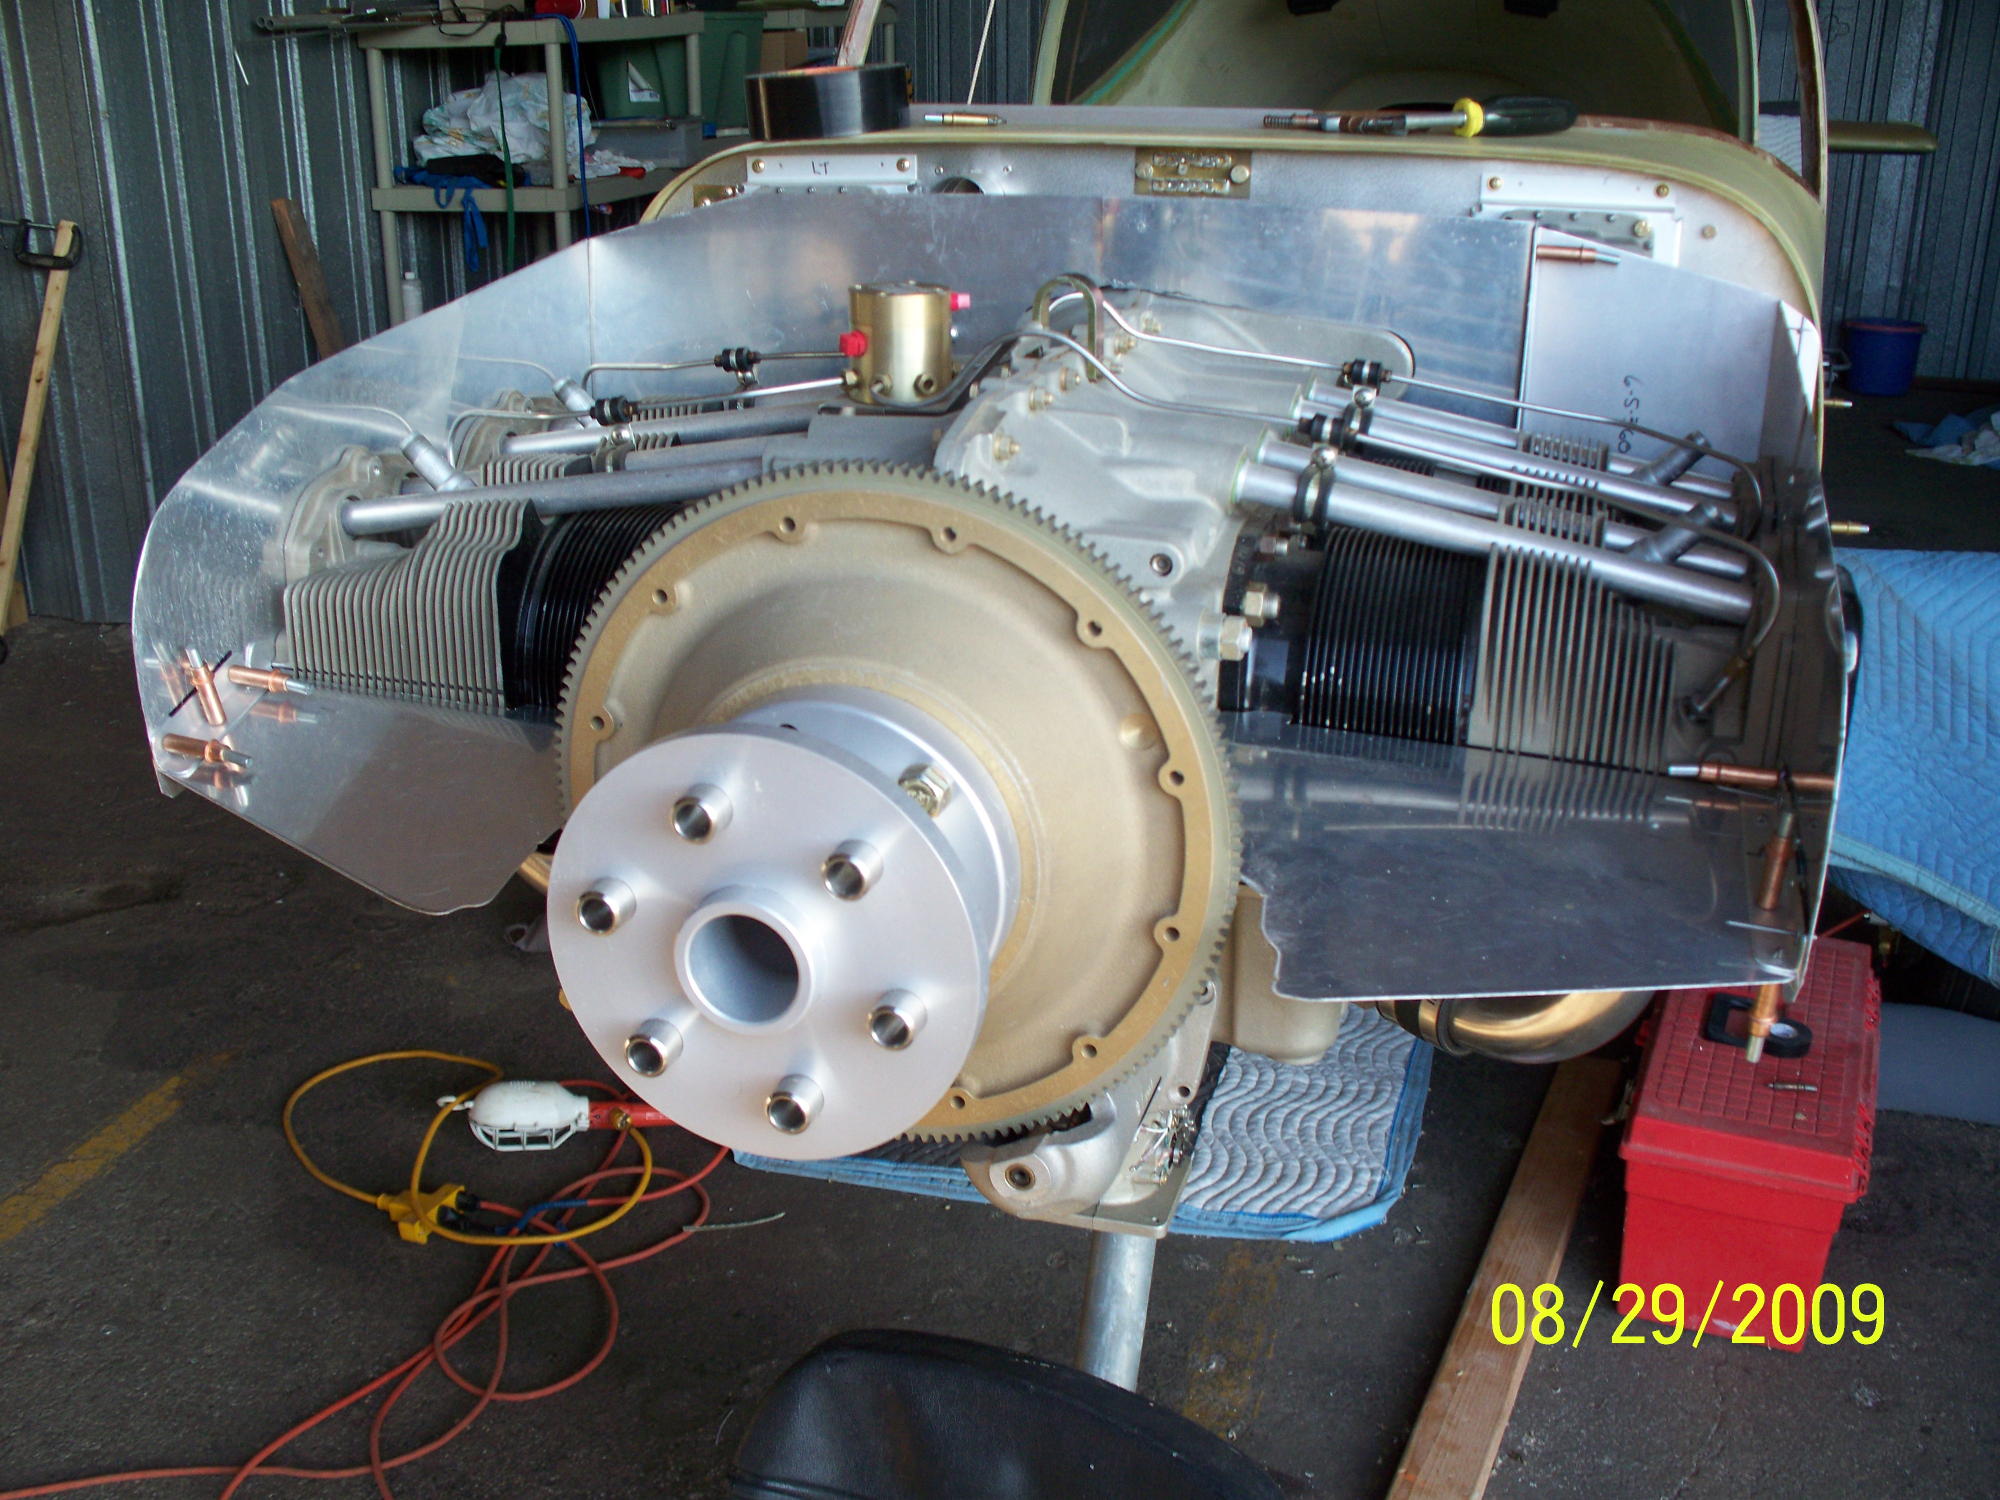
| A trial fitting of the full cowling shows the
basic fit is ok. The next step is to start the lower front baffle
fiting. The sides come fully up beyond the inside of the cowling. |
|
 |
 |
 |
 |
 |
 |
 |
 |
 |
 |
 |
 |
 |
|
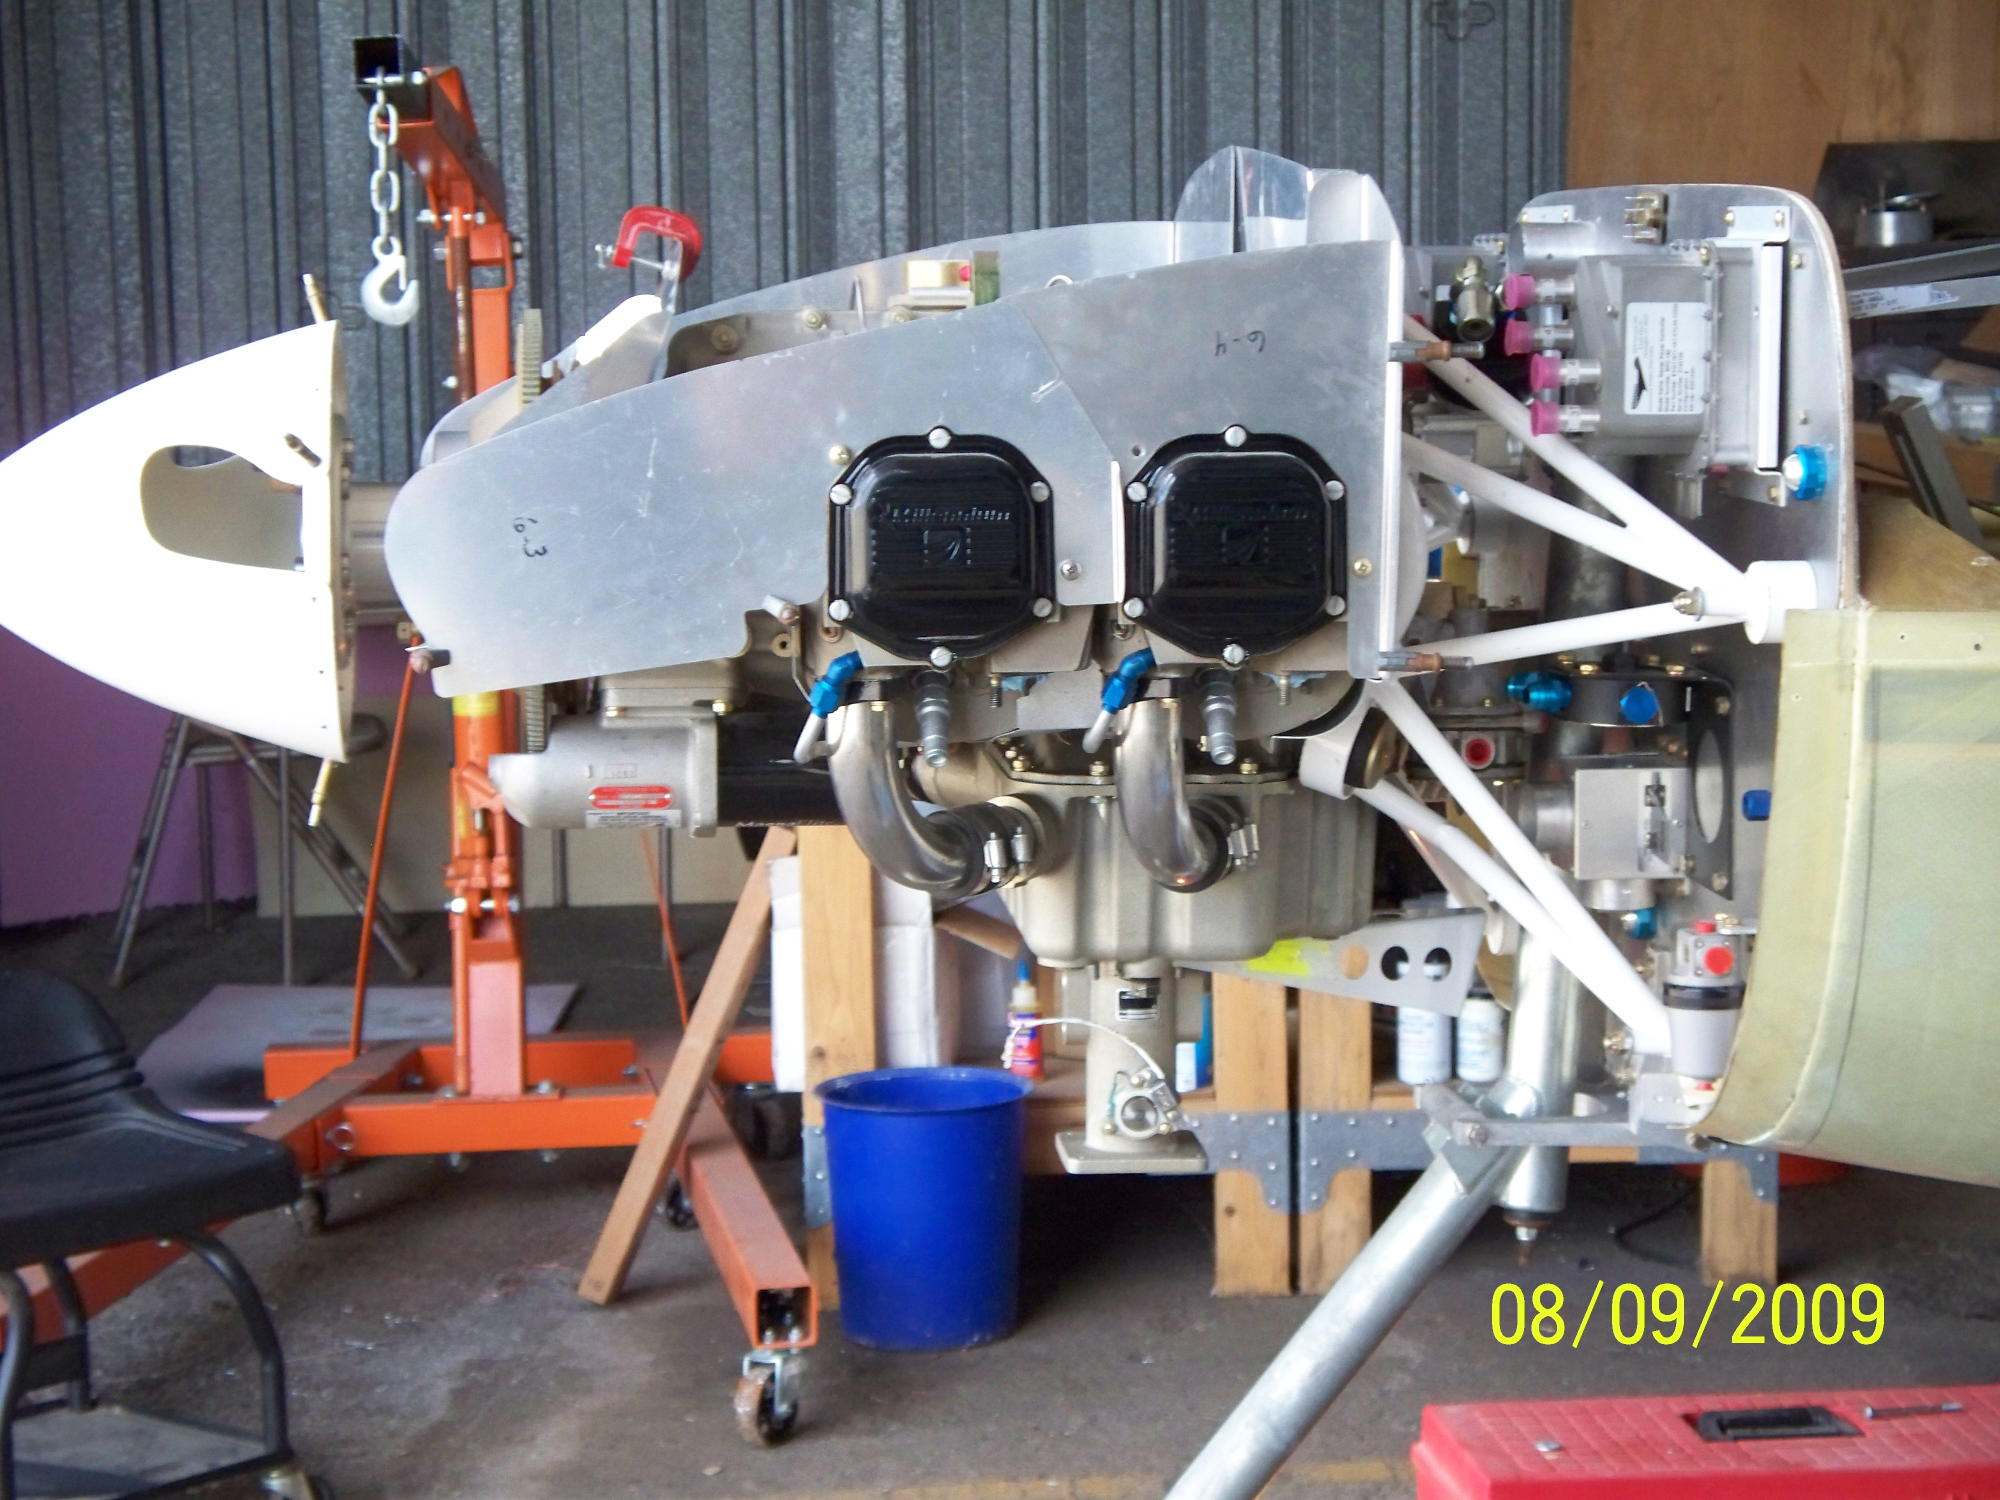
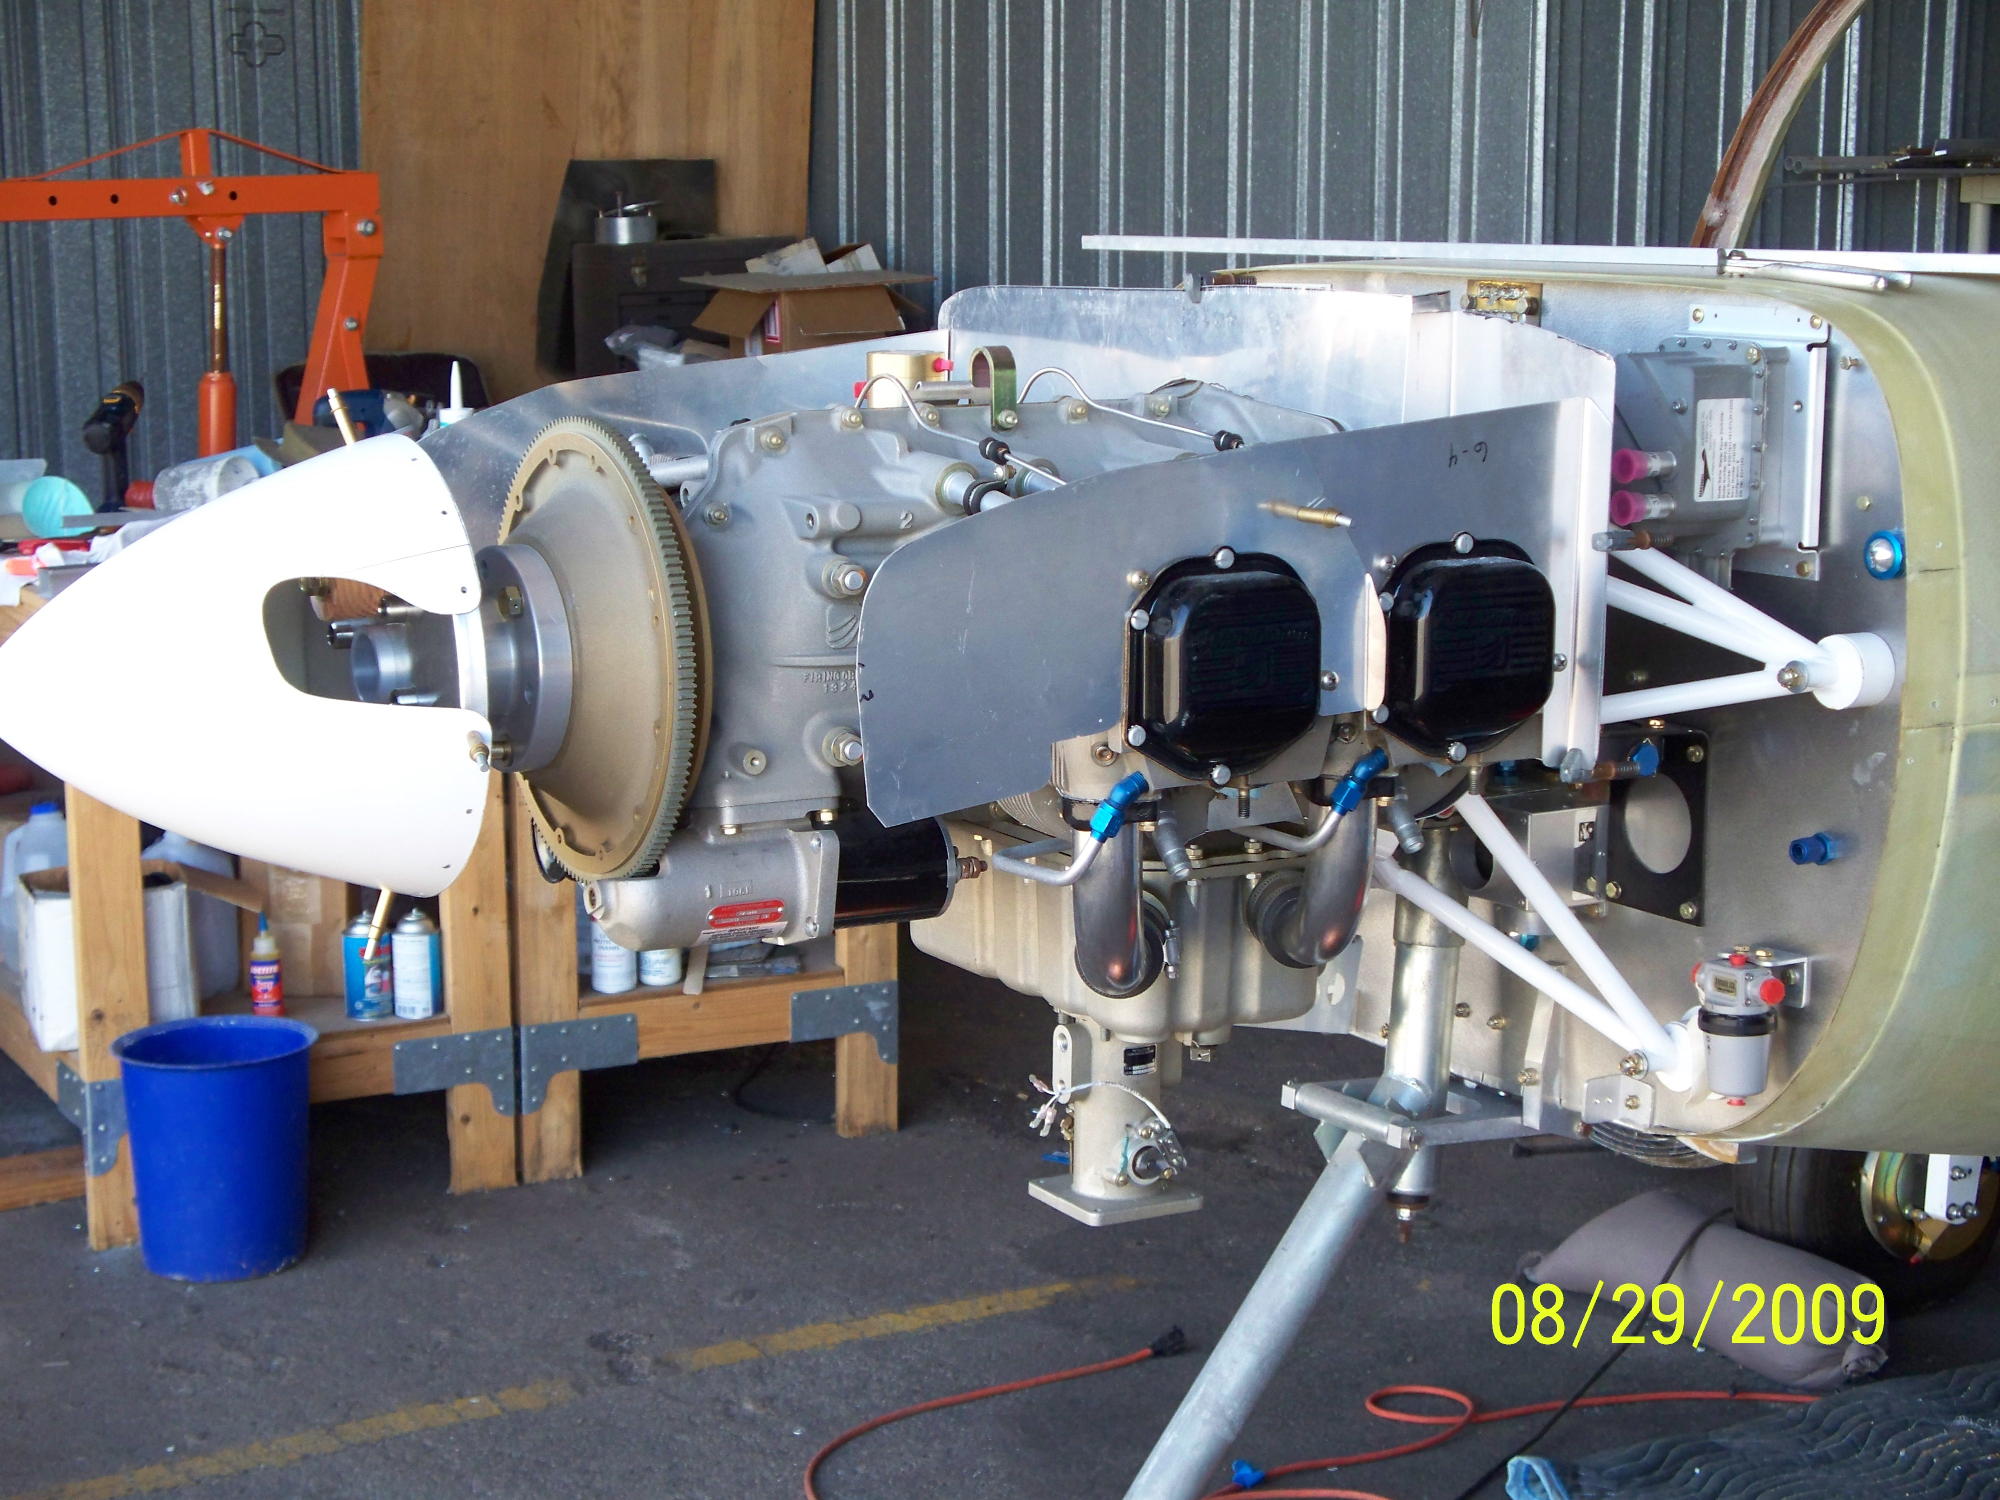
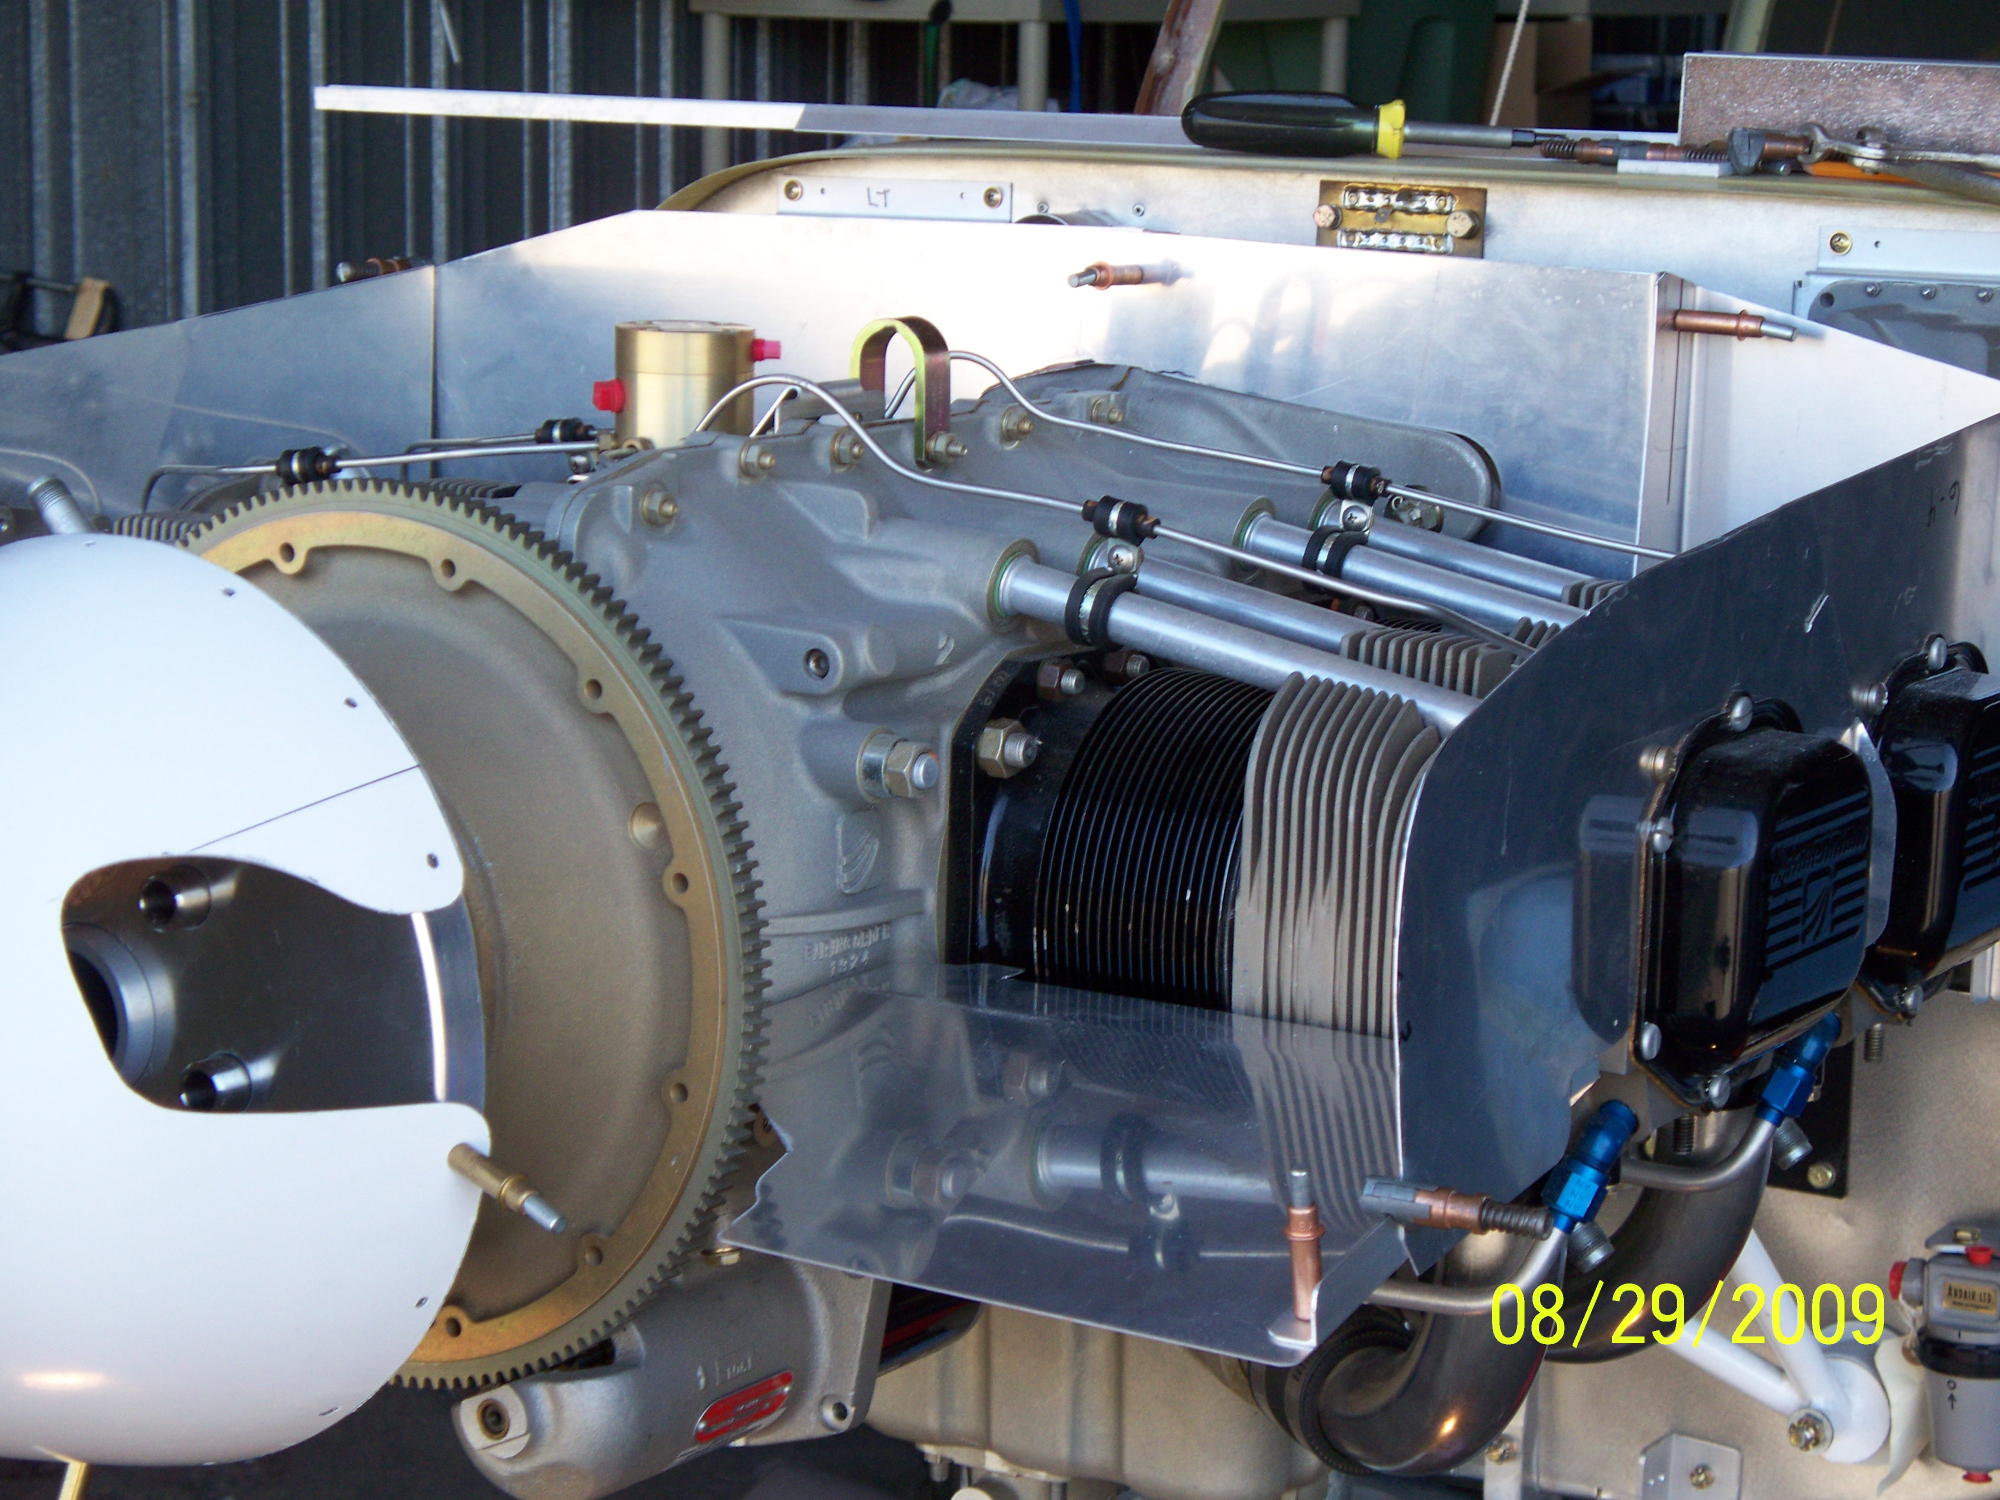
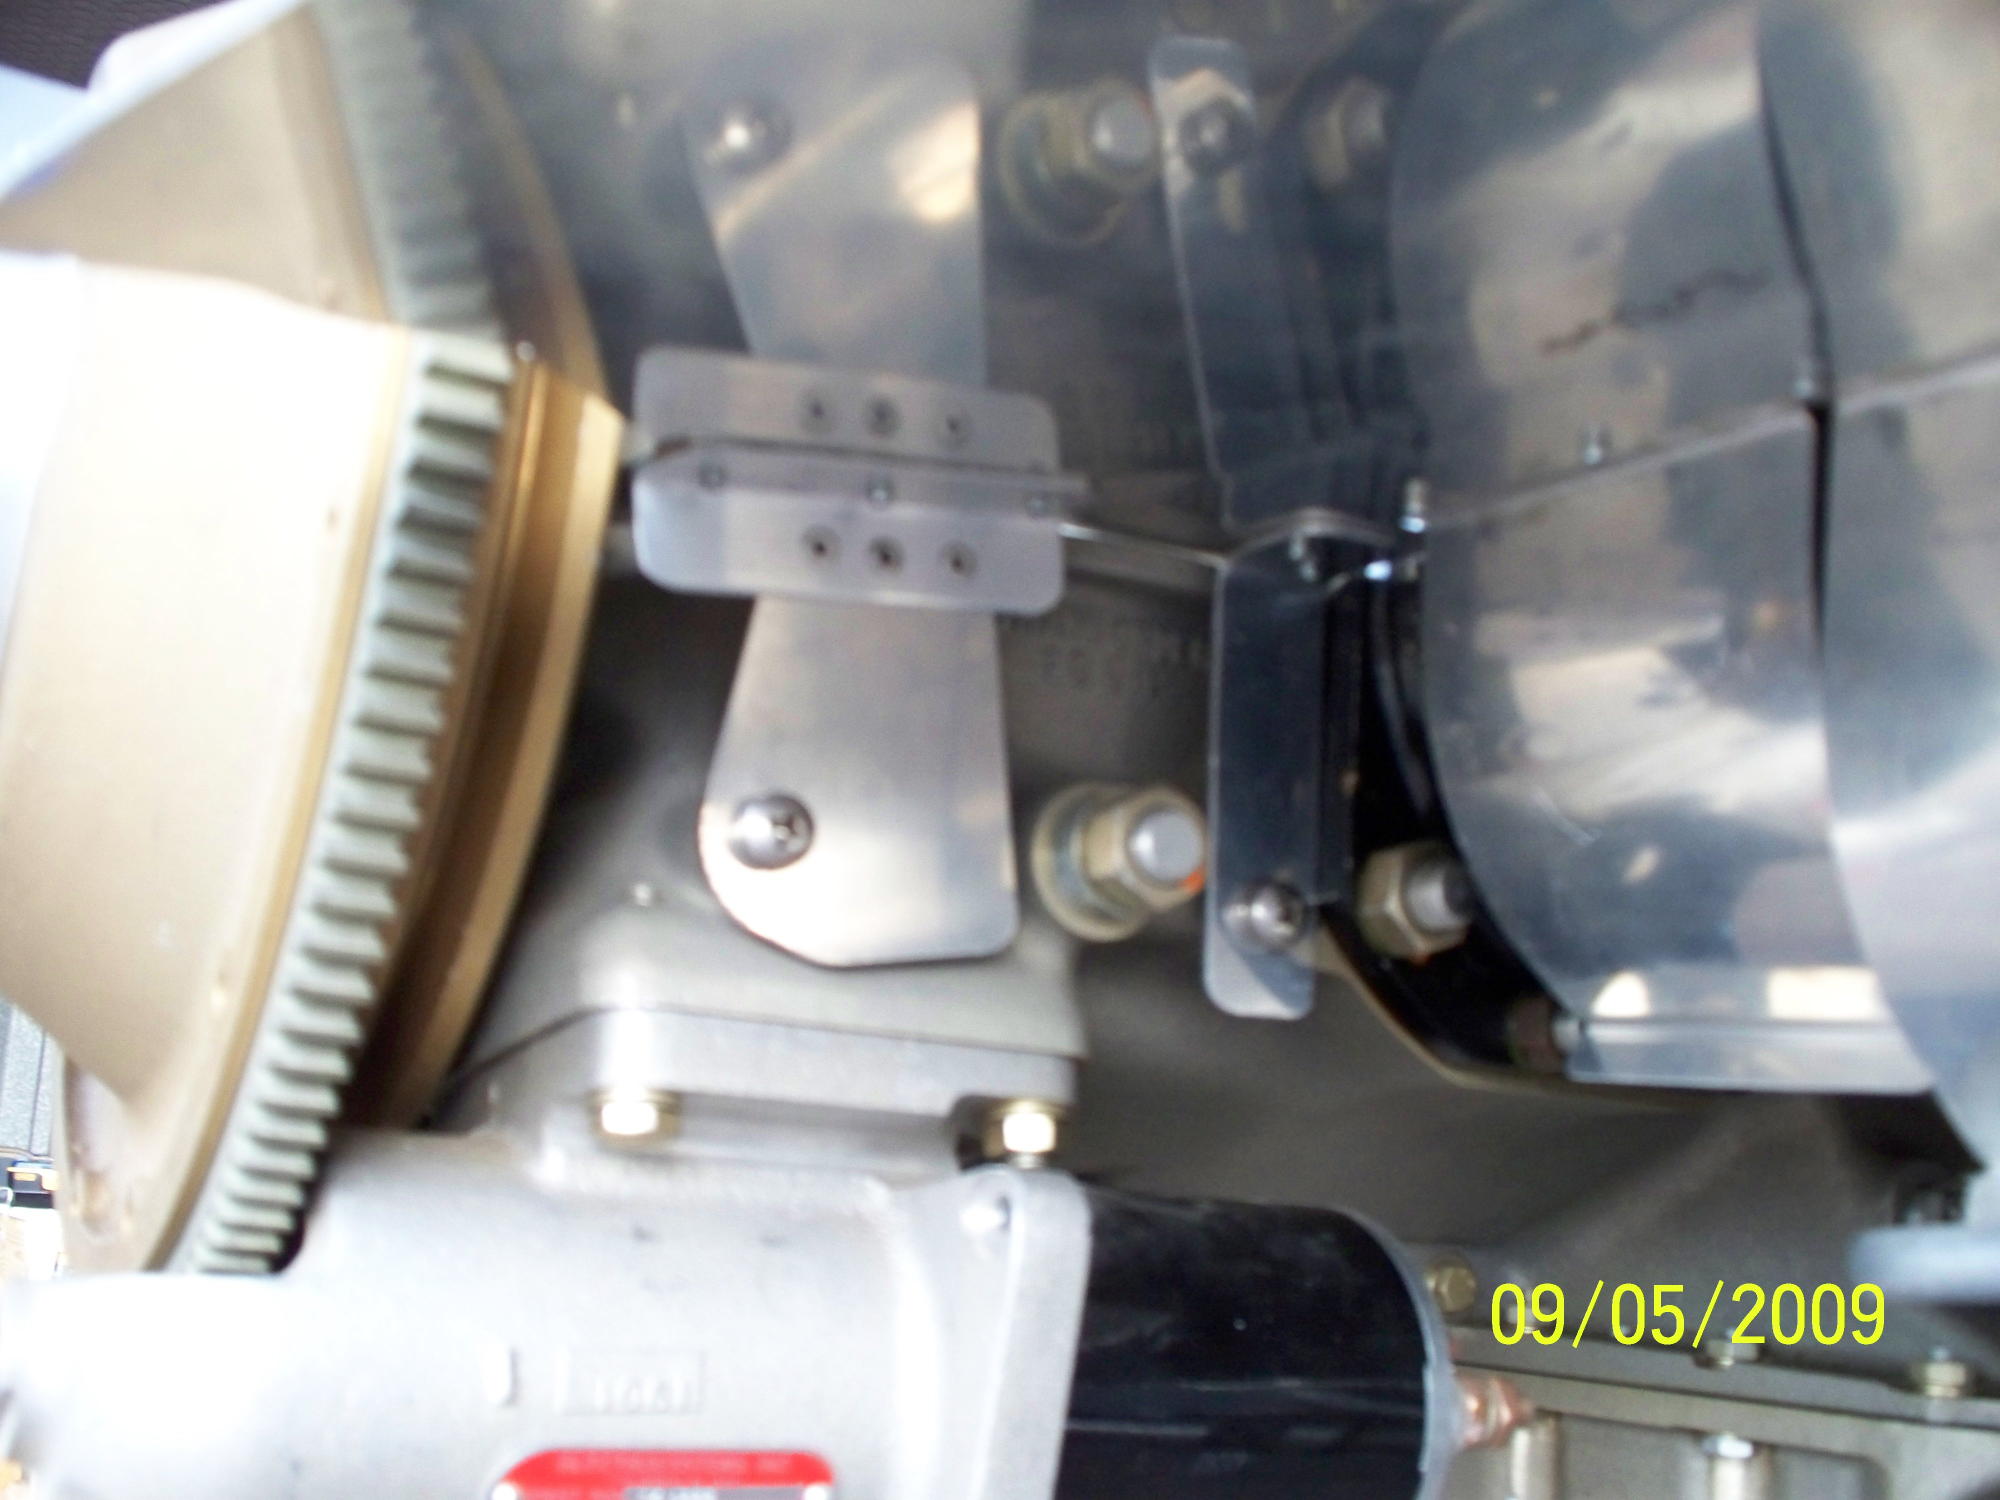
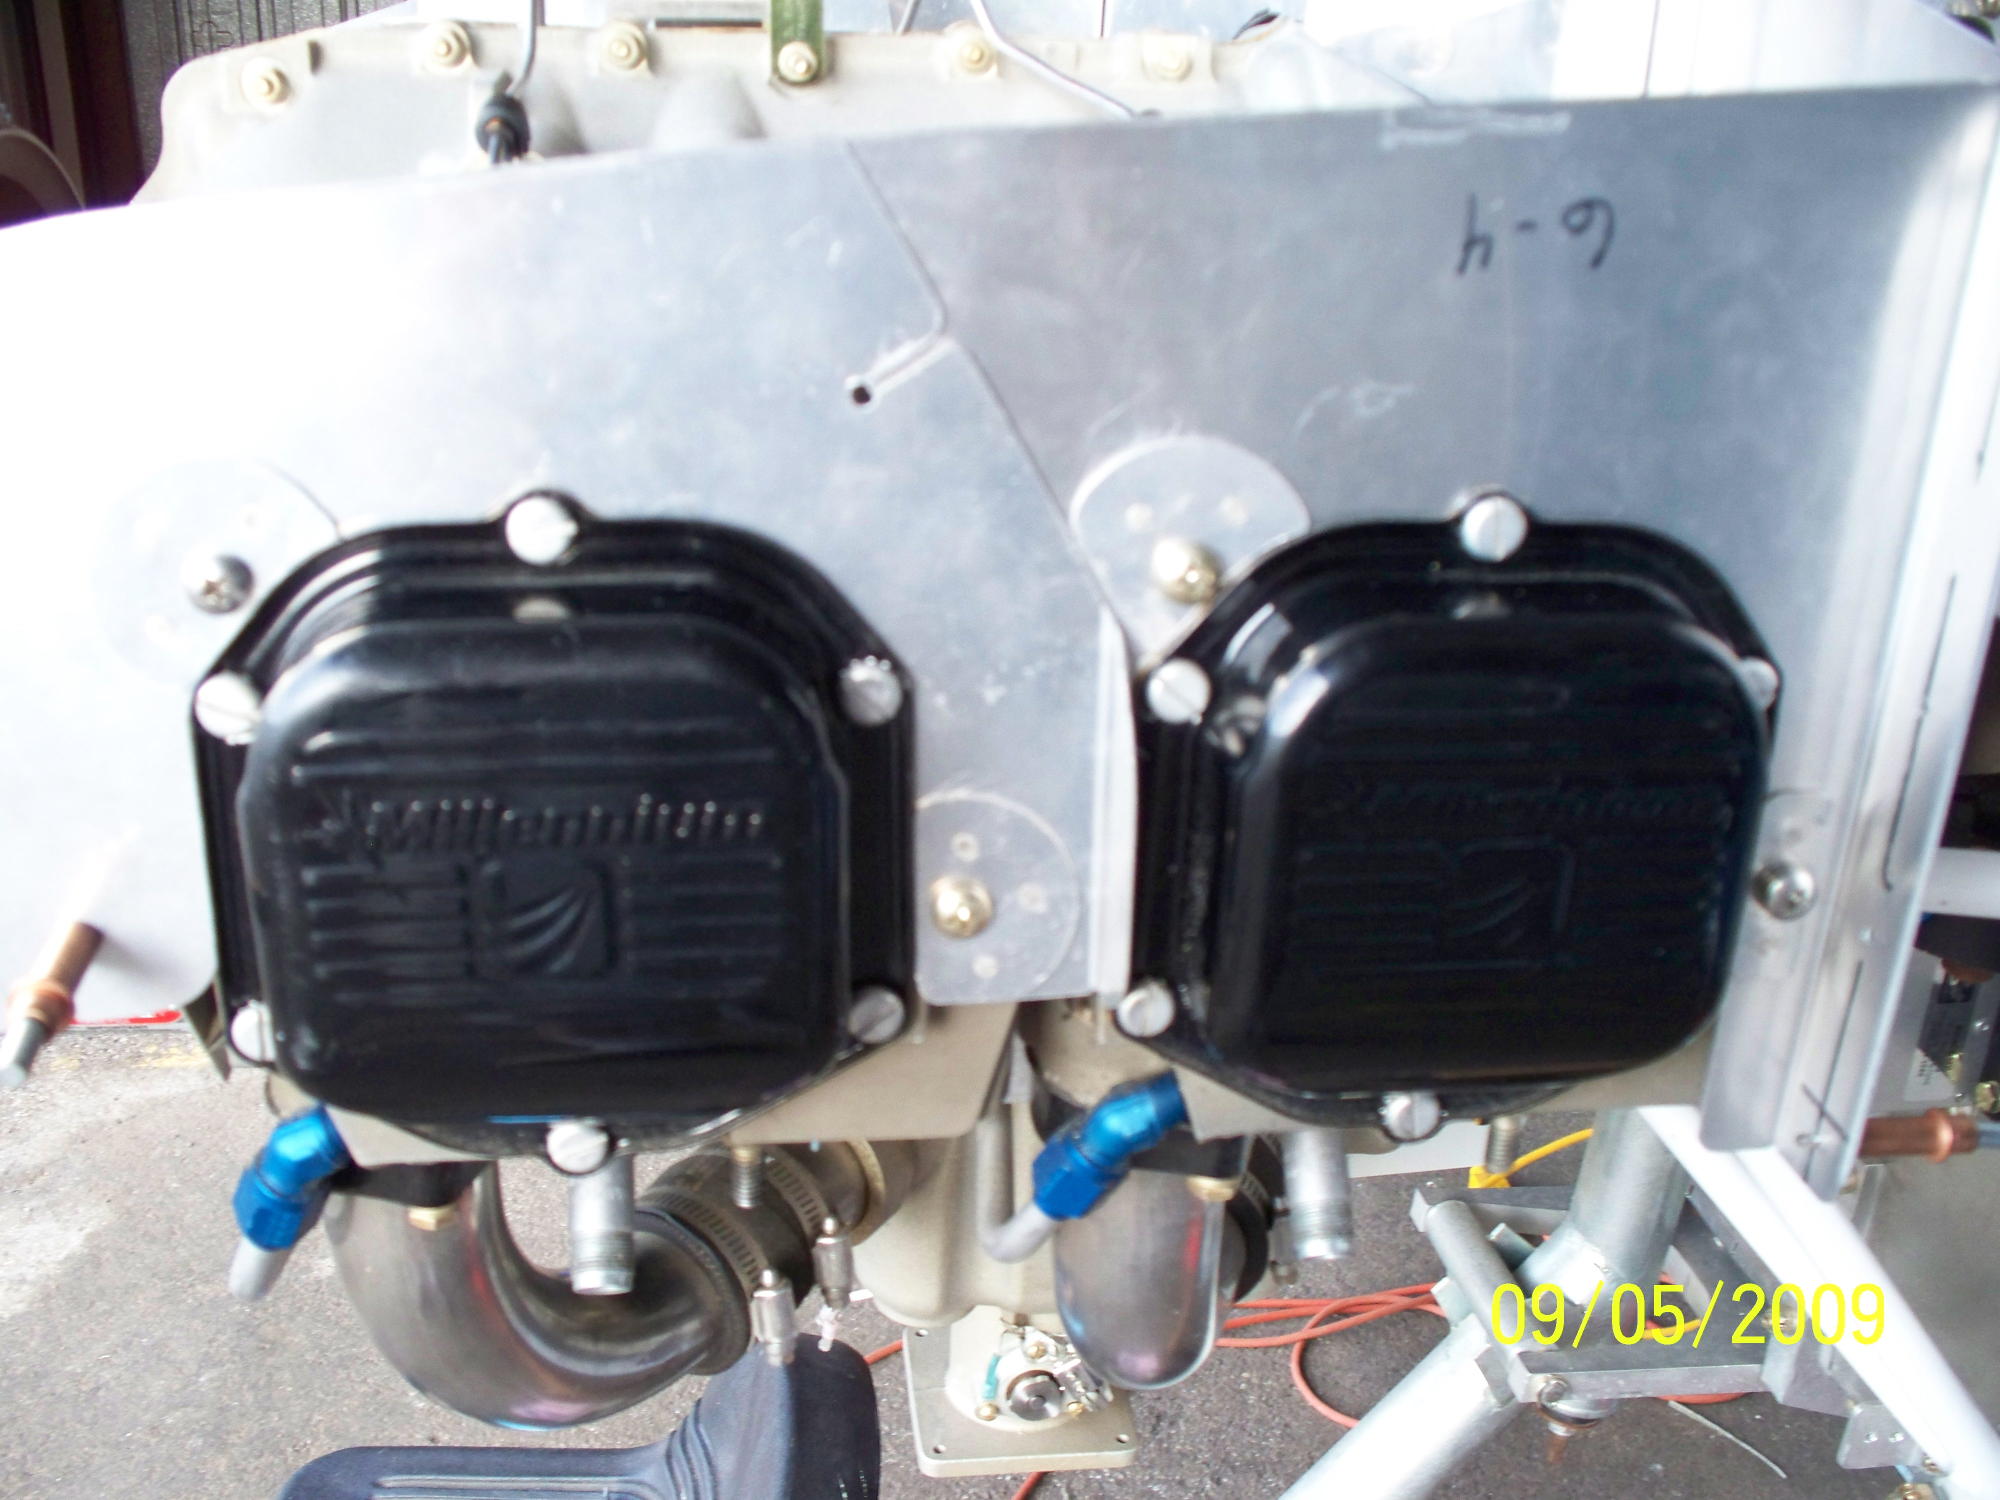
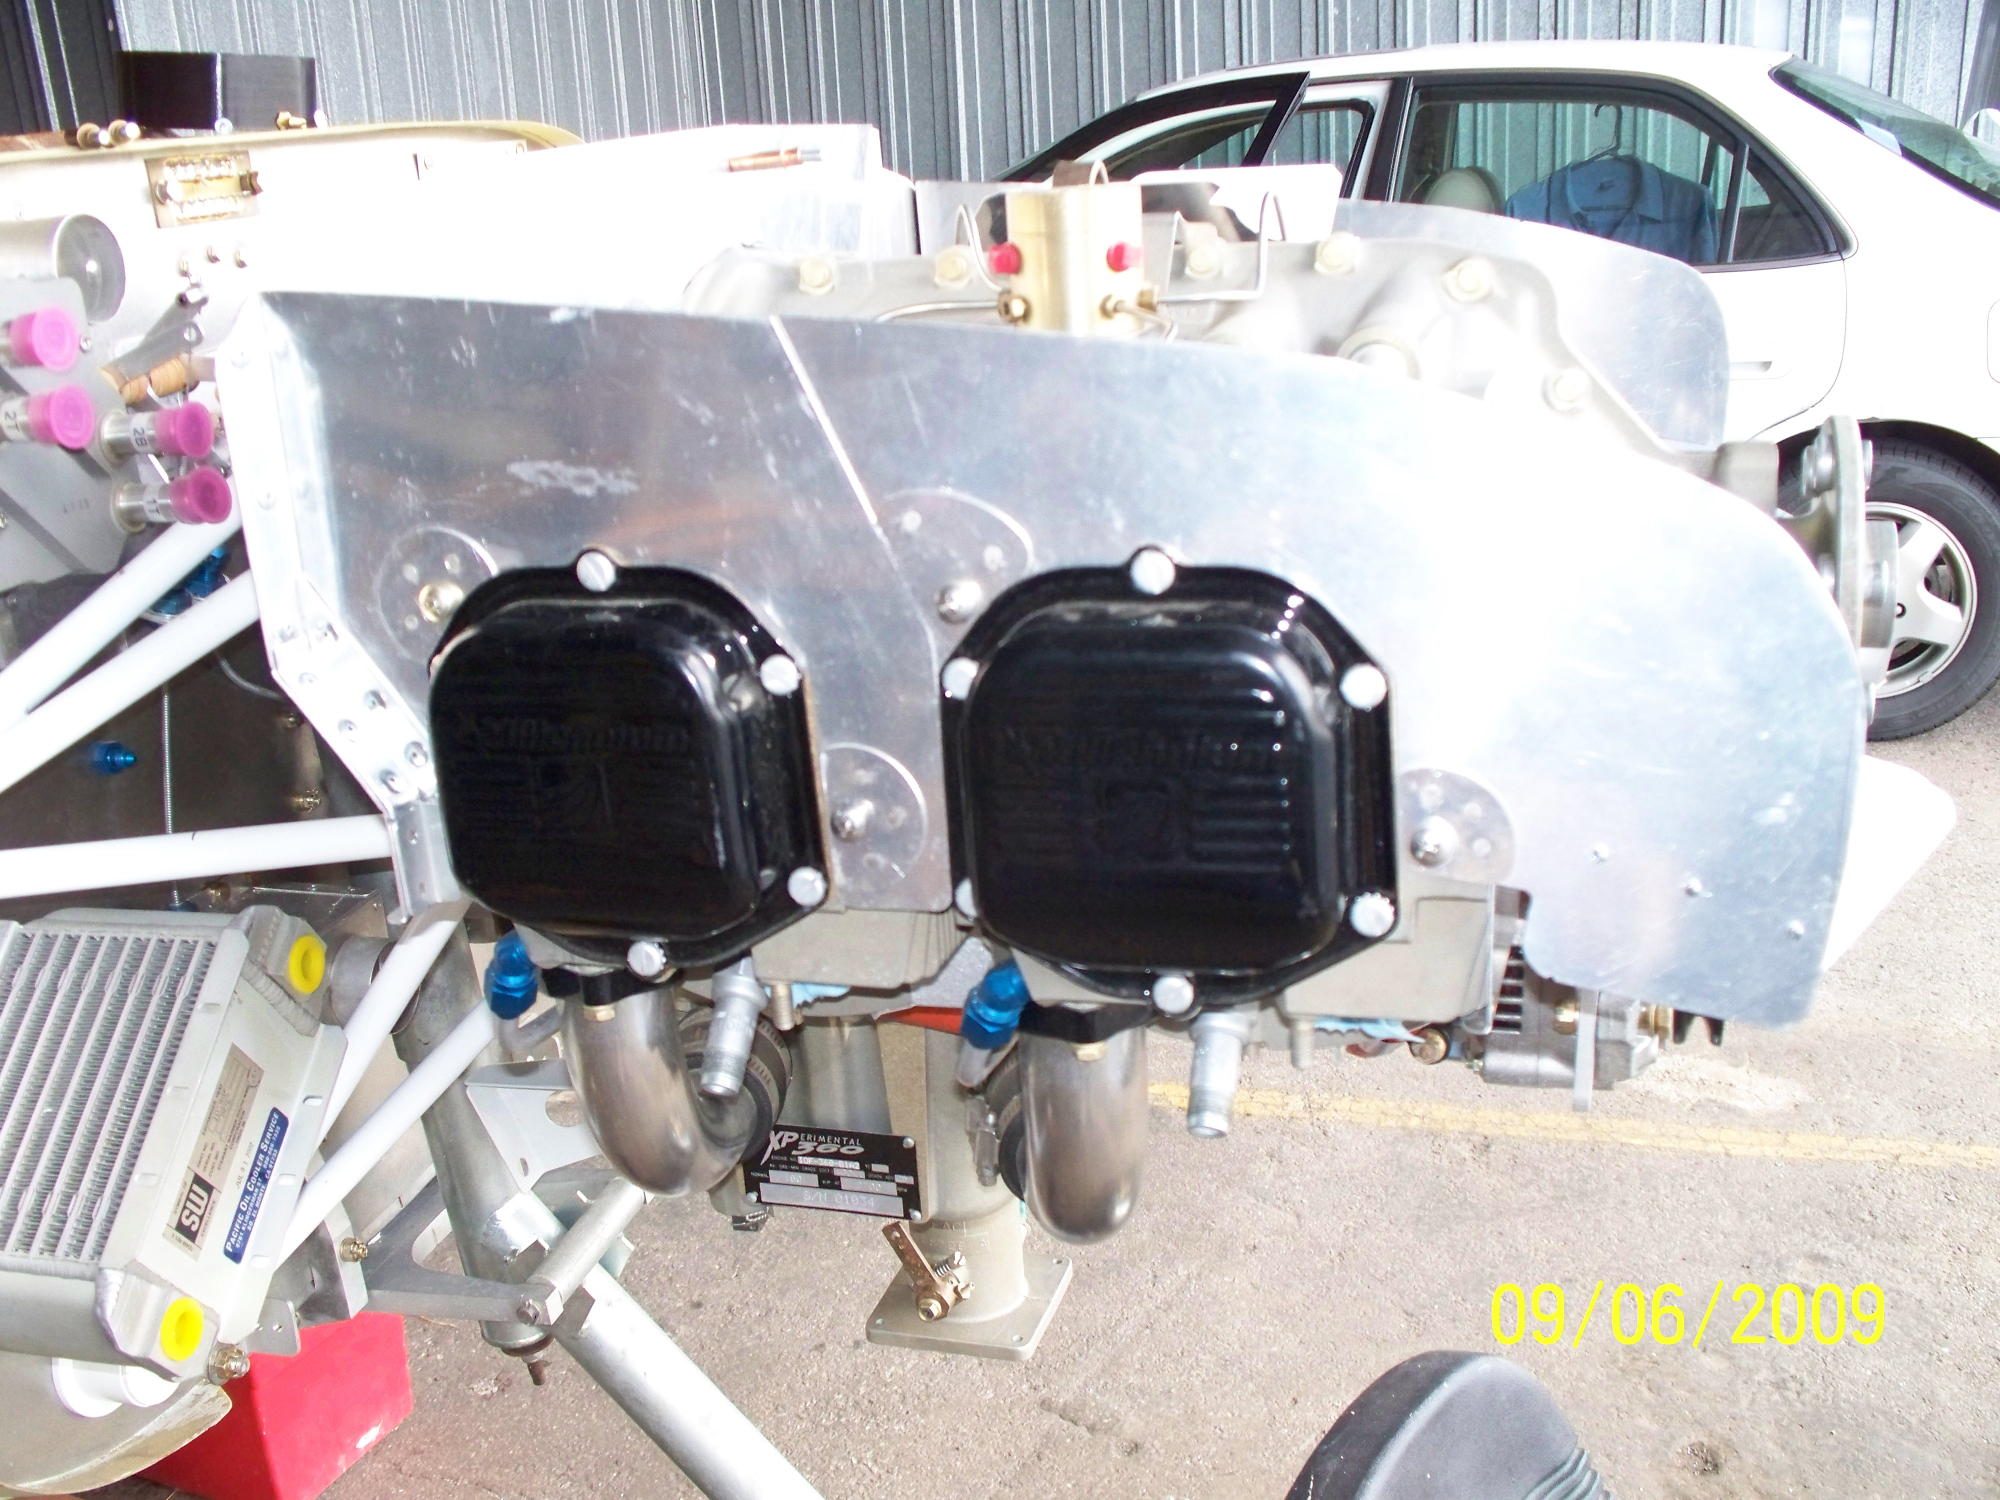
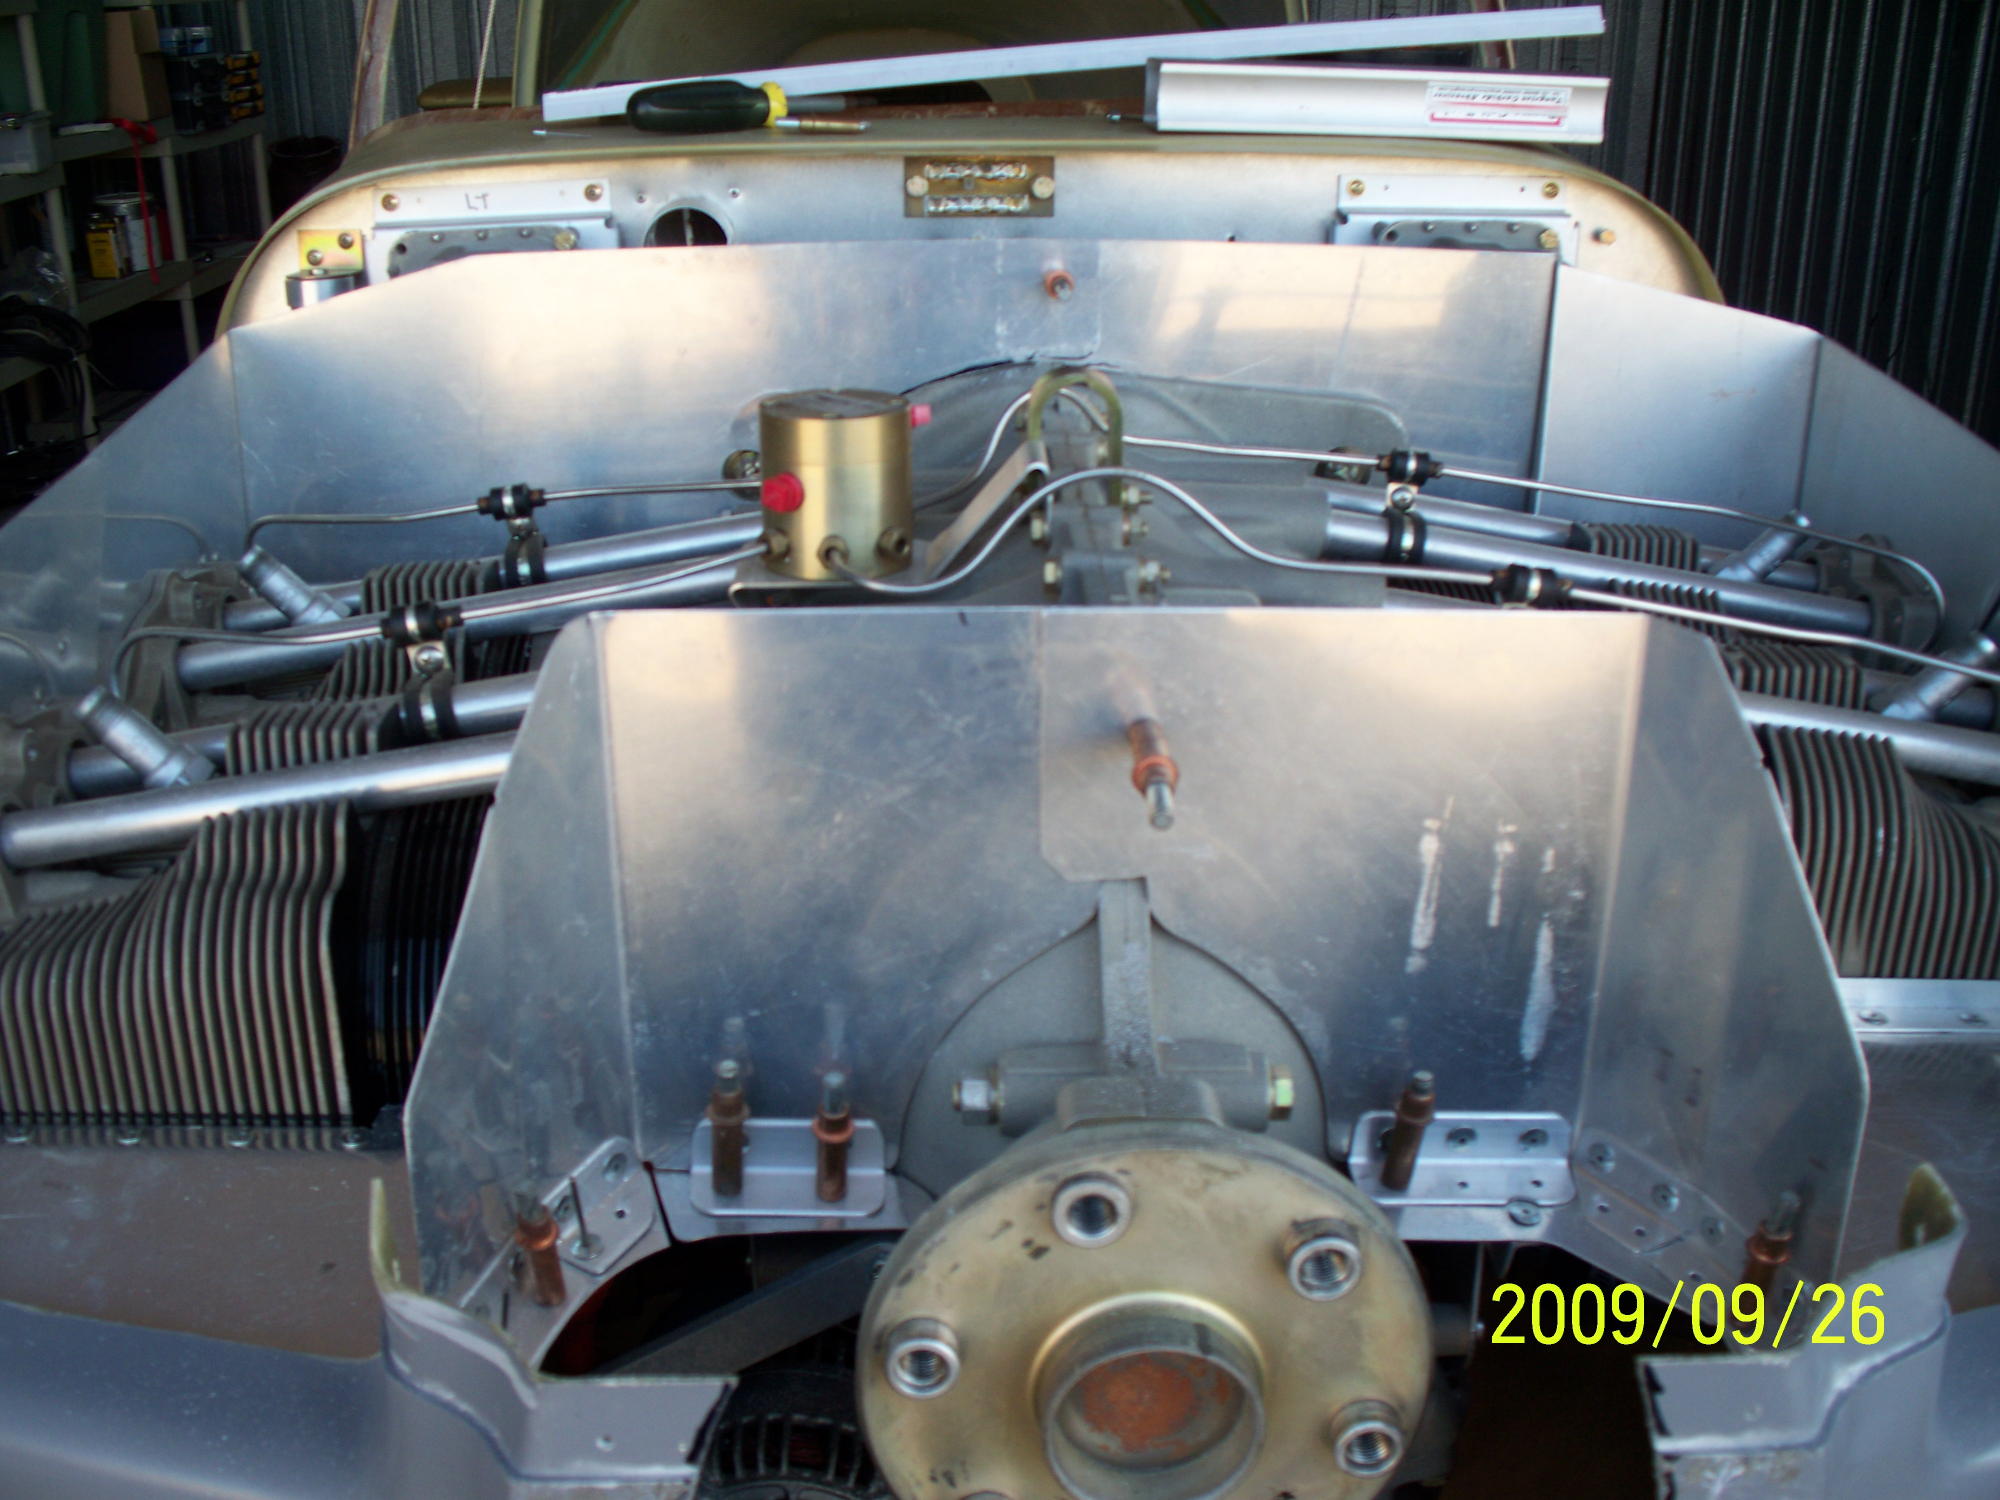
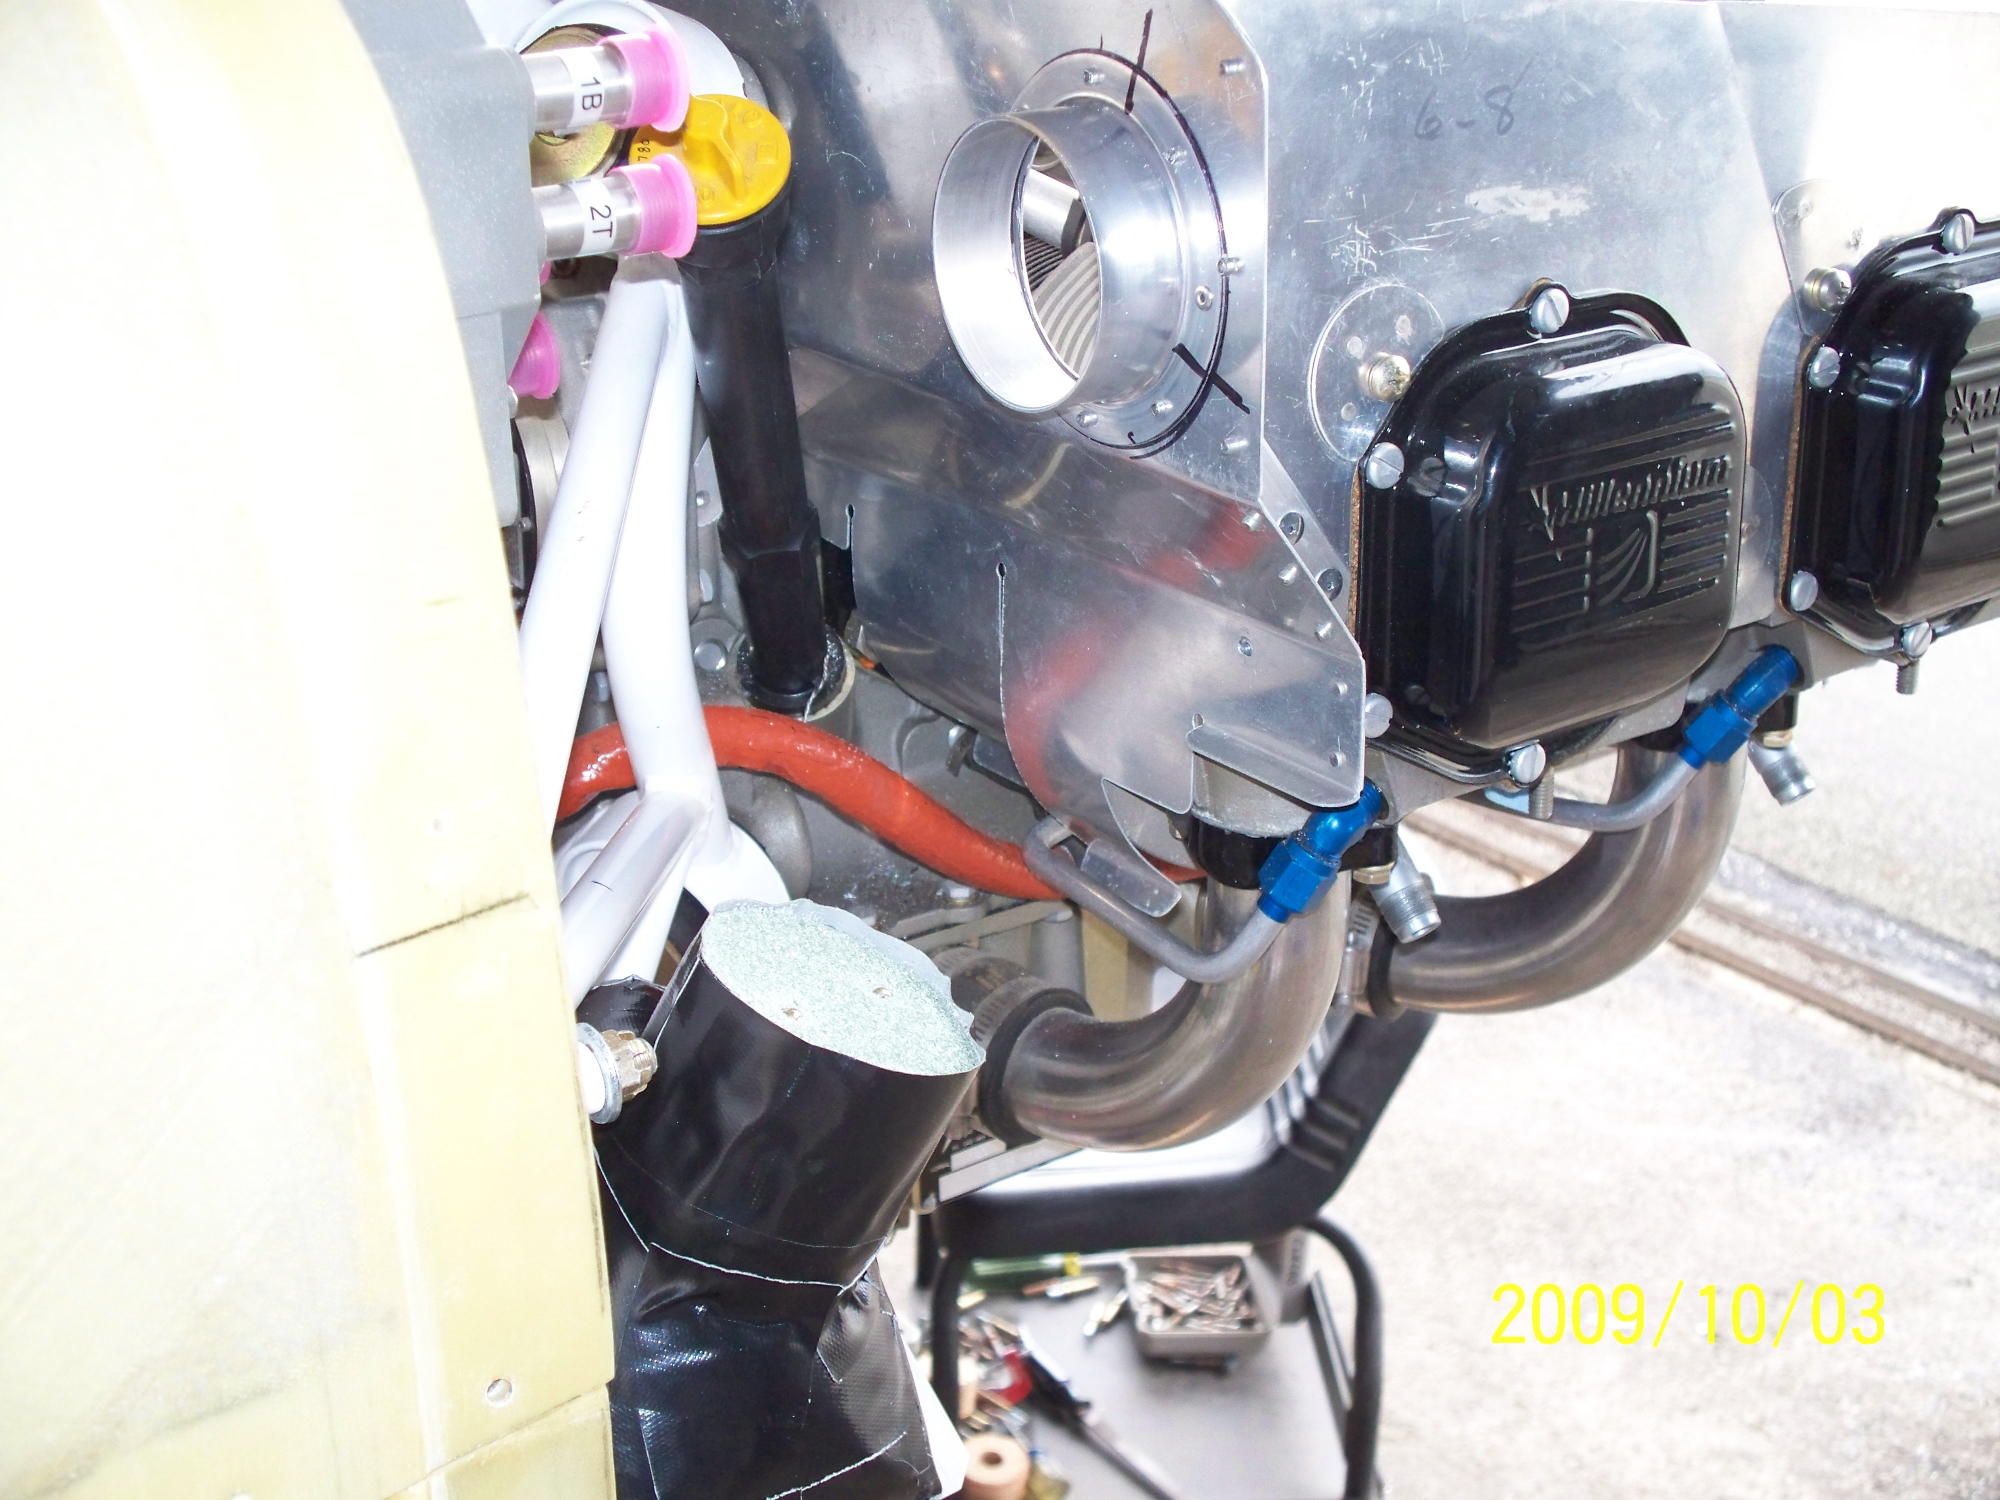
| The above shots show the details of the
installation of the various parts of the basic baffle components. The basic installation is pretty much according to the standard instructions with the exception of the trim process. |
|
 |
 |
 |
 |
|
|
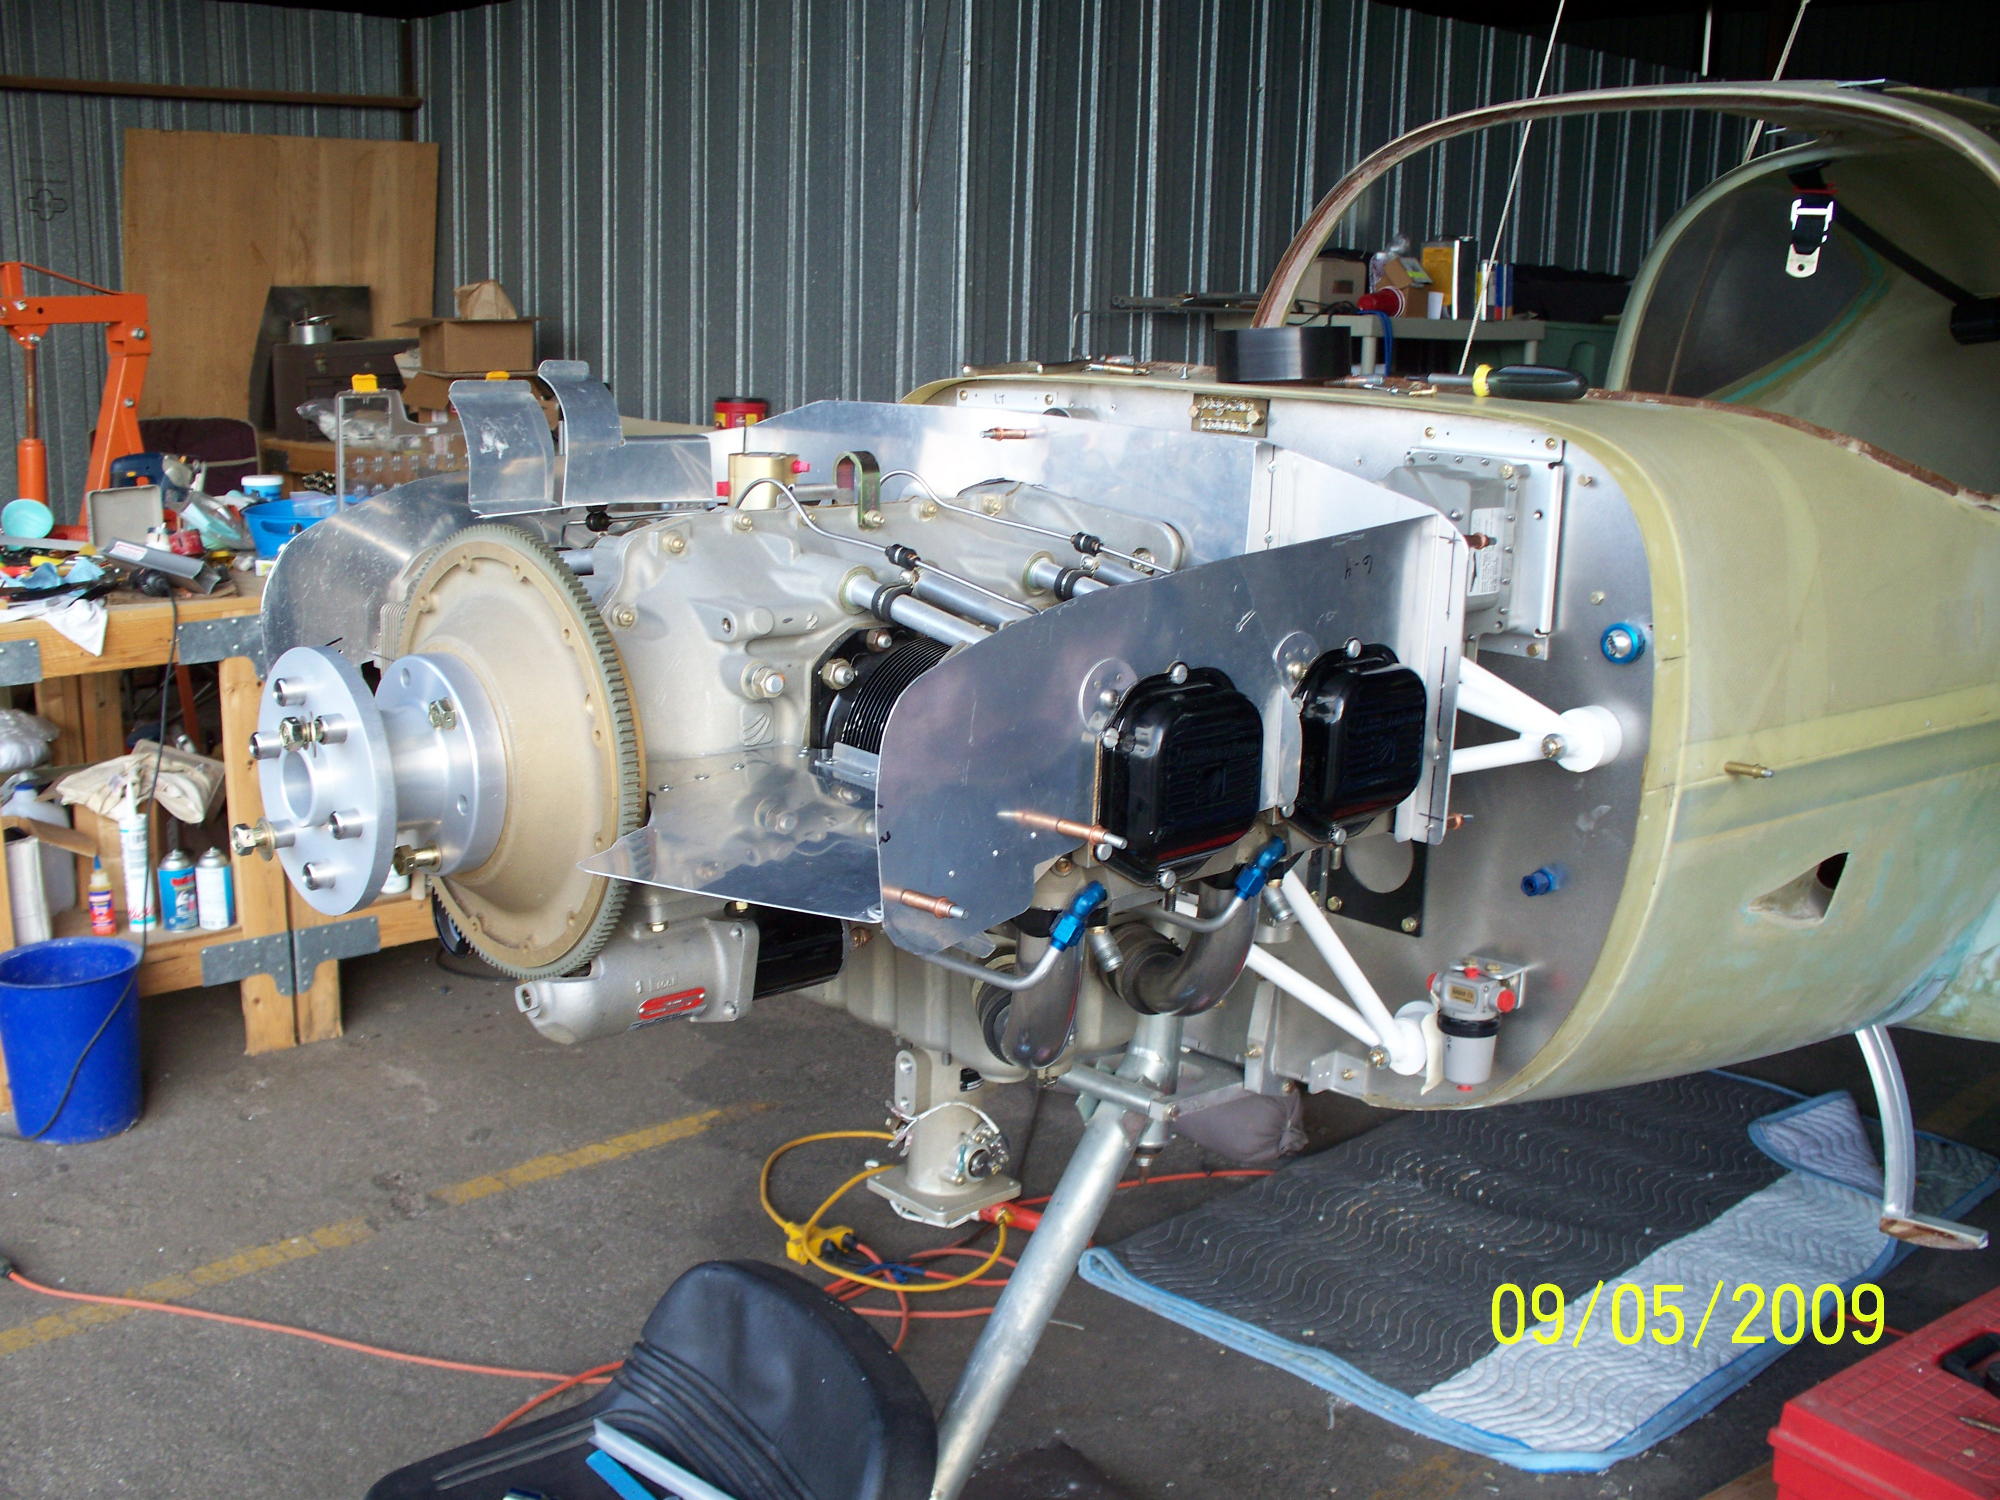
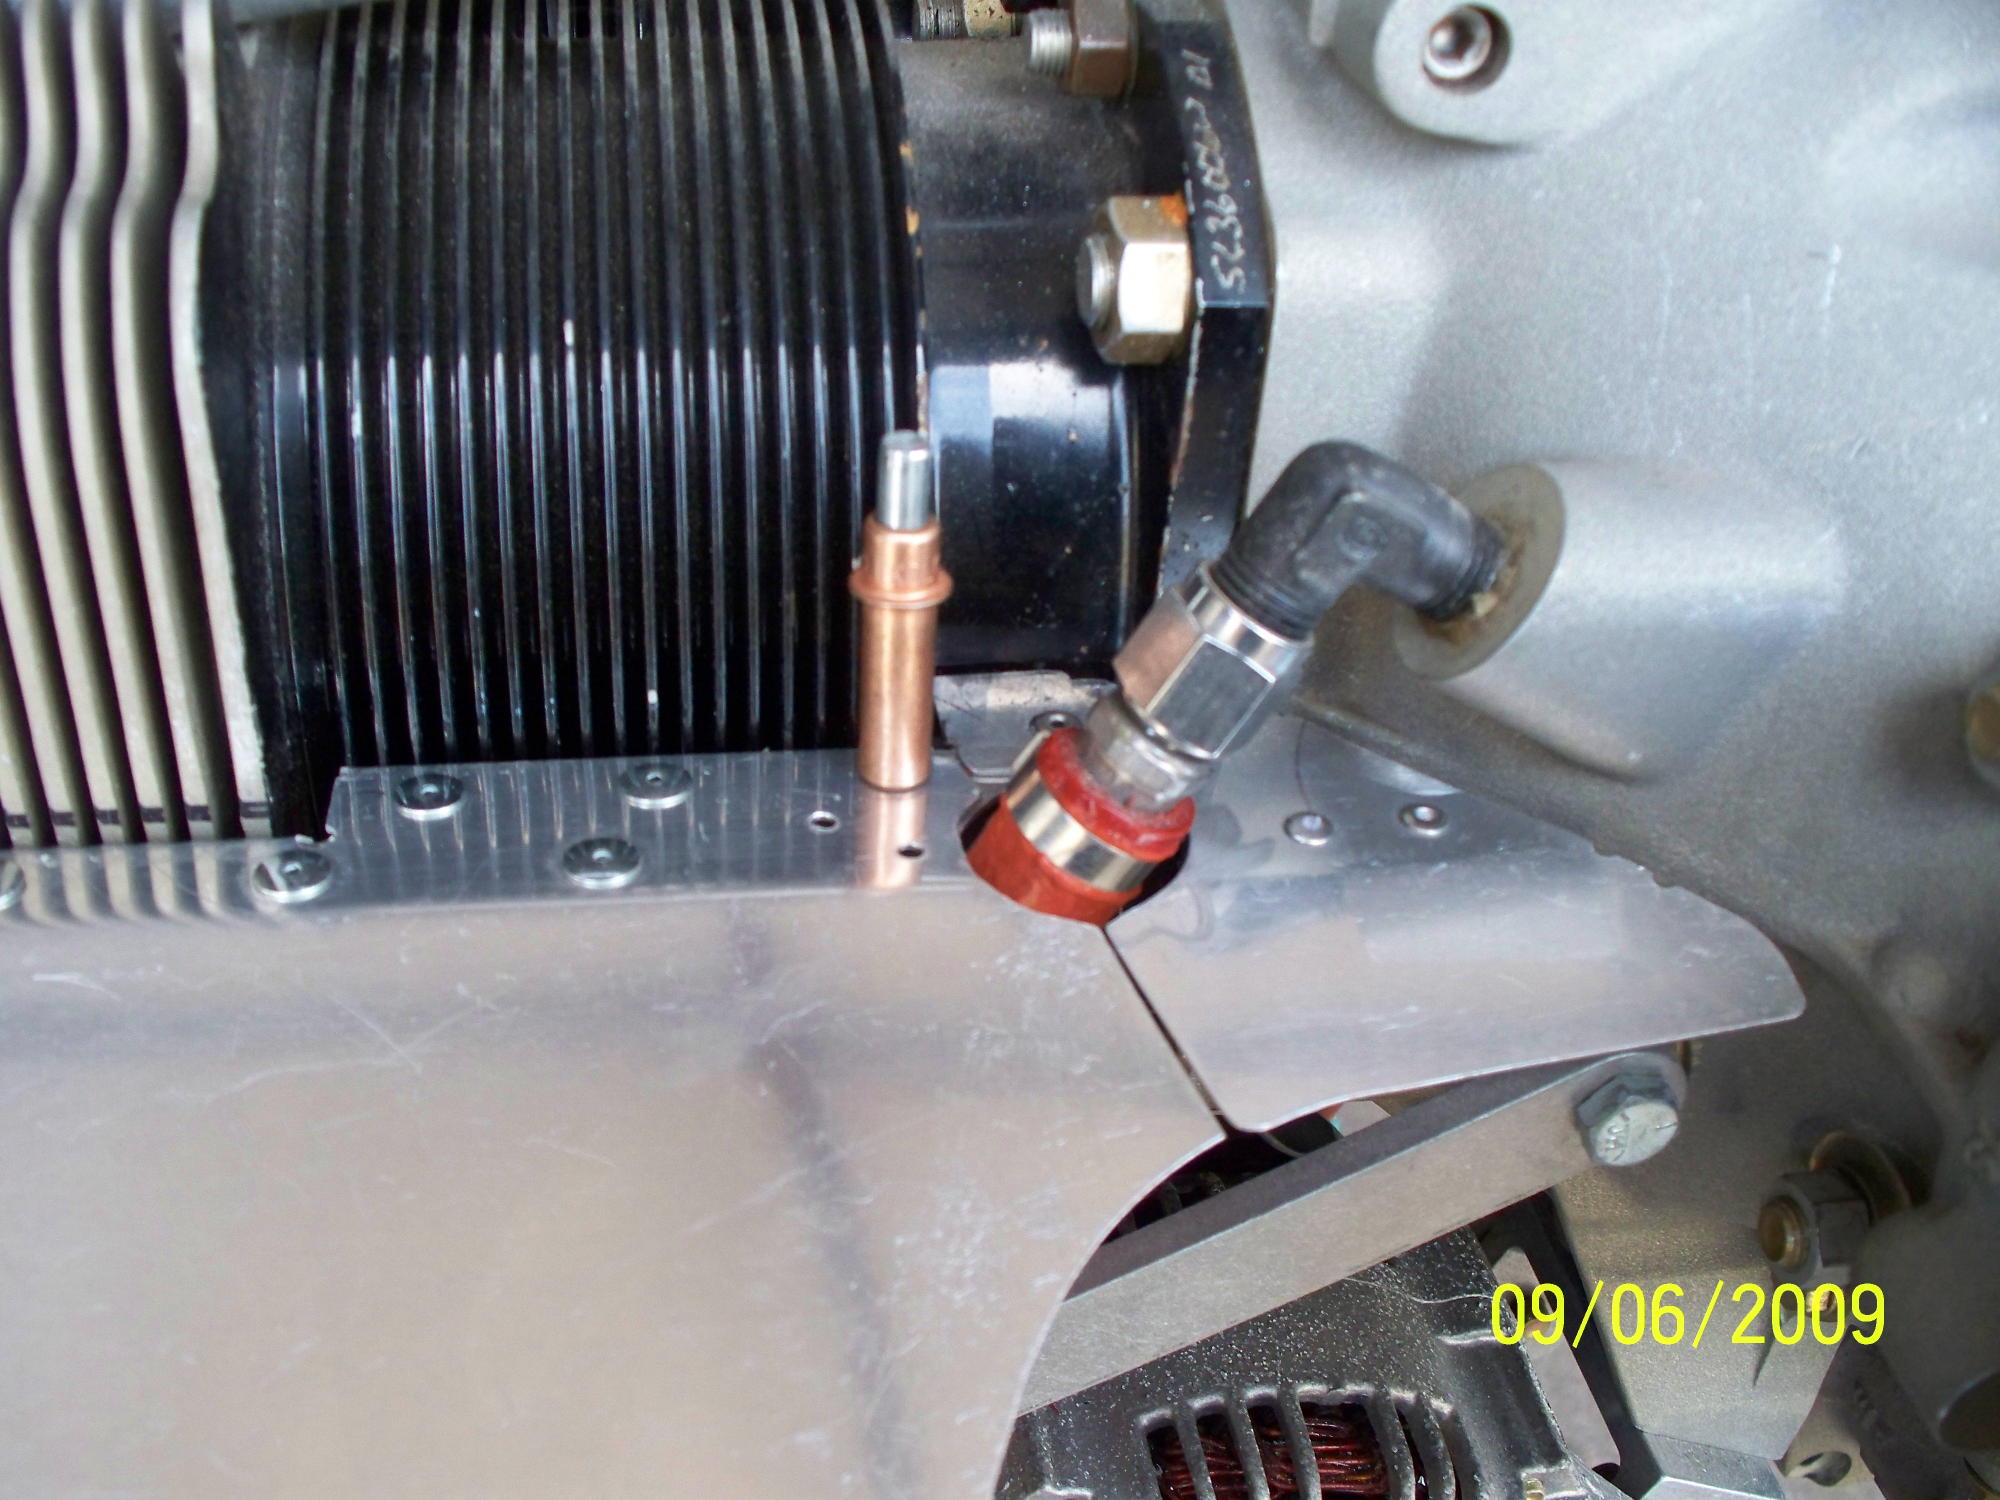
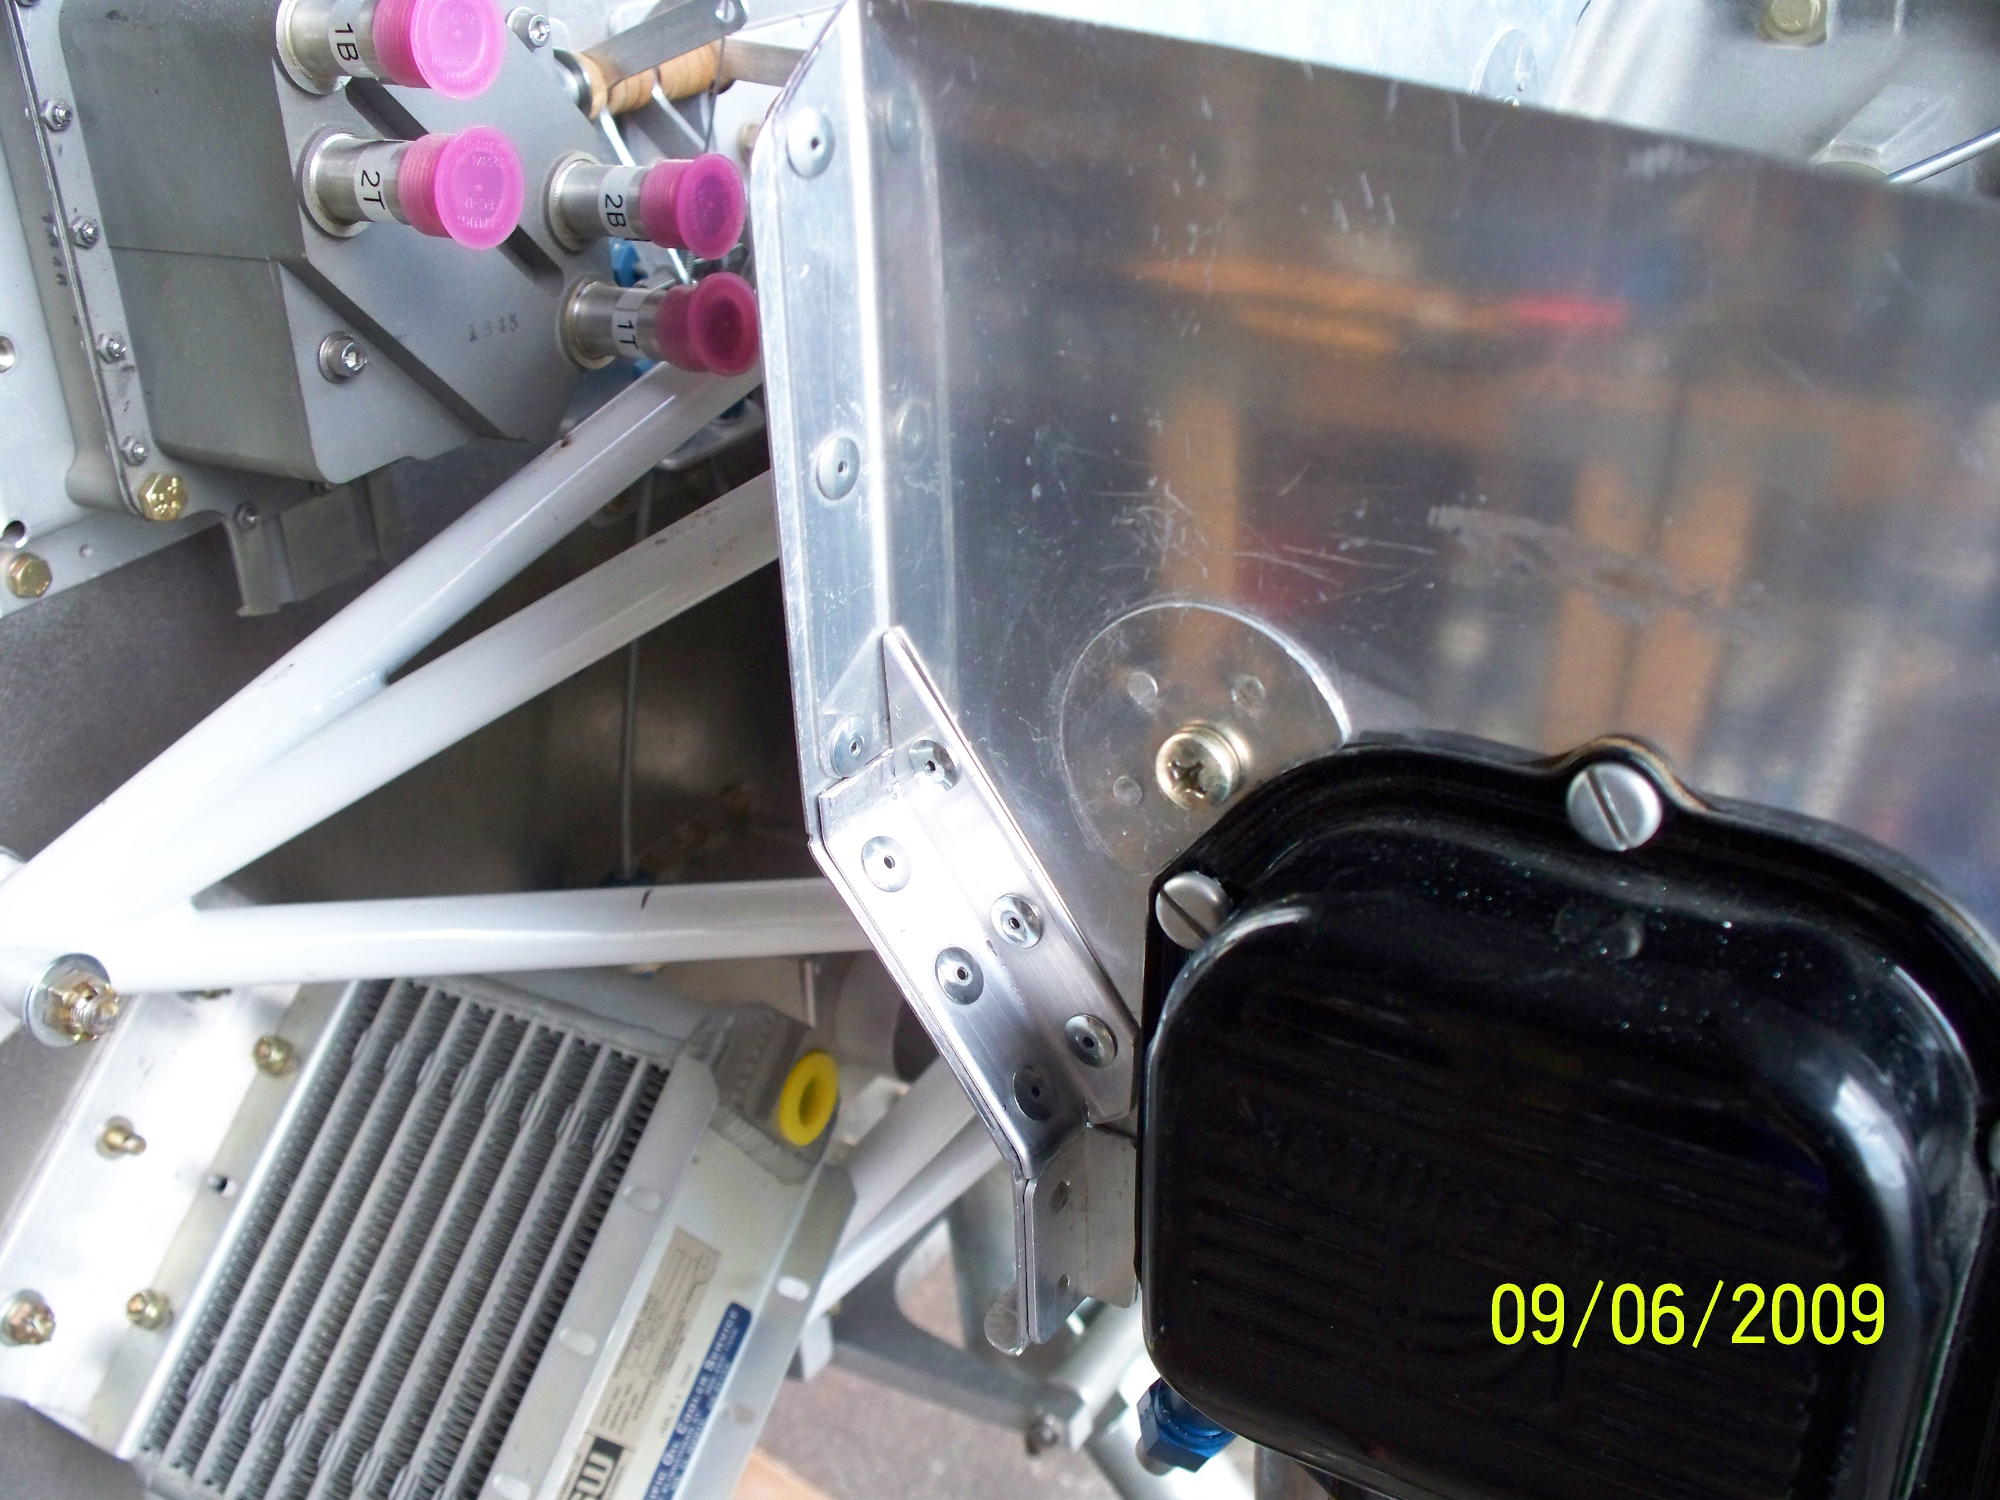
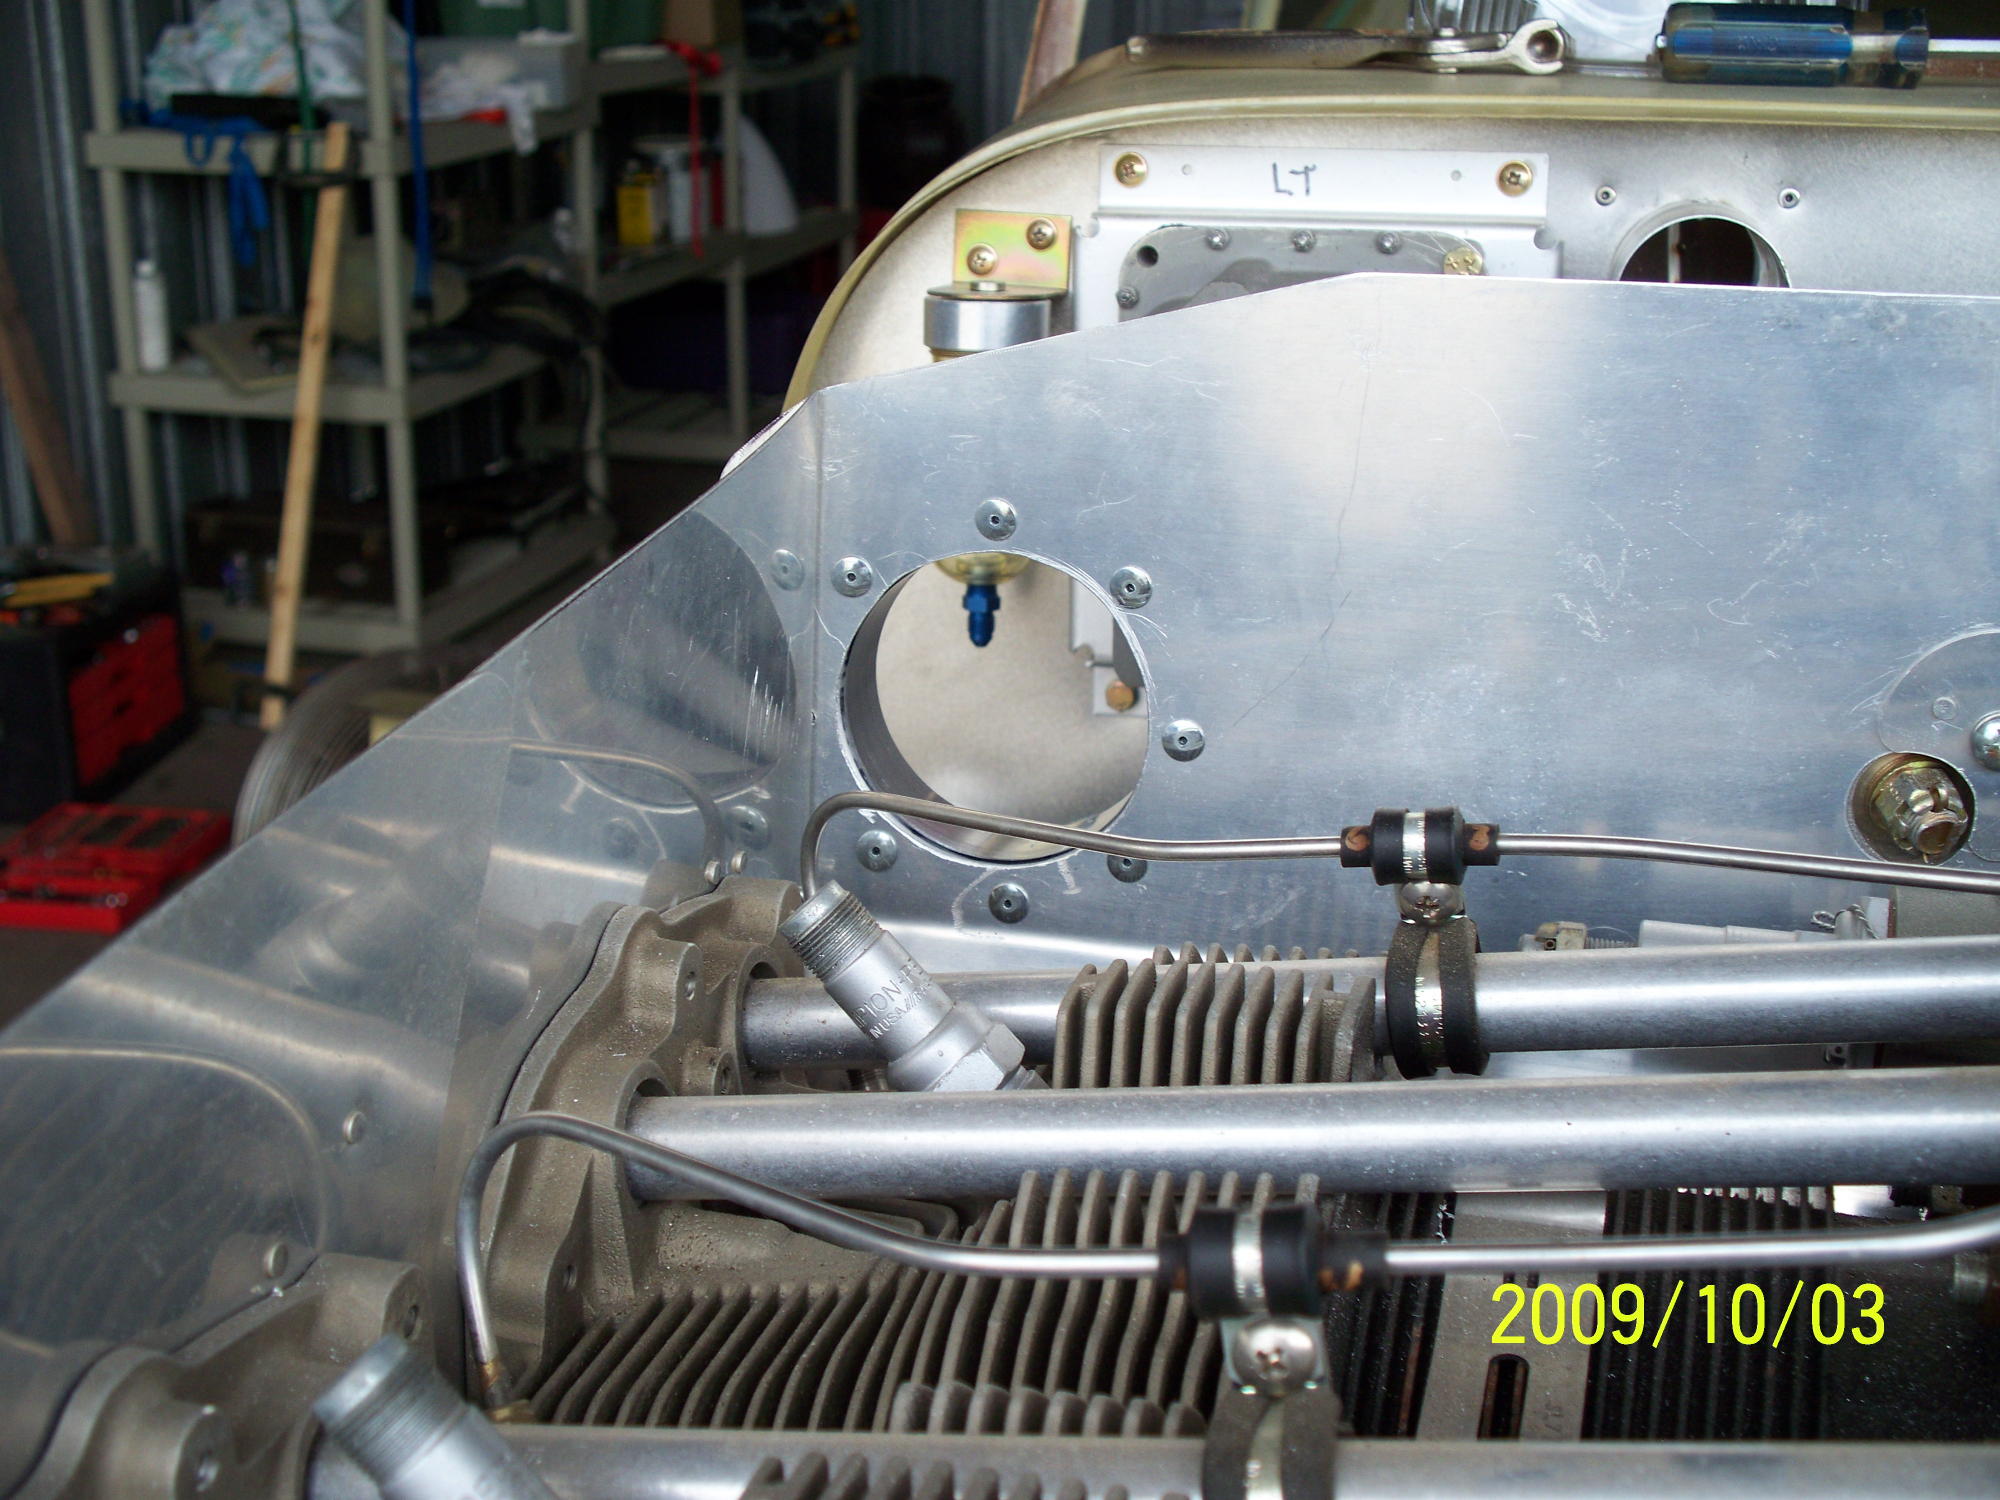
| The oil cooler has been mounted on the copilot
side of the firewall. I have placed the opening for the oil
cooler on the side with a short air duct to the cooler. This will hopefully provide enough air flow for the cooler. |
|
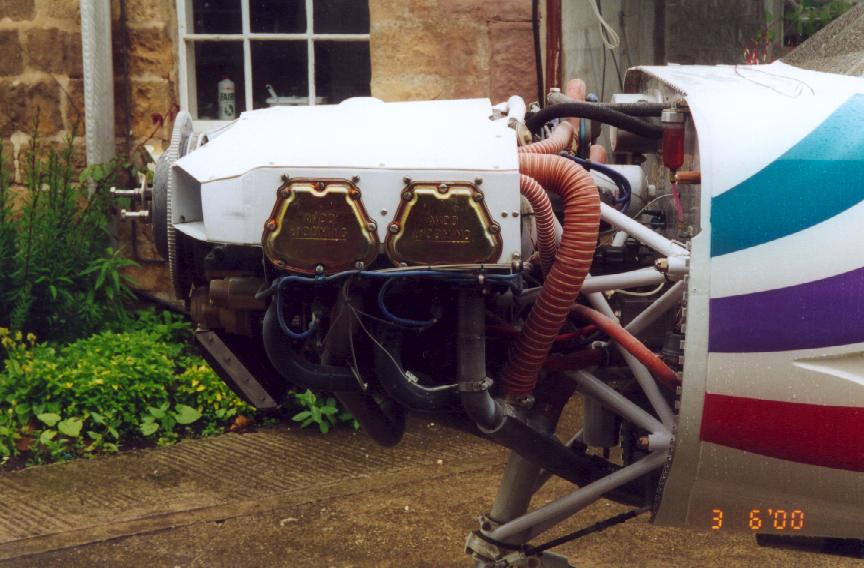
| The basic baffle is complete and now its time
to decide how to complete the top and create a pressure cowling. I first considered a standard baffle system but because I live in a very hot climate the standard system didn't appeal to me. The Pressure Cowling was always my first choice. Below shows several of the alternatives I considered. |
|
 |
 |
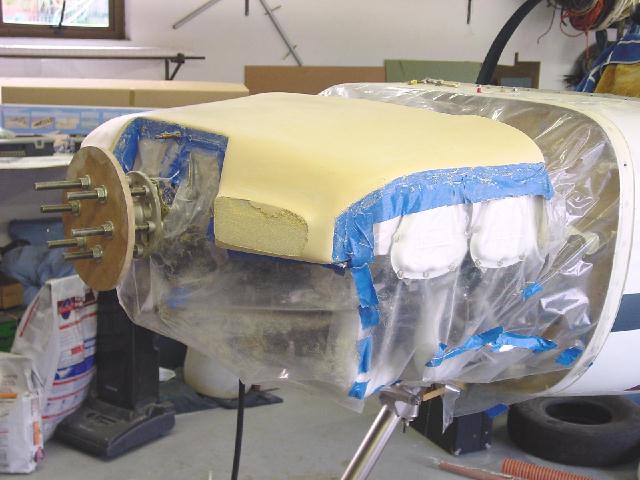
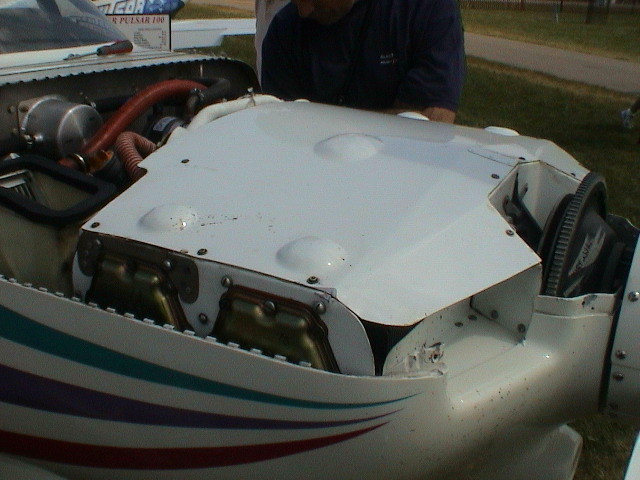
| This isn't the complete pressure plenum but shows the mold
ready for fiberglass. |
This was a unique concept that I really gave serious consideration to but finally decided against it. |
 |
 |
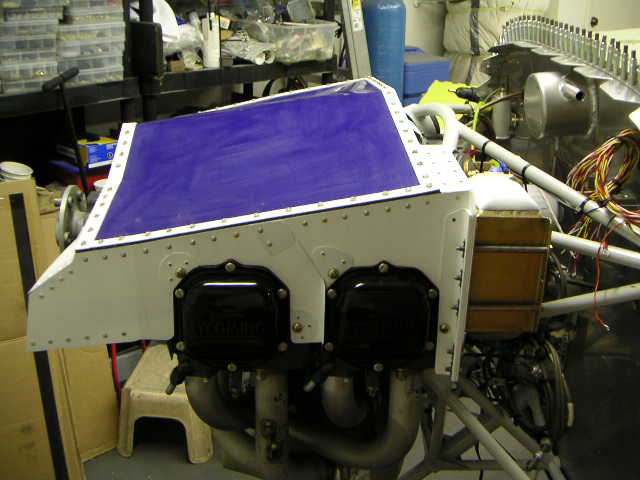
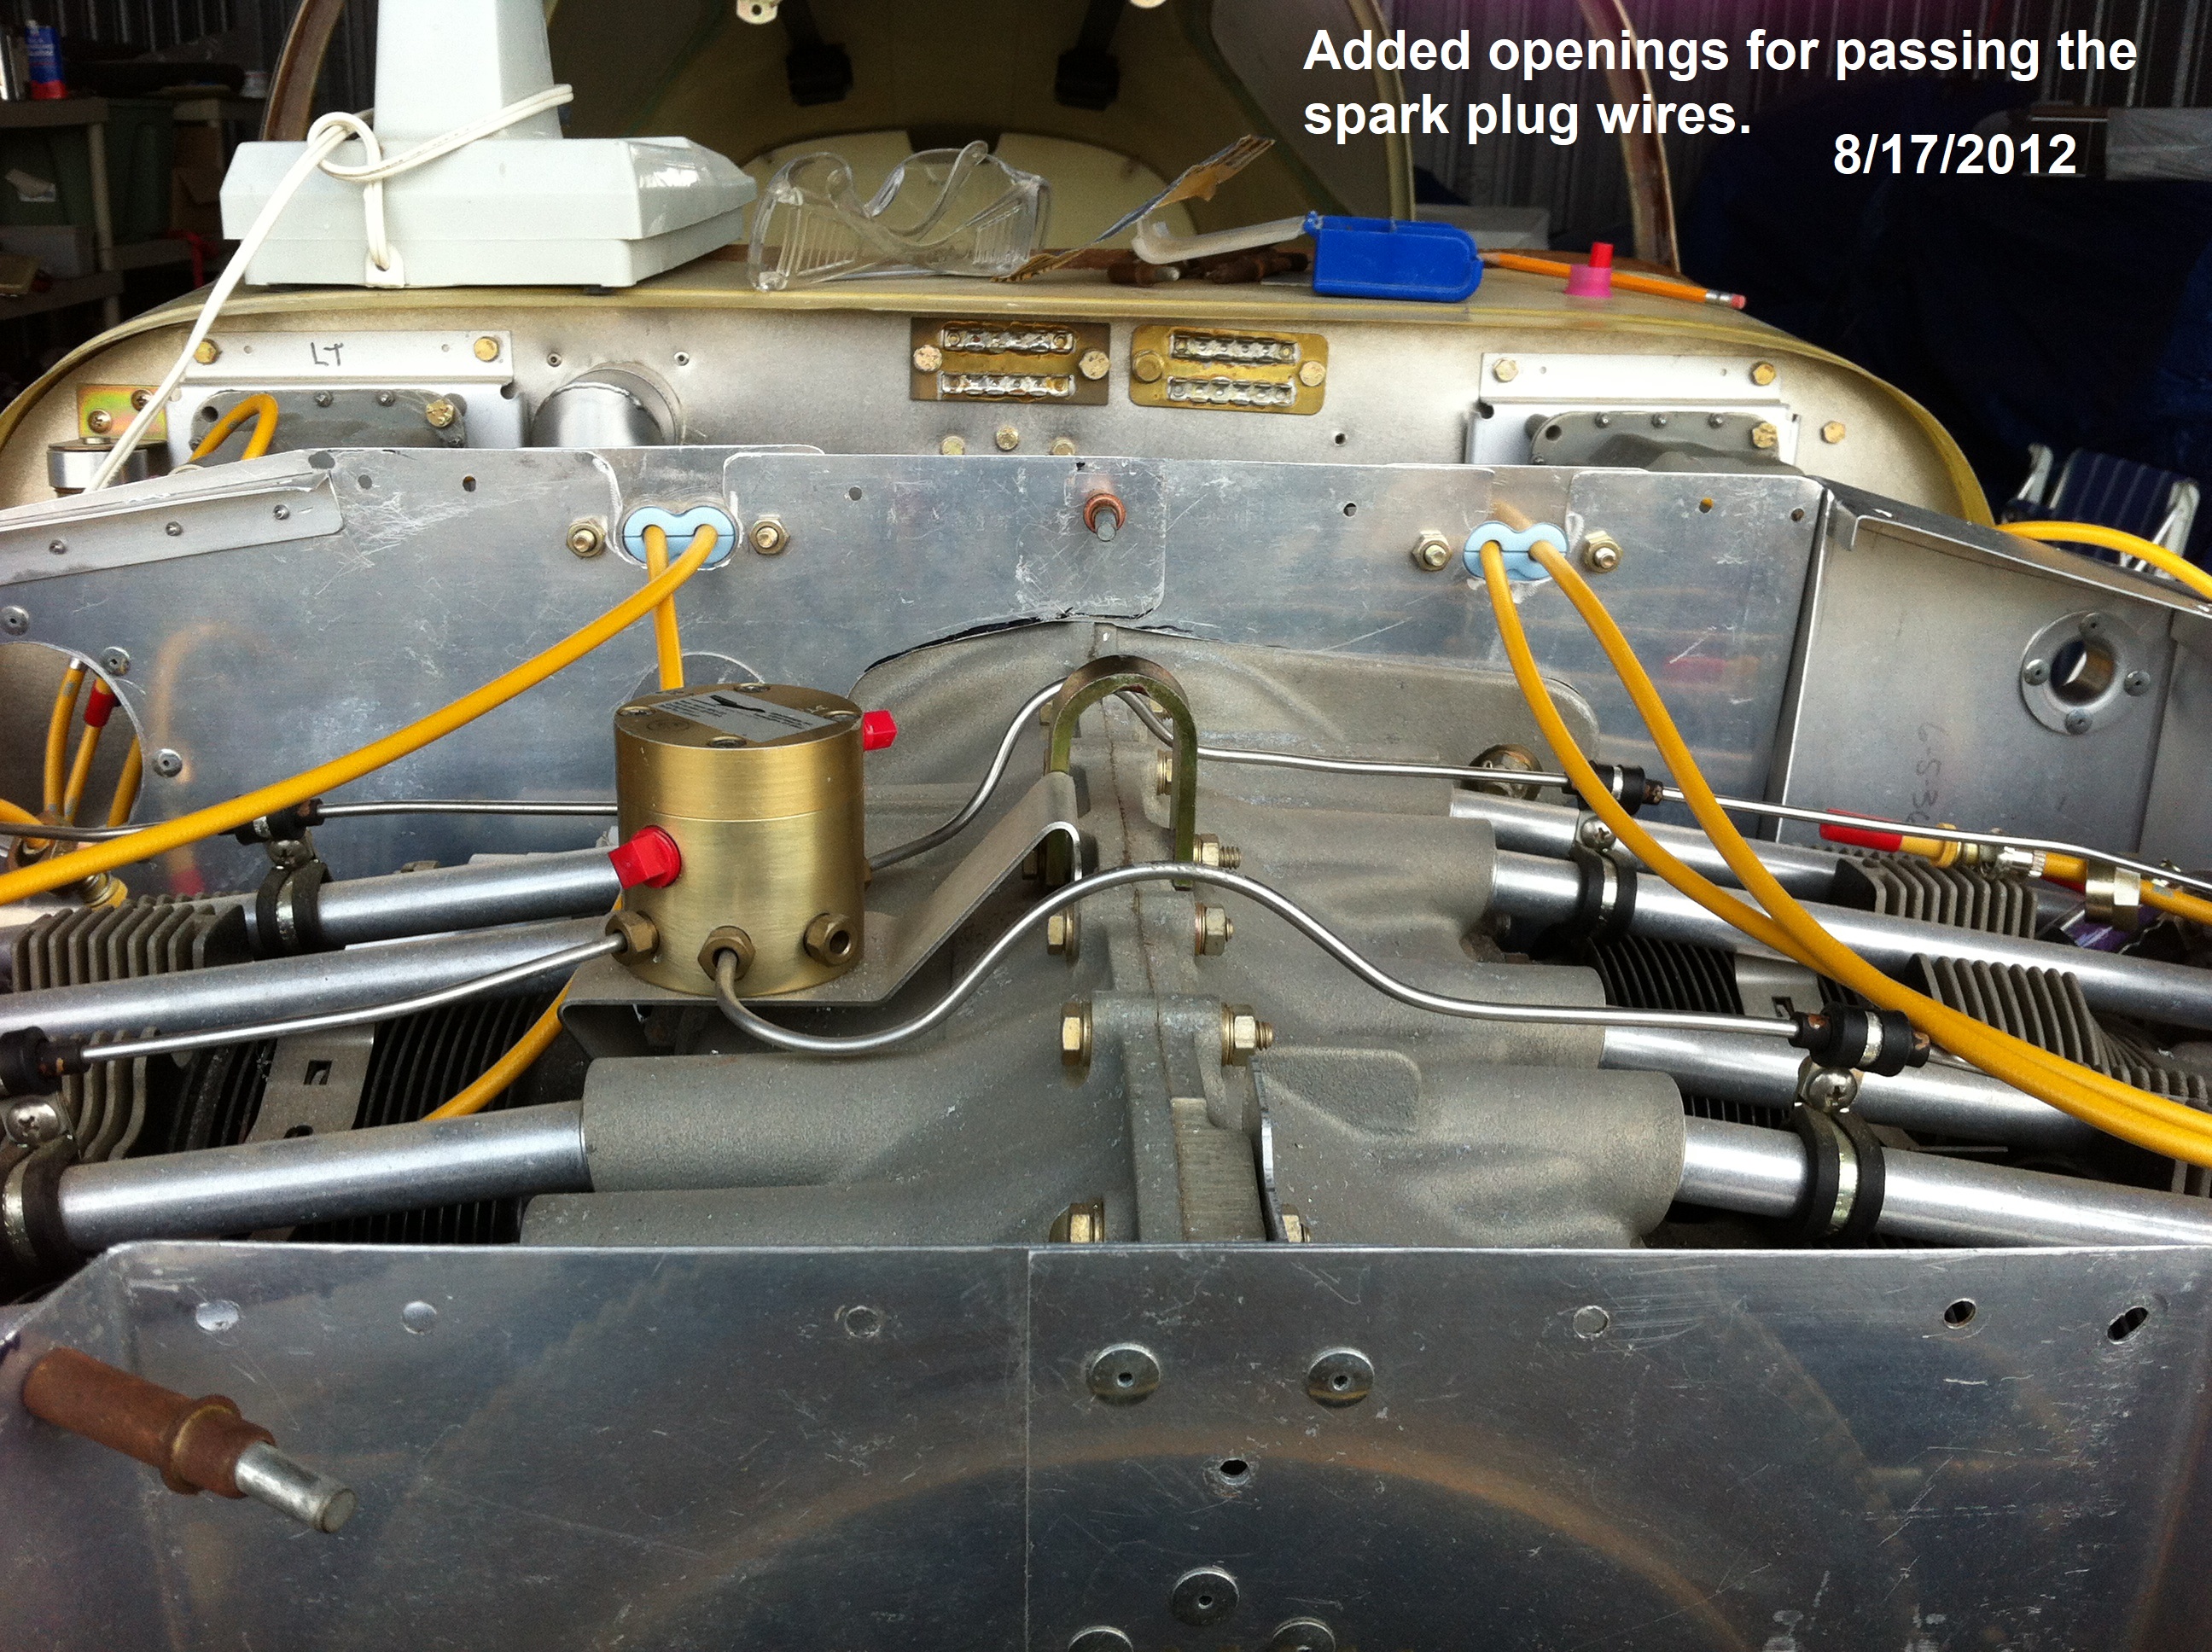
| I like the above setup but not if I had to put
in the bulges for the spark plugs. I also didn't like
having to take the entir thing off to service the plugs. So like most things I have done on the plane, I pulled from all the different methods. |
|
|
I really hesitated to work with the metal system because
I didn't have the tools to bend the alunimum sheets and was |
|
 |
 |
 |
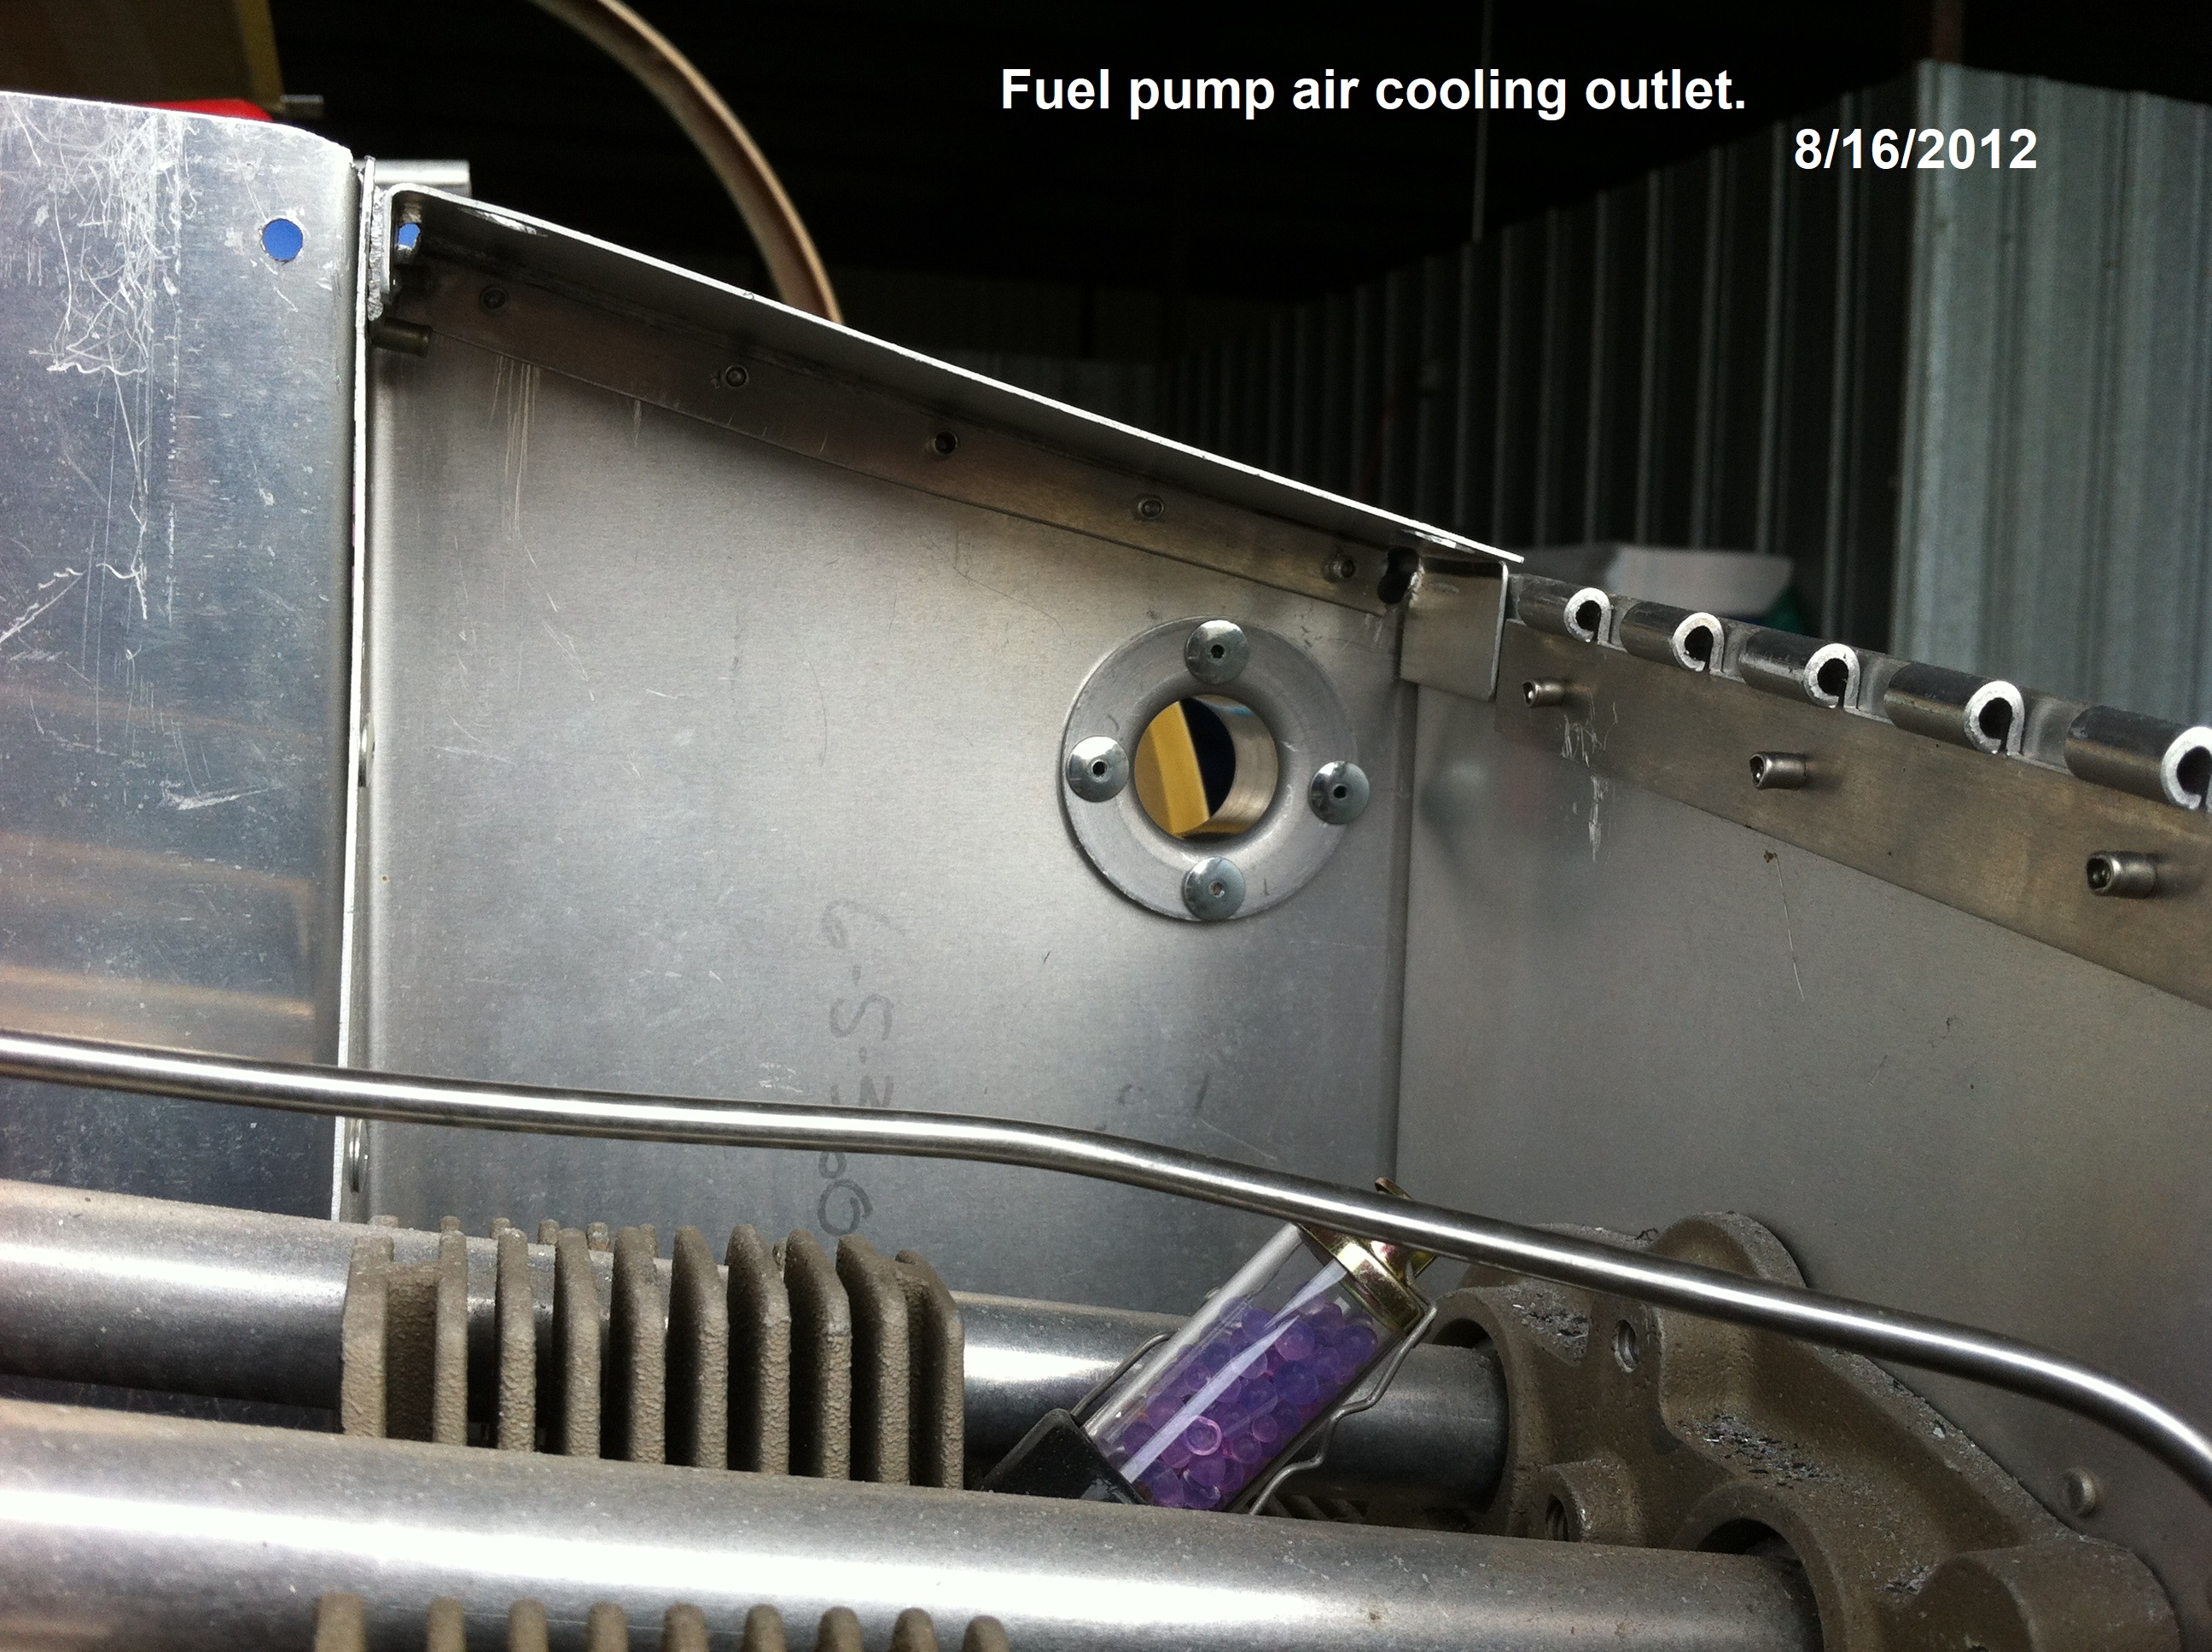 |
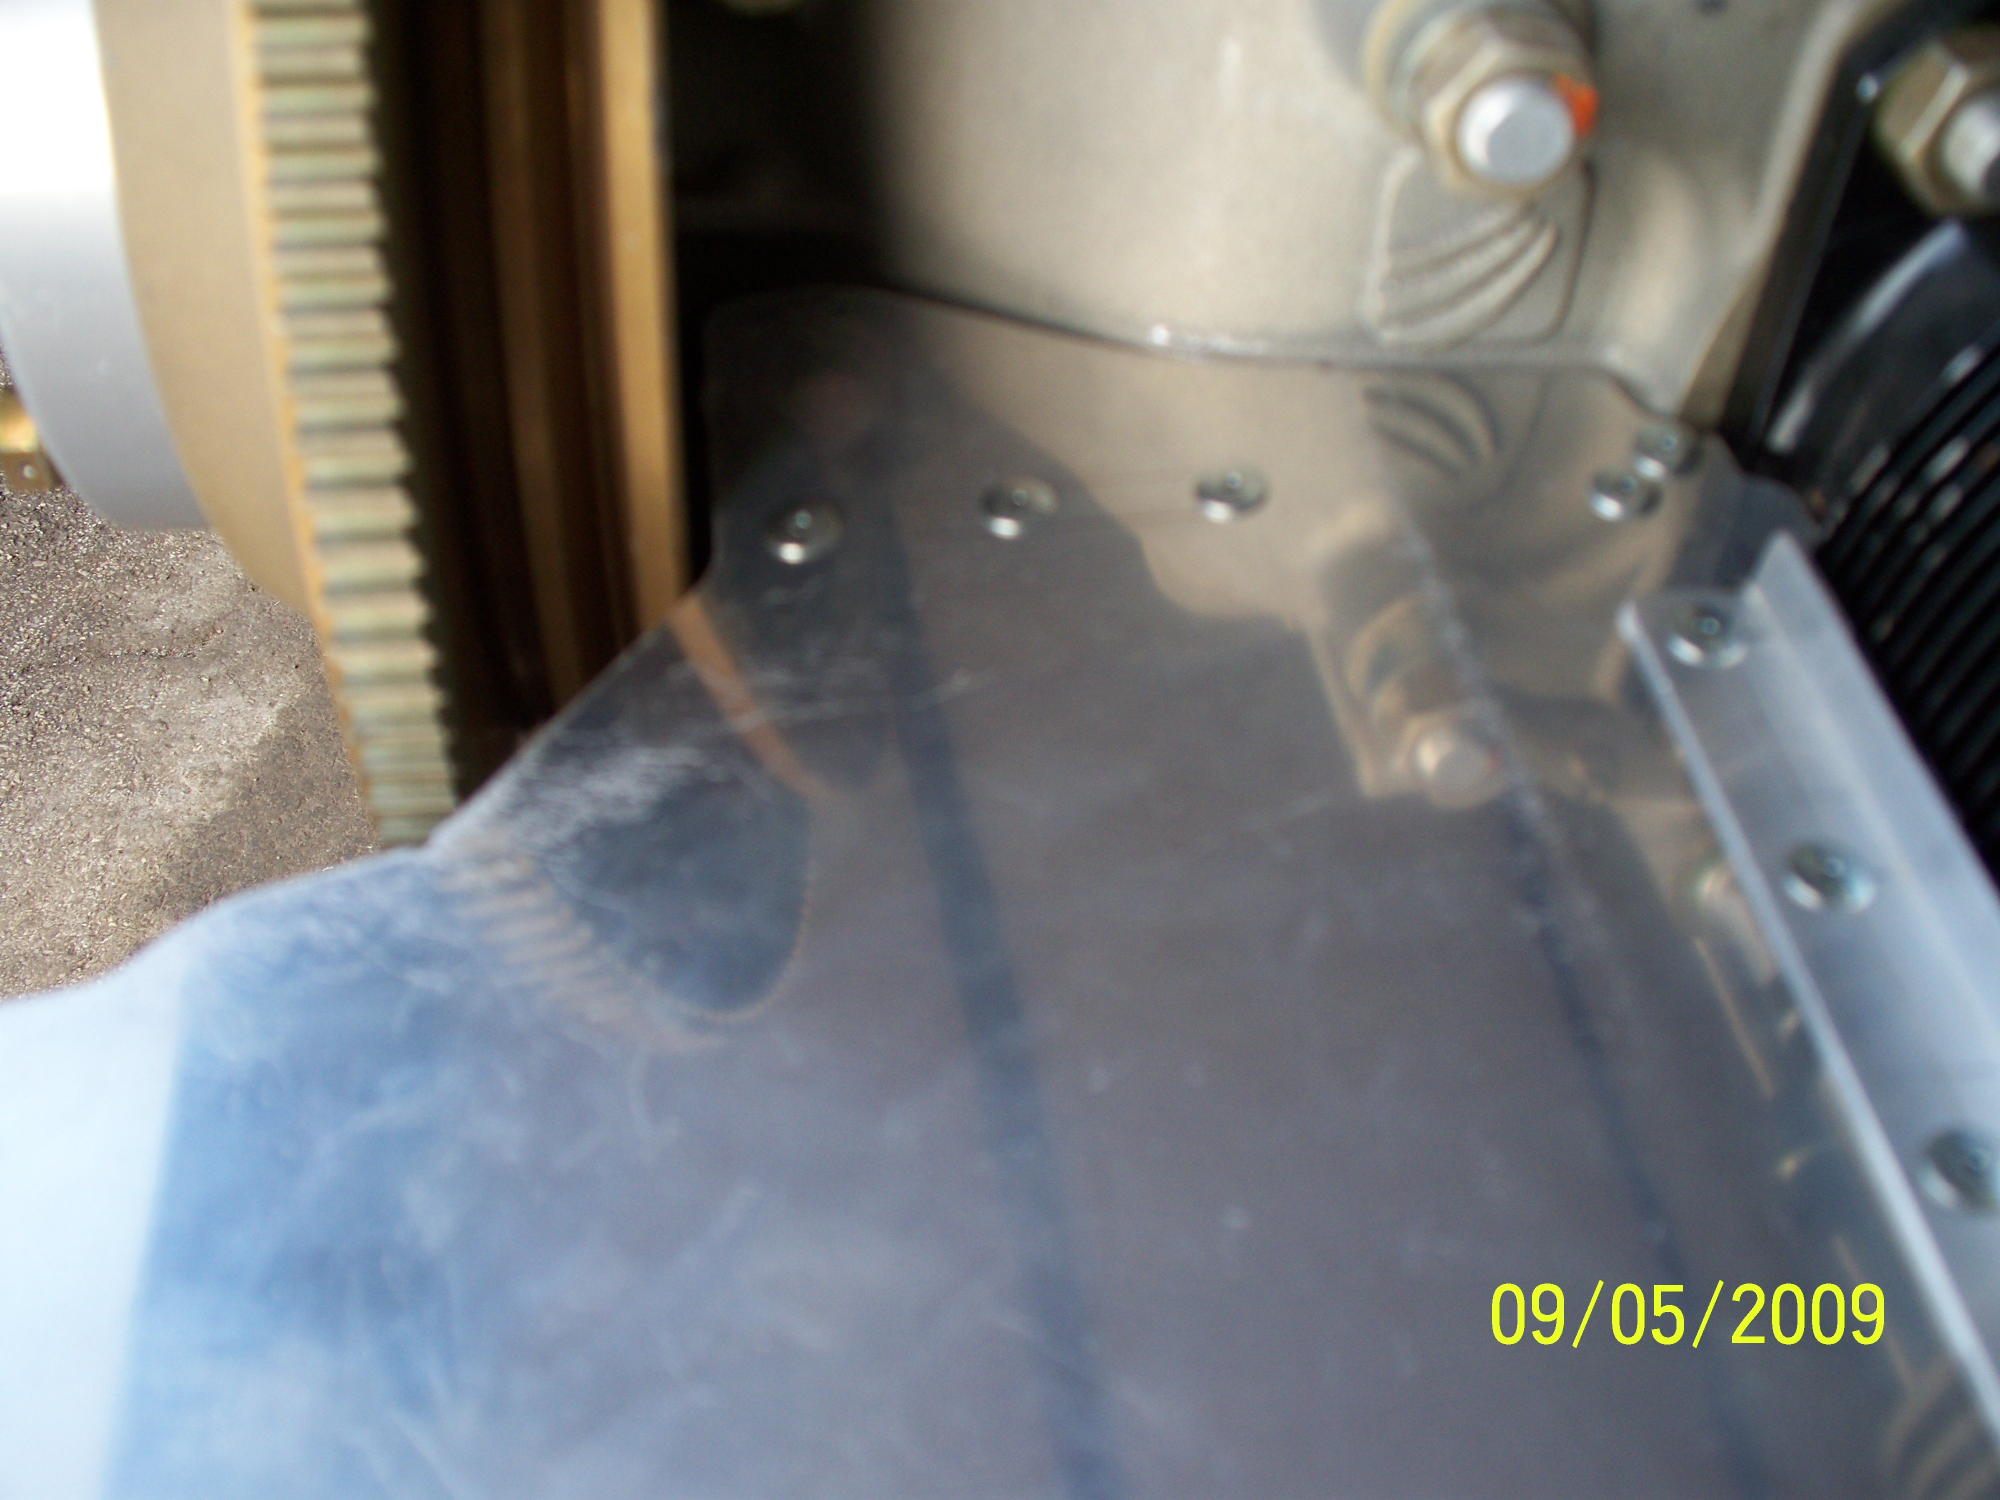
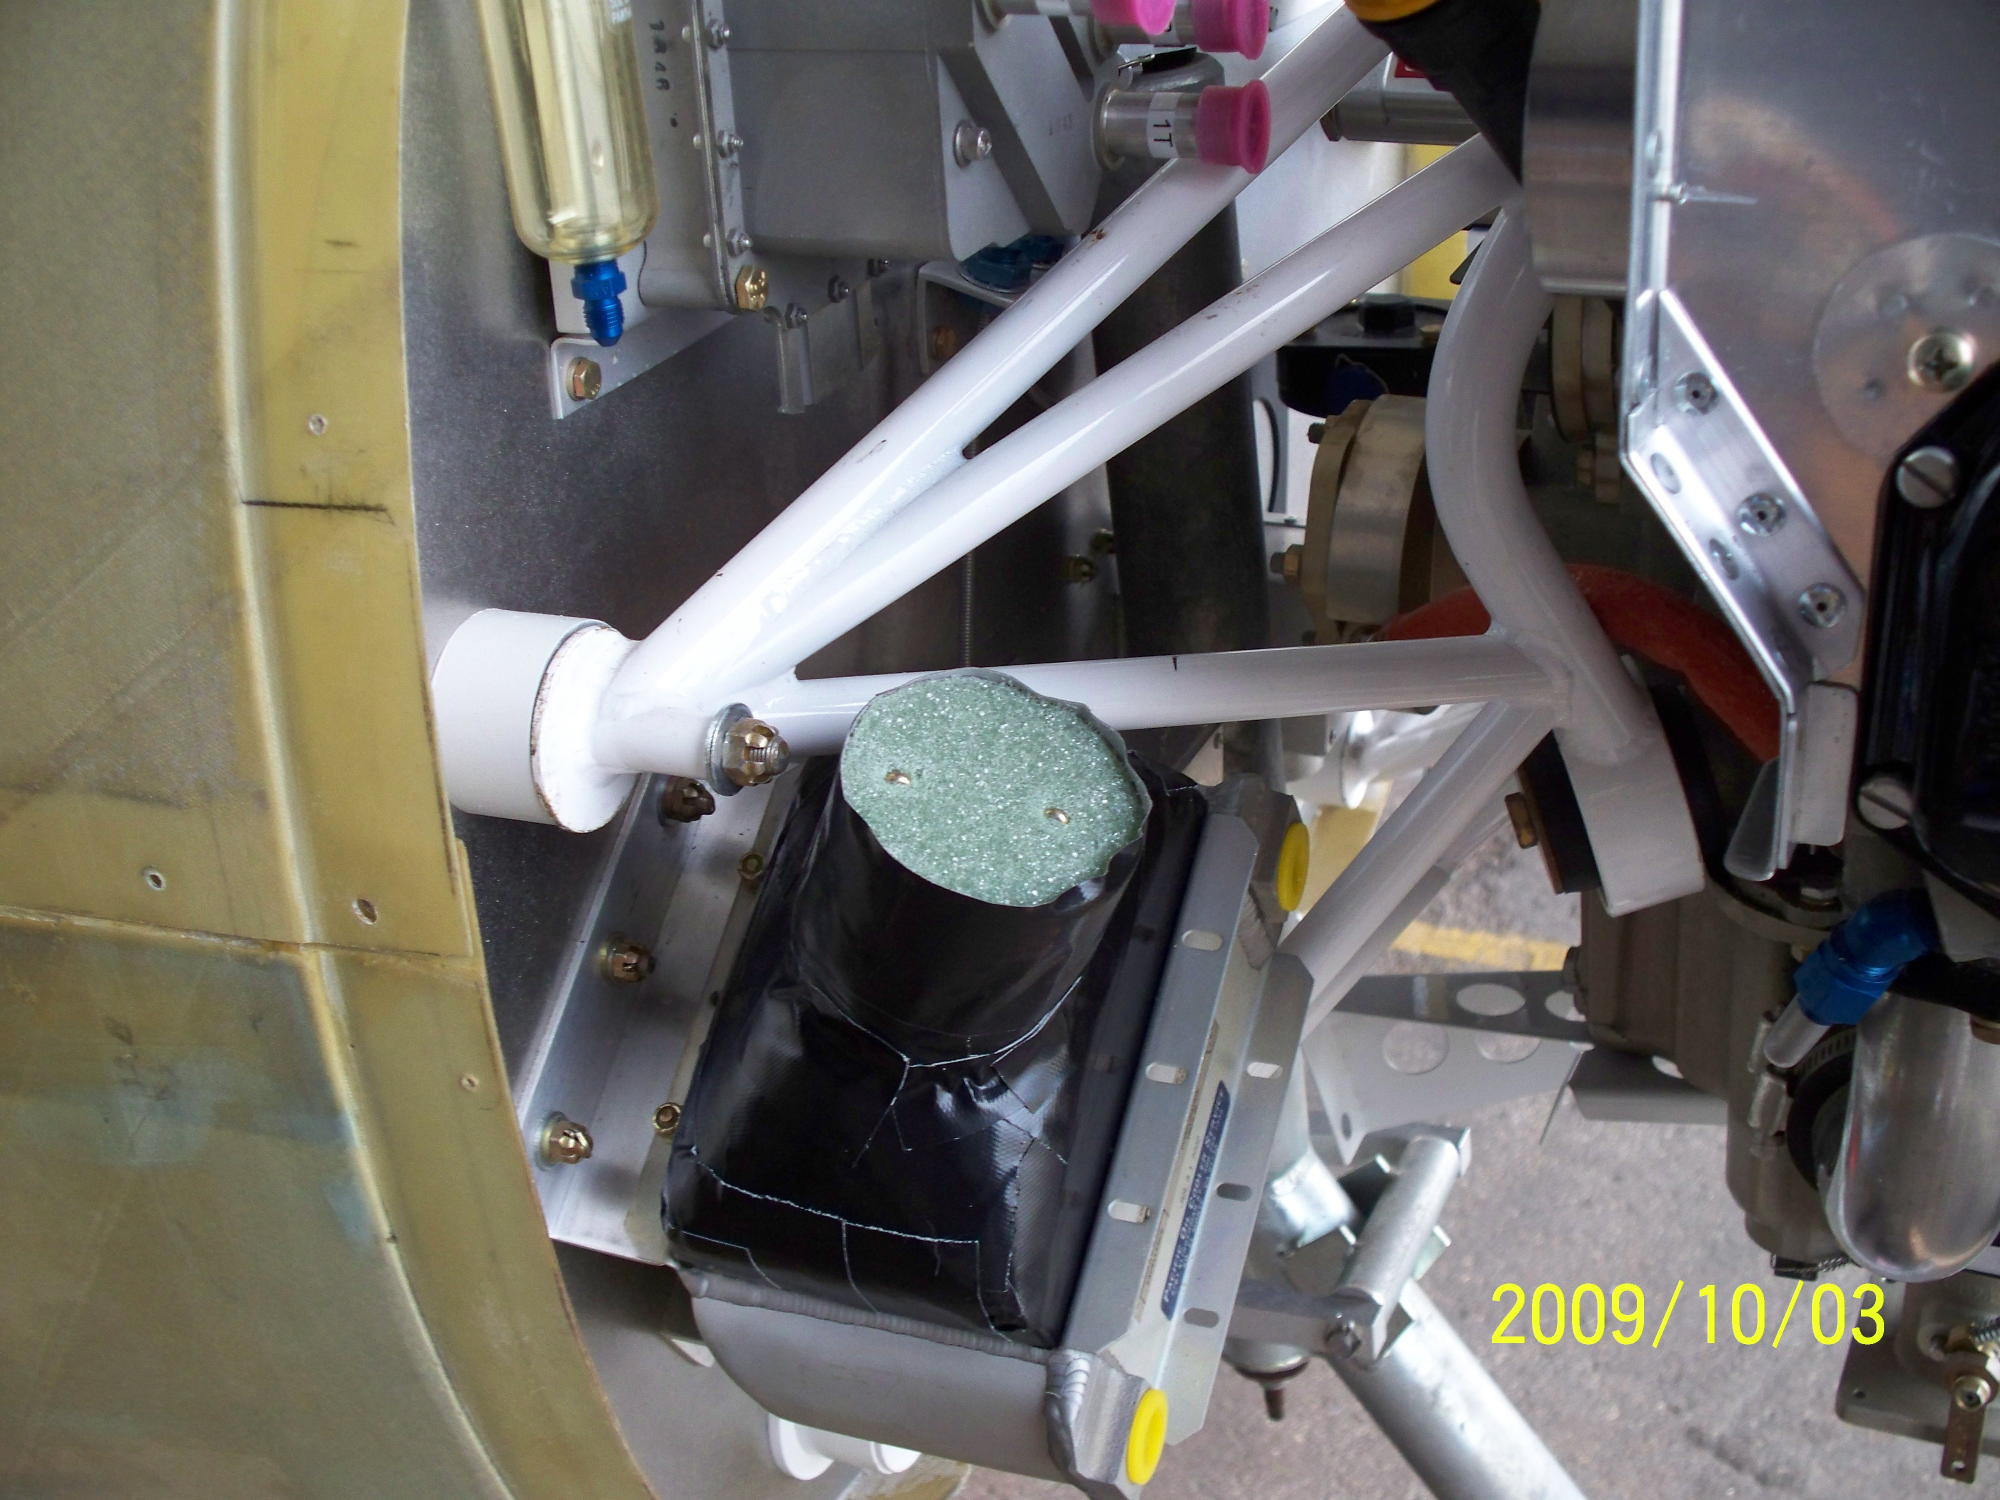
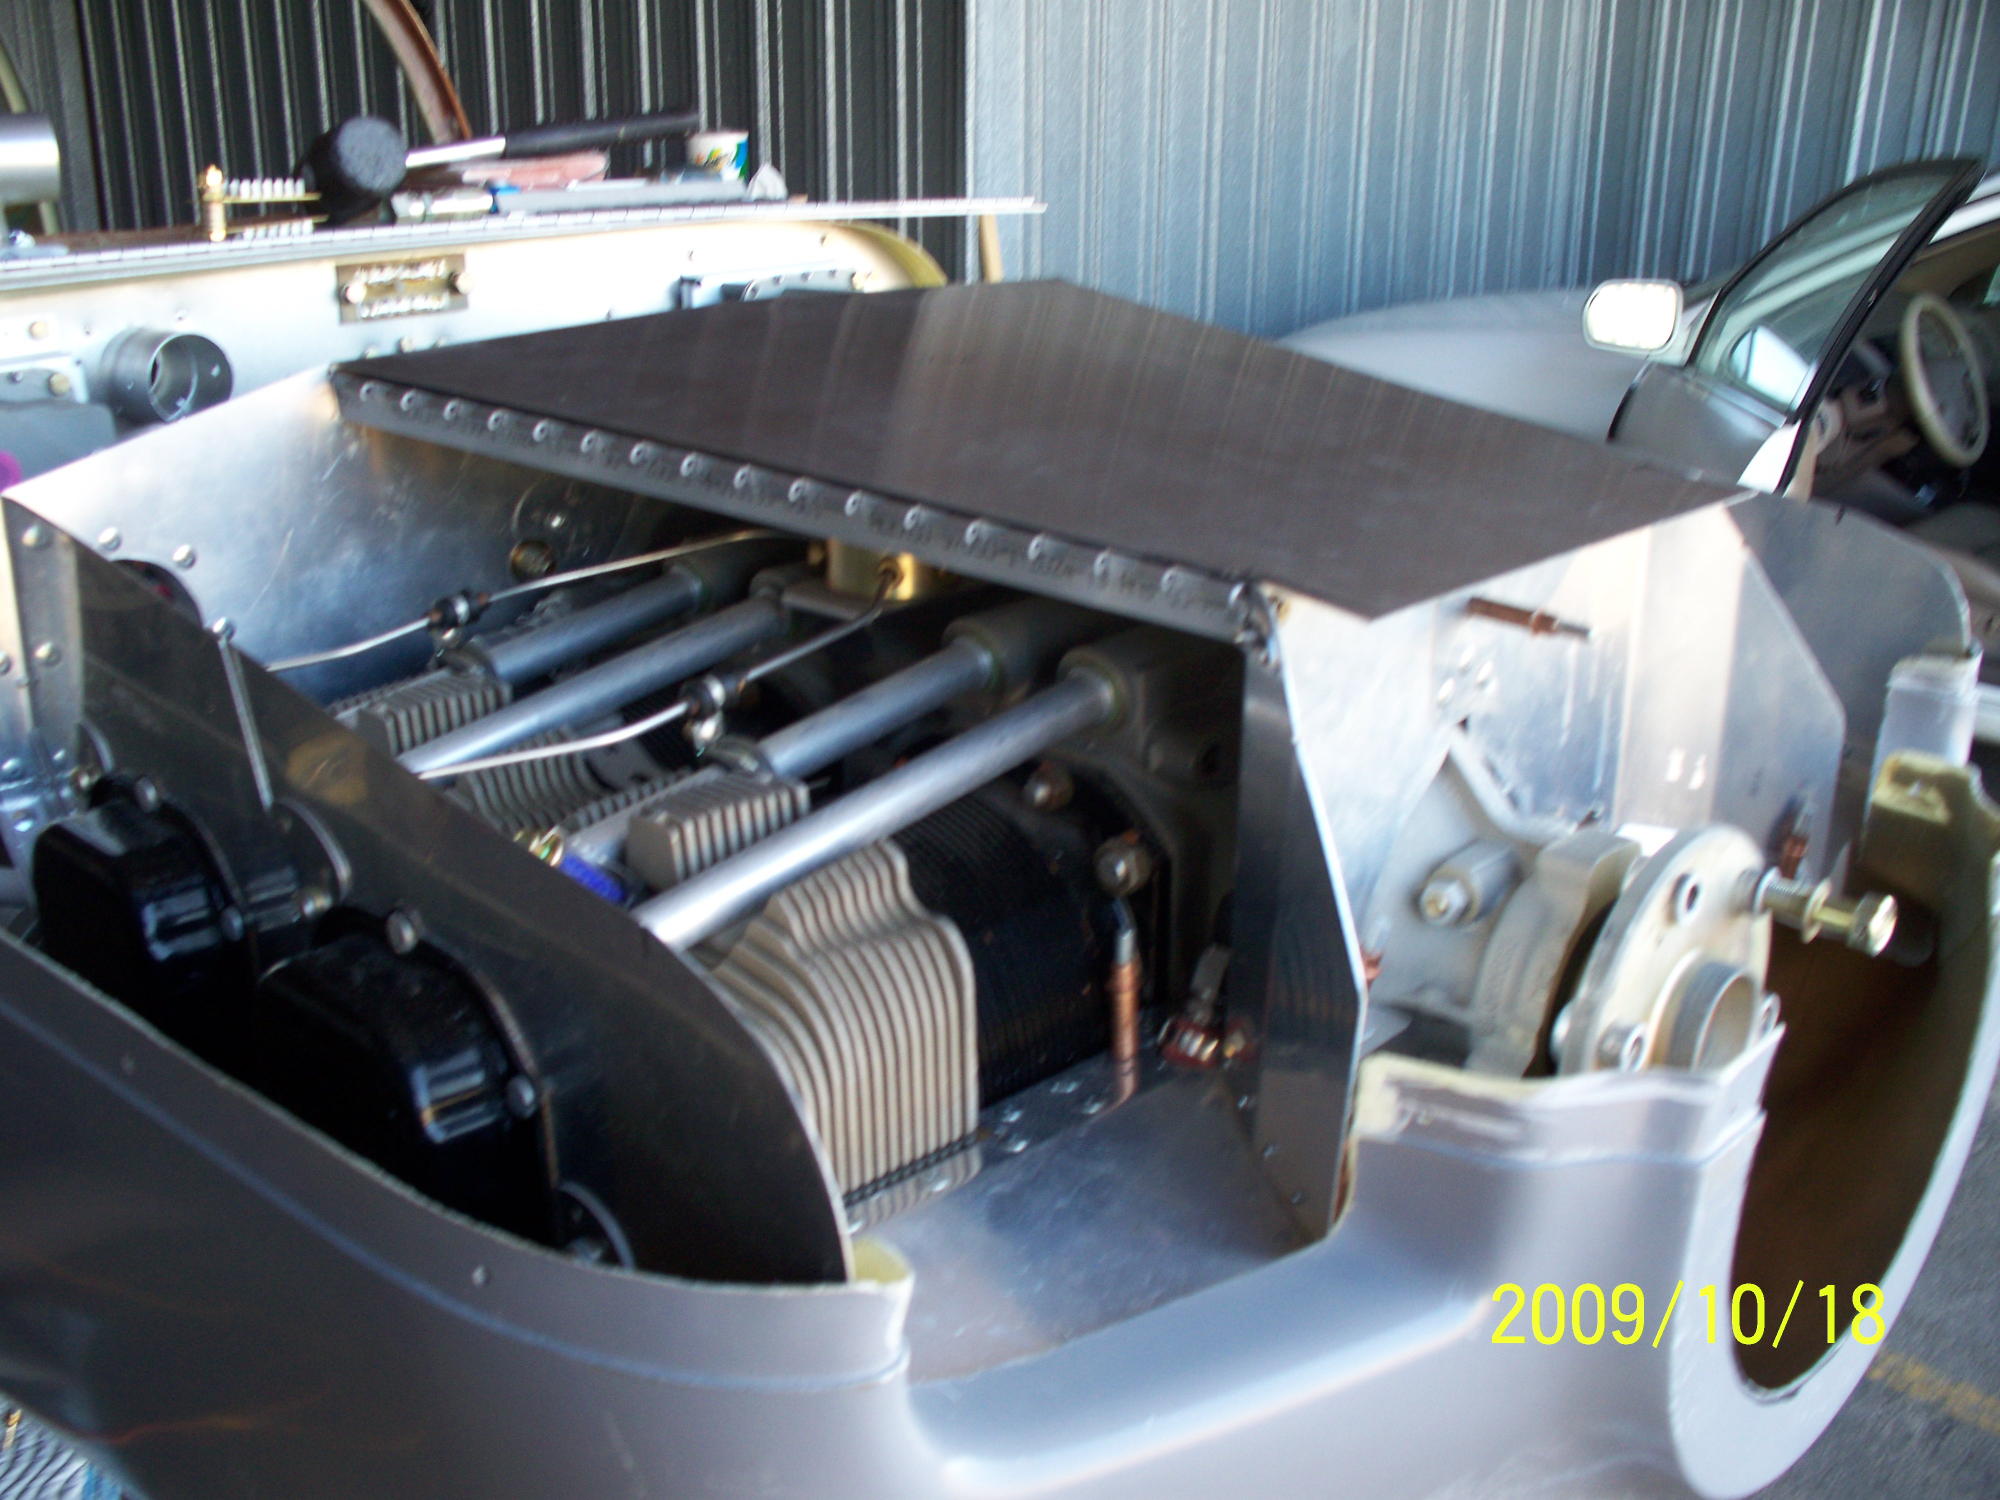
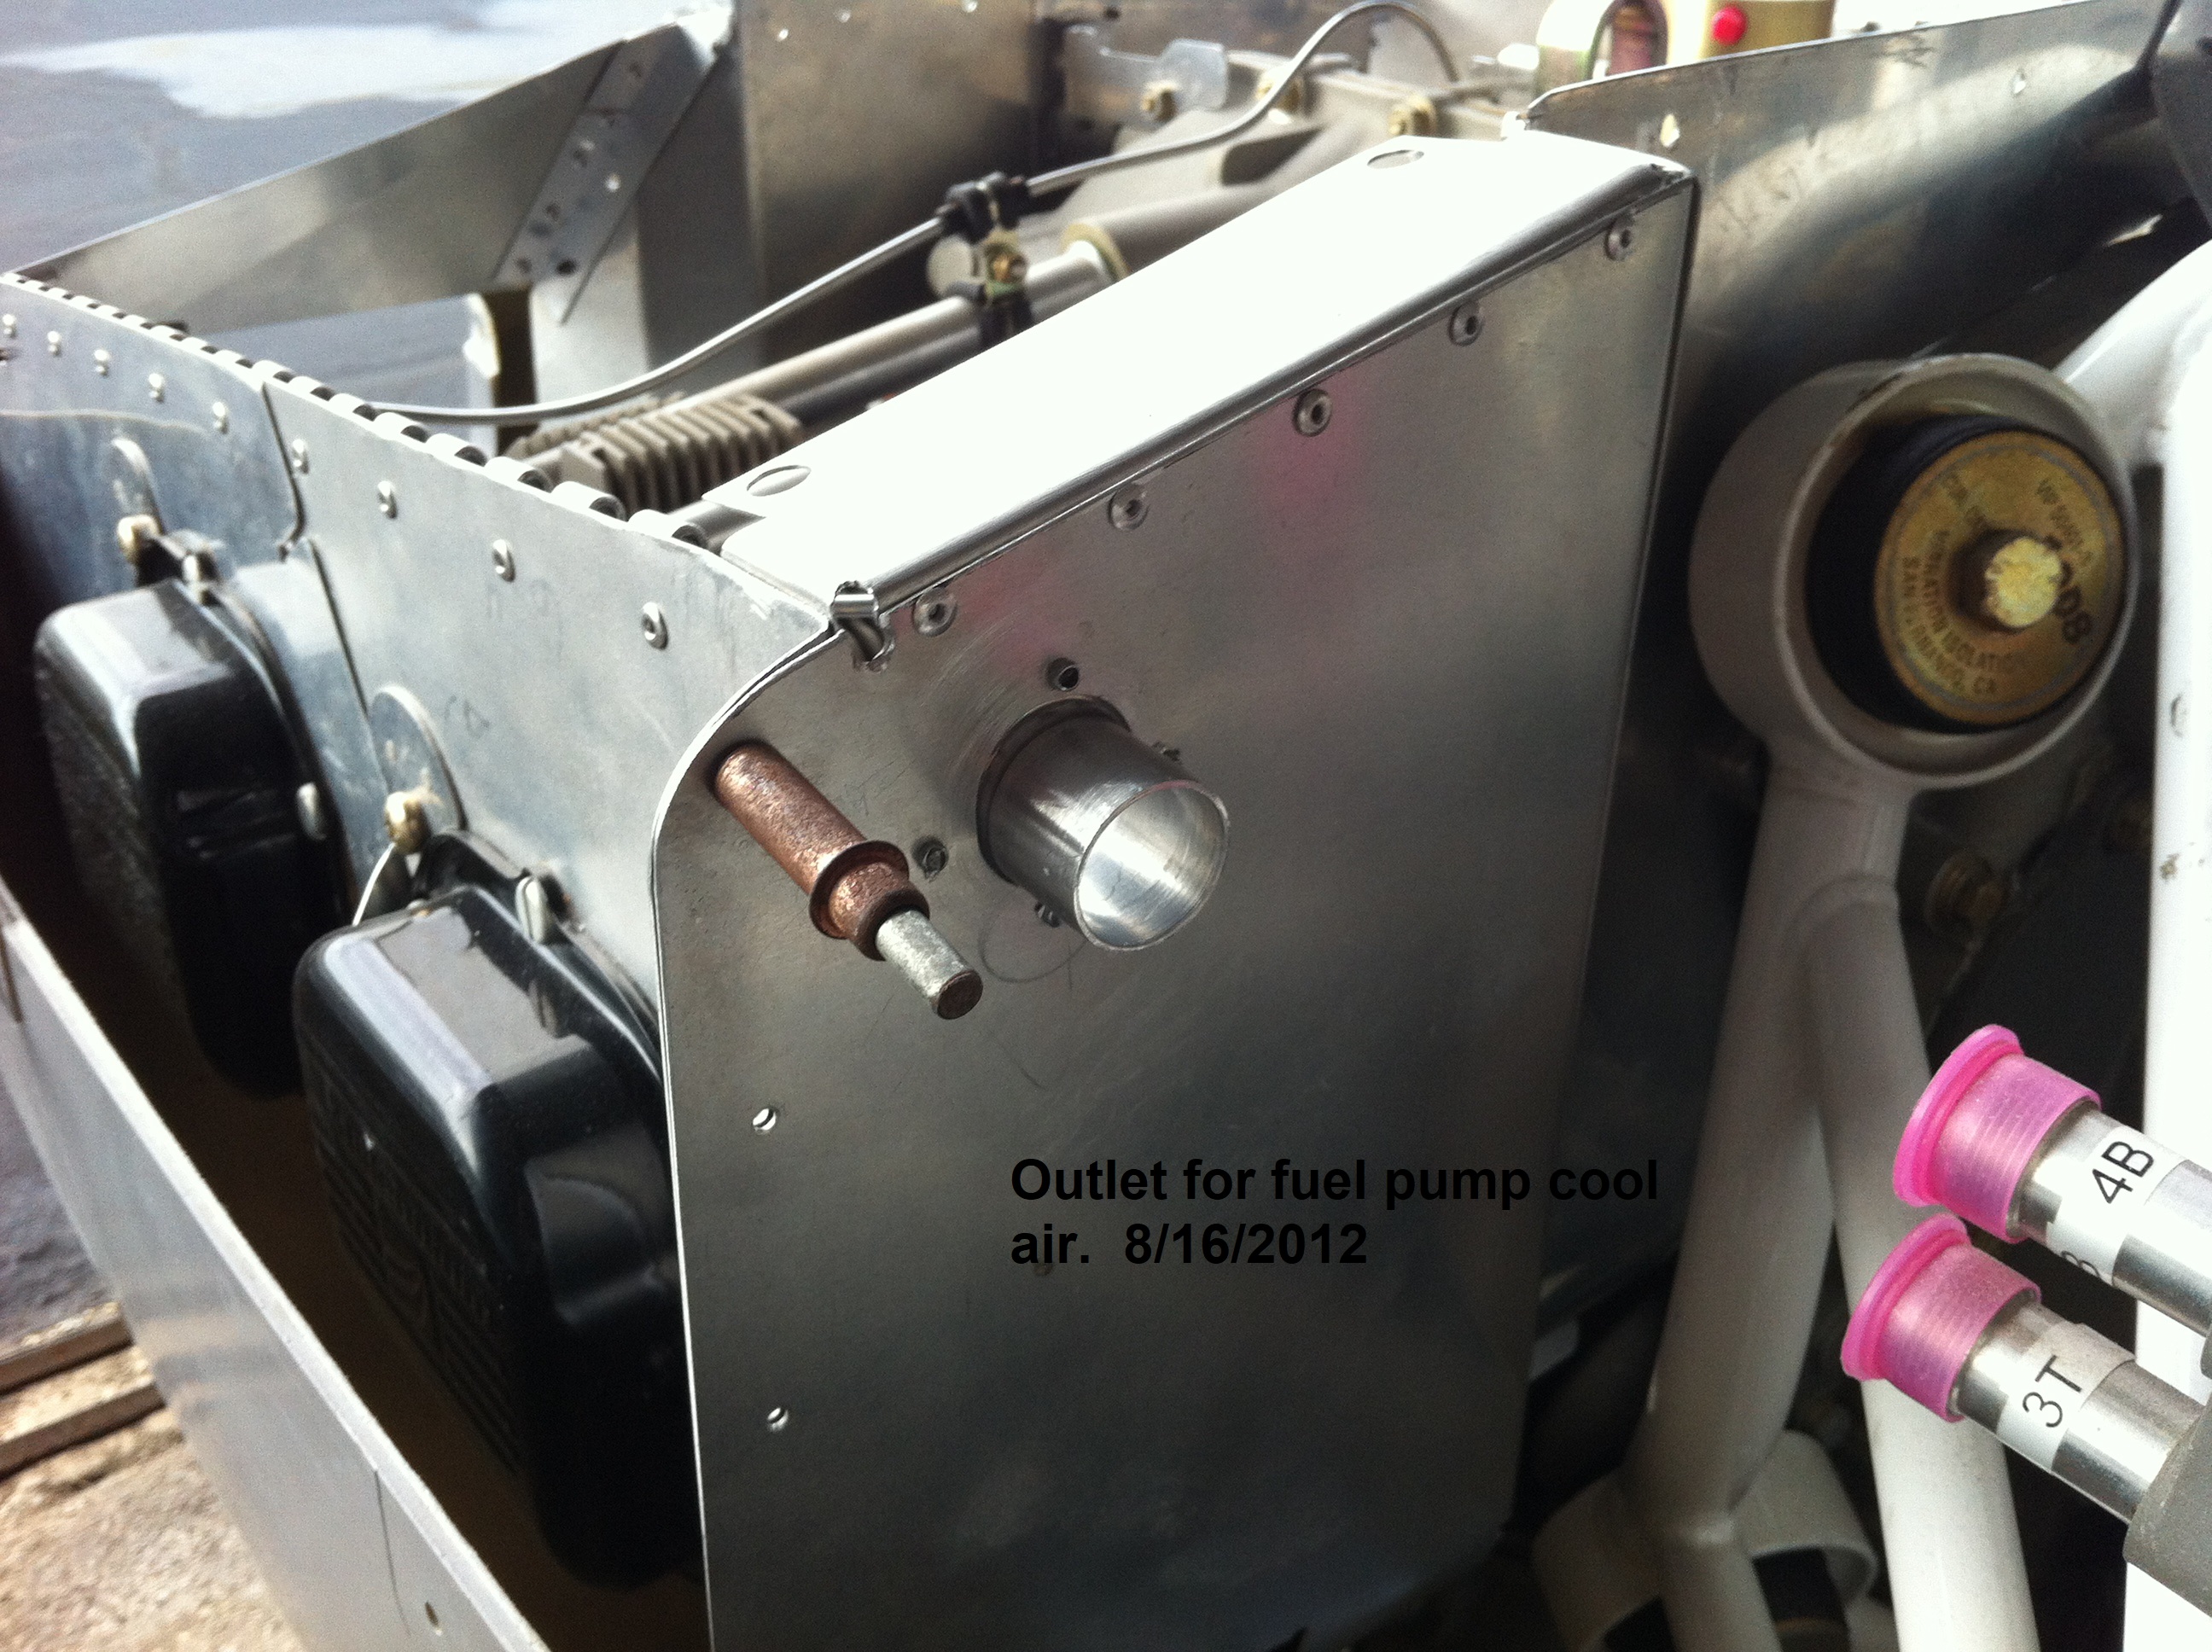
| I installed a cooling vent from the back of the plenum to install a to route cooling air to the manual fuel pump. |
I will have to plug this hole now since the manual fuel pump has been removed and I am using two electric pumps. |
 |
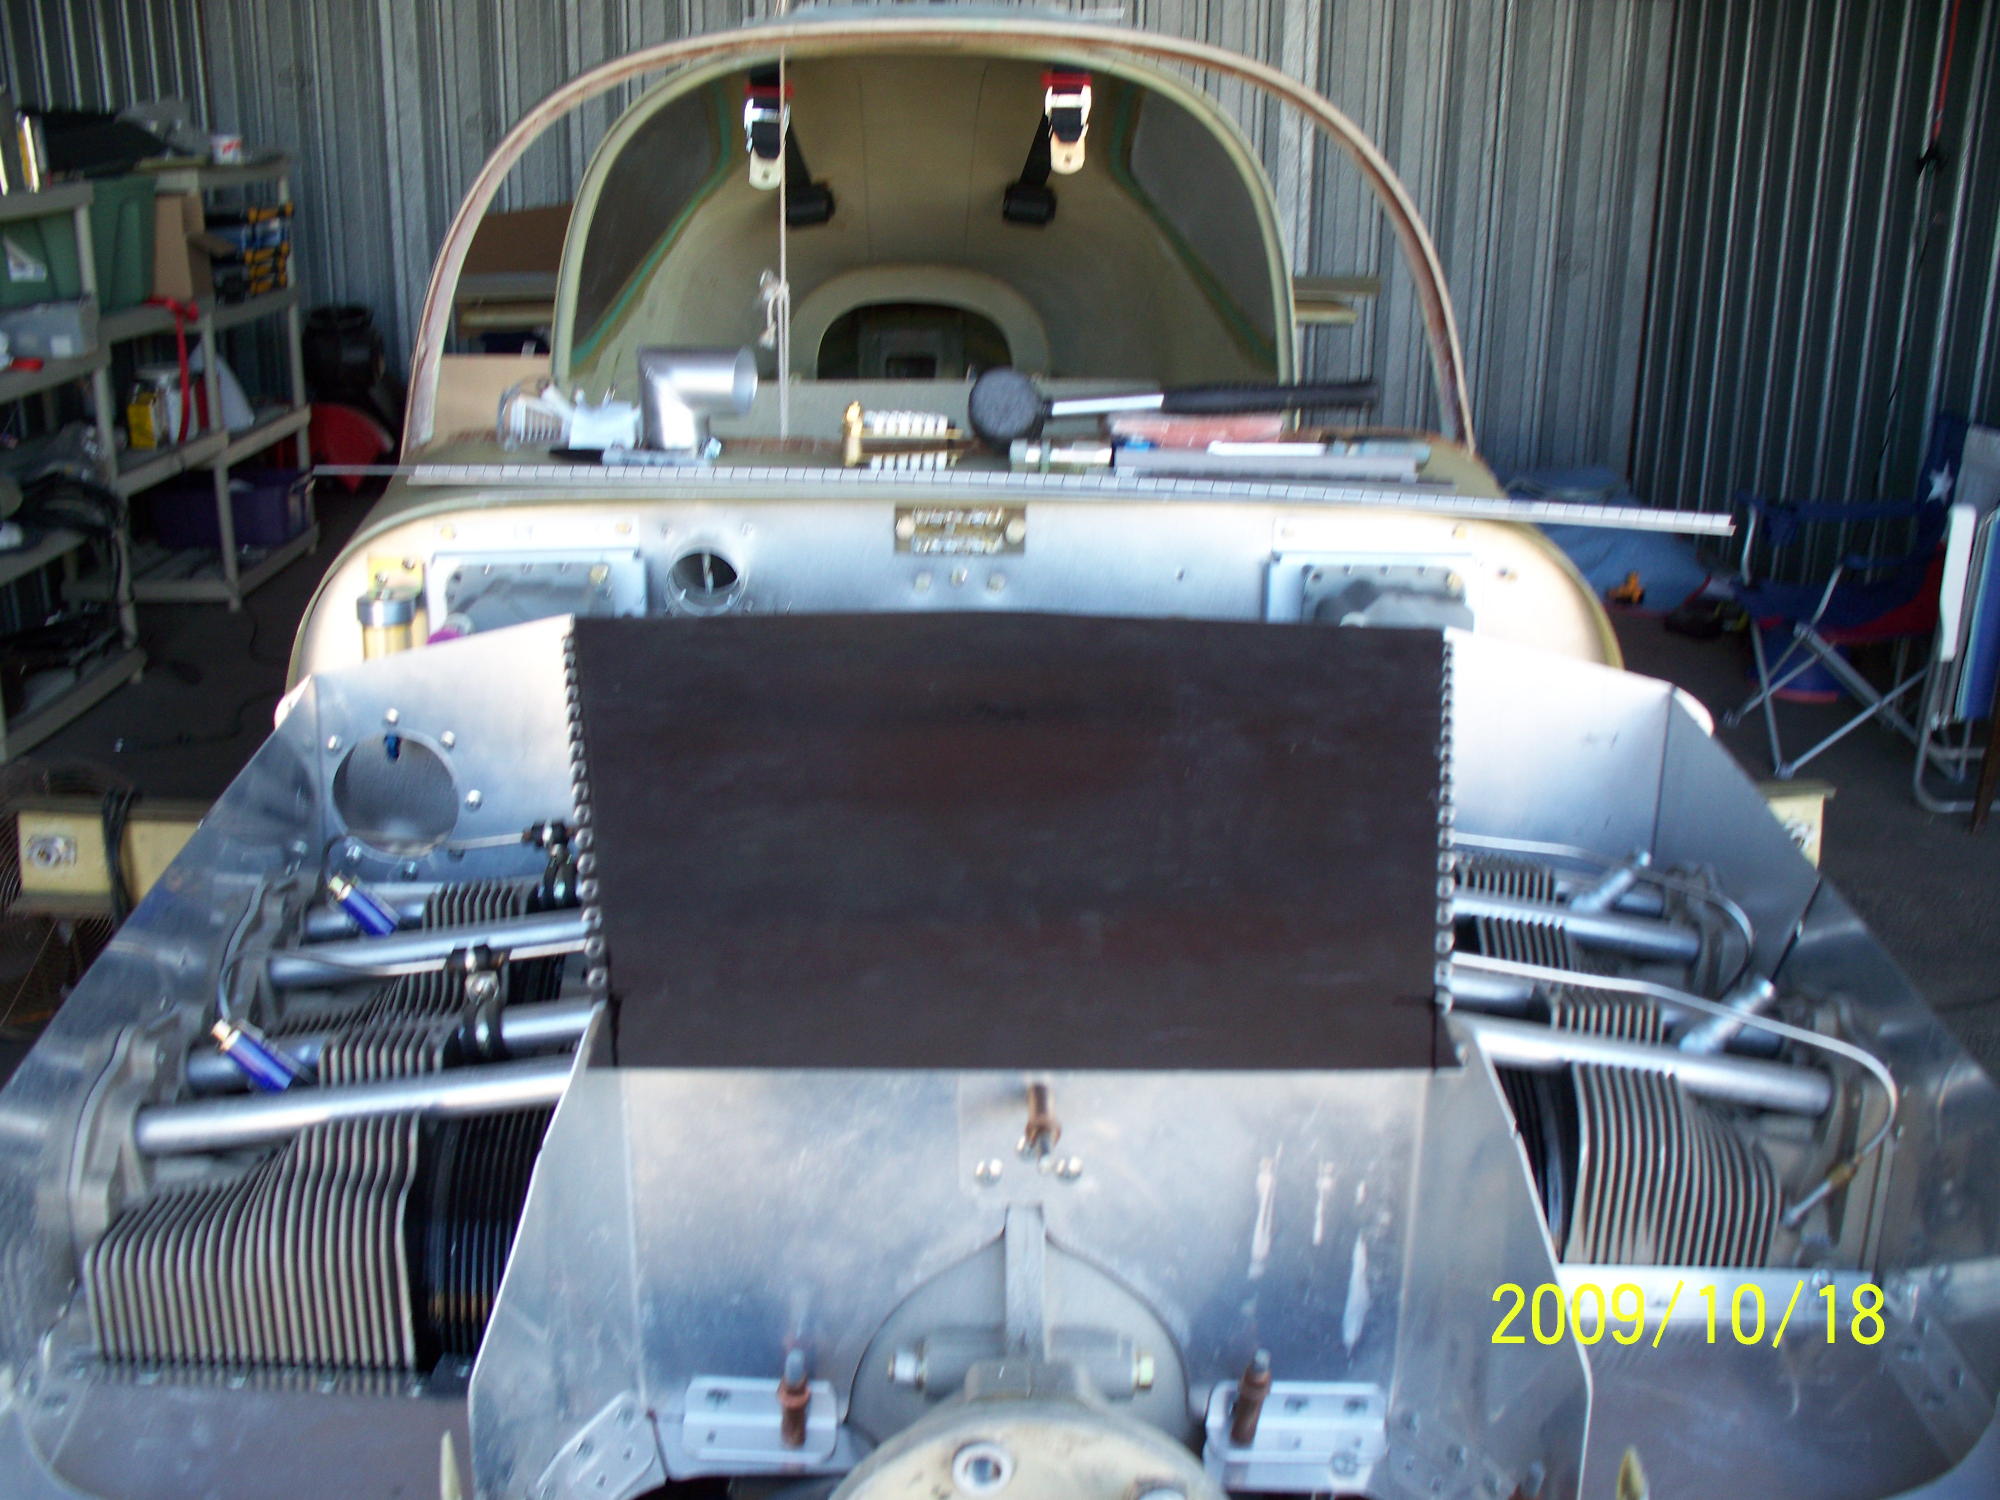
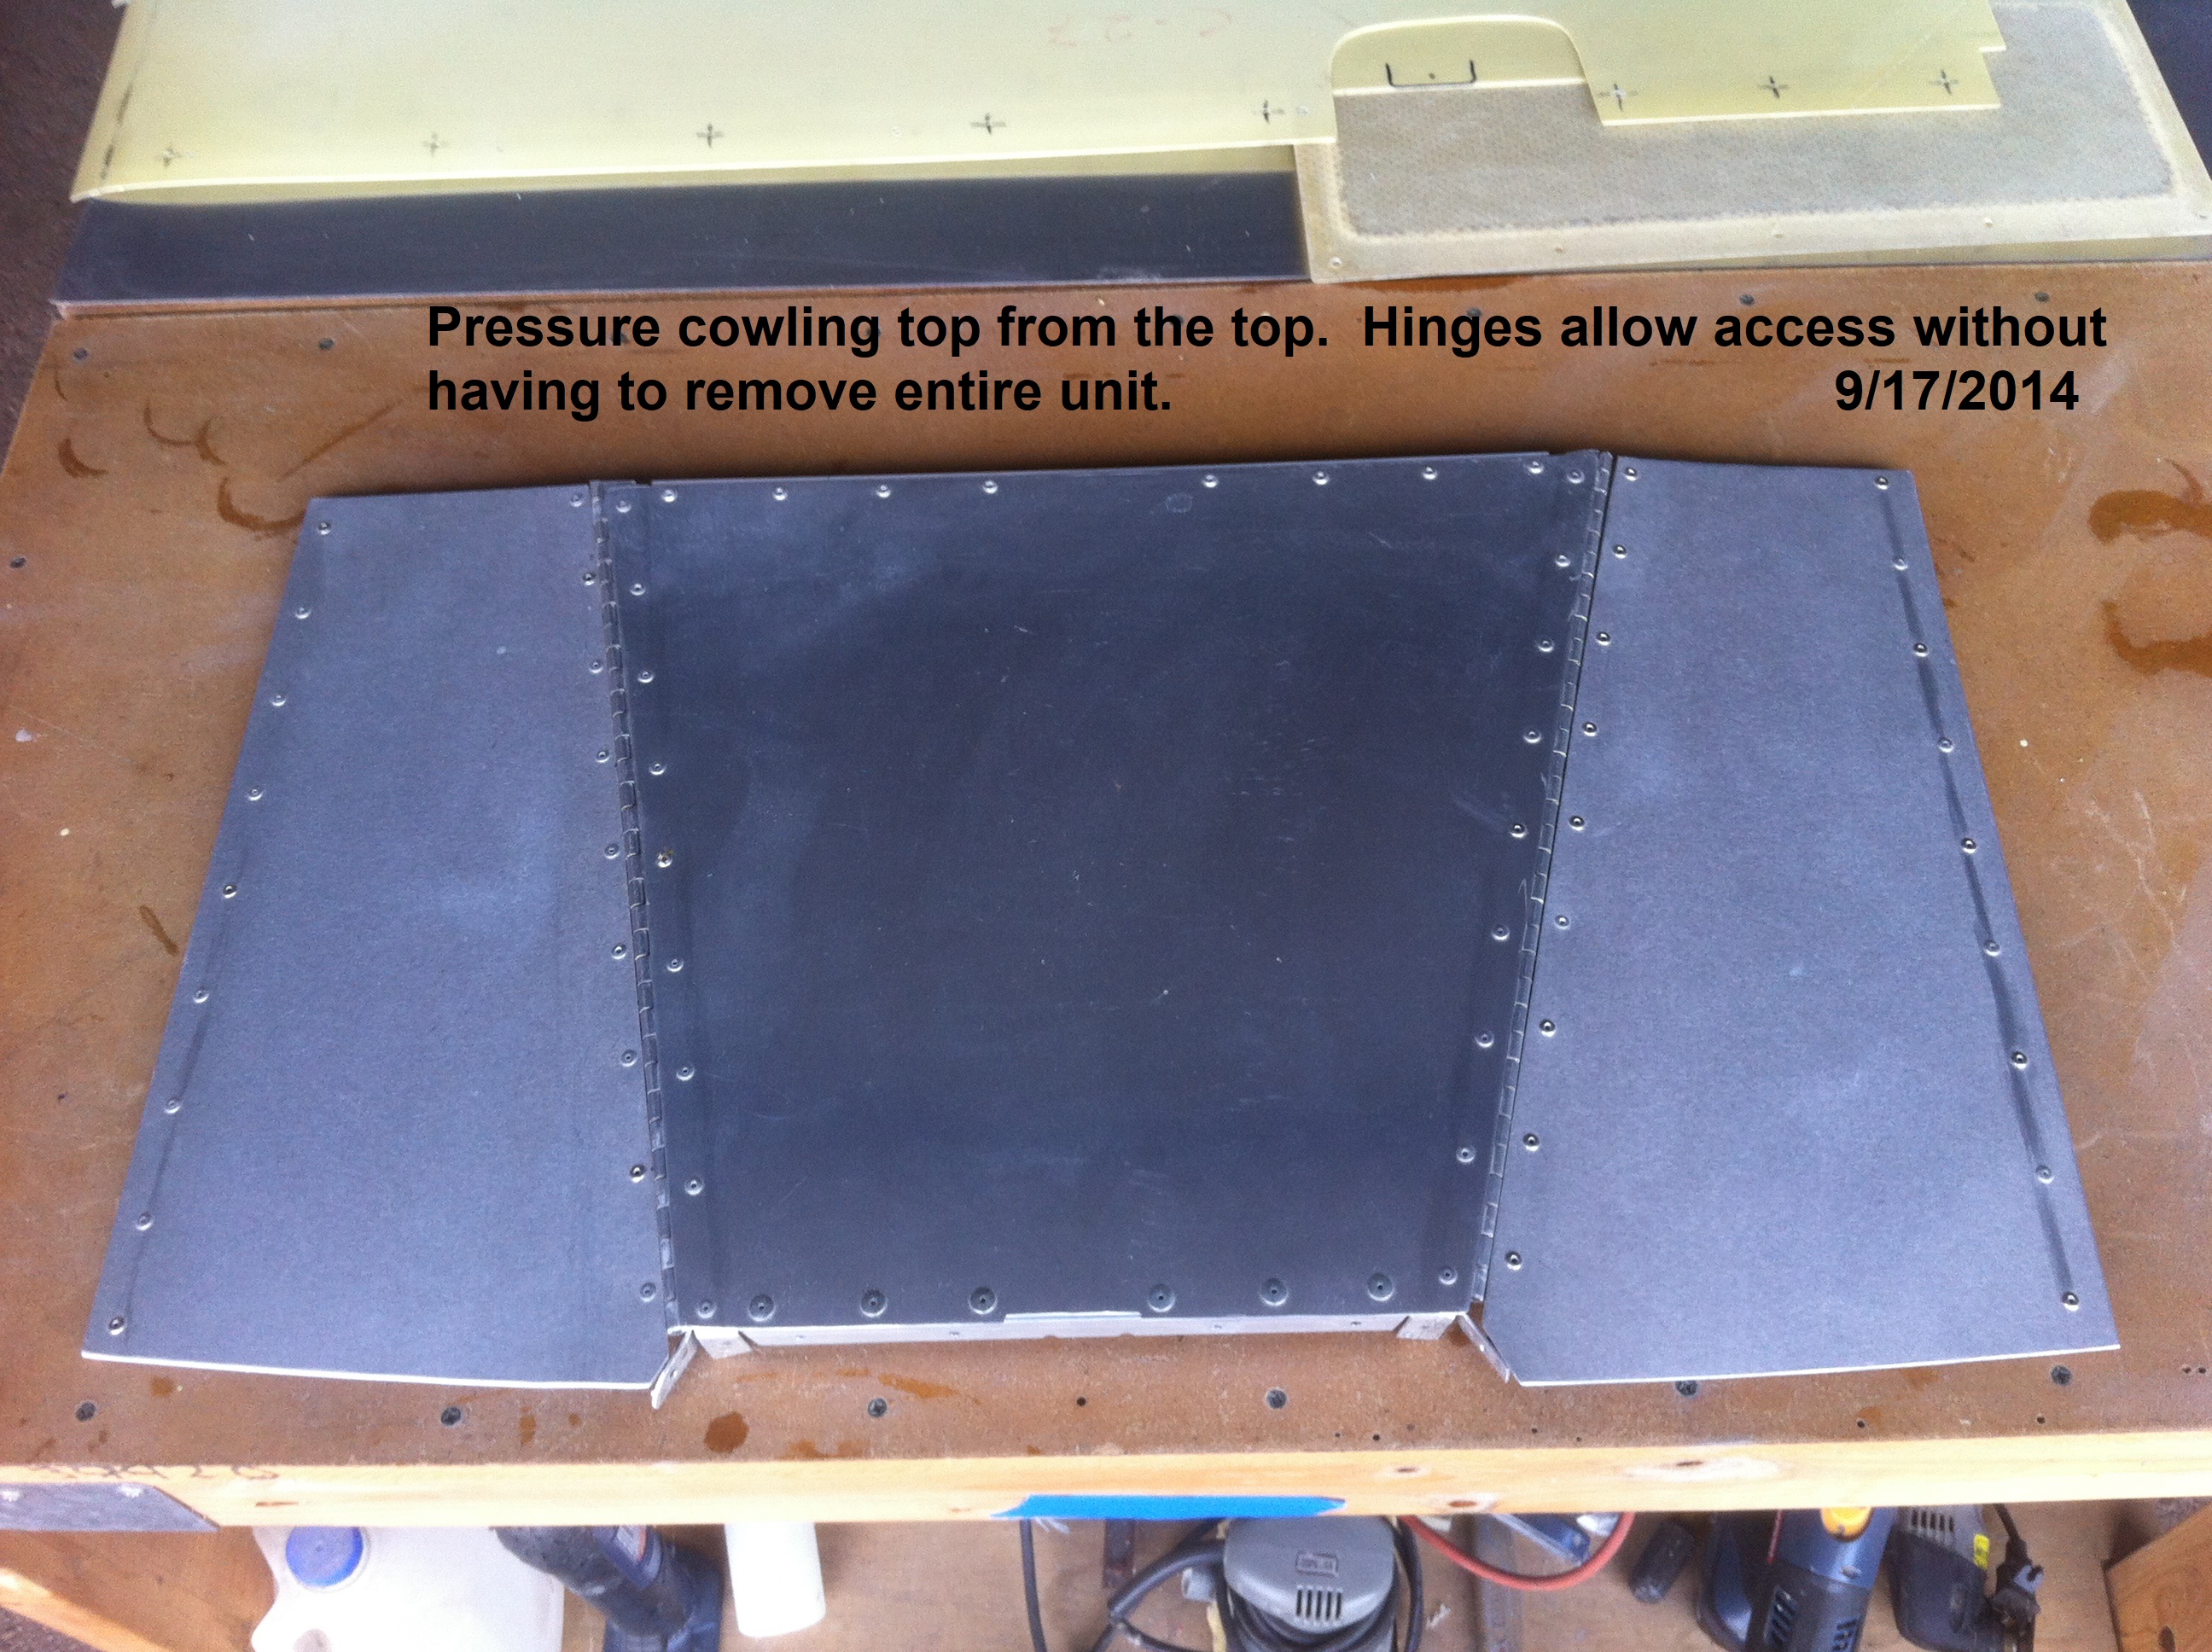
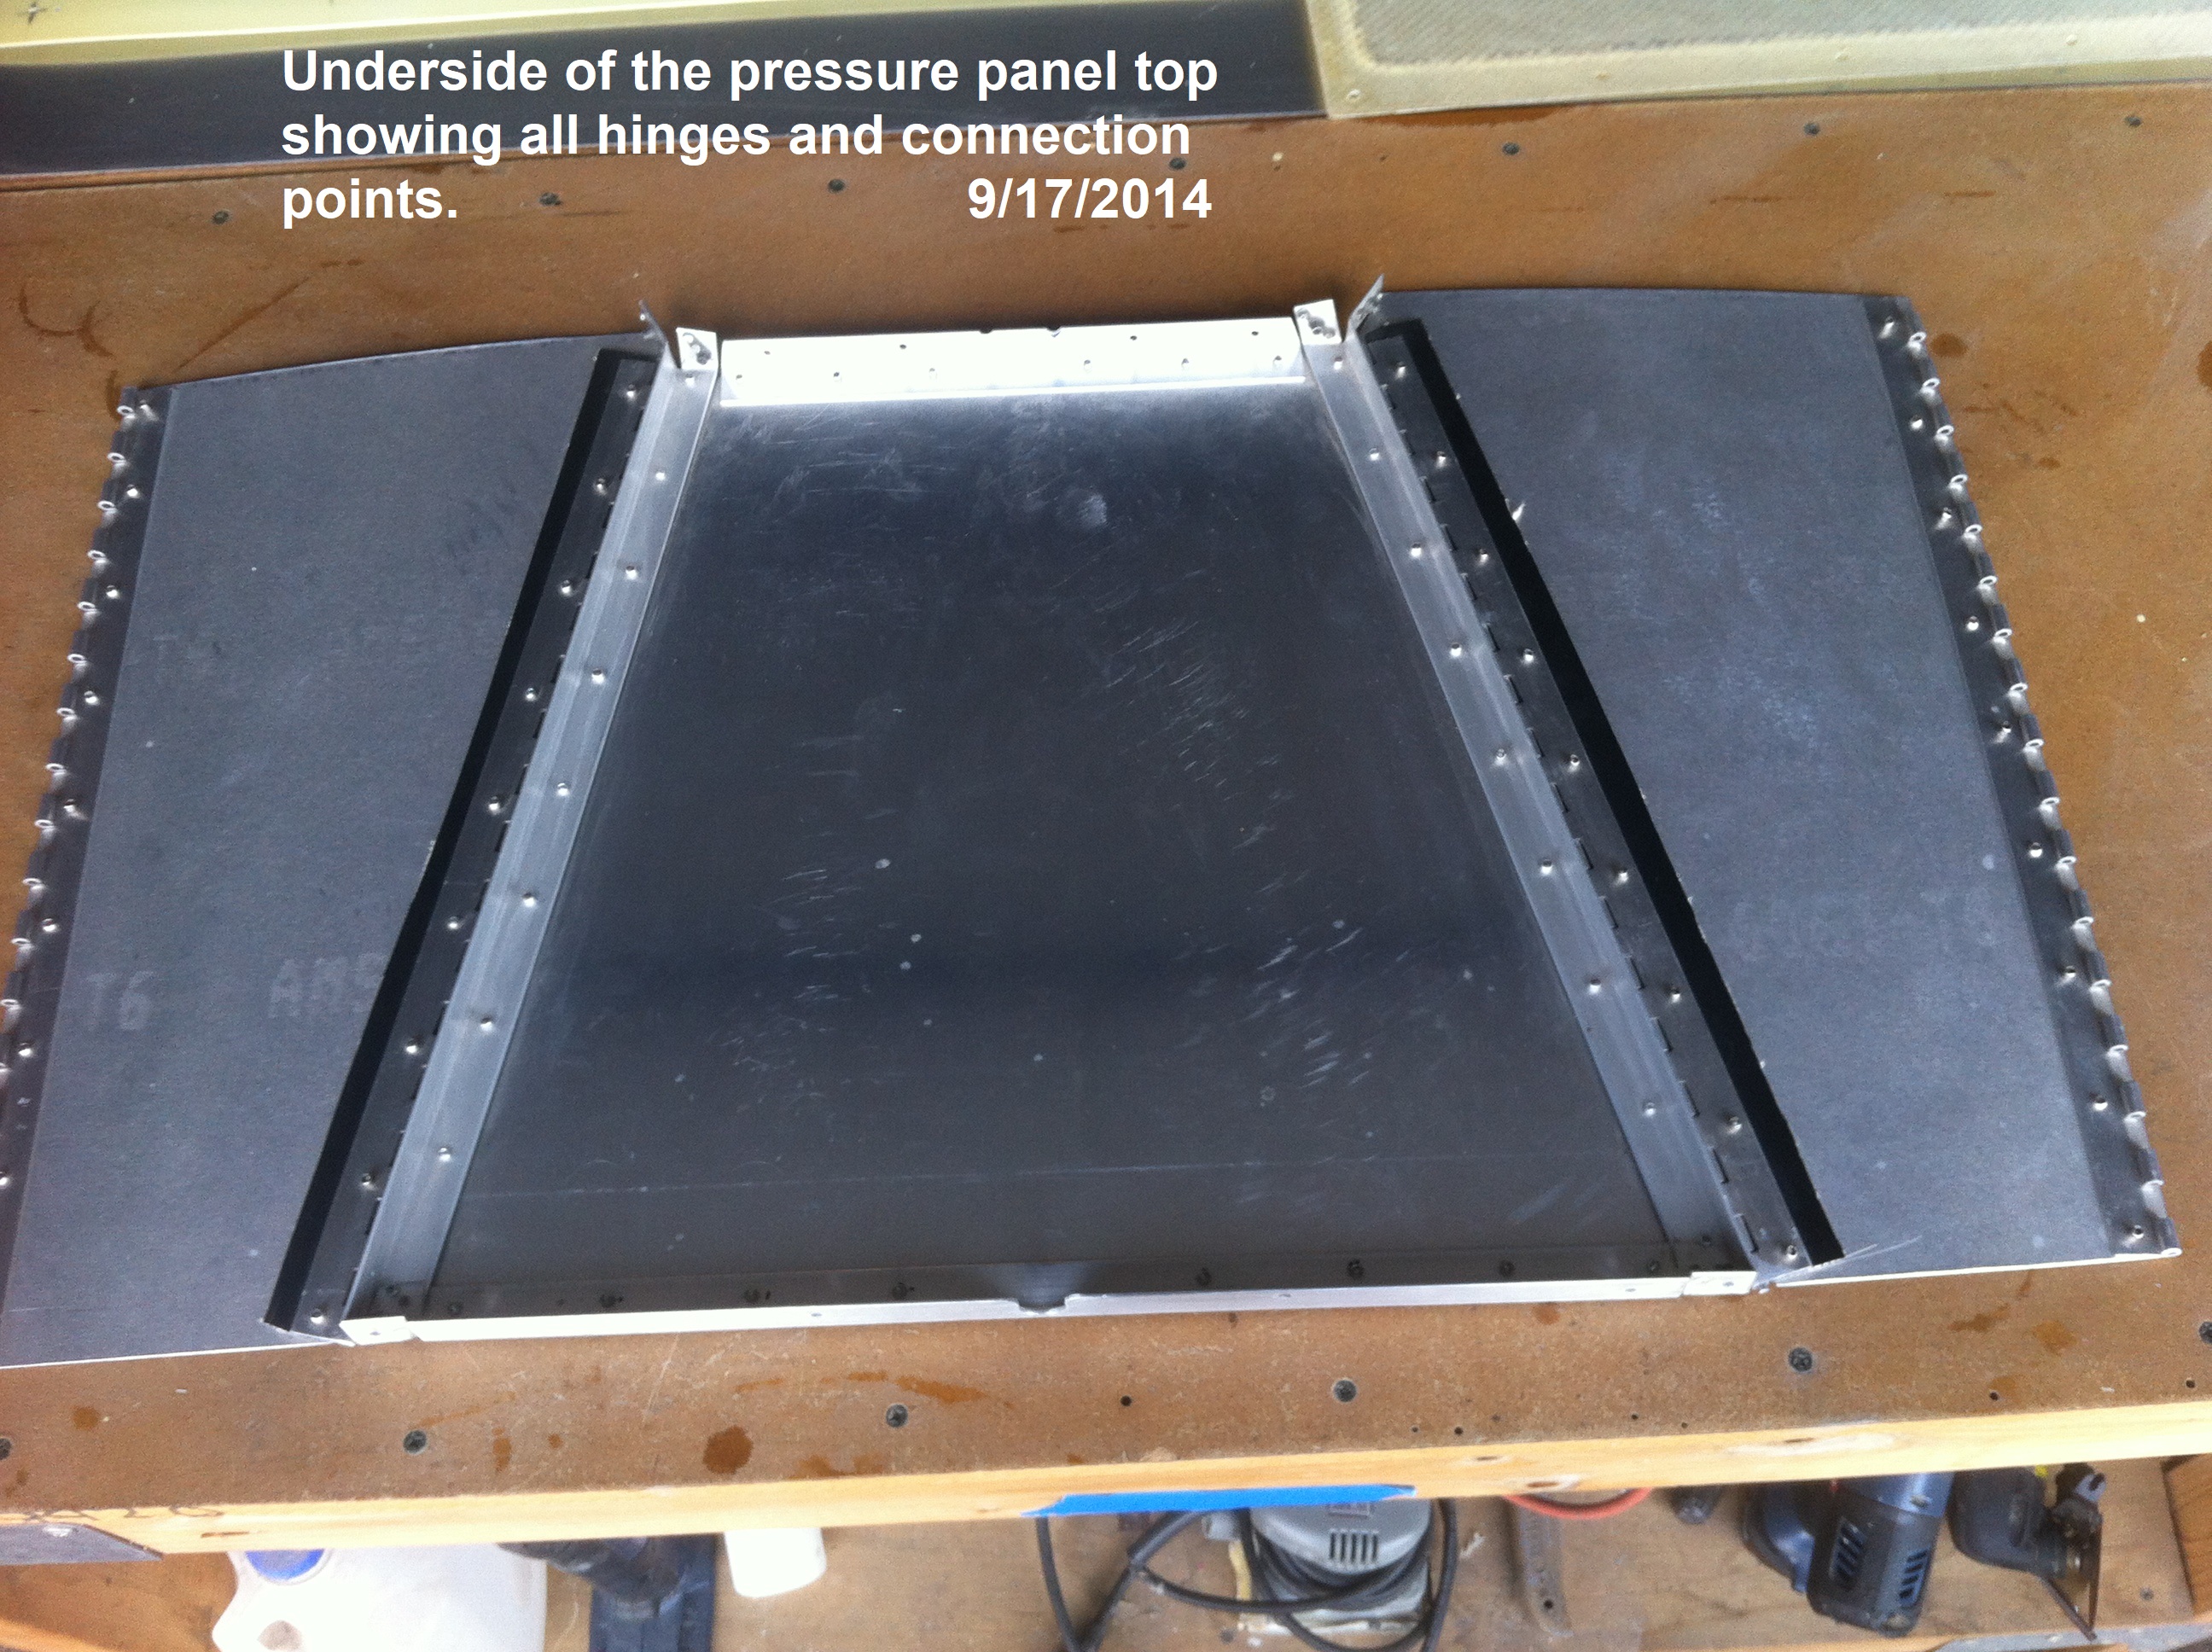
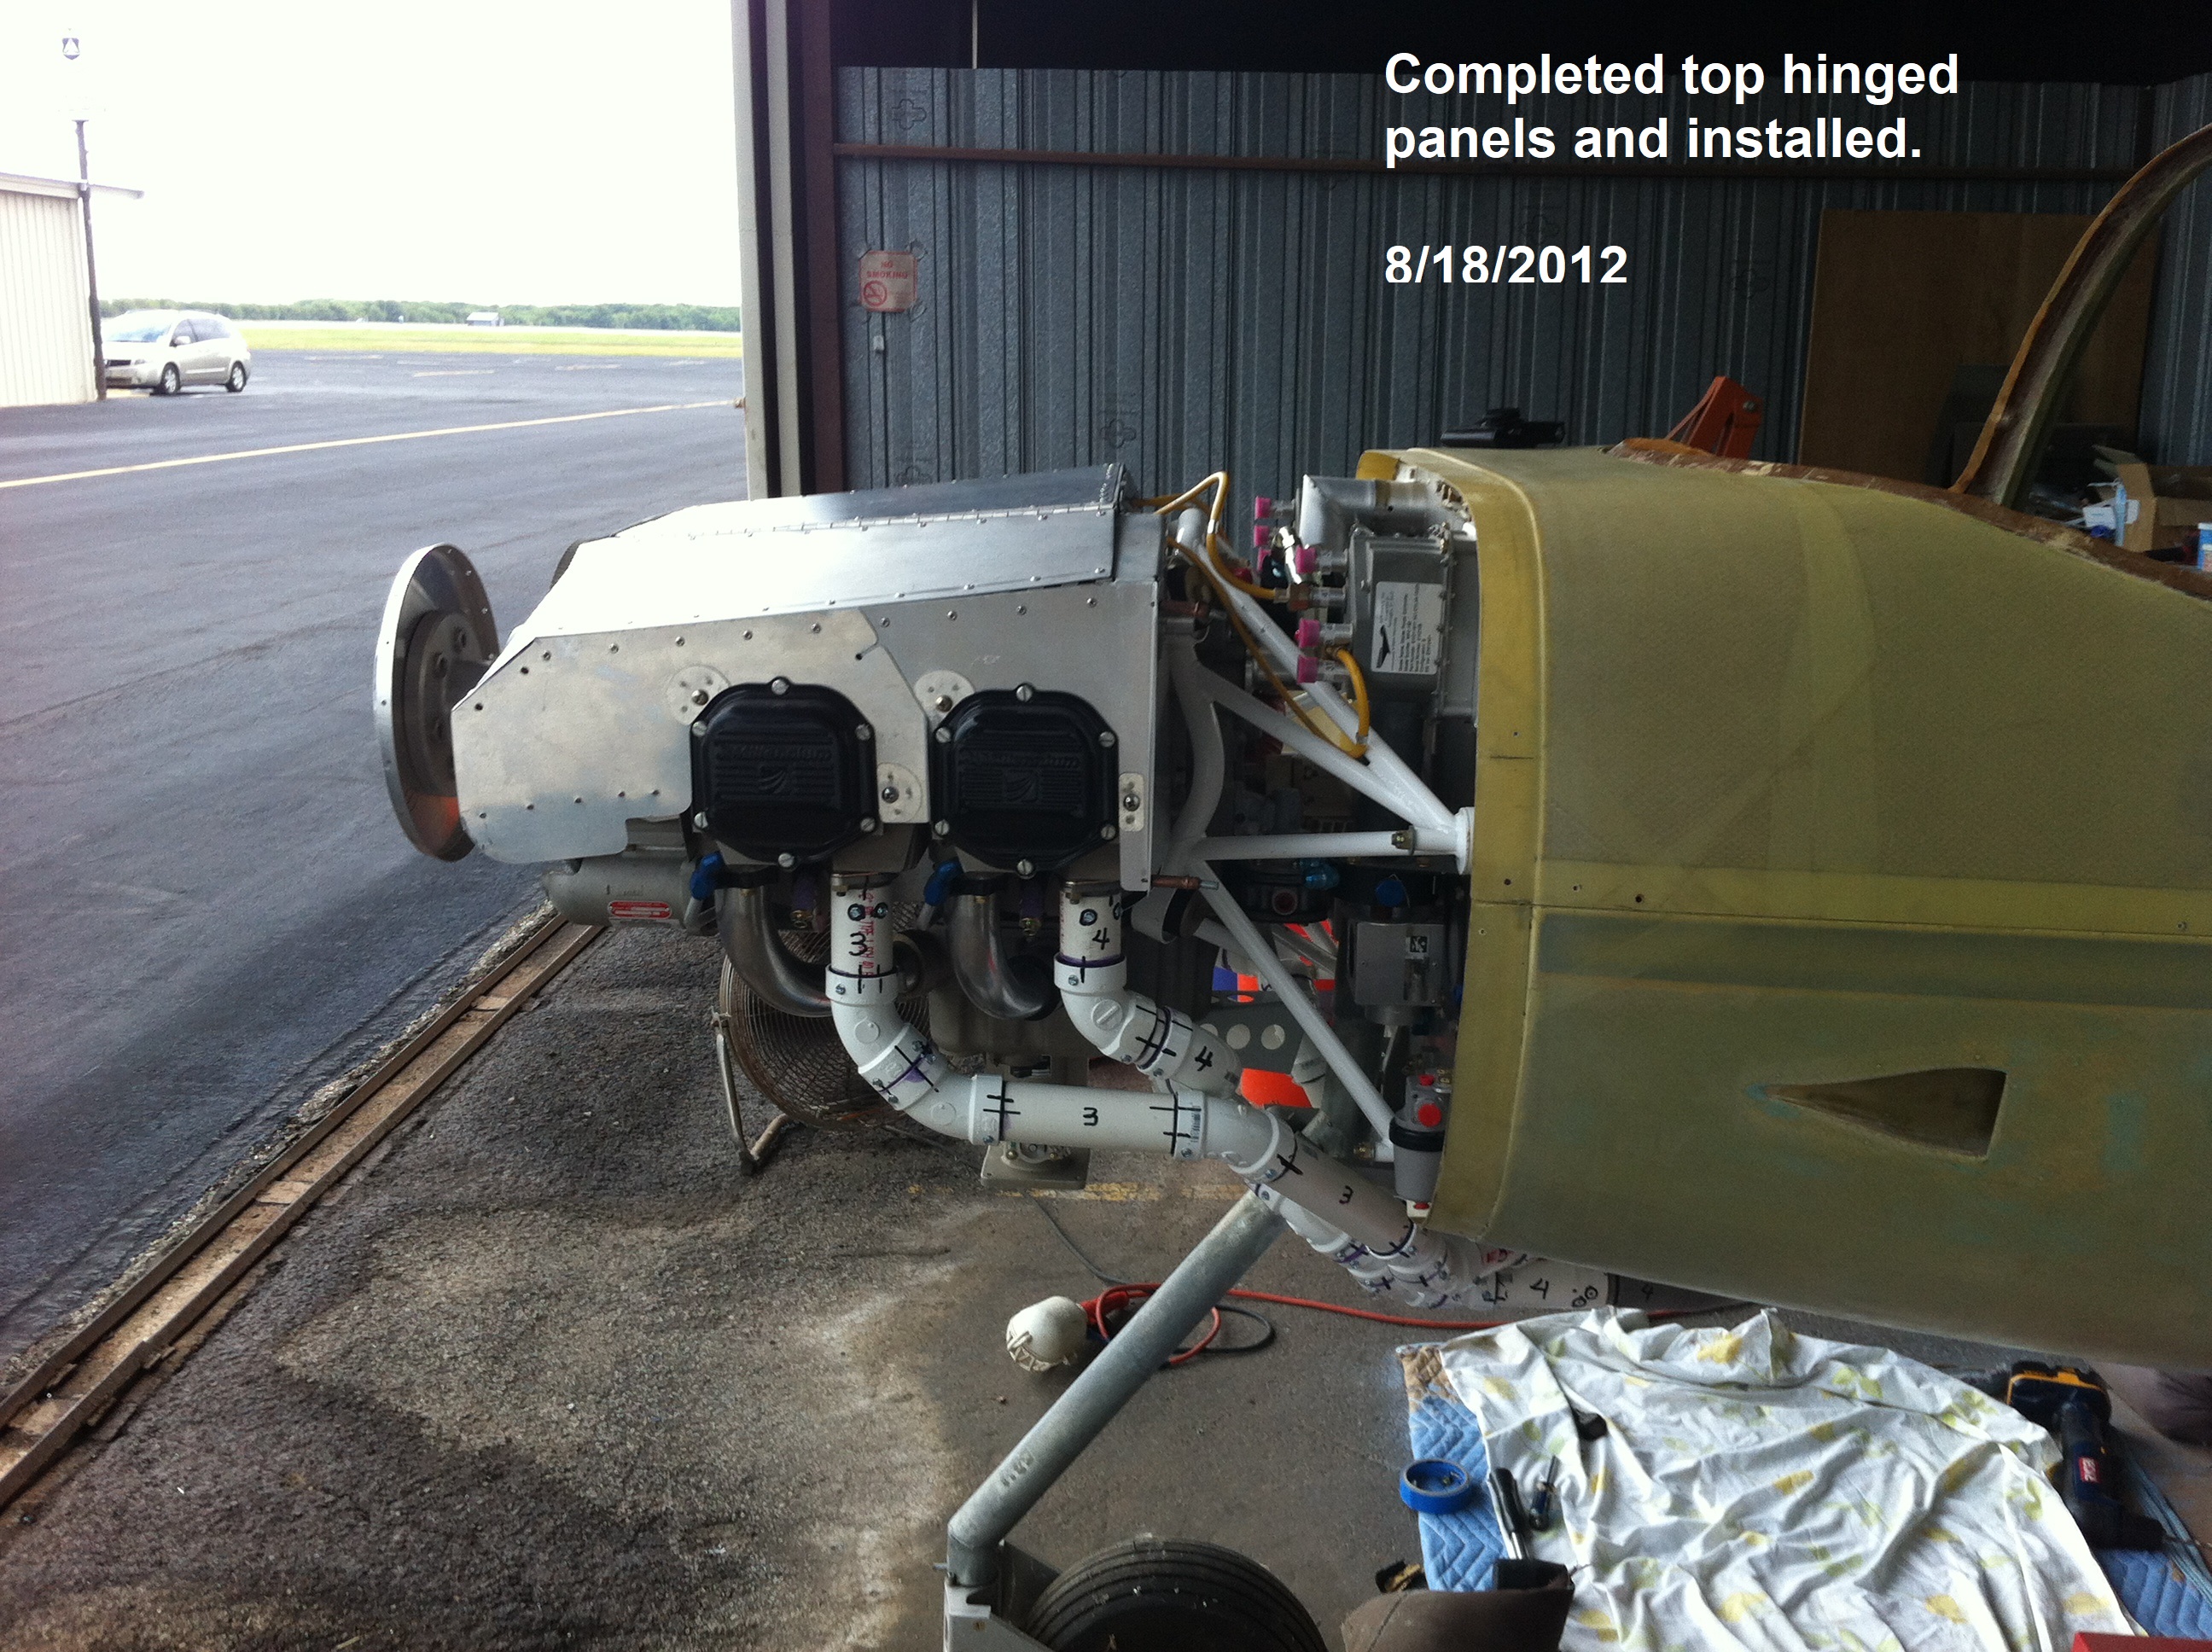
I considered multiple approaches to the top of the pressure Plenum but ultimately settled on the hinged panels that would provide easy access to the plugs and injectors but still give a tight seal on the cowling. |
 |
 |
 |
|
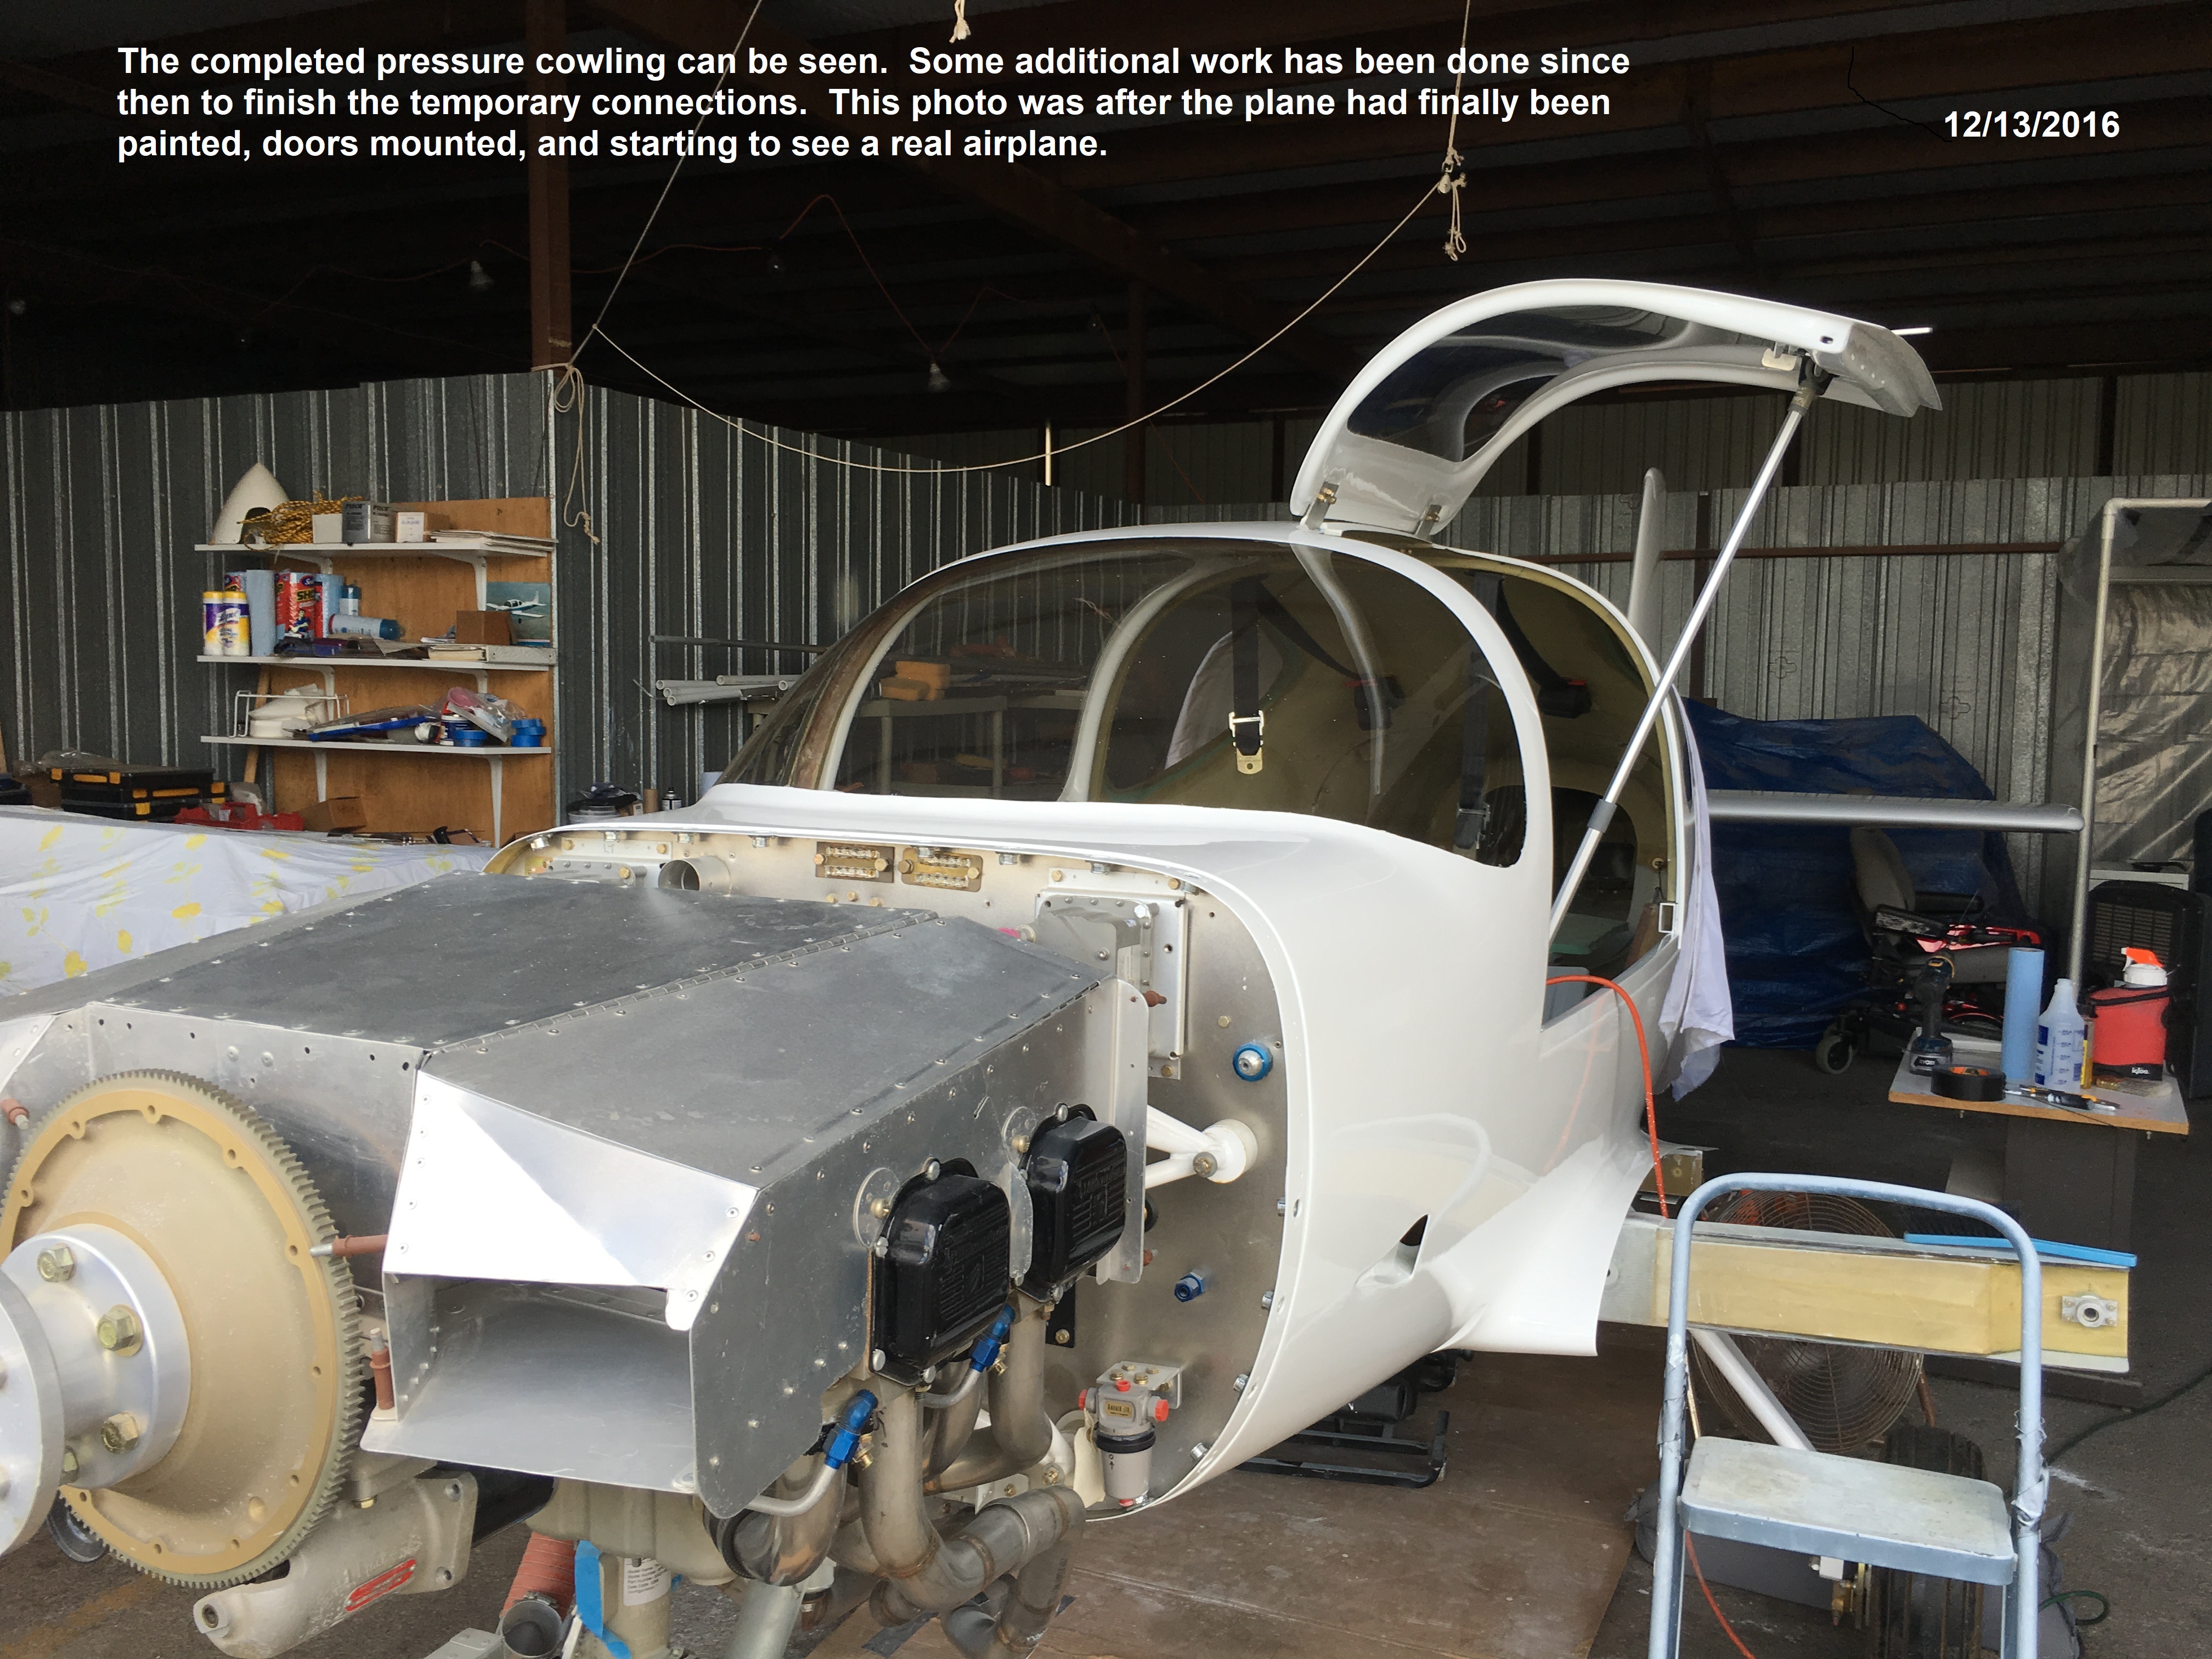
| The end result is a tightly sealed plenum that should provide good cooling for our HOT TEXAS summers. |
|