| I have broken the door preparation into several sections to
keep
the individual pages smaller and give some logical sections. |
|
|
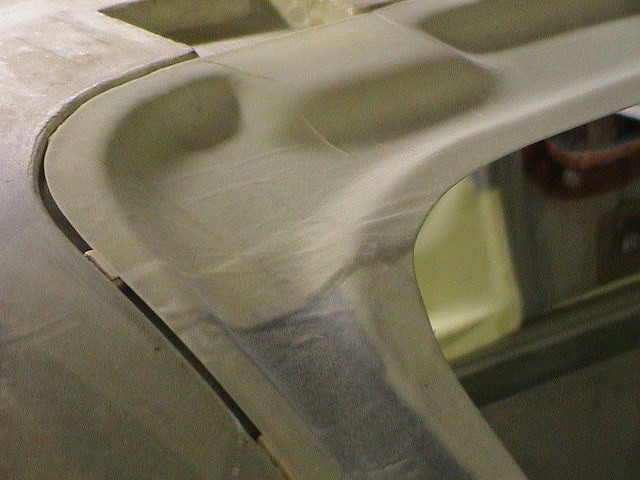 |
The positioning of the door hinge is in the molded portion
of the fuselage roof and the inner door frame. This shows the
inner door frame positioned and the opening for the hinge at the top. |
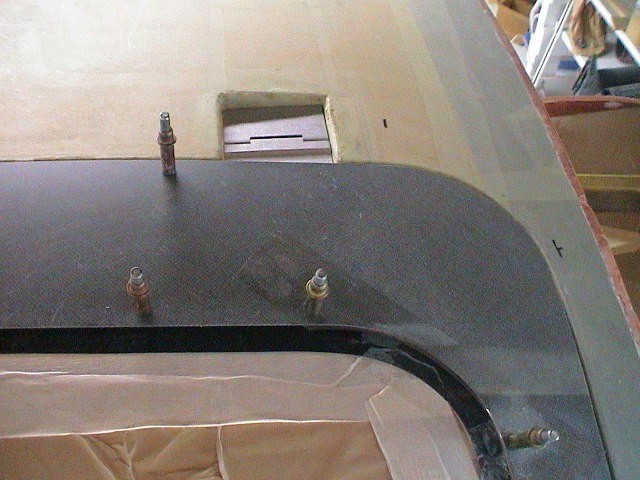 |
The positioning of the door hinge called for in the
instructions had the hinge mounted deep back and down in the hinge
well. I didn't like the positioning and the very small amount of
hinge area on the door. As usual, I tried something a bit
different with admittedly mixed results.
The first change was to move the hinge forward to the
point where the recess in the hinge was at the edge of the door.
This gave another half inch depth on the door and positioned the
screws in a stronger/thicker portion of the door.
|
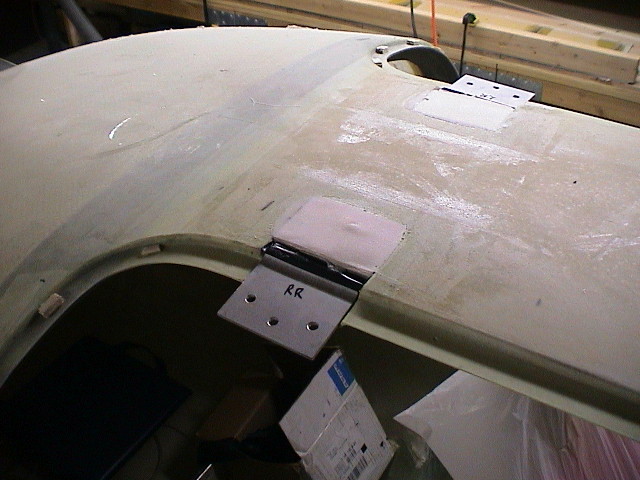 |
I raised the hinge up an1/8 inch by placing shims under
the hinge in the door. This leaves space under the hinge for a
rubber seal when the door is closed. It also ment less filler
required over the hinge and in the door.
As I mentioned though, the results were somewhat mixed.
The unanticipated problem was the top door edge does not clear
the roof as it should. When allowed to fully open the door edge
hits the roof. I still have some work to do on this issue.
|
|
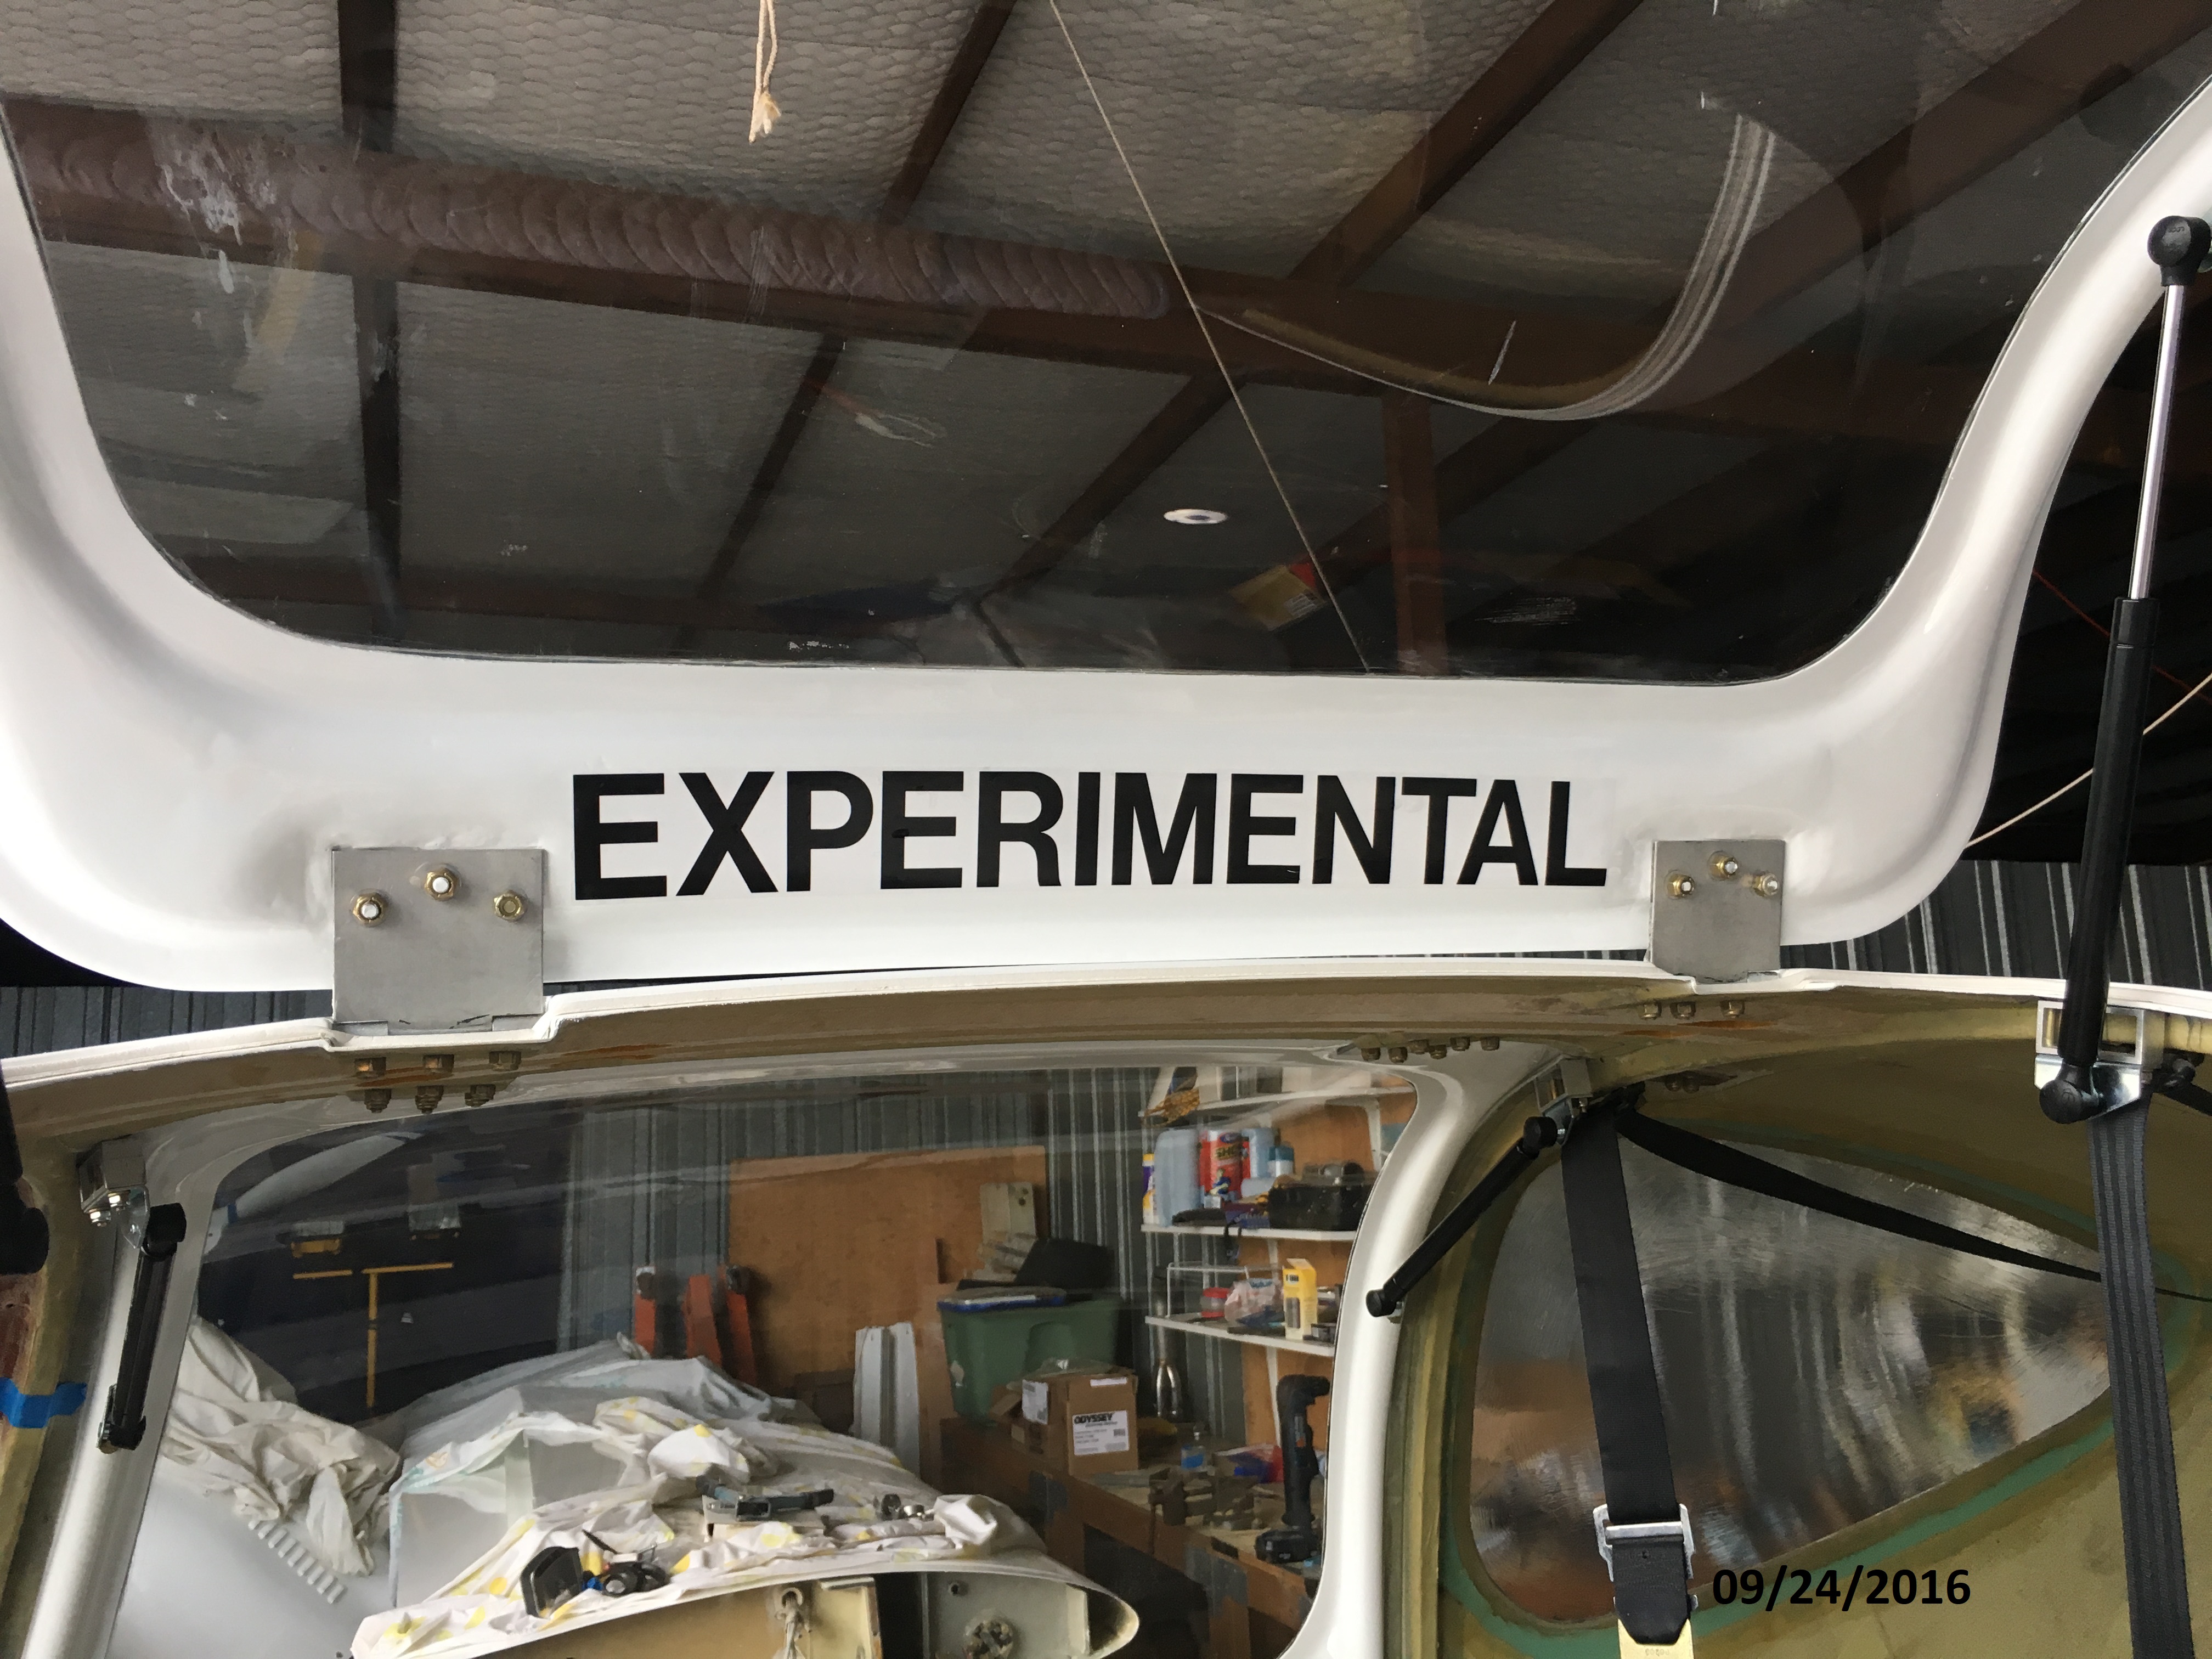
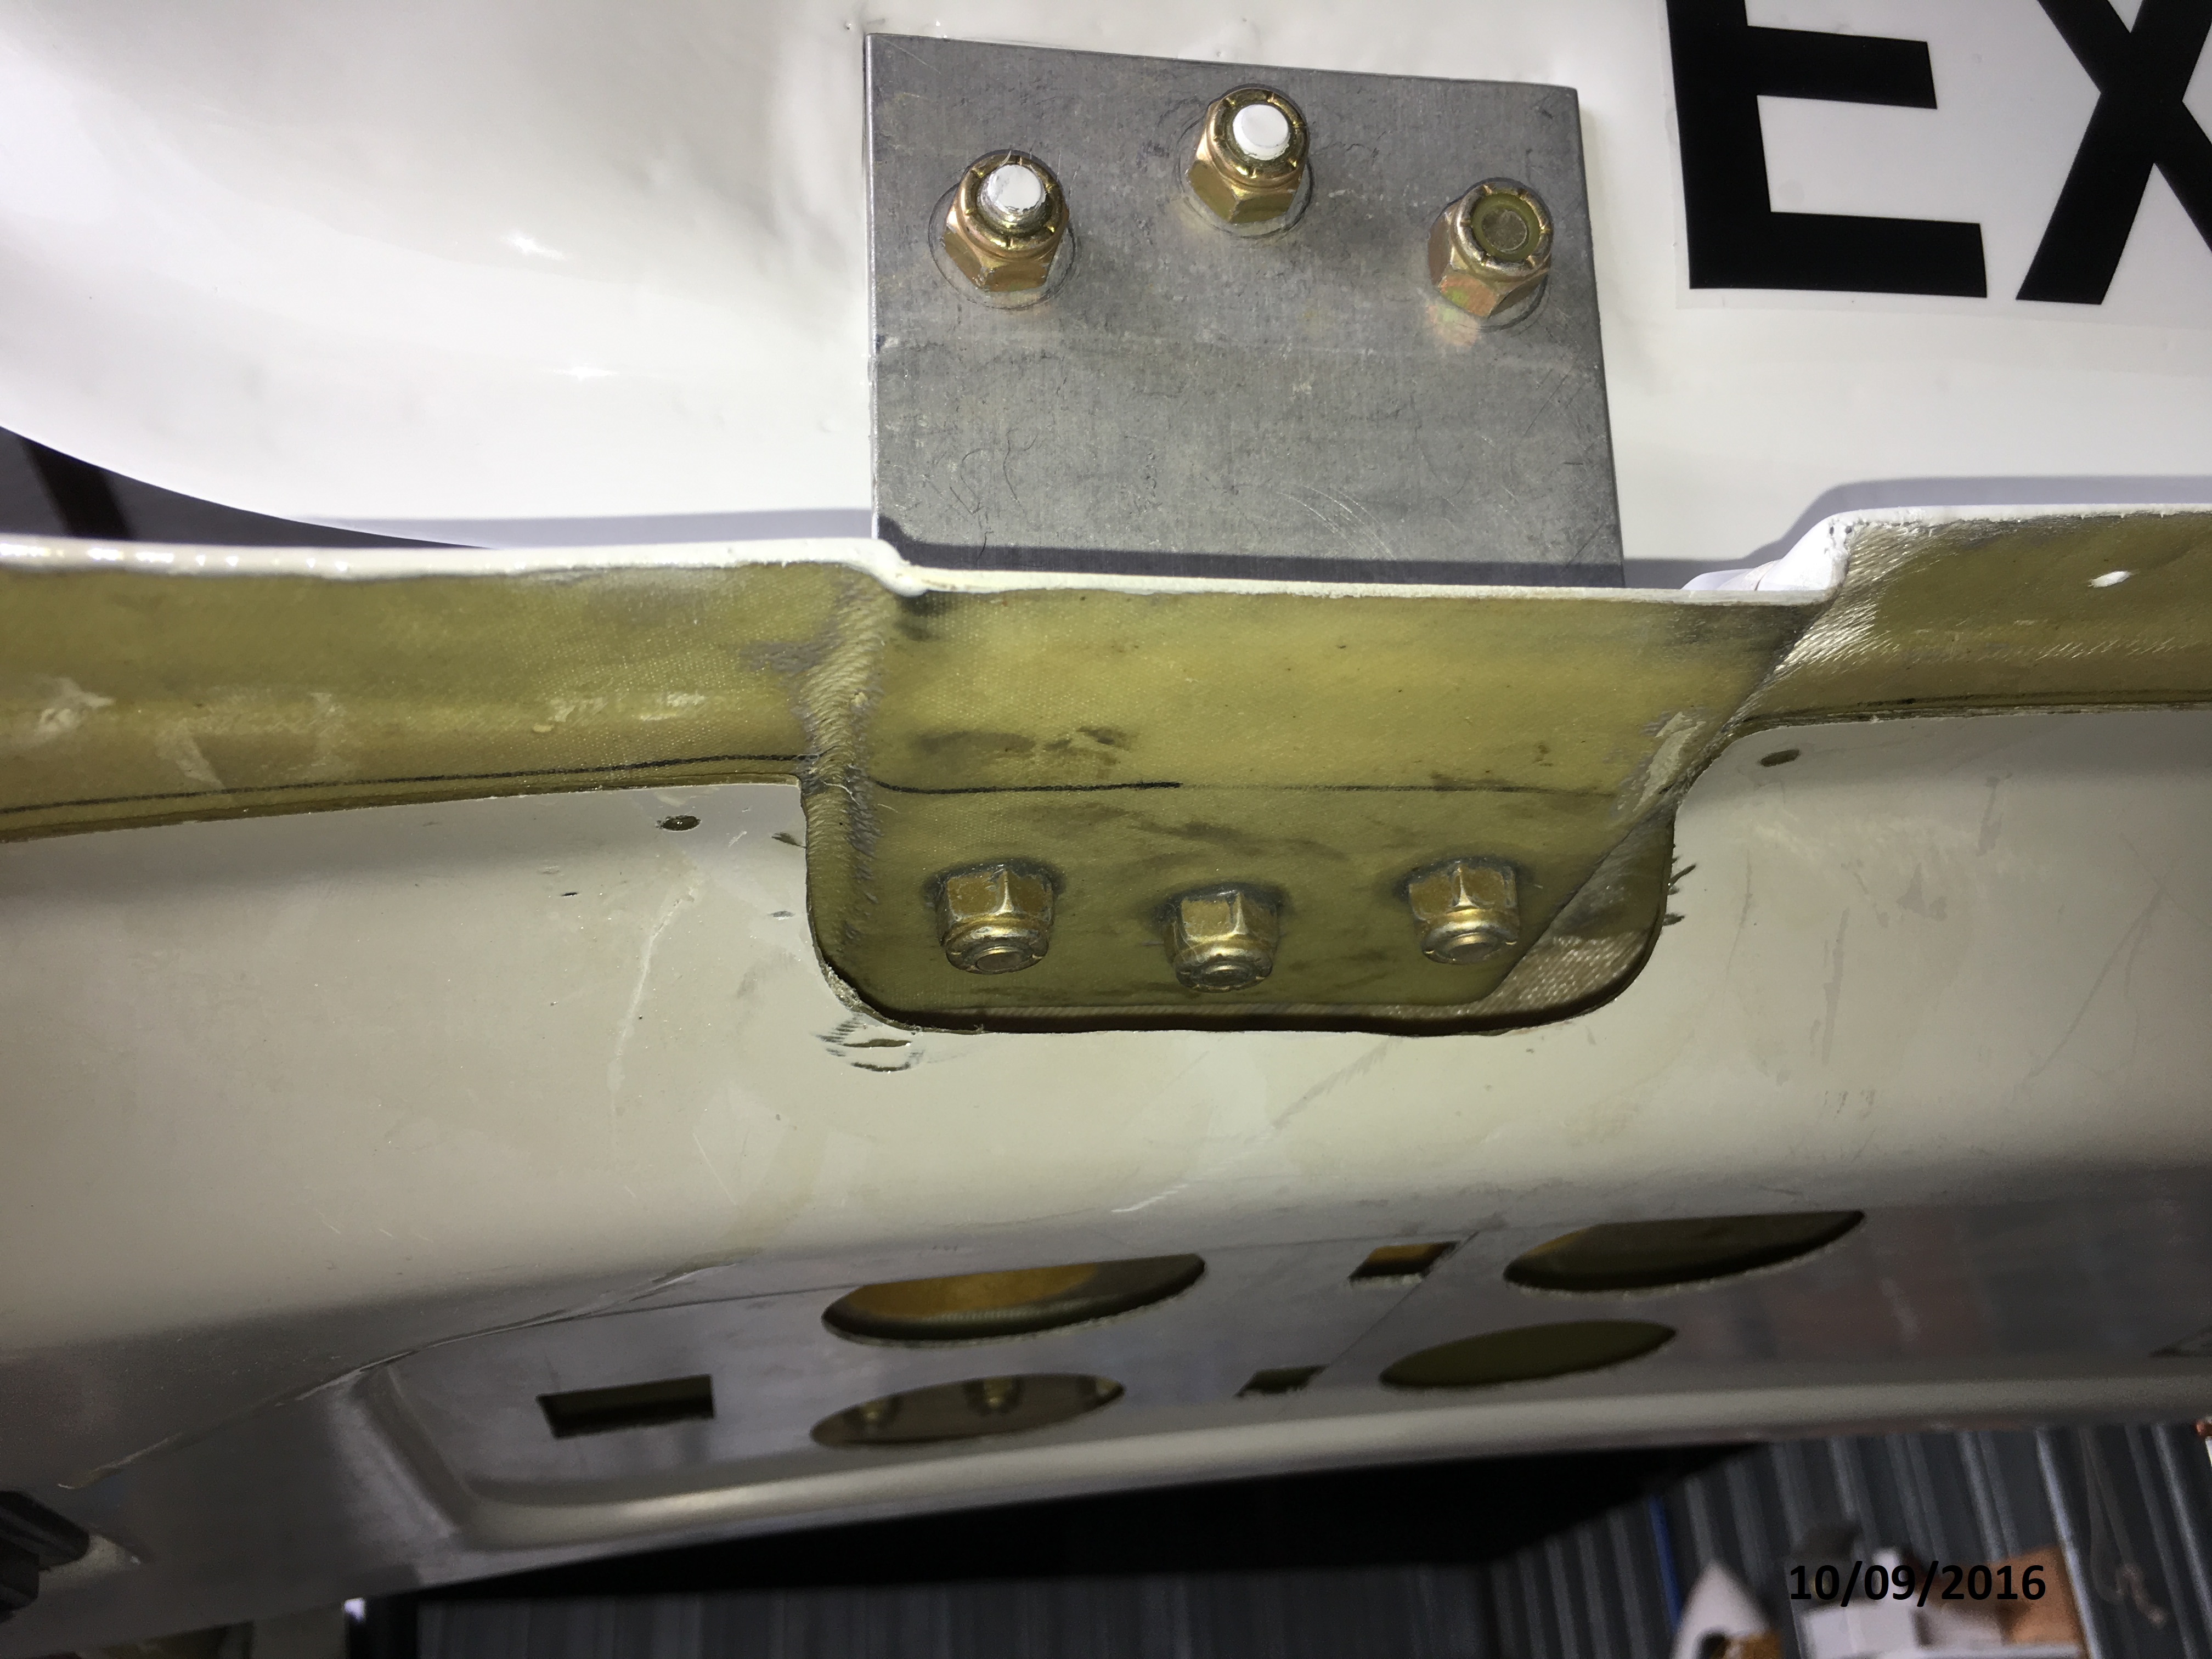
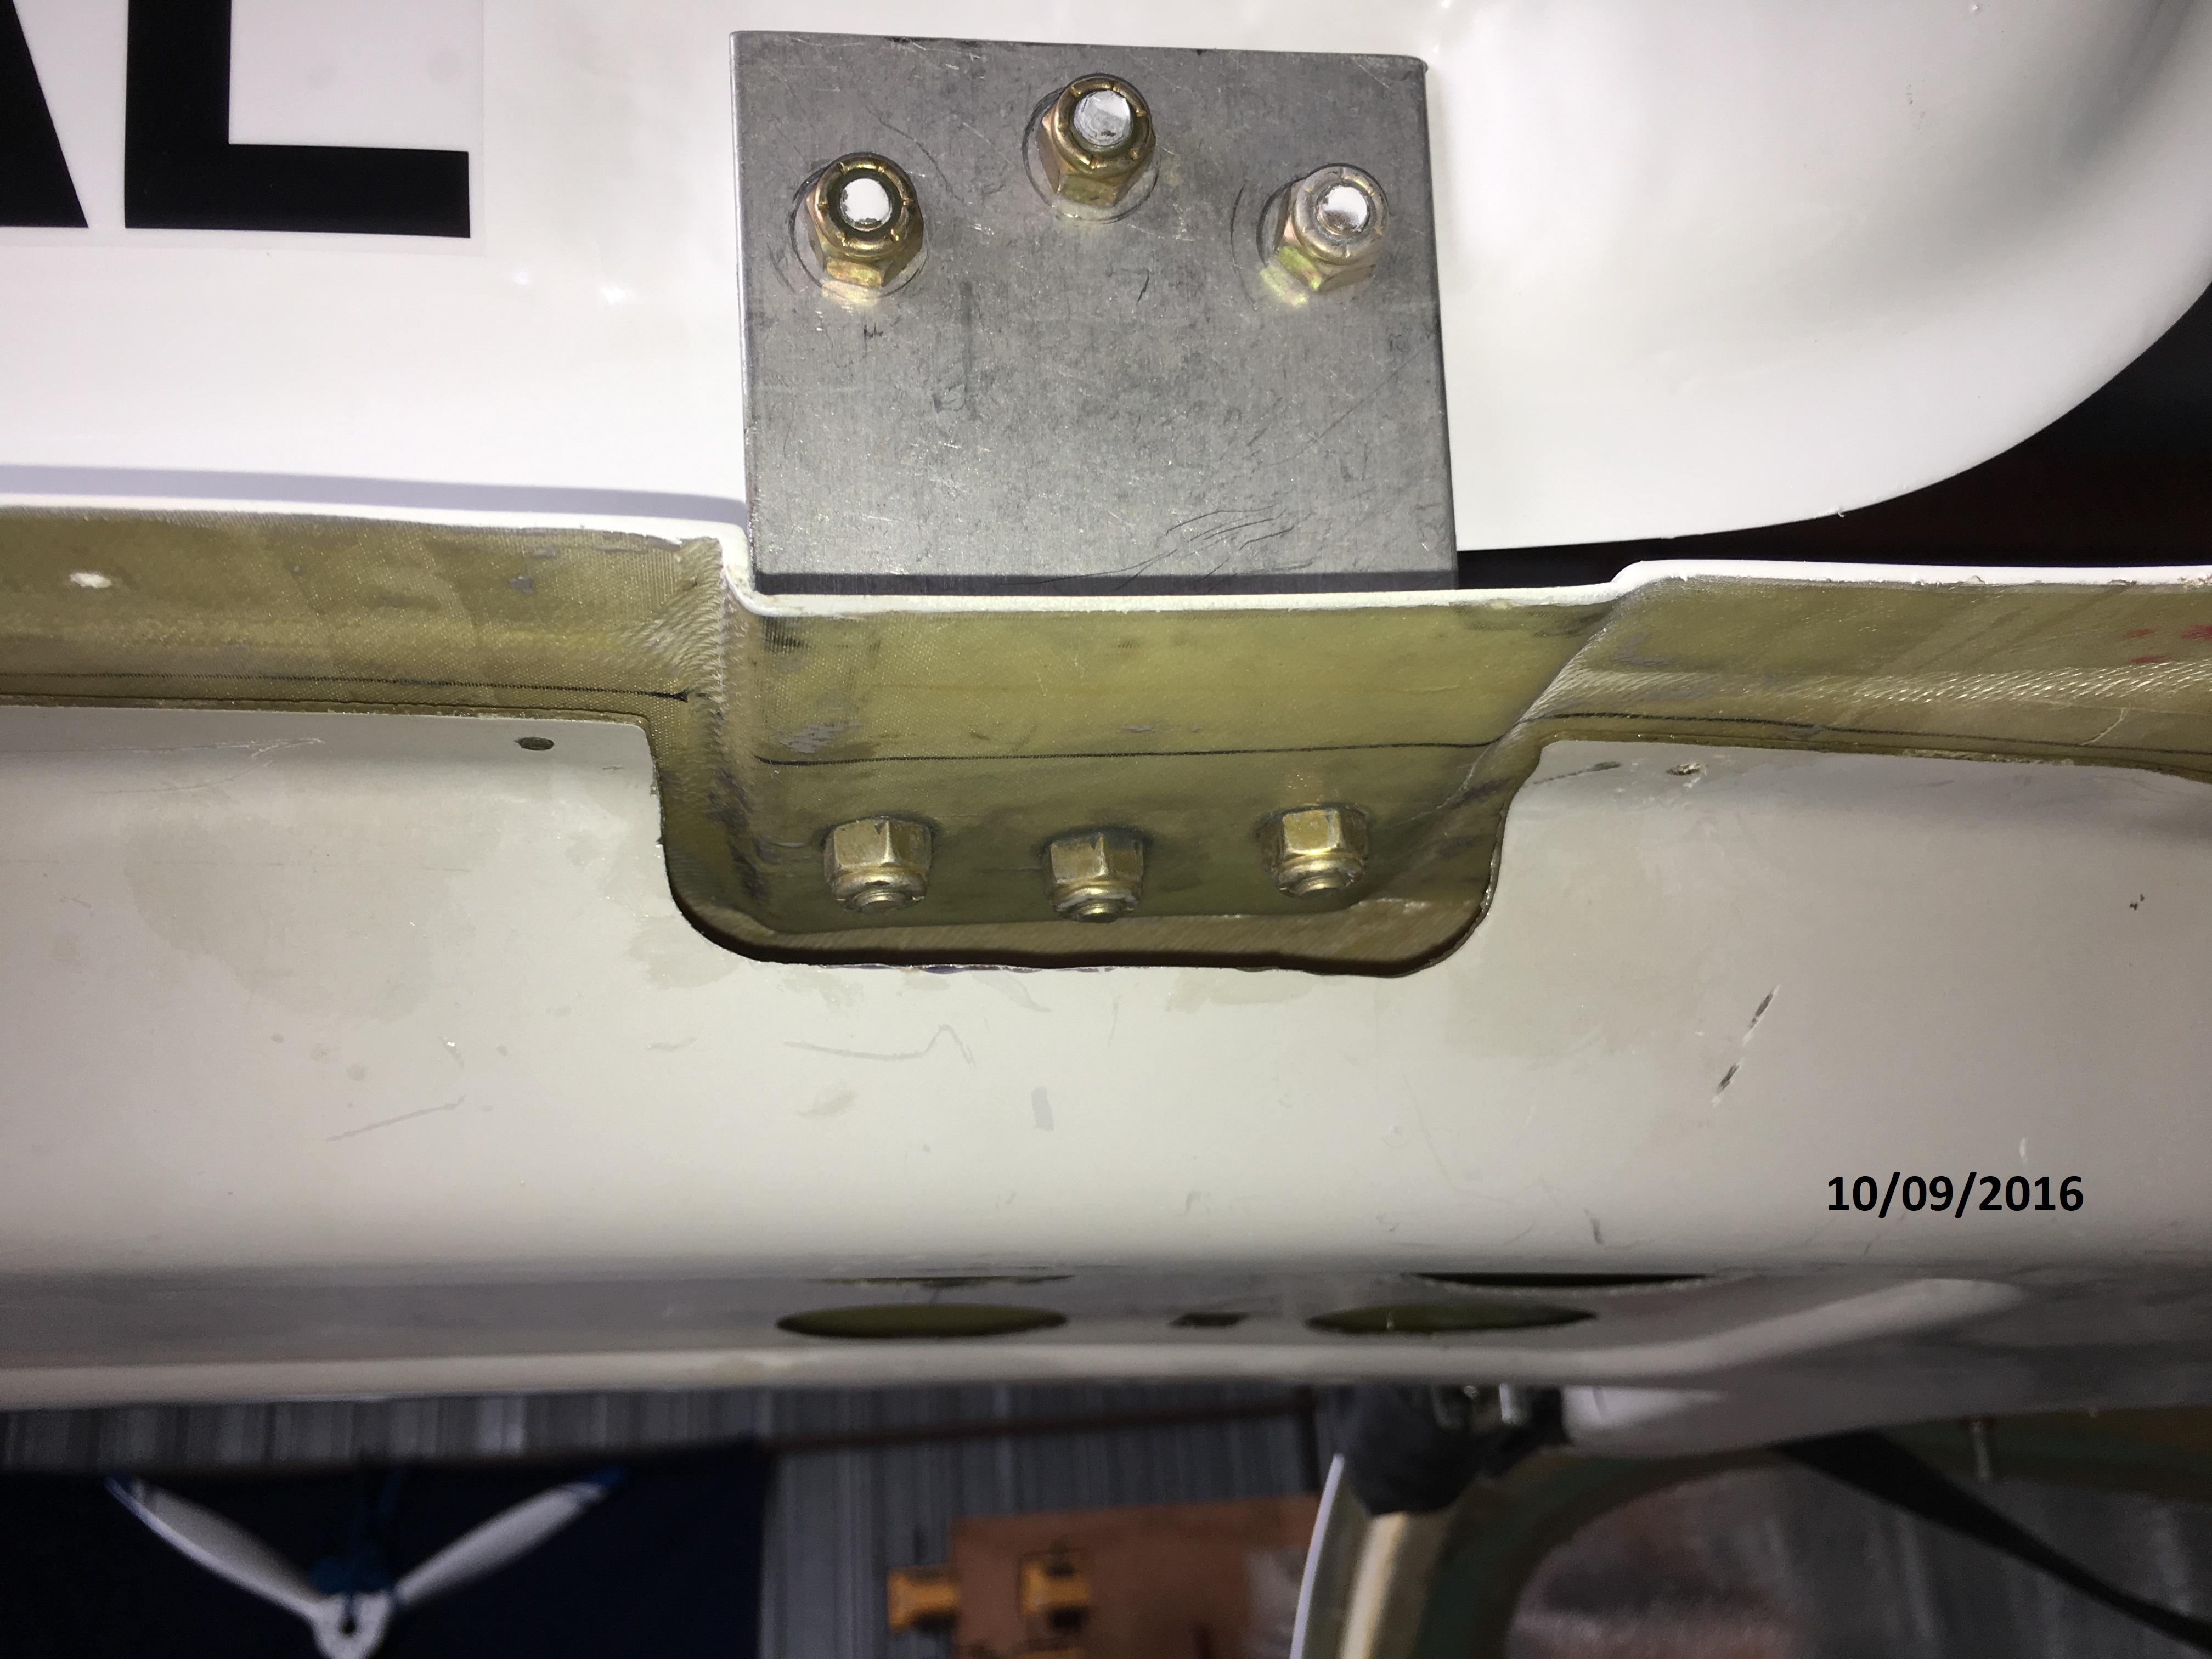
The final installed hinges were attached to the doors
after painting and just are just barely high enough that the door does
not hit the fuselage top at full open. (Just barely)
|
|
|
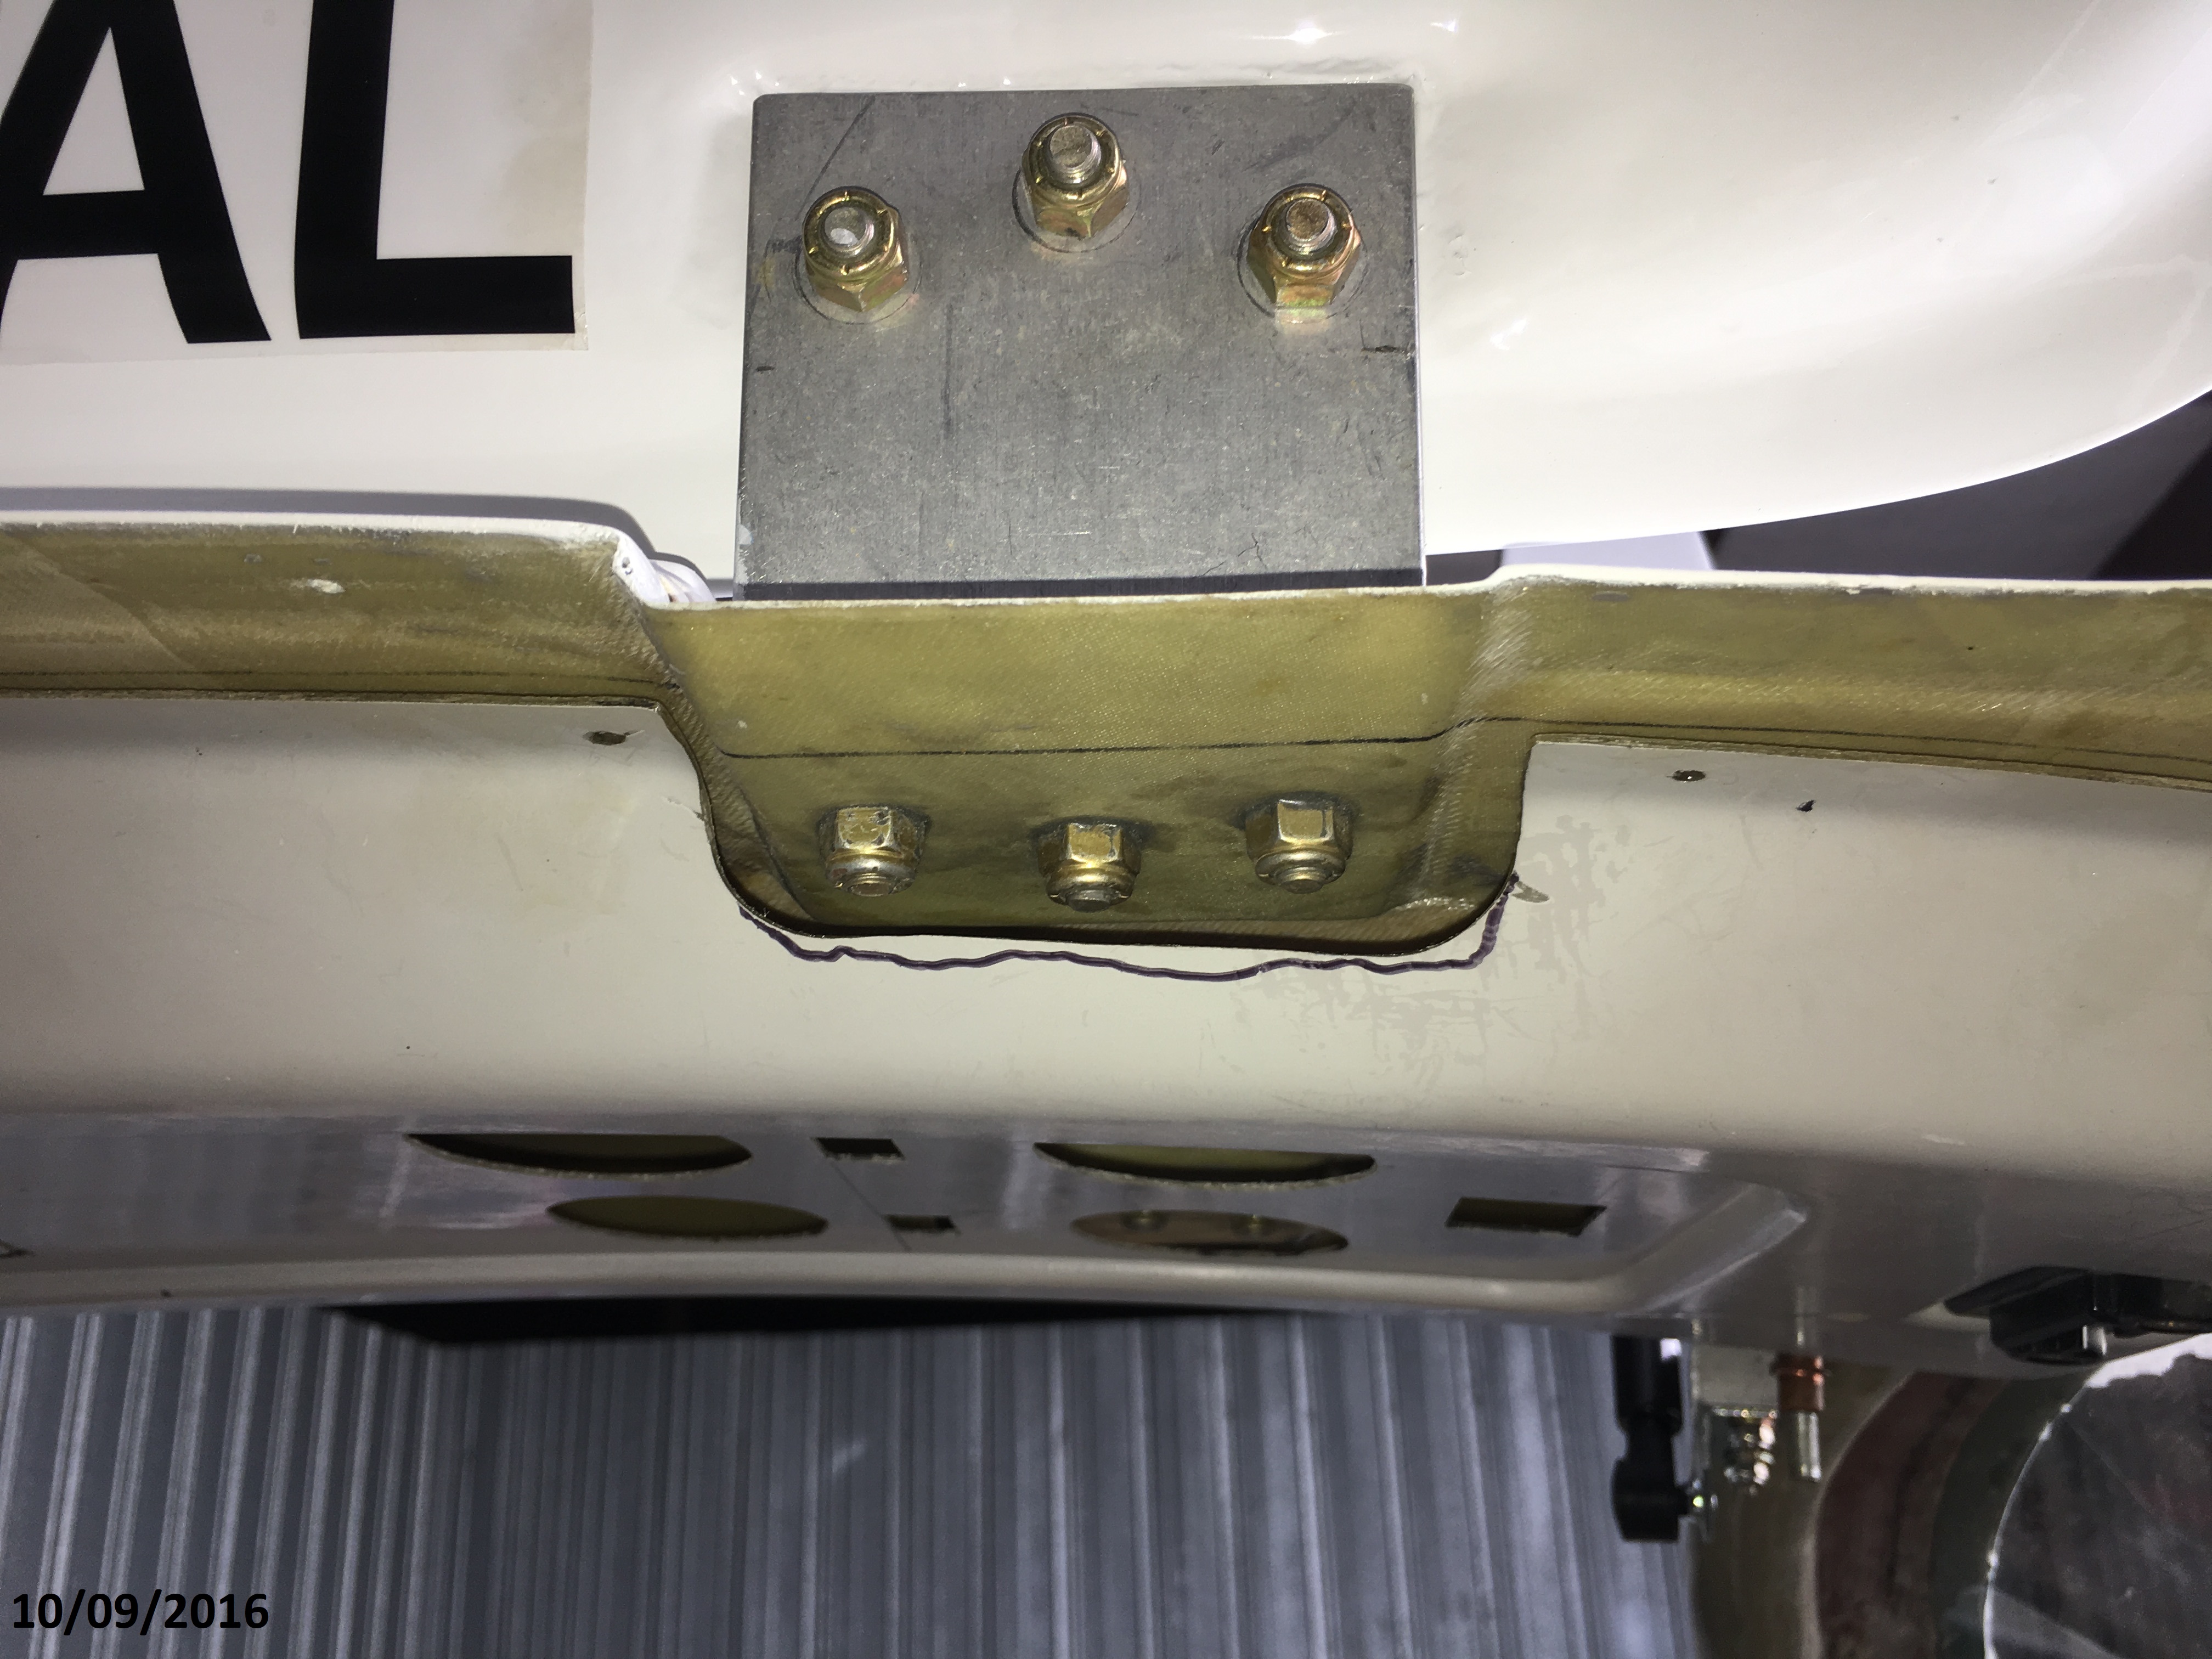
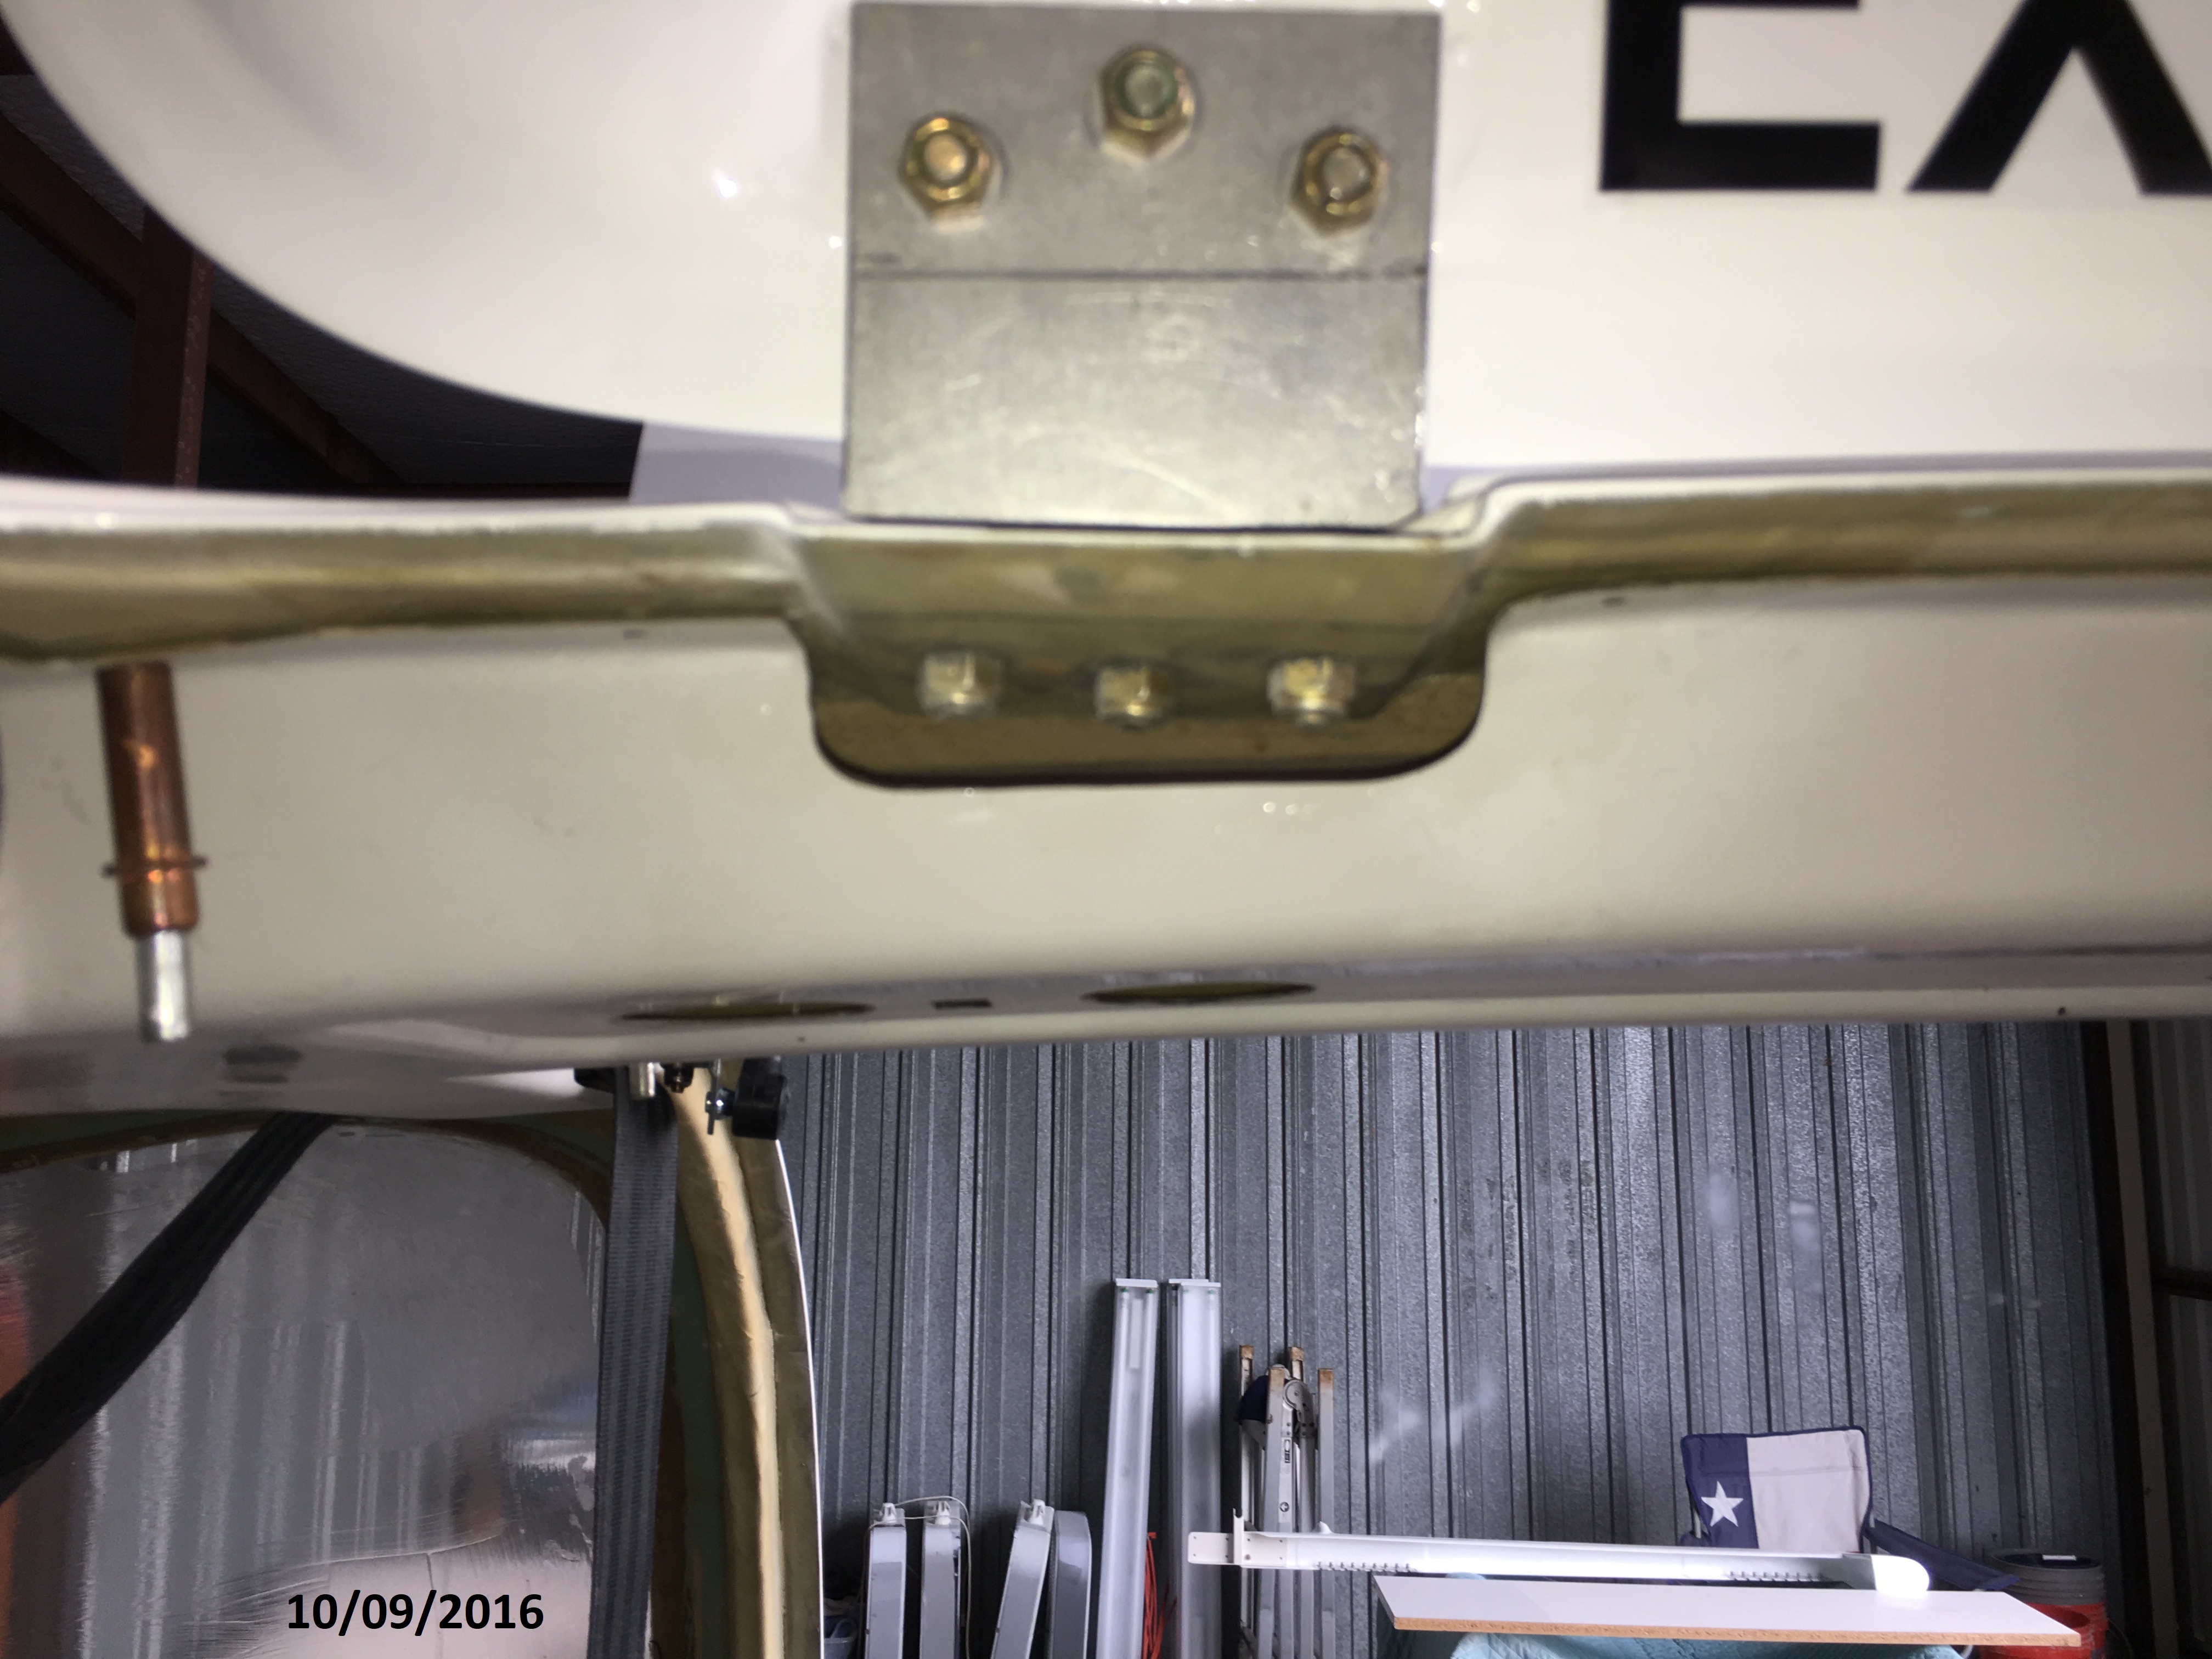
The final install on each of the doors was the same.
|
The inner nuts are partially hidden by the overhead console.
|
|
|
Once the Overhead Console was upholstered the nuts were
hidden from view.
|
The remainder of the upholstry hid the openings.
|

