|
I have broken the door preparation into several sections to
keep
the individual pages smaller and give some logical sections.
|
|
|
 |
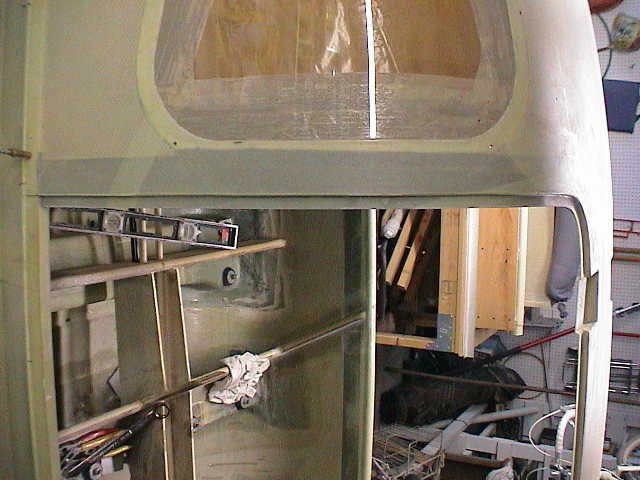
The first step in preparing the doors is to trim the
opening to fit the doors. This is one of the weak points for this
plane because the resulting lip is way too narrow. I trimmed just
enough to allow the door to fit. I also tried to keep the width
of the lip constant where possible. Additional trimming may be
needed but WAIT until you know how much is needed. |
 |
The lip should be uniform with, front and back, top to
bottom. |
 |
After trimming the edges of the door to smooth the edges
place the door in the opening and position for a uniform opening. |
 |
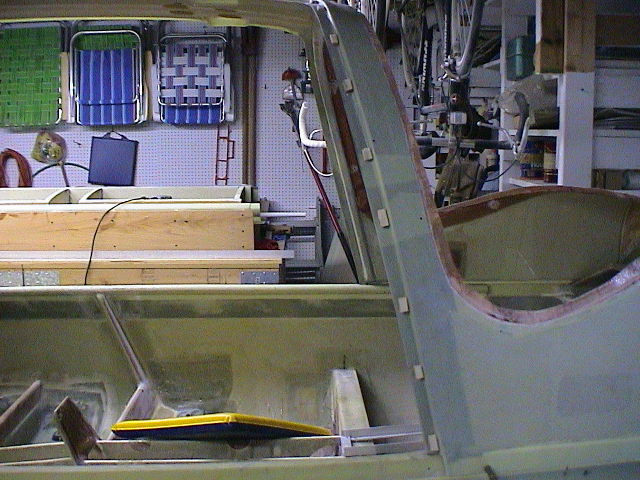
In order to aid the positioning of the door I tack glued
1/4 inch thick blocks of Balsa wood around the door opening.
These work great because the Balsa will compress easily to allow
positioning the door and tacking it in place before installing the
window and outter skin.
Sad to say that using the balsa wood was a mistake and some of them
compressed too much during the build and allowed the door to be
slightly off from flush with the fuselage. Not a flight issue but
not what I wanted.
|
 |
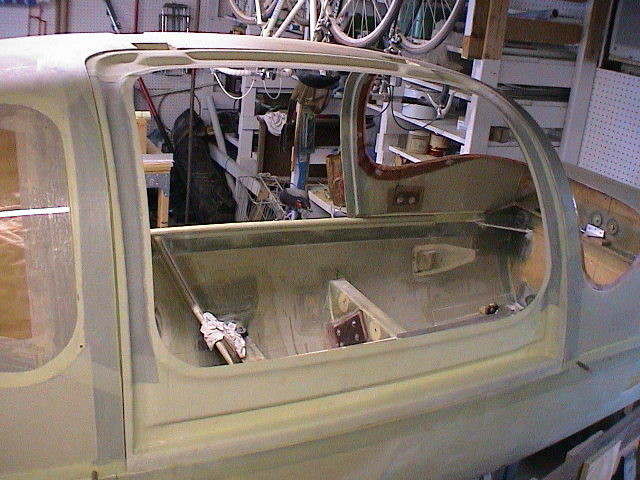
This shows the door in position and ready to start
installing the door windows. Note the very uniform gap along the
edge of the door. Besure to work on your positioning until the
door fits without having to twist it into position. In this photo
the door is only attached by the clecoes and is sitting in proper
position without any adheasive. |
|
|

