N247BR
Engine Cowling - Cowling Mount
 |
 |
| Early
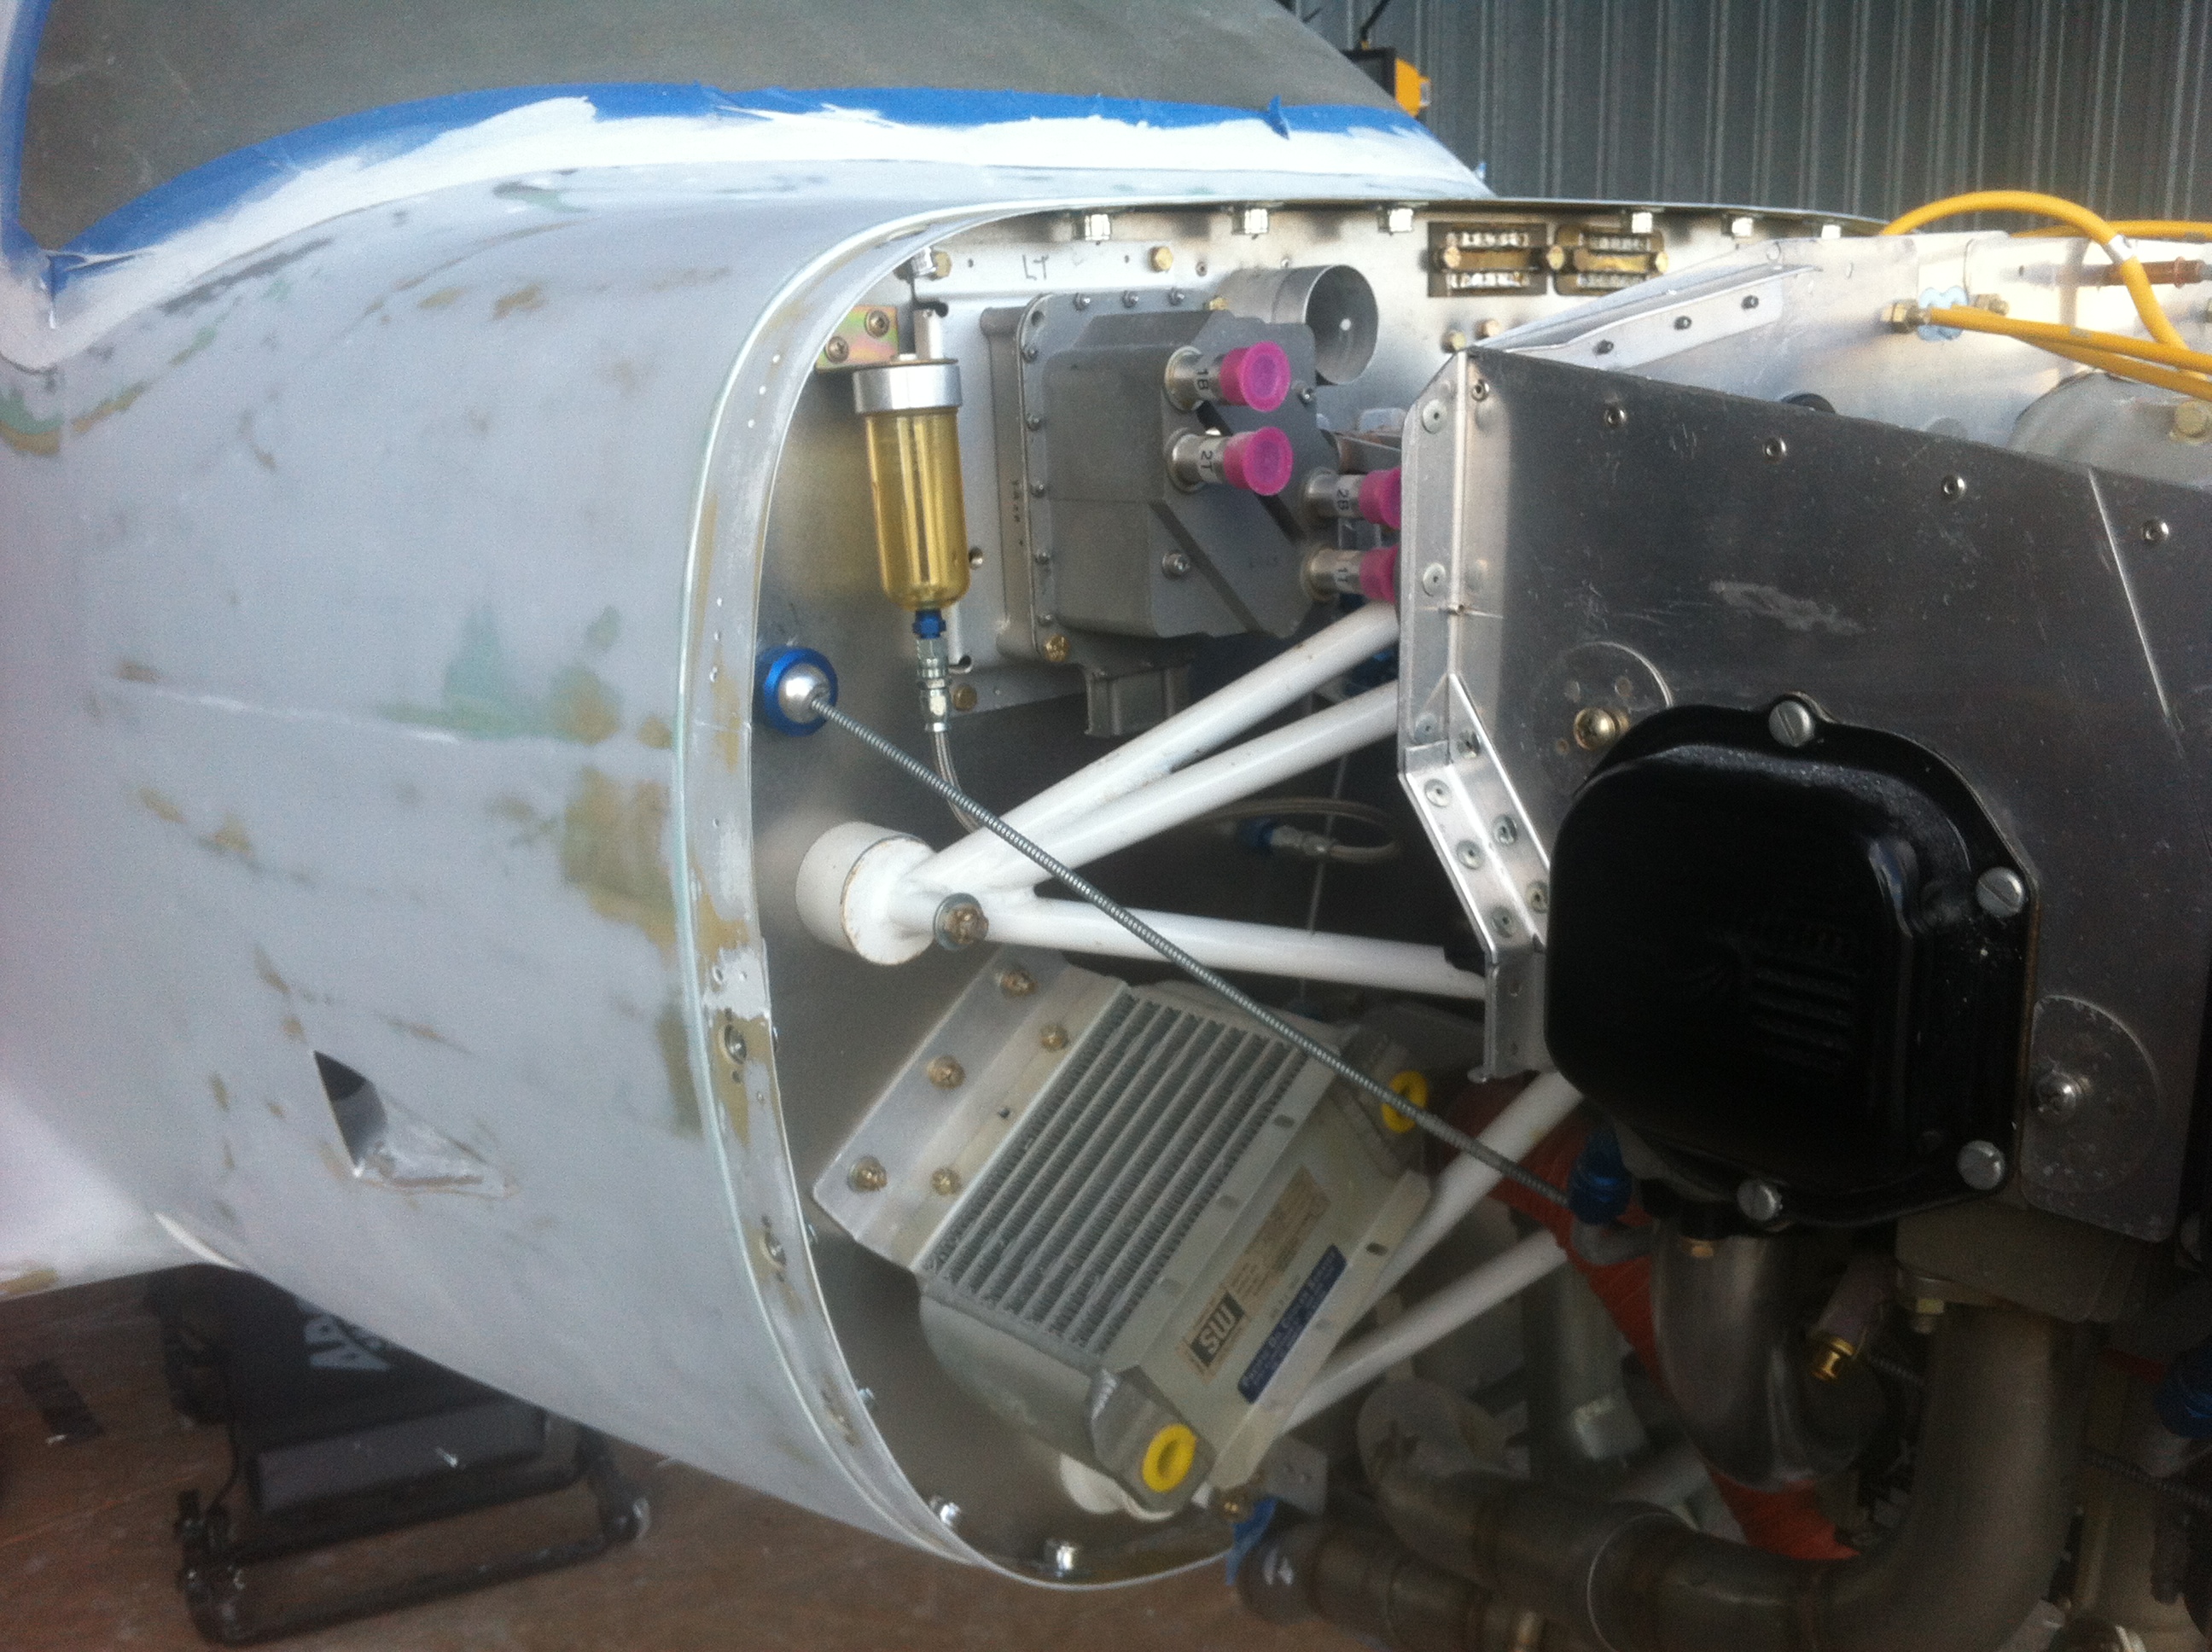
on I decided to use a piano hinge to join the top and bnottom of the
cowling for both an ease of installation and remove as well as the
cleaner look of not having screw or other fasteners running the length
of the cowling. I am very happy with that decision even though
like every other deviation from the plans it cost a lot of hours. |
|
 |
 |
 |
 |
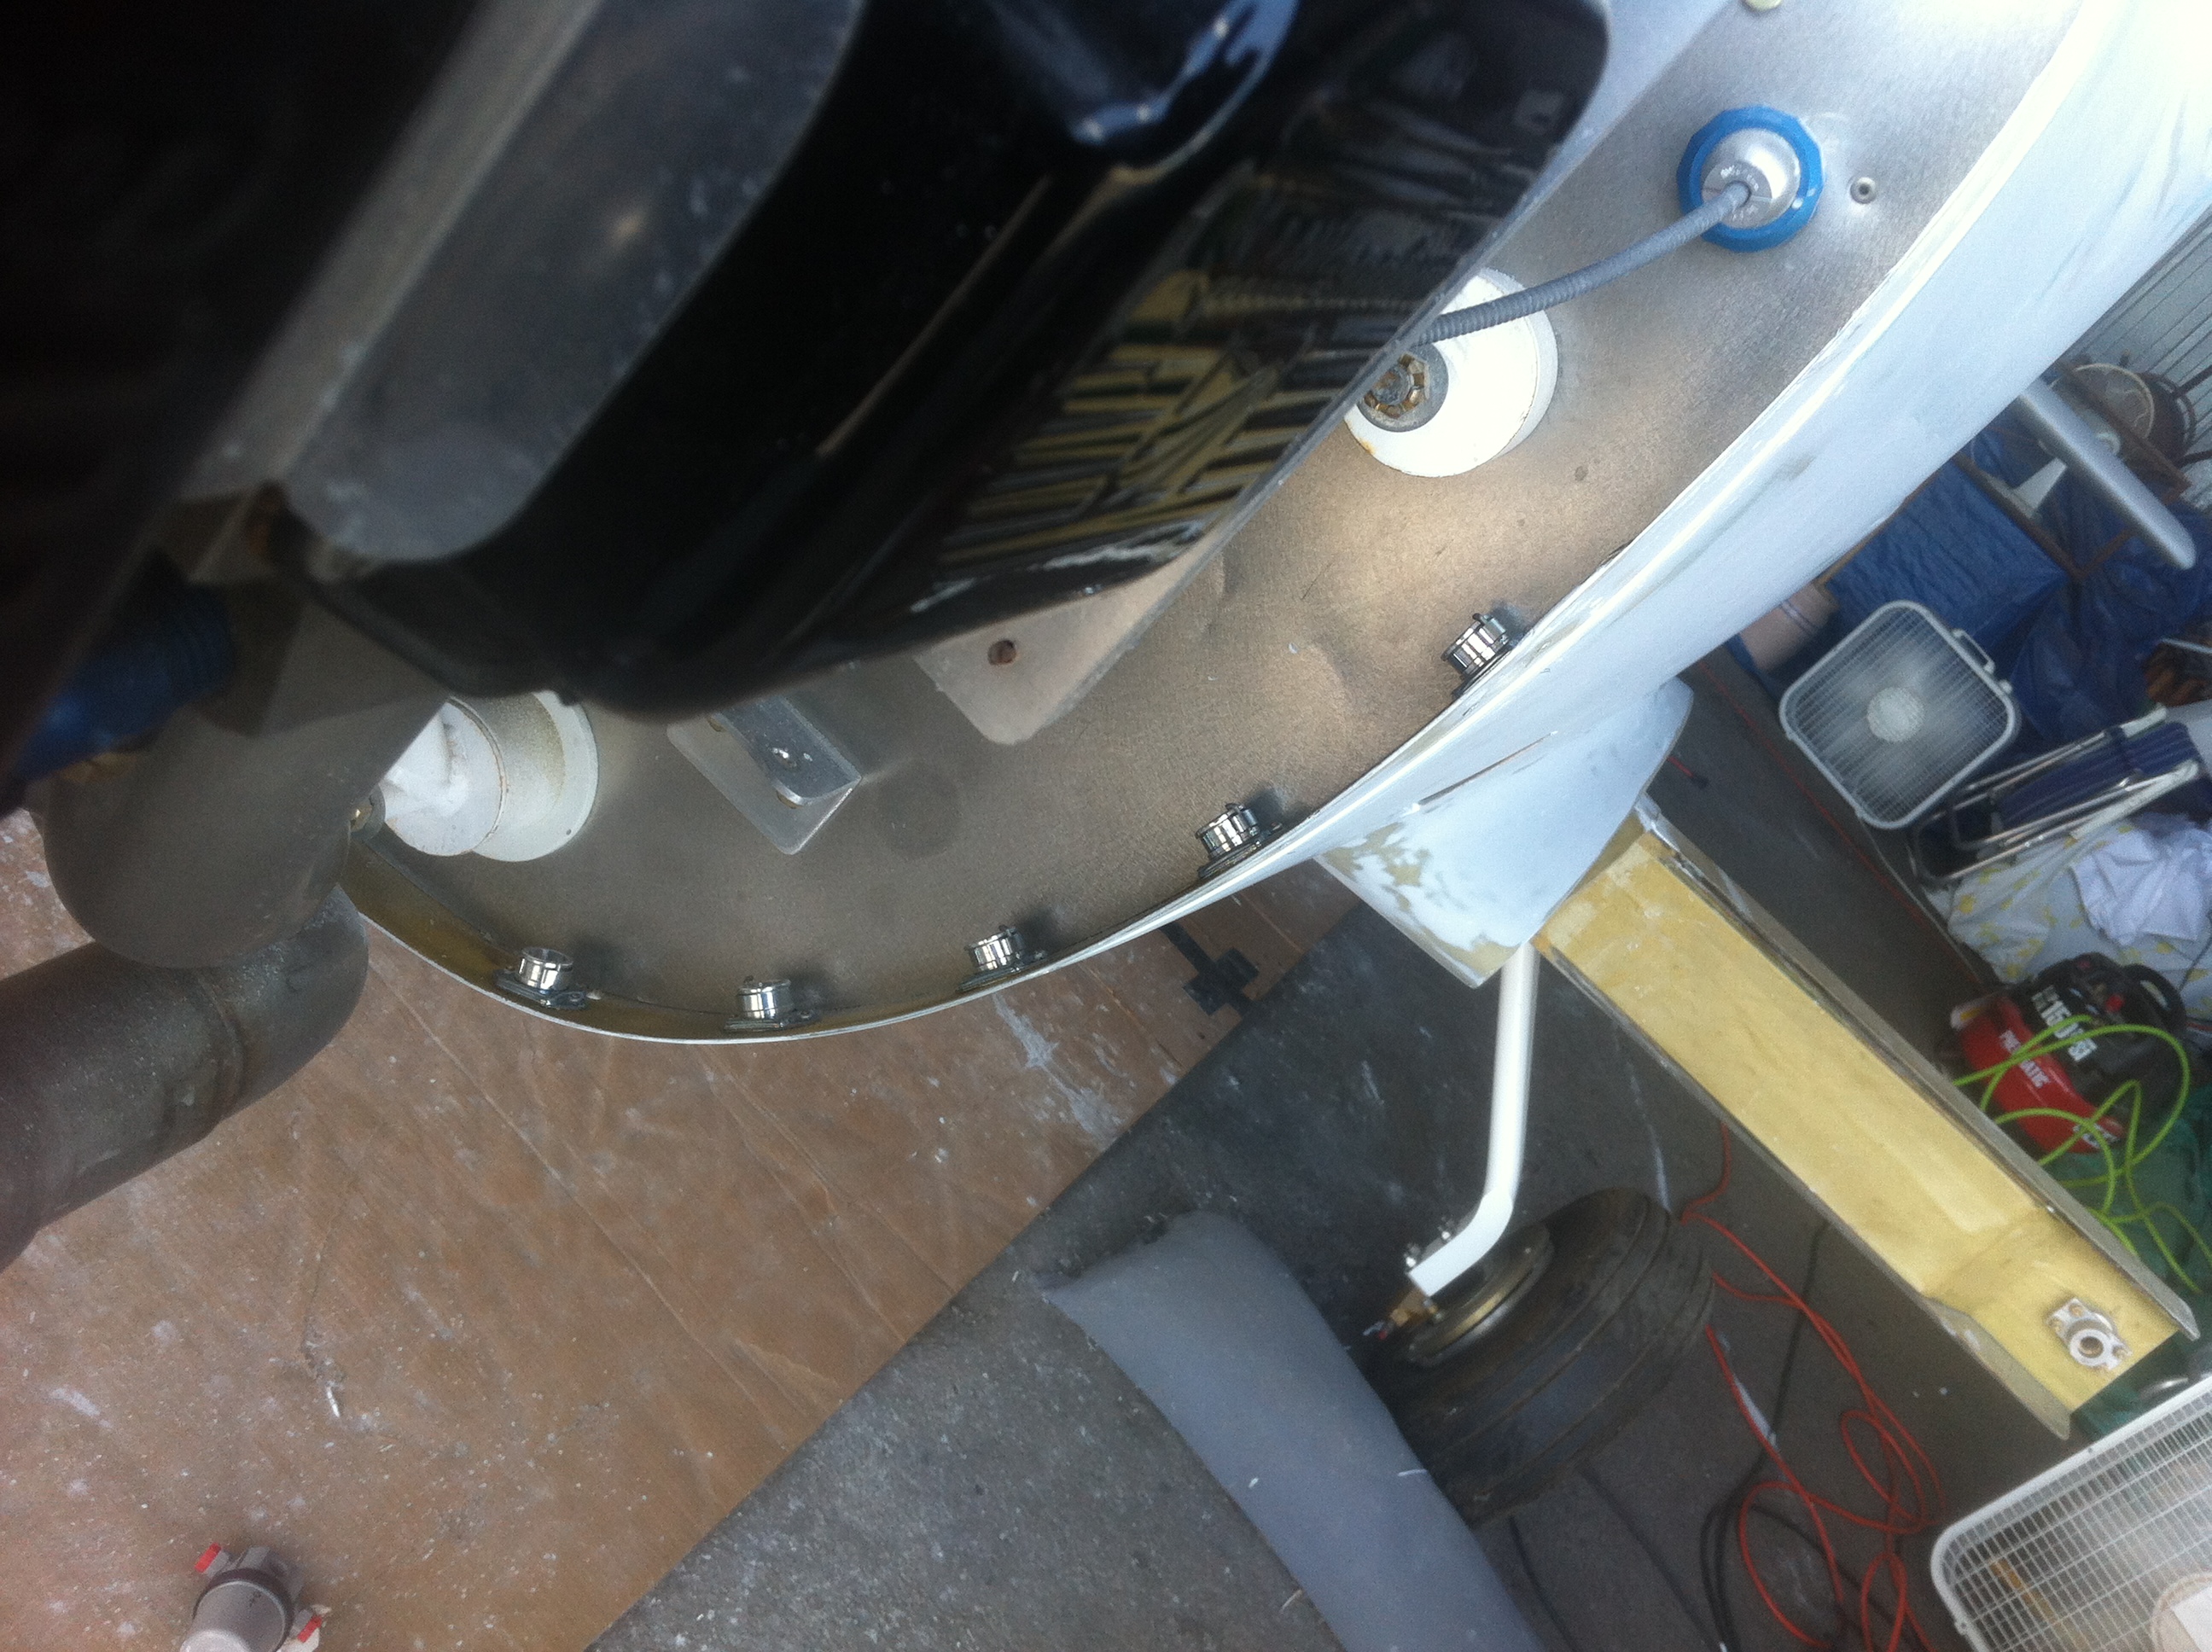
| I
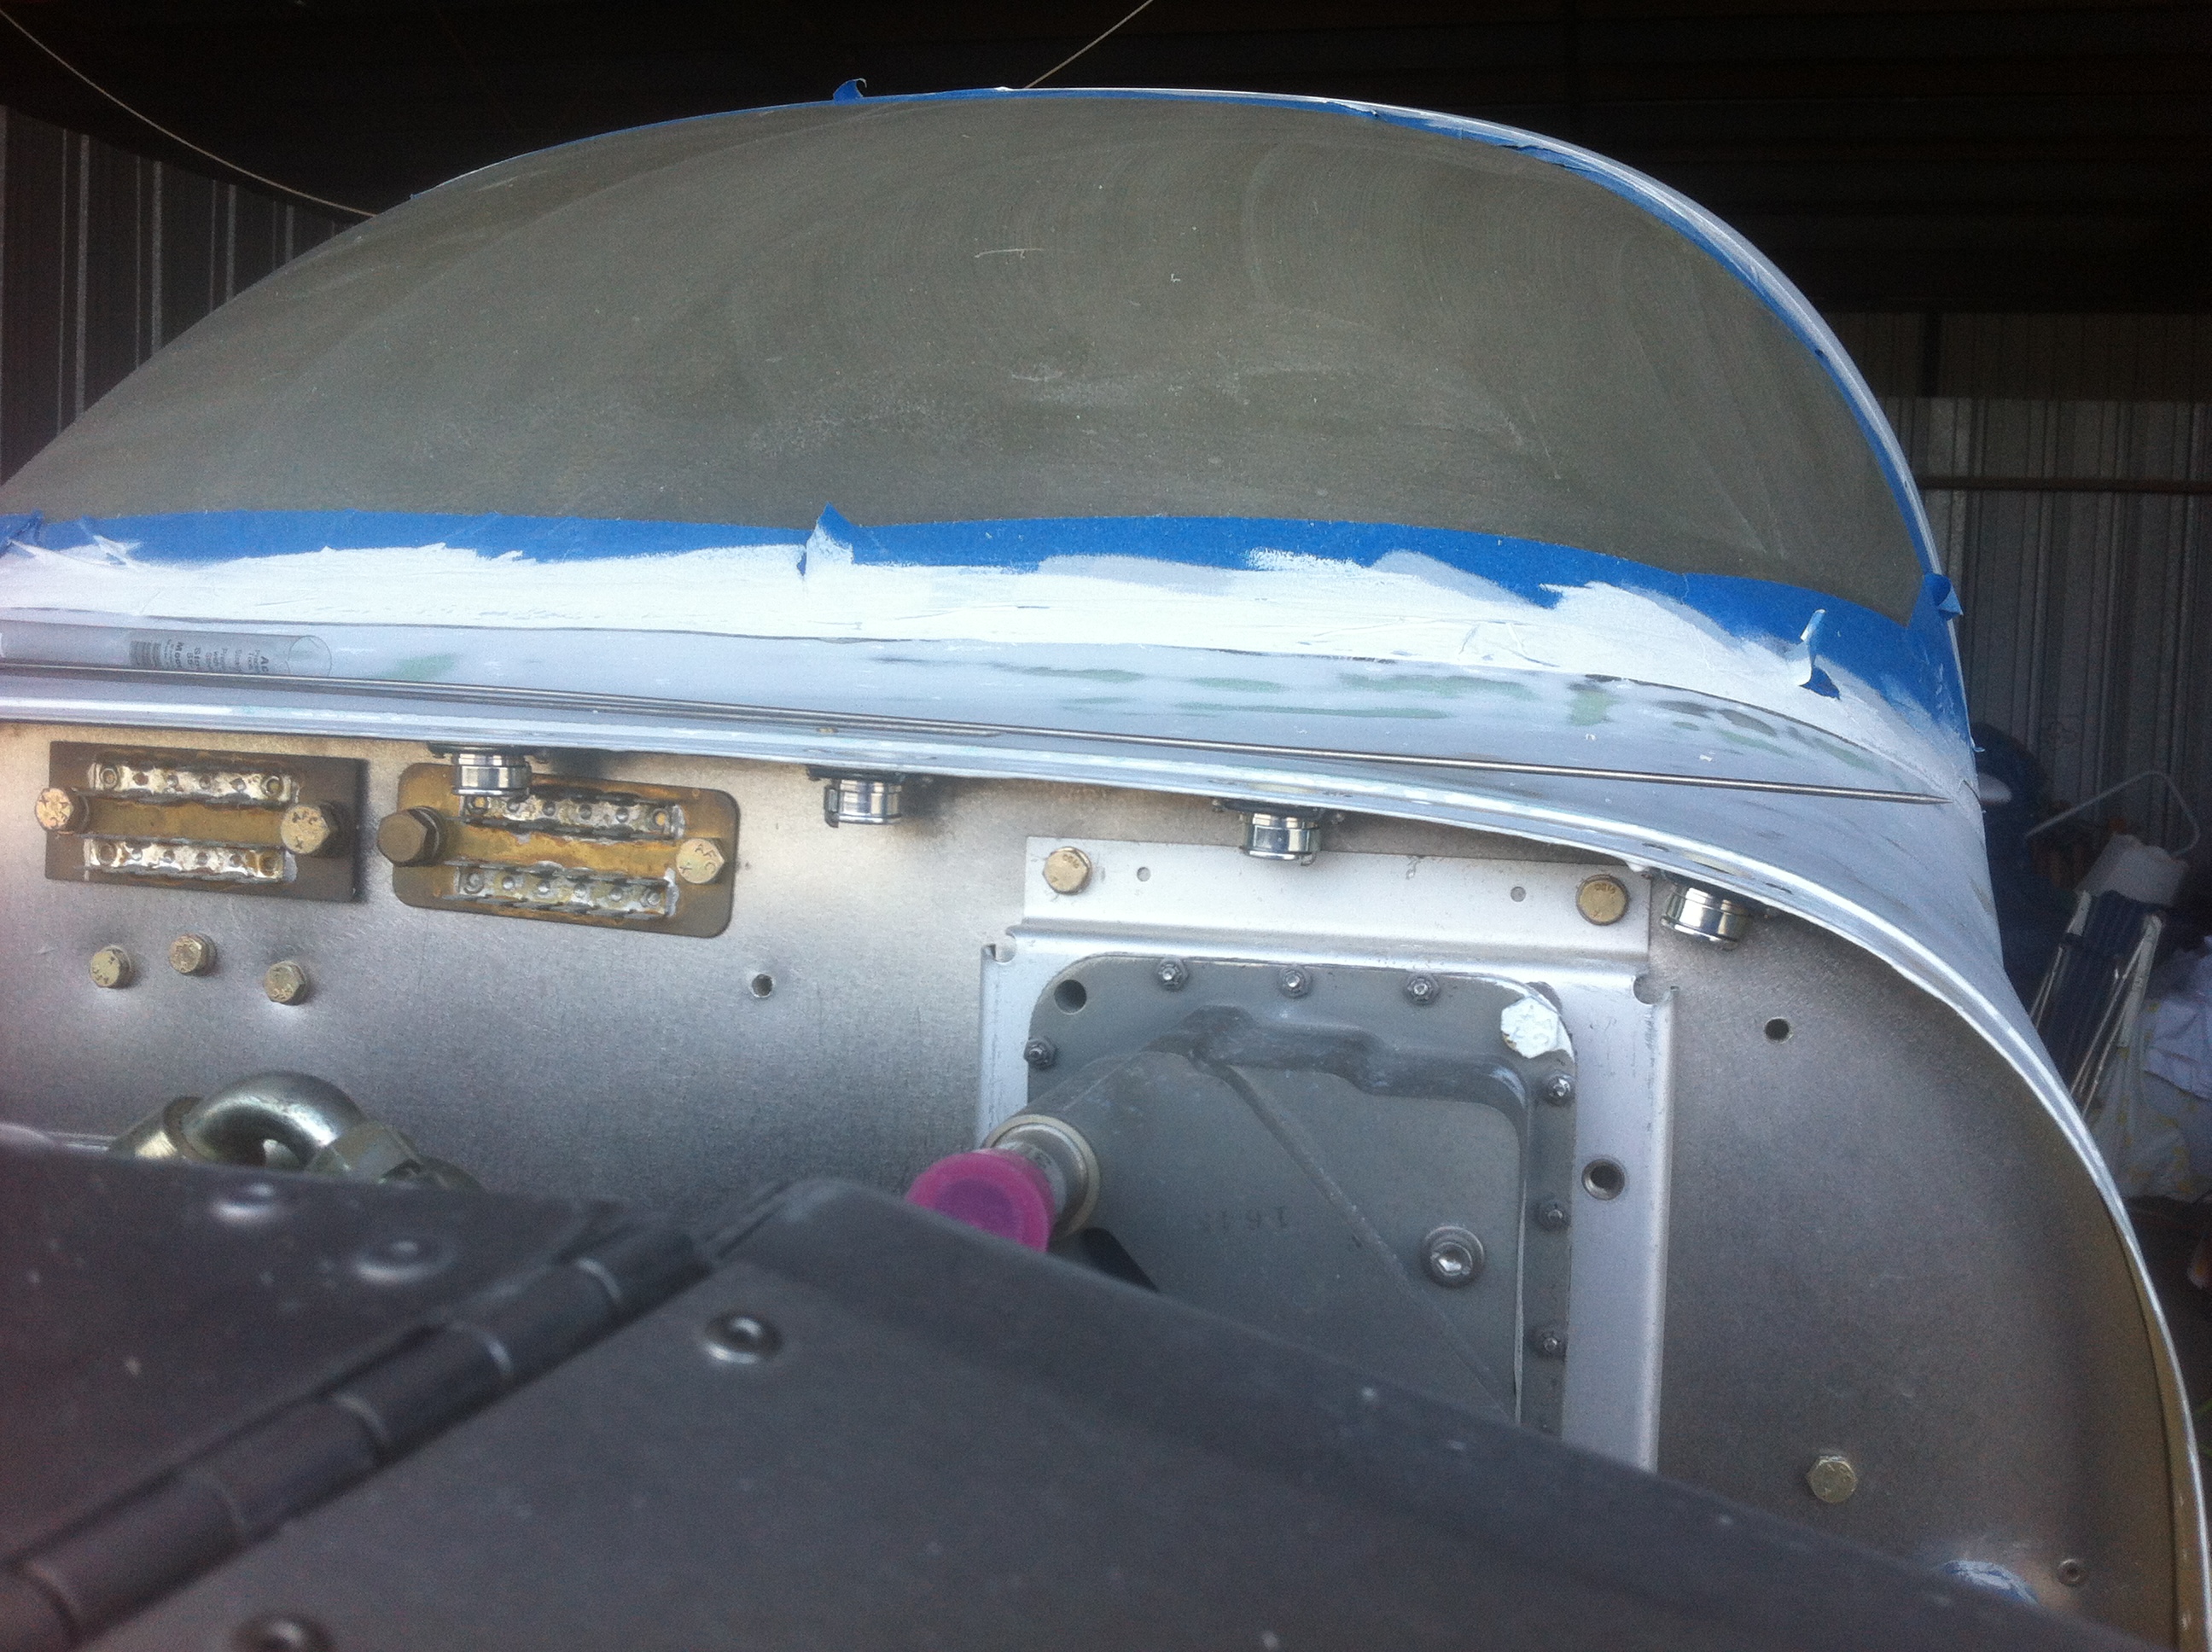
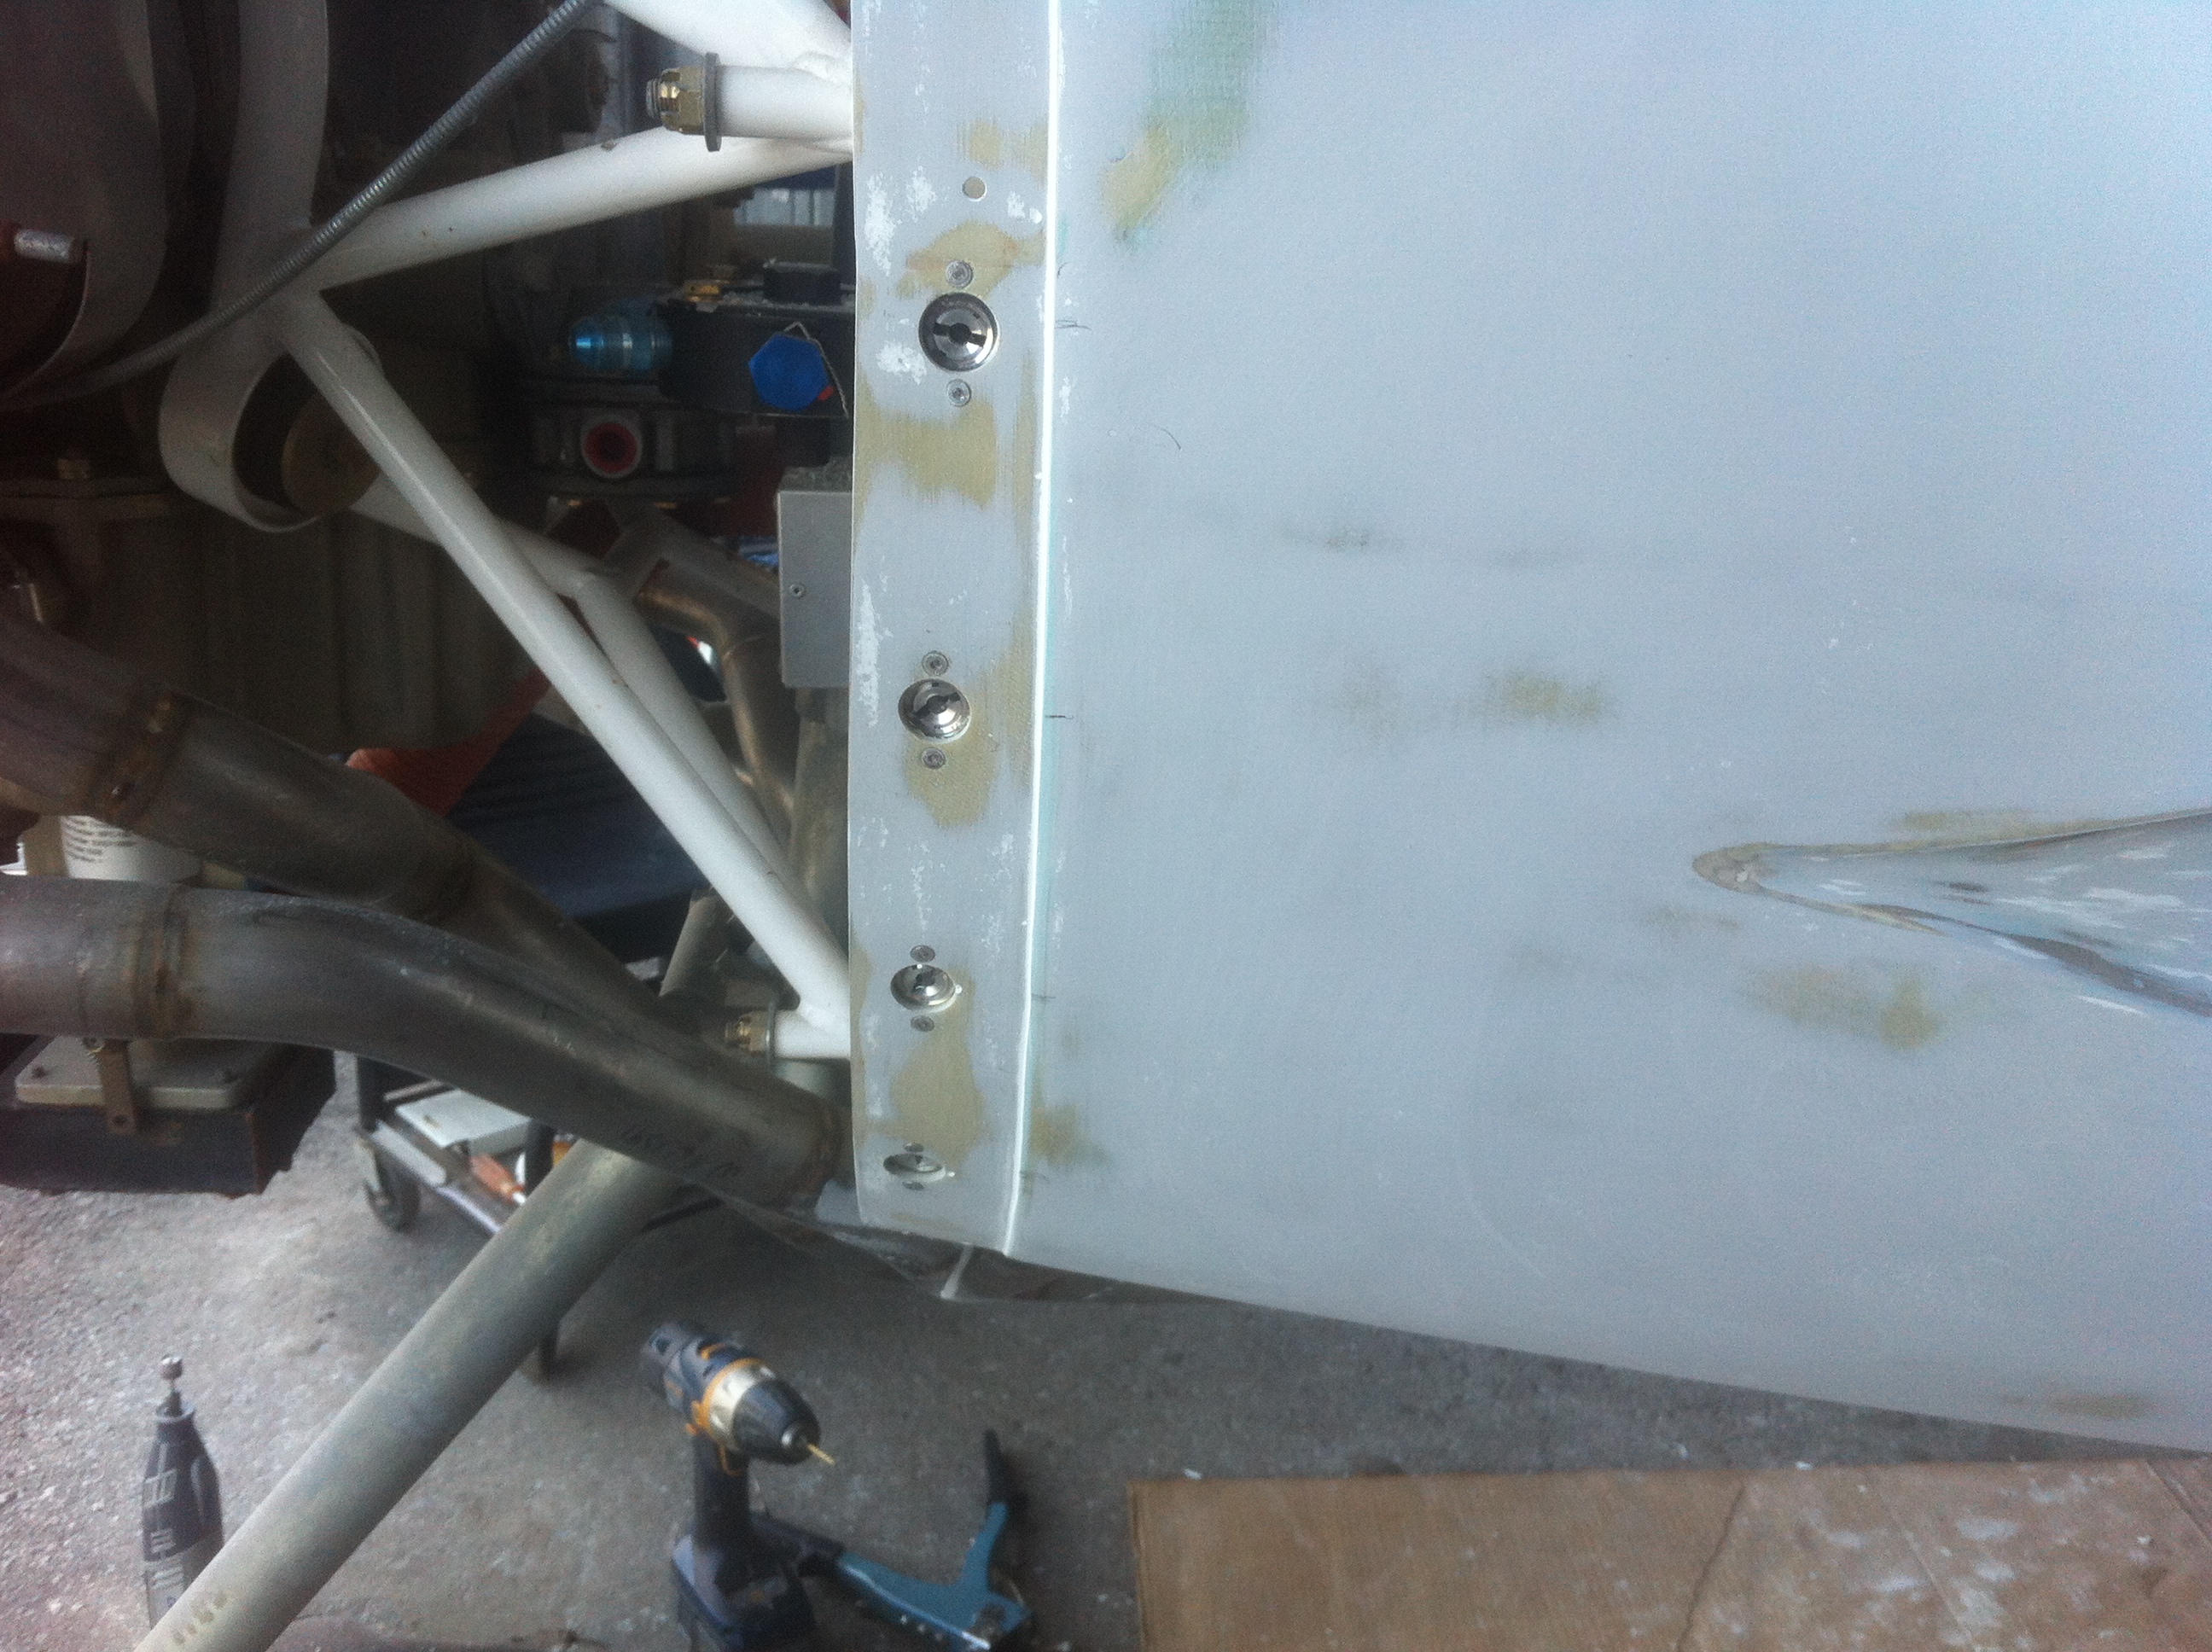
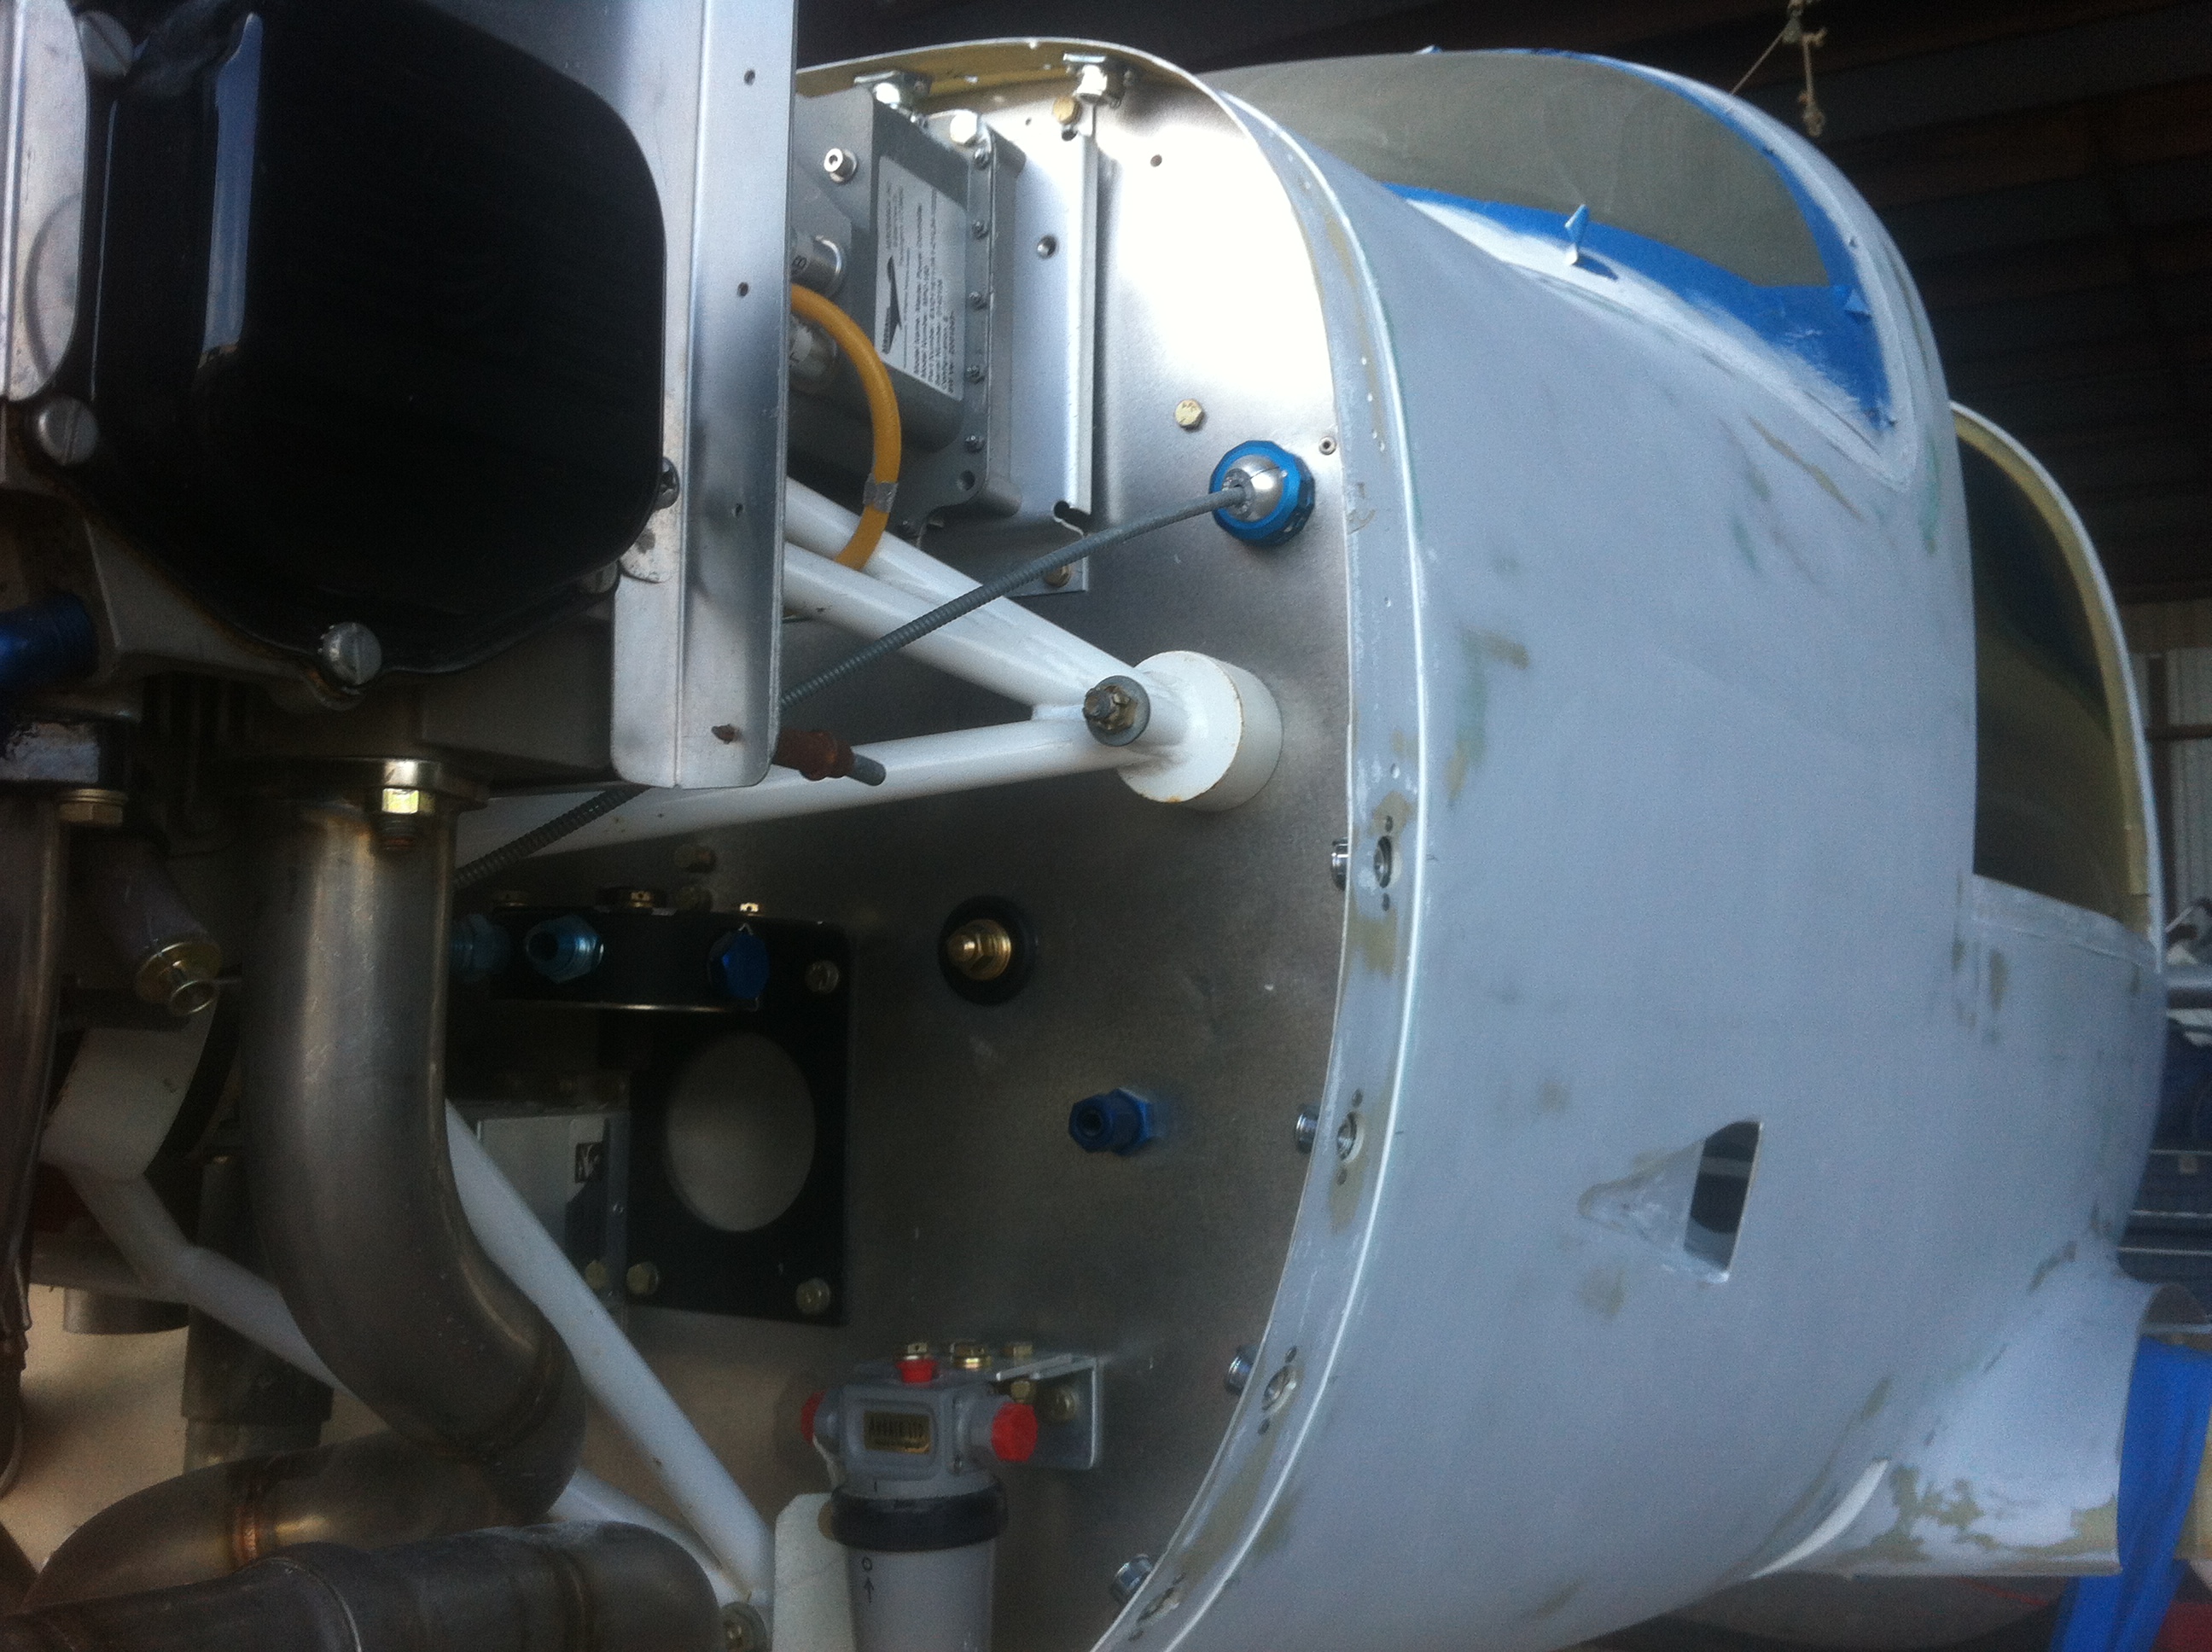
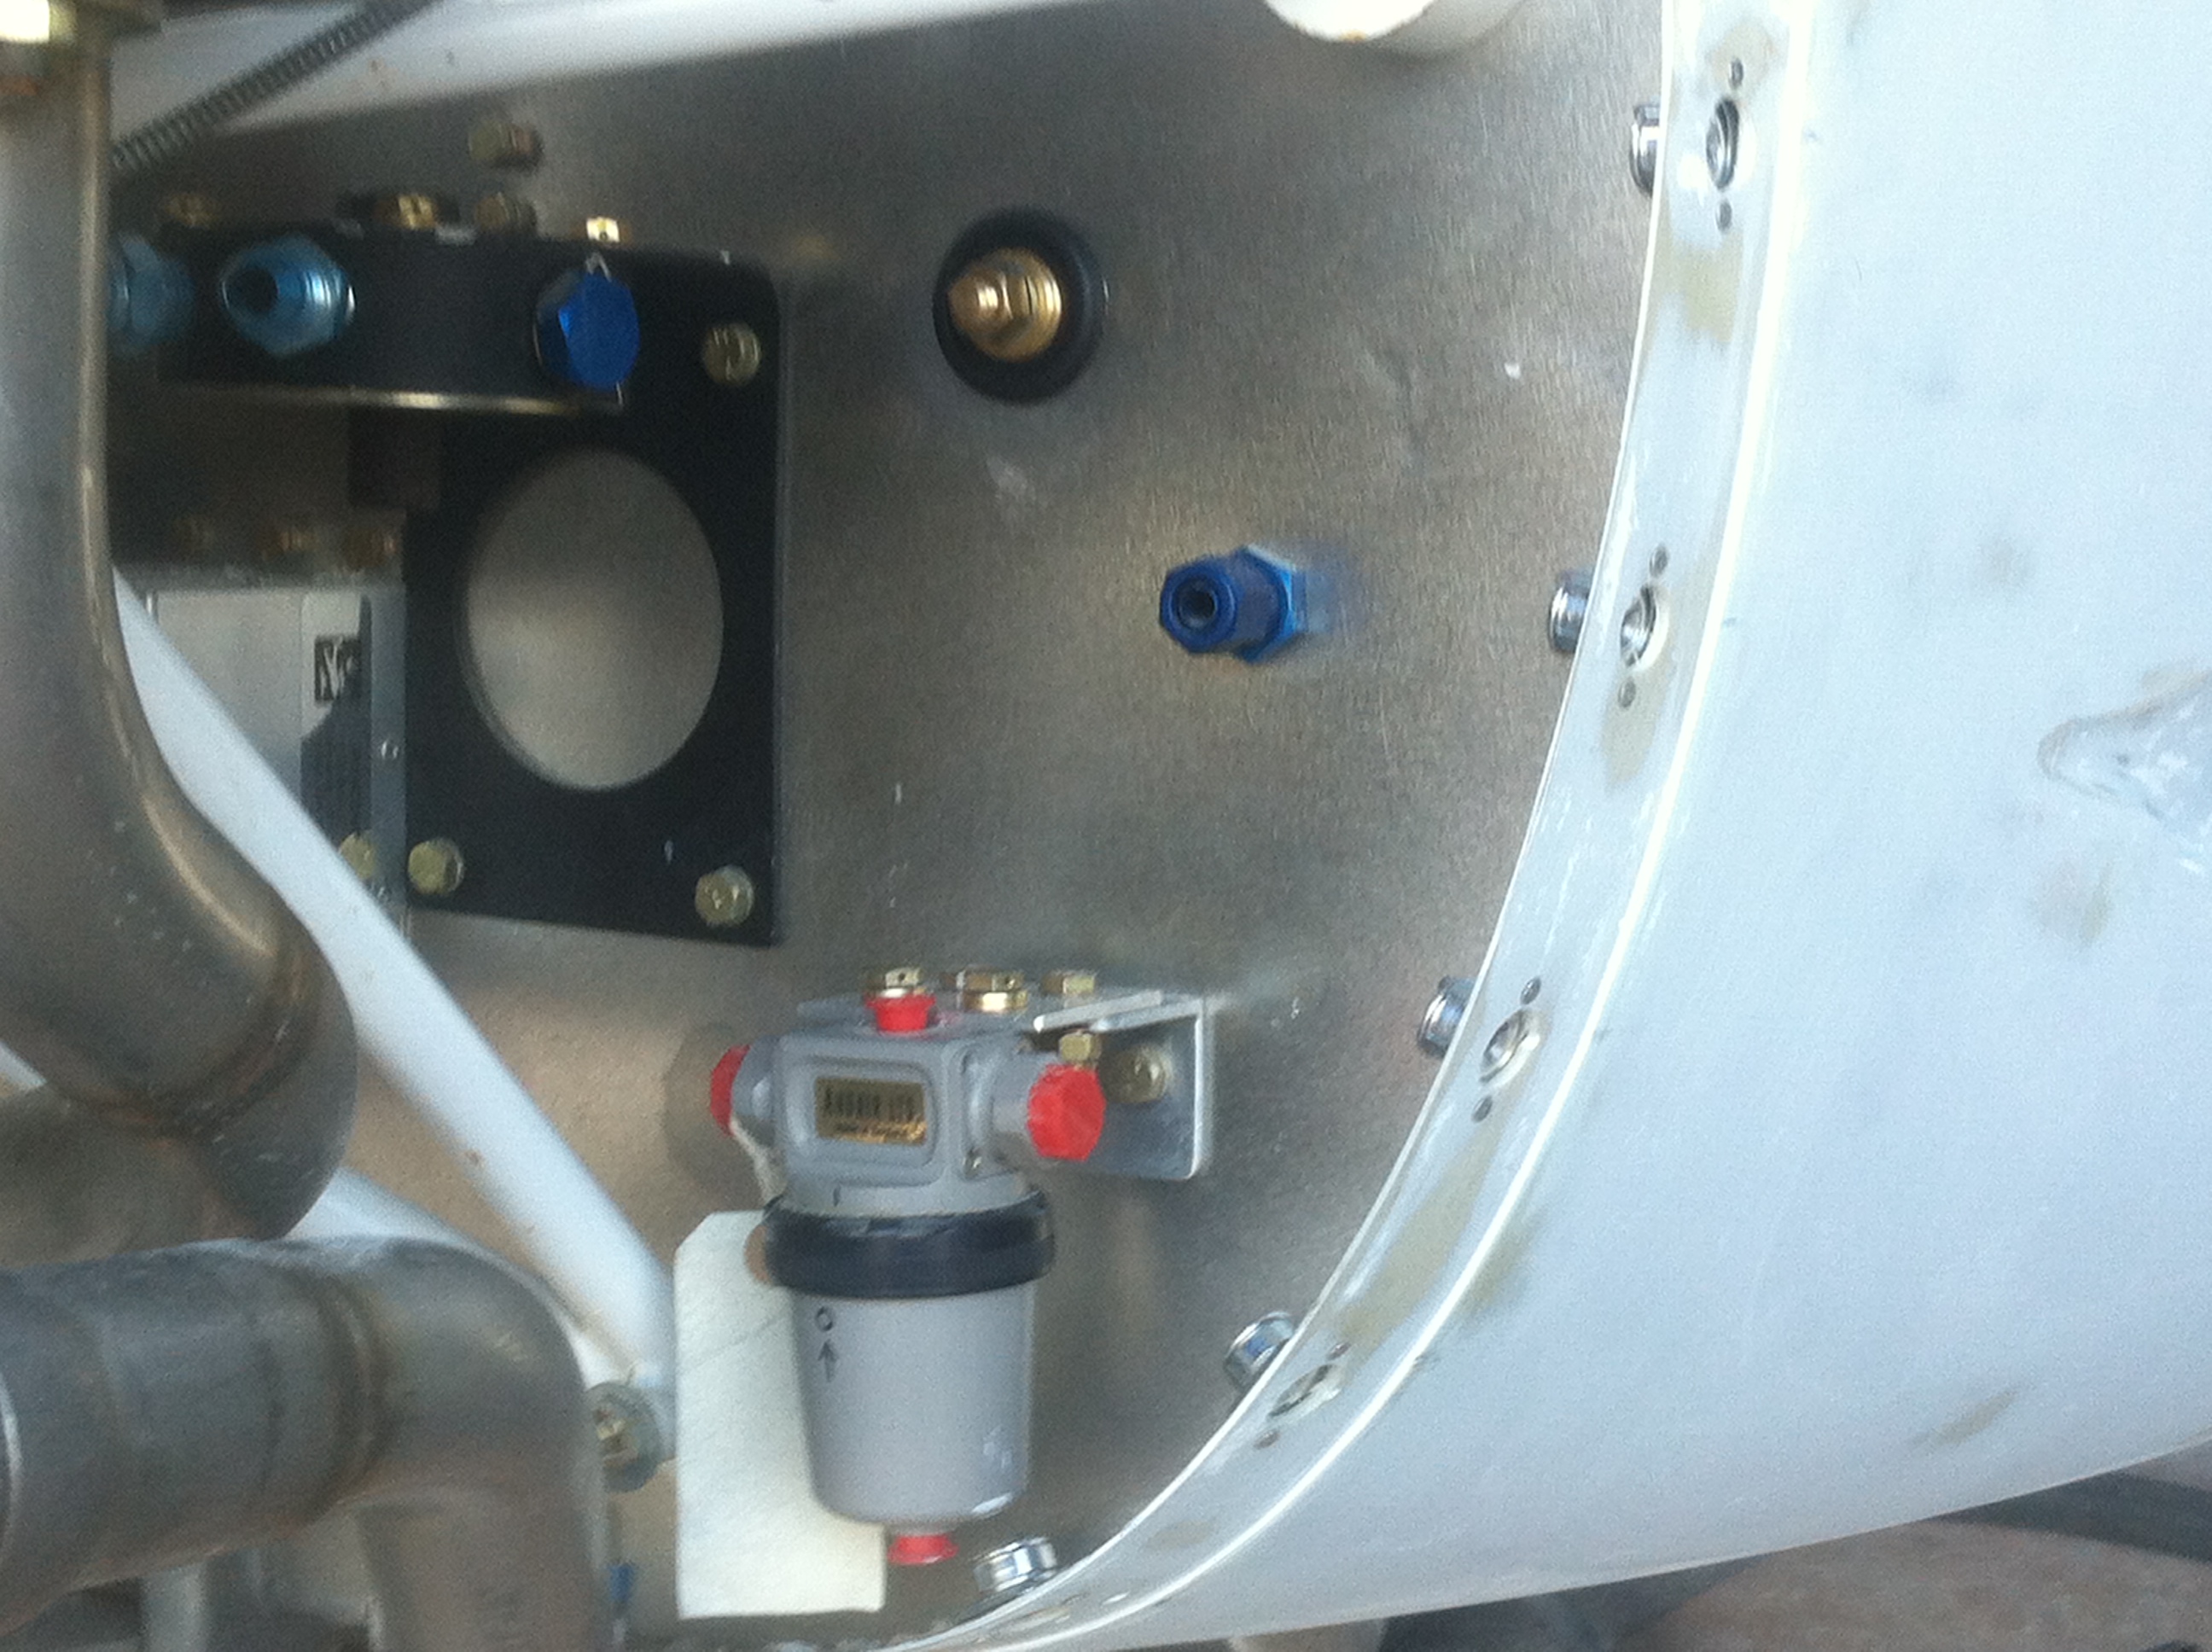
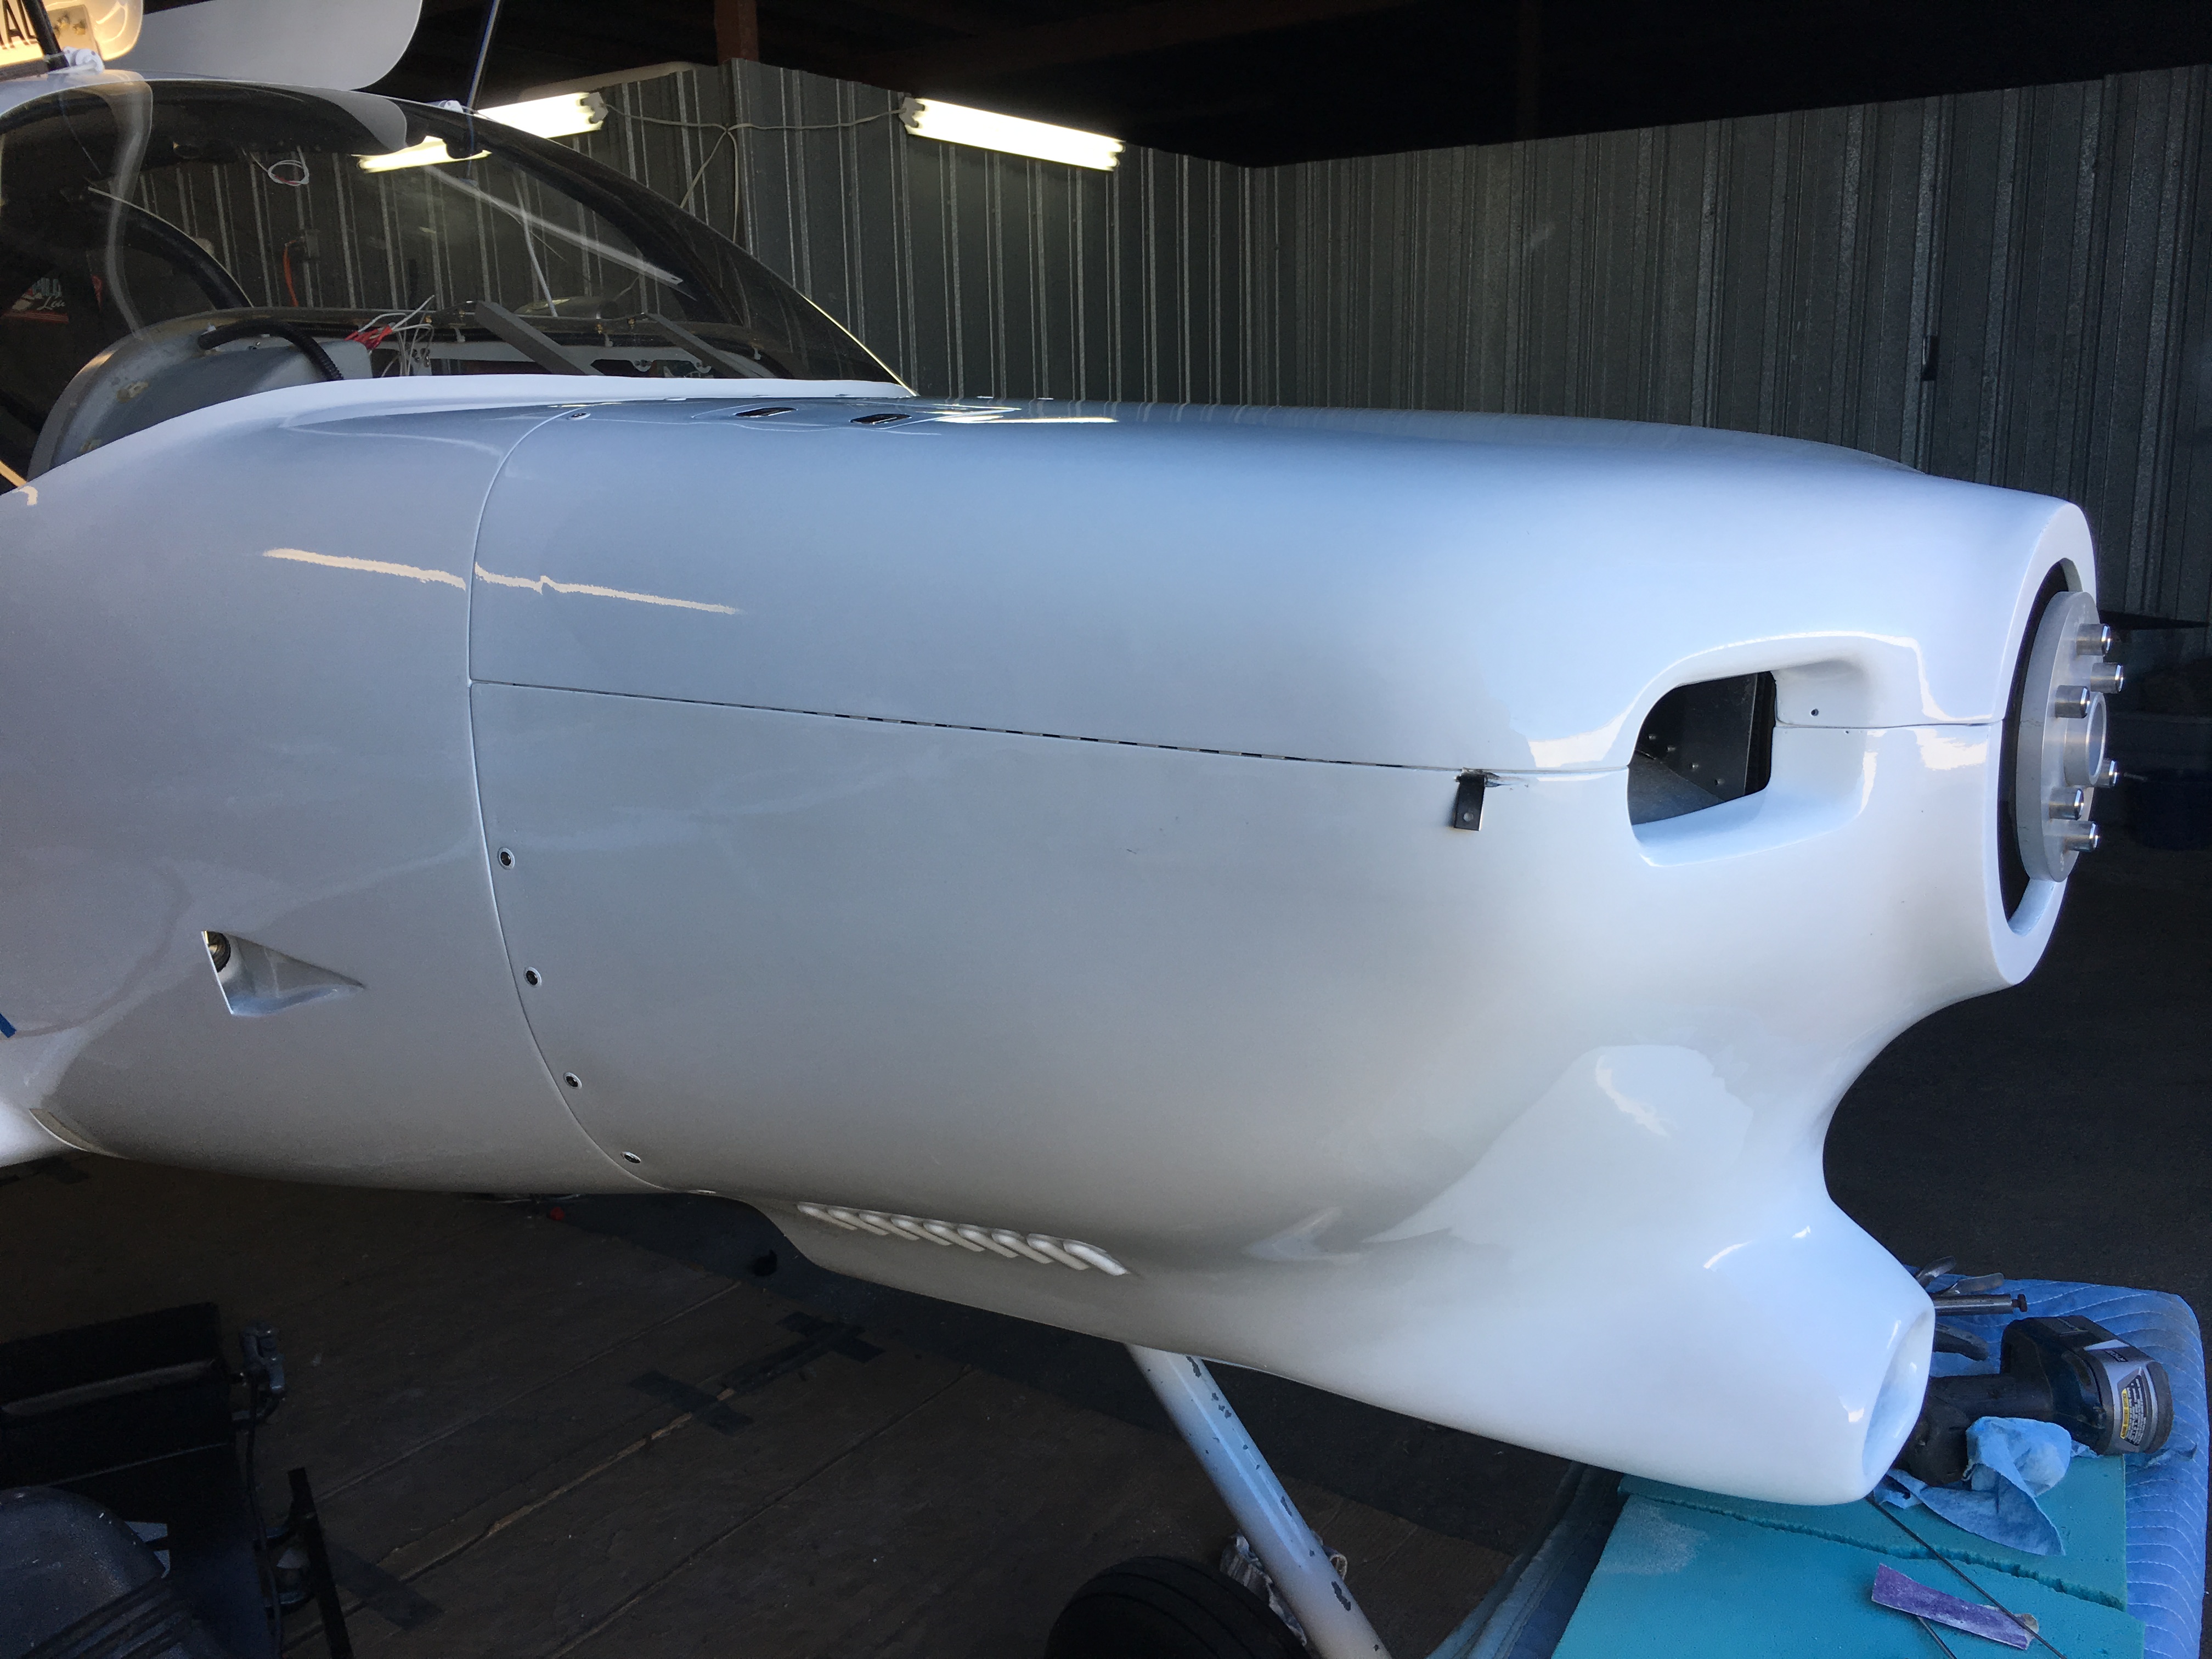
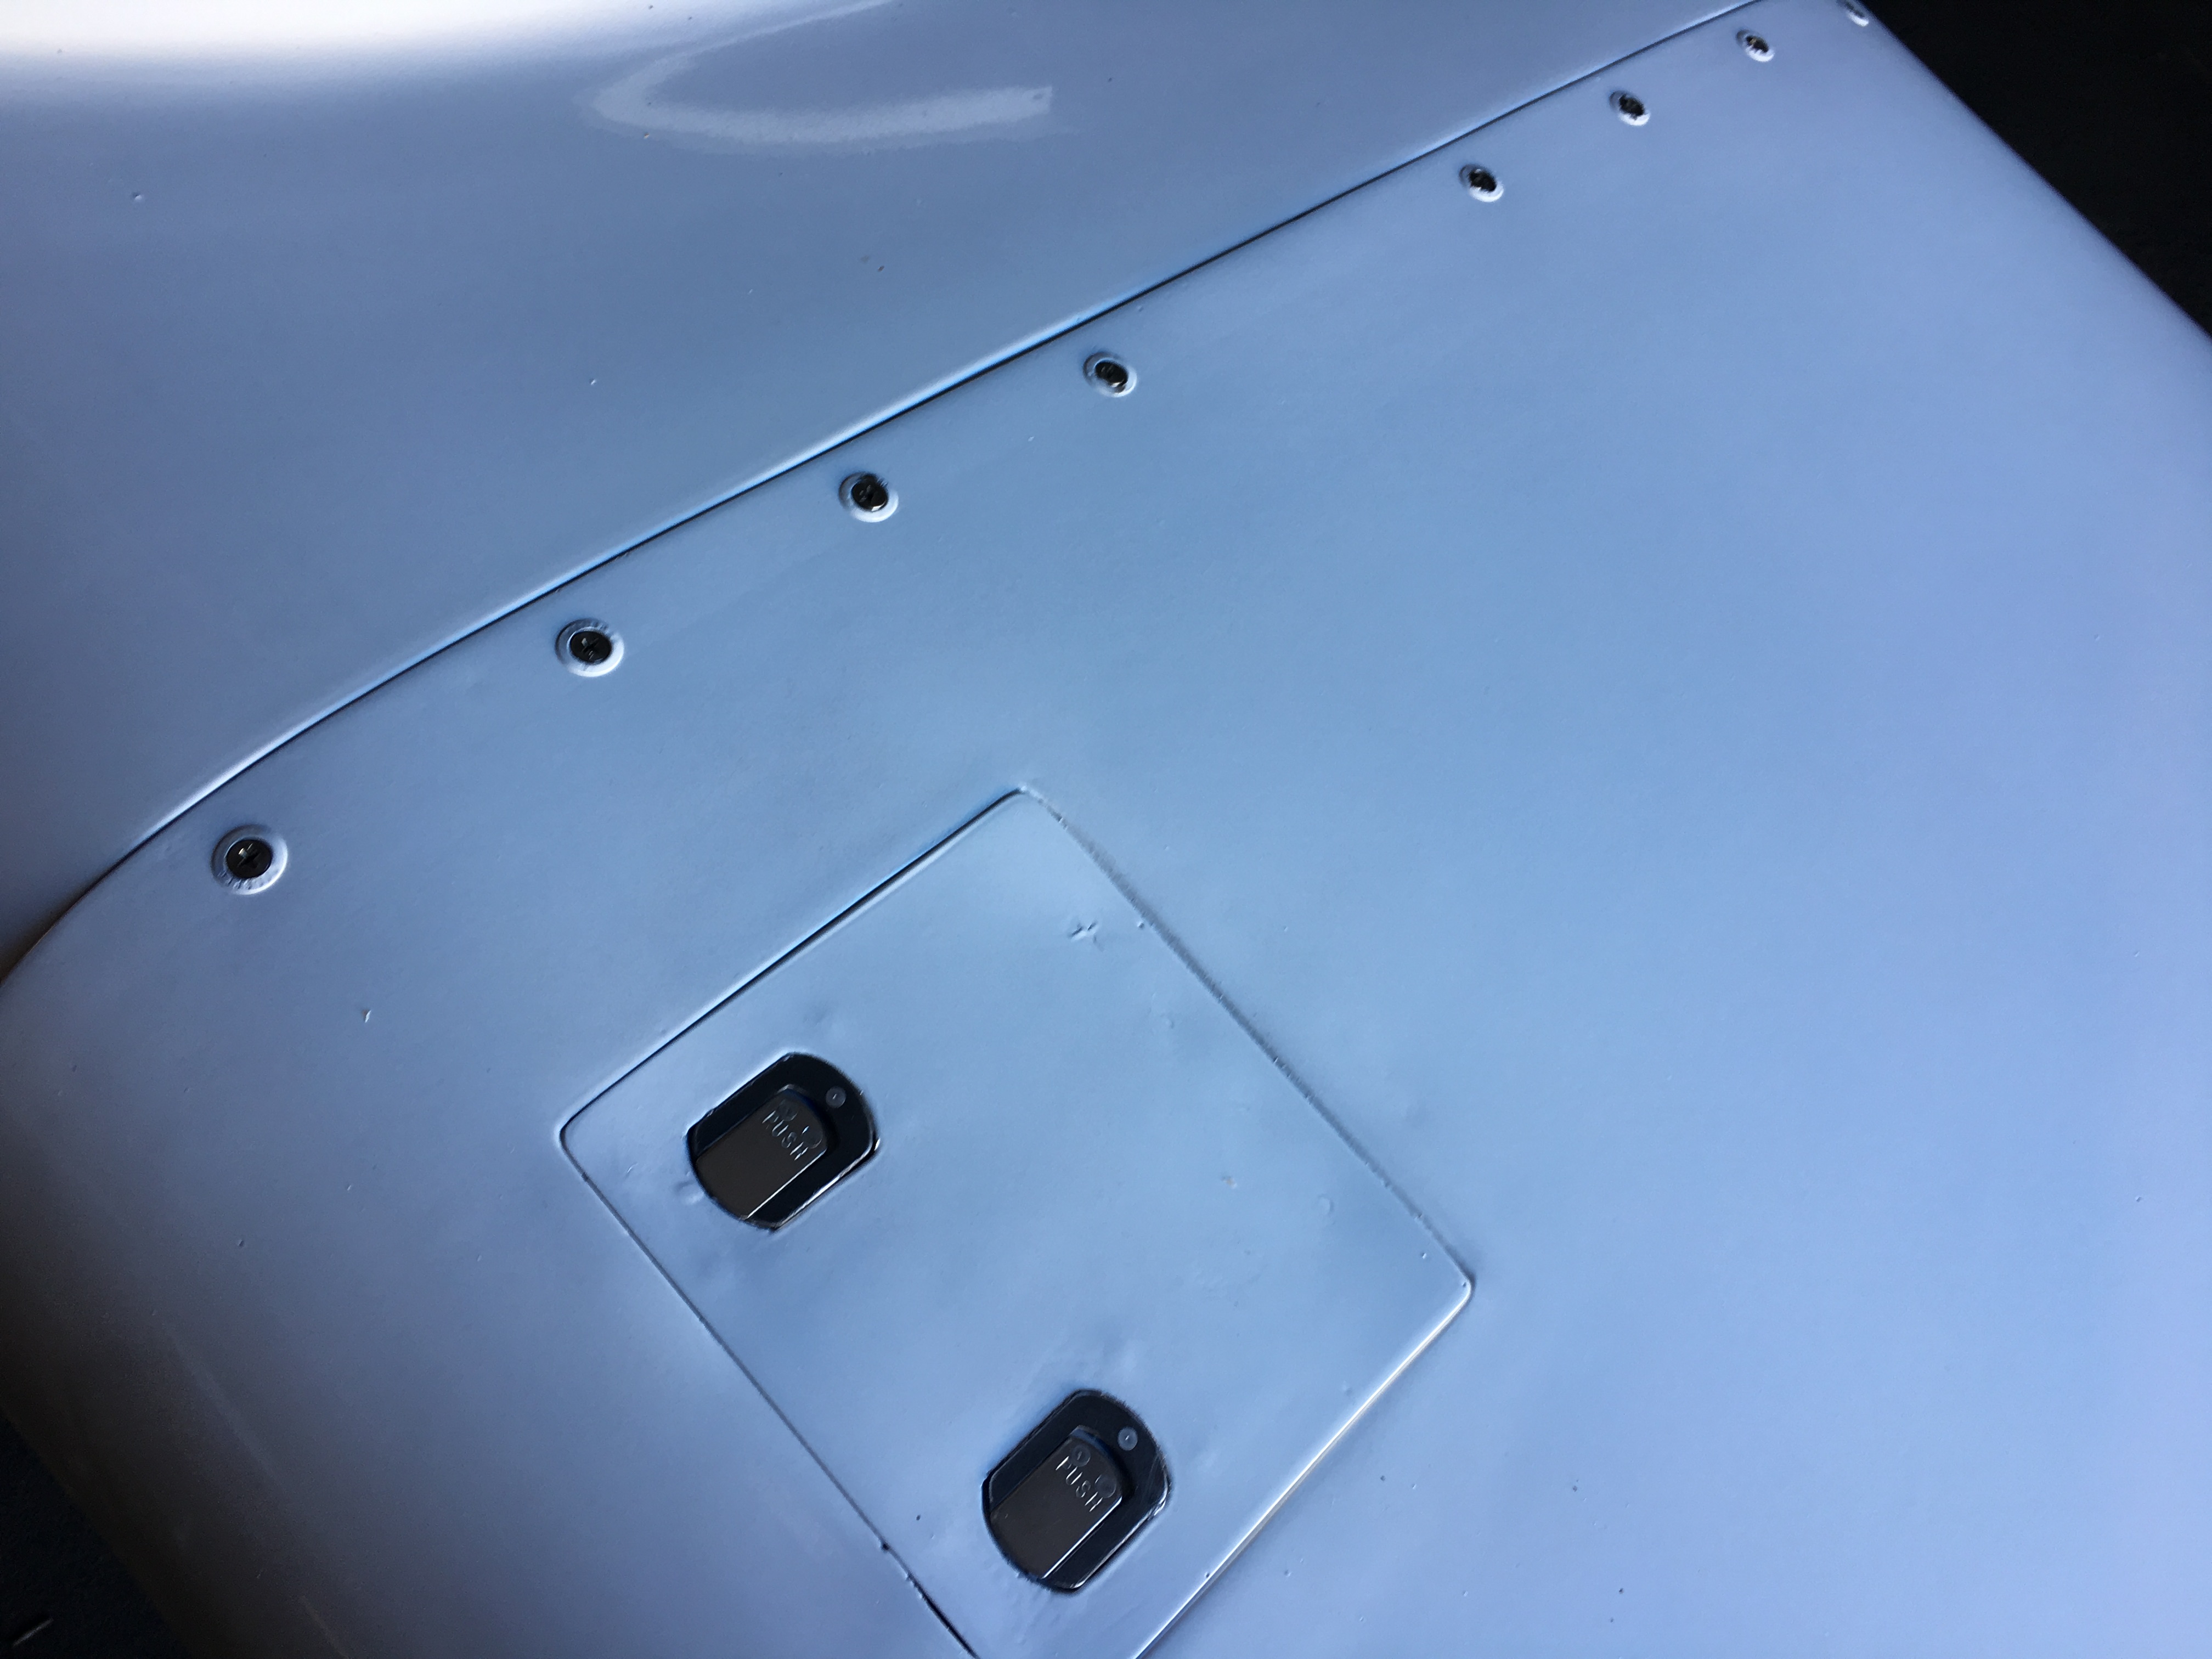
used the adjustable cowling fasteners from Aircraft Spruce. The
recepticle is installed in the fuselage and will be adjusted after the
cowling and fuselage have been painted and finished. The
resulting fastner is nearly flush with the surface after installation. |
|
 |
 |
 |
 |
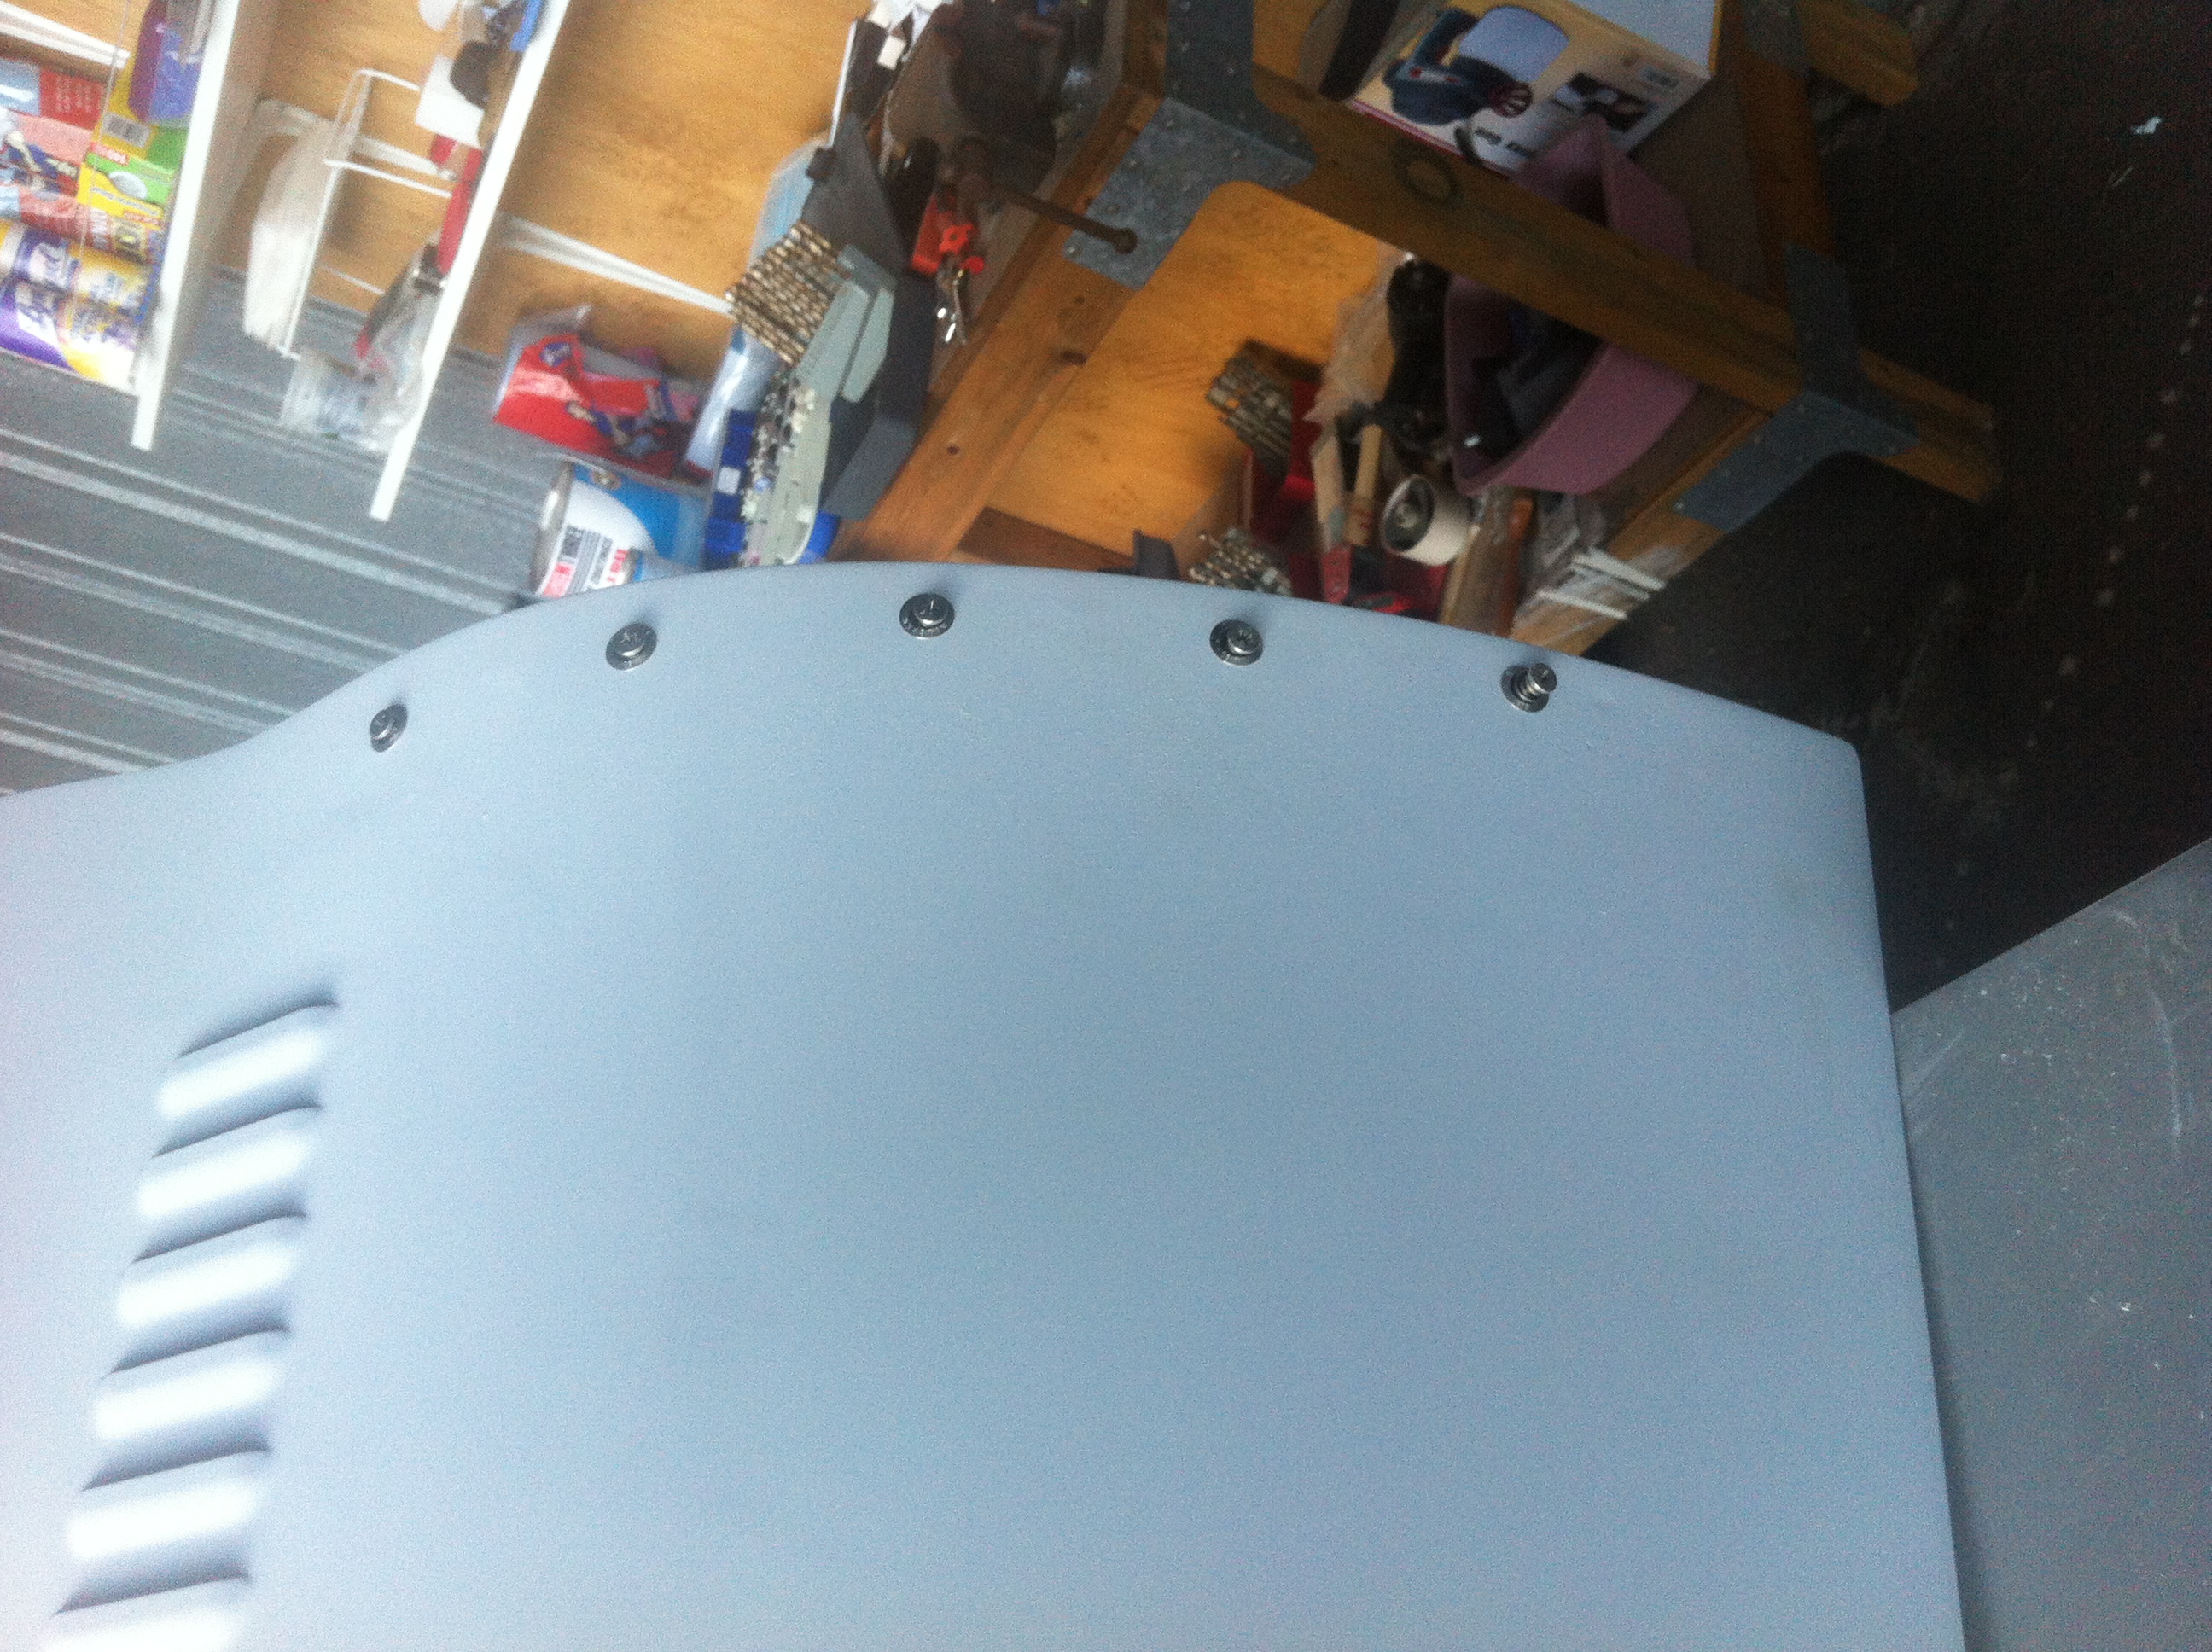
| The
fasteners were only installed across the top and on the sides of the
lower cowling. The hinge pin will also act as a fastner on the
point where the upper and lower cowling meet. What I like the
most about these fasteners is that they are quick connect requiring only
a 1/4 turn to lock in place. |
|
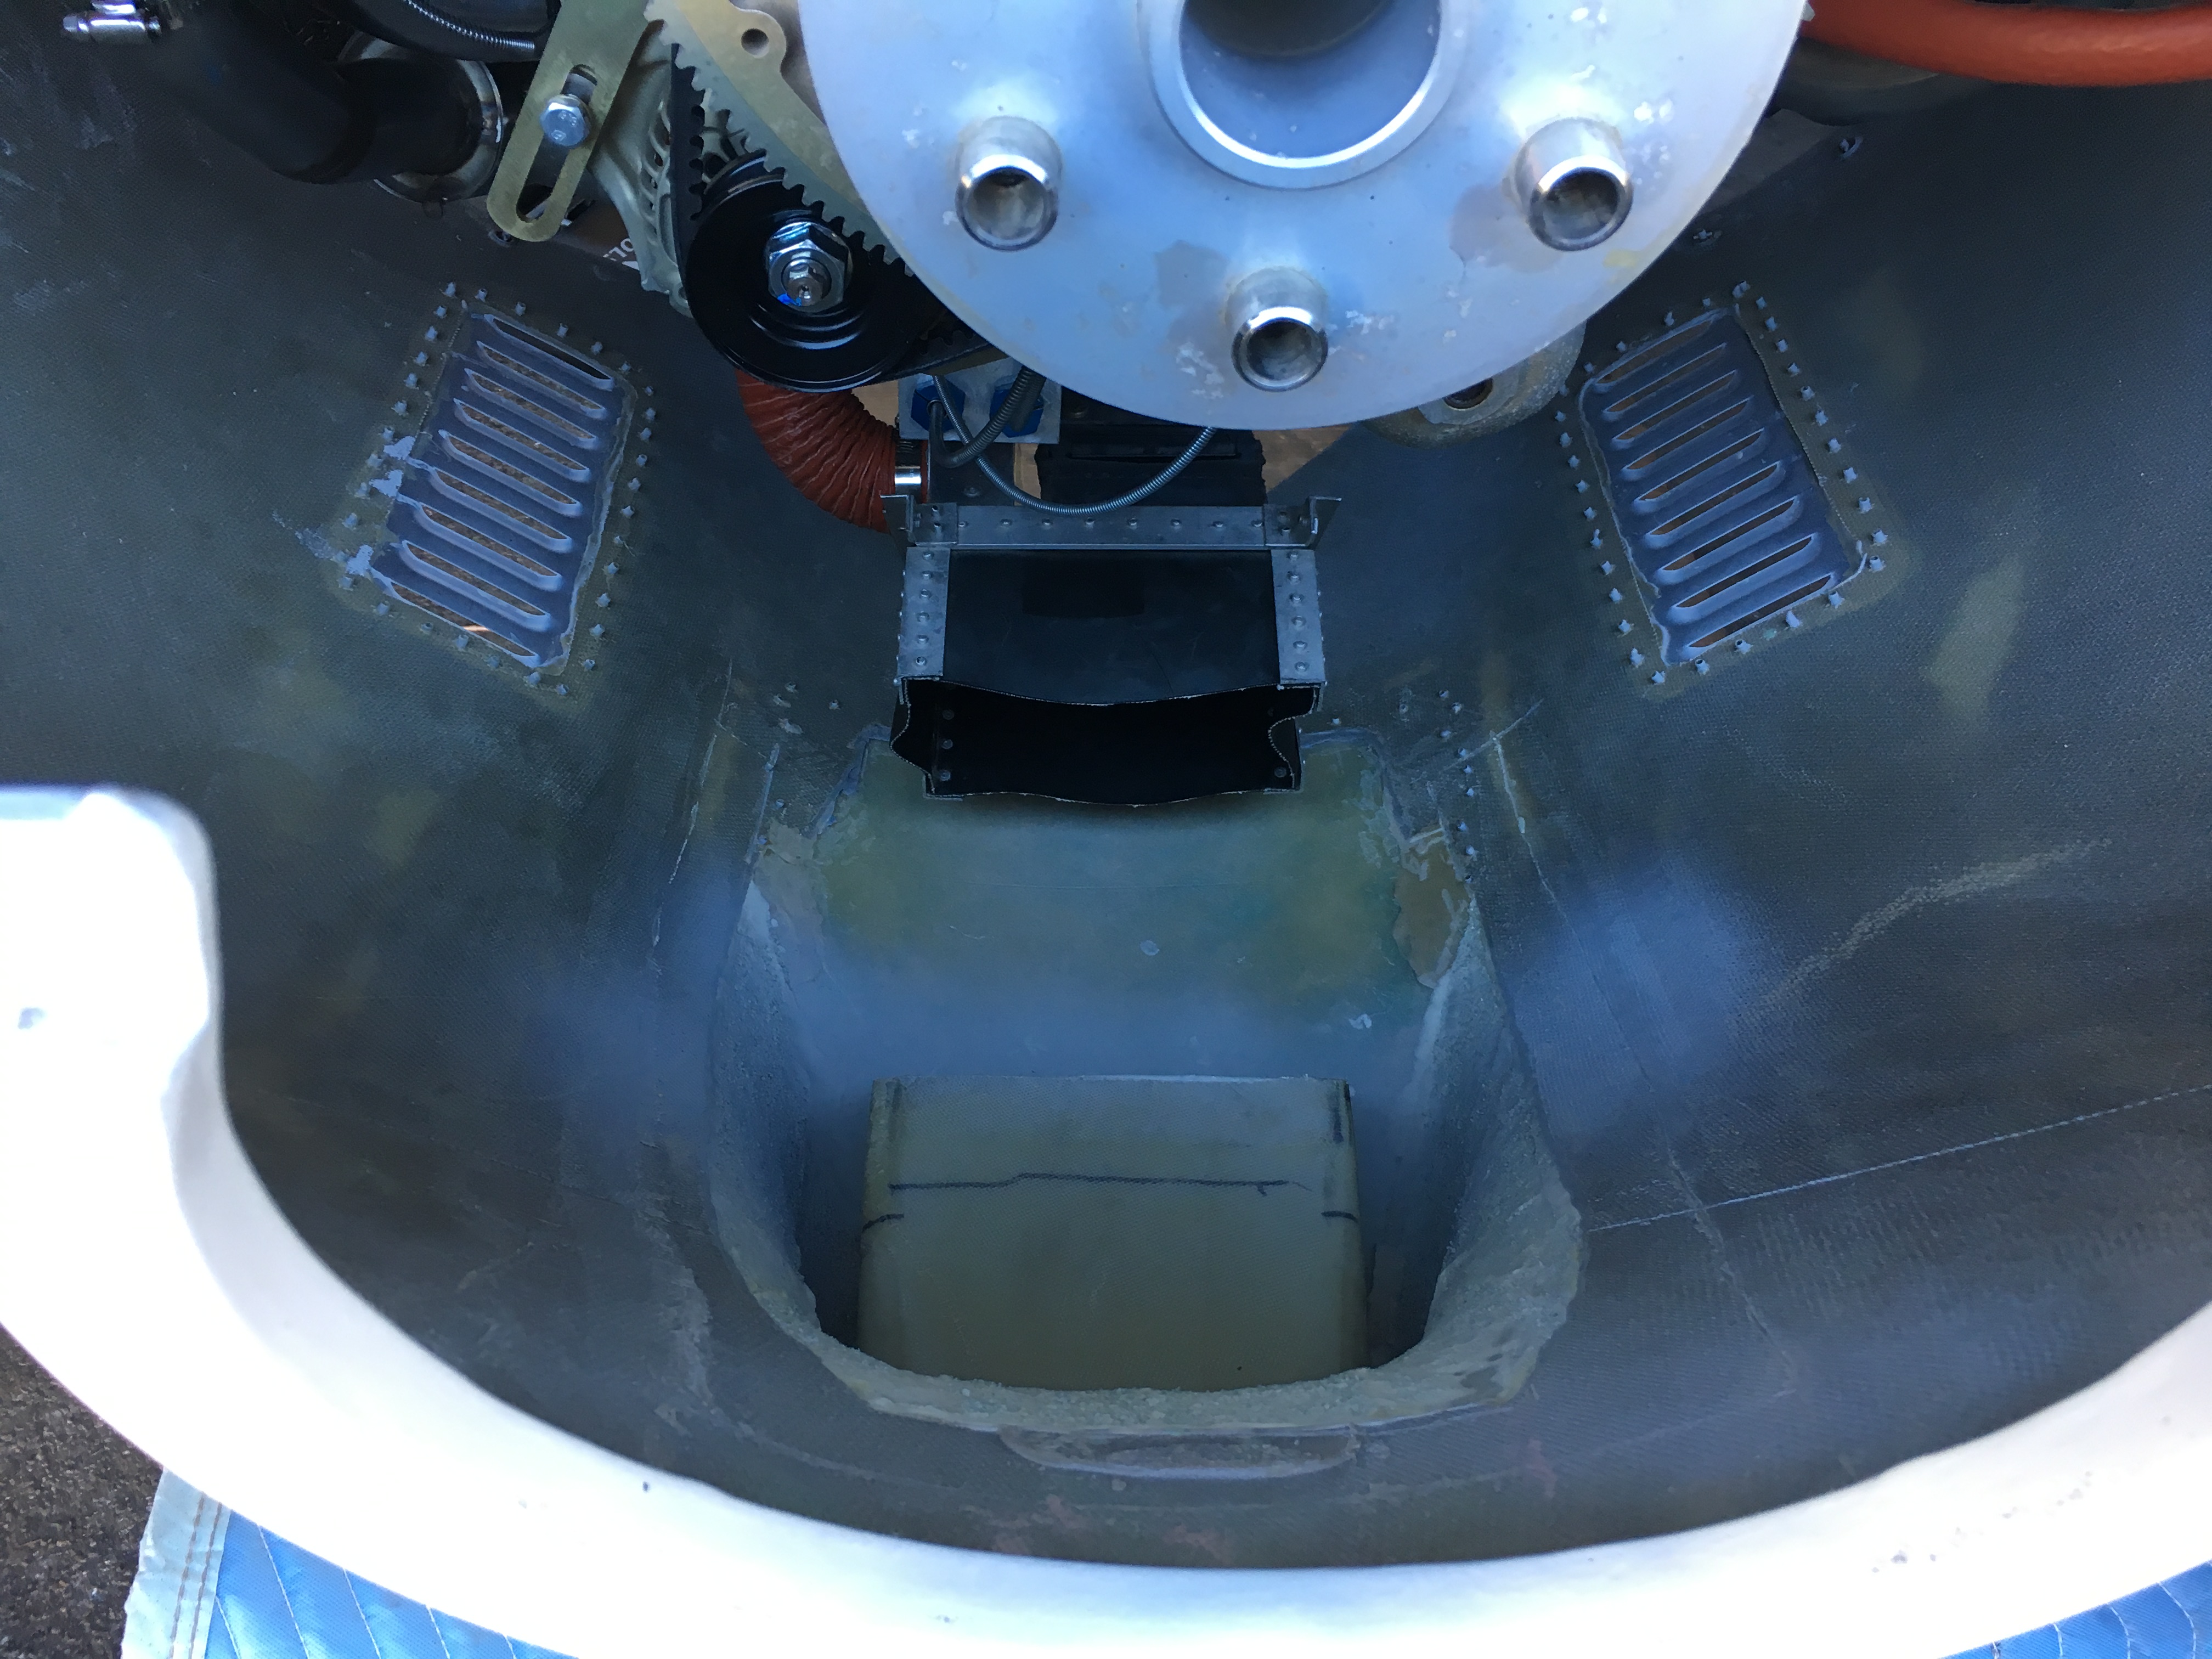 |
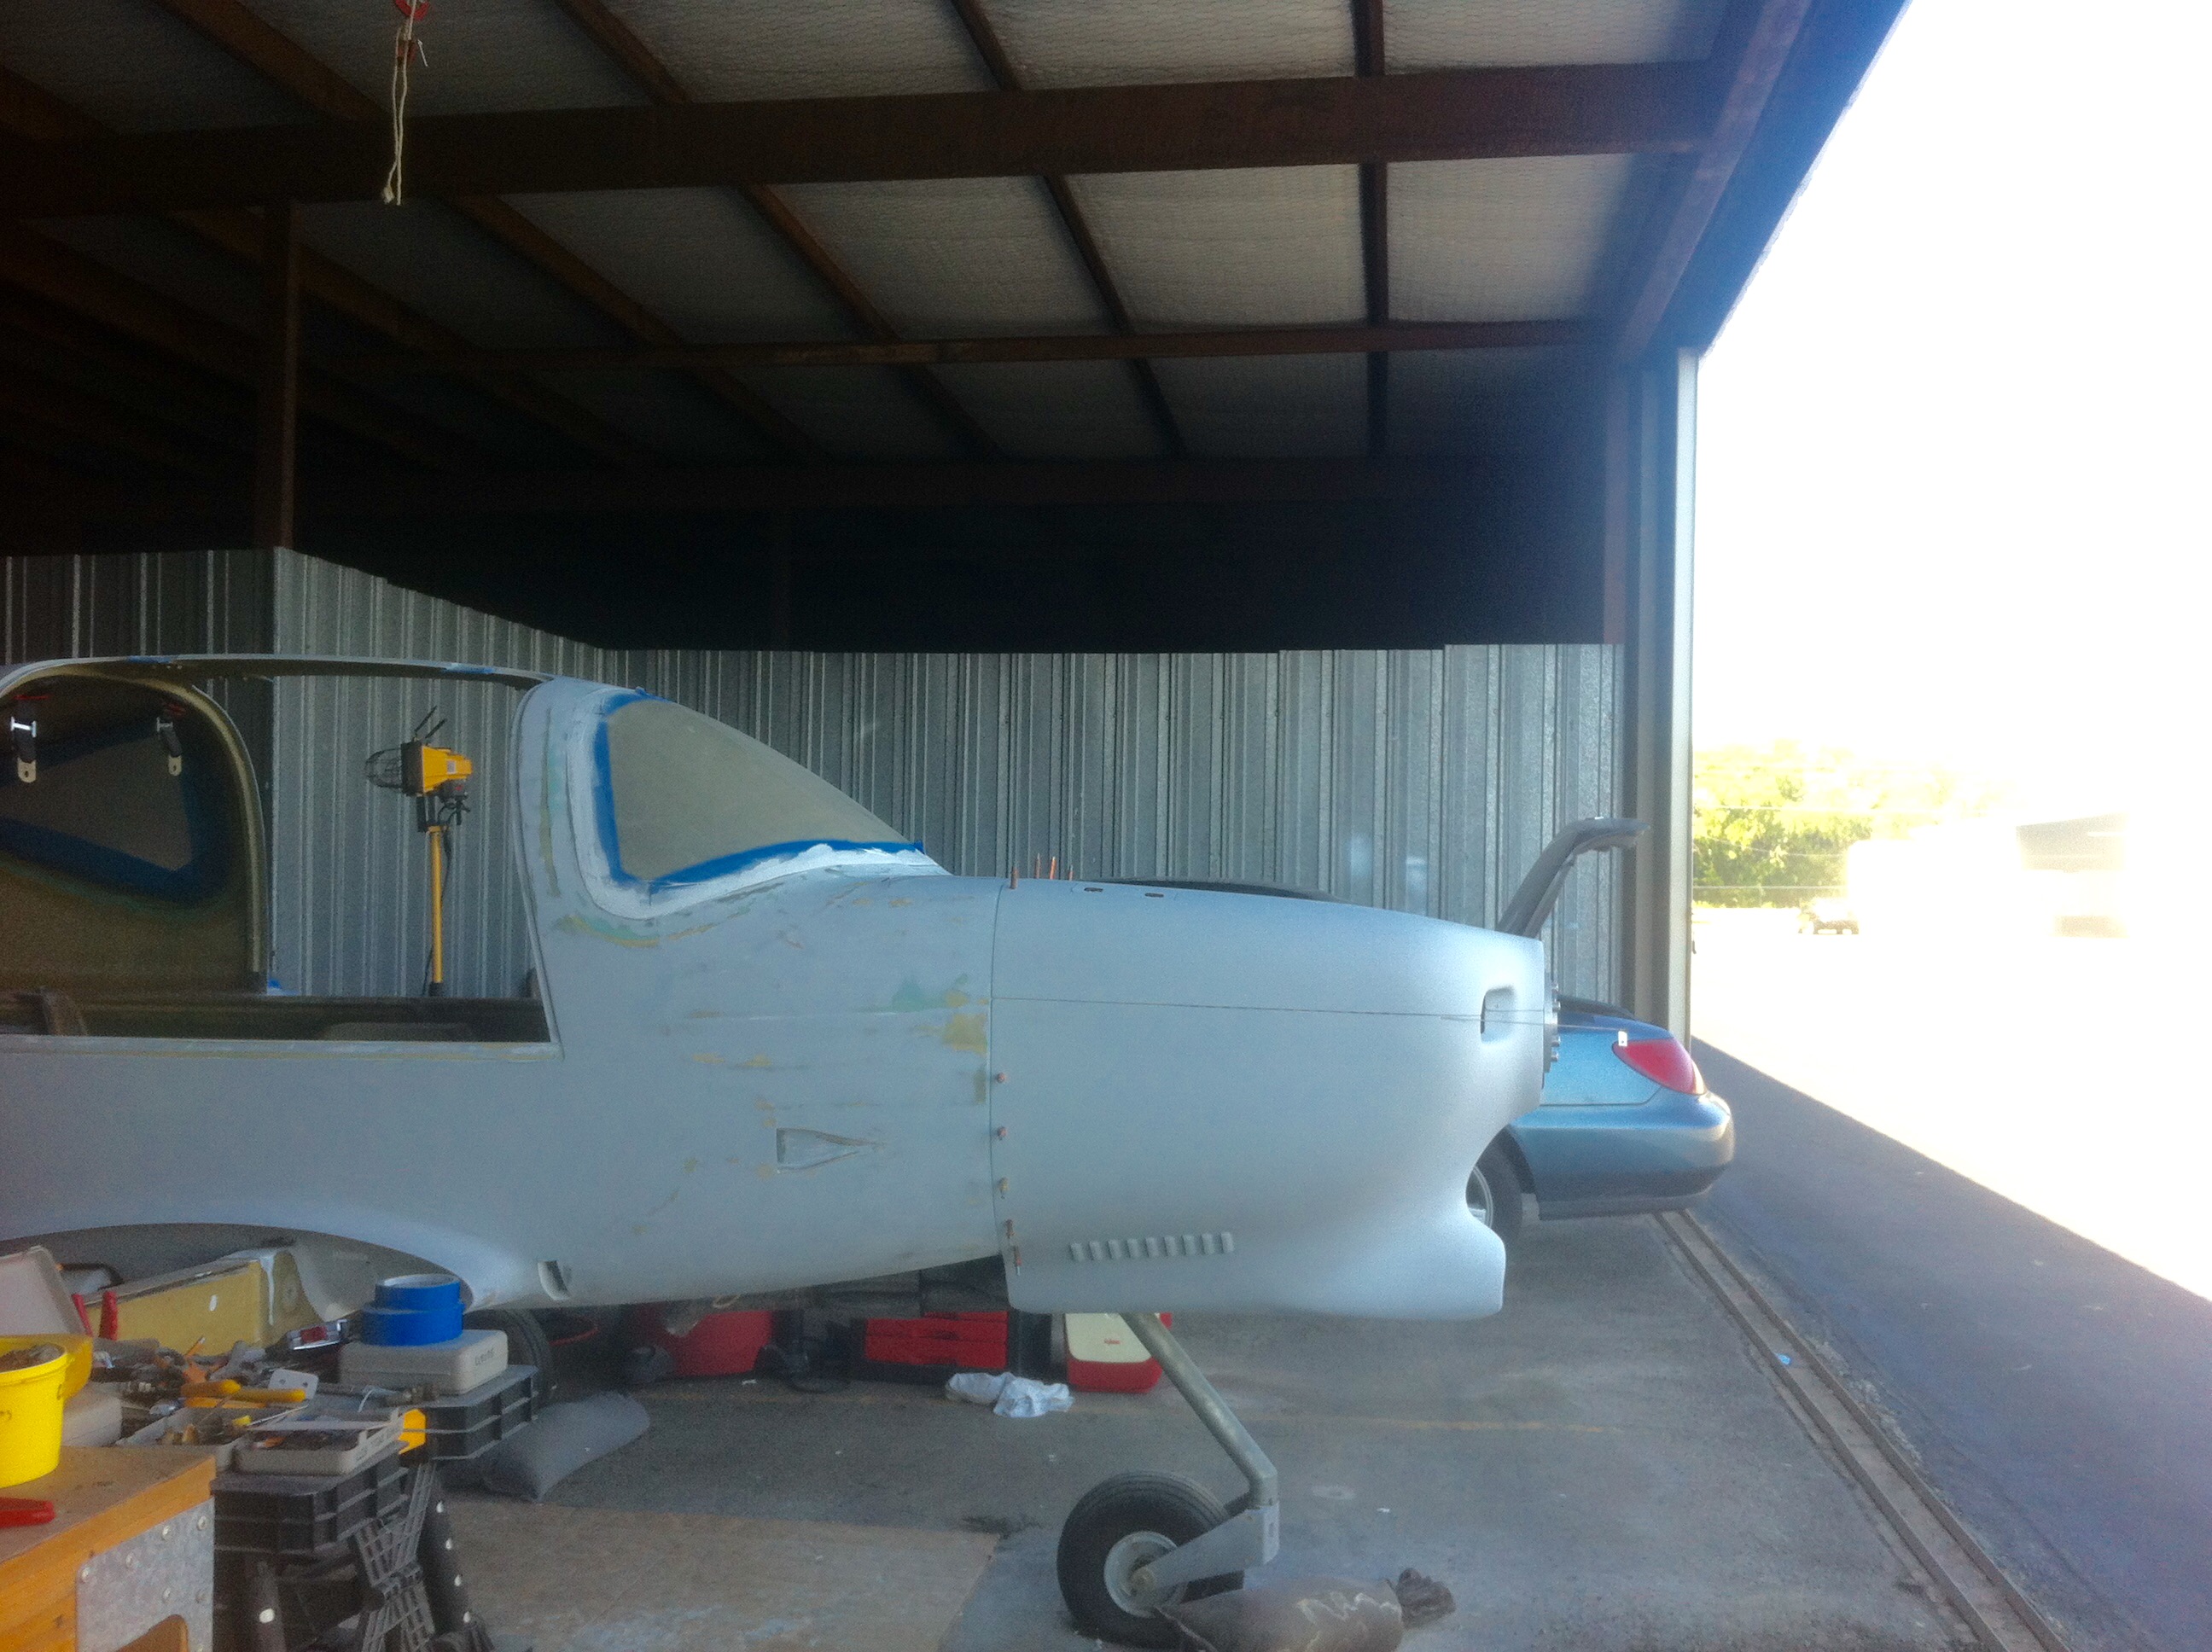
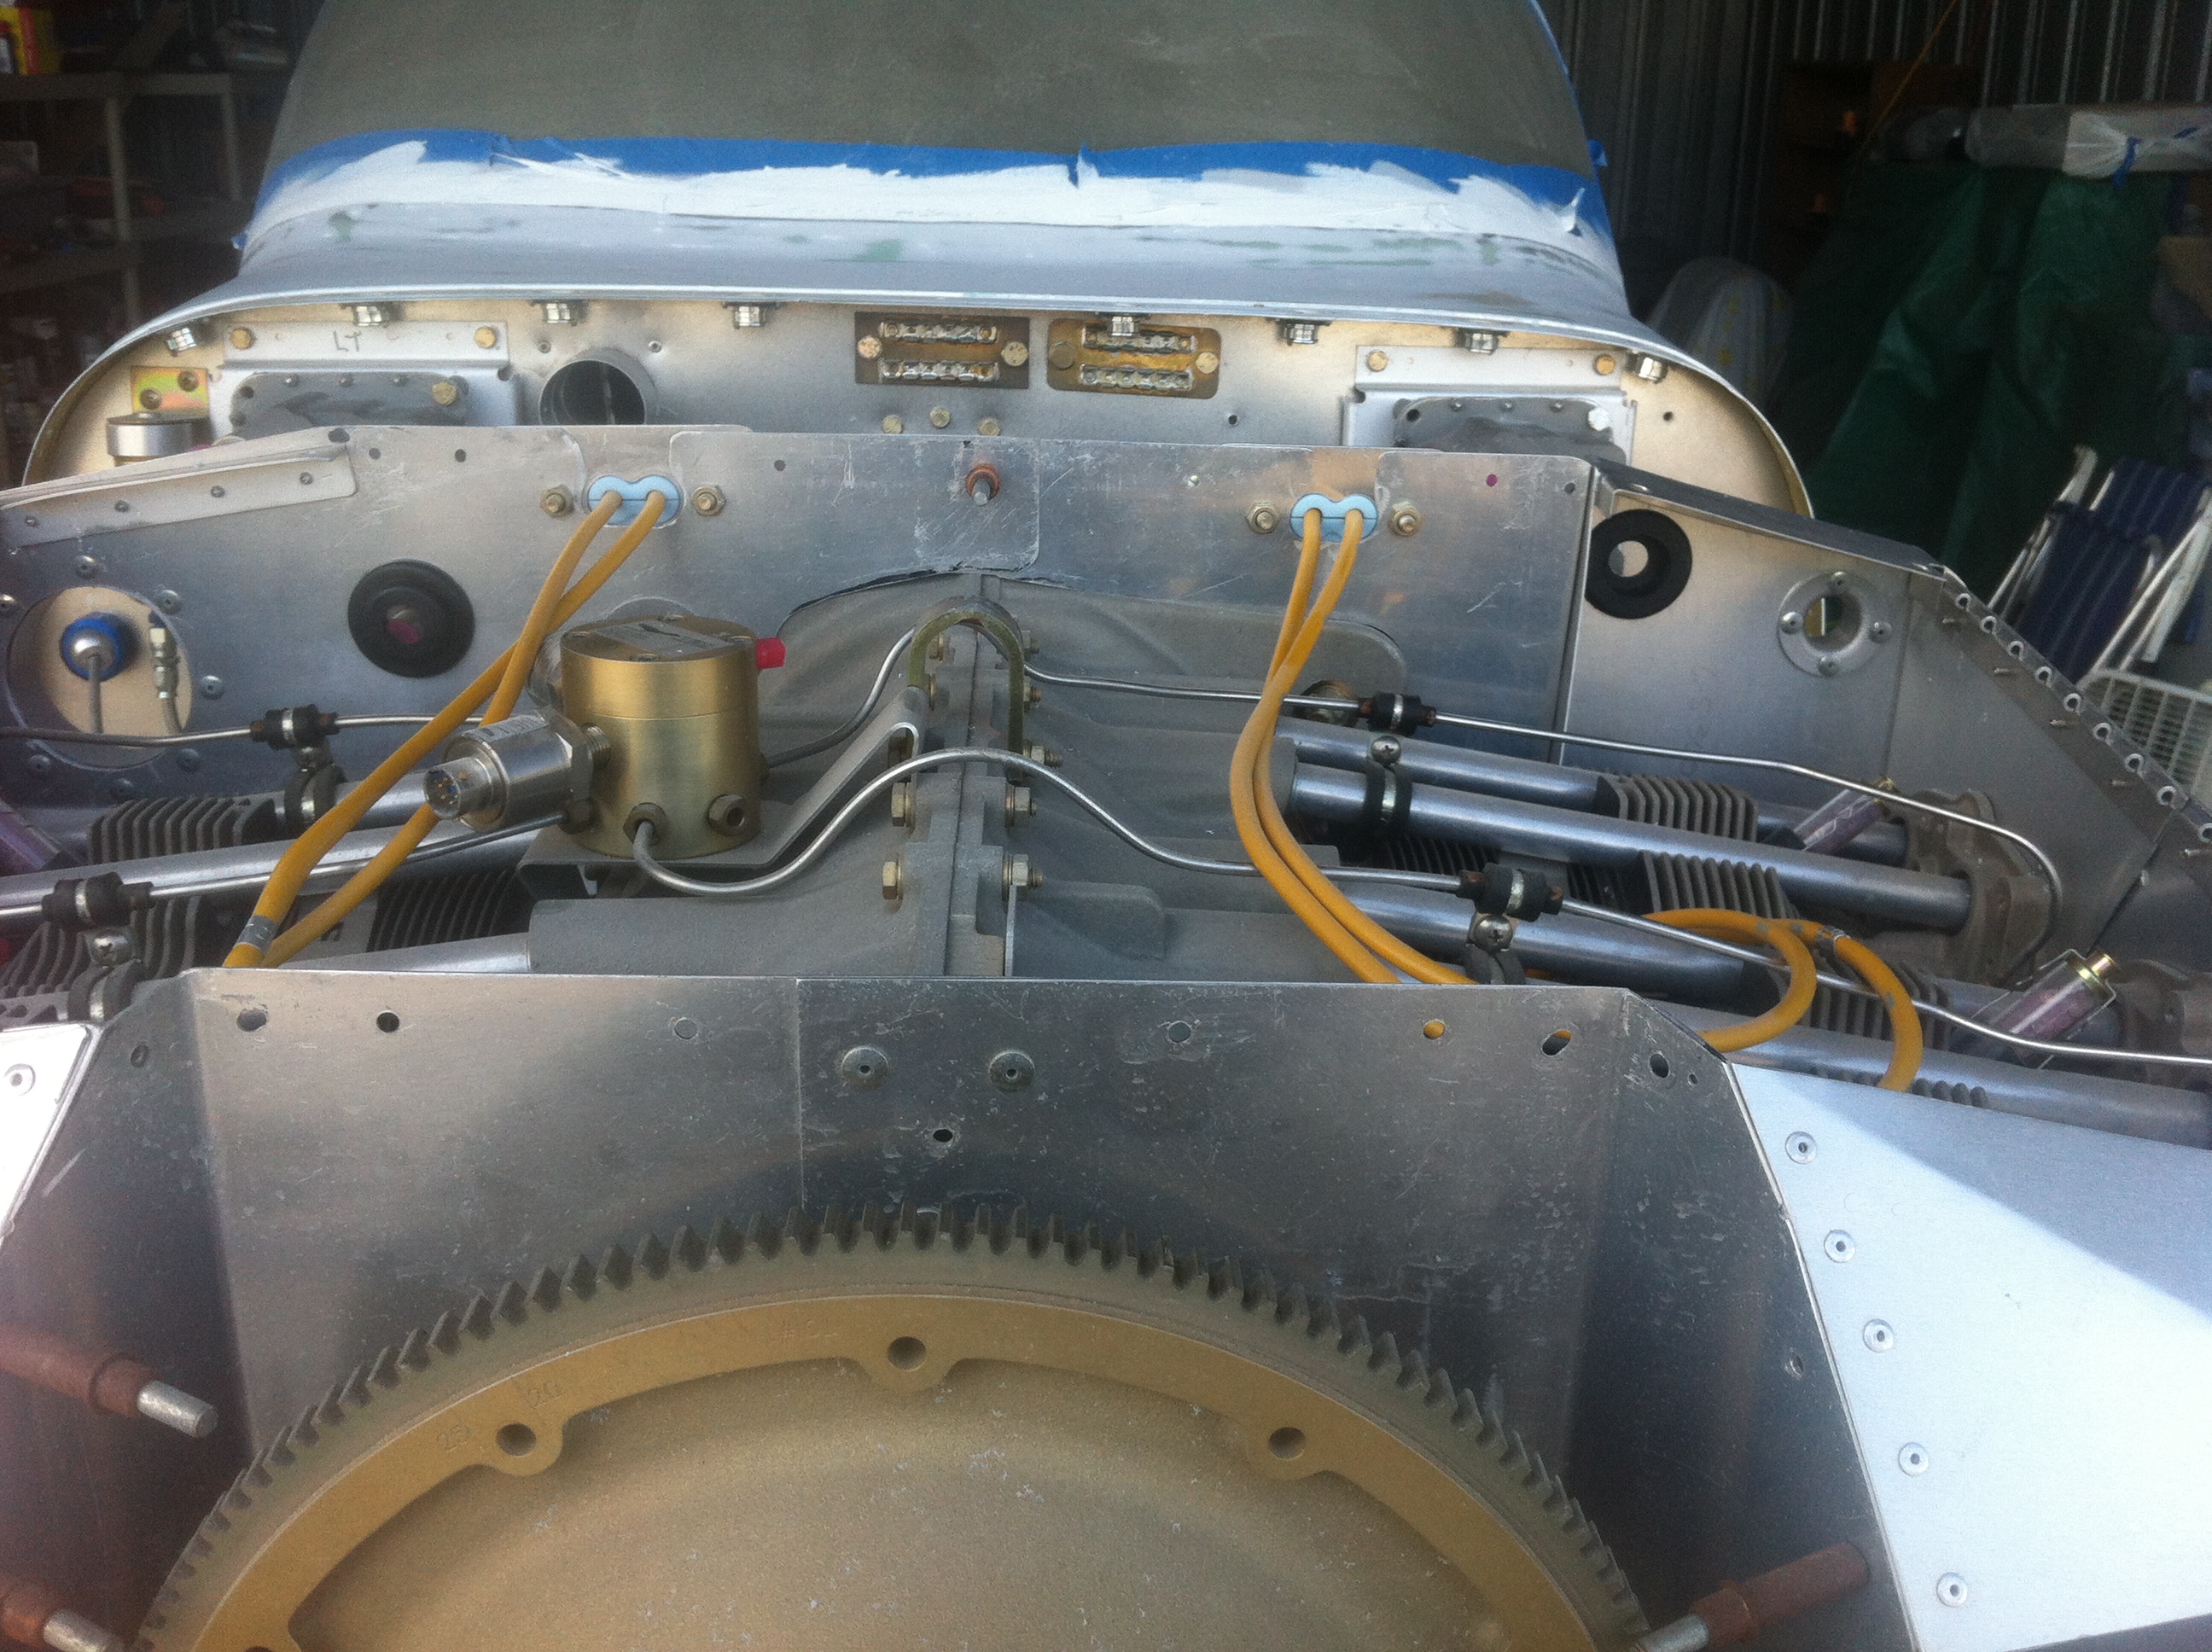
Mounting or removing the cowling will require the prop to
be removed since the three bladed prop doesn't leave enough room to clear the
front of the cowling. |
 |
 |
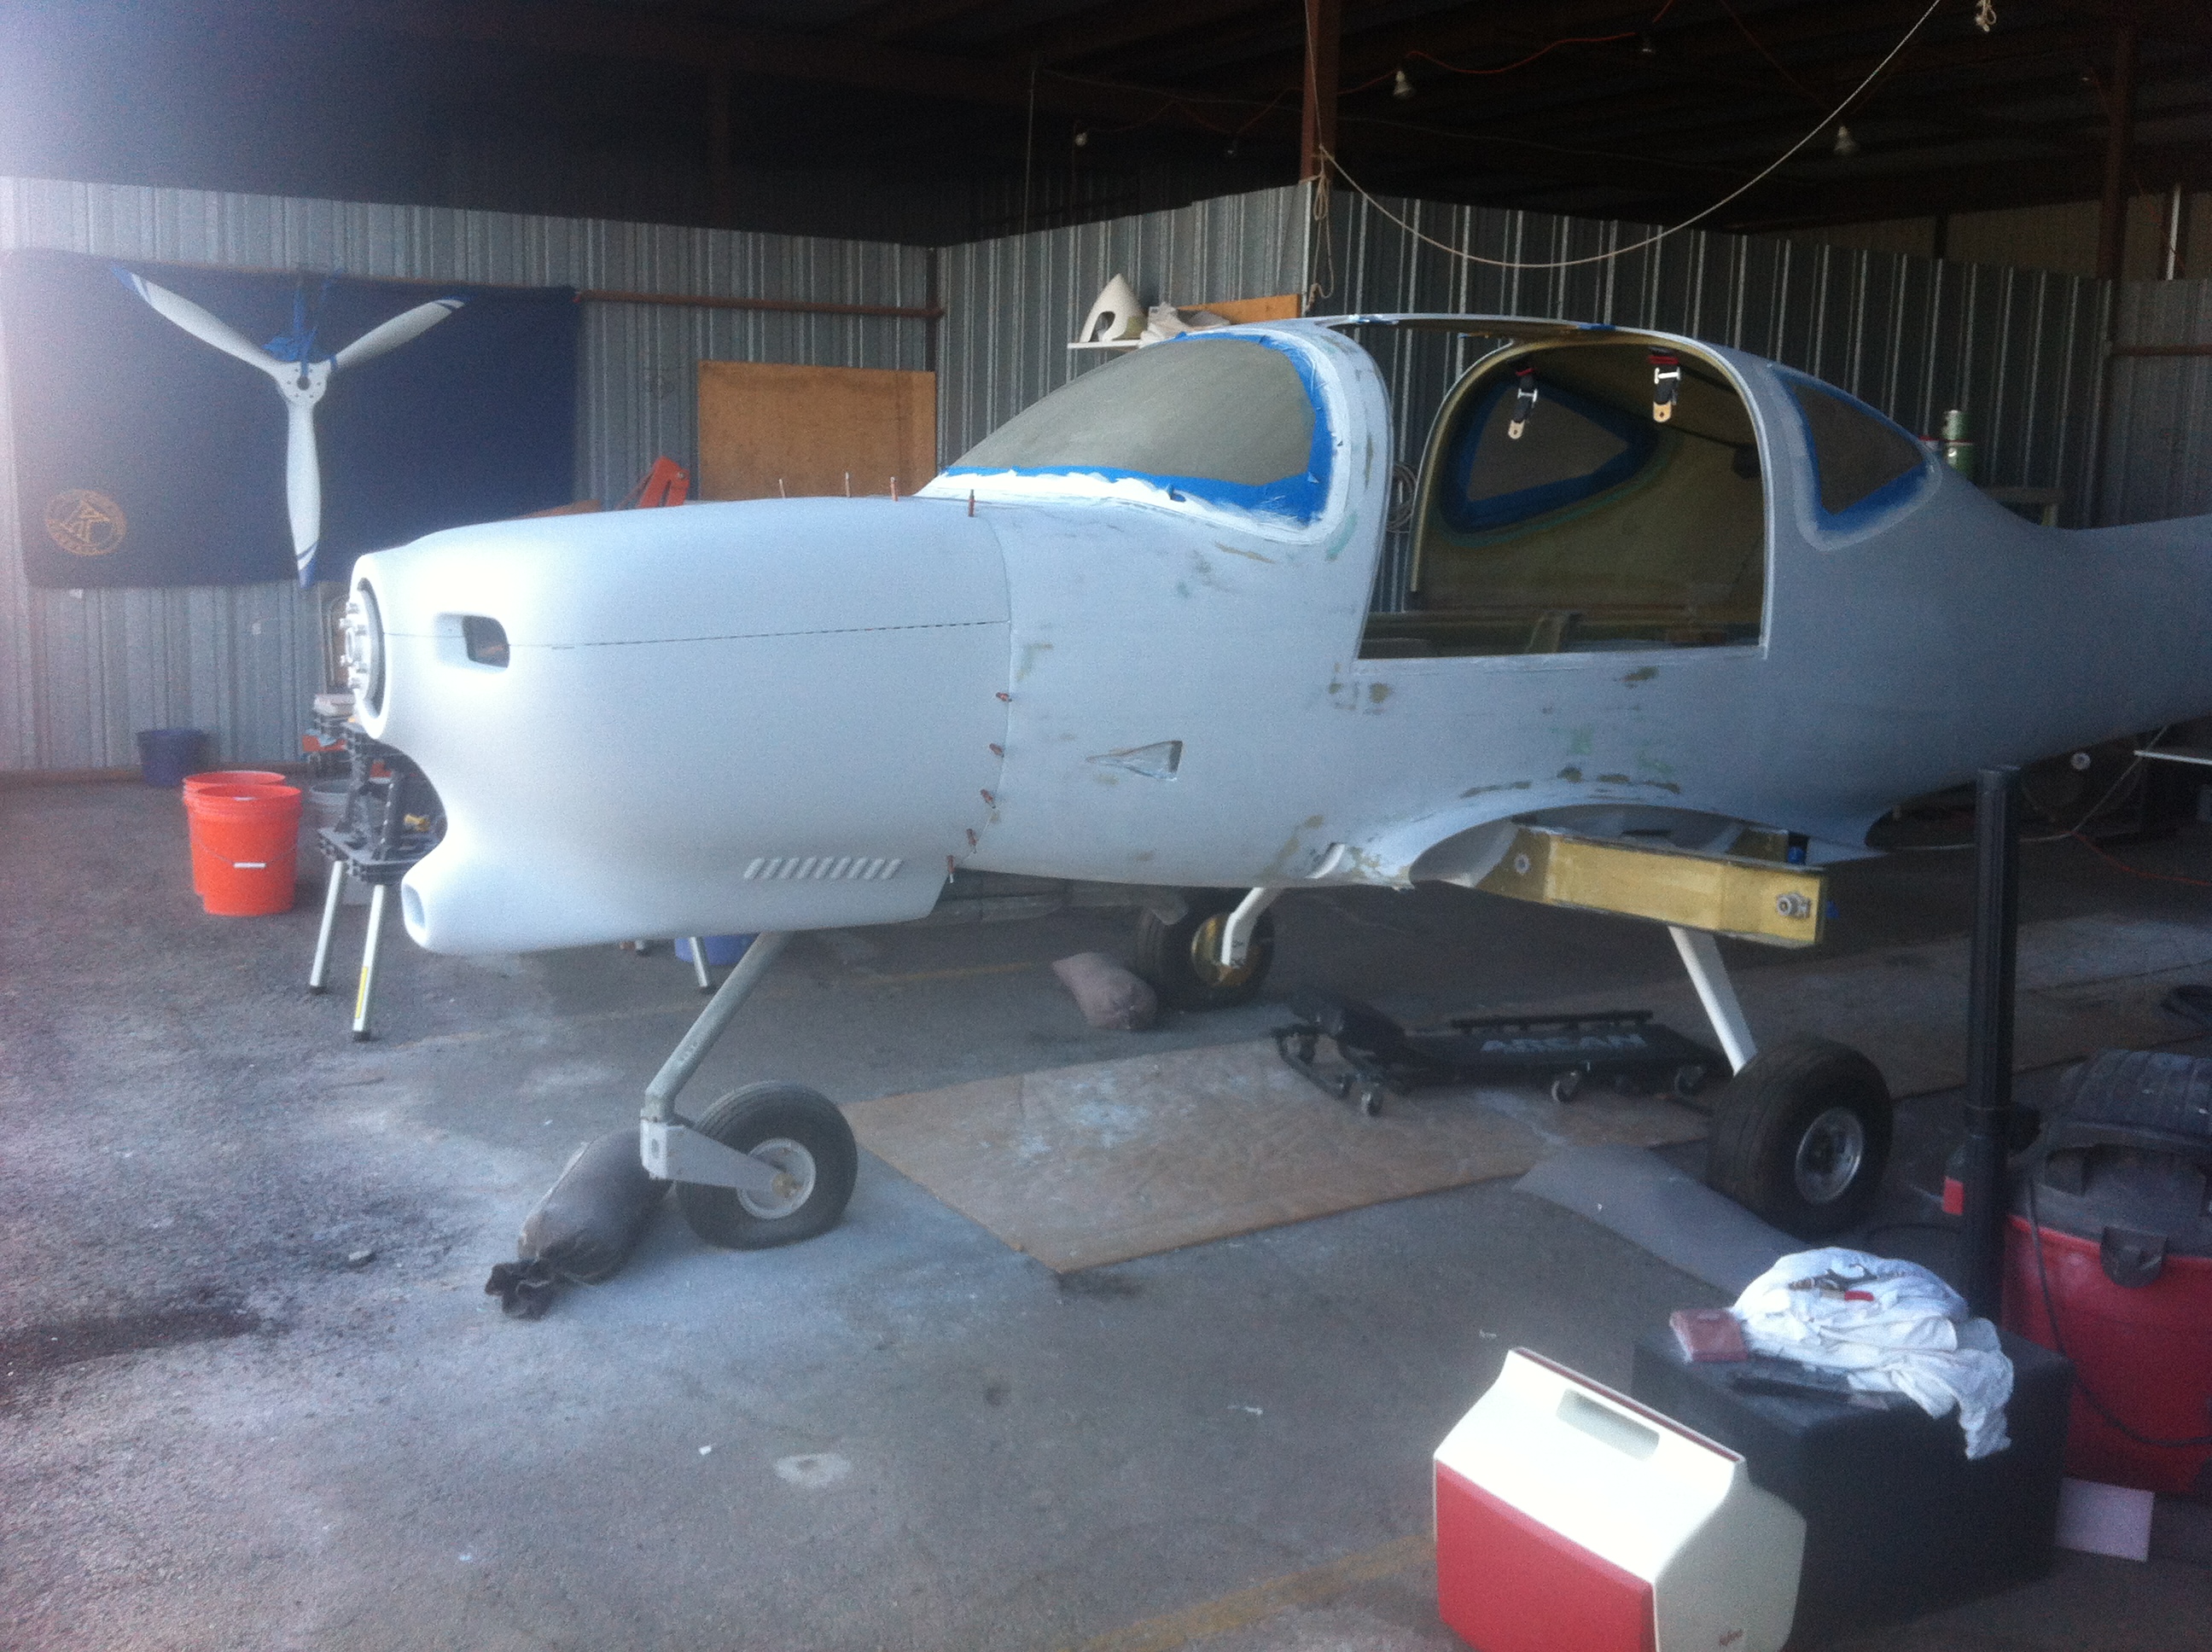
| I
have mounted and dismounted this cowling many times during the
construction process with no problems. I was always able to slide
the piano hinge pin into place without substantial problems. That
was BEFORE painting. I failed to account for the thickness of the
paint causing the gap between the top and bottom of the cowling to
expand to the point that I could not get the thing together. |
The quarter turn adjustable fasteners turned out to be
both easier and more difficult to adjust than anticipated. More difficult
because somehow some tiny washers or something got down inside the receptacles
and blocked the screw pin from setting correctly. Took me forever to
figure out what was wrong. Once that issue was solved, the actual
adjustments went very smoothly. |
Fixing the problem with inserting the hinge pin required sanding the overlap between the fuselage and cowling to remove some of the paint build up. The inside of the cowling on the top at the corners up to the first fasteners had to be ground down to remove some of the thickness. The lower cowling required some inside grinding to remove the thickness as well. Finally, the installation process required the lower cowling to be left loose except for the third fastener from the top on each side until the pin is installed. Once the pin is installed the remaining fasteners can be tied down. Finally, the hinge pin was cut to length and the insert point filed to a sharp point to ease the insertion. The tab is partially embedded into the cowling and turned down for locking into place. Haven't decided how I am going to cover the tab yet and it really isn't at the top of my issues list. |
|