
N247BR
Engine Cowling - Initial Fit
| The
initial mounting of the engine and cowling with the prop extension
still resulted in the cowling being a full inch longer than the engine
and prop extension. I had followed all directions for the cowling
trim and the engine mount. The only thing I could think was that
the engine mount didn't appear to be as deep as it should be.
Some measurements of the space behind the engine and between the
firewall was much too confined. My solution? I decided to
add a one inch spacer to each of the engine mount points using a round
aluminum spacer that was the same diameter as the mounting pads.
I also had to add a large 1/4 inch thick washer under the two bottom
mounts to lift the front of the engine to the proper angle. I thought that I had come up with a unique solution until I examined some of the photos from other builders of the same plane and saw the same spacers. Multiple builders had all come up with the same solution. |
|
 |
 |
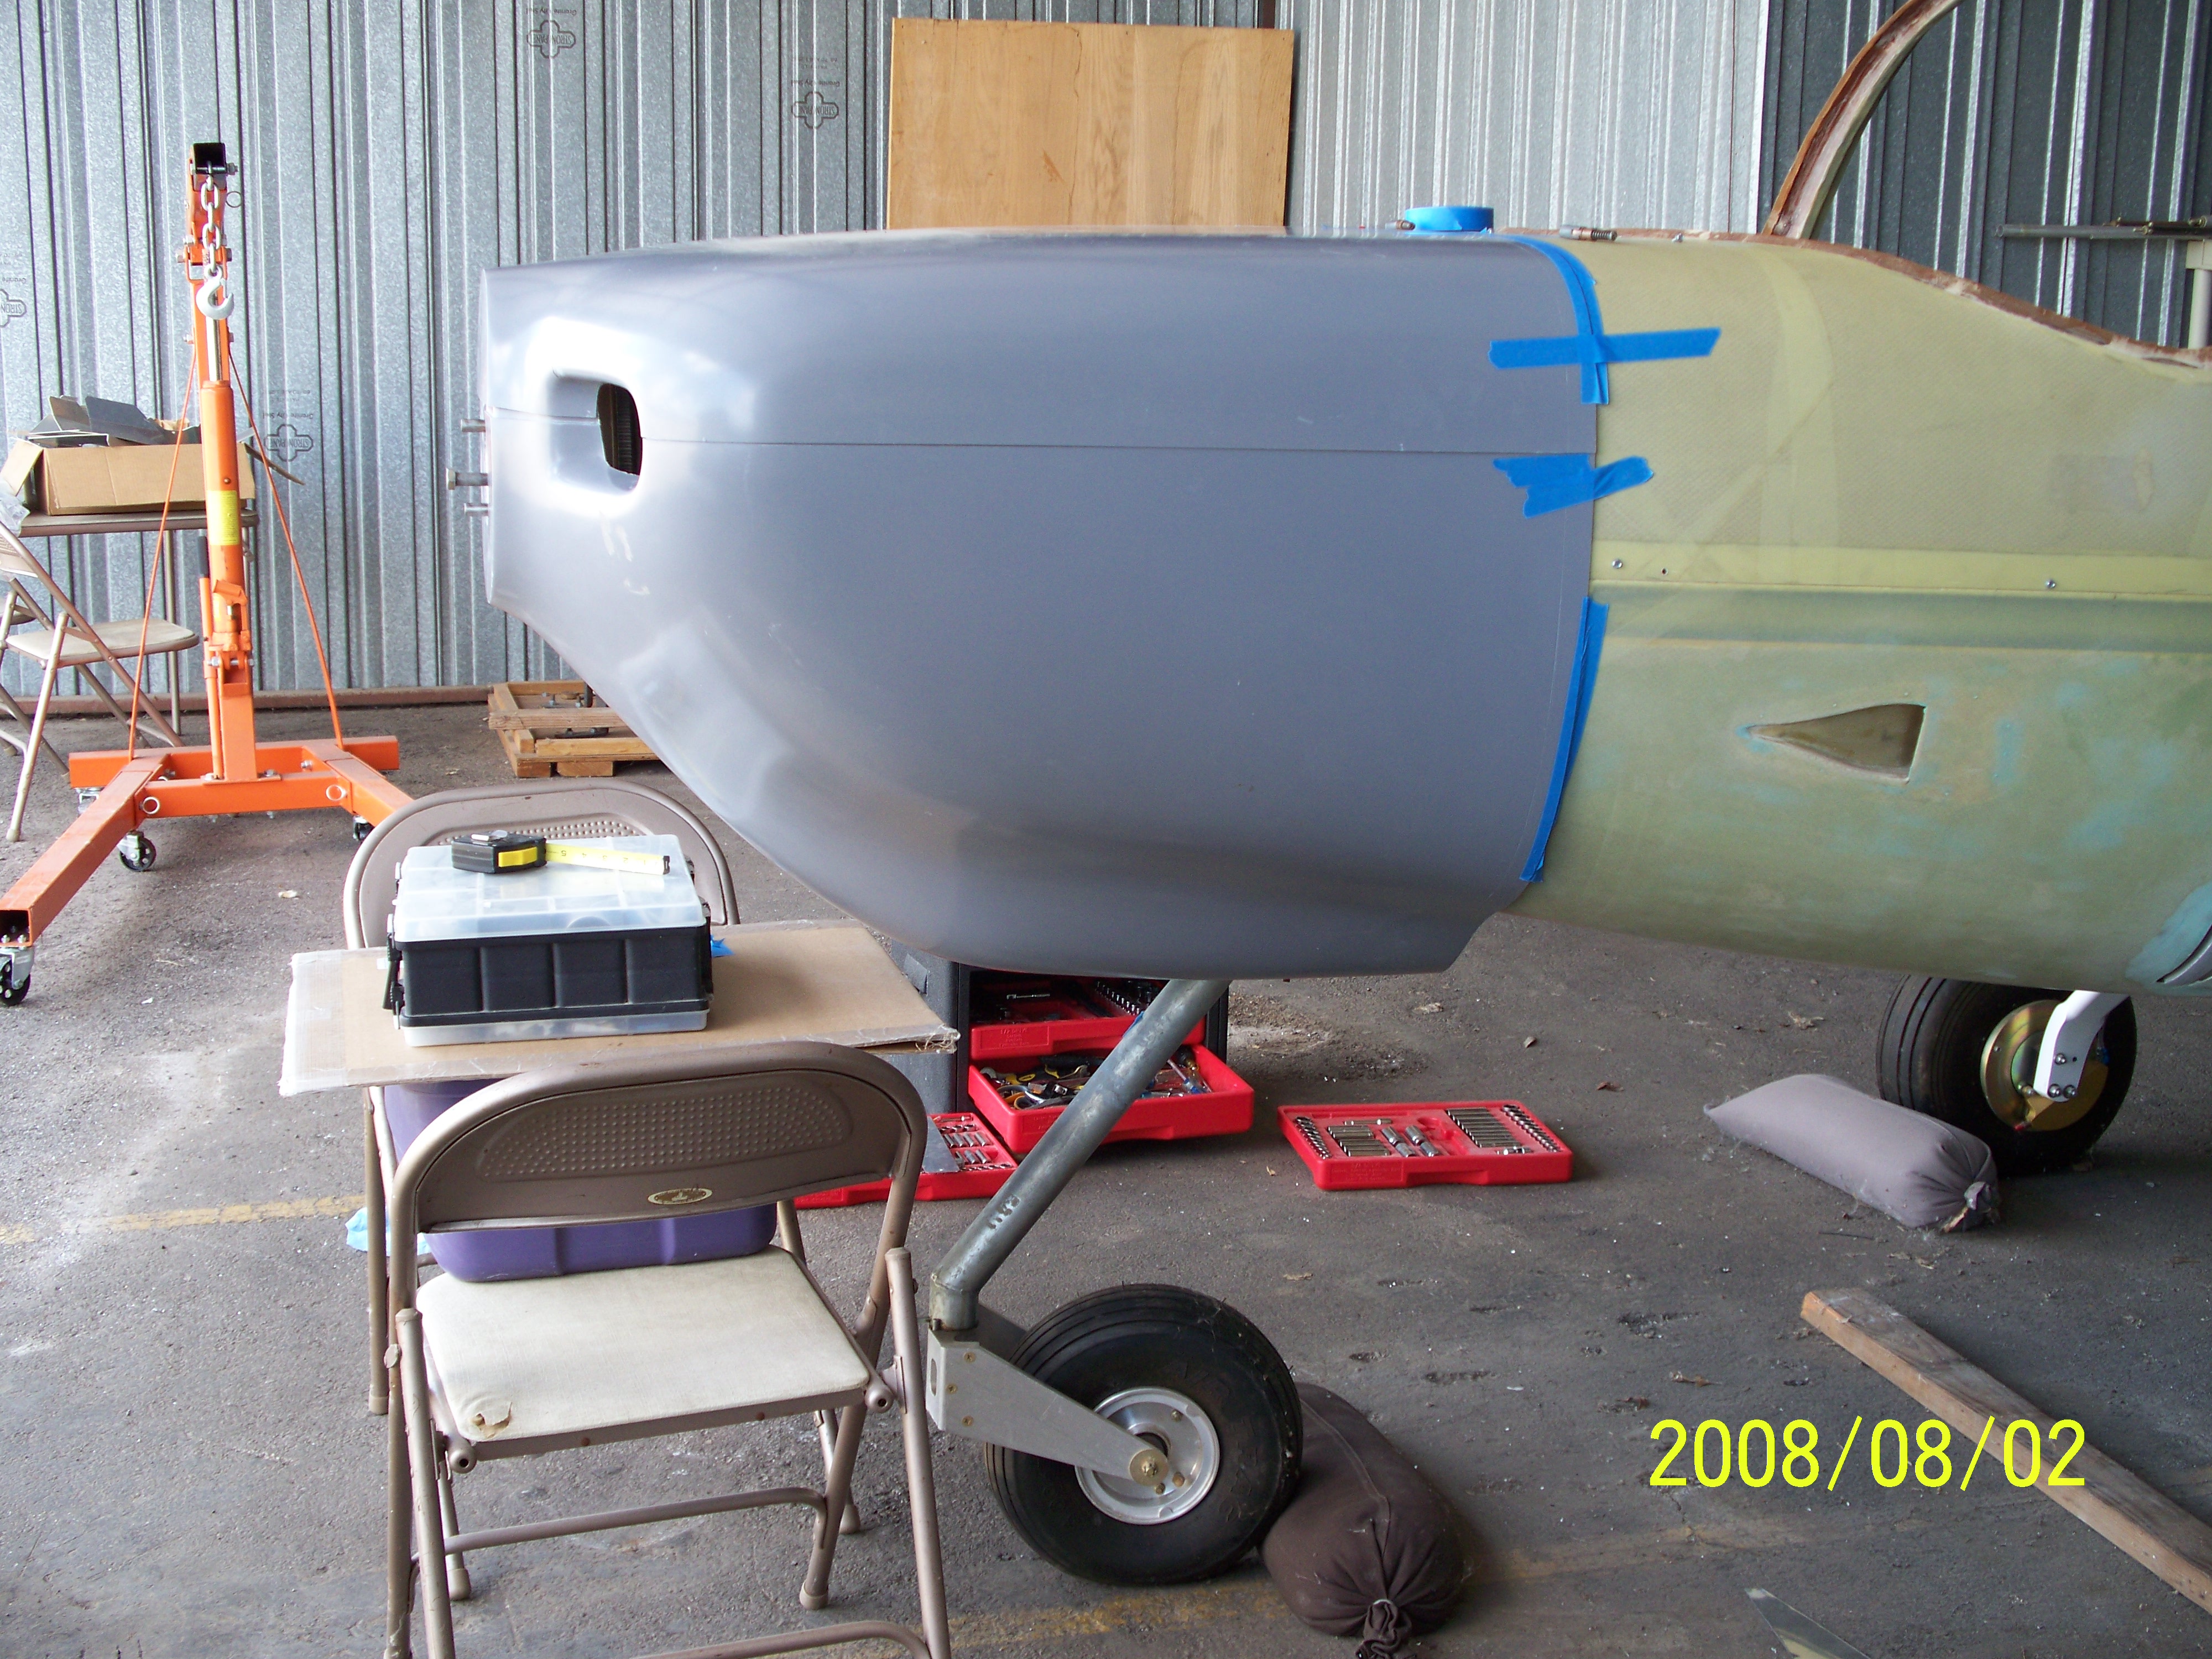
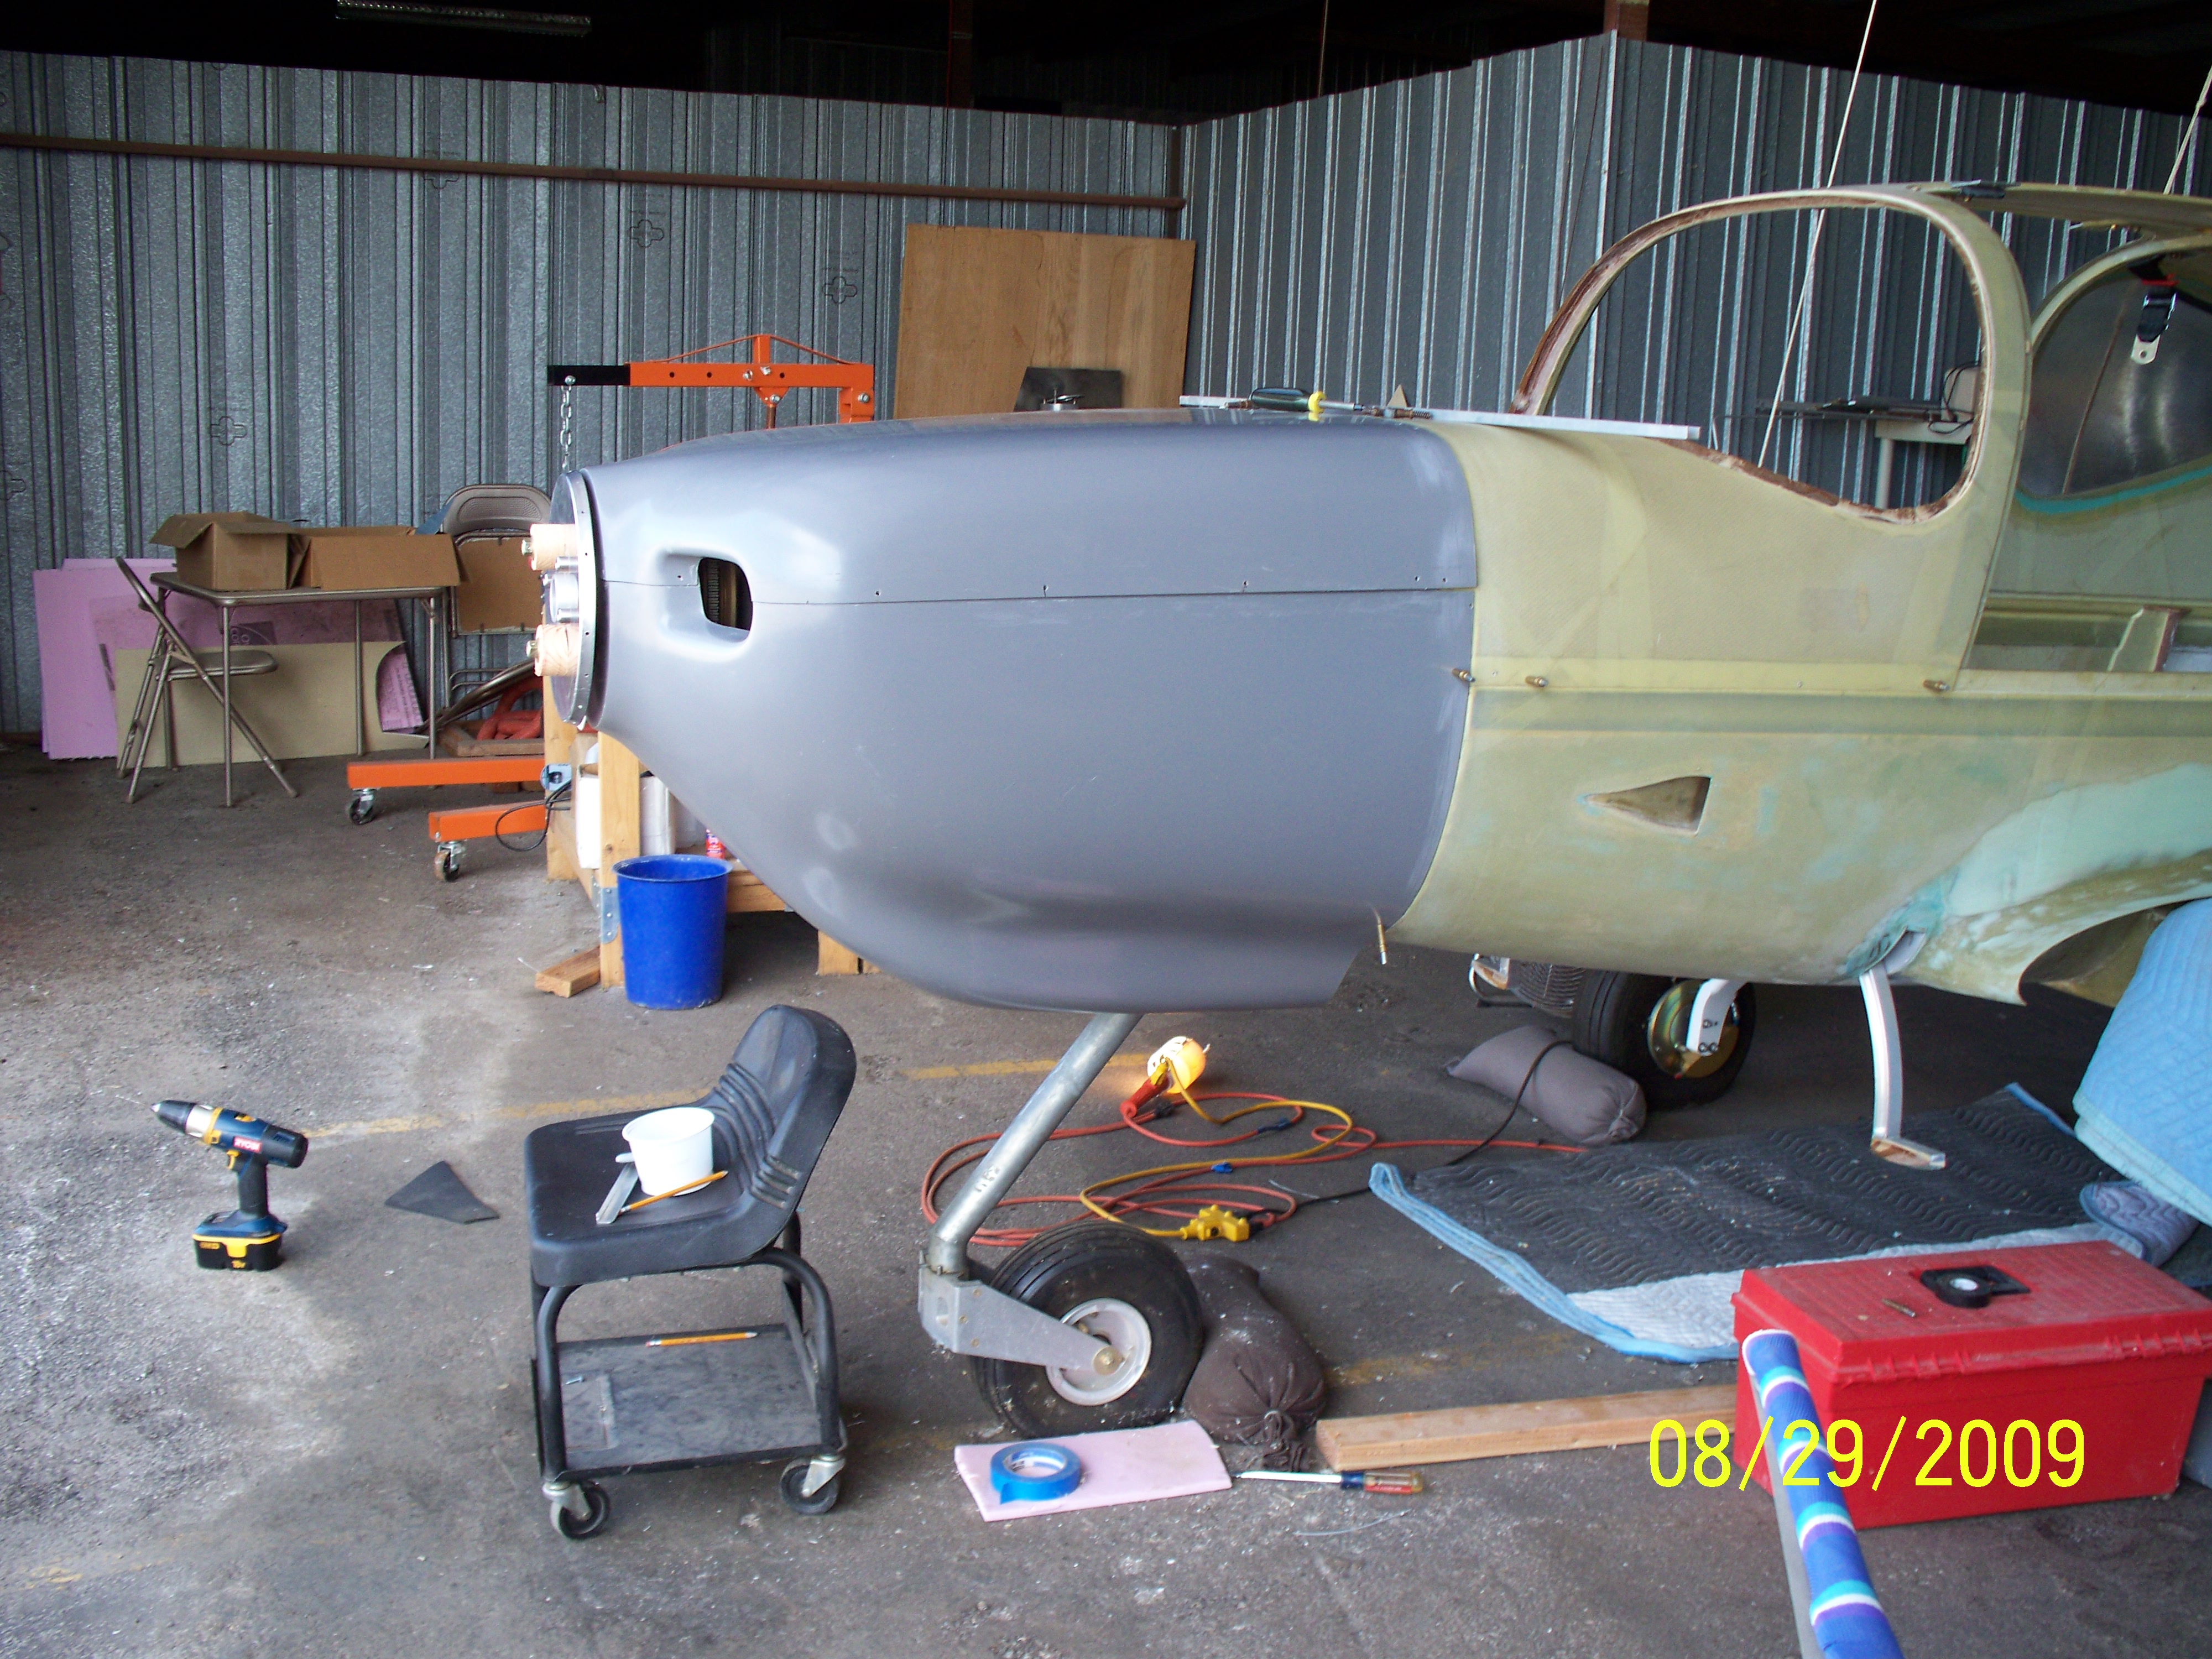
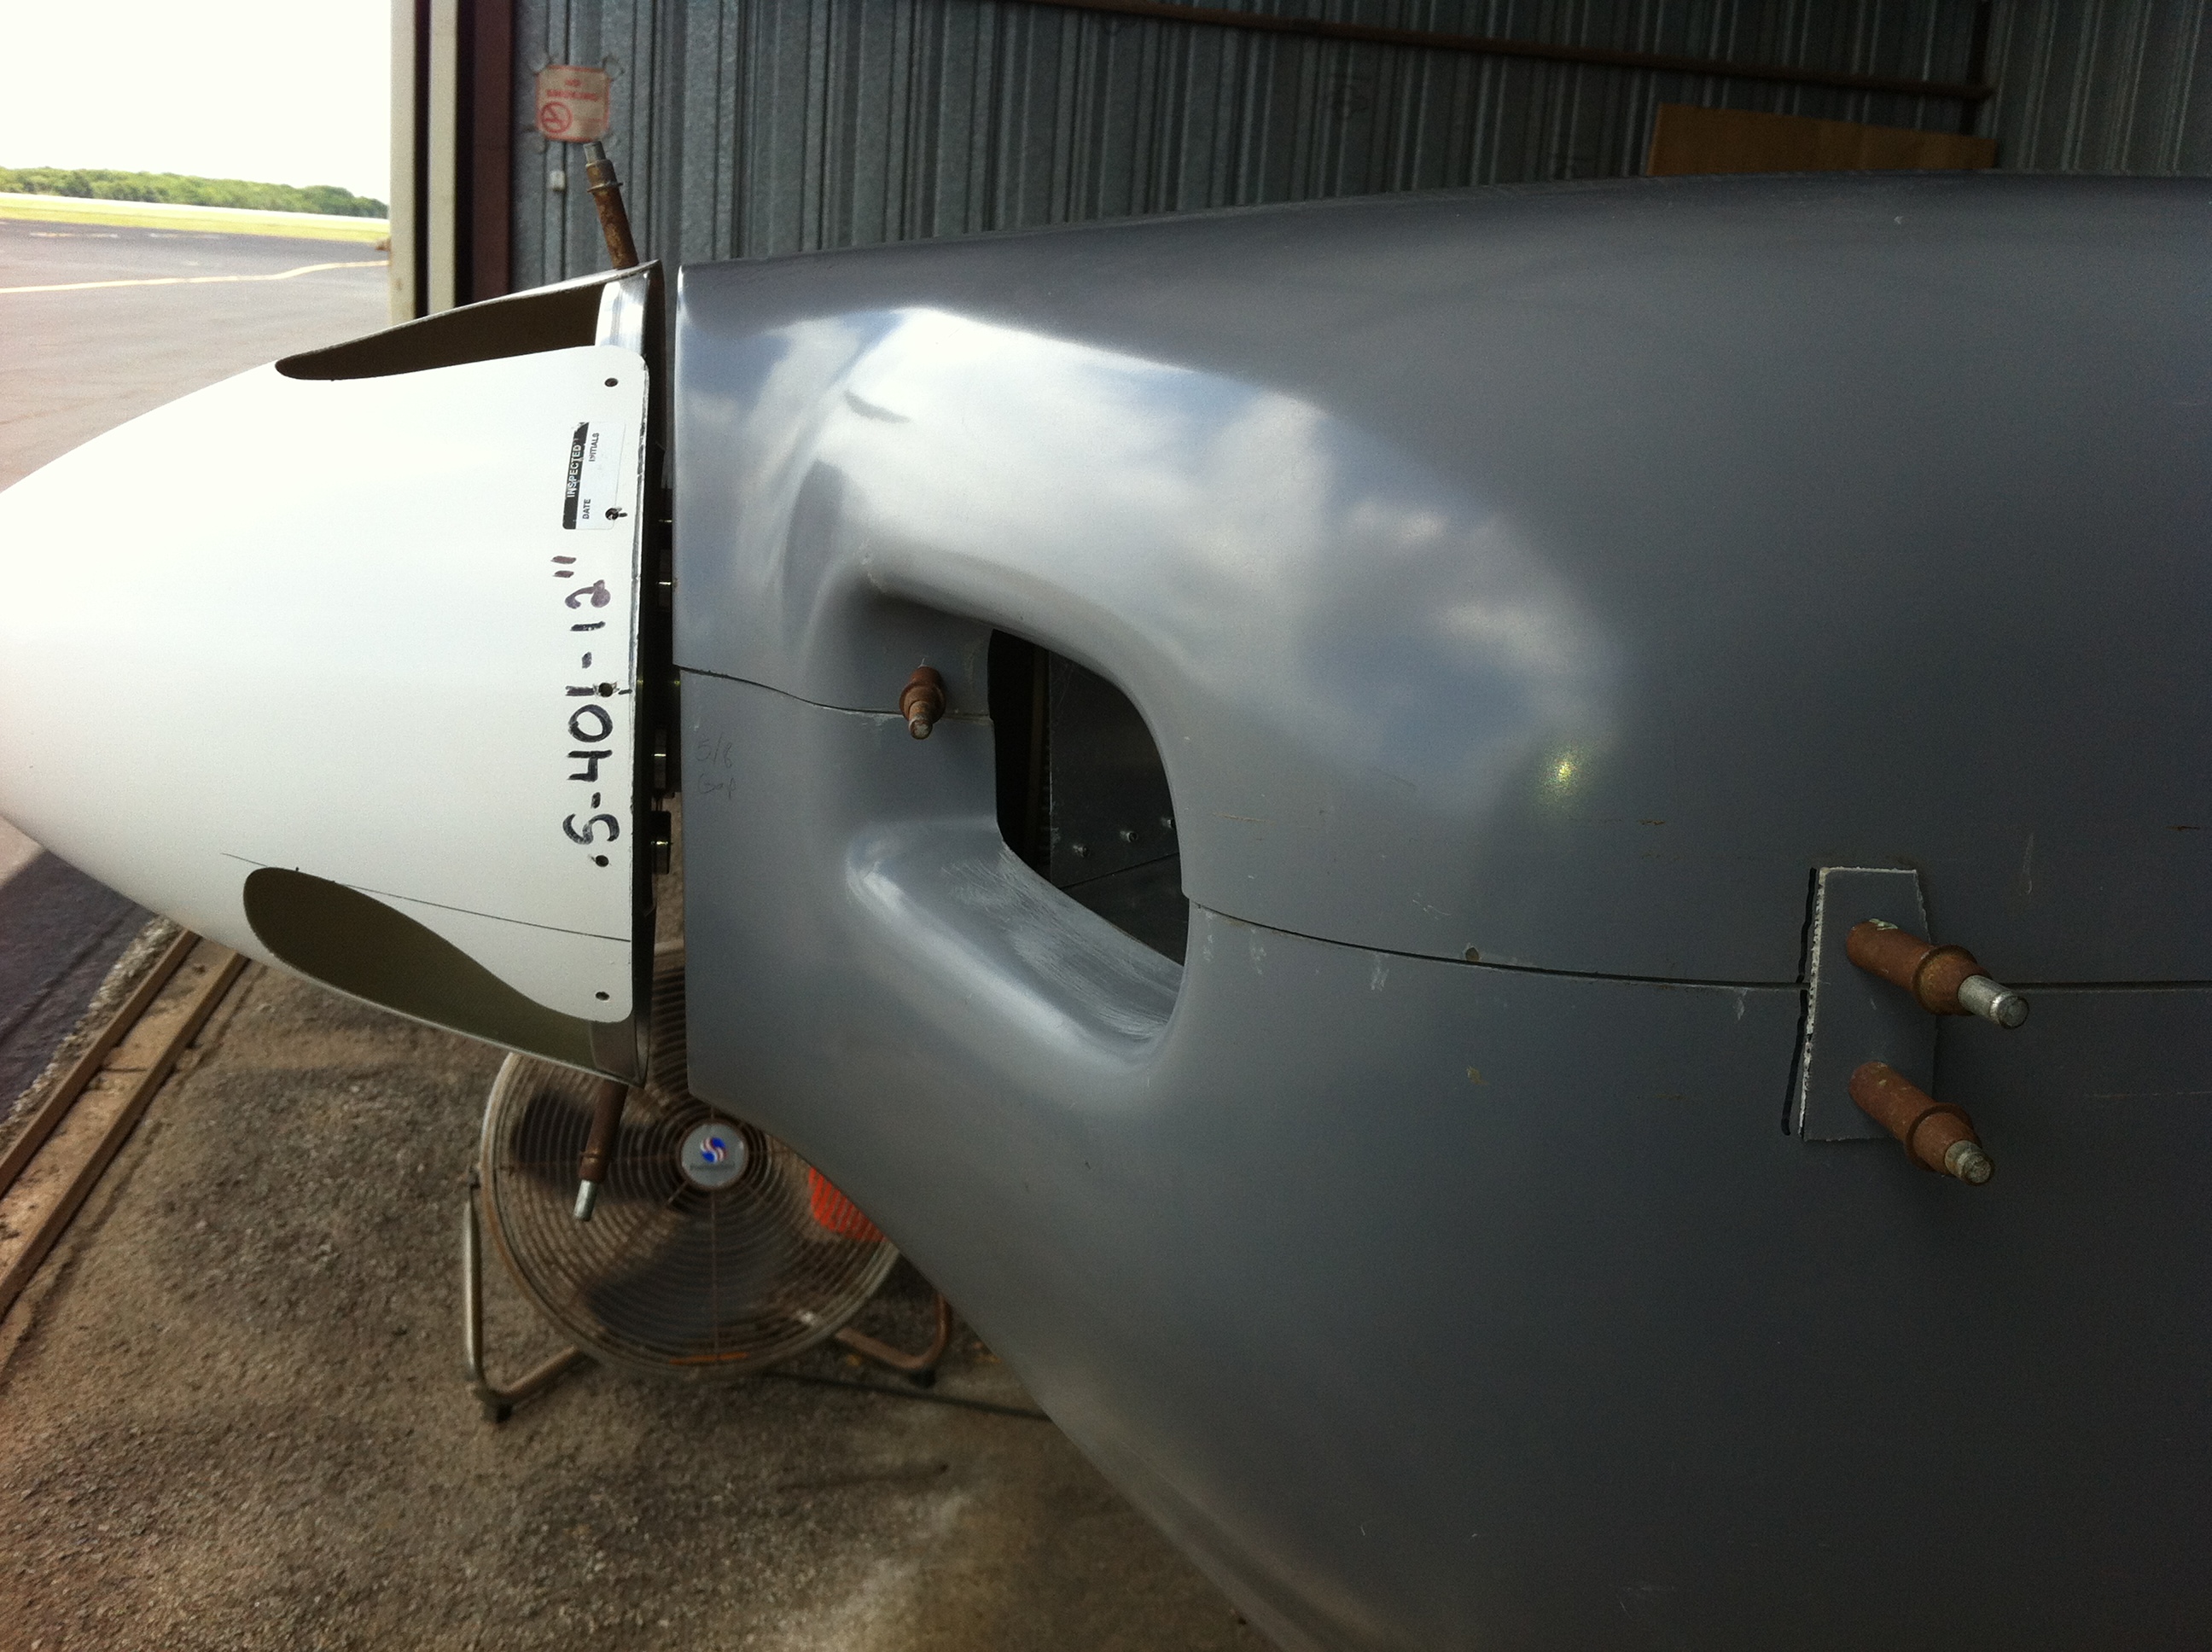
| The
first time mounting the cowling with the engine on was somewhat of a
surprise. Nothing matched up the way it was supposed to.
The engine was a good inch too short. |
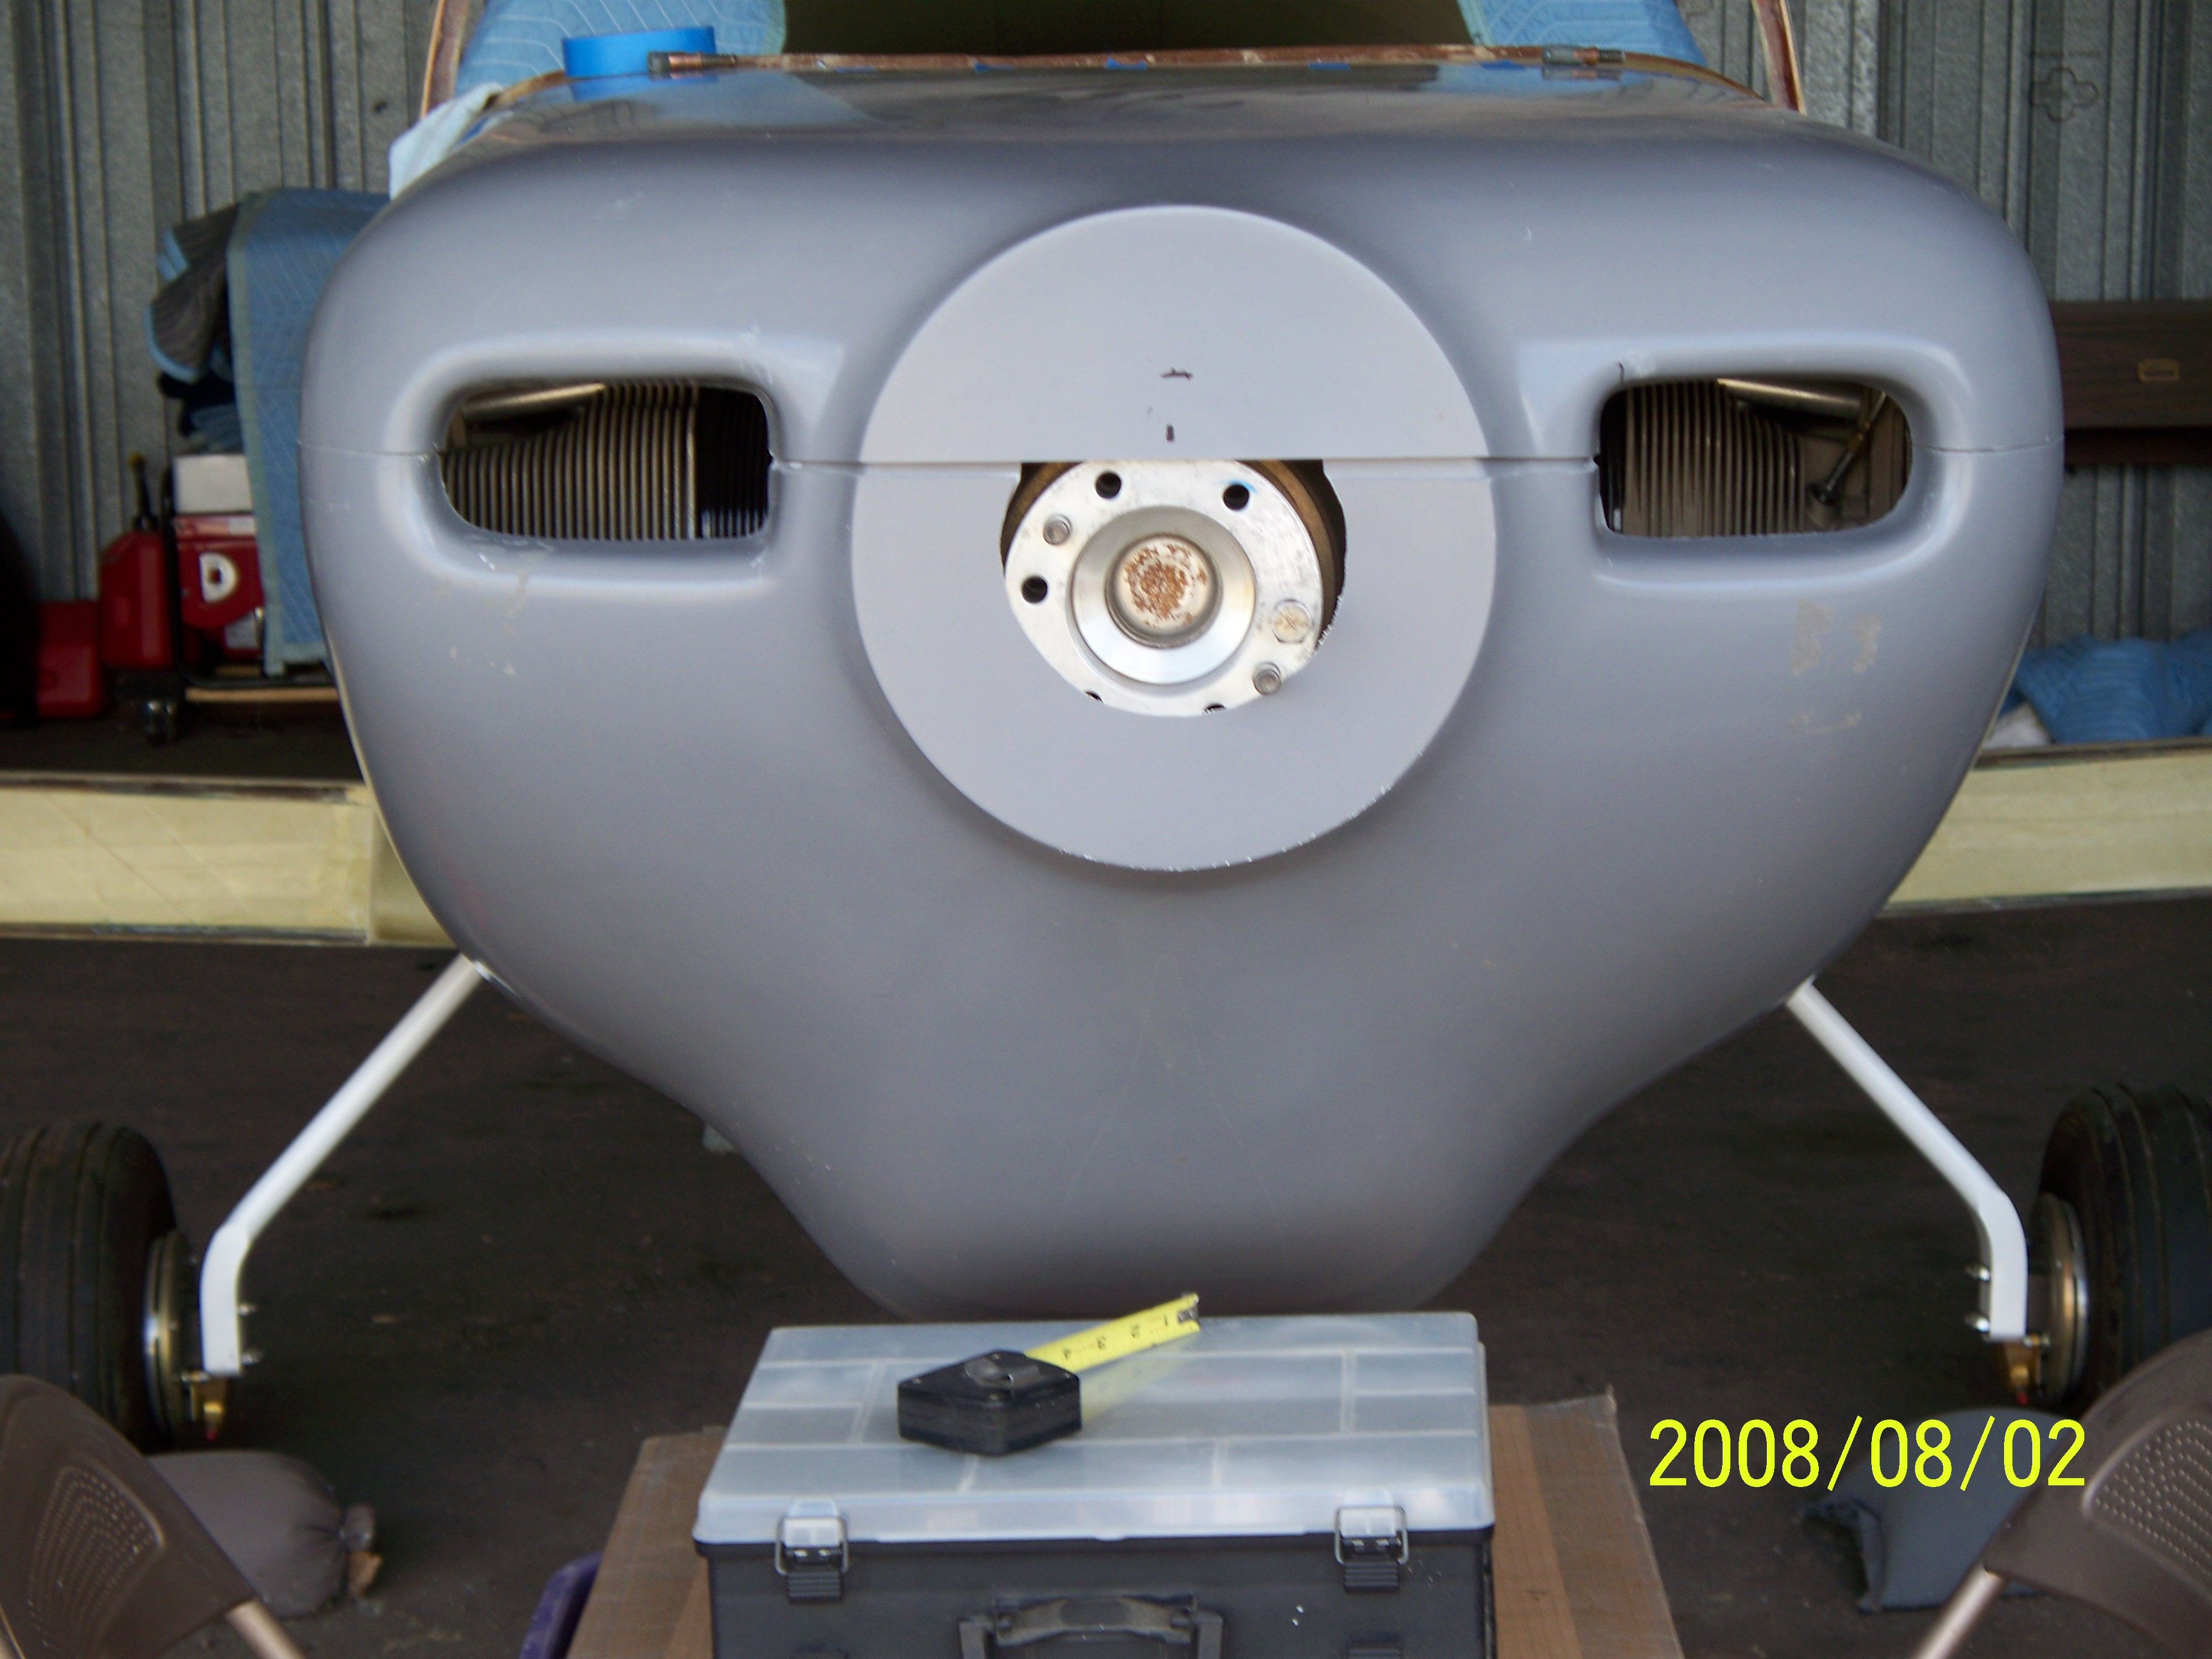
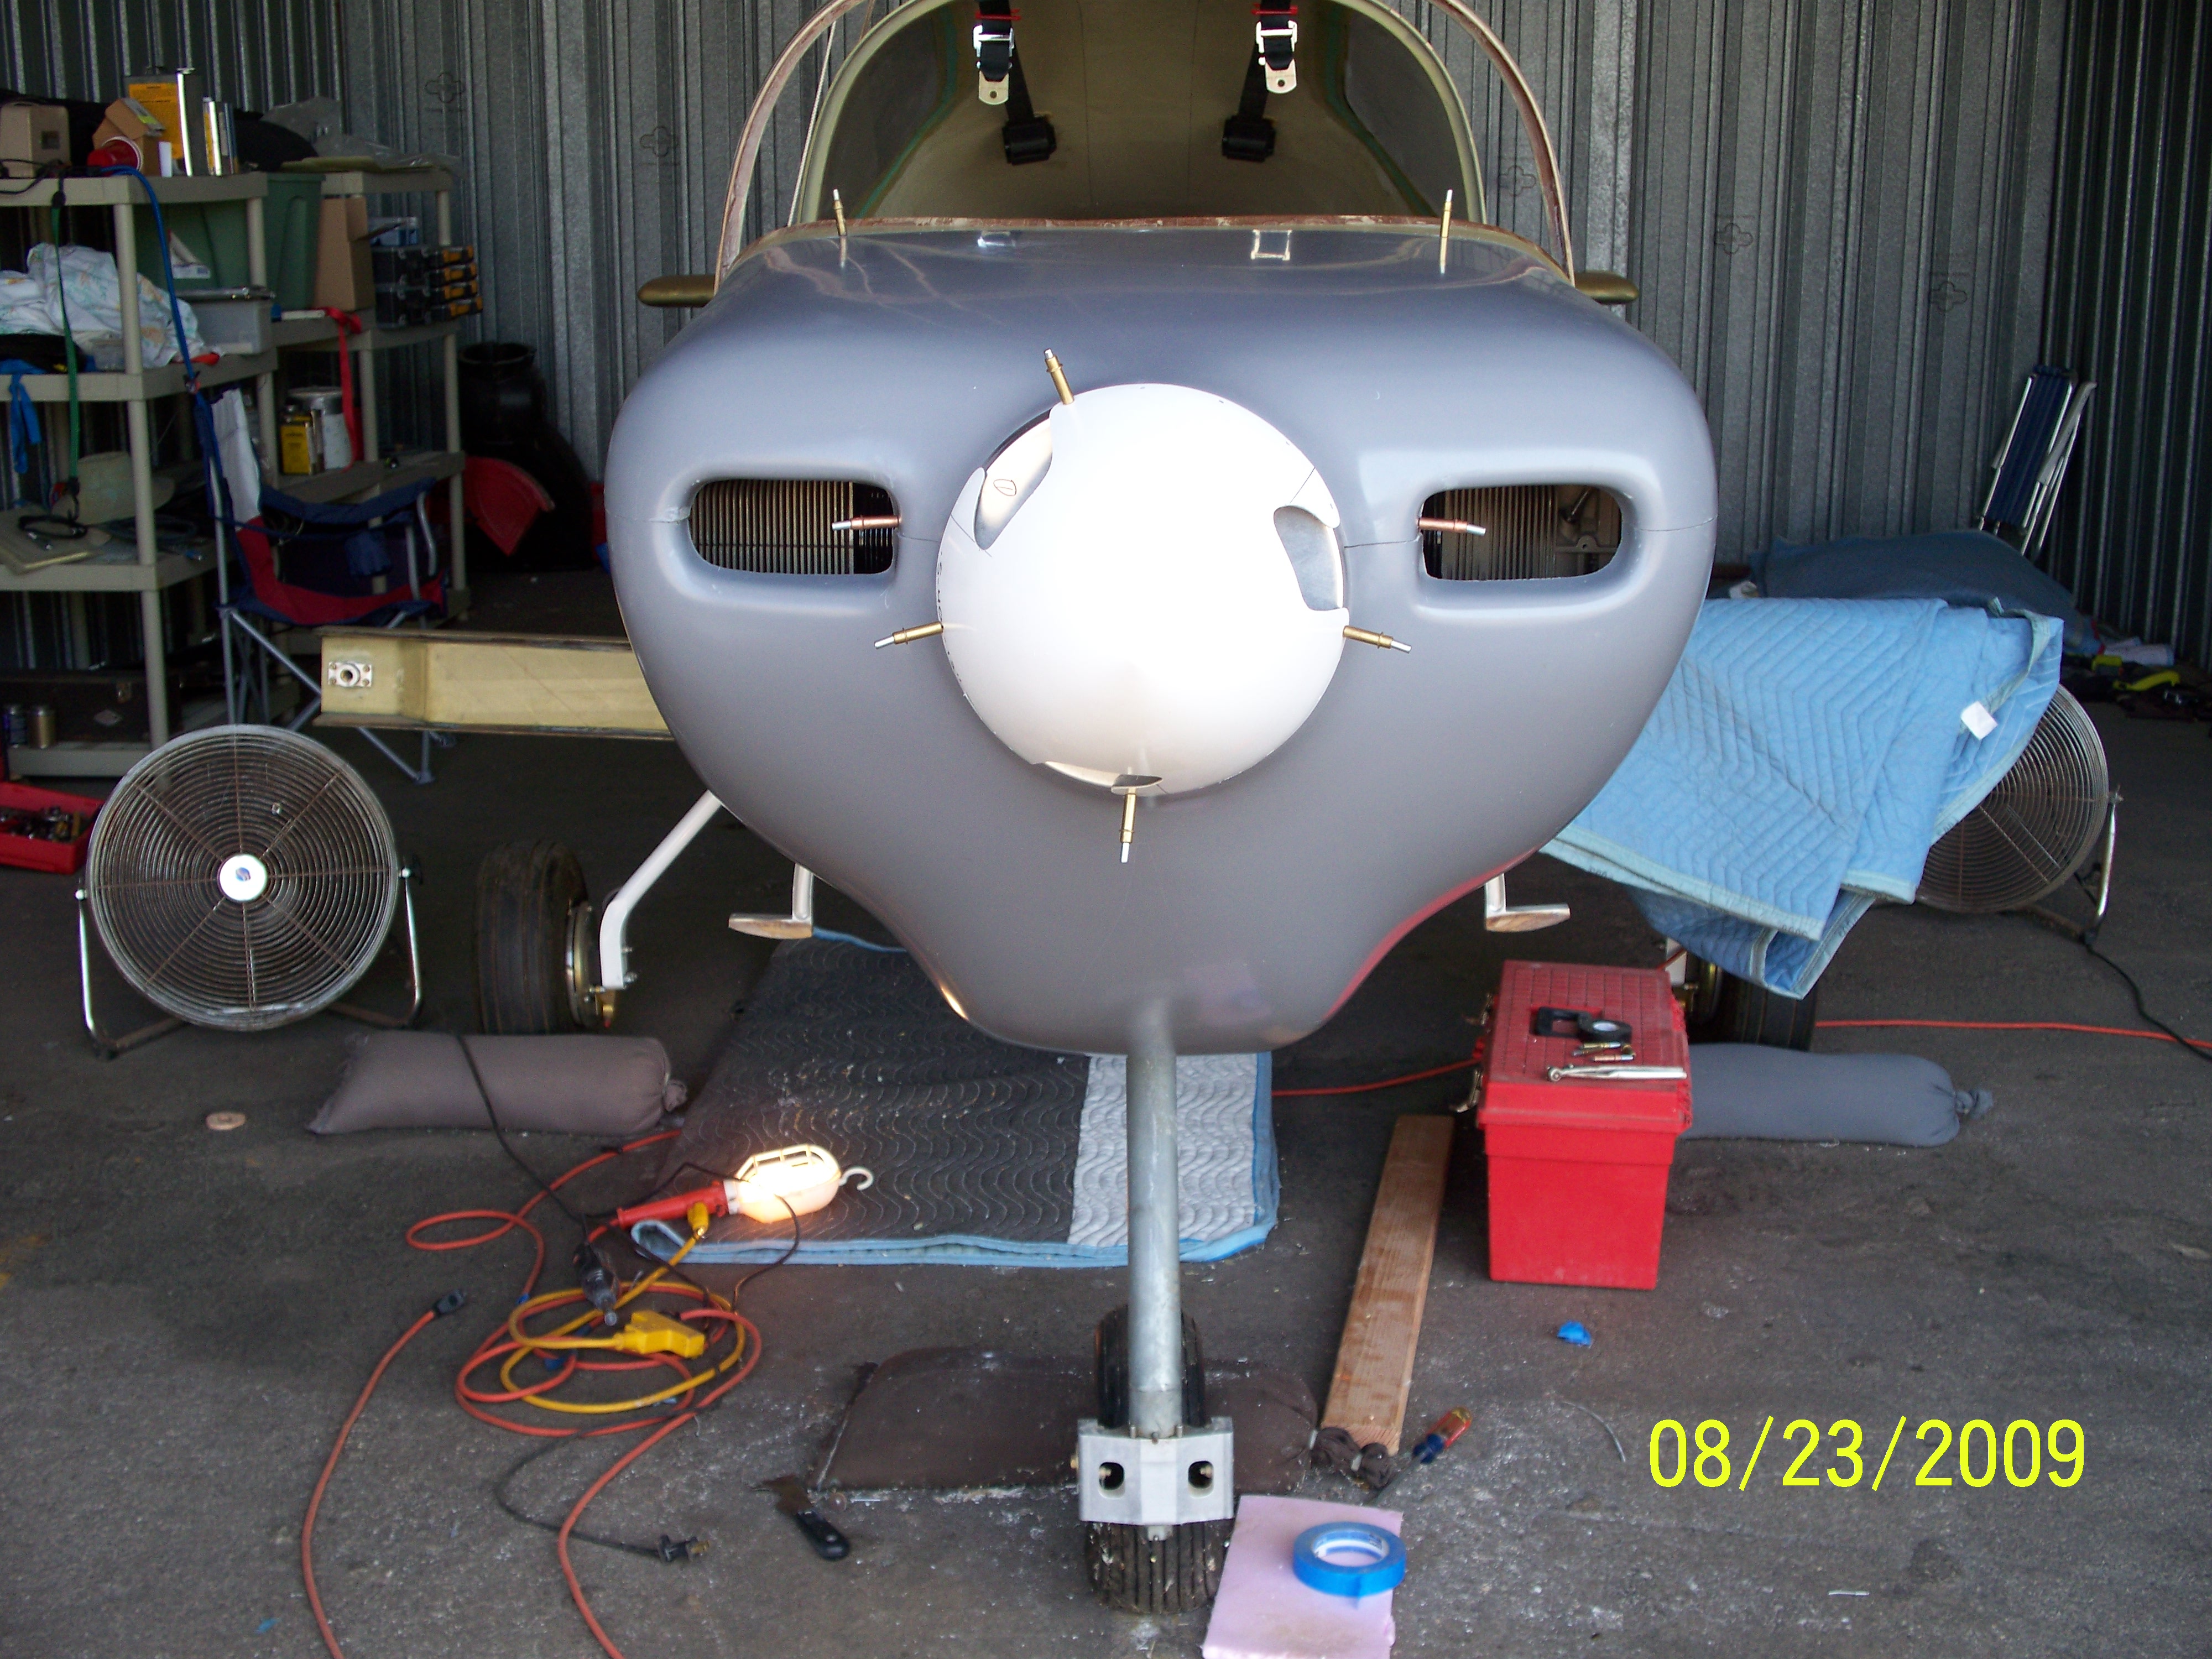
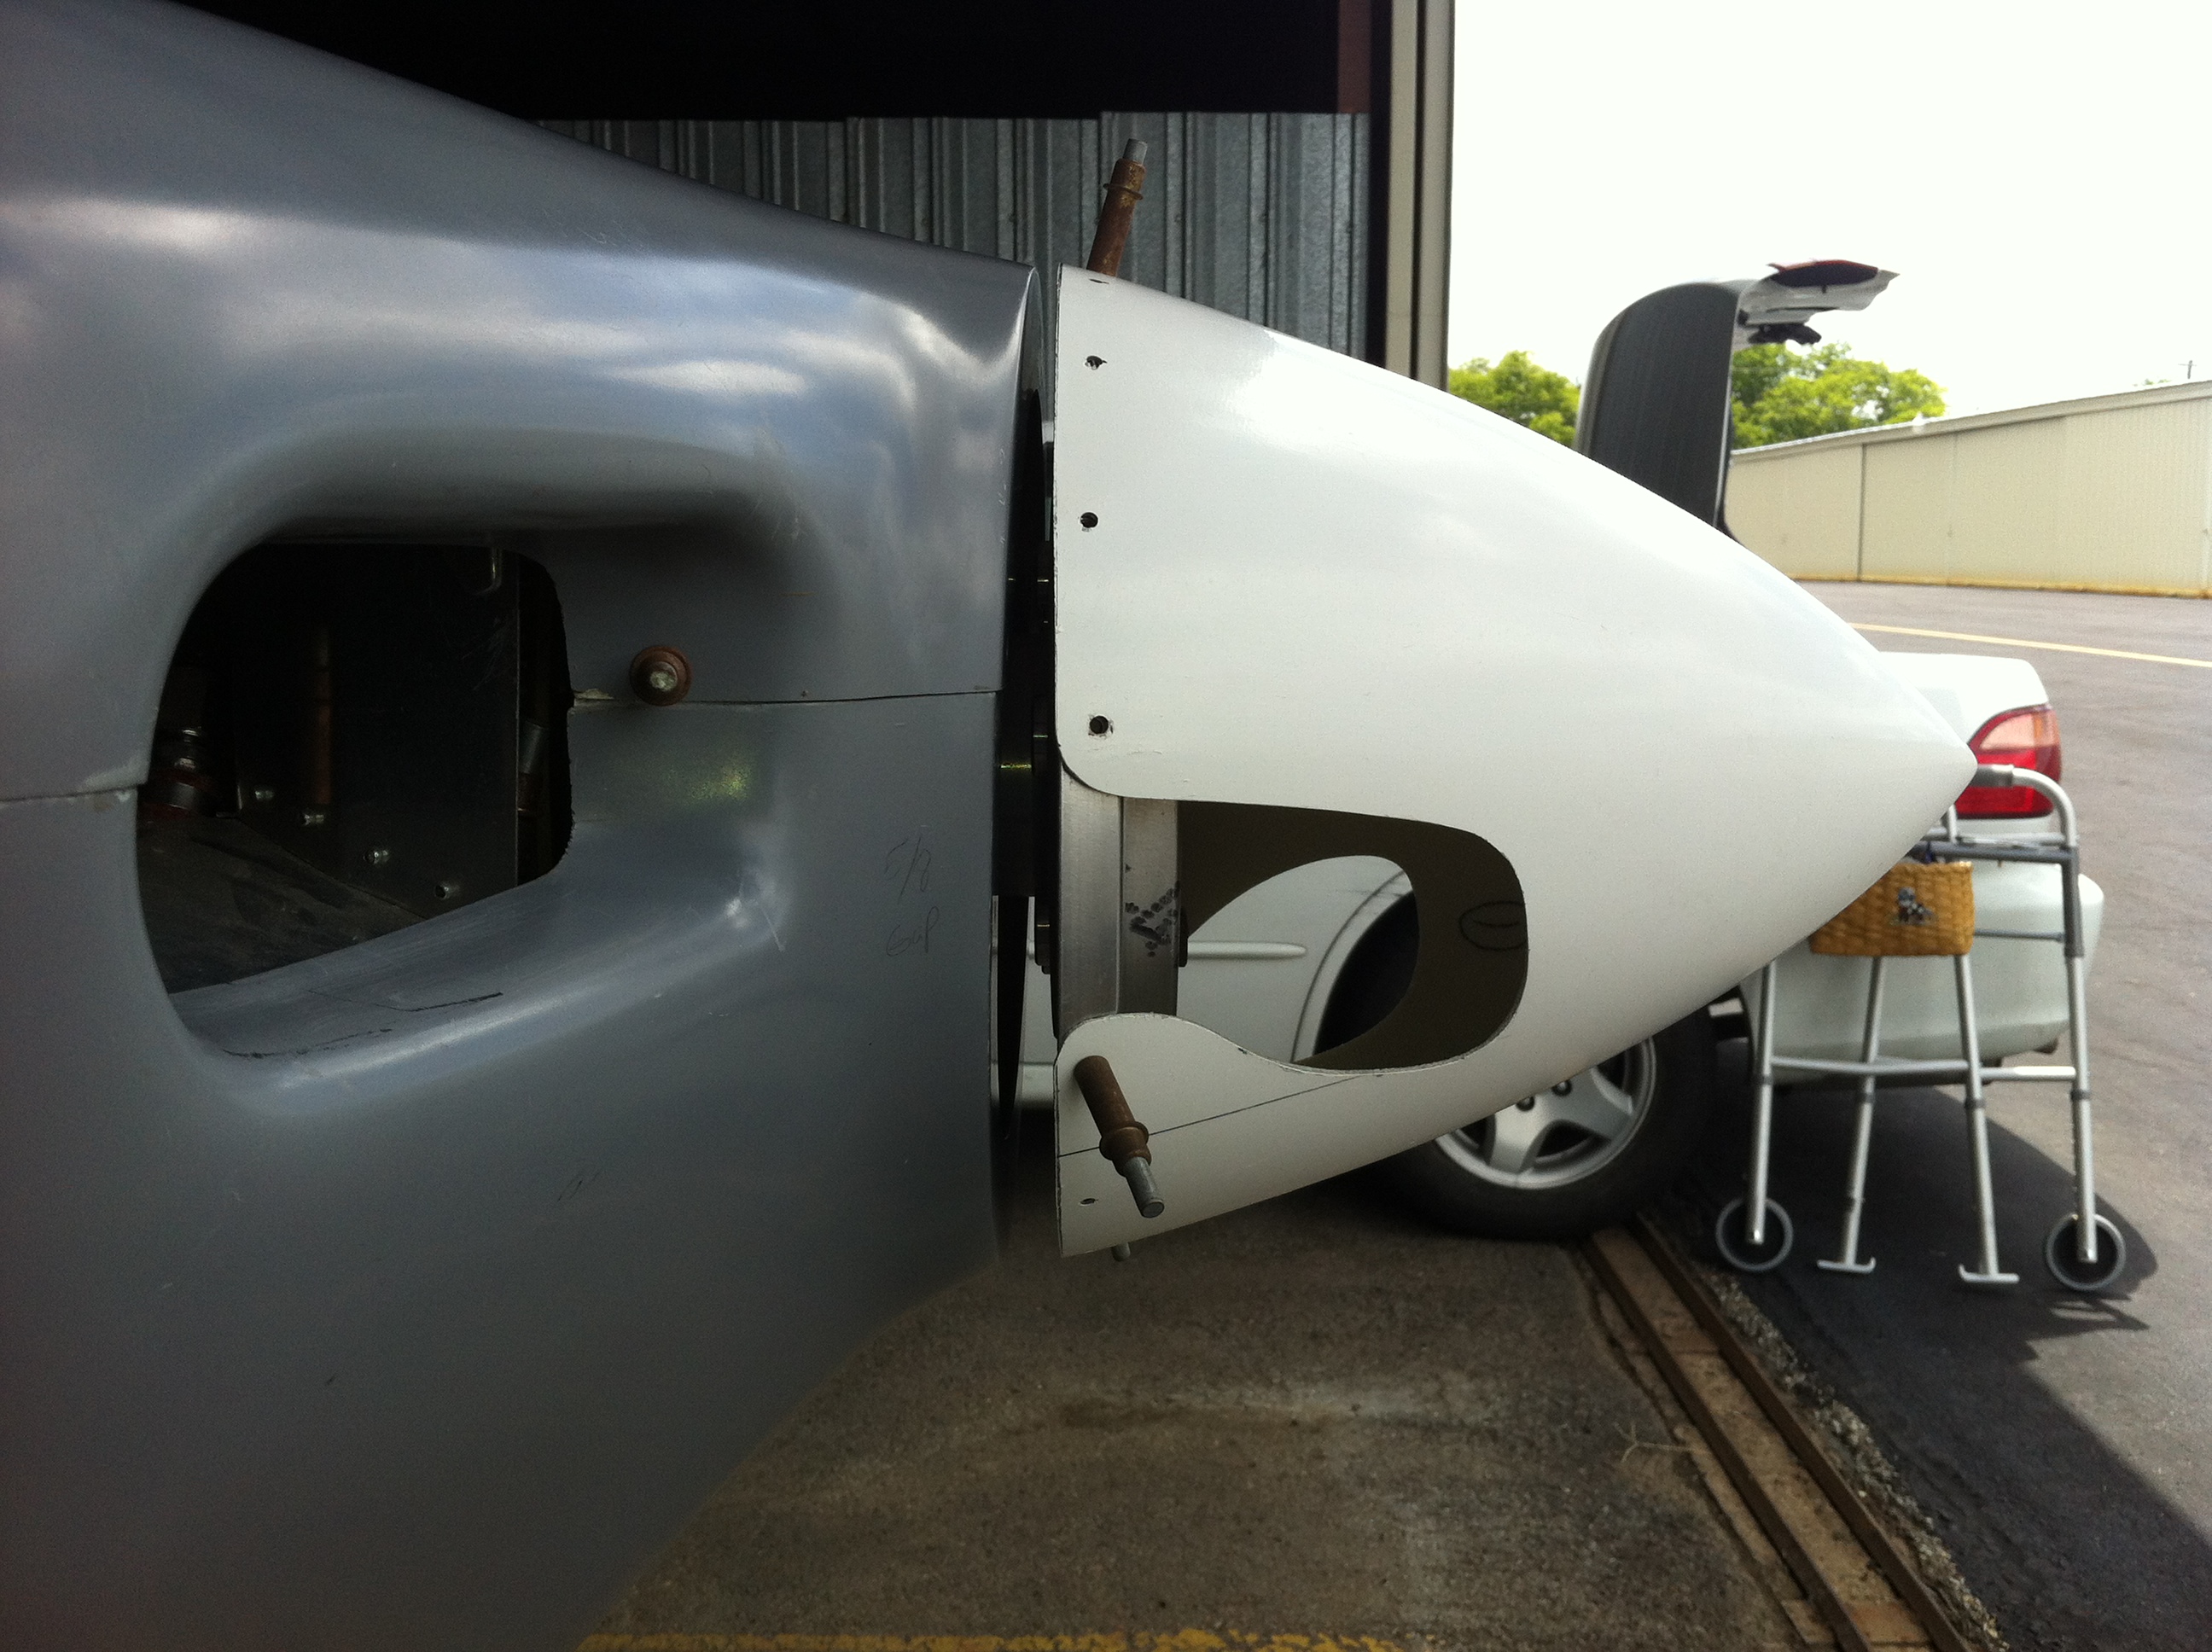
Looking
at it from the front it is clear that the either the cowling was way
too high or the engine was too low. Turns out that both were the
case. |
 |
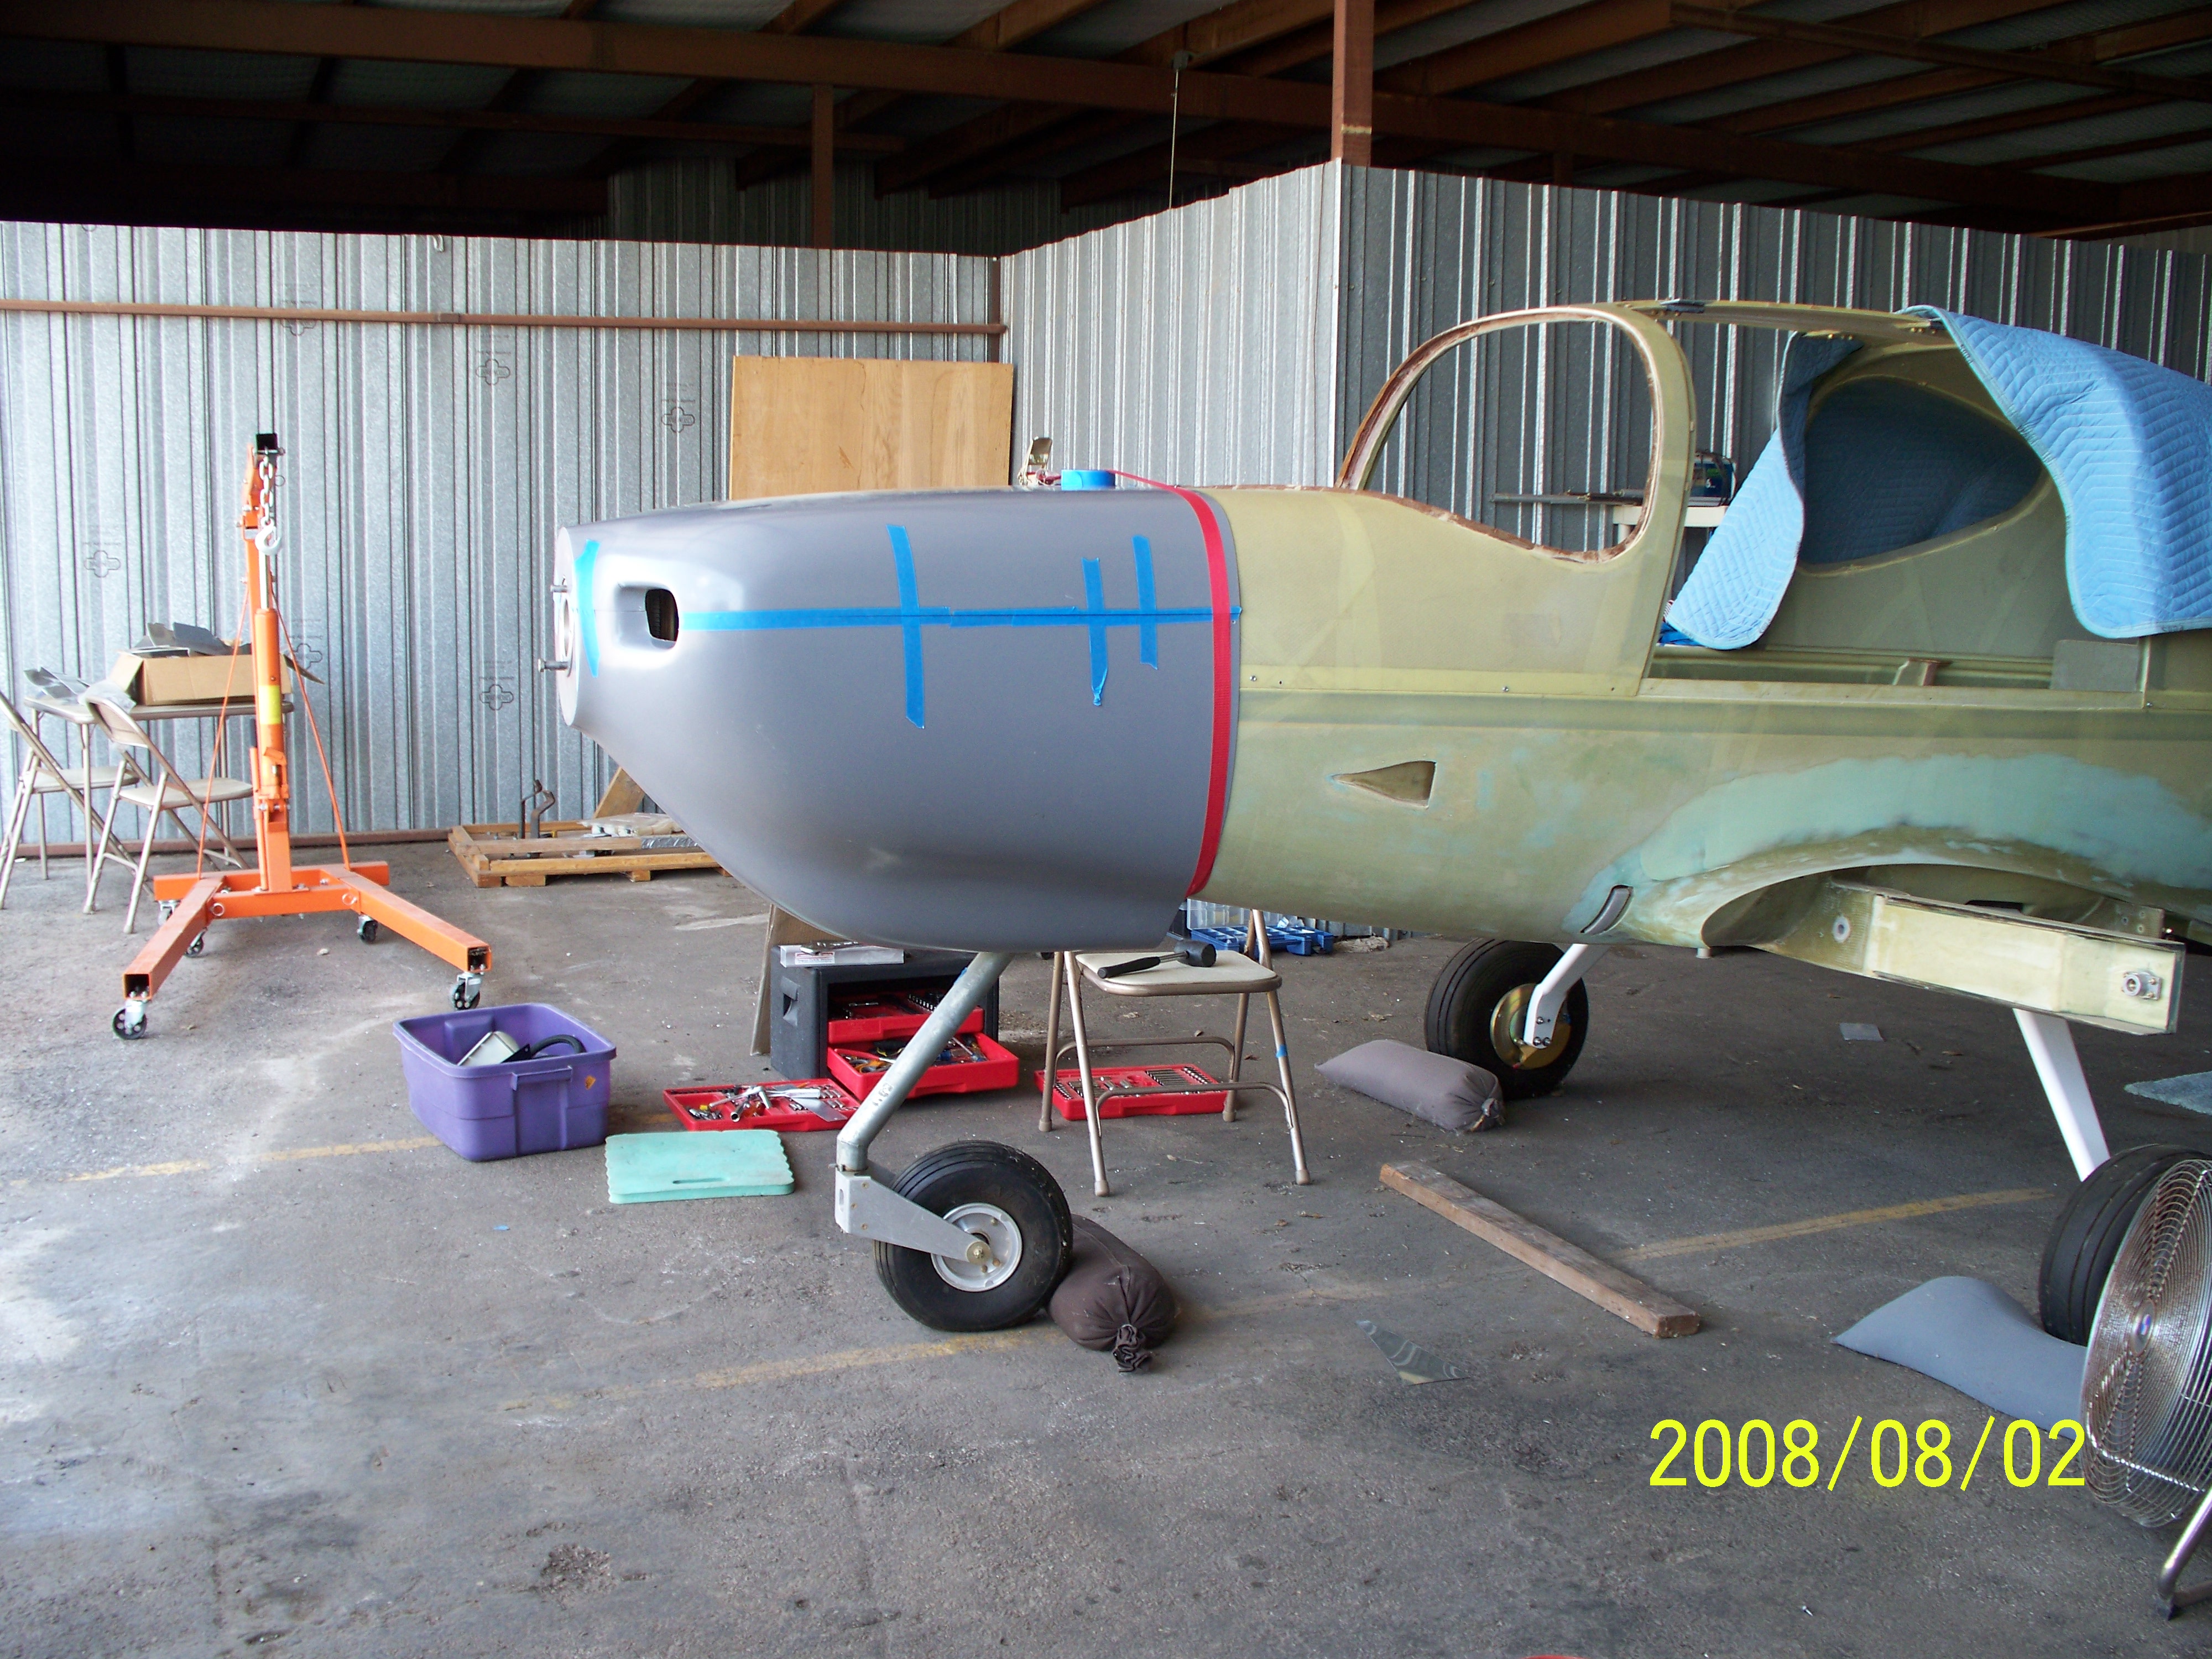 |
| I made some adjustments to trim around the back of the cowling which helped with part of the alighment. |
I also added a 1/4 inch washer under the lower engine mount and that helped to get the front of the engine up. |
 |
 |
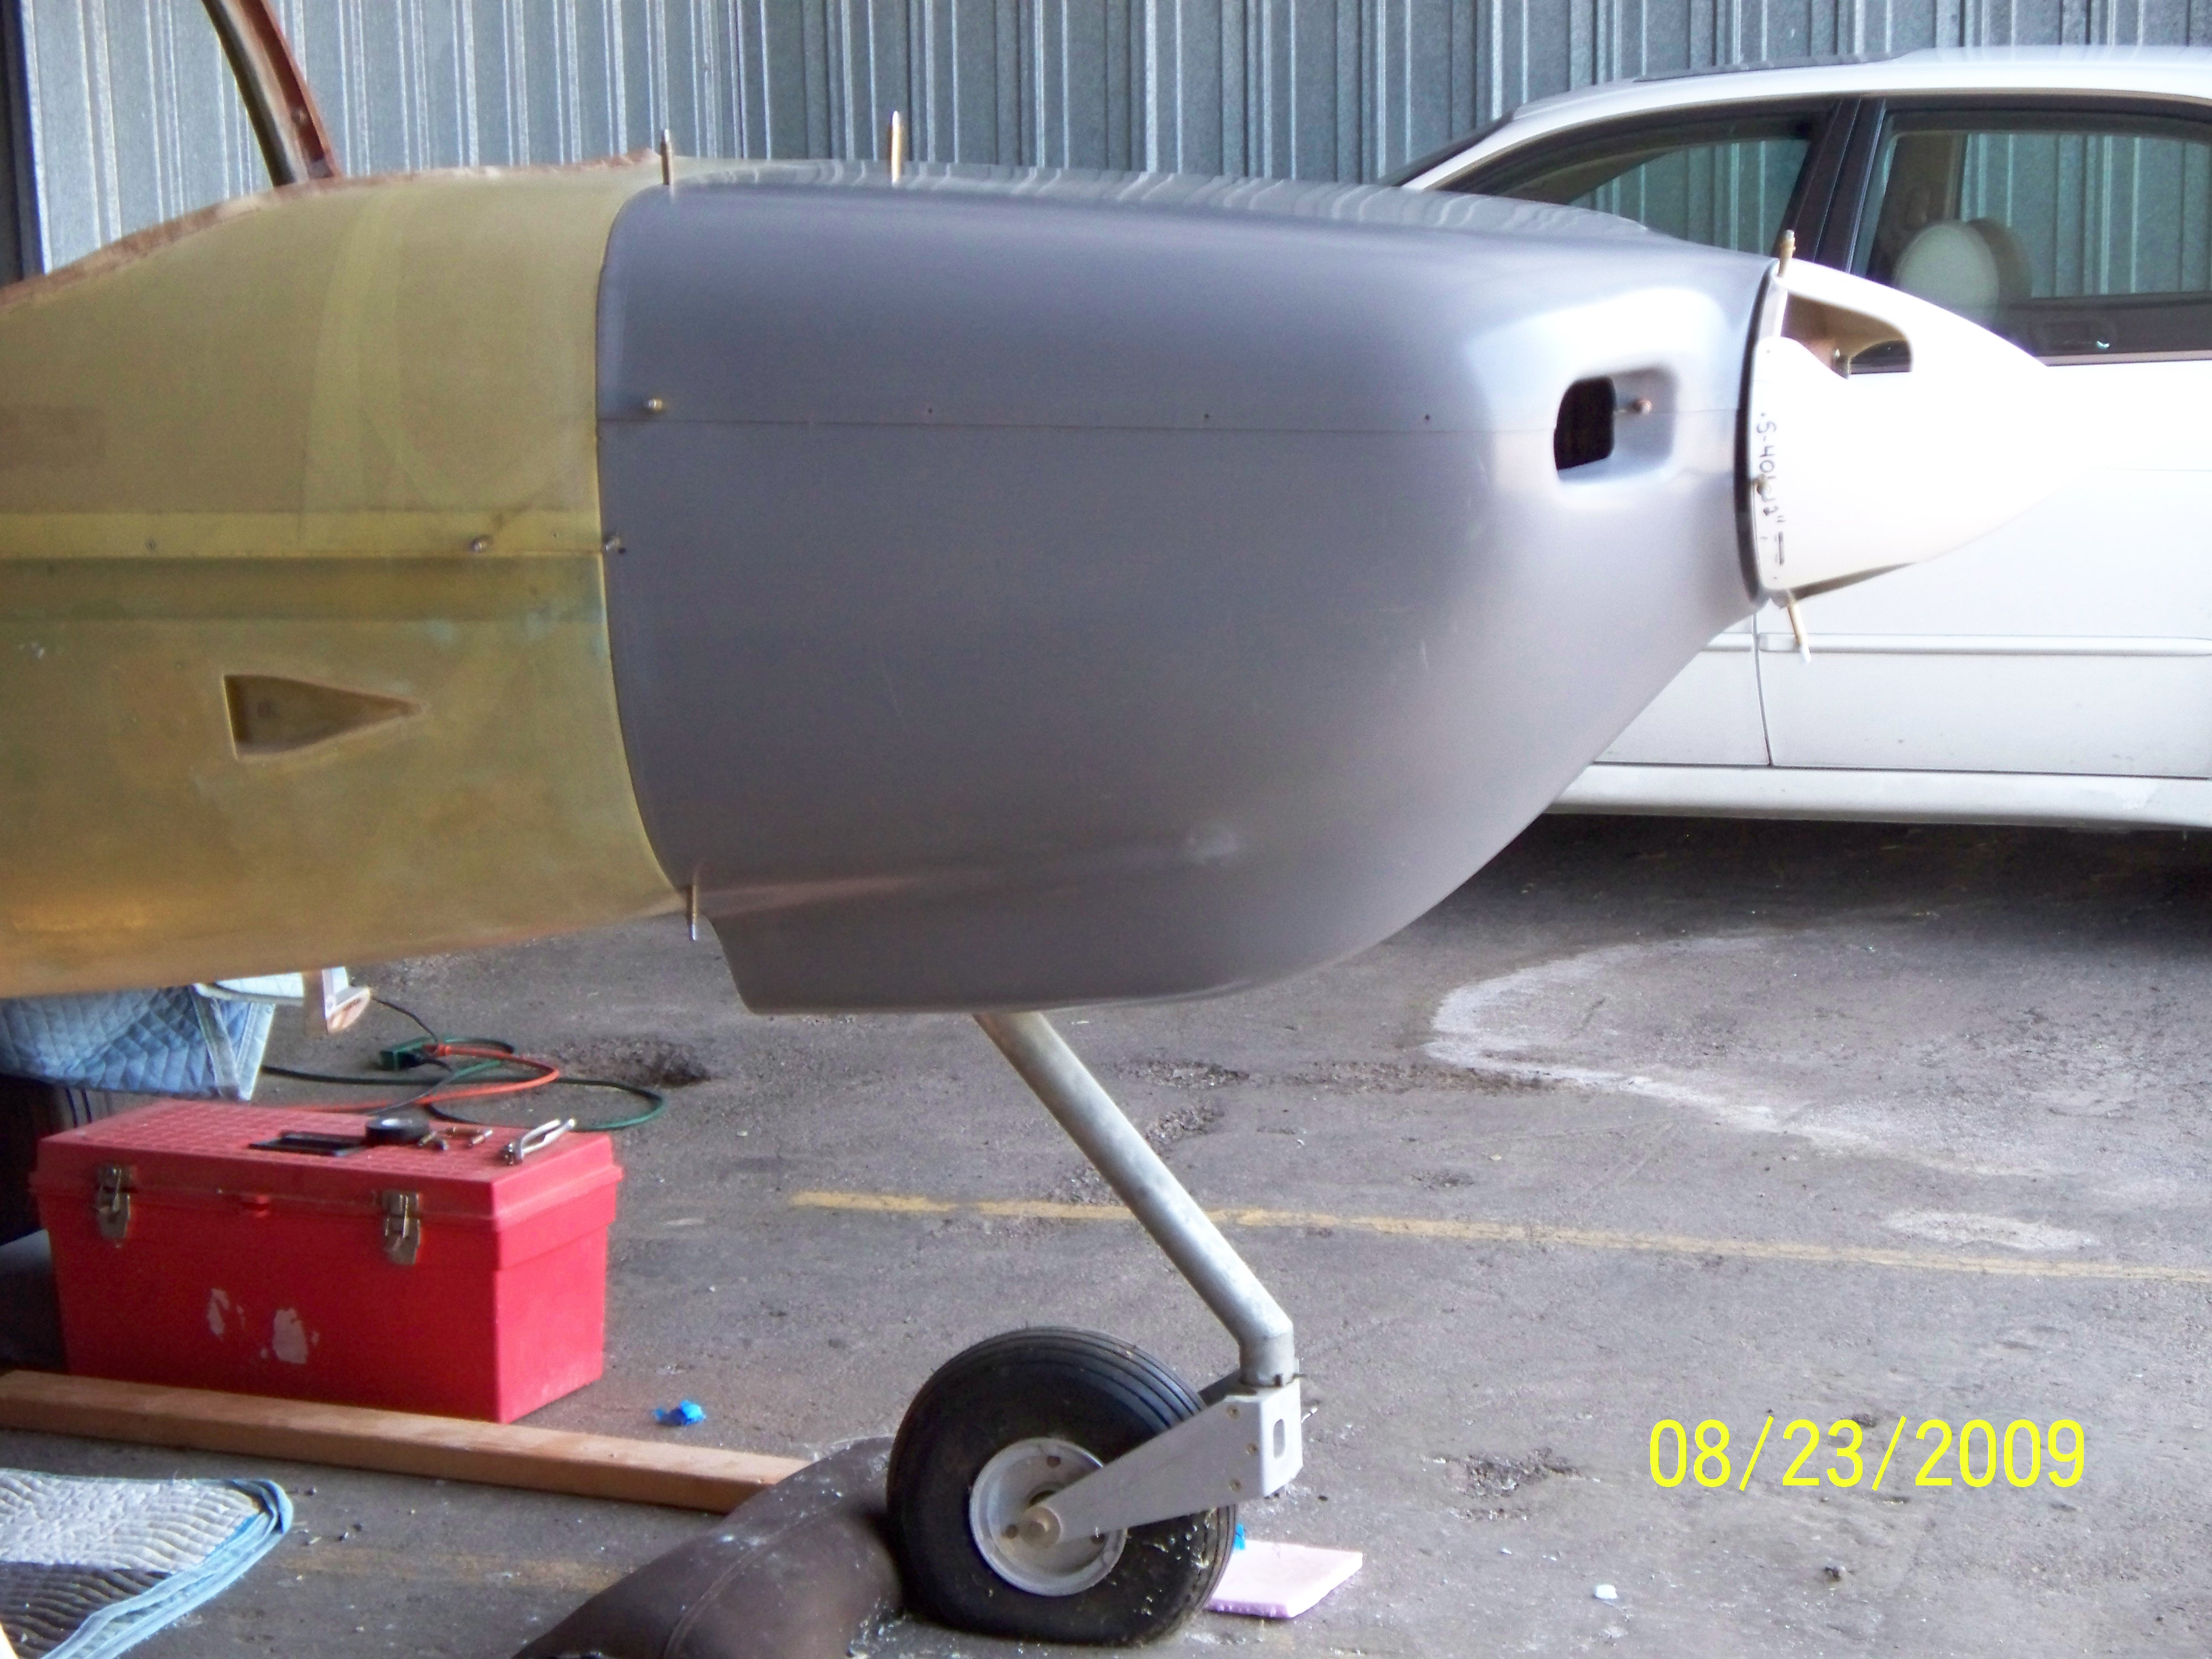
| At this point the engine aligns with the cowling and the prop extension is at the proper position in the cowling opening. |
At this point everything is strapped and taped in place. |
|
 |
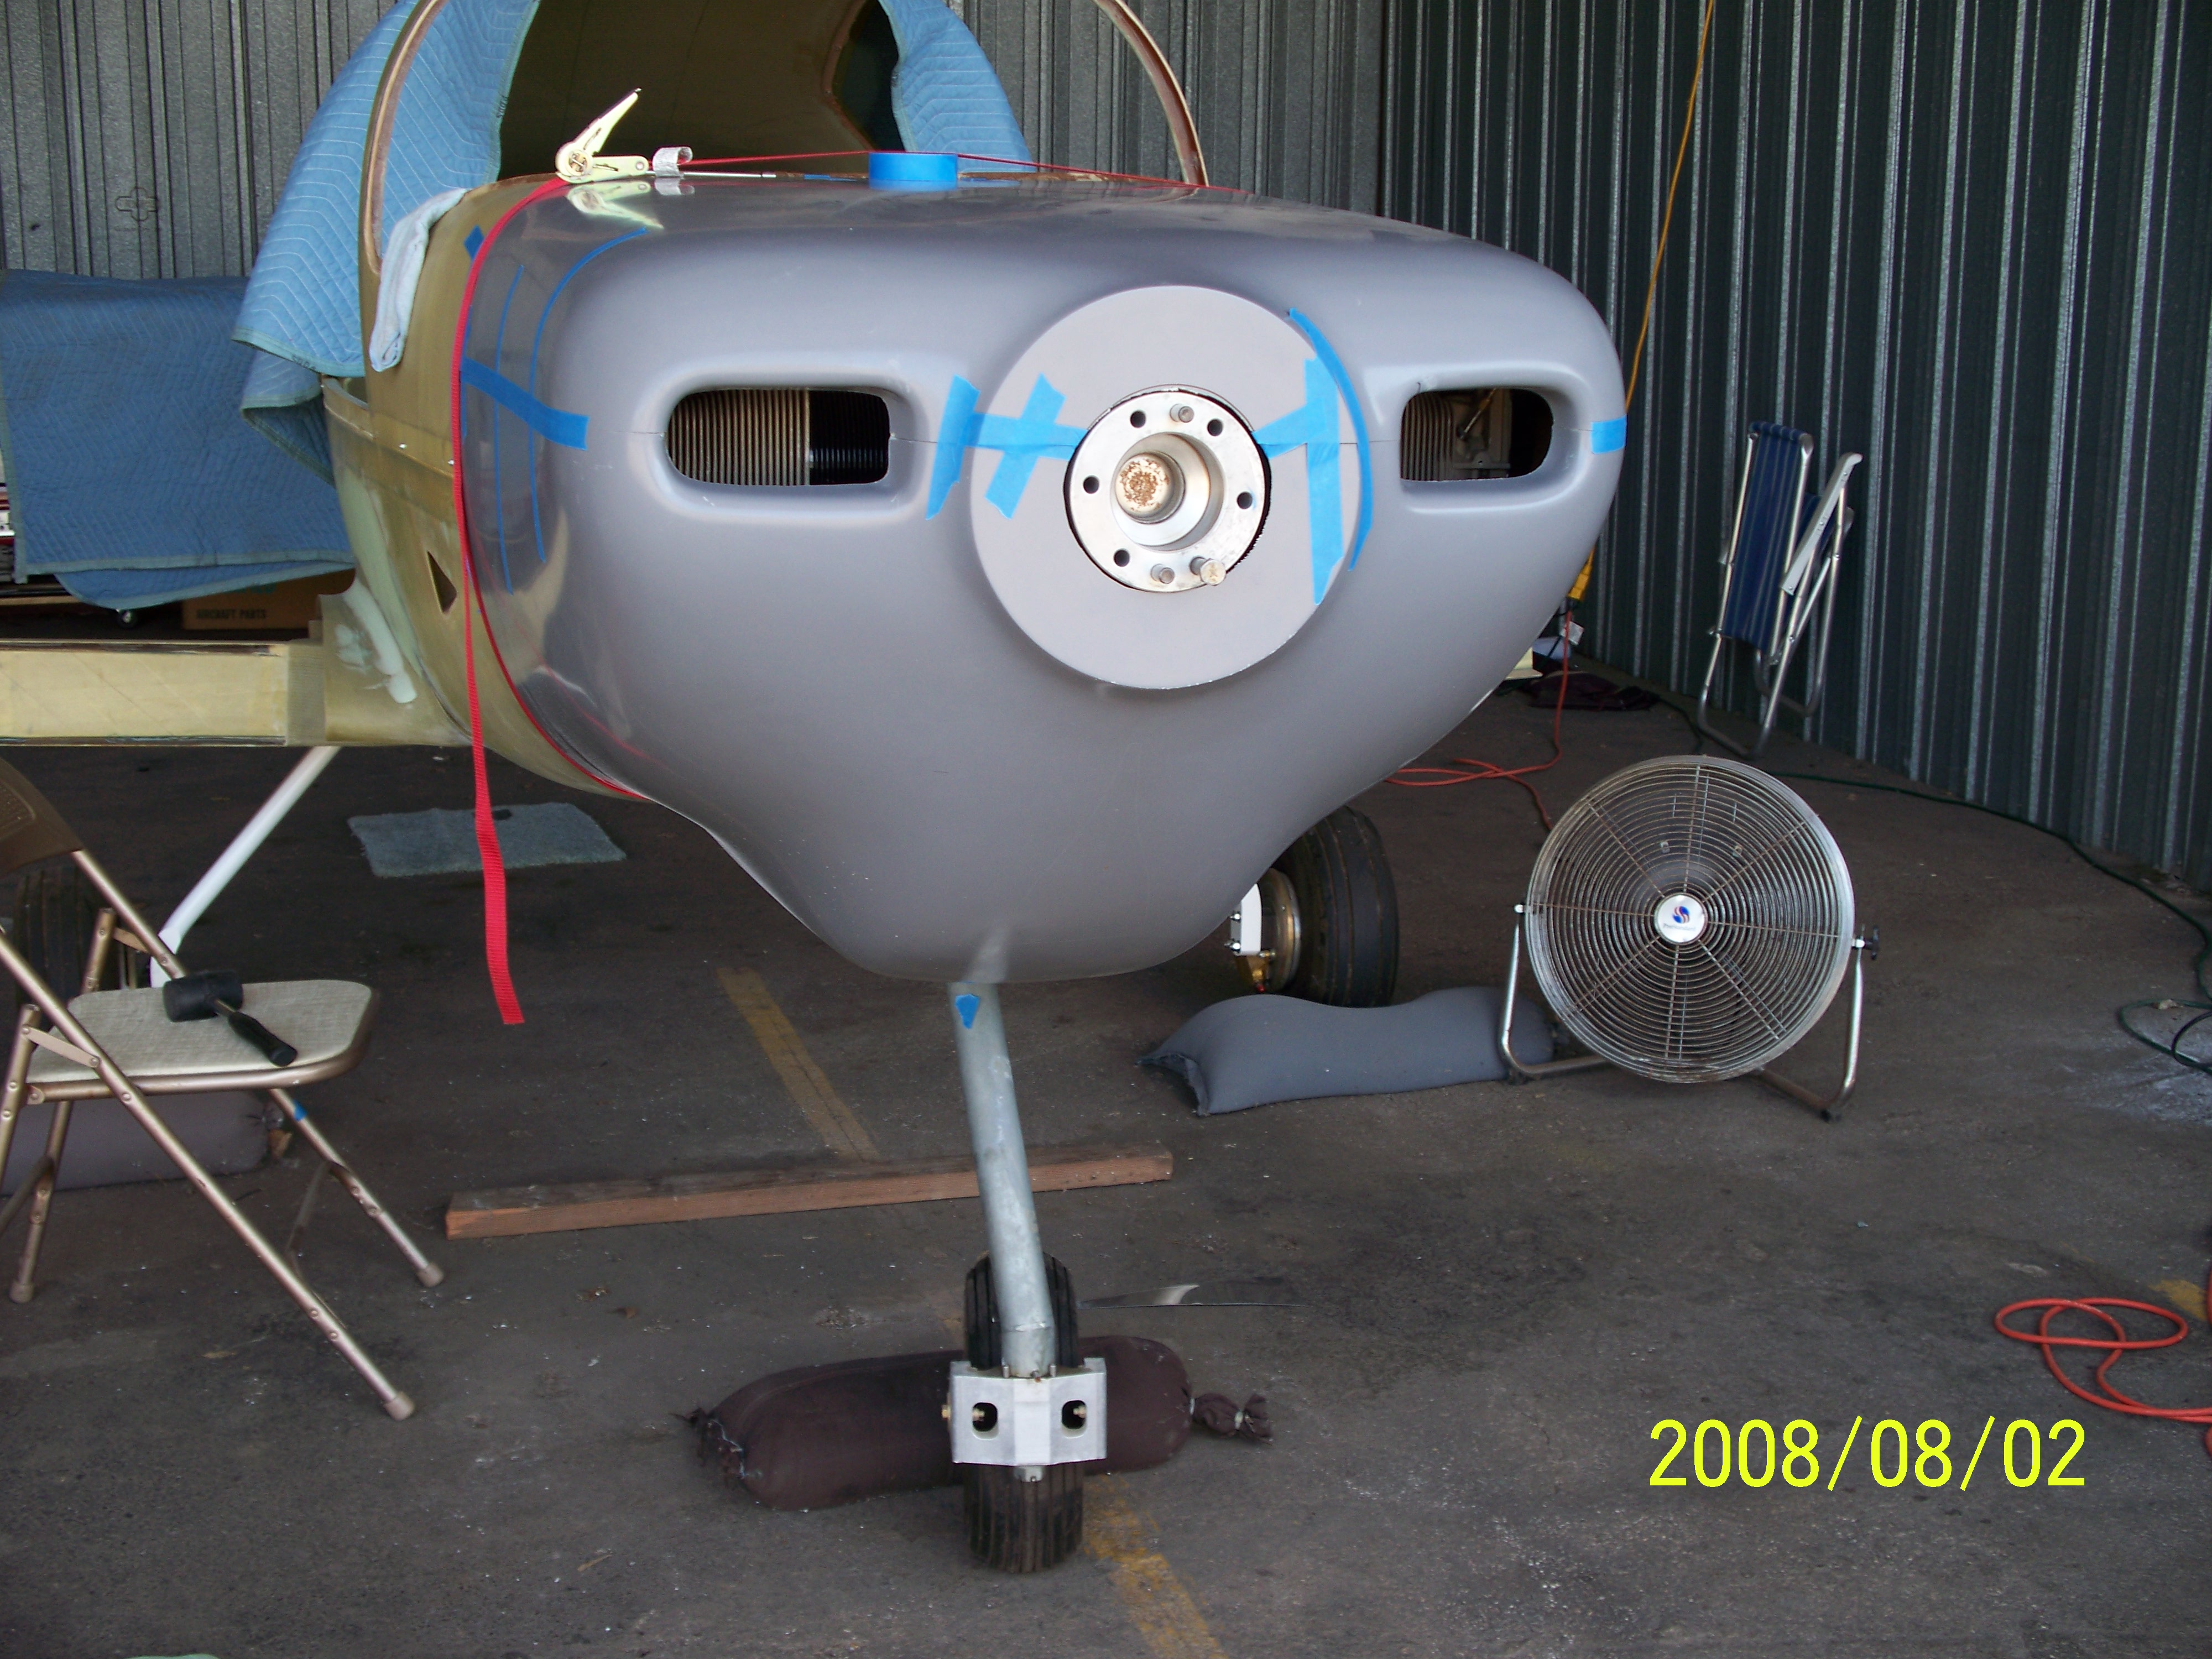
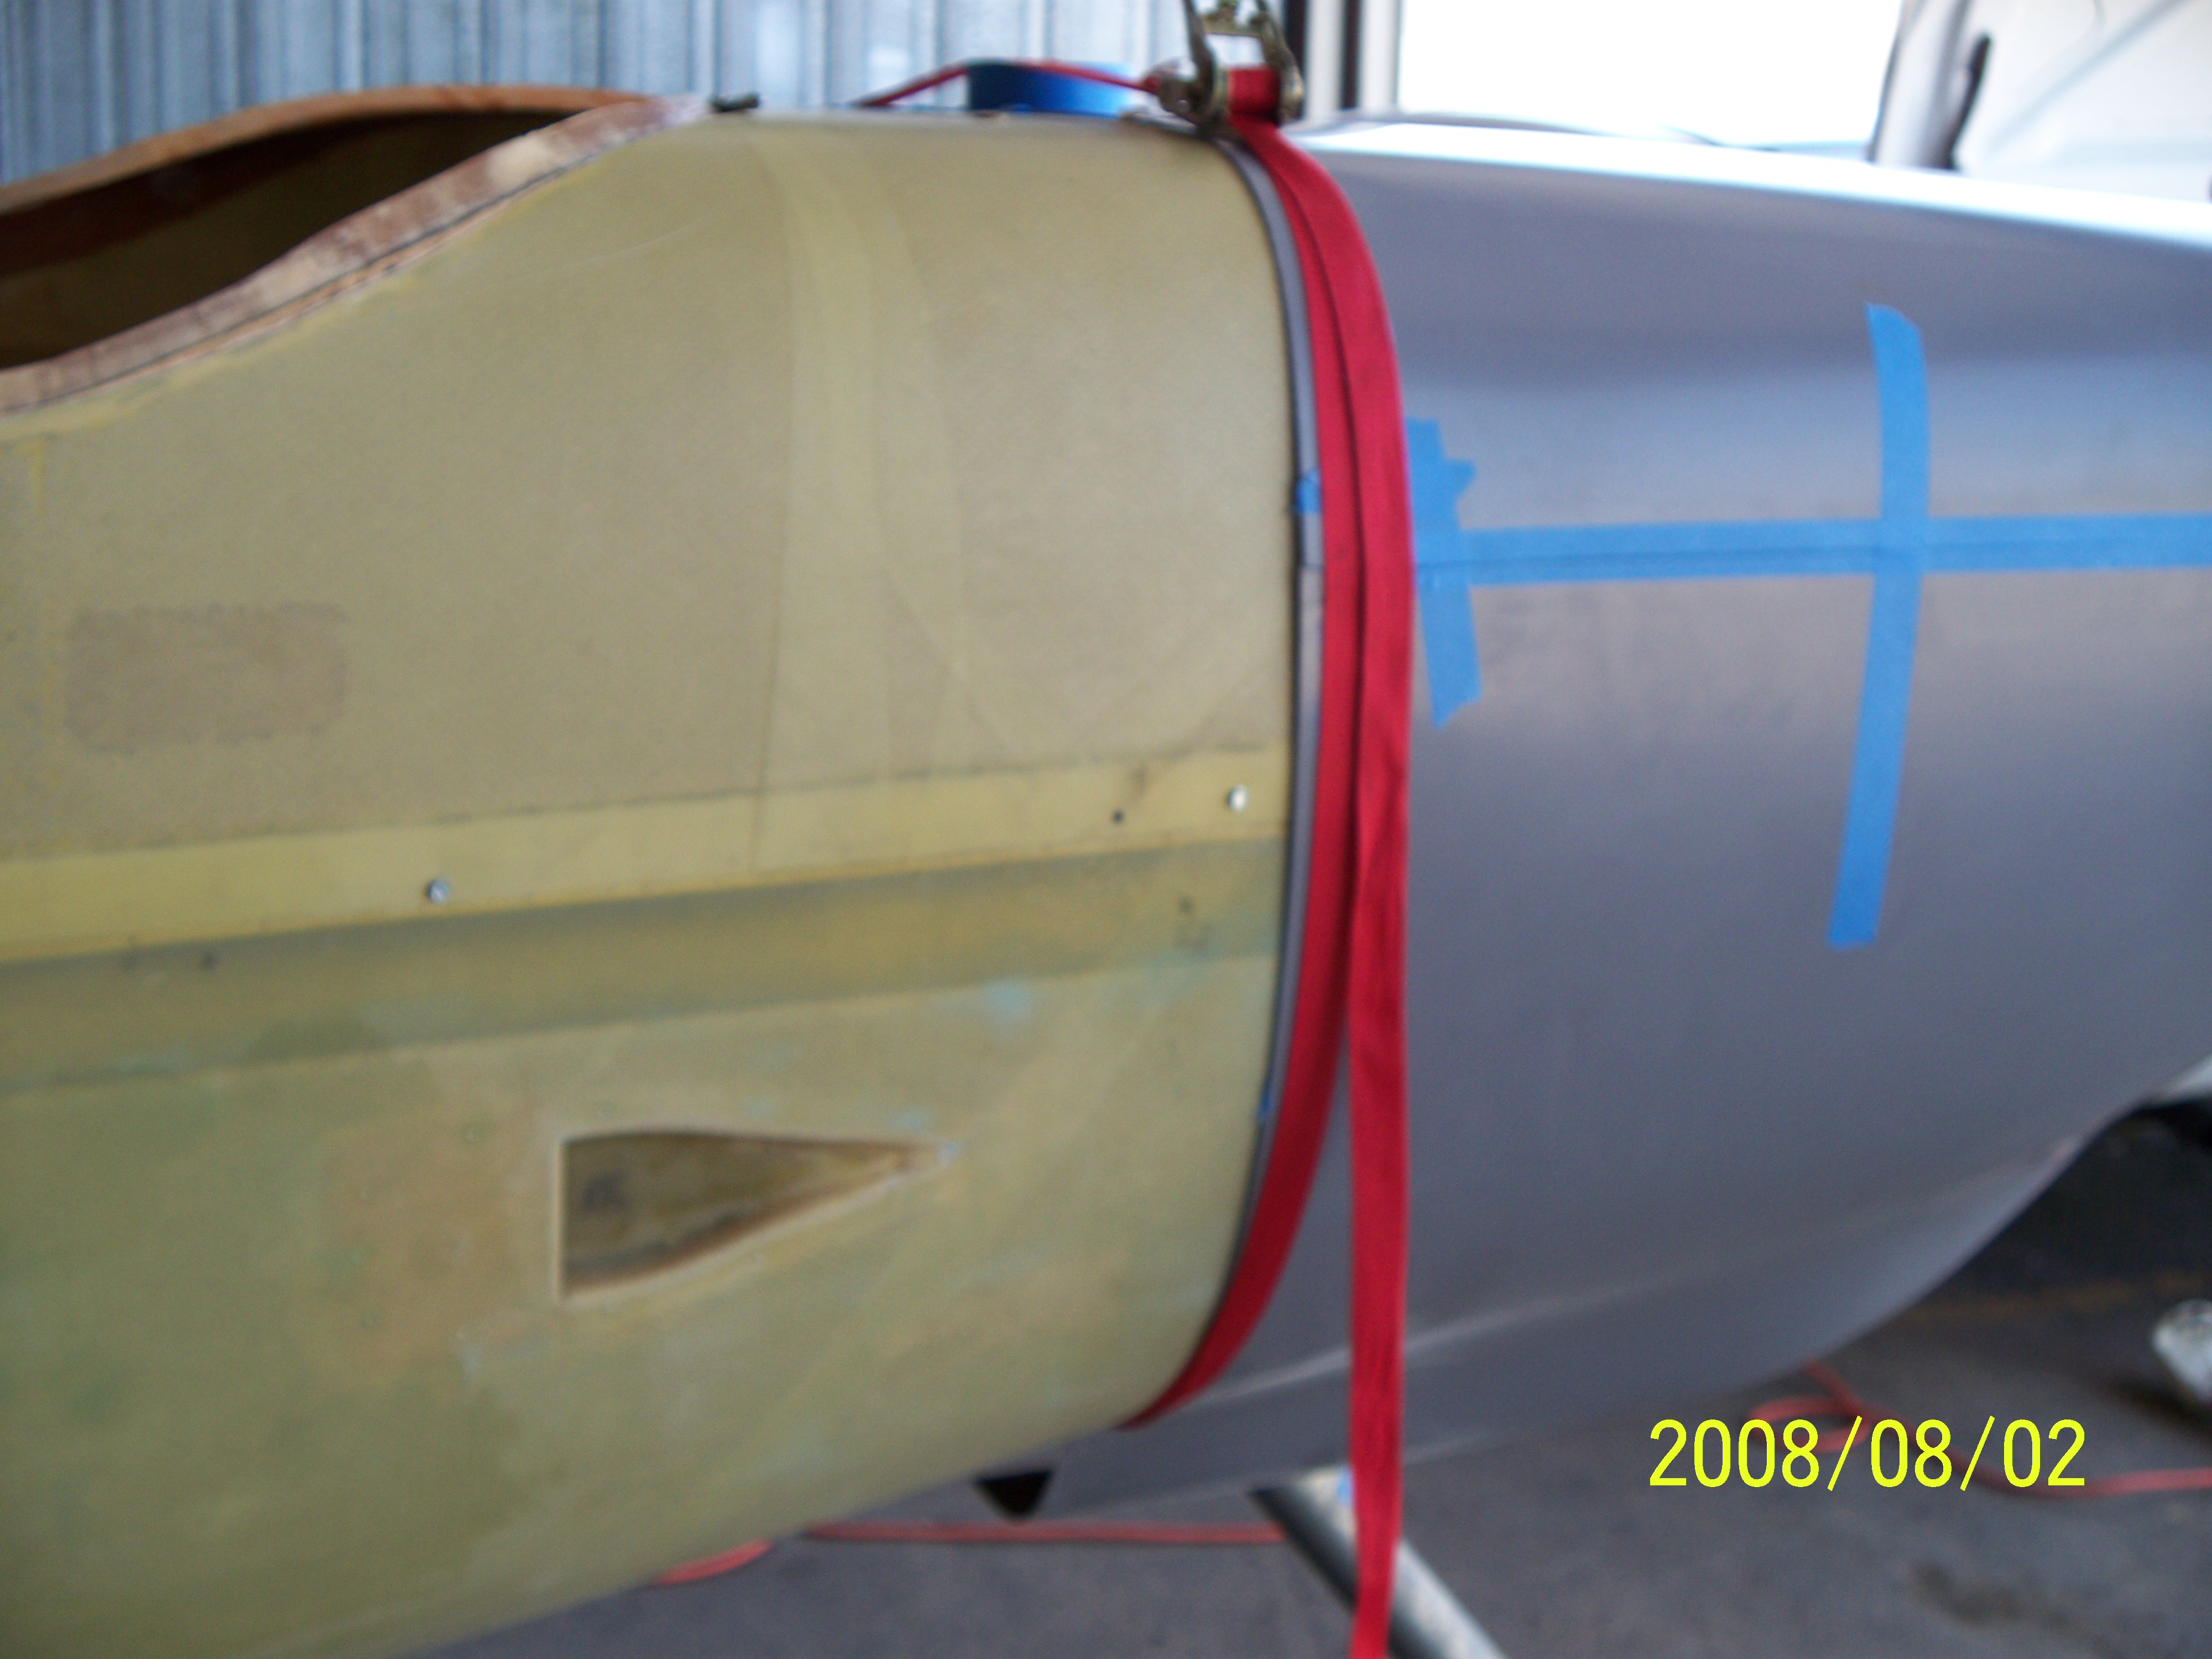
| Final trim of the rear of the fuselage has been made with clecos installed to hold everything in place. |
The prop spacer and spinner were installed with clecos to help identify any problems with the spacing. |
 |
 |
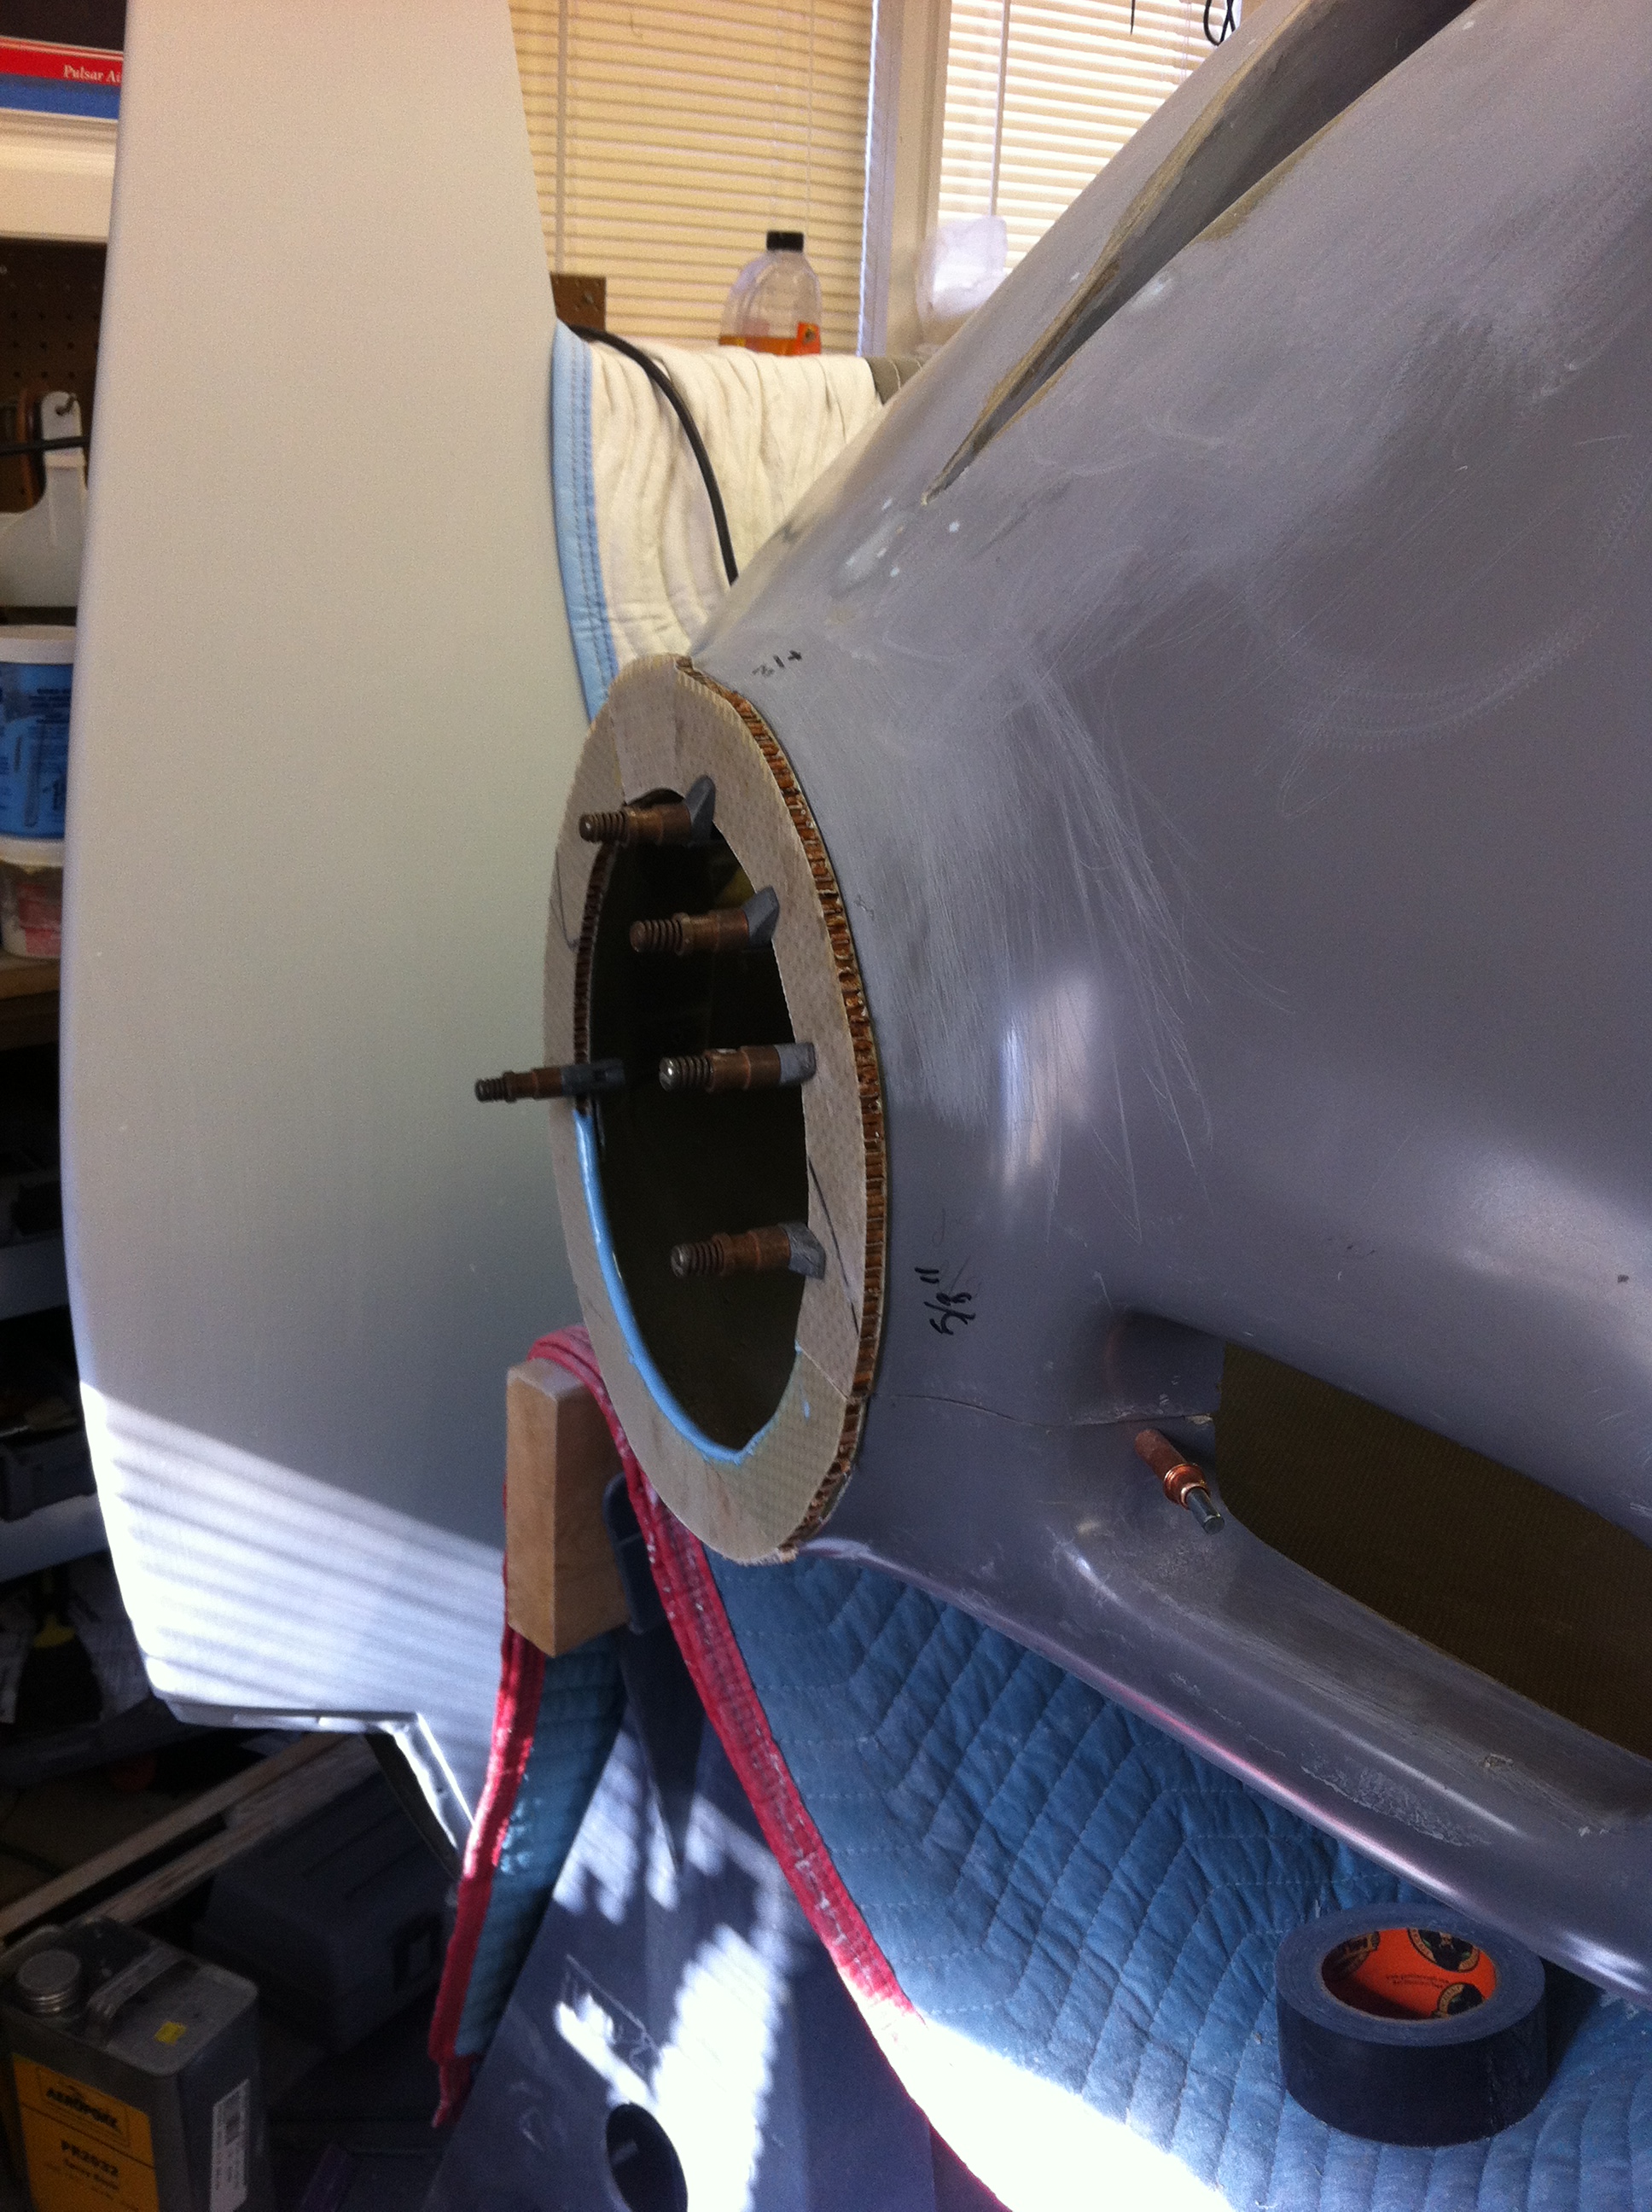
| The
space between the prop spinner and the cowling is very close but not
consistant. It's a bit wider at the bottom than at the top. |
I removed the spinner and adjusted everything again to make sure that I didn't have any other issues. |
 |
 |
| After Tying everything down and remounting the spinner the uneven gap can clearly be seen. |
The
alignment from side to side and top to bottom is perfect so I made
measurements of the gap and added filler to close the gap. |
 |
 |
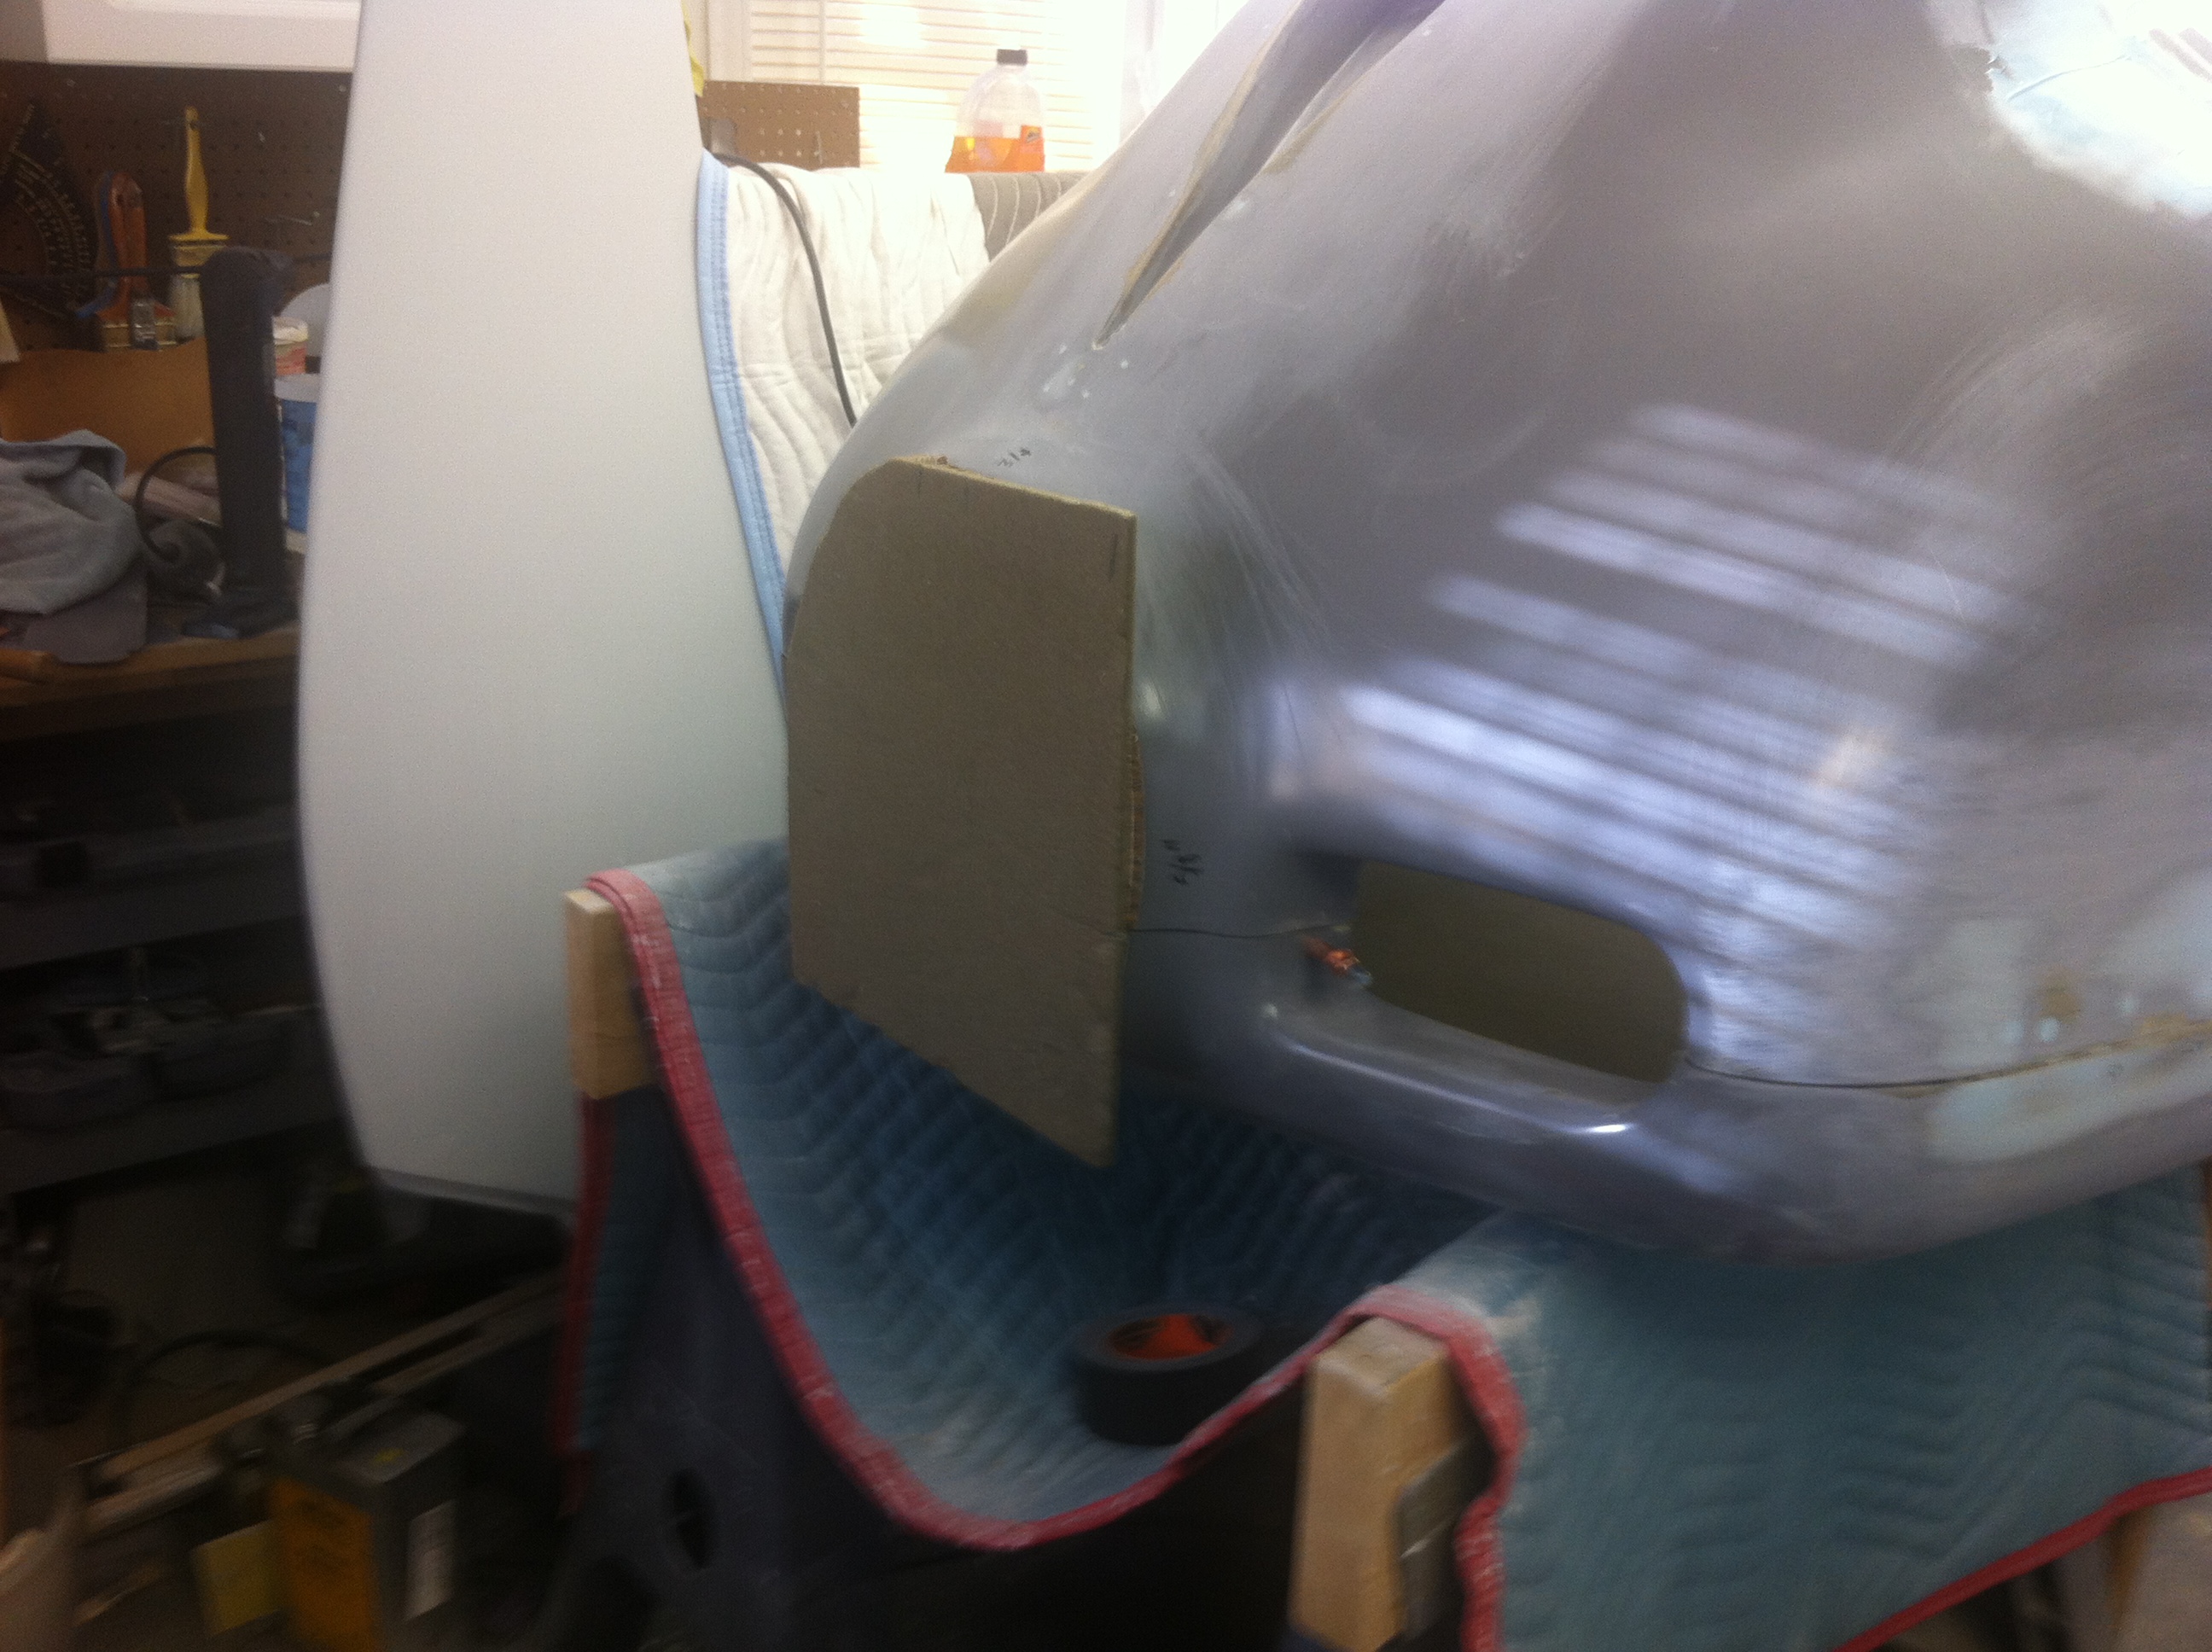
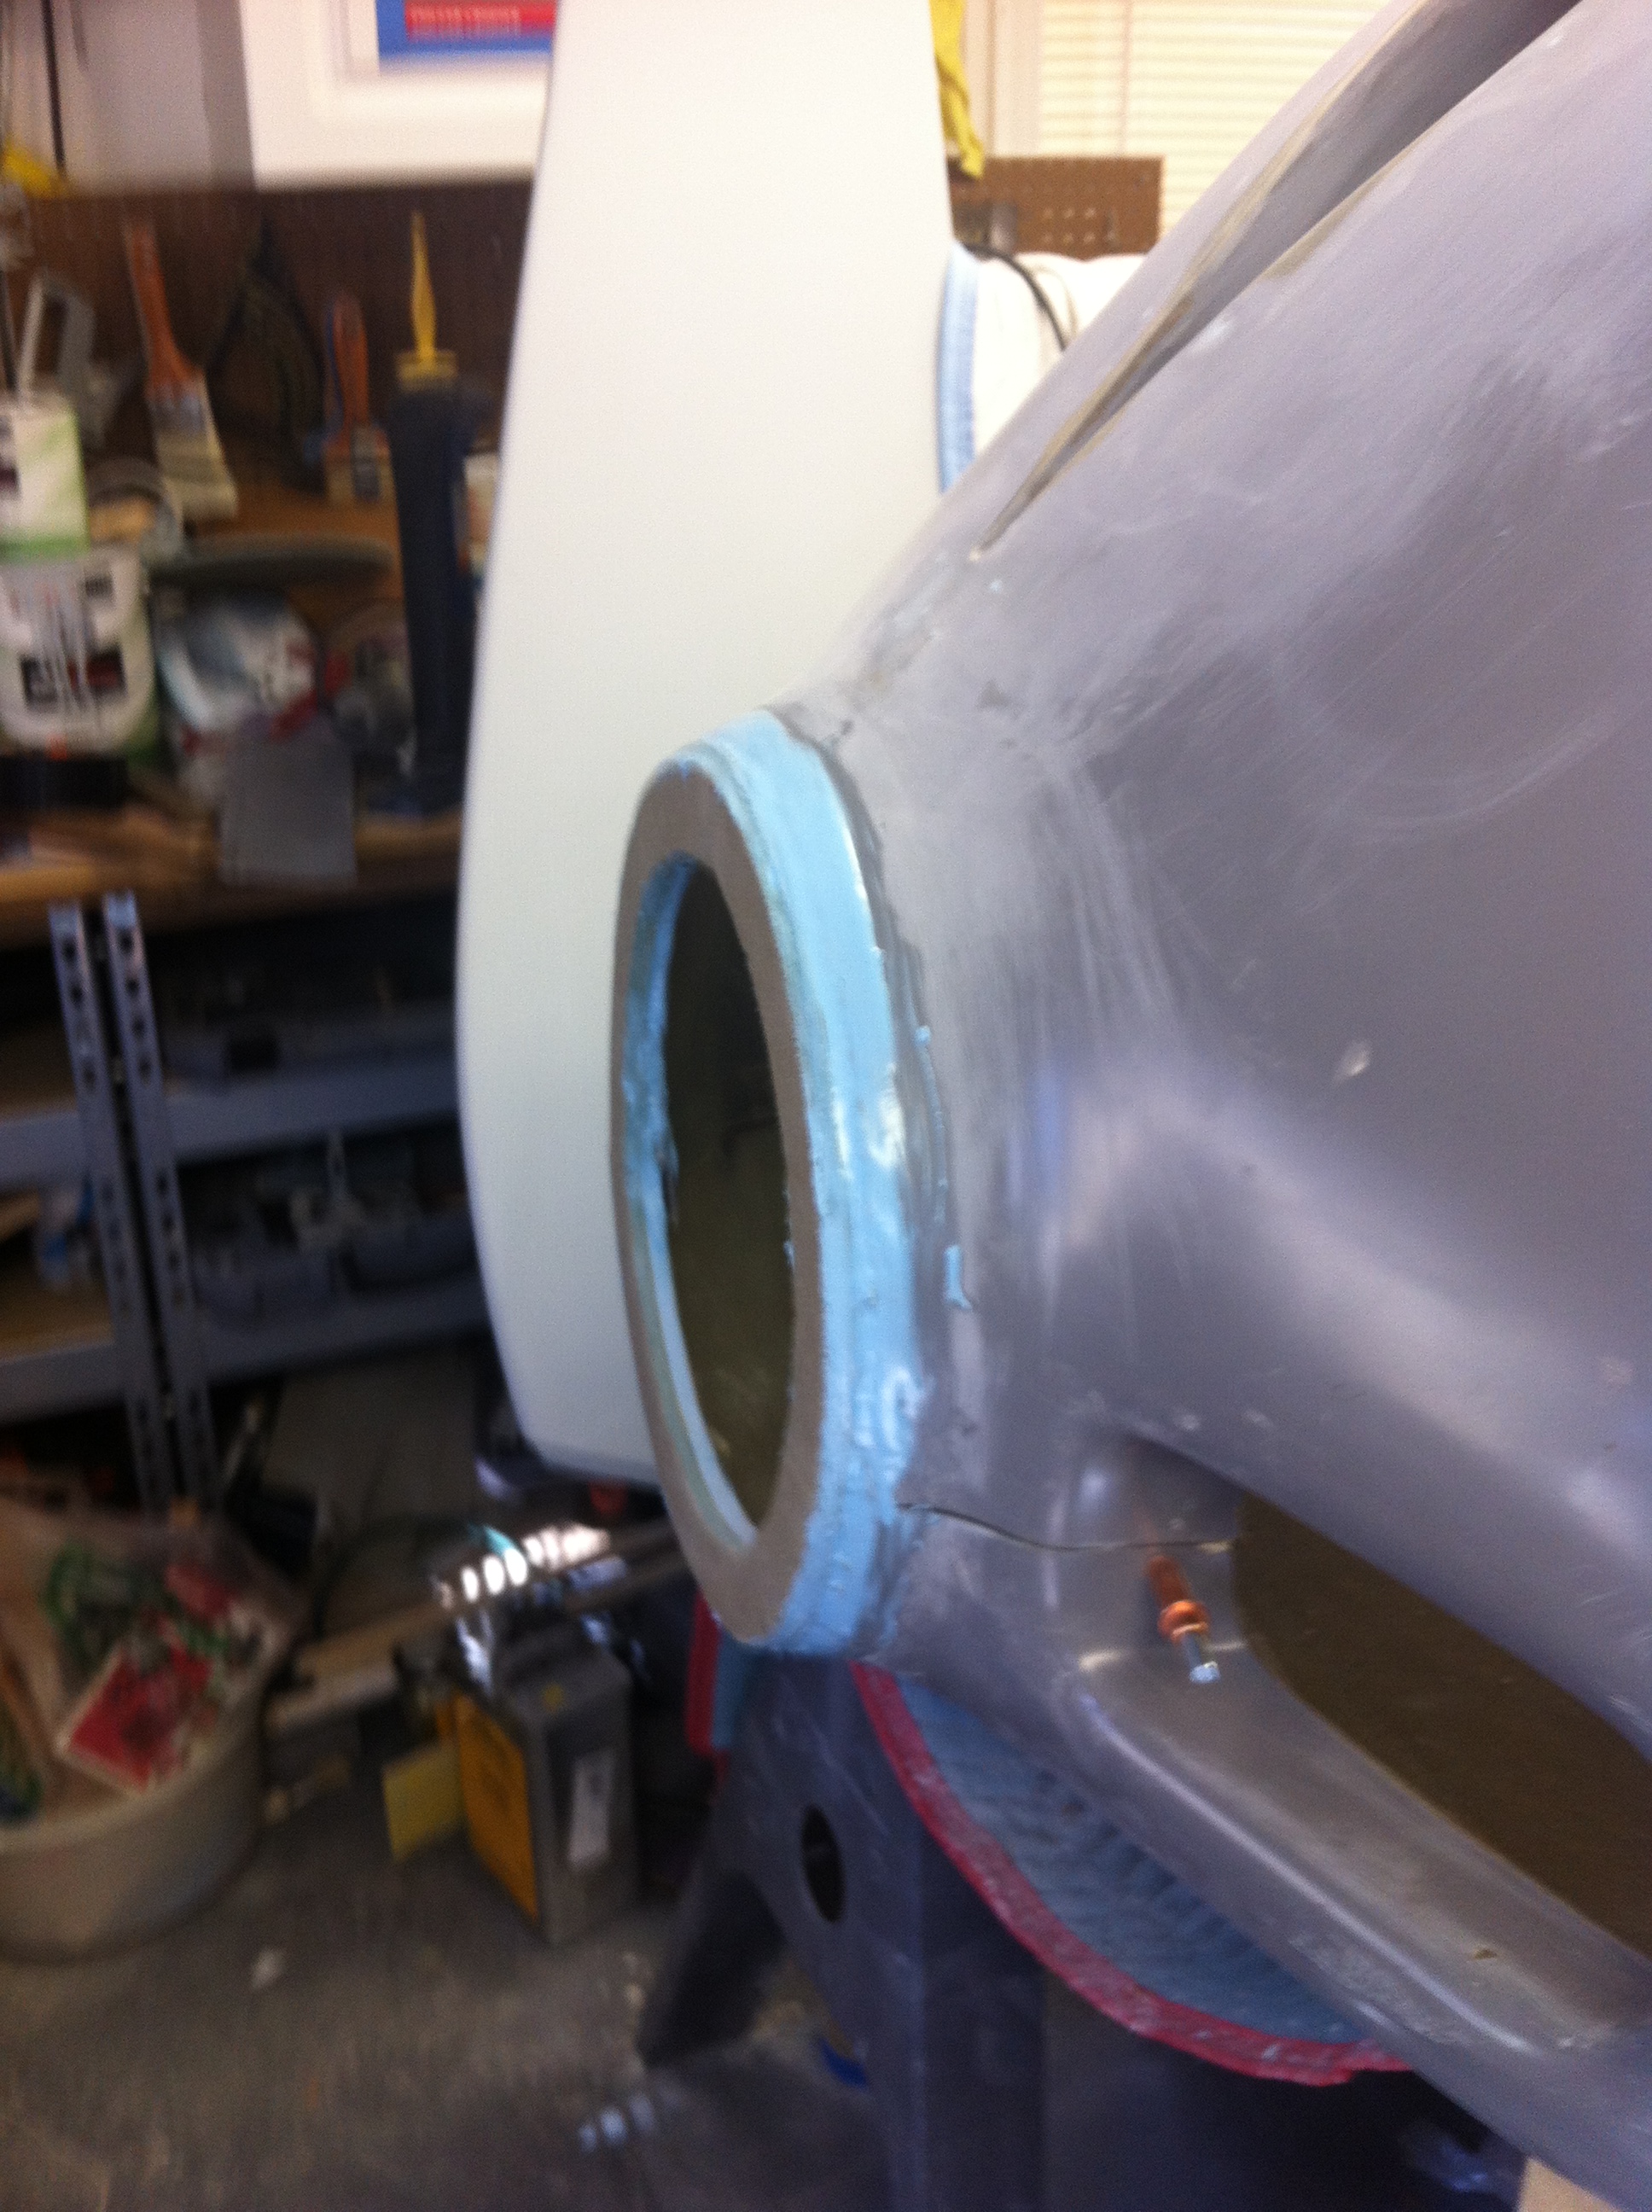
| The space that needed to be filled was 1/4 inch to 1/2 inche. So I started with a 1/4 inch fiberglass panel. |
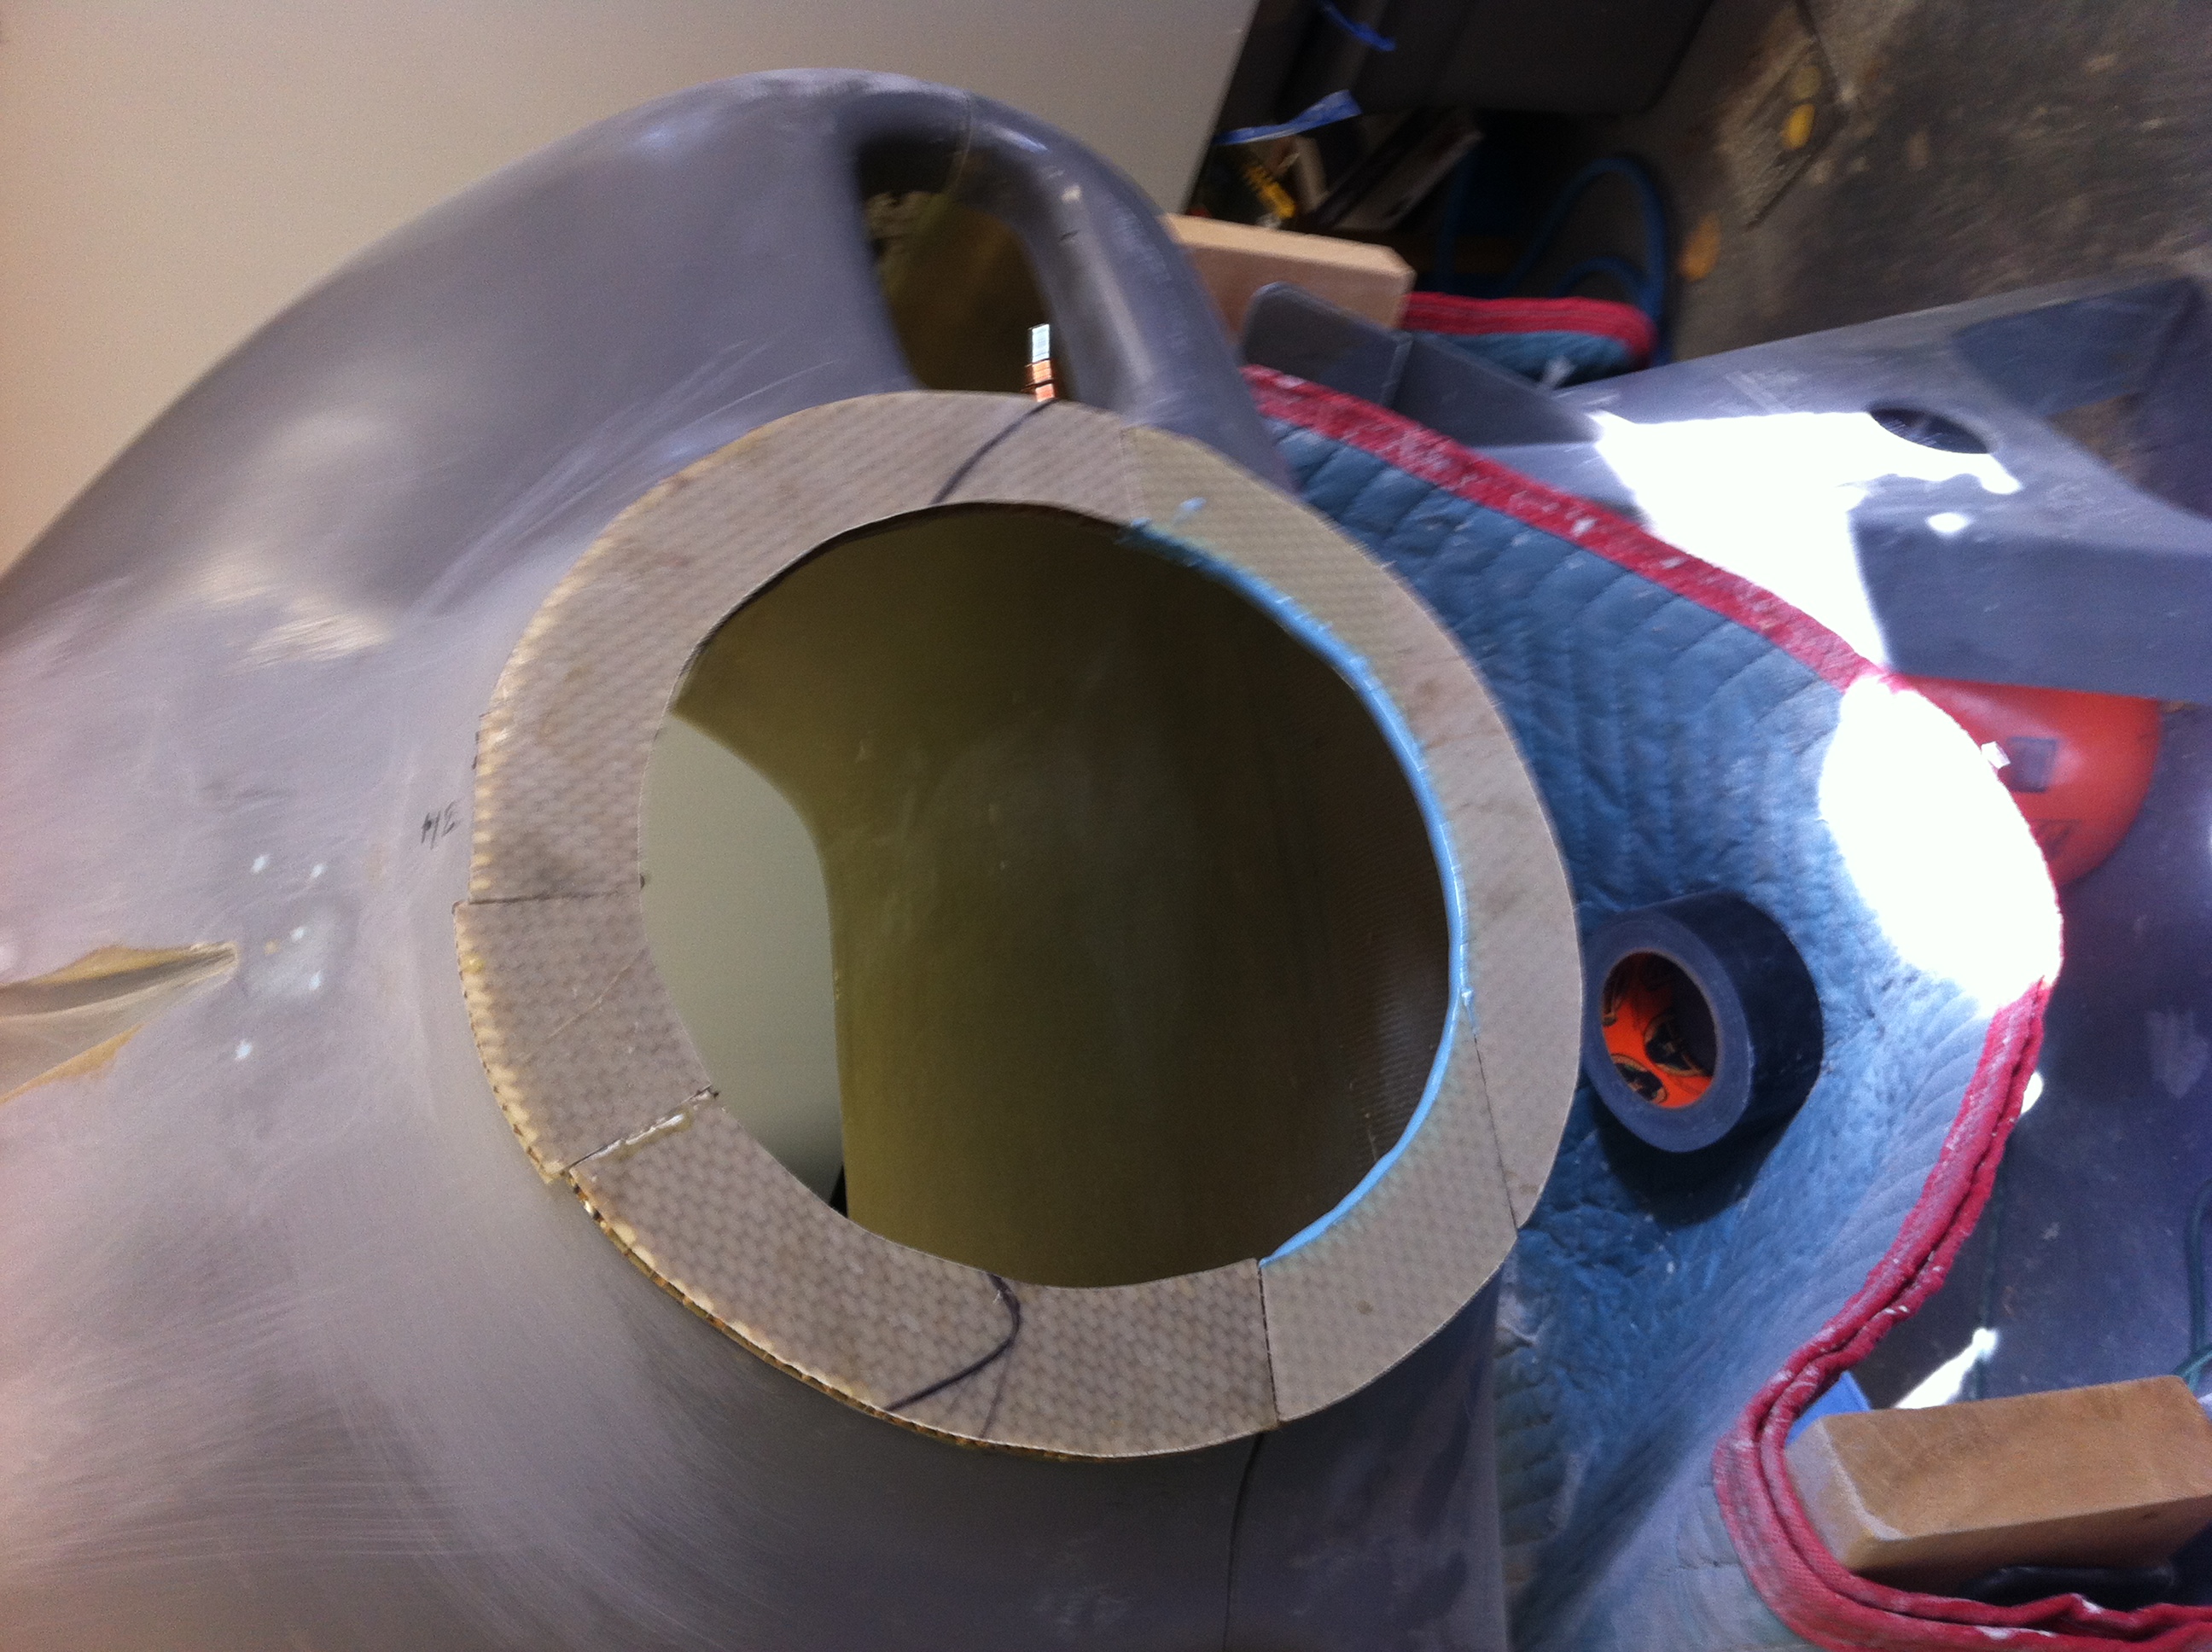
After
bonding tahe 1/4 inch glass to the opening, I added additional layers
of glass to build up the top to the 1/2 inch thickness. |
 |
 |
| I bonded everything with epoxy and added filler on both the inside and the outside. |
Fill and Sand, Fill and Sand. Fill and shape until the opening and the area are smooth and the proper diameter. |