
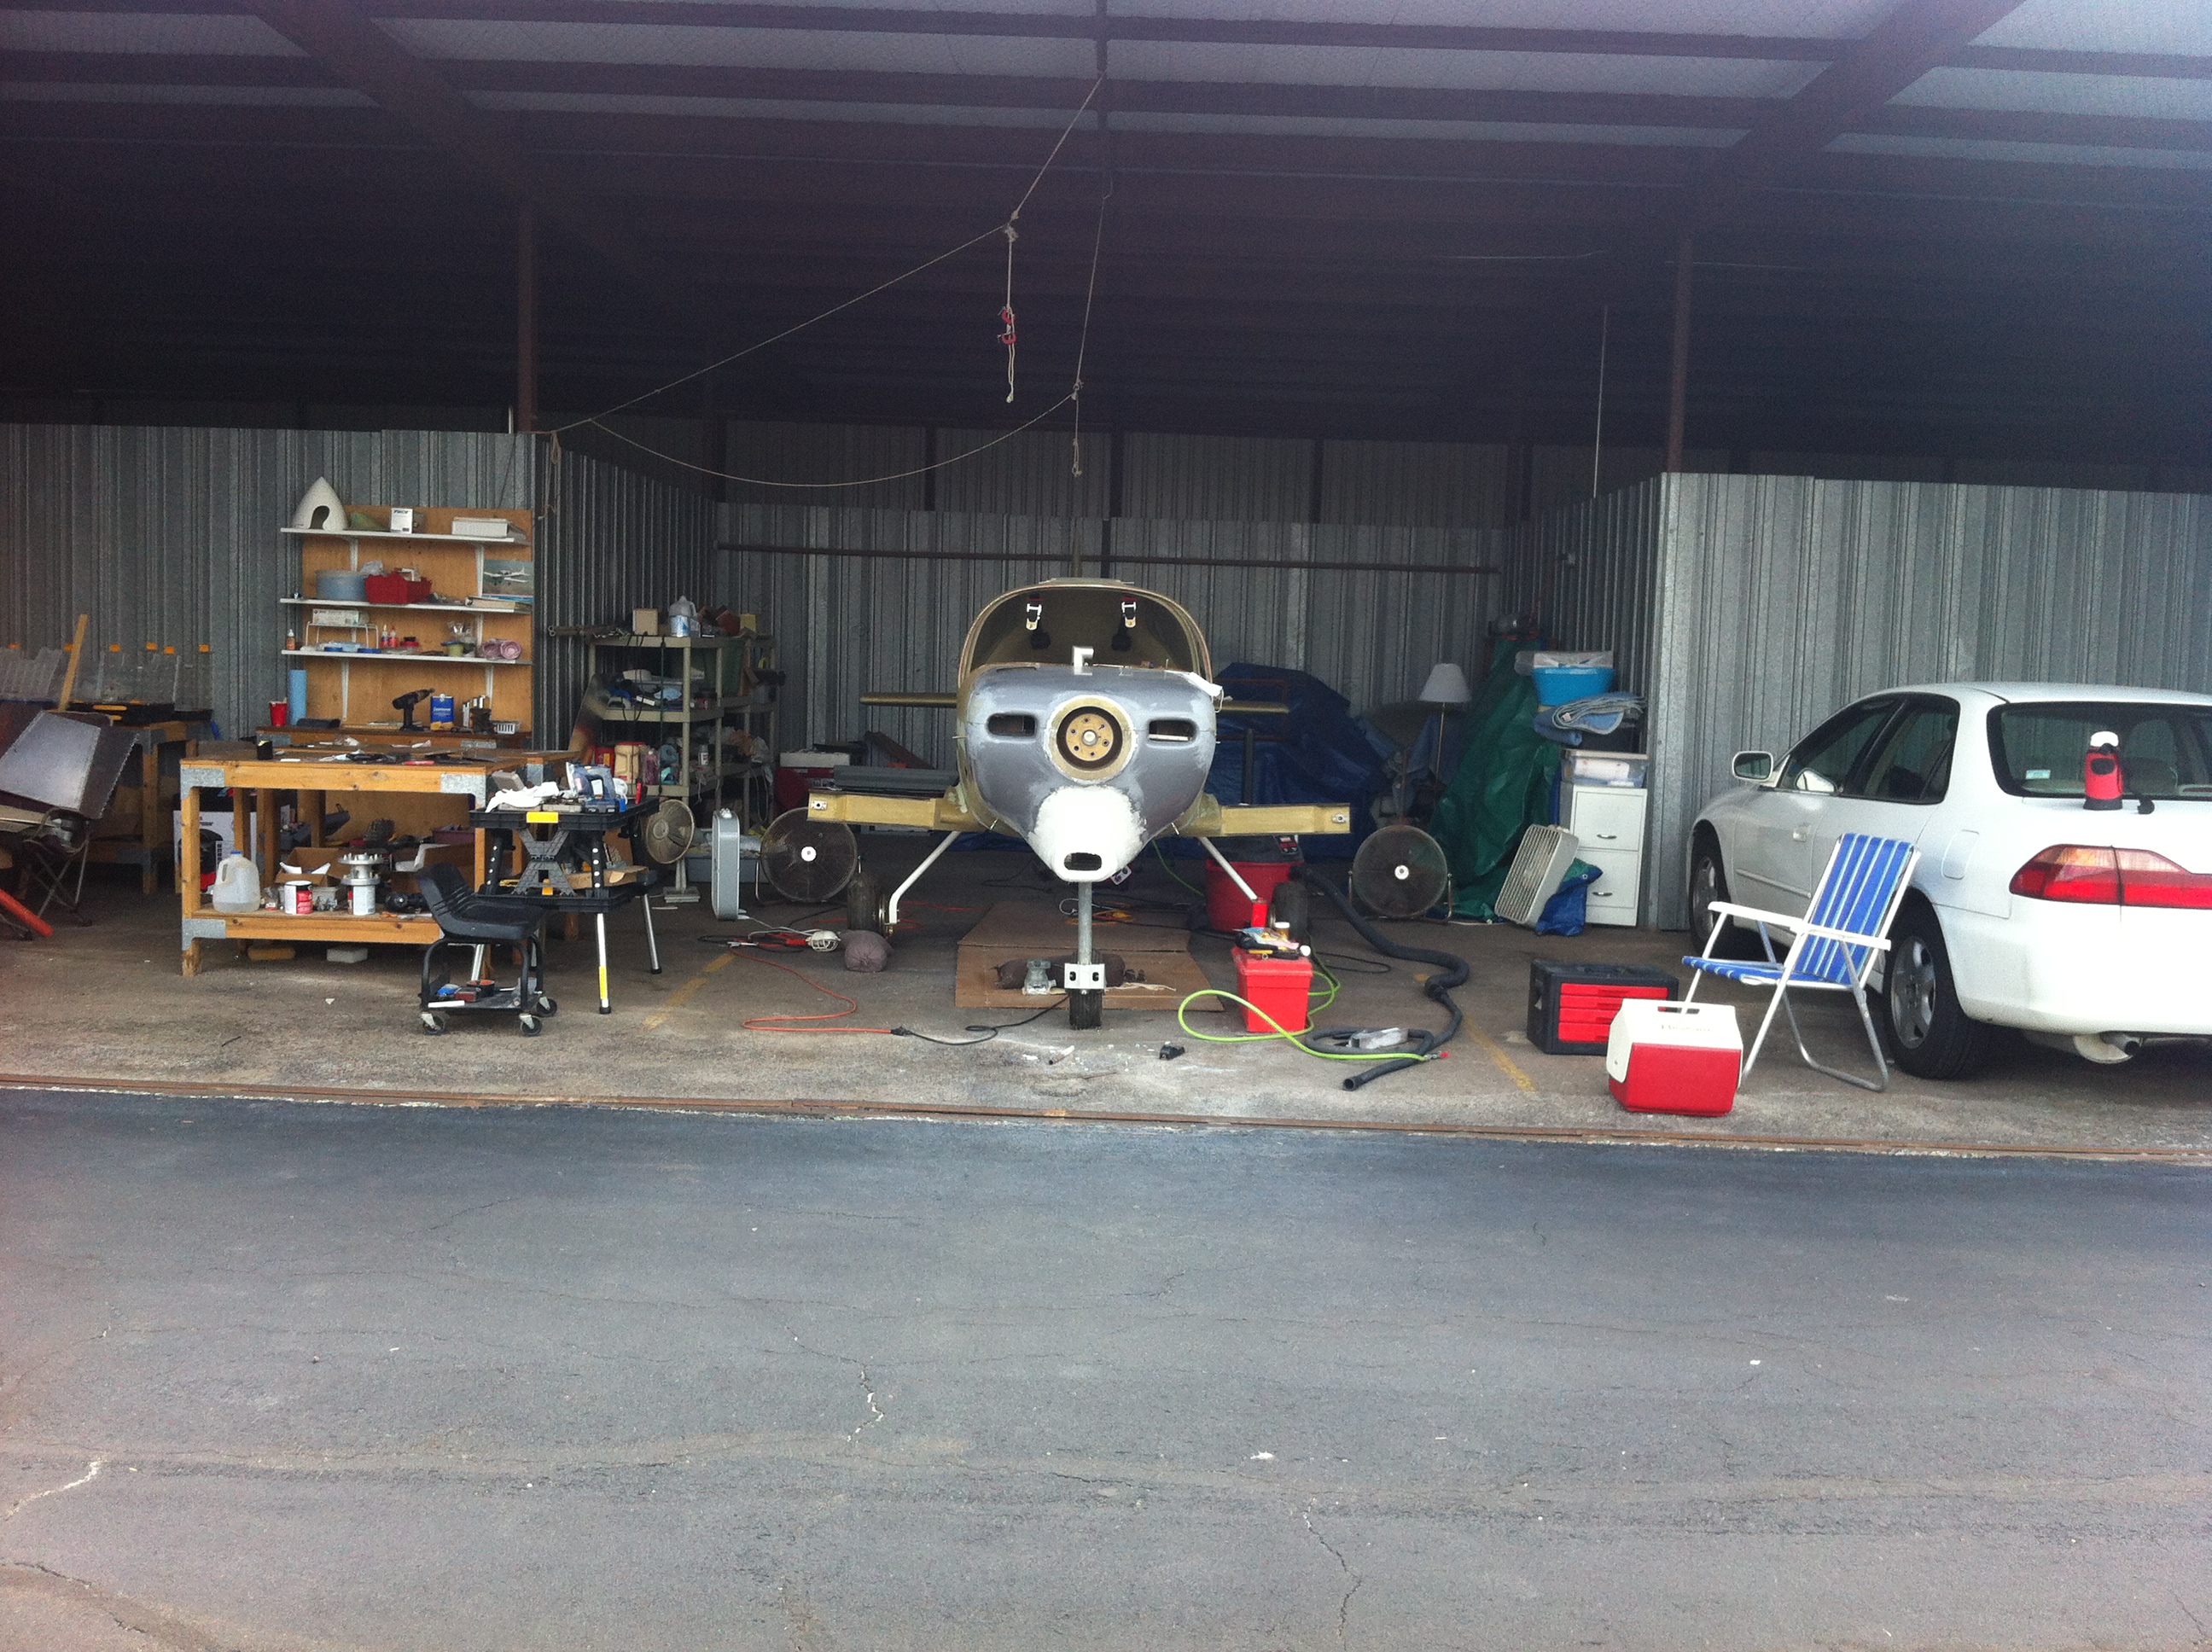
N247BR
Engine Cowling - Air Inlet
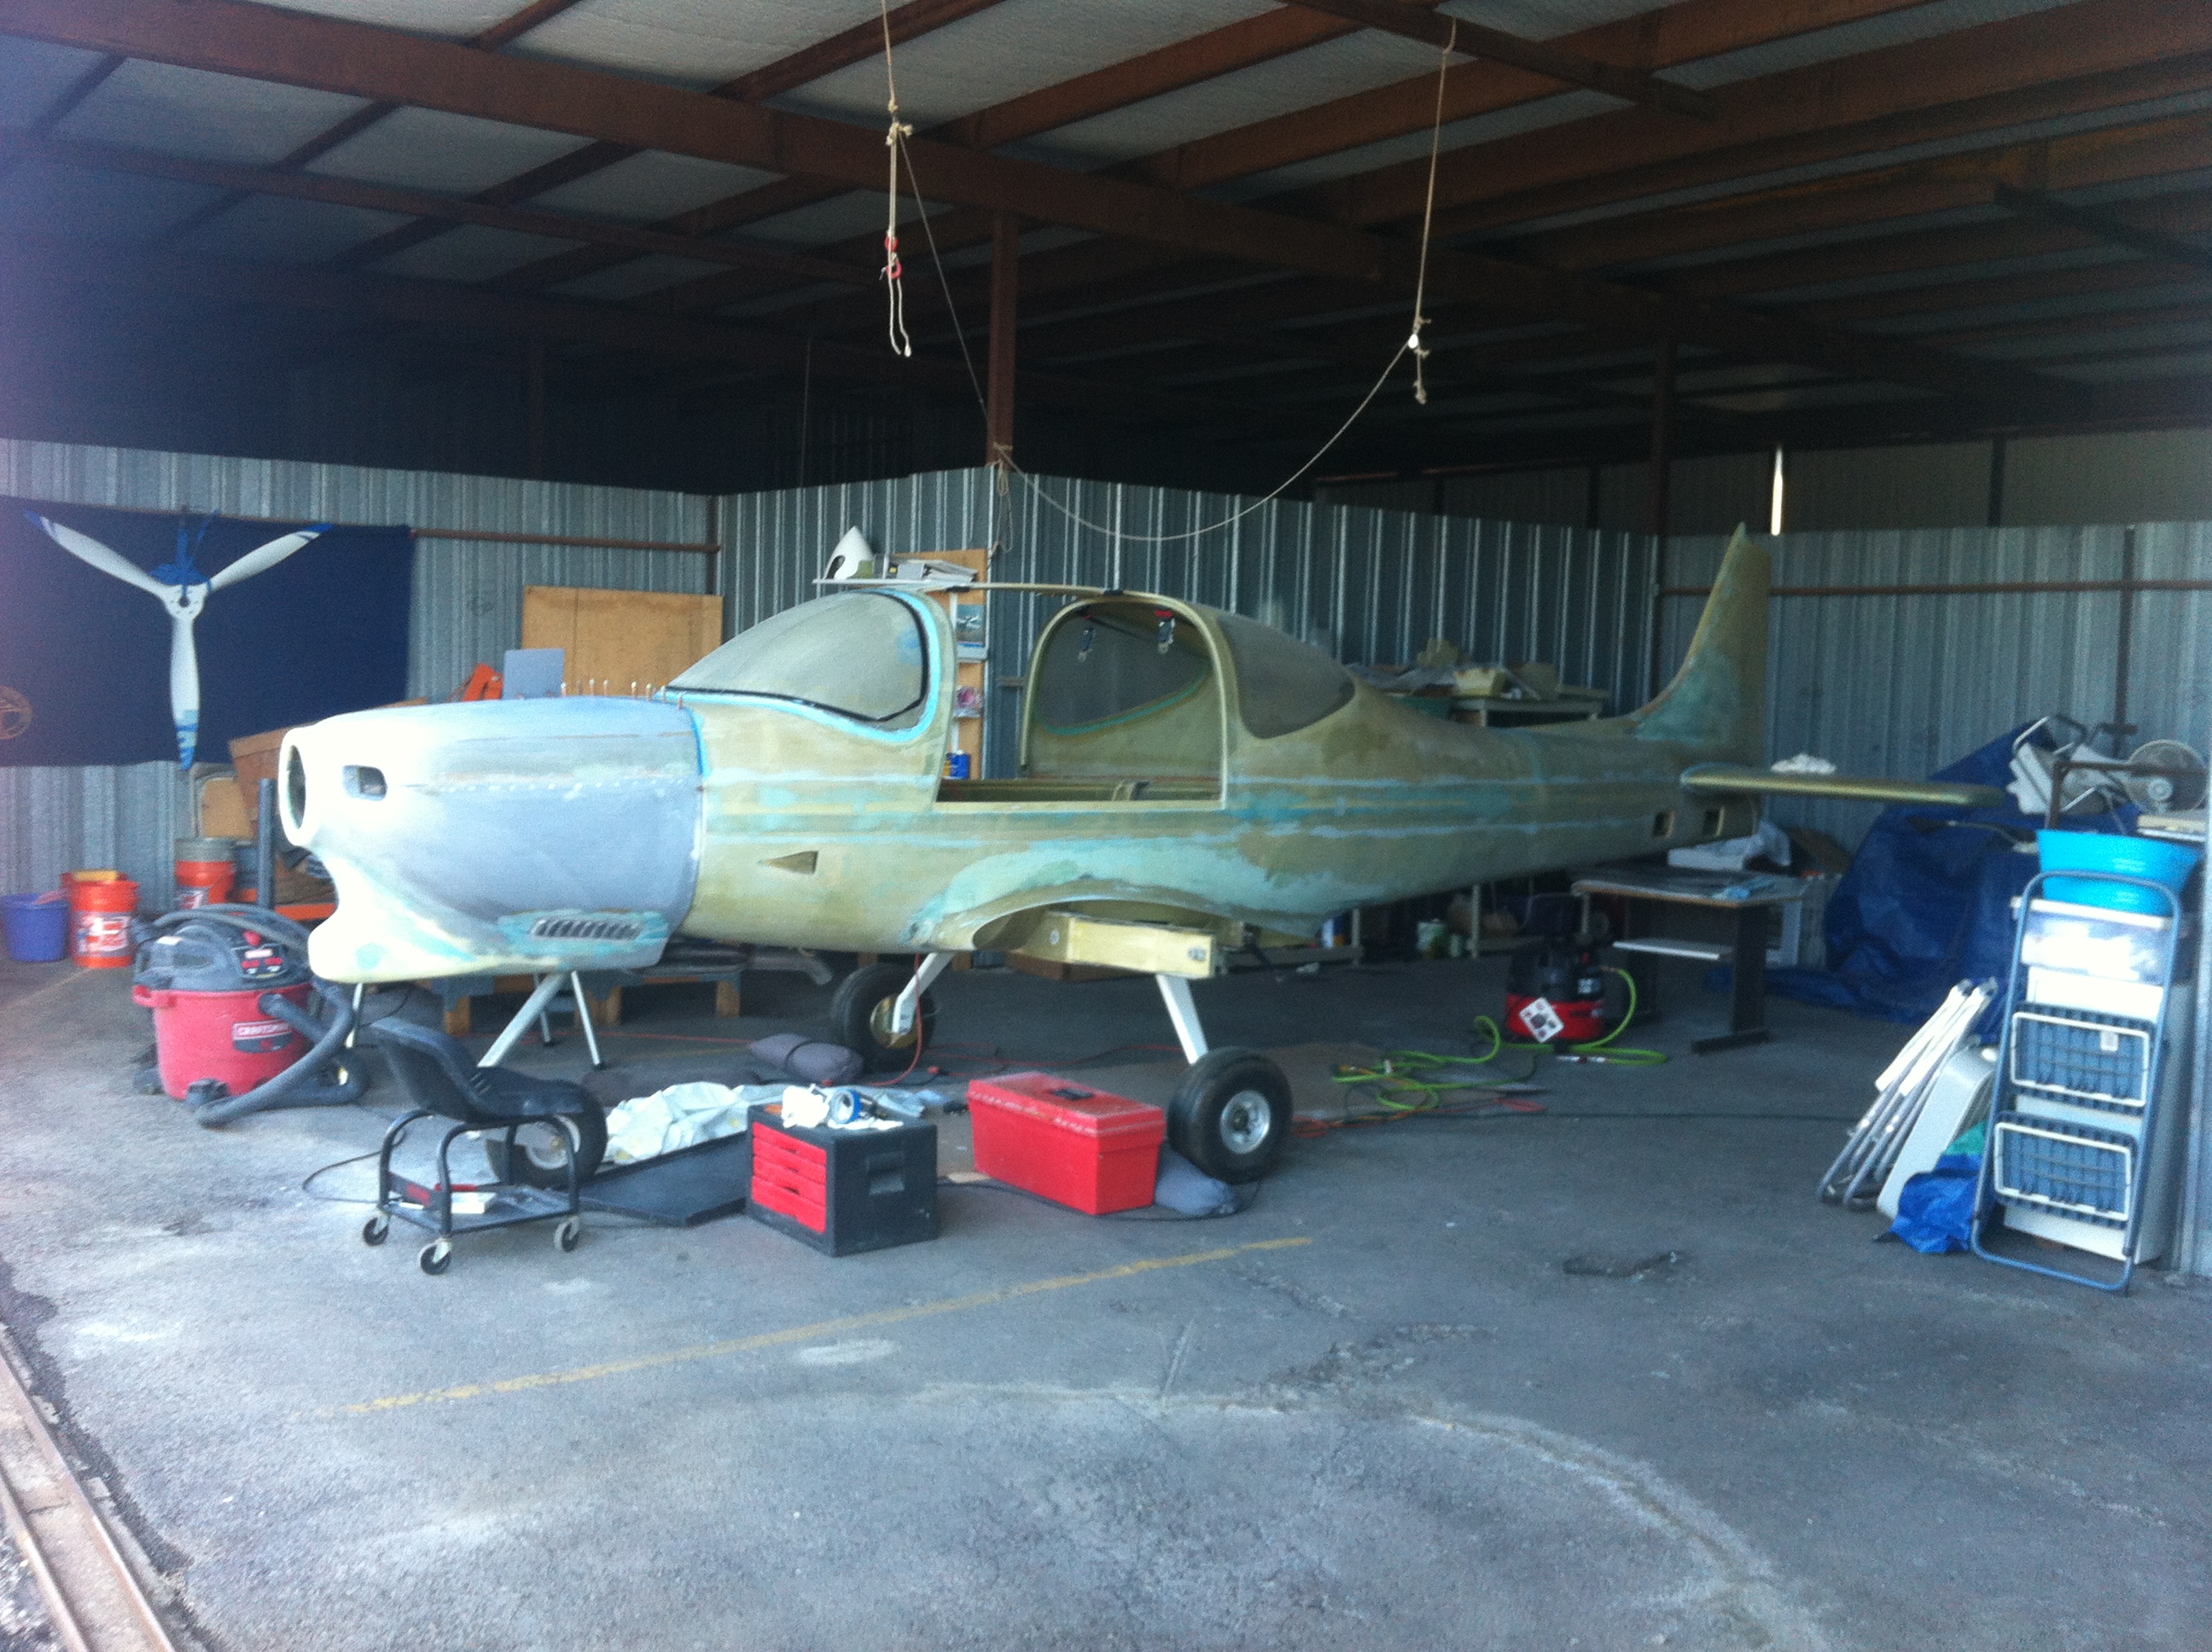
| The
original plan for the cowling air inlet was to use the supplied NACA
duct. I installed the NACA inlet before I realized that the
throttle body and filter box would NOT fit within the lower
cowling. The entire underside of the cowling needed to be lowered
and the NACA inlet was too far back. I was forced to redesign the
entire air inlet. In addition, the air filter was offset from the
center line by a full inch. I also wanted to find a way to
support the lower cowling when mounting. |
|
 |
 |
 |
 |
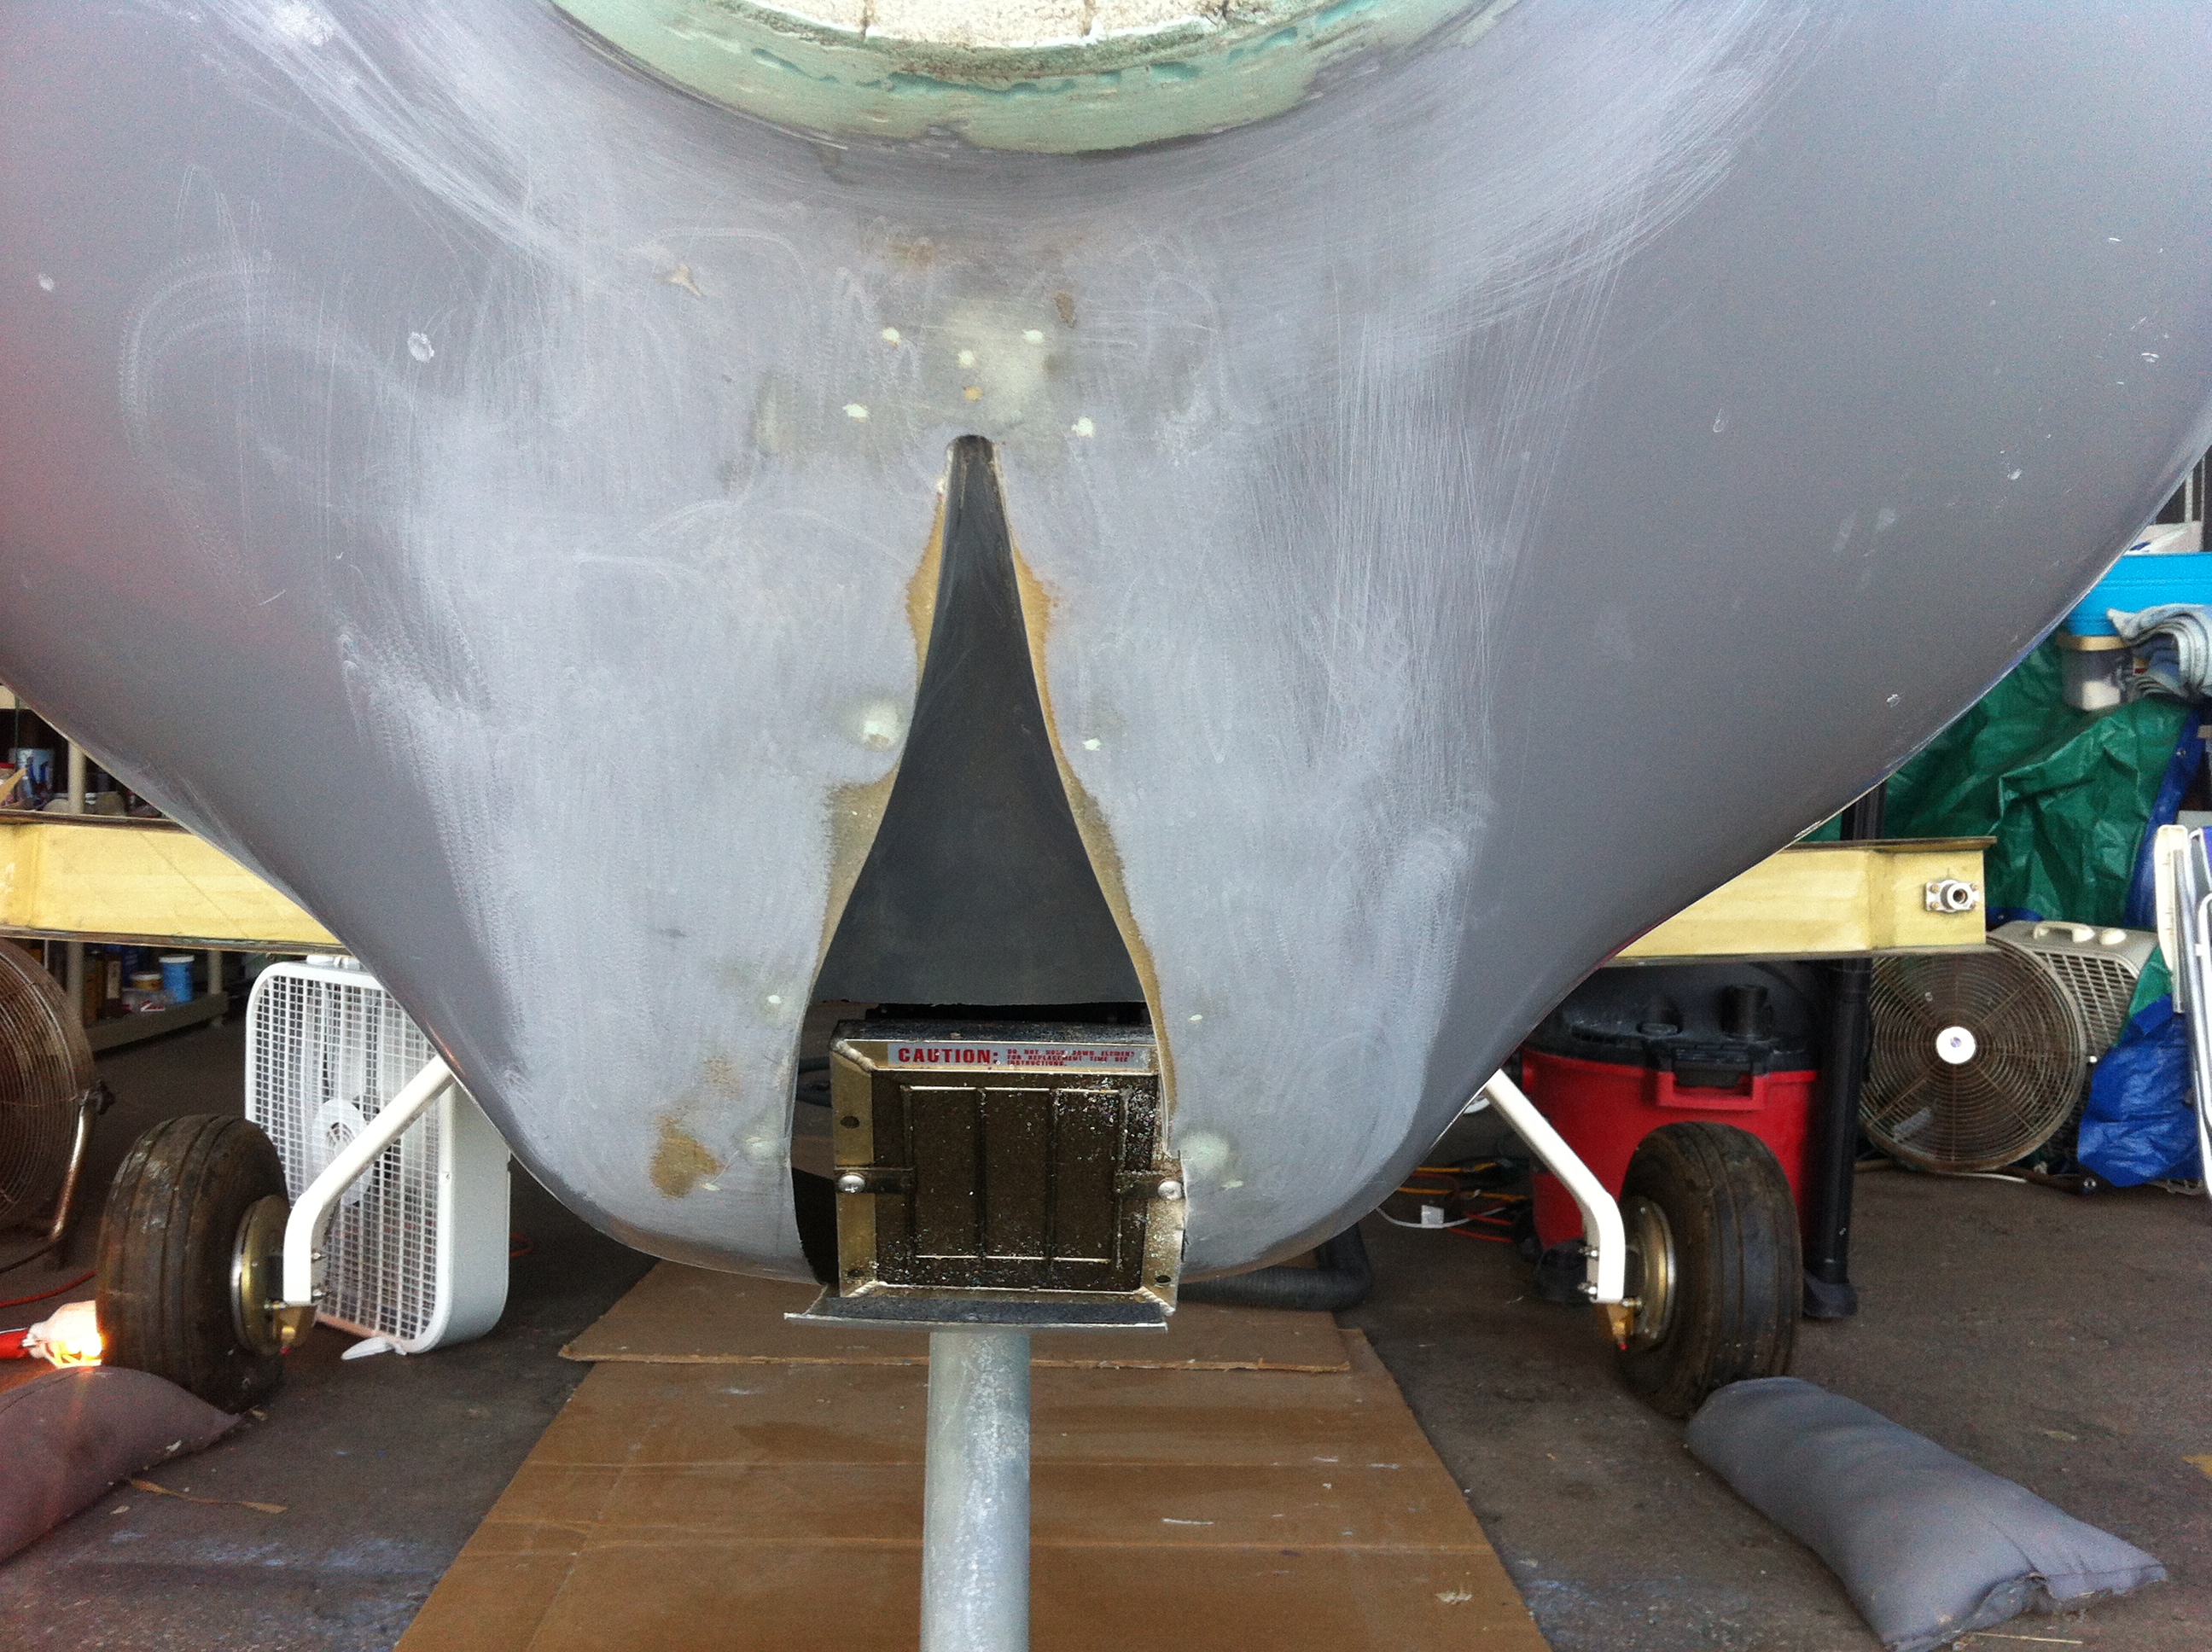
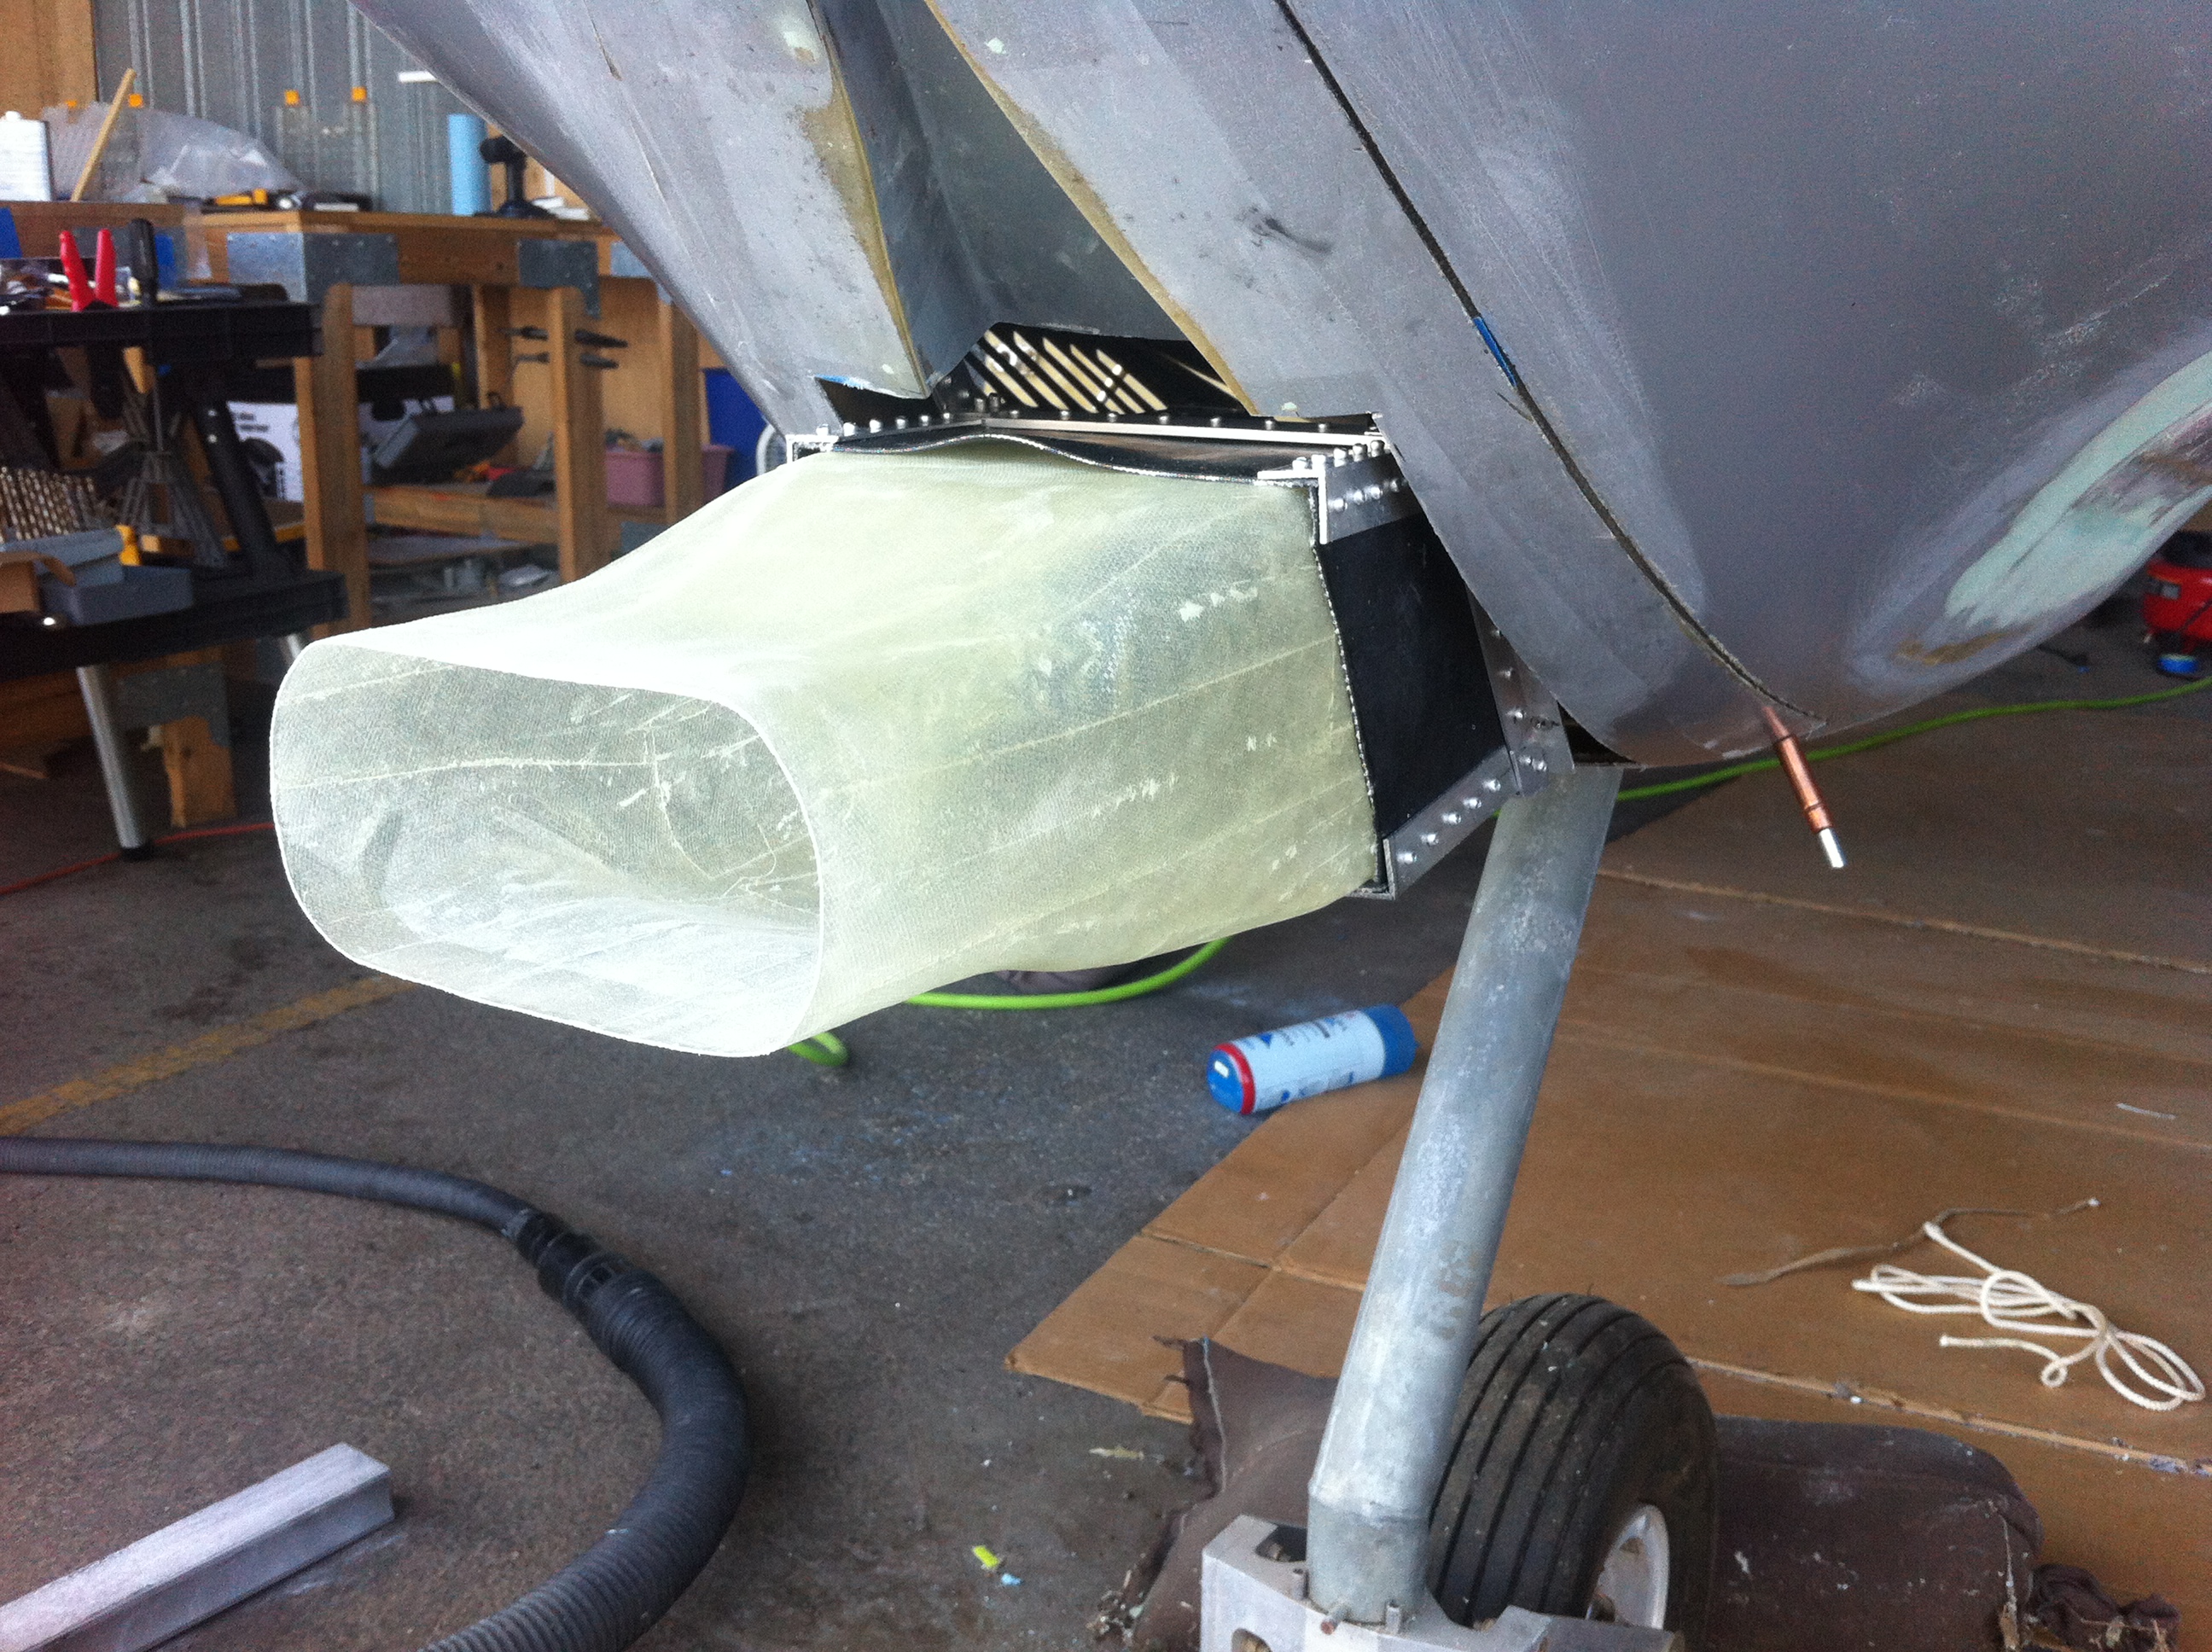
| The air box and inlet form is described in another section but the inside inlet is shown inserted into the airbox. |
This page shows the process of construction for the external cowling air inlet. |
 |
 |
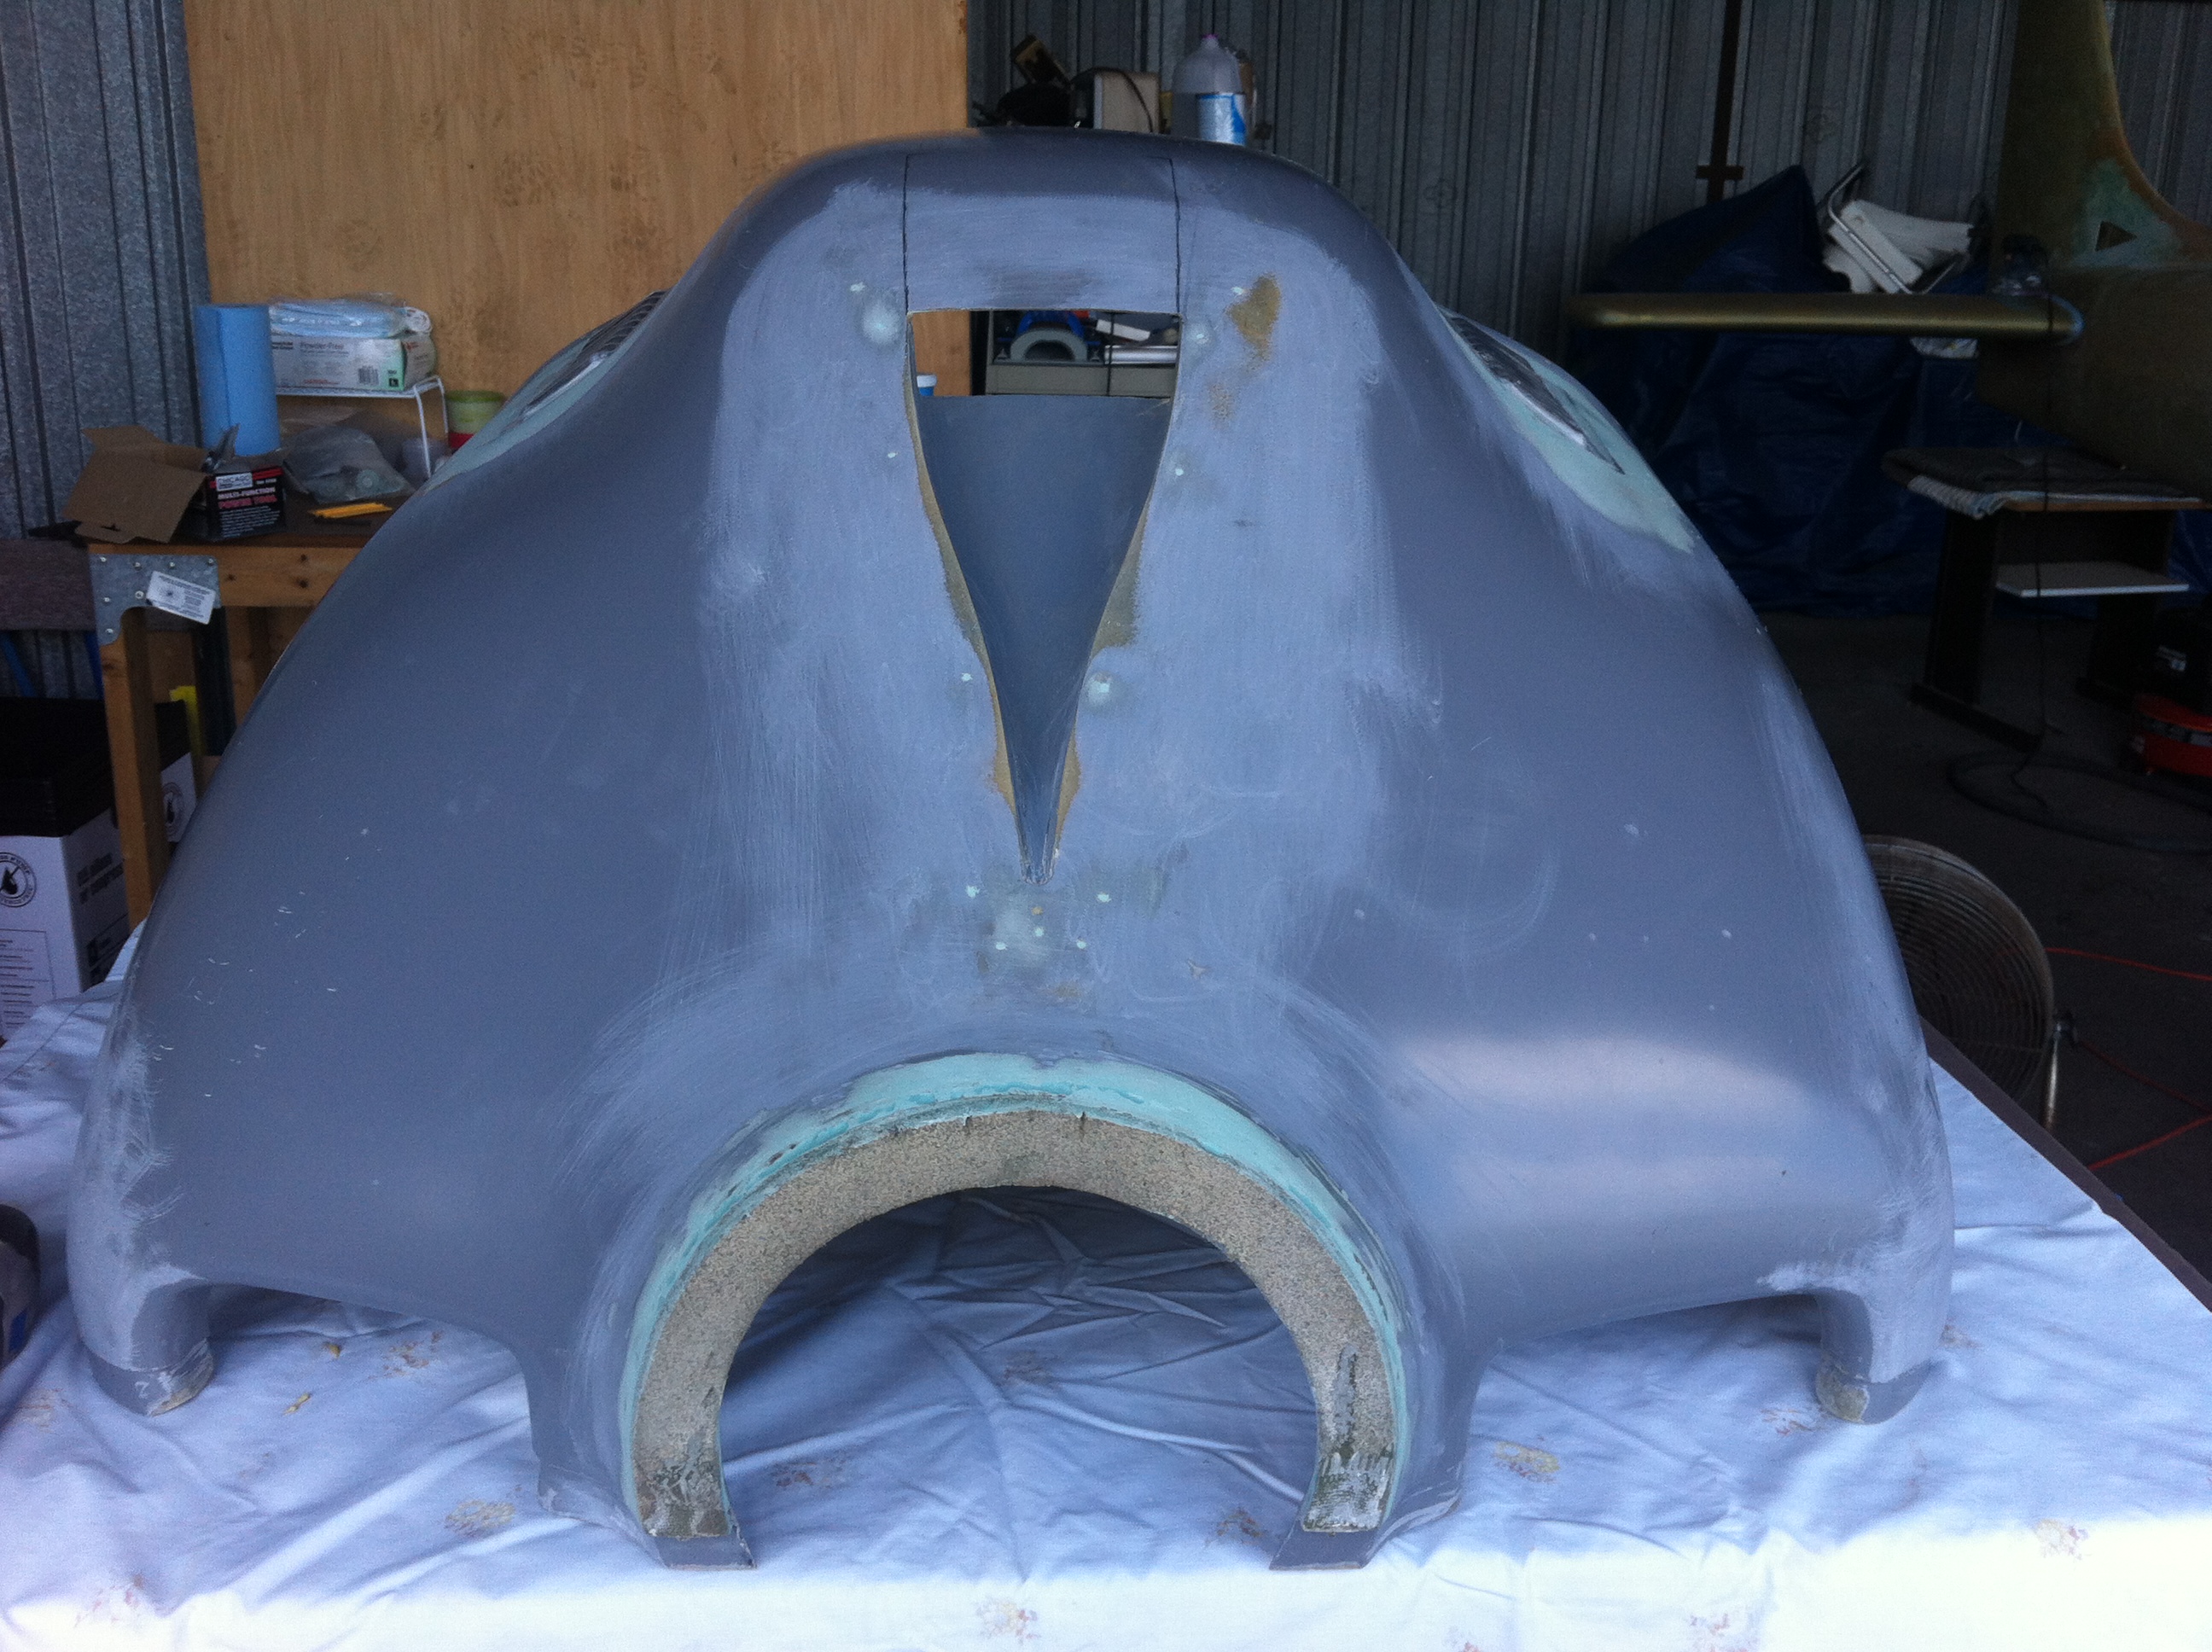
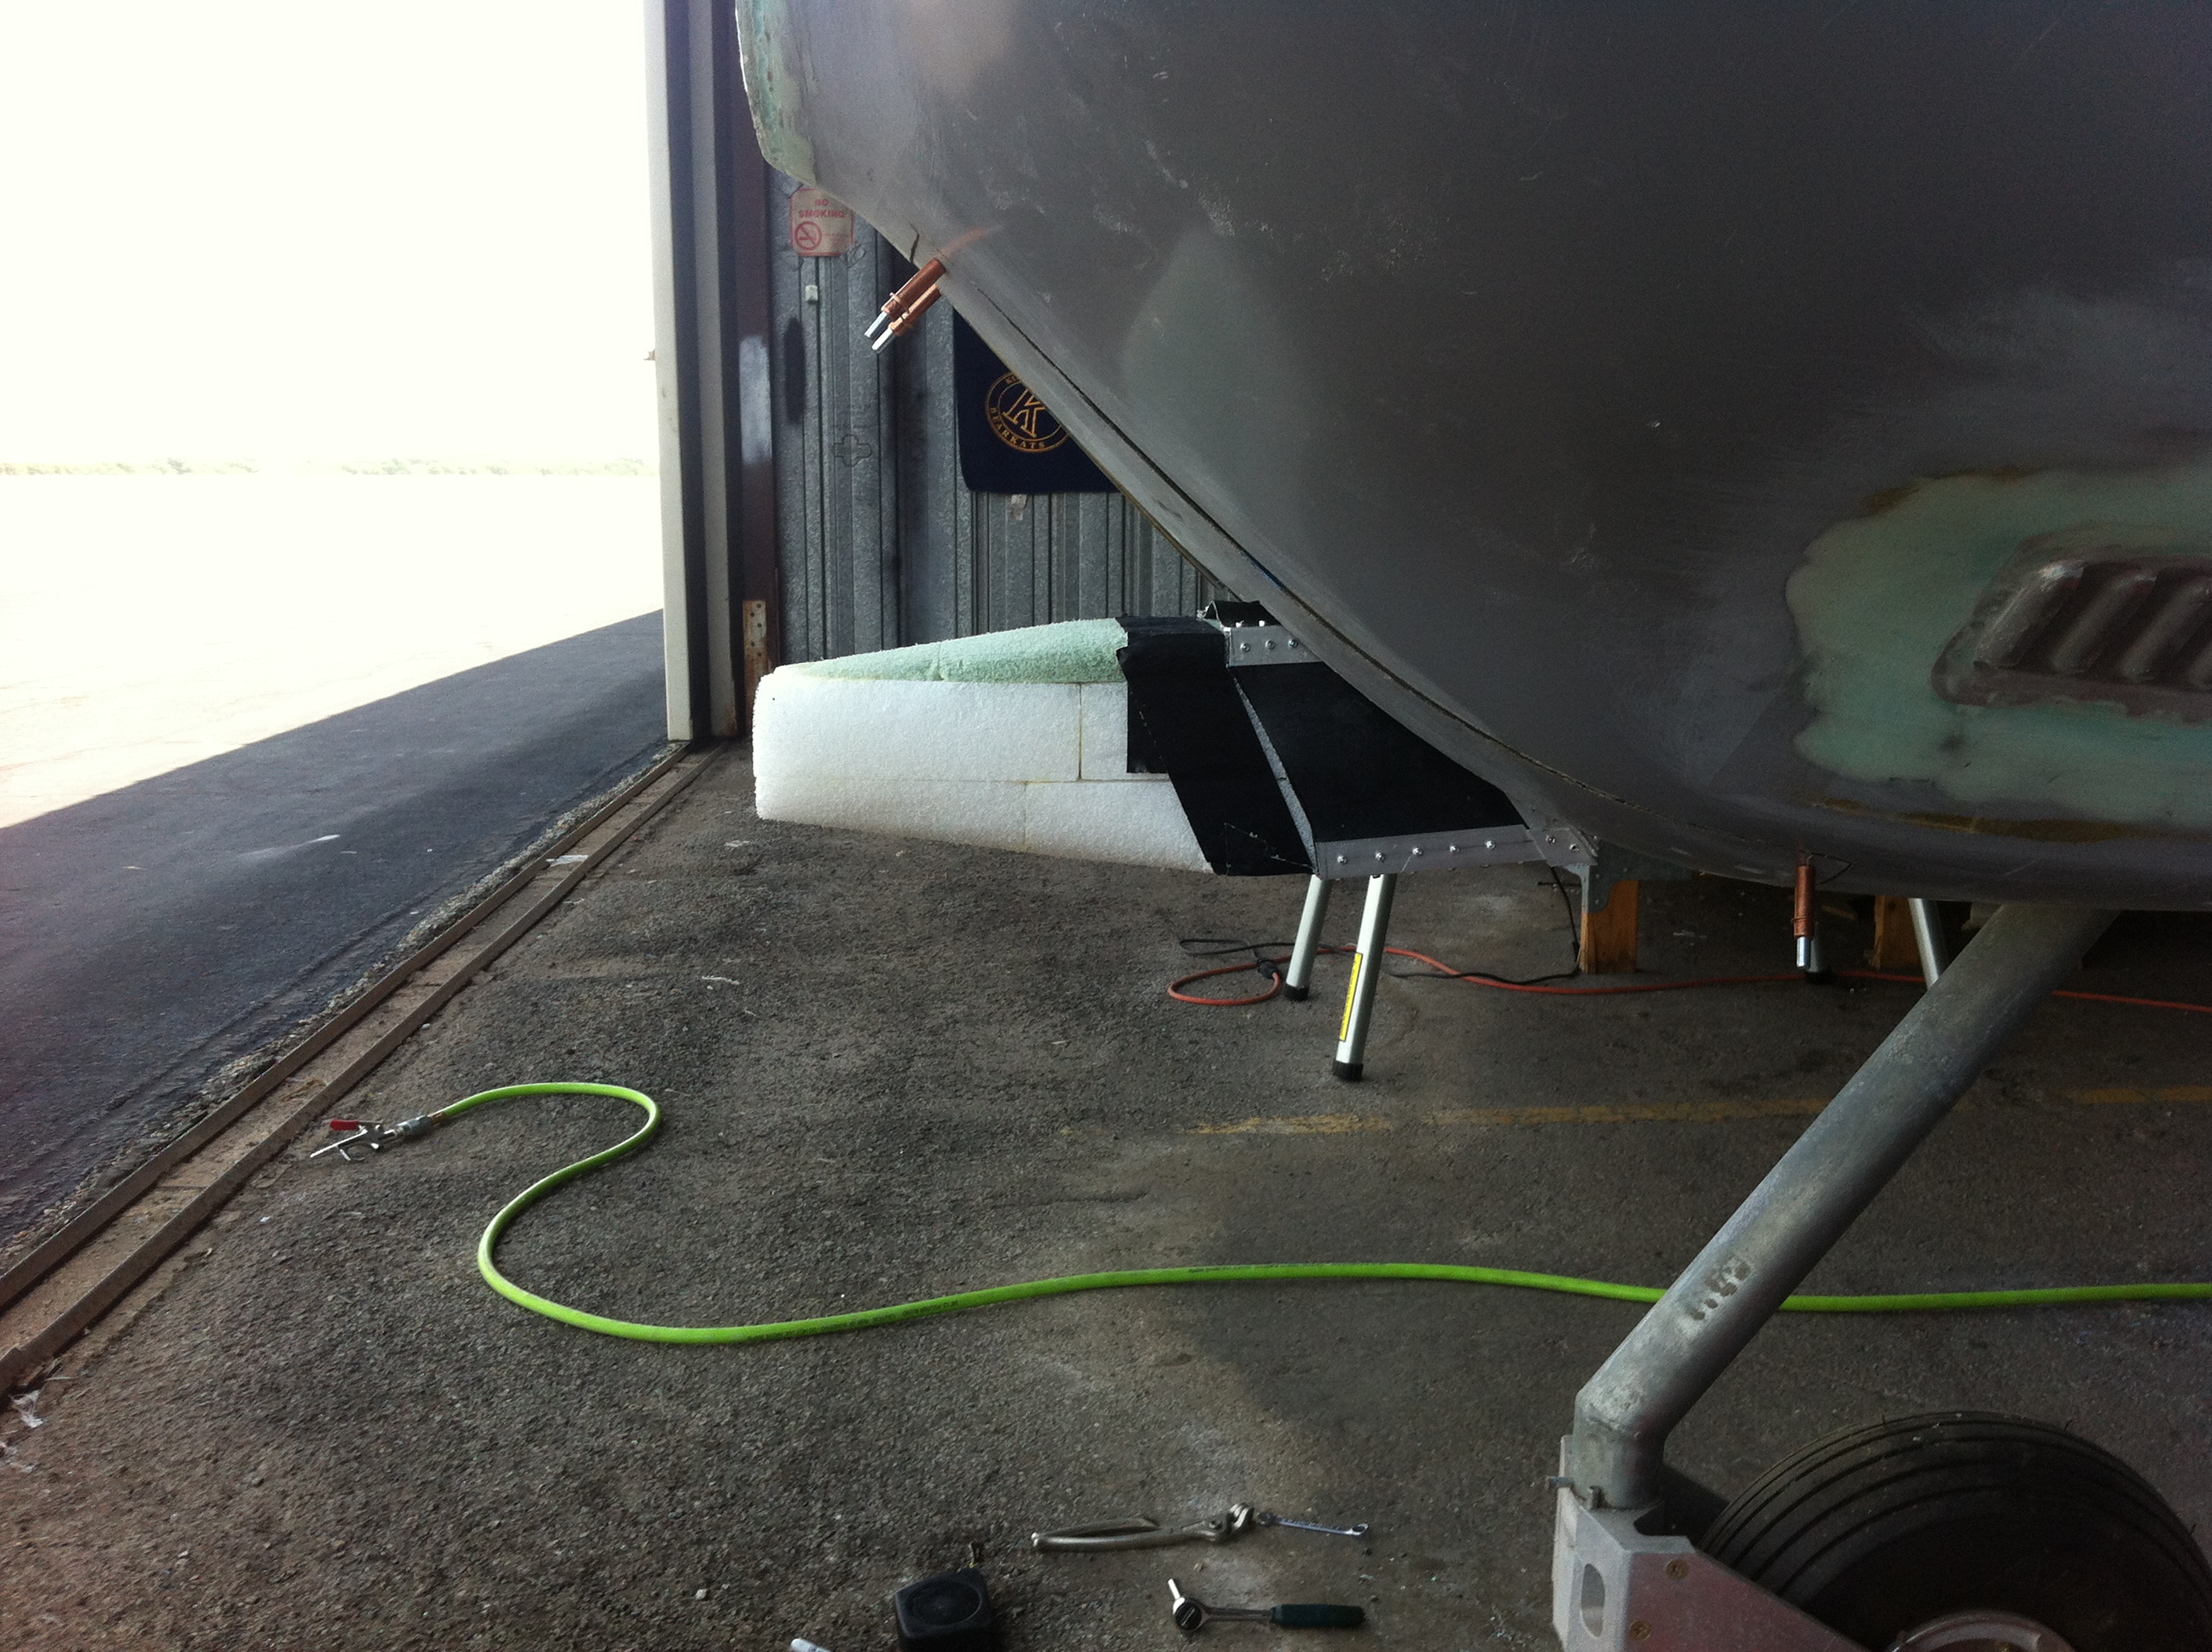
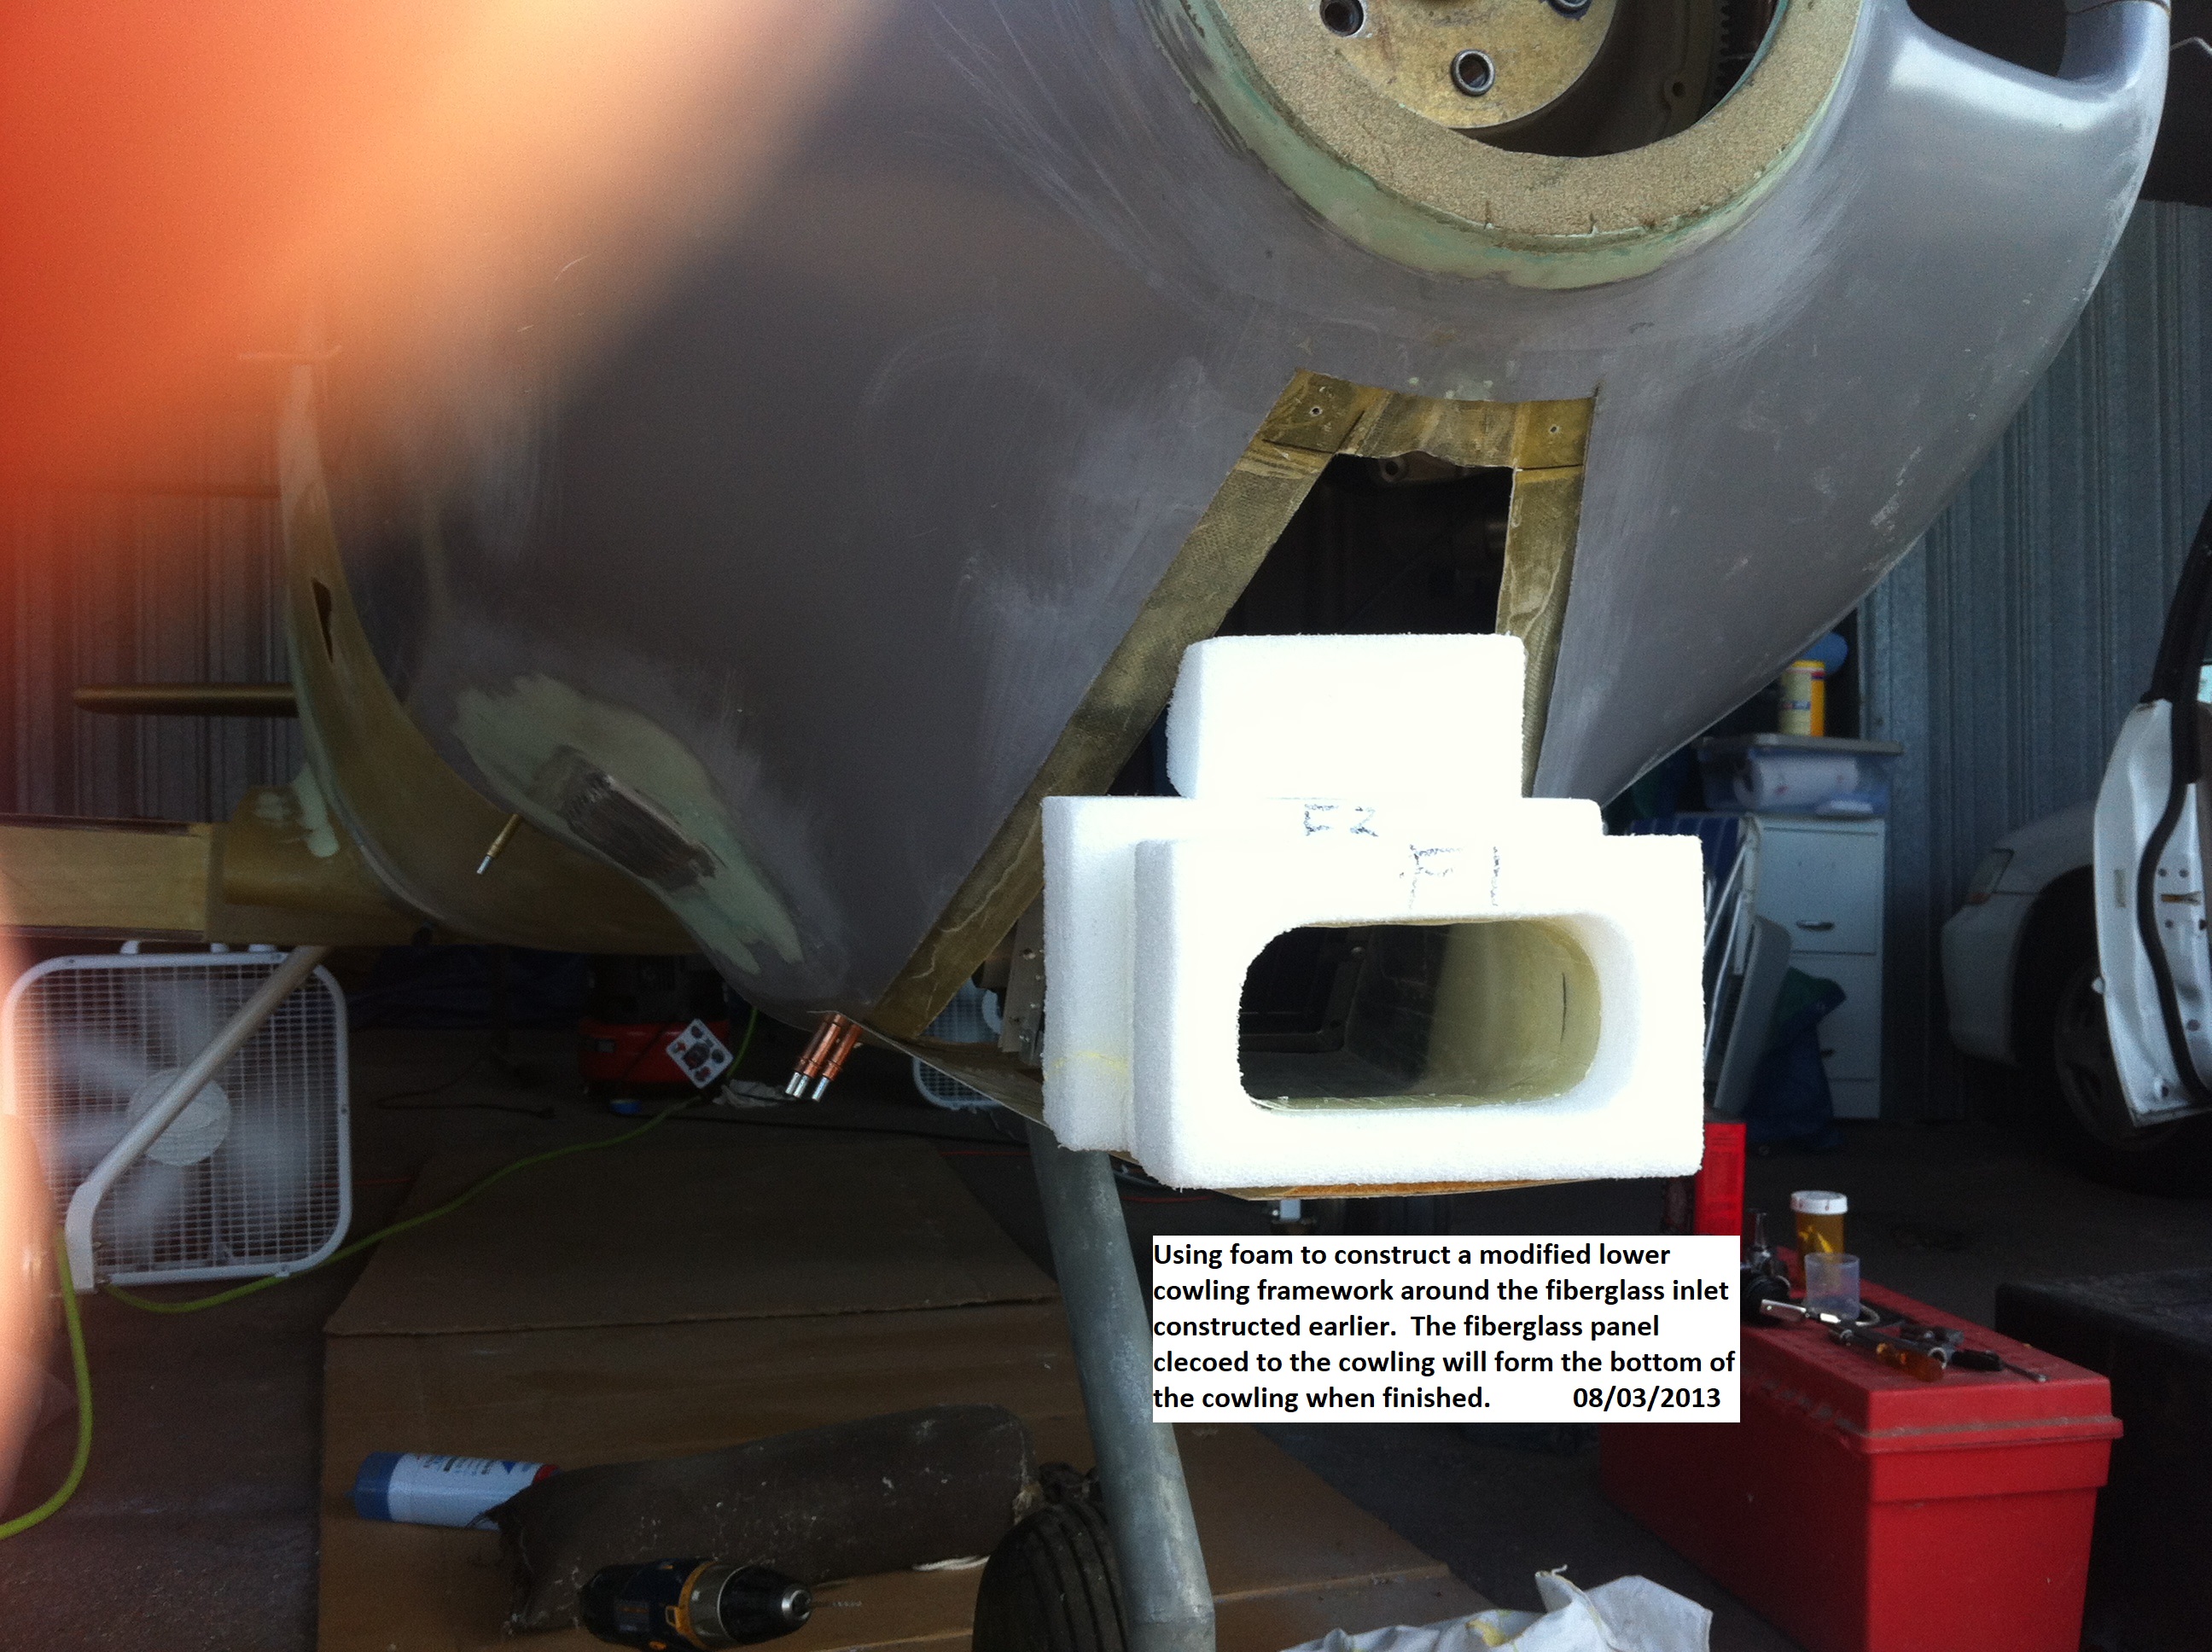
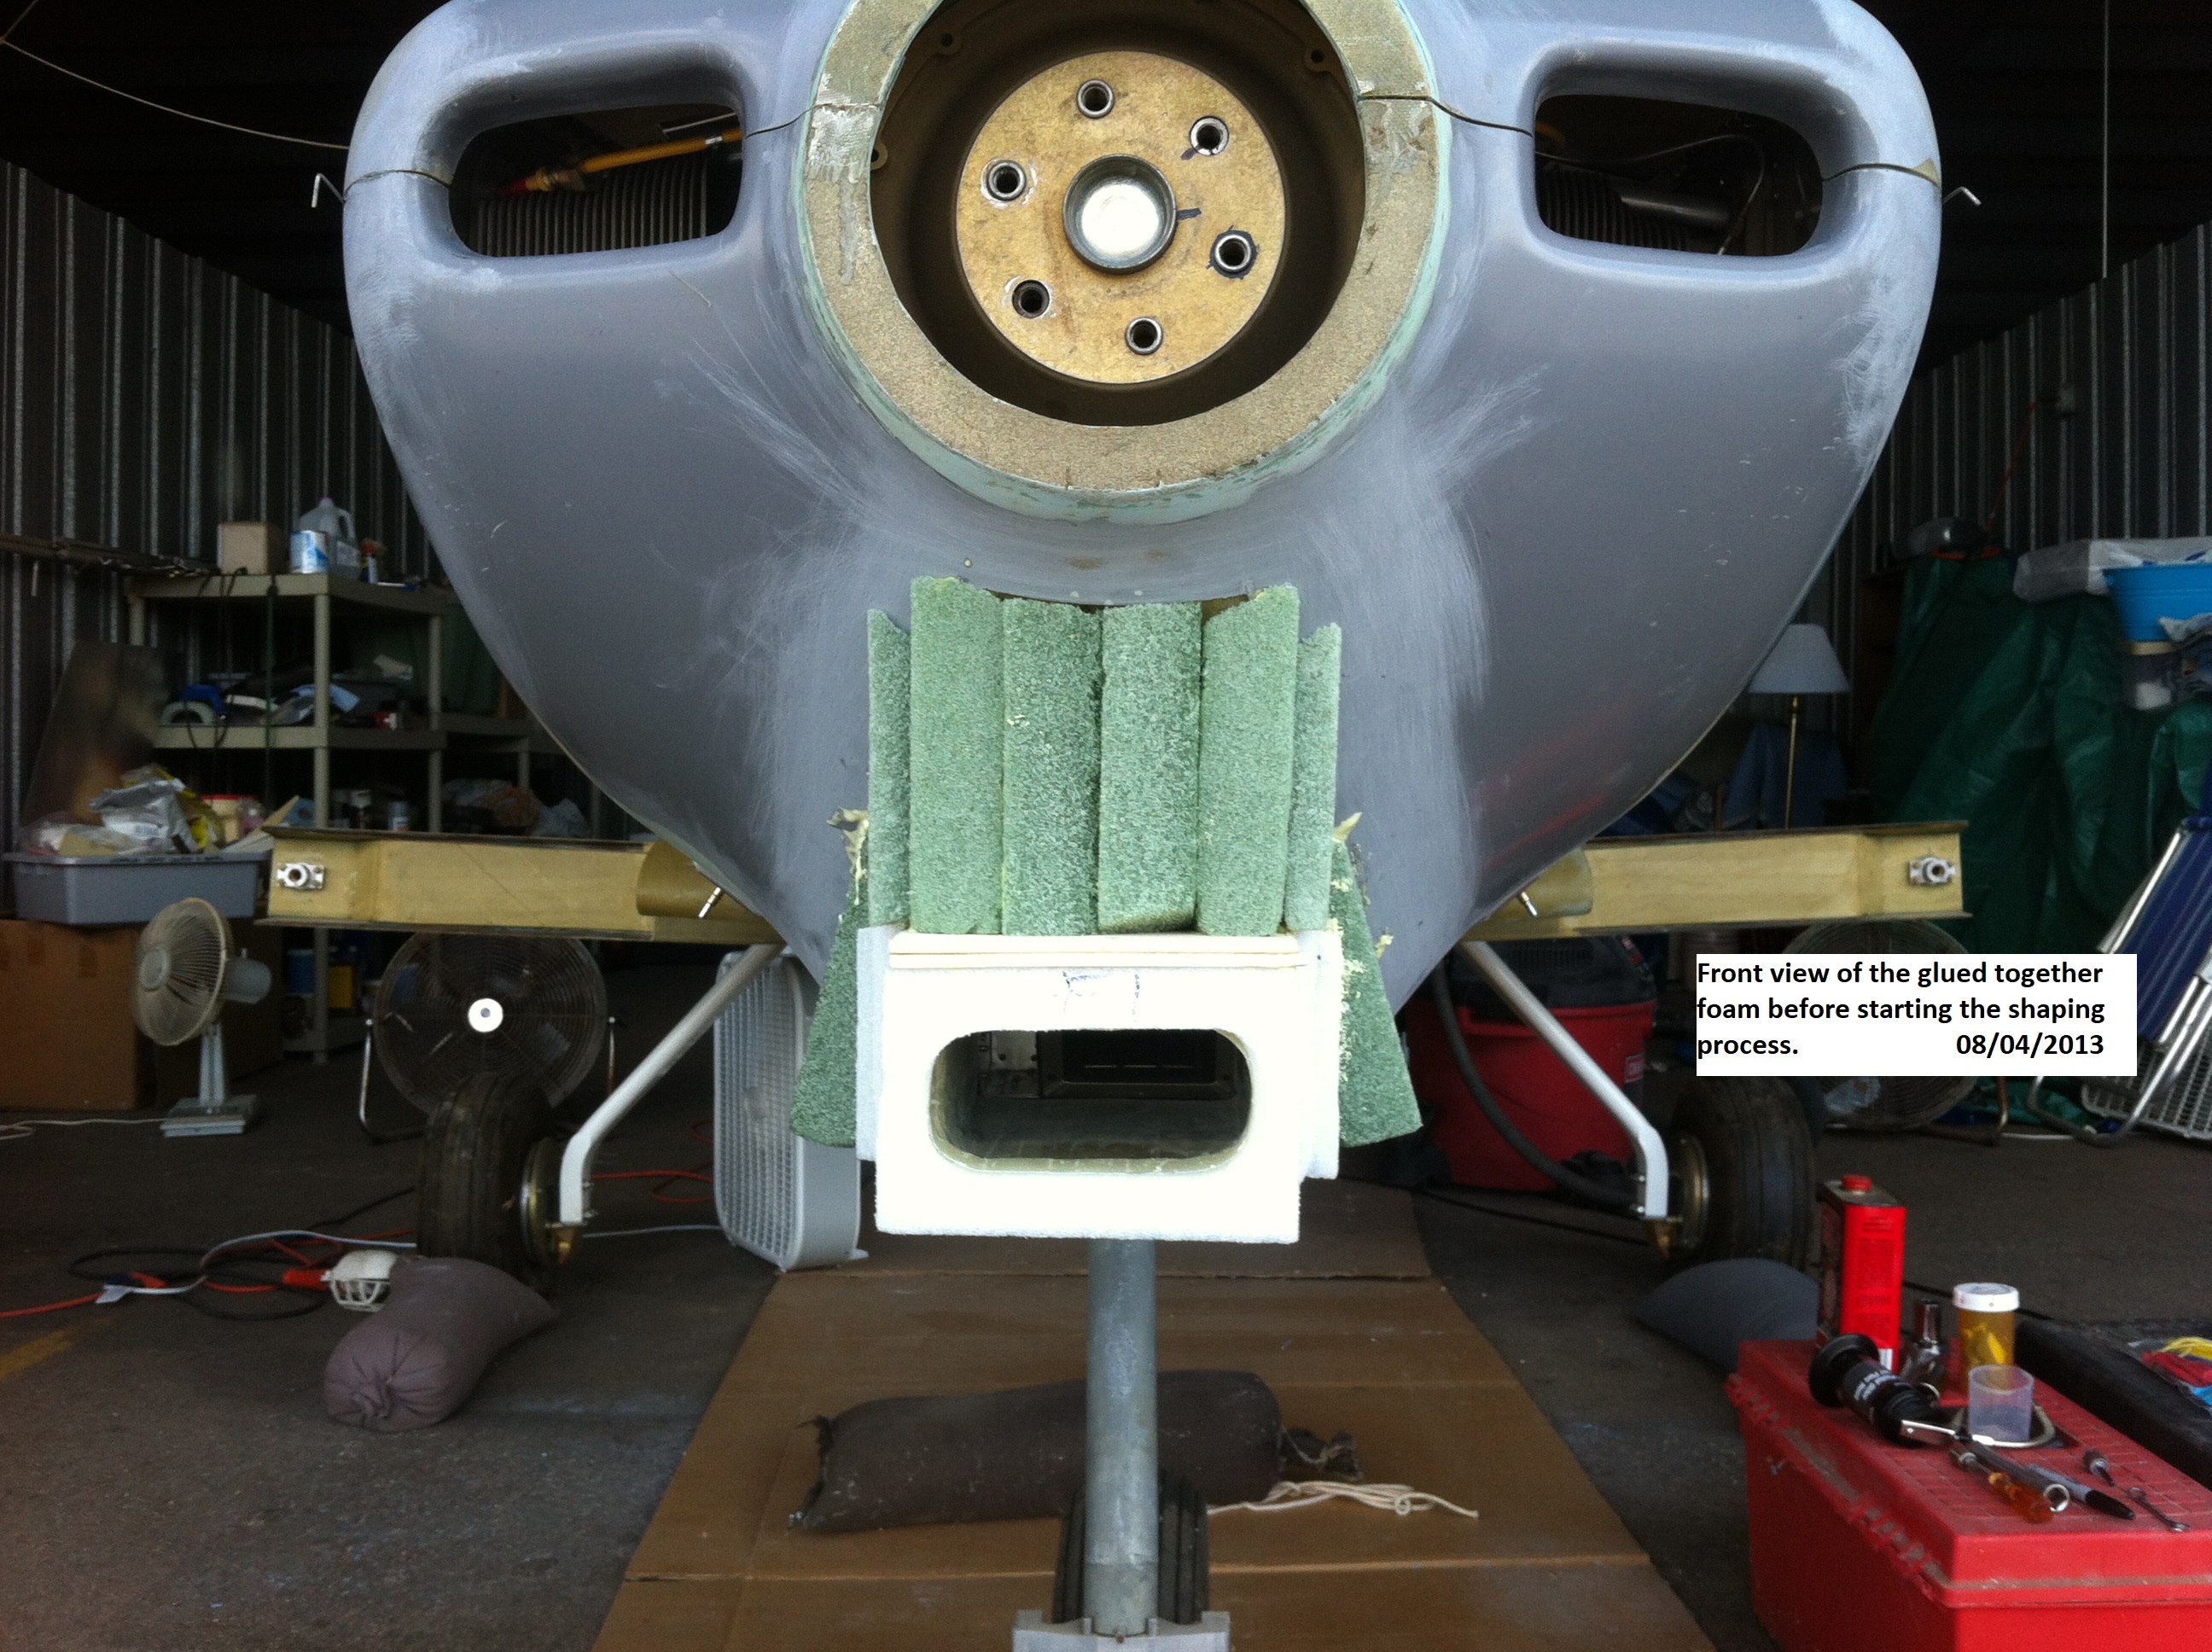
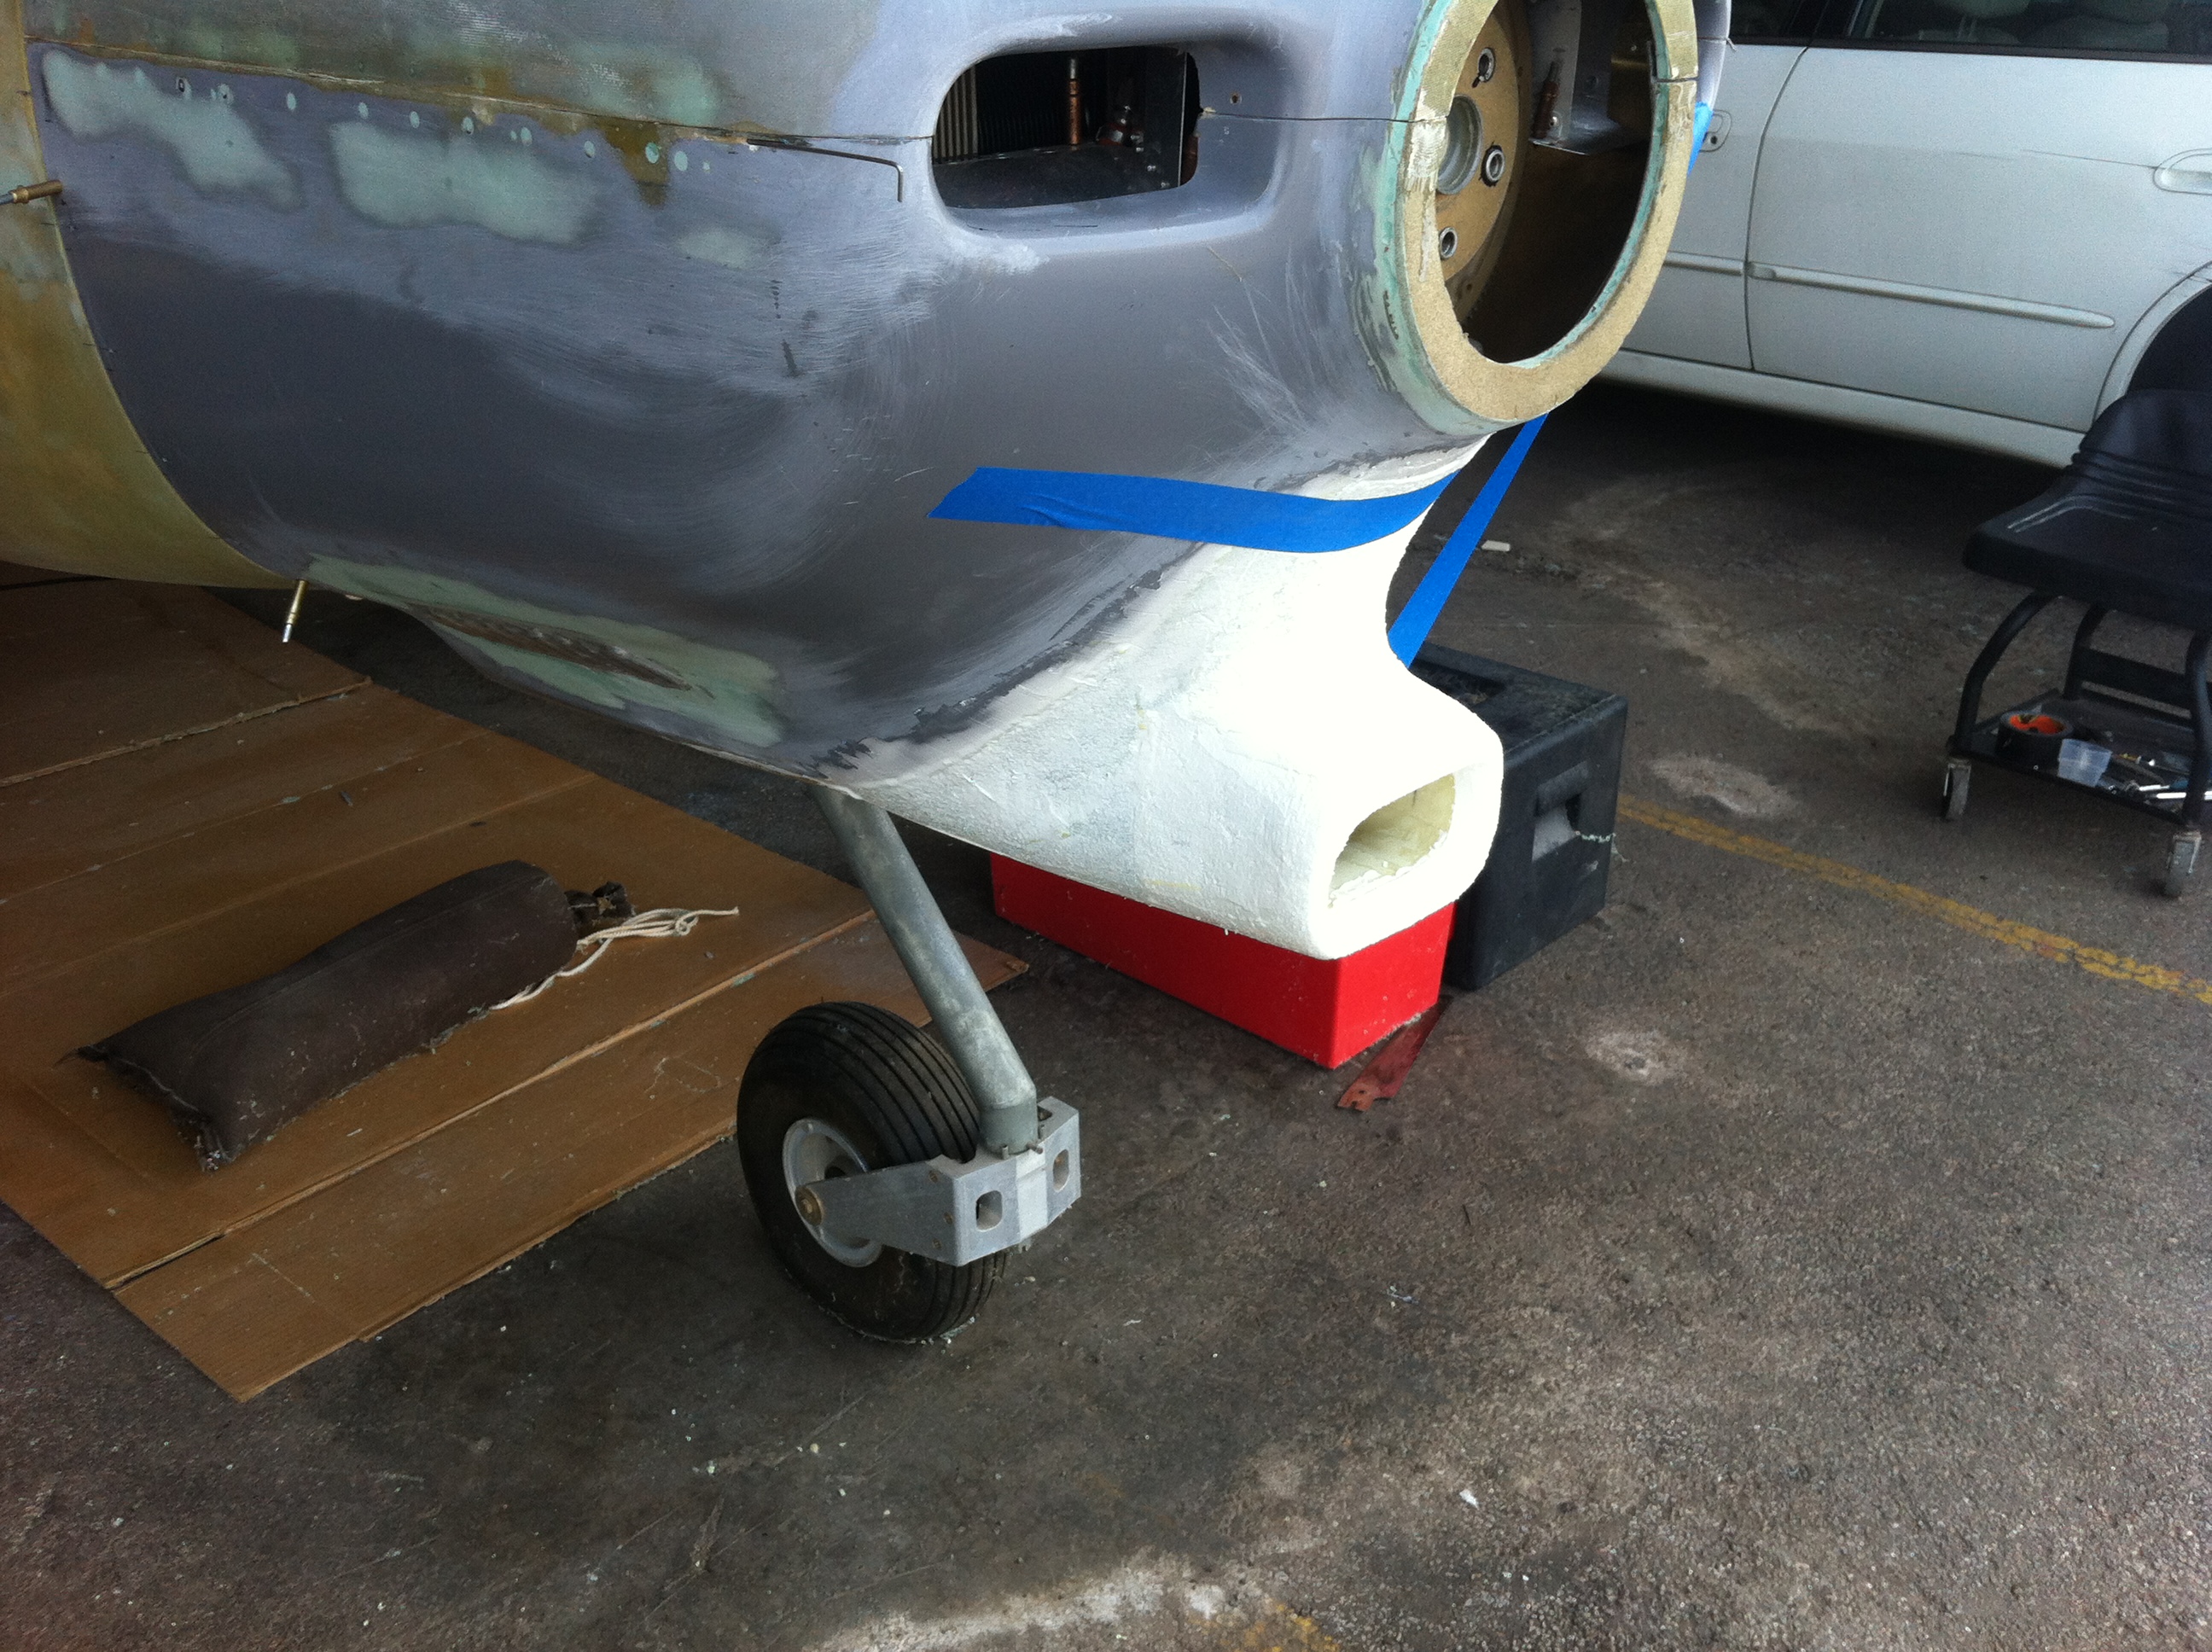
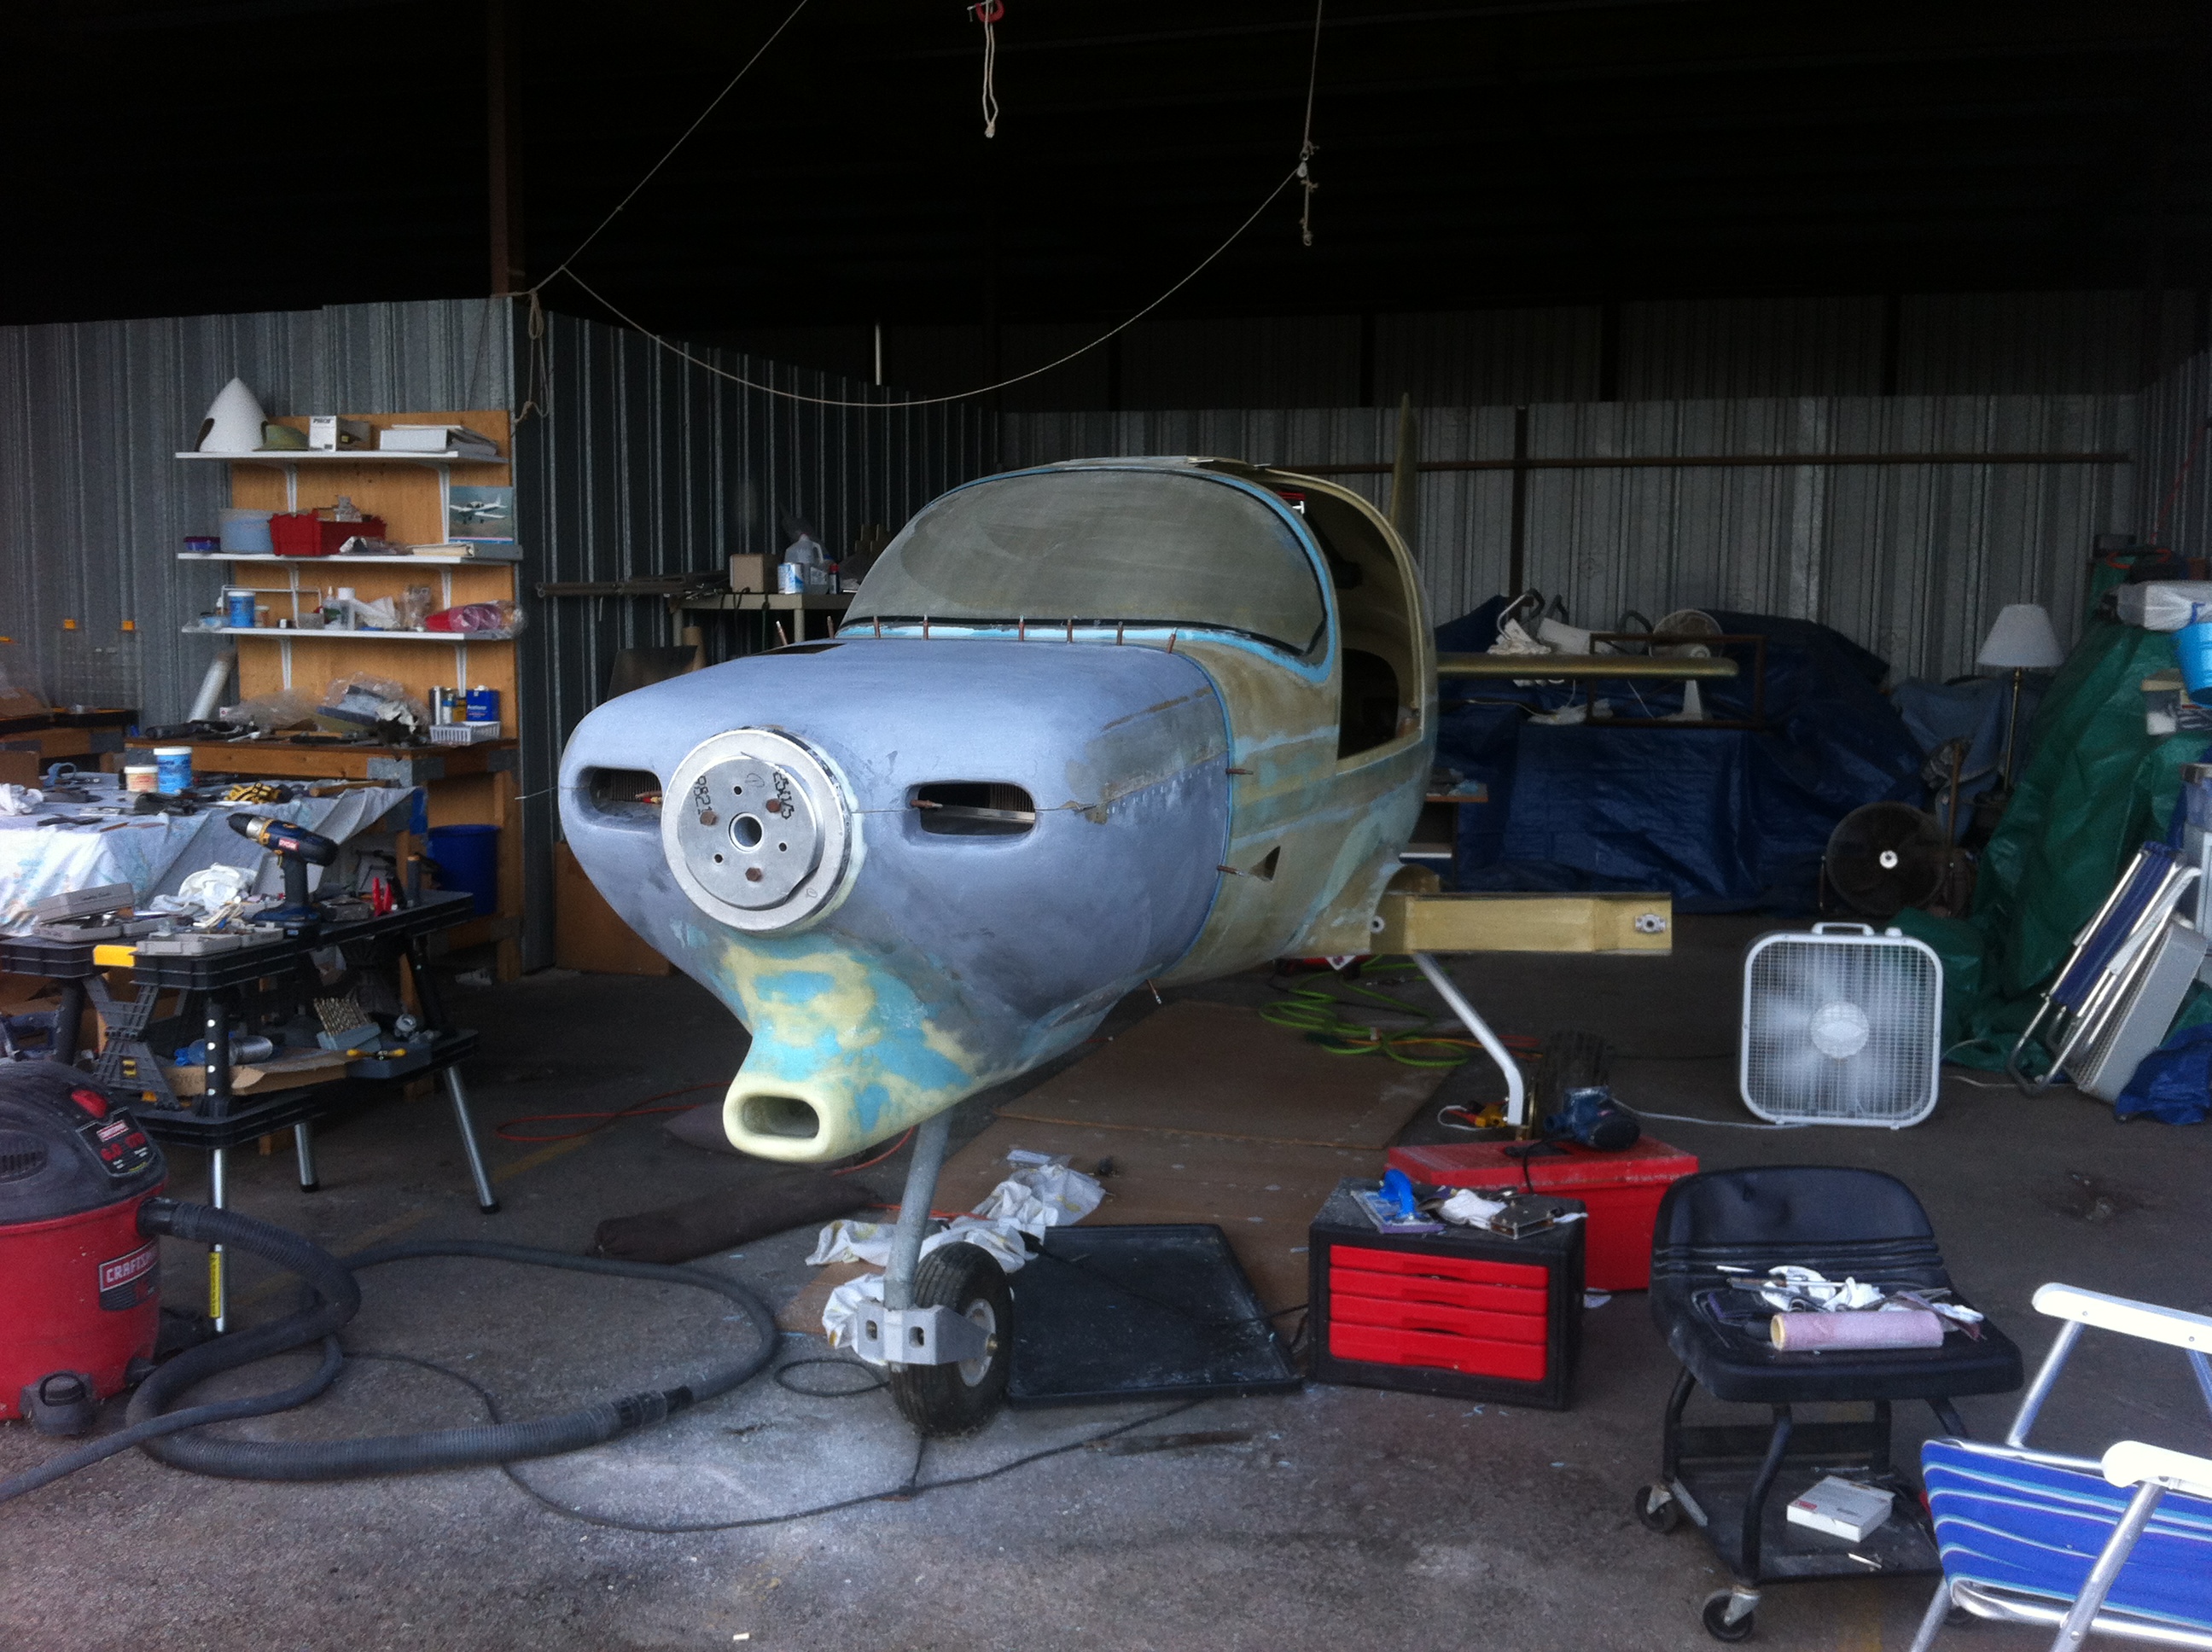
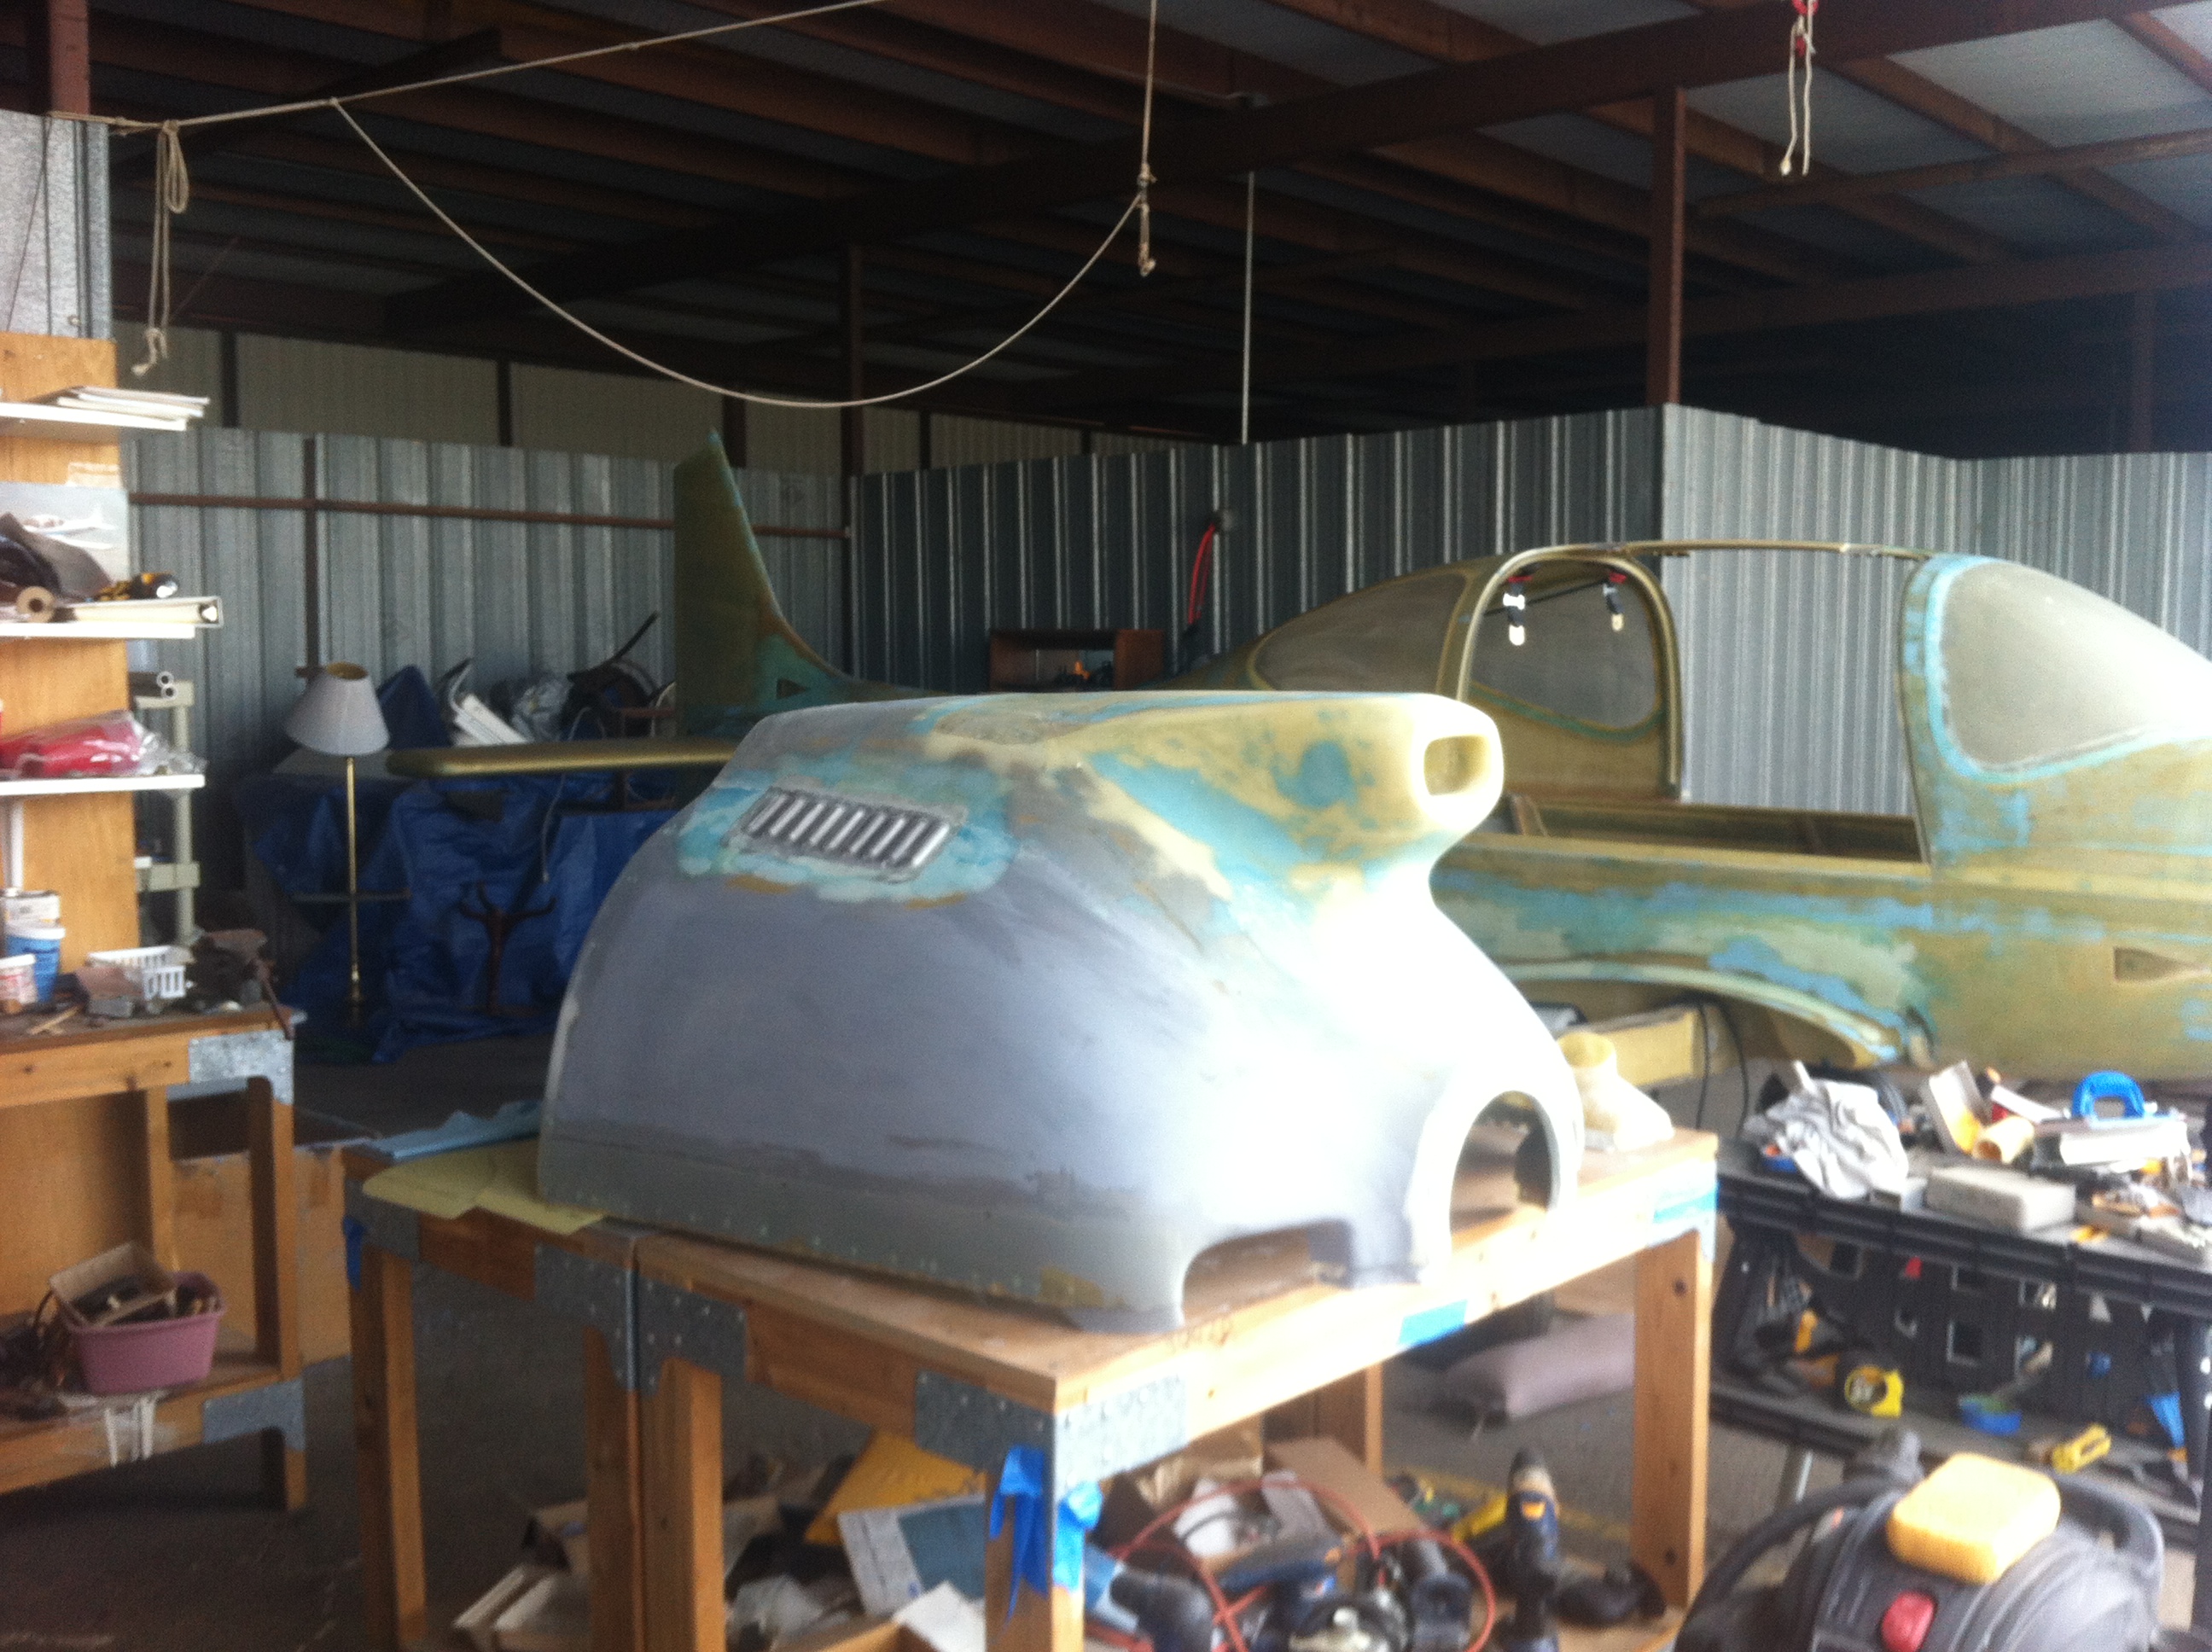
| The
process starts with installing the fiberglass airbox inlet which will
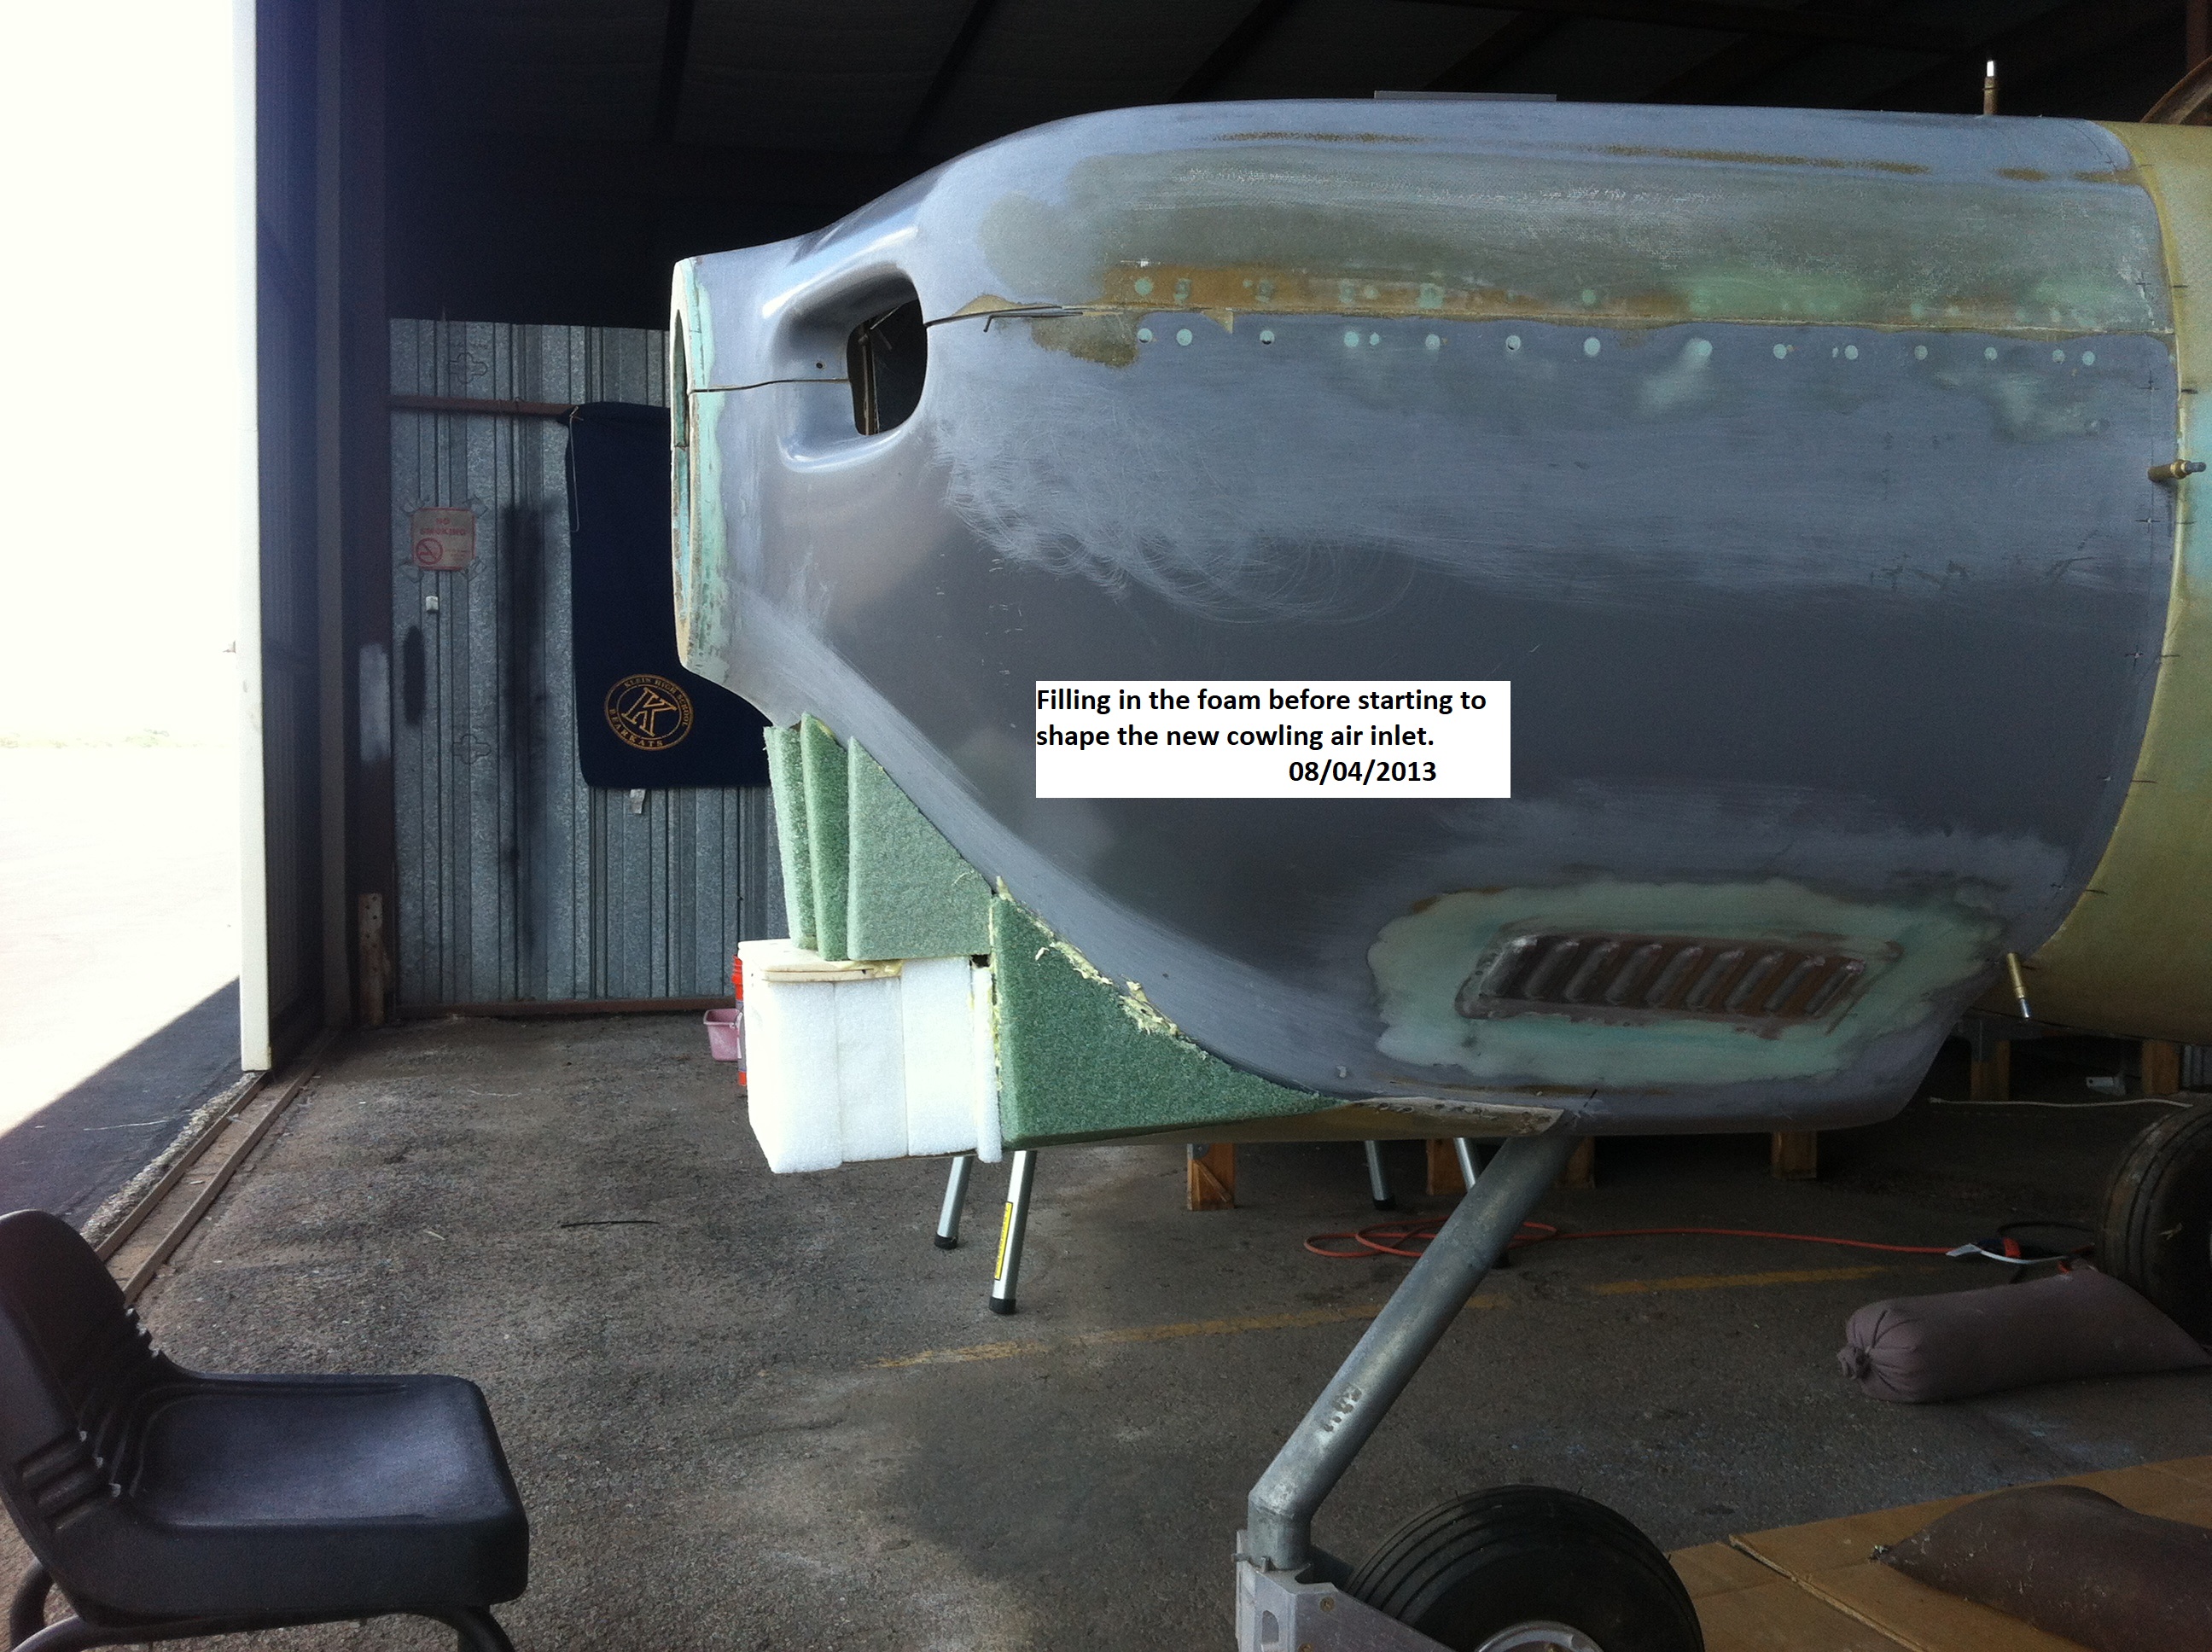
be the inside of the cowling air inlet. Foam was then used to
surround the internal inlet and start filling in the opening. I
used two different foam types because it was the only thing I had
available and they were not intended for permanent use. The foam
is nothing but a mold for shaping and application of glass
overlay. The idea is simple, fill everything with foam, remove
foam until you get the desired shape. |
|
 |
 |
 |
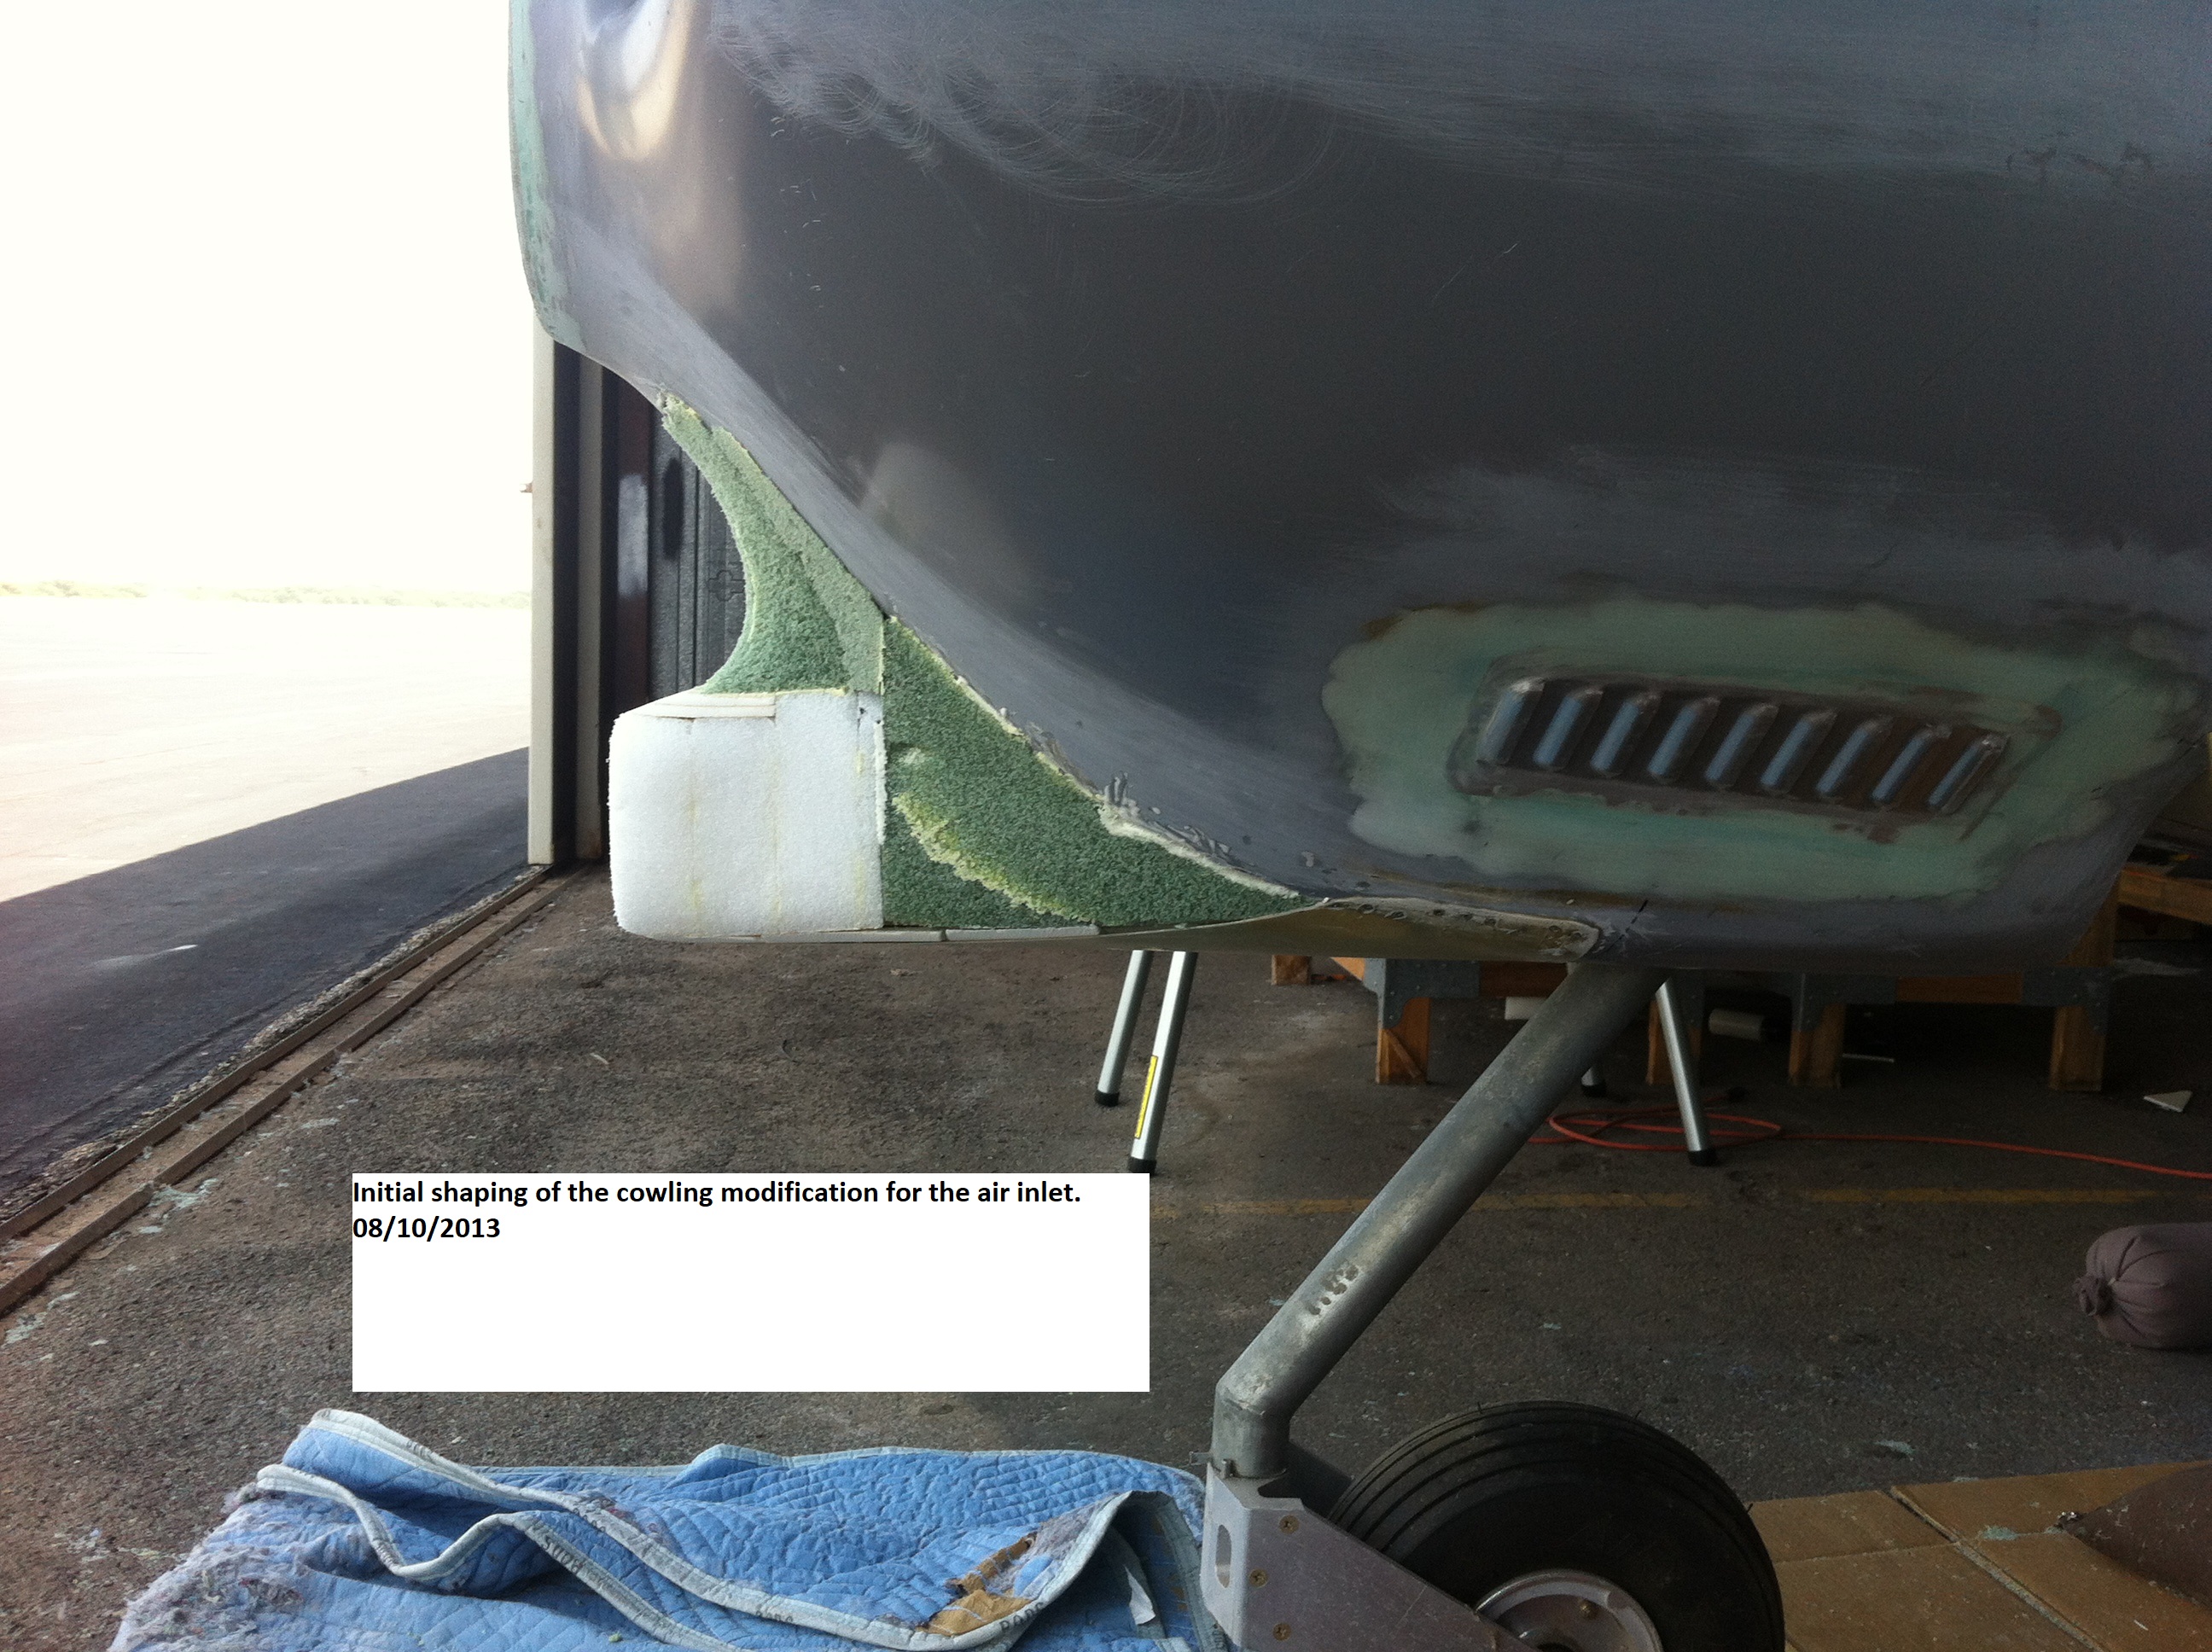 |
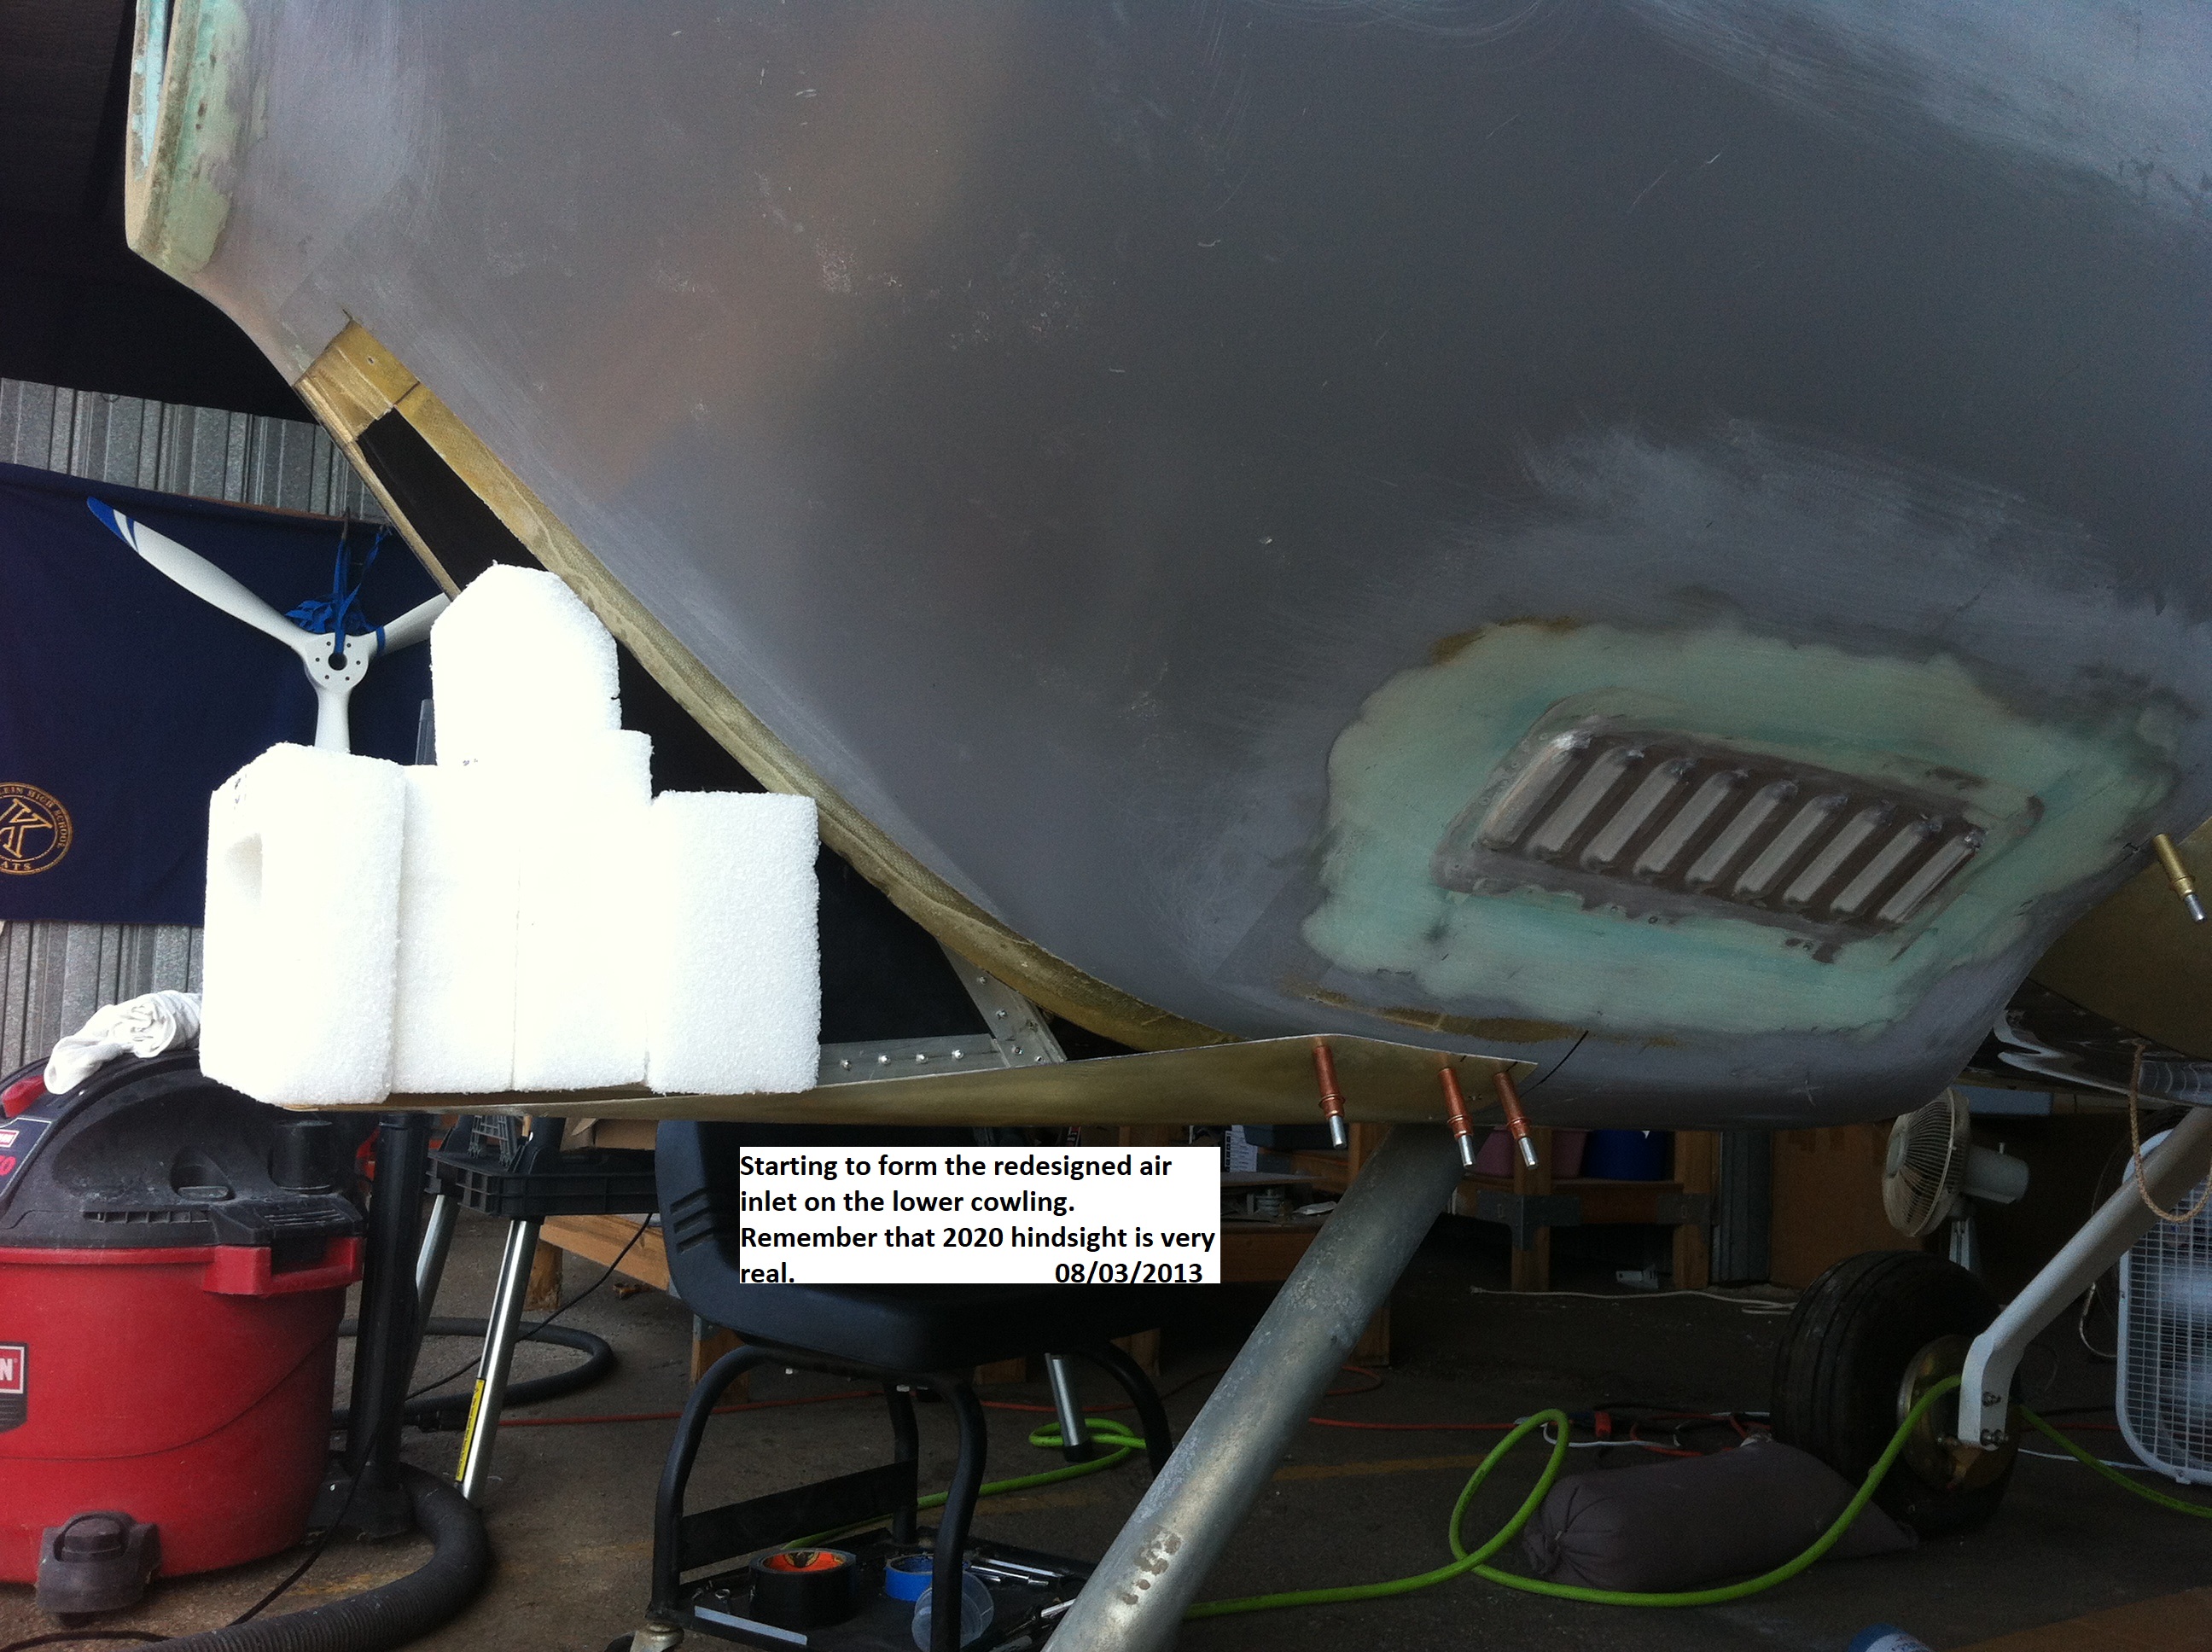
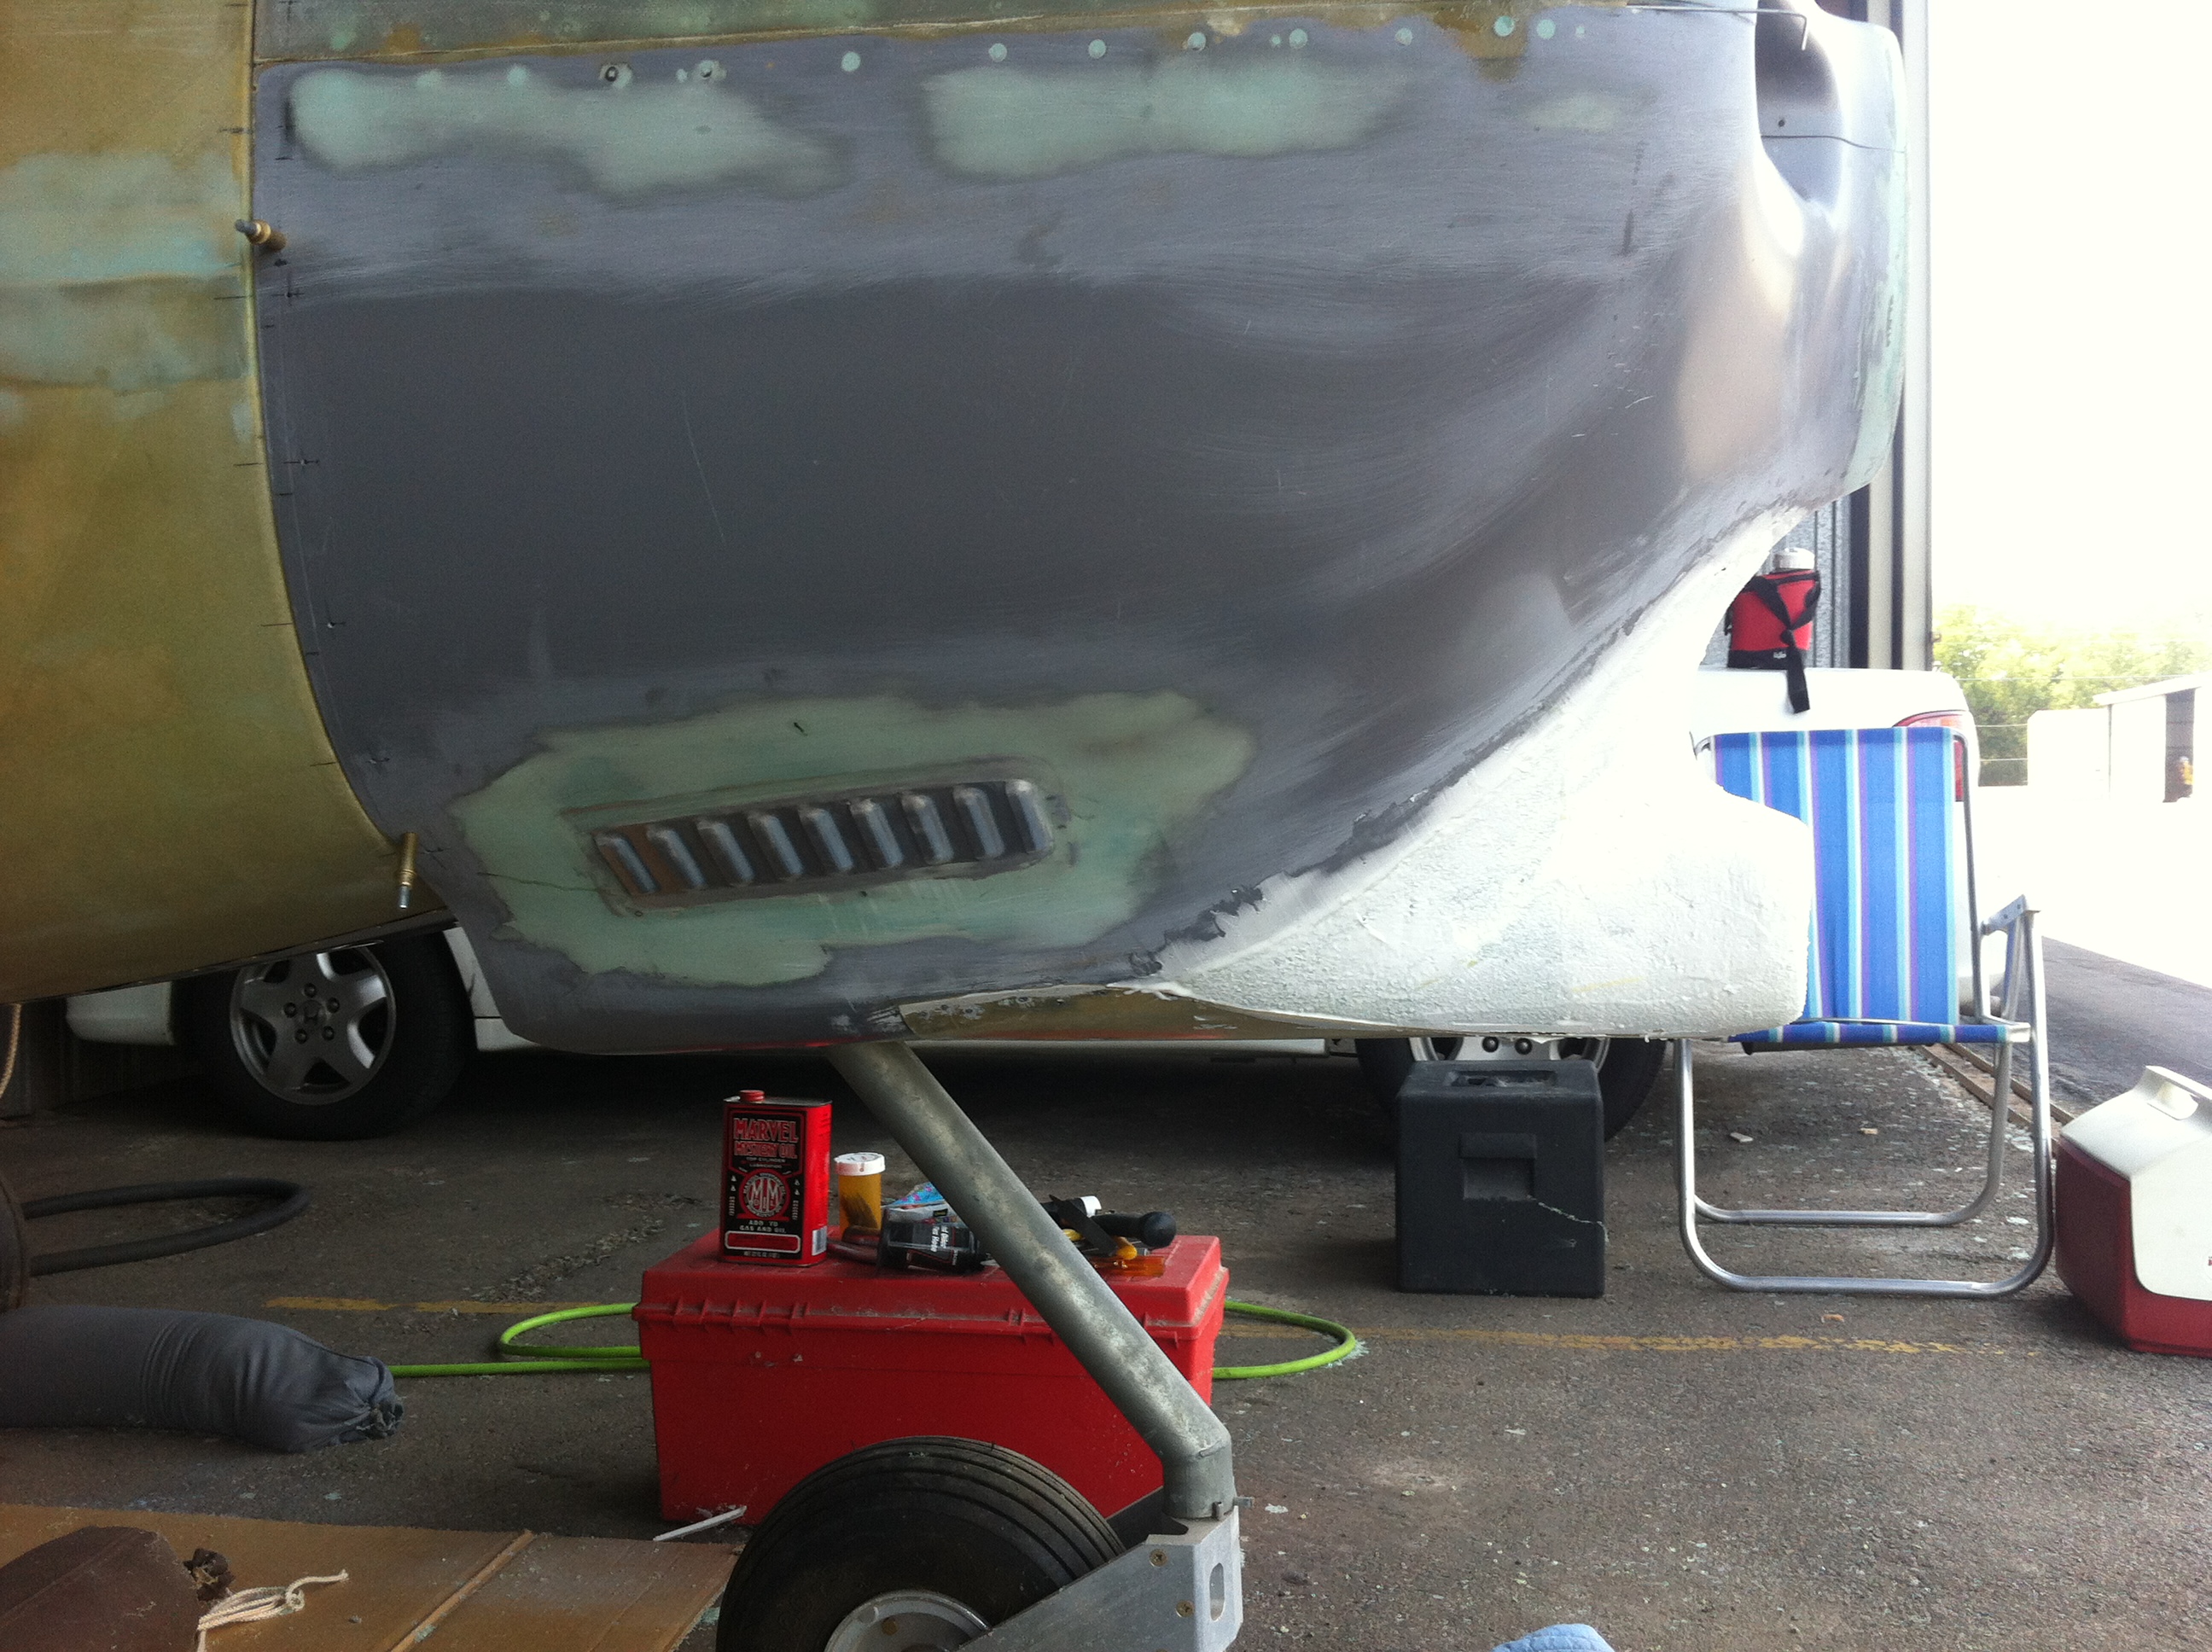
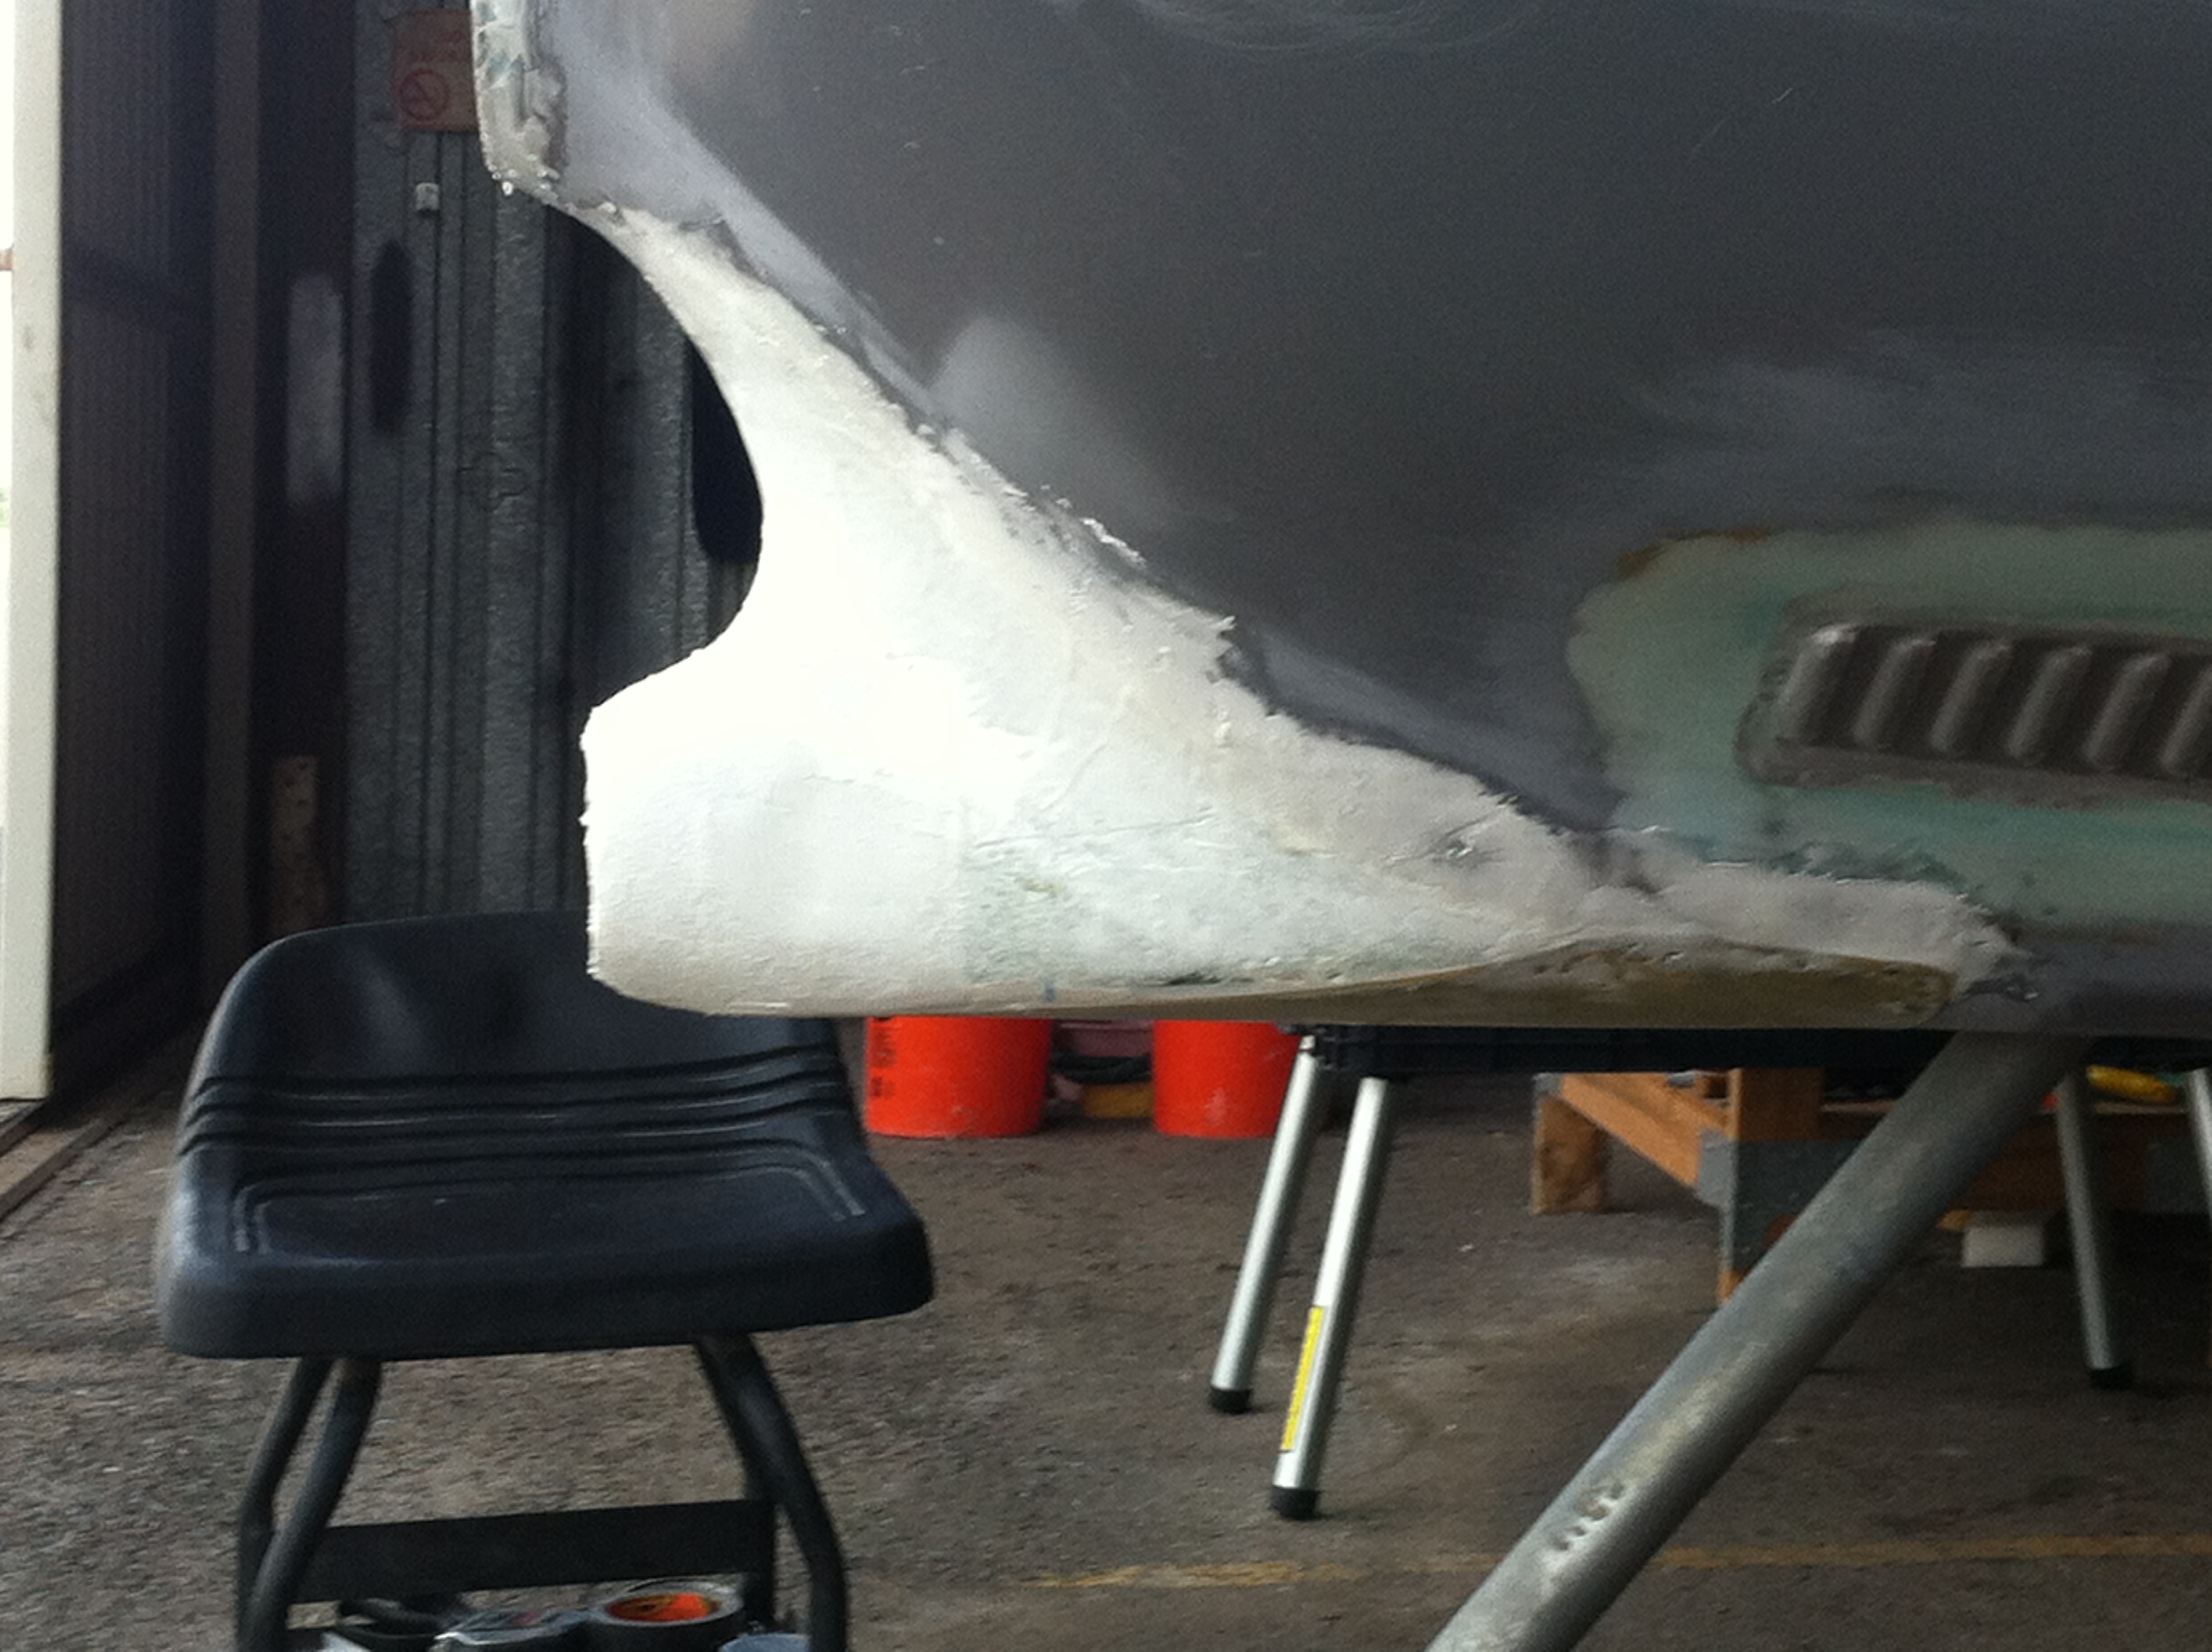
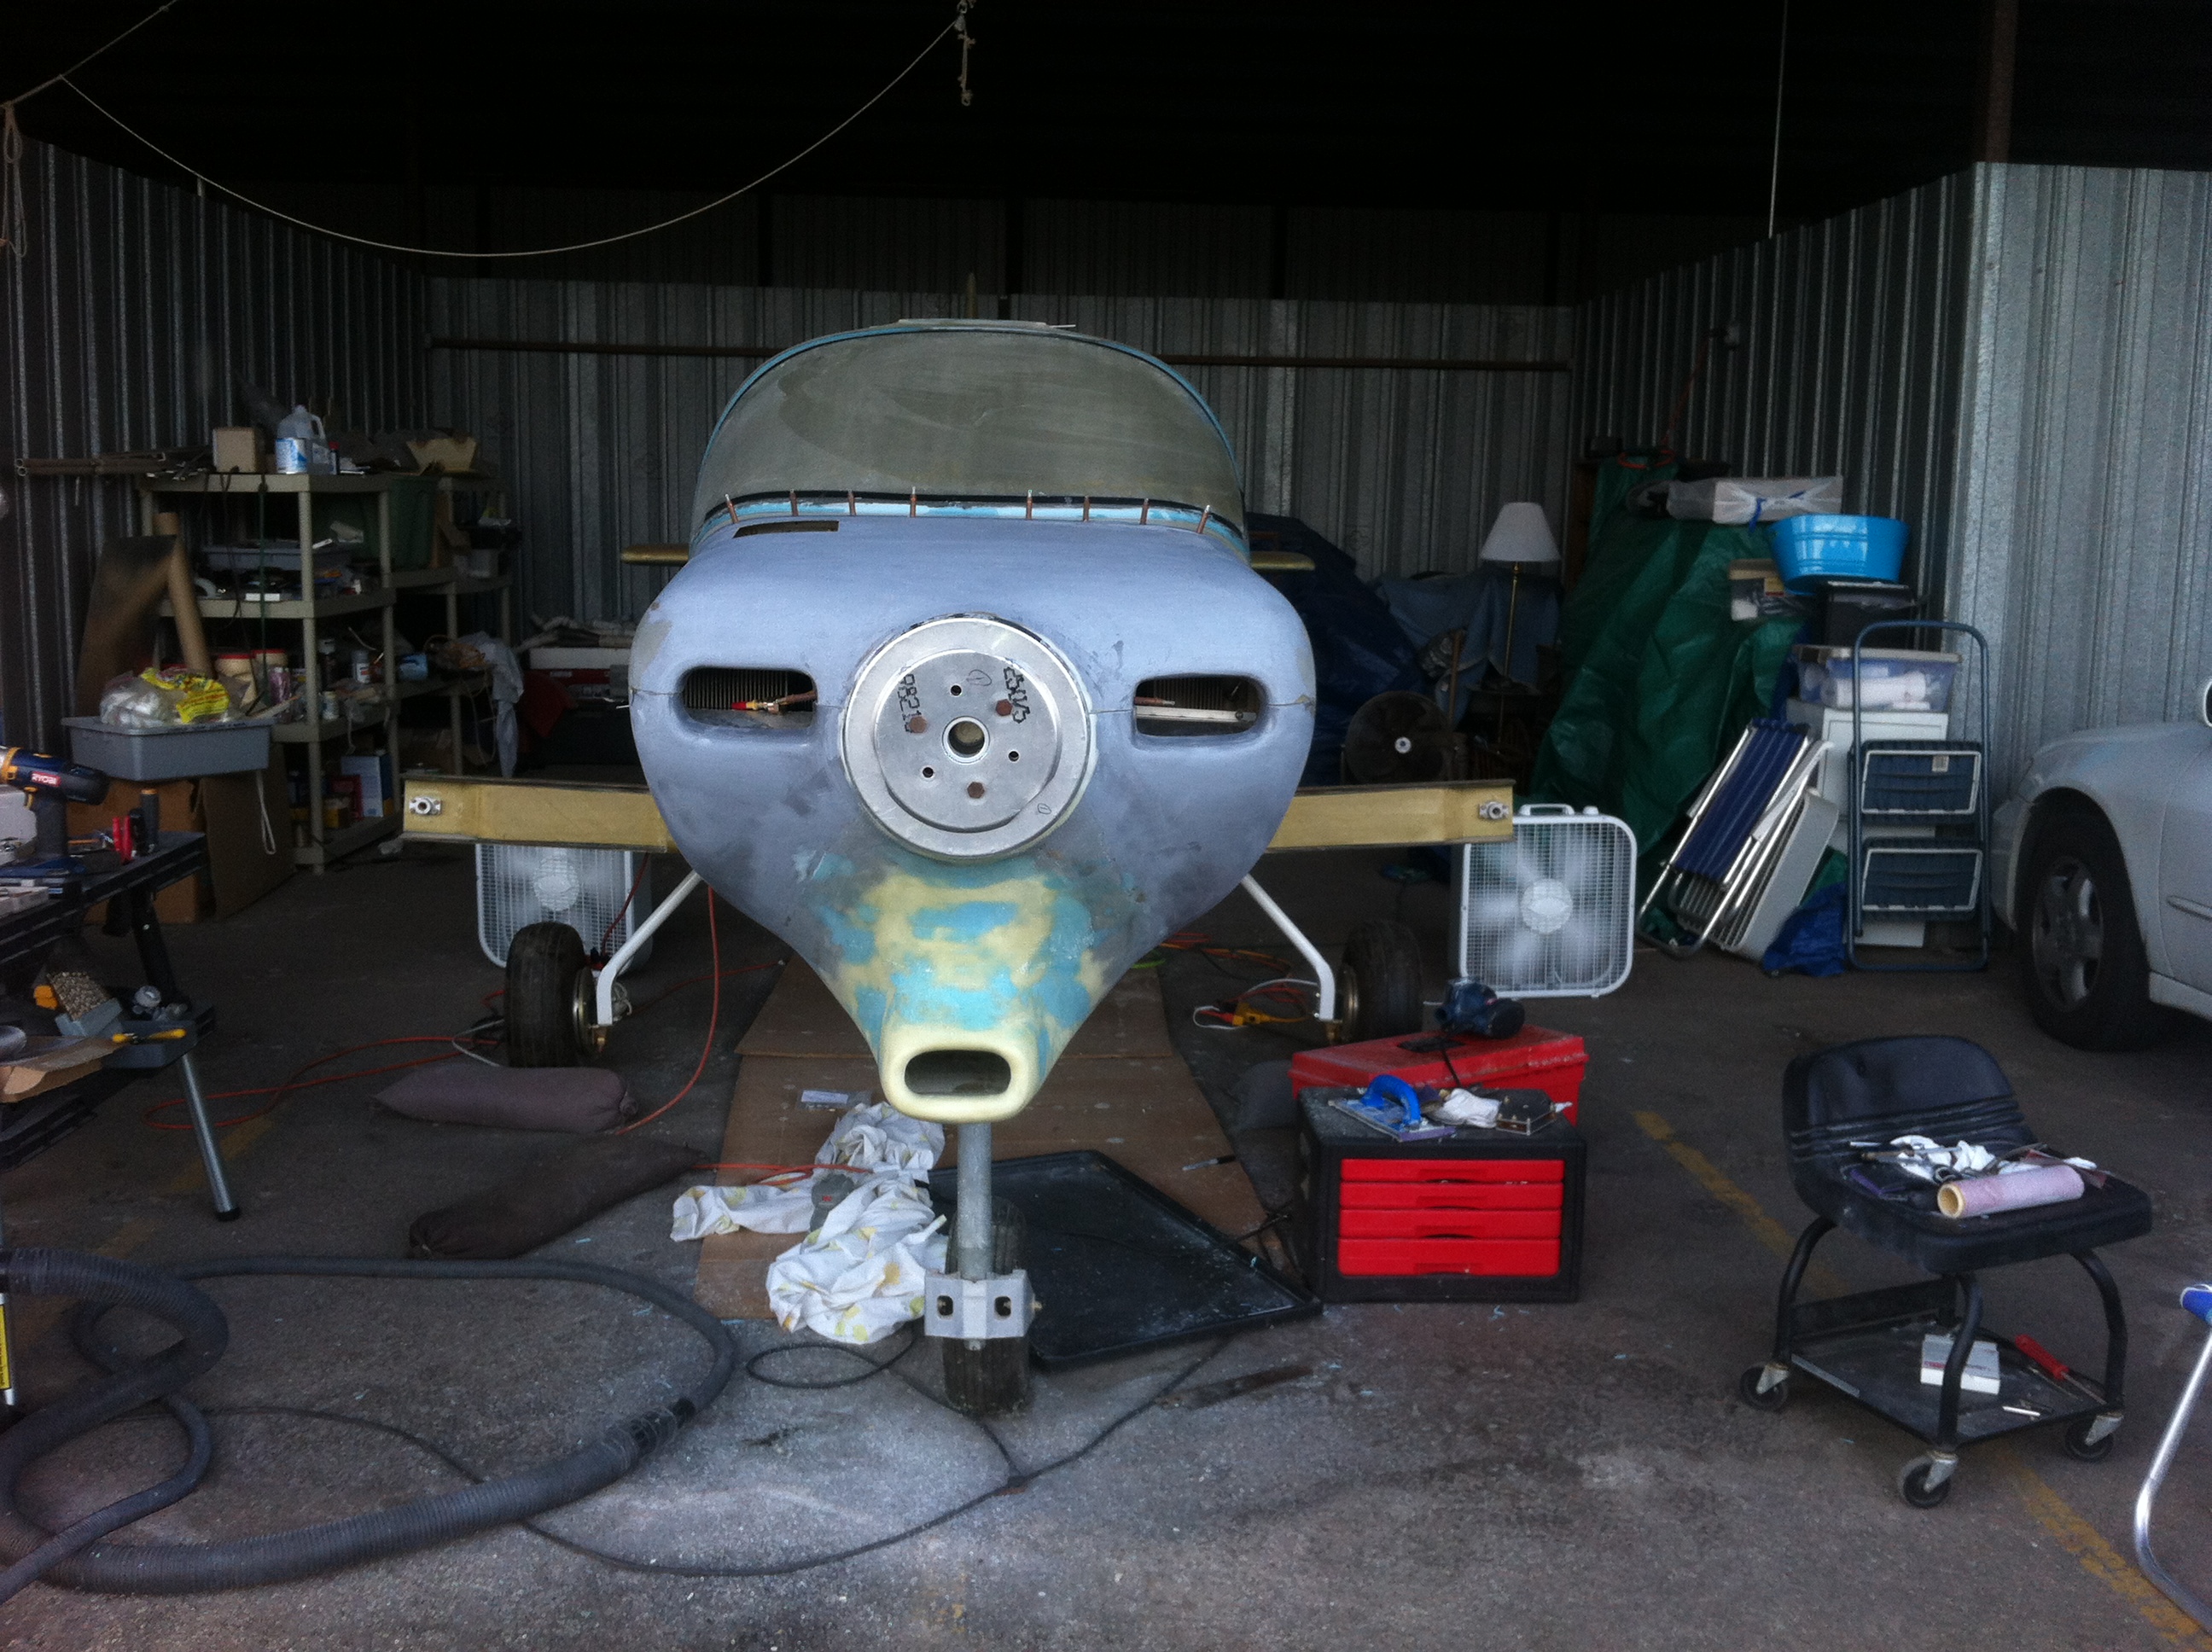
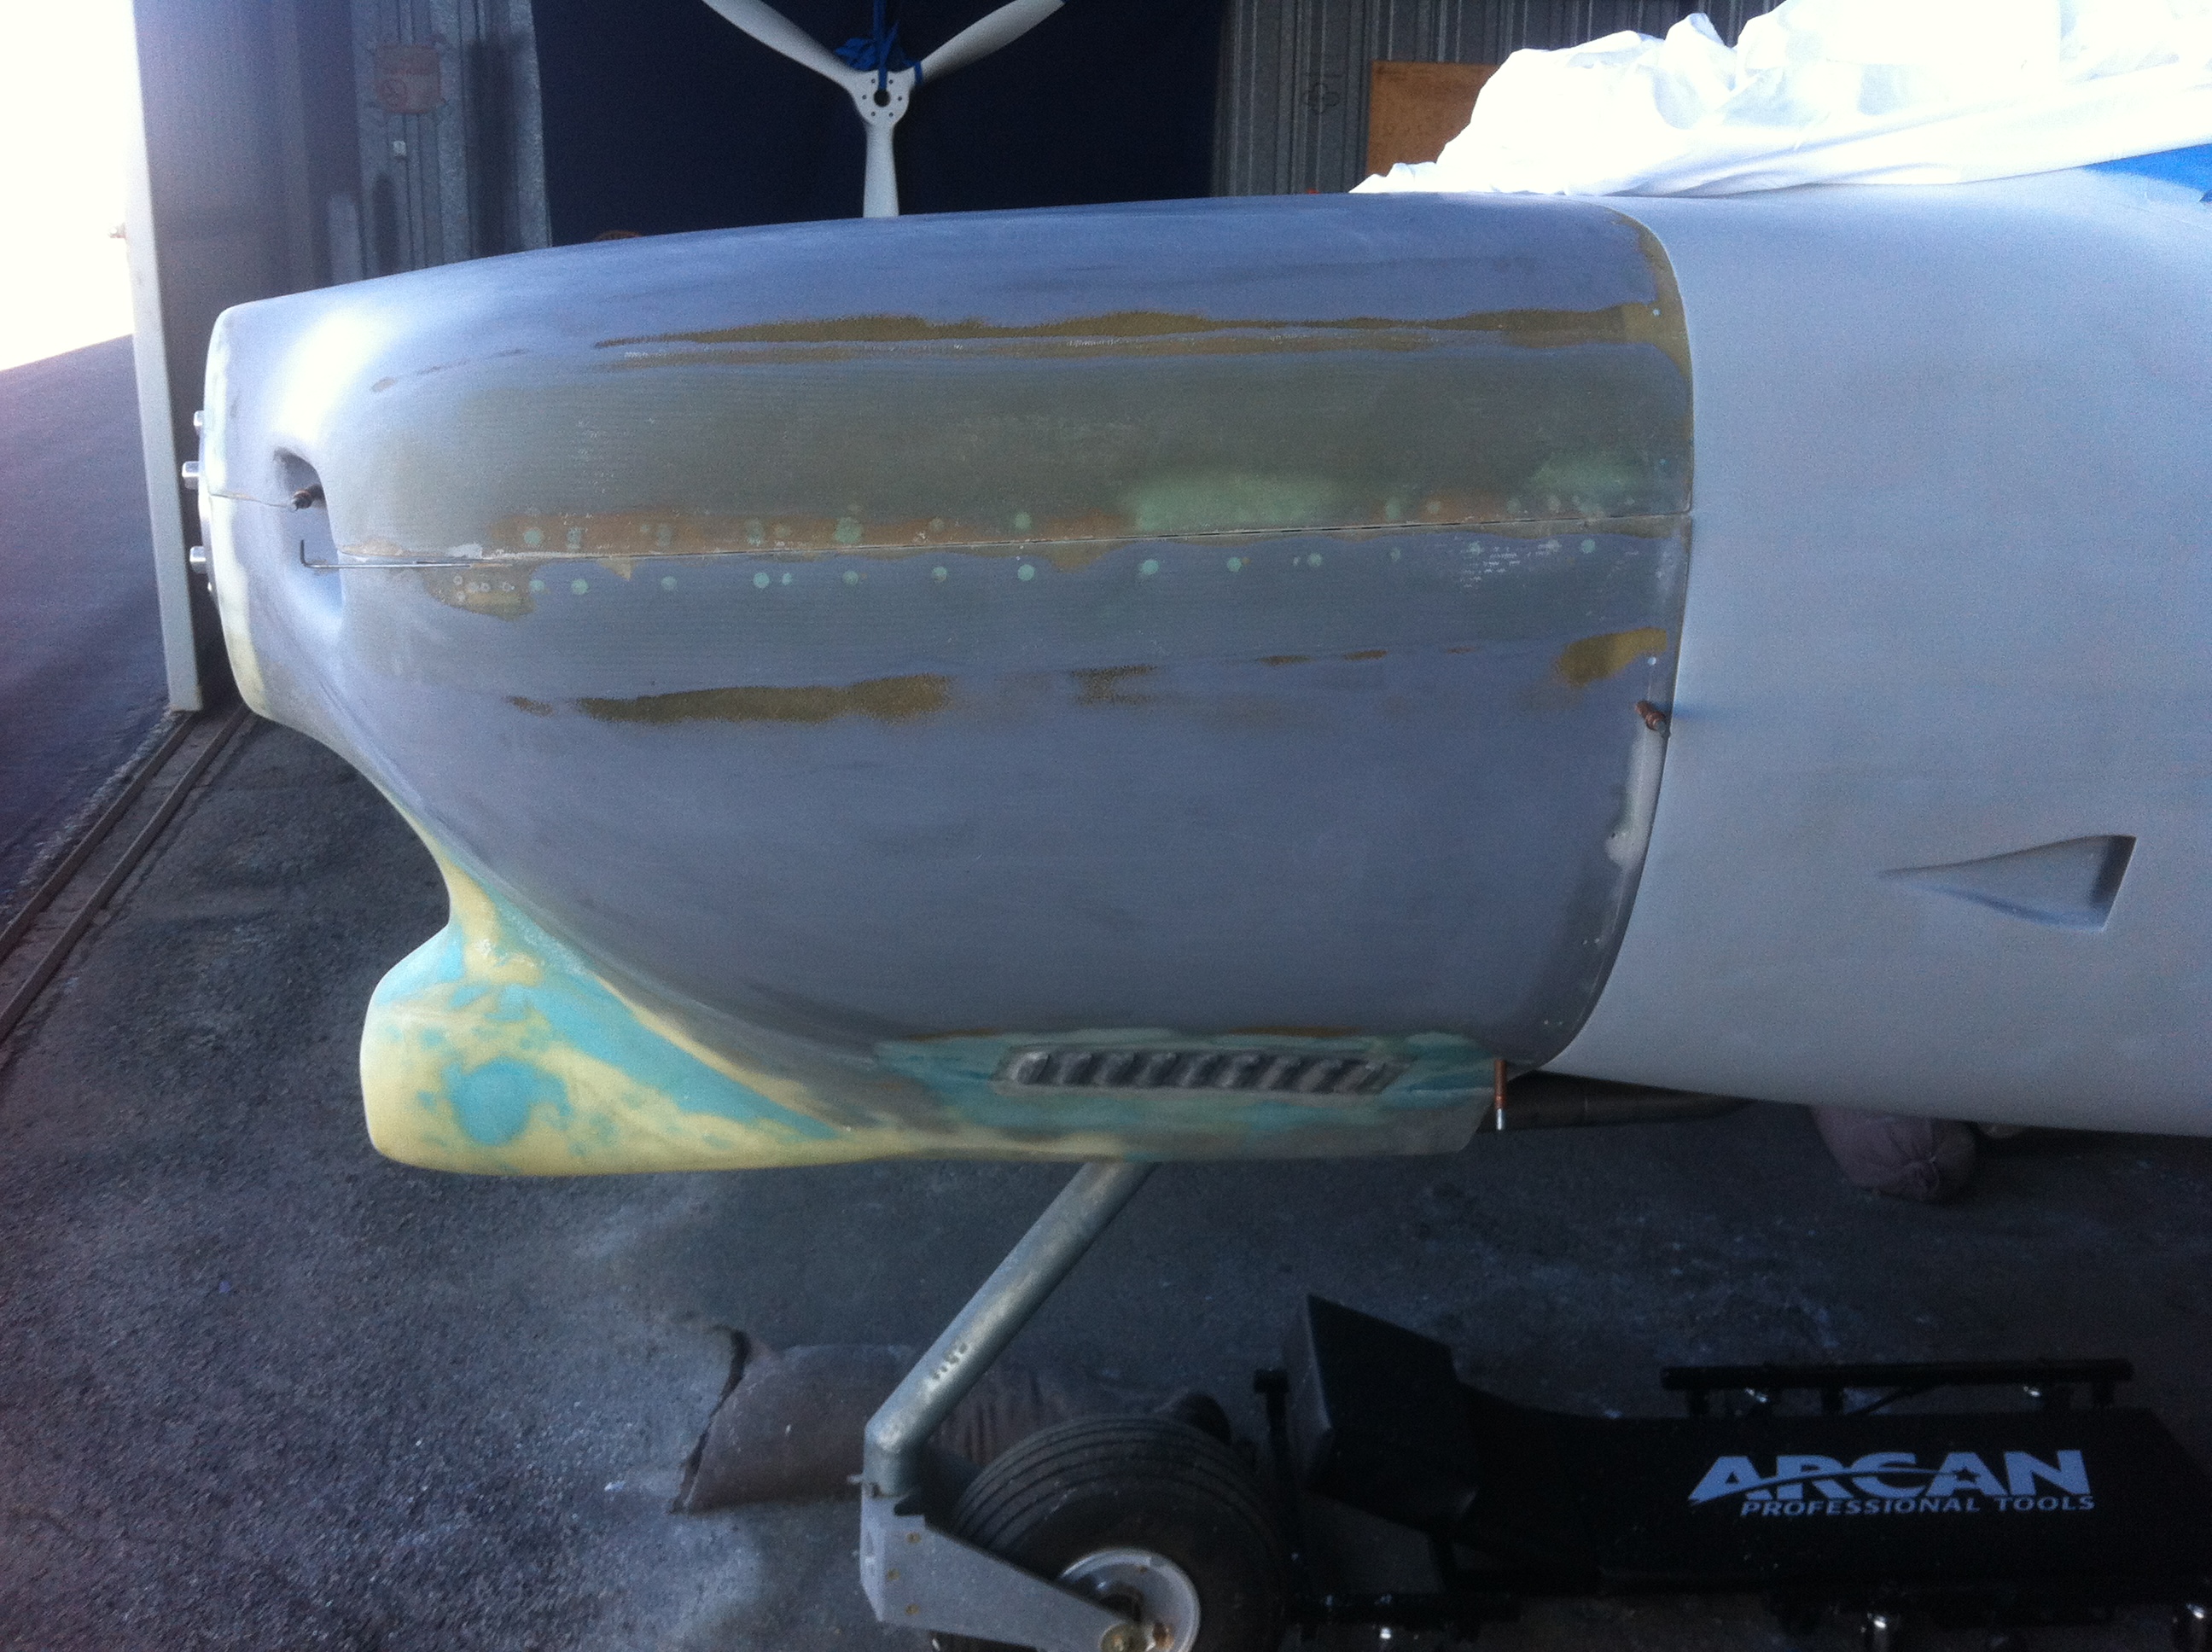
| The
underside of the cowling was extended forward with a glass panel and
attached to the existing panel. I used a rasp and various grits
of sandpaper to shape the foam. |
|
 |
 |
 |
 |
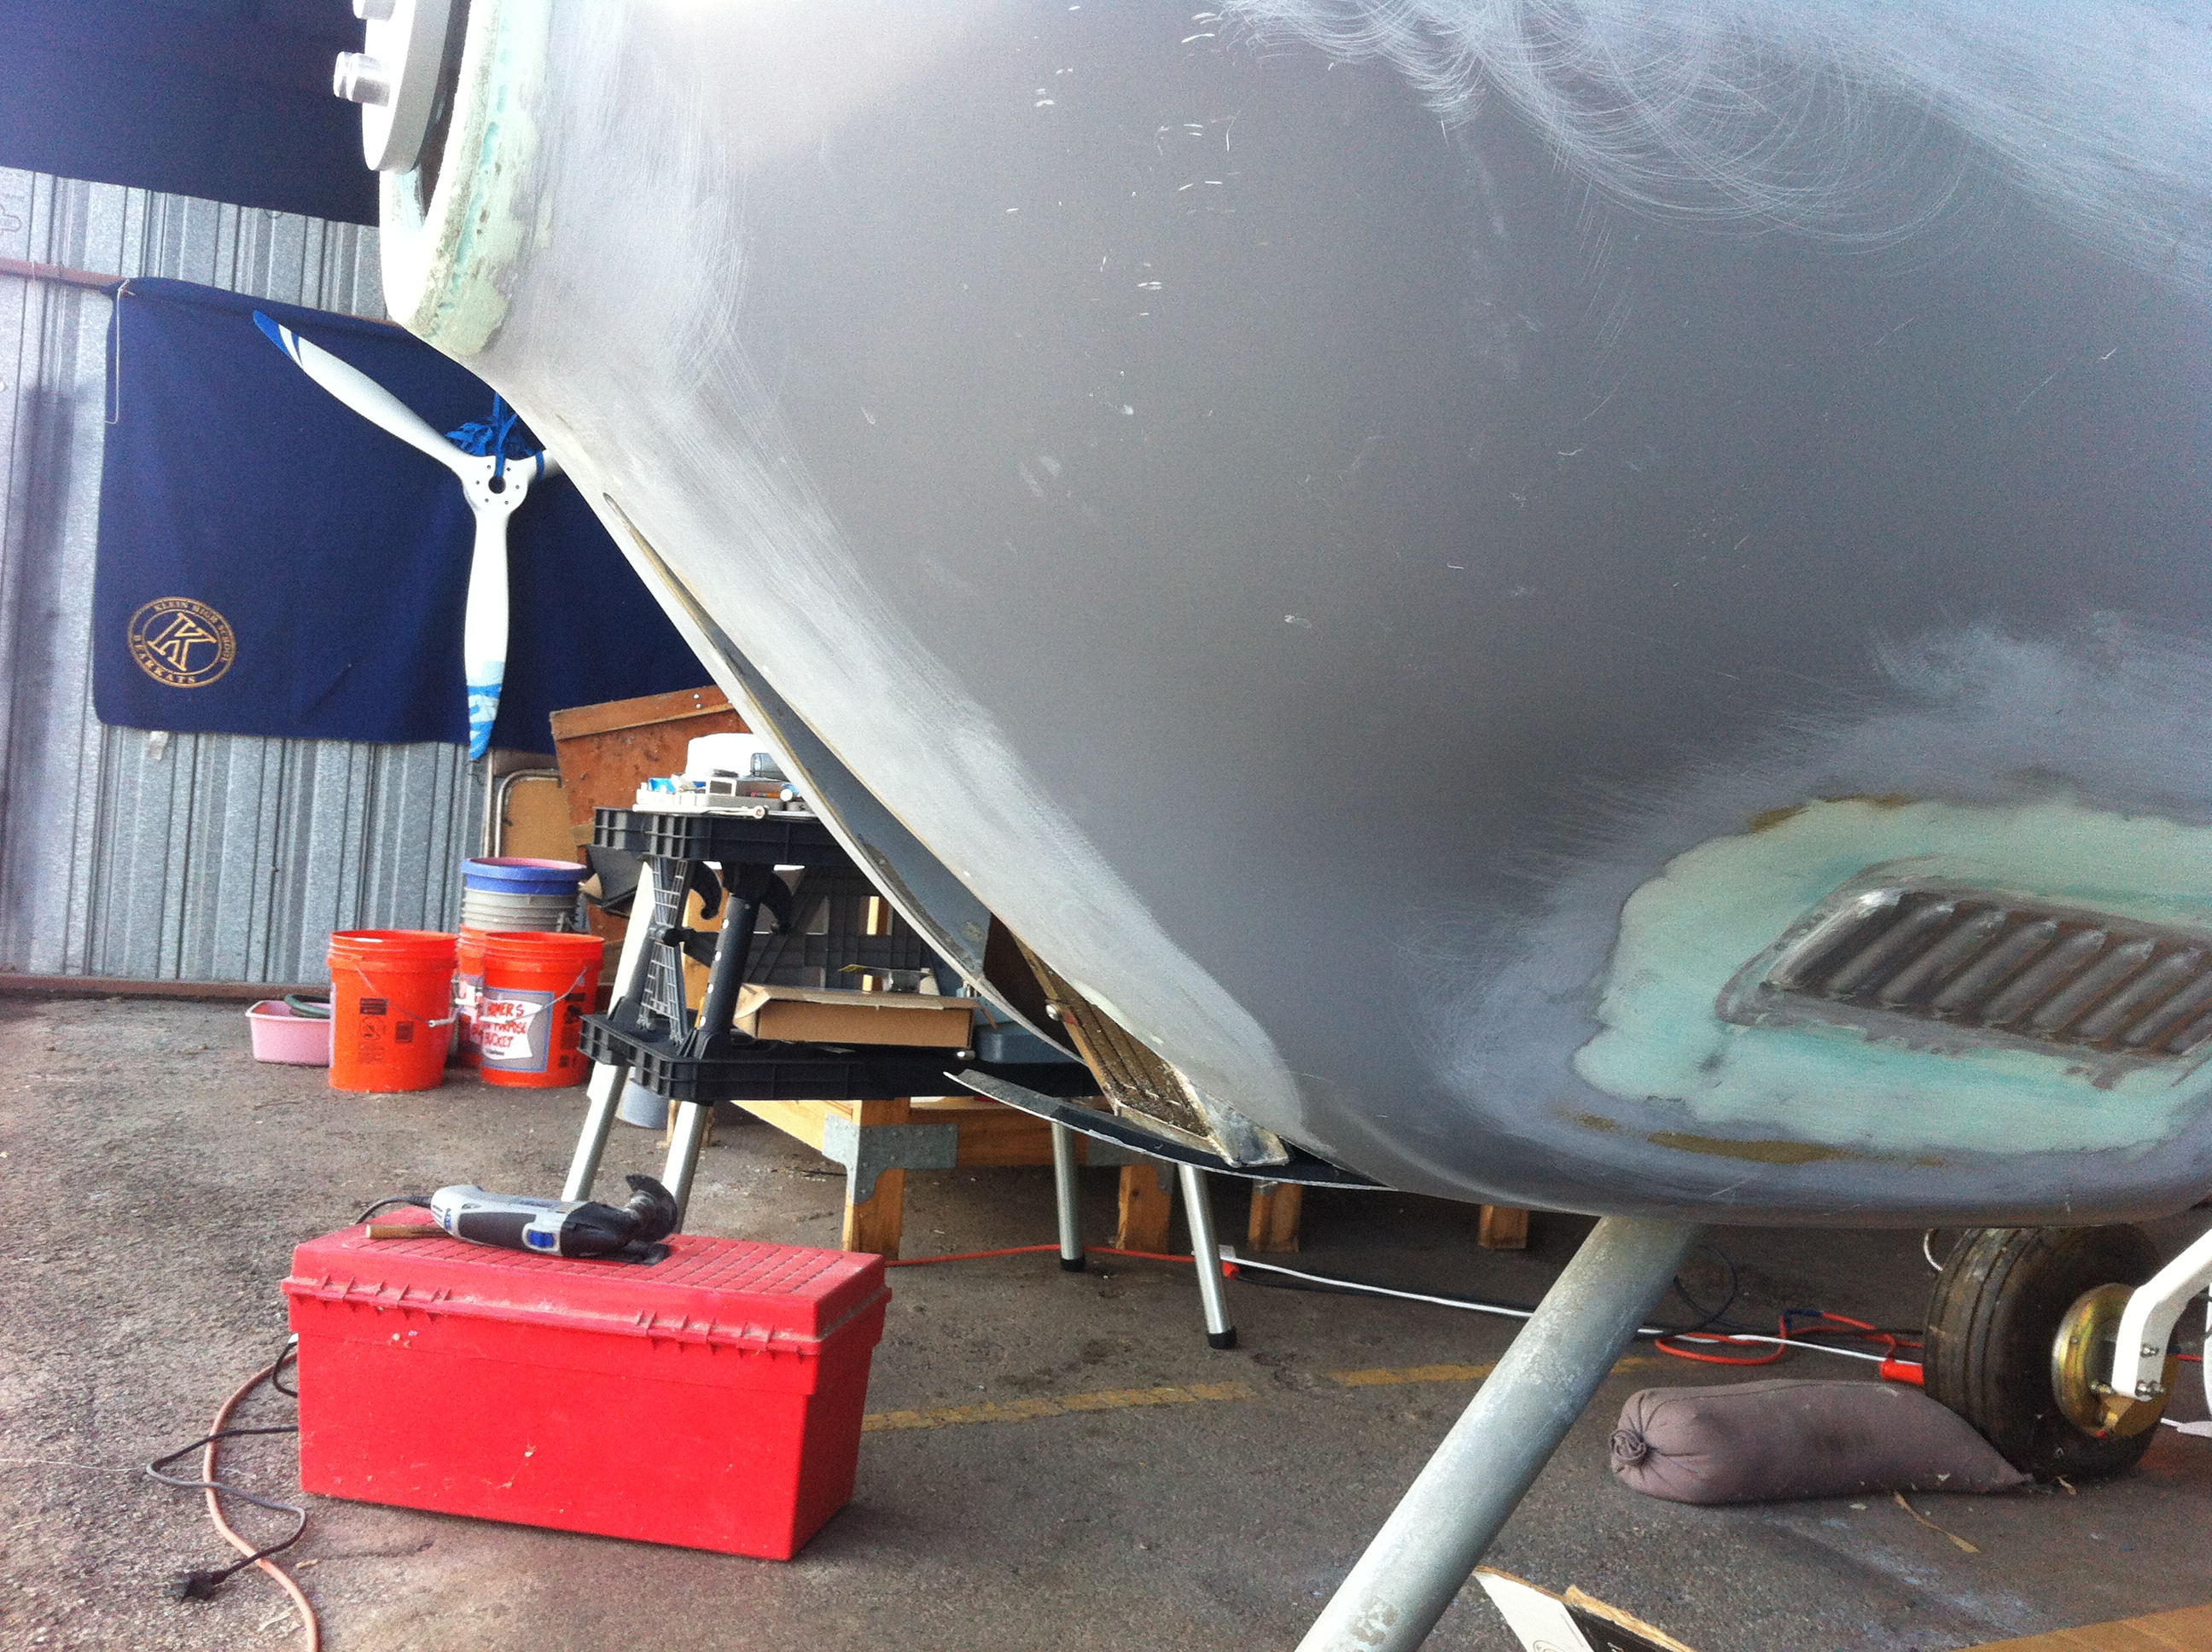
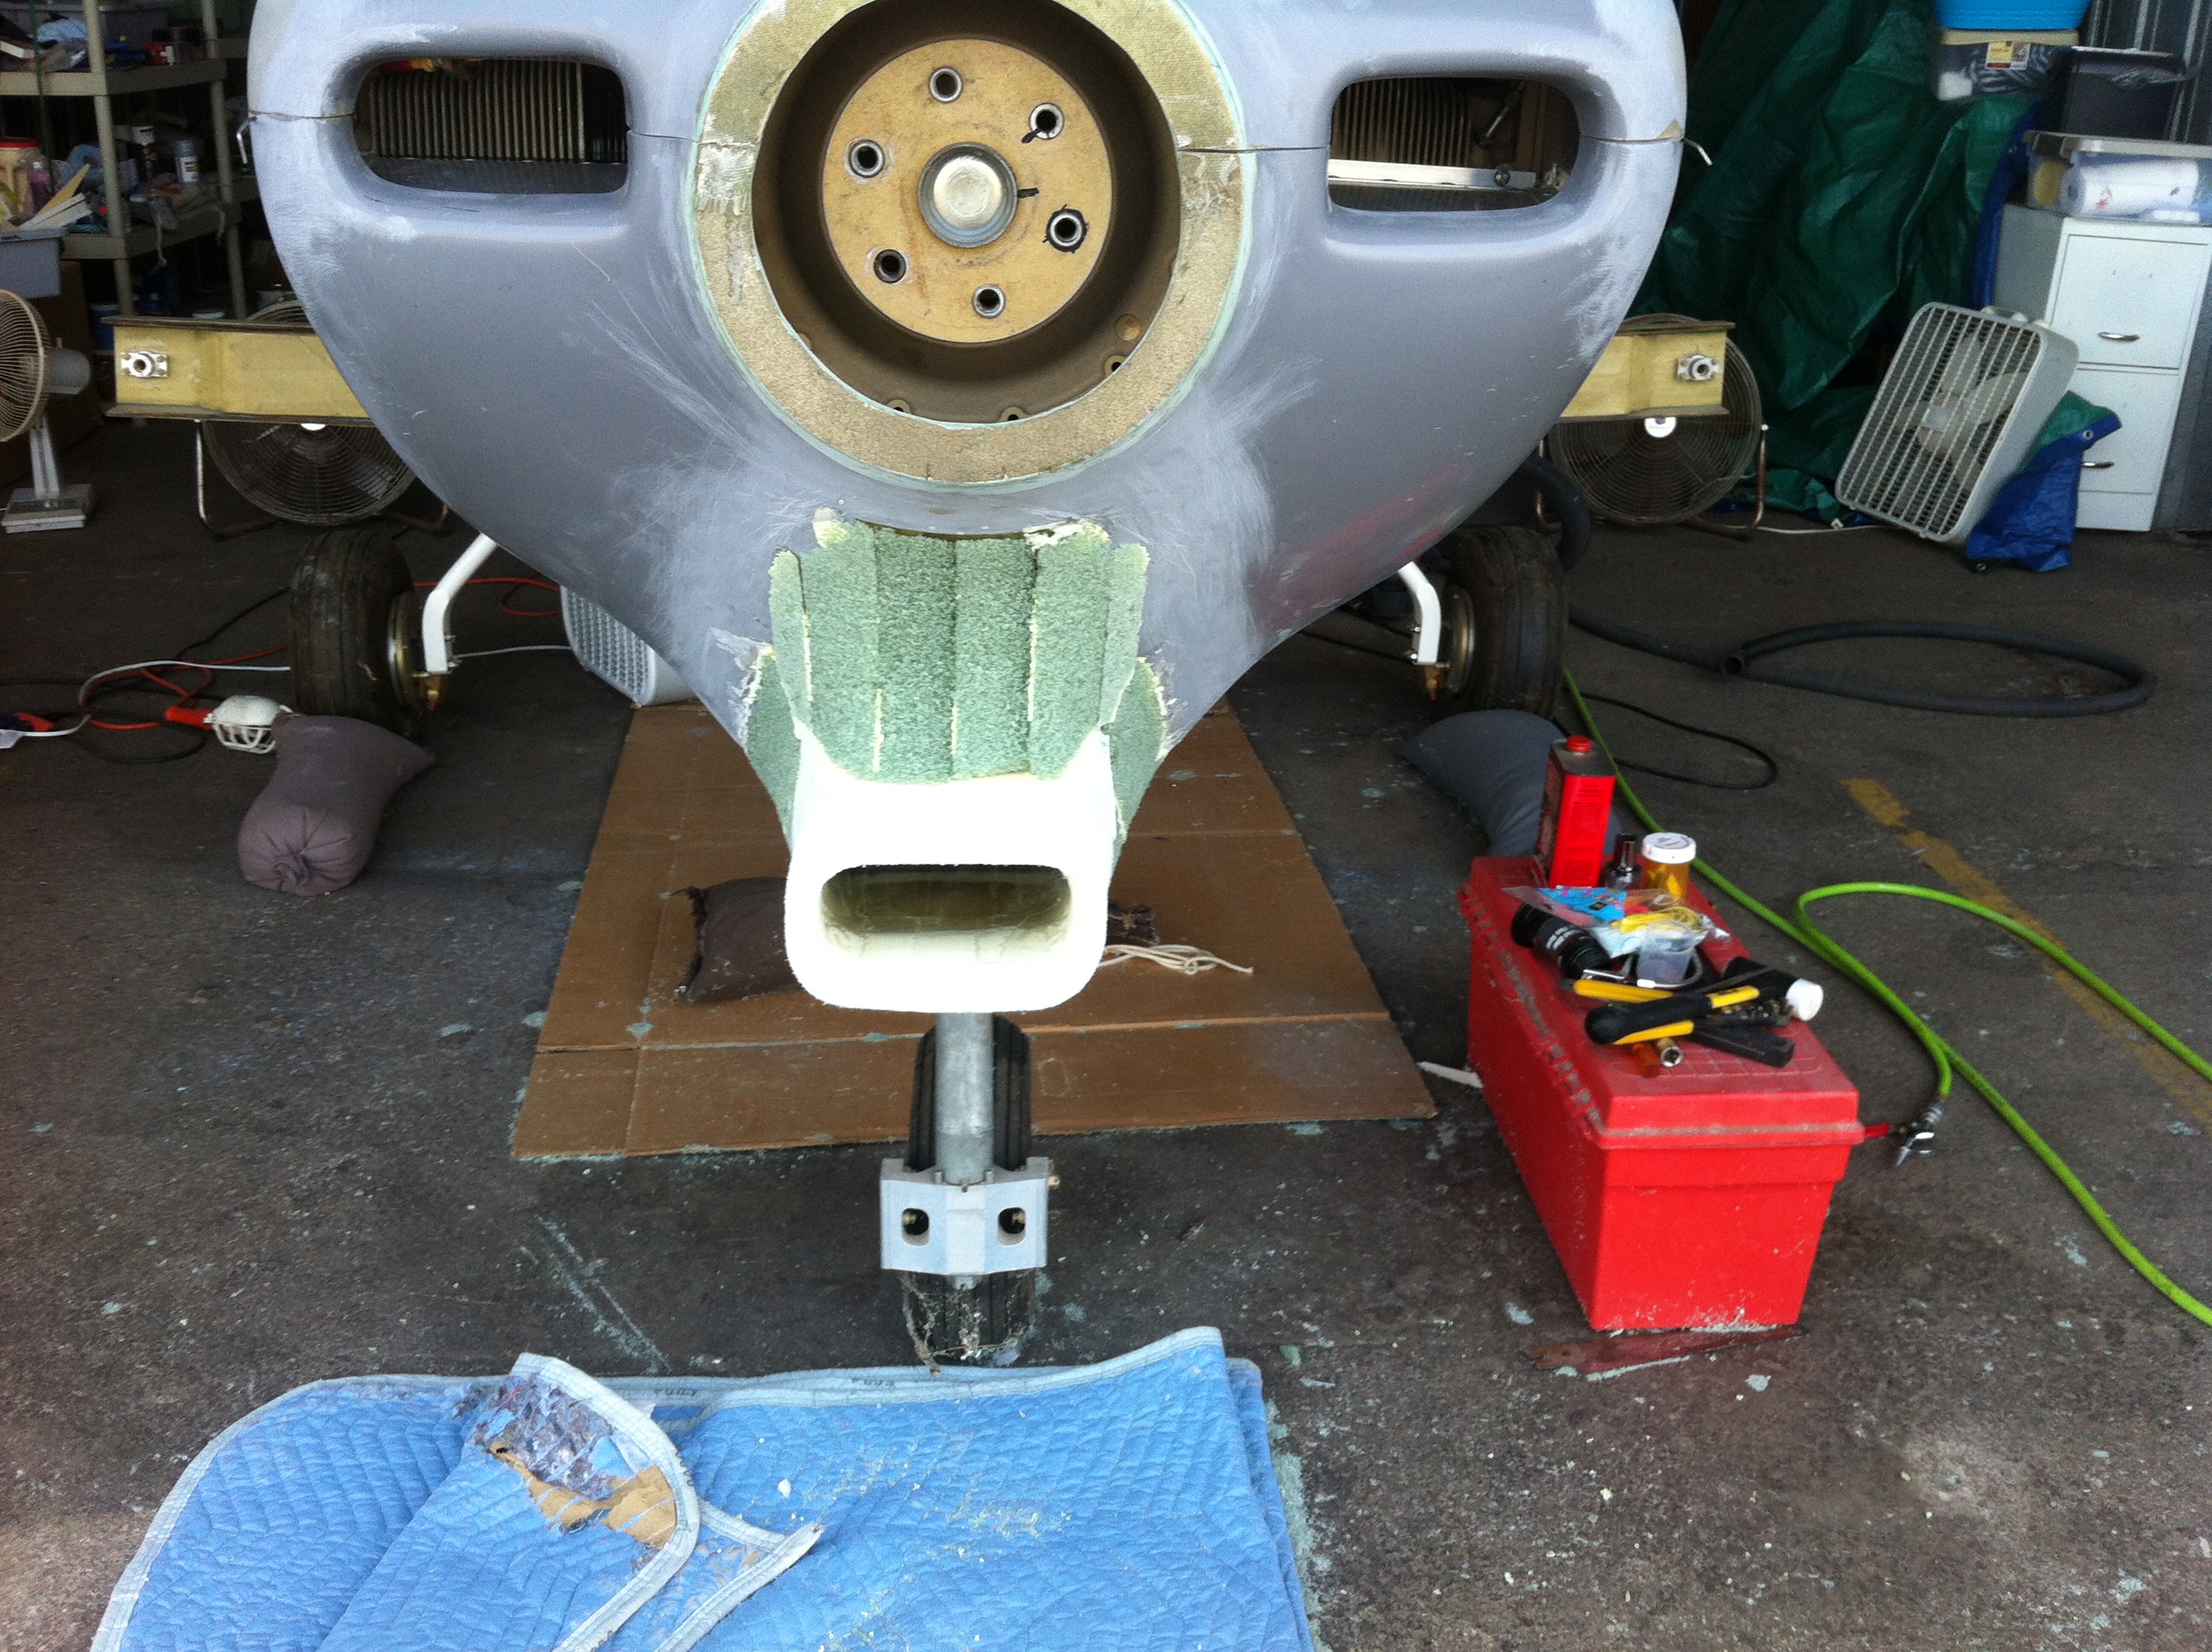
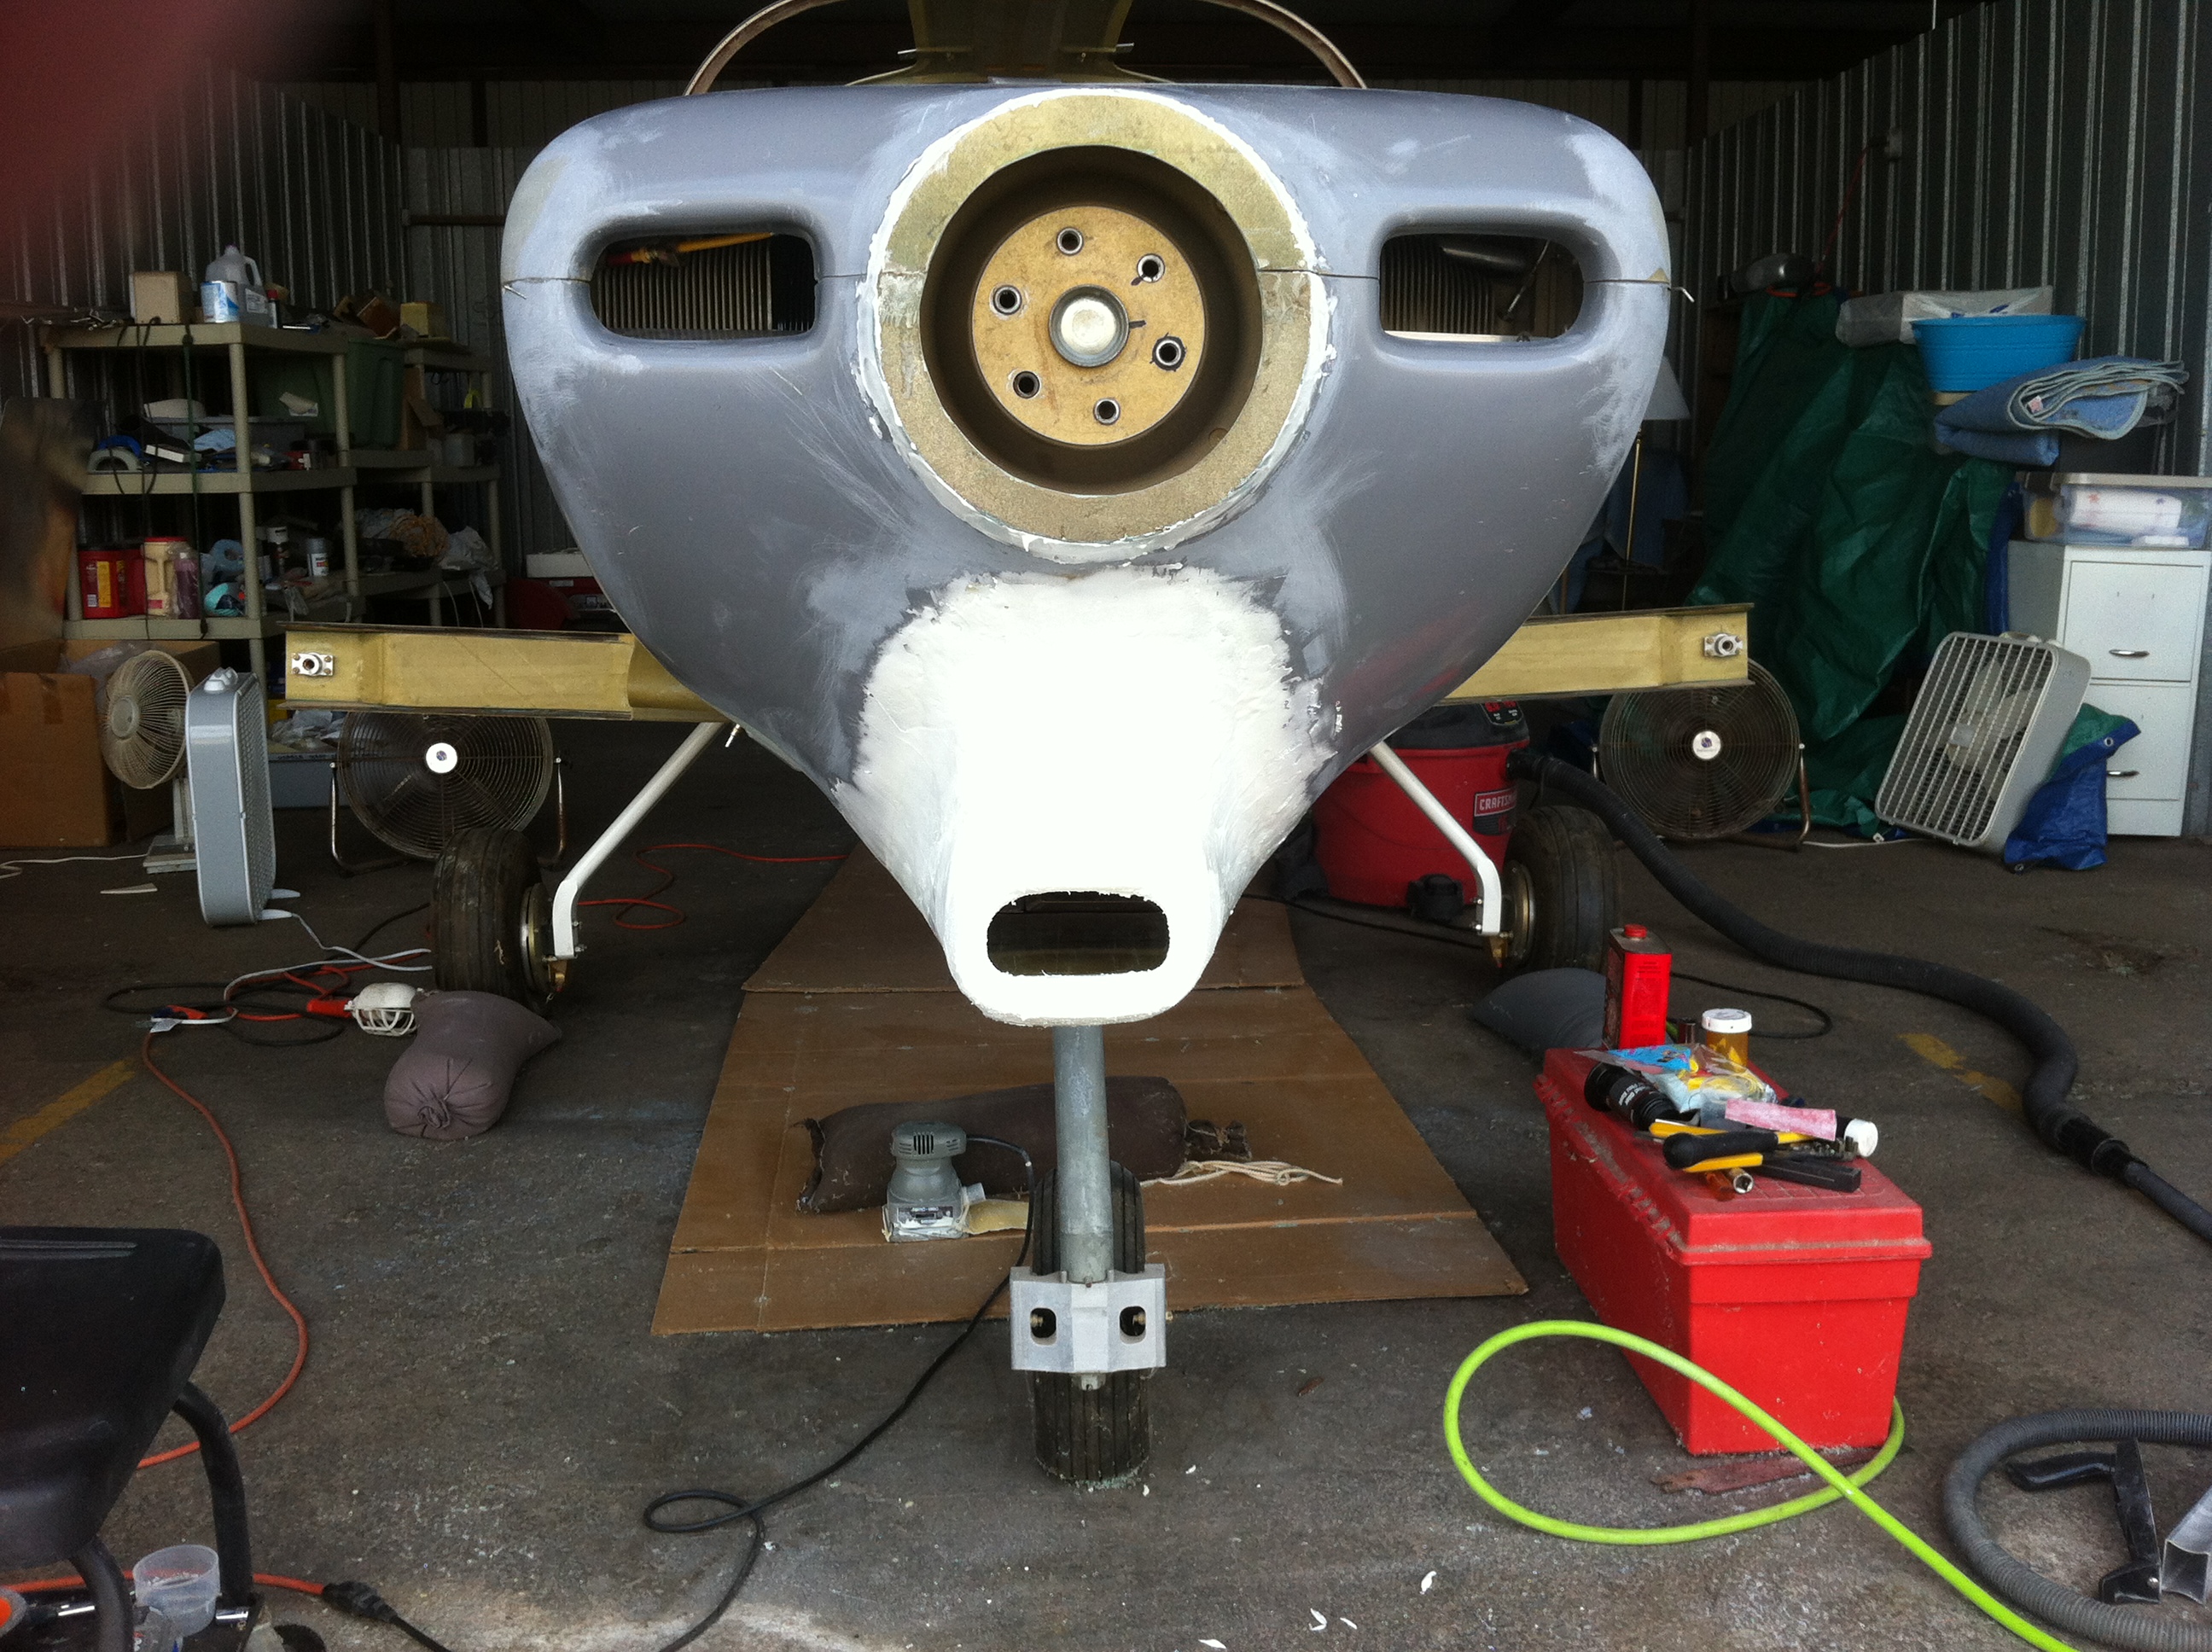
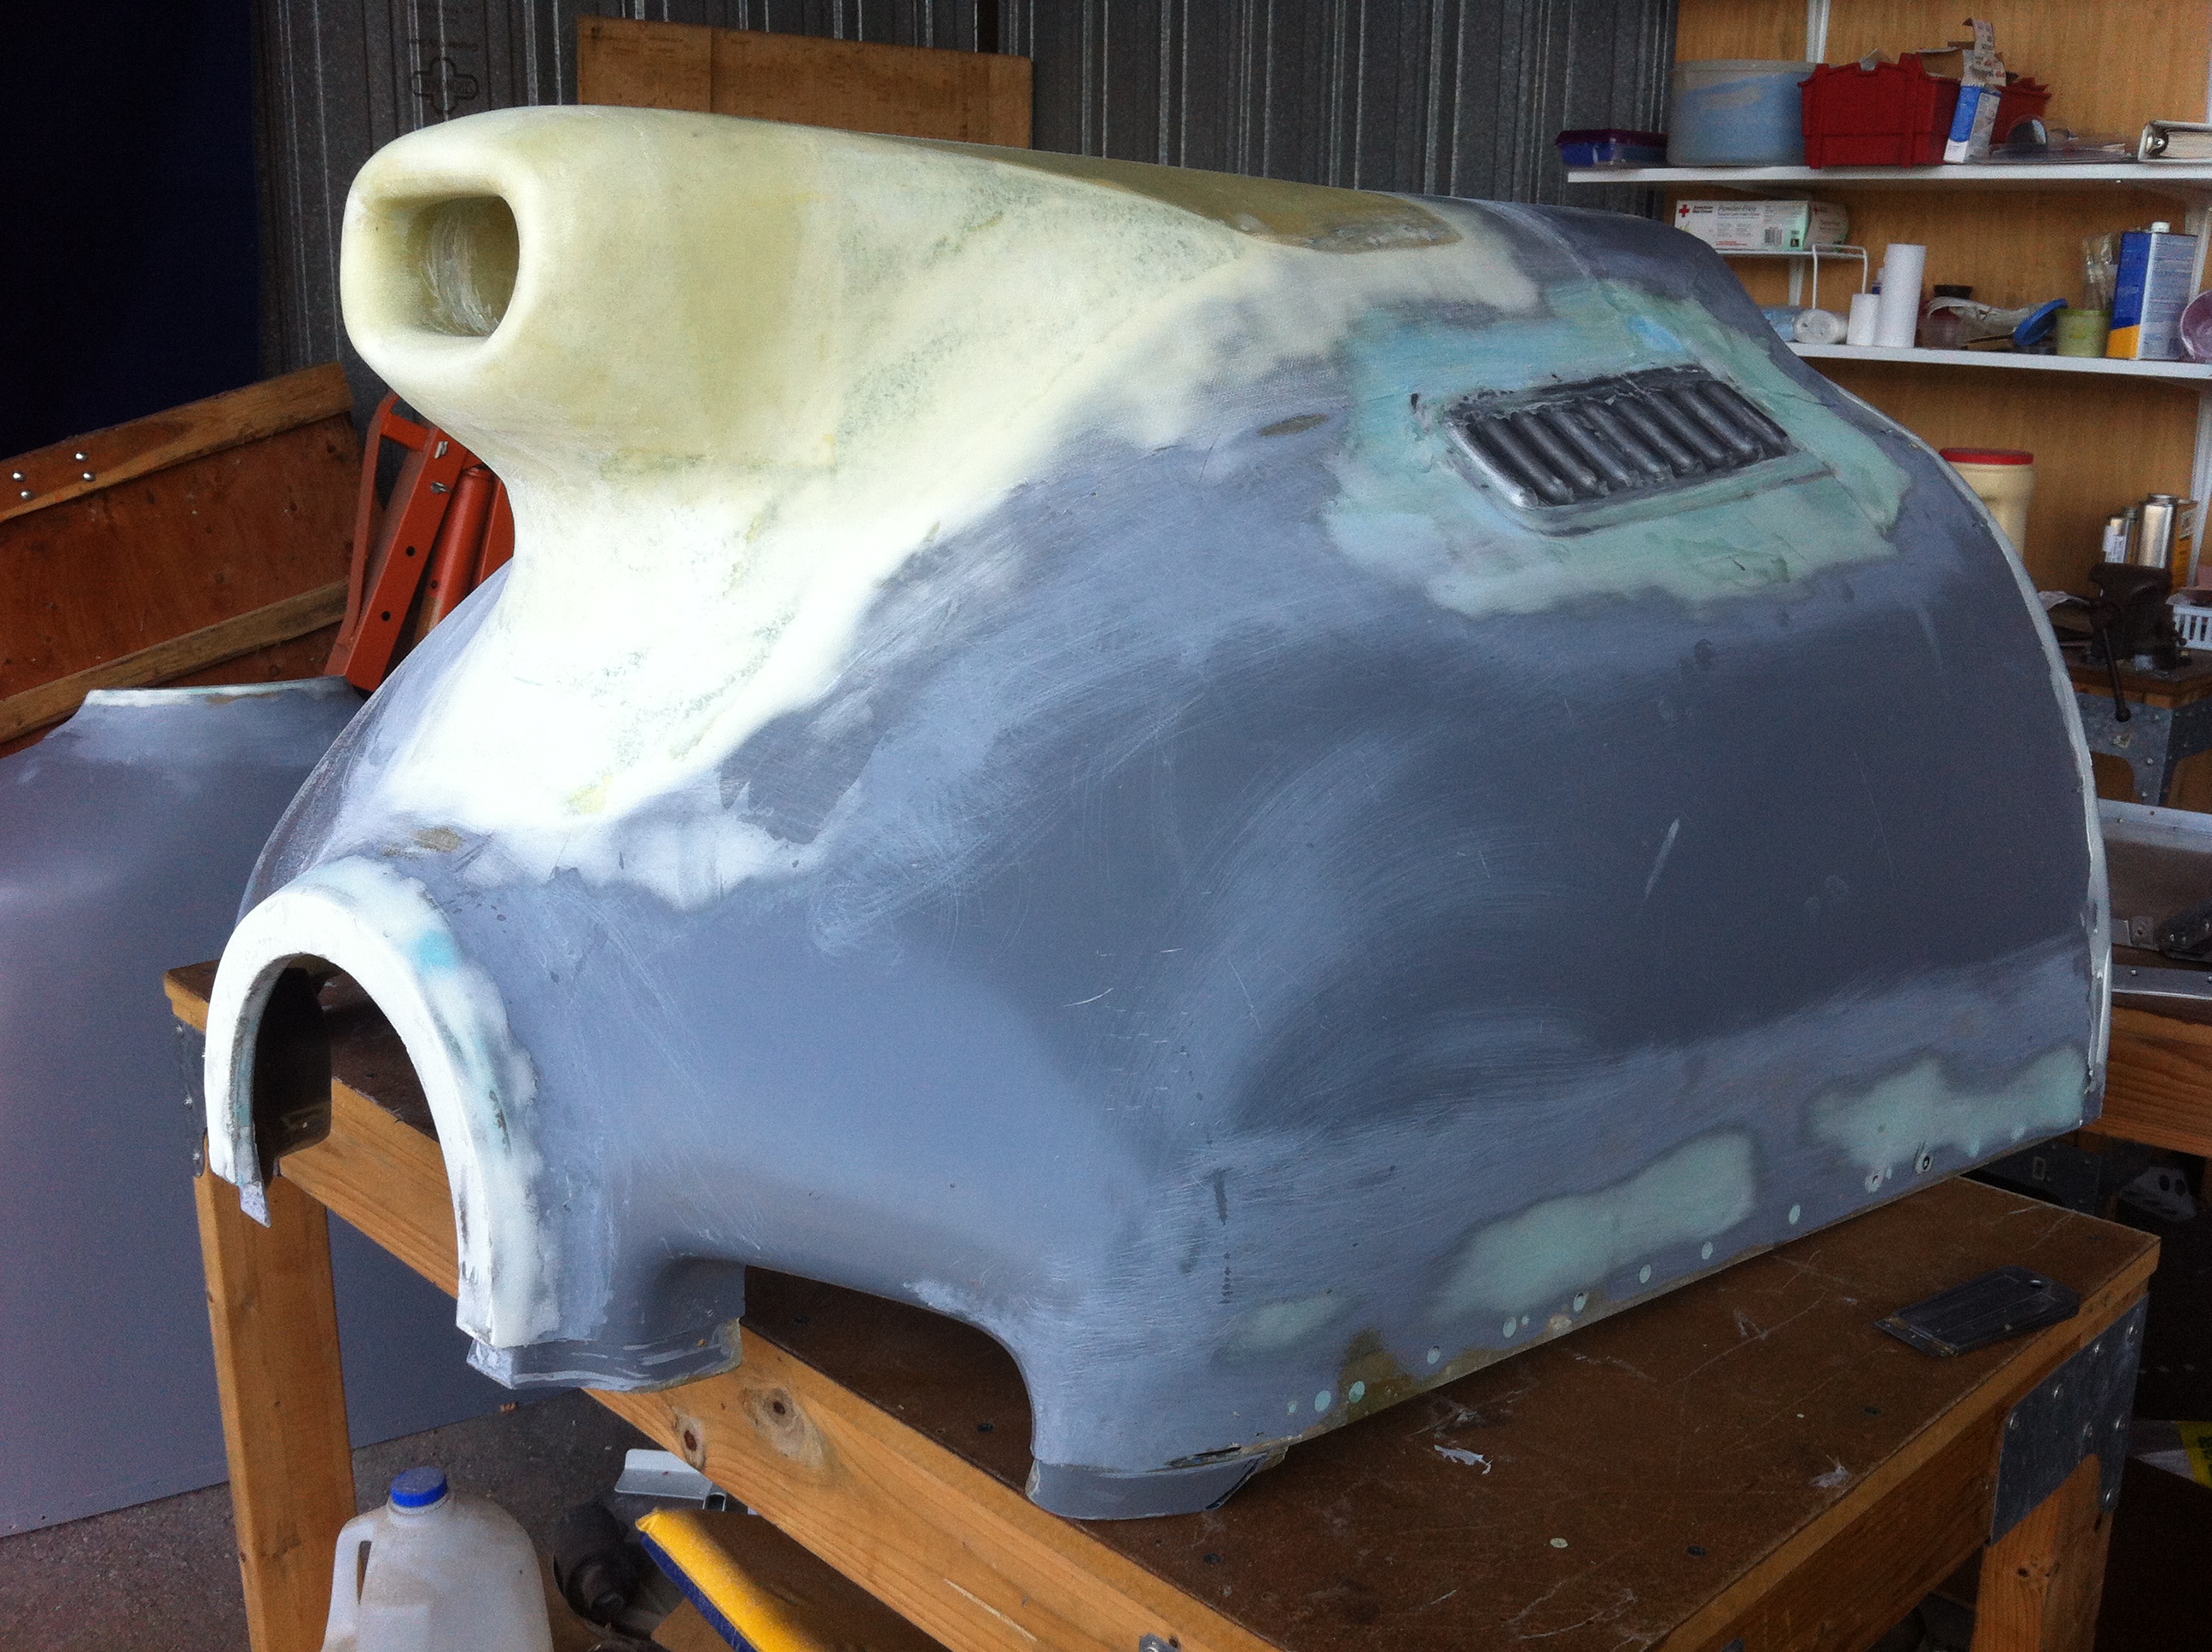
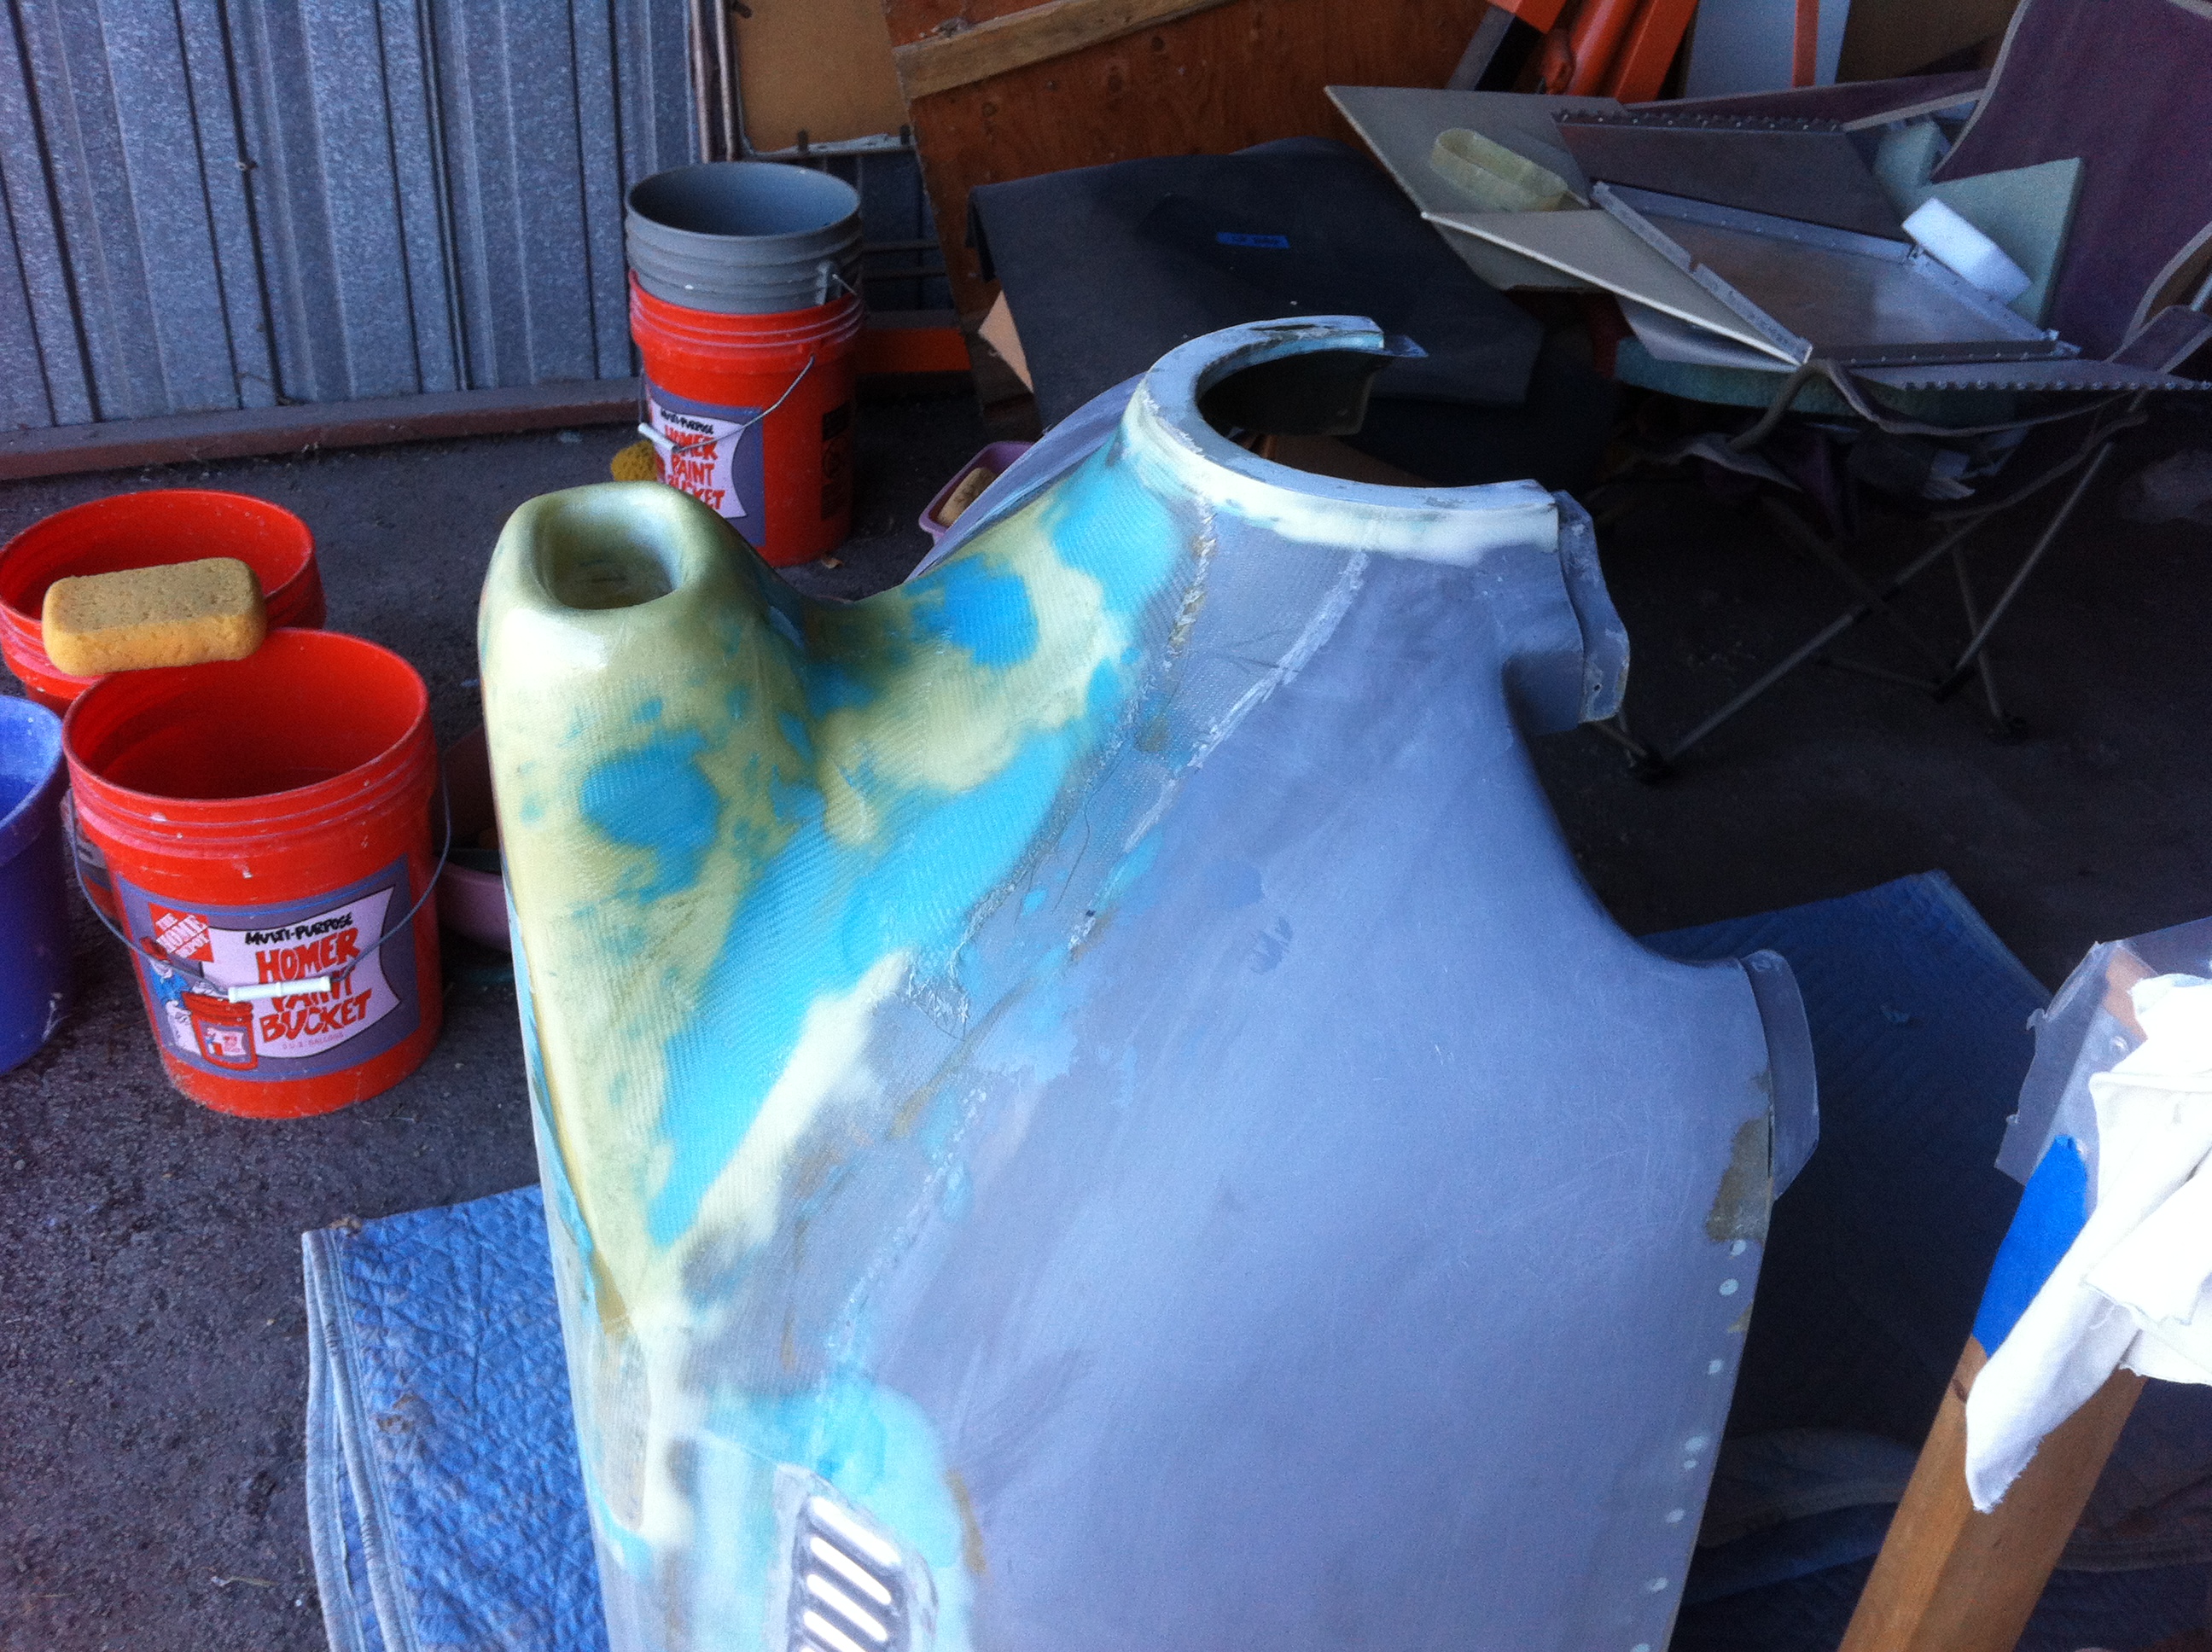
| The shaping process
continues with the application of an epoxy micro mix used to fill the
pores of the foam and fill any low spots. It's mostly a trial and
error process that repeatedly adds some filler and takes some
away. A lot of time is spent examining the results both close up
and from a distance. I didn't like the initial look and made
substantial changes to soften the appearance. |
|
 |
 |
 |
 |
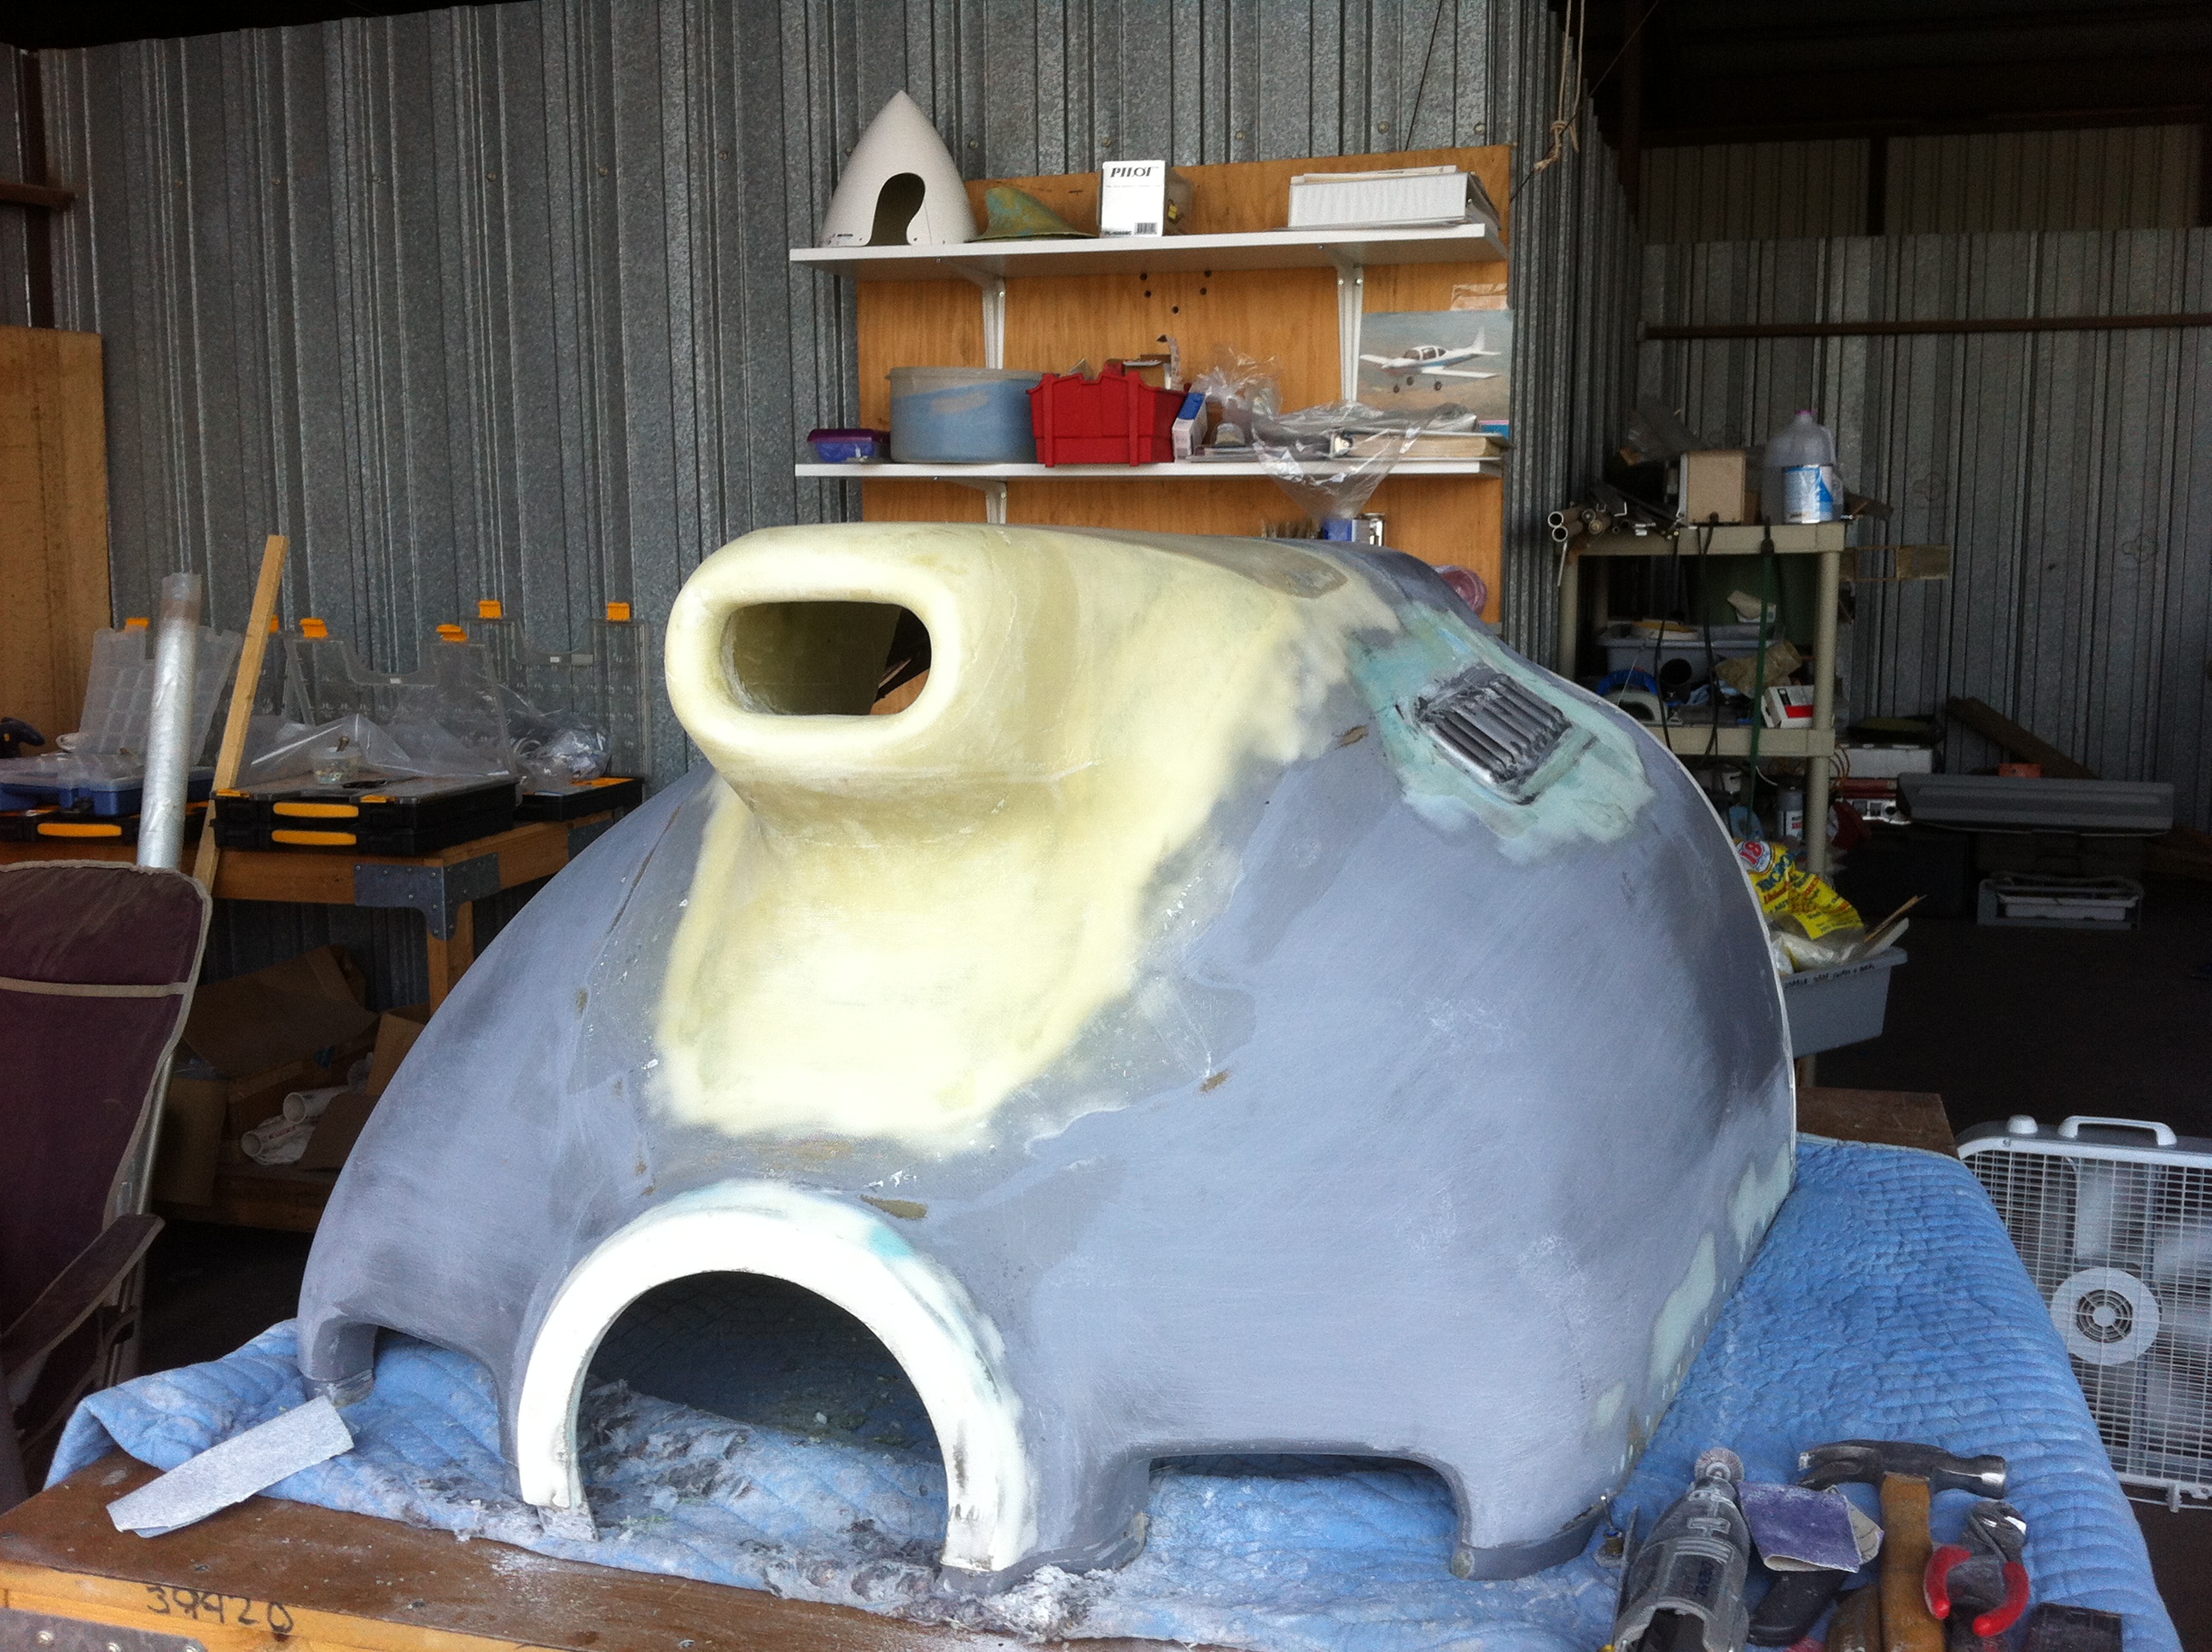
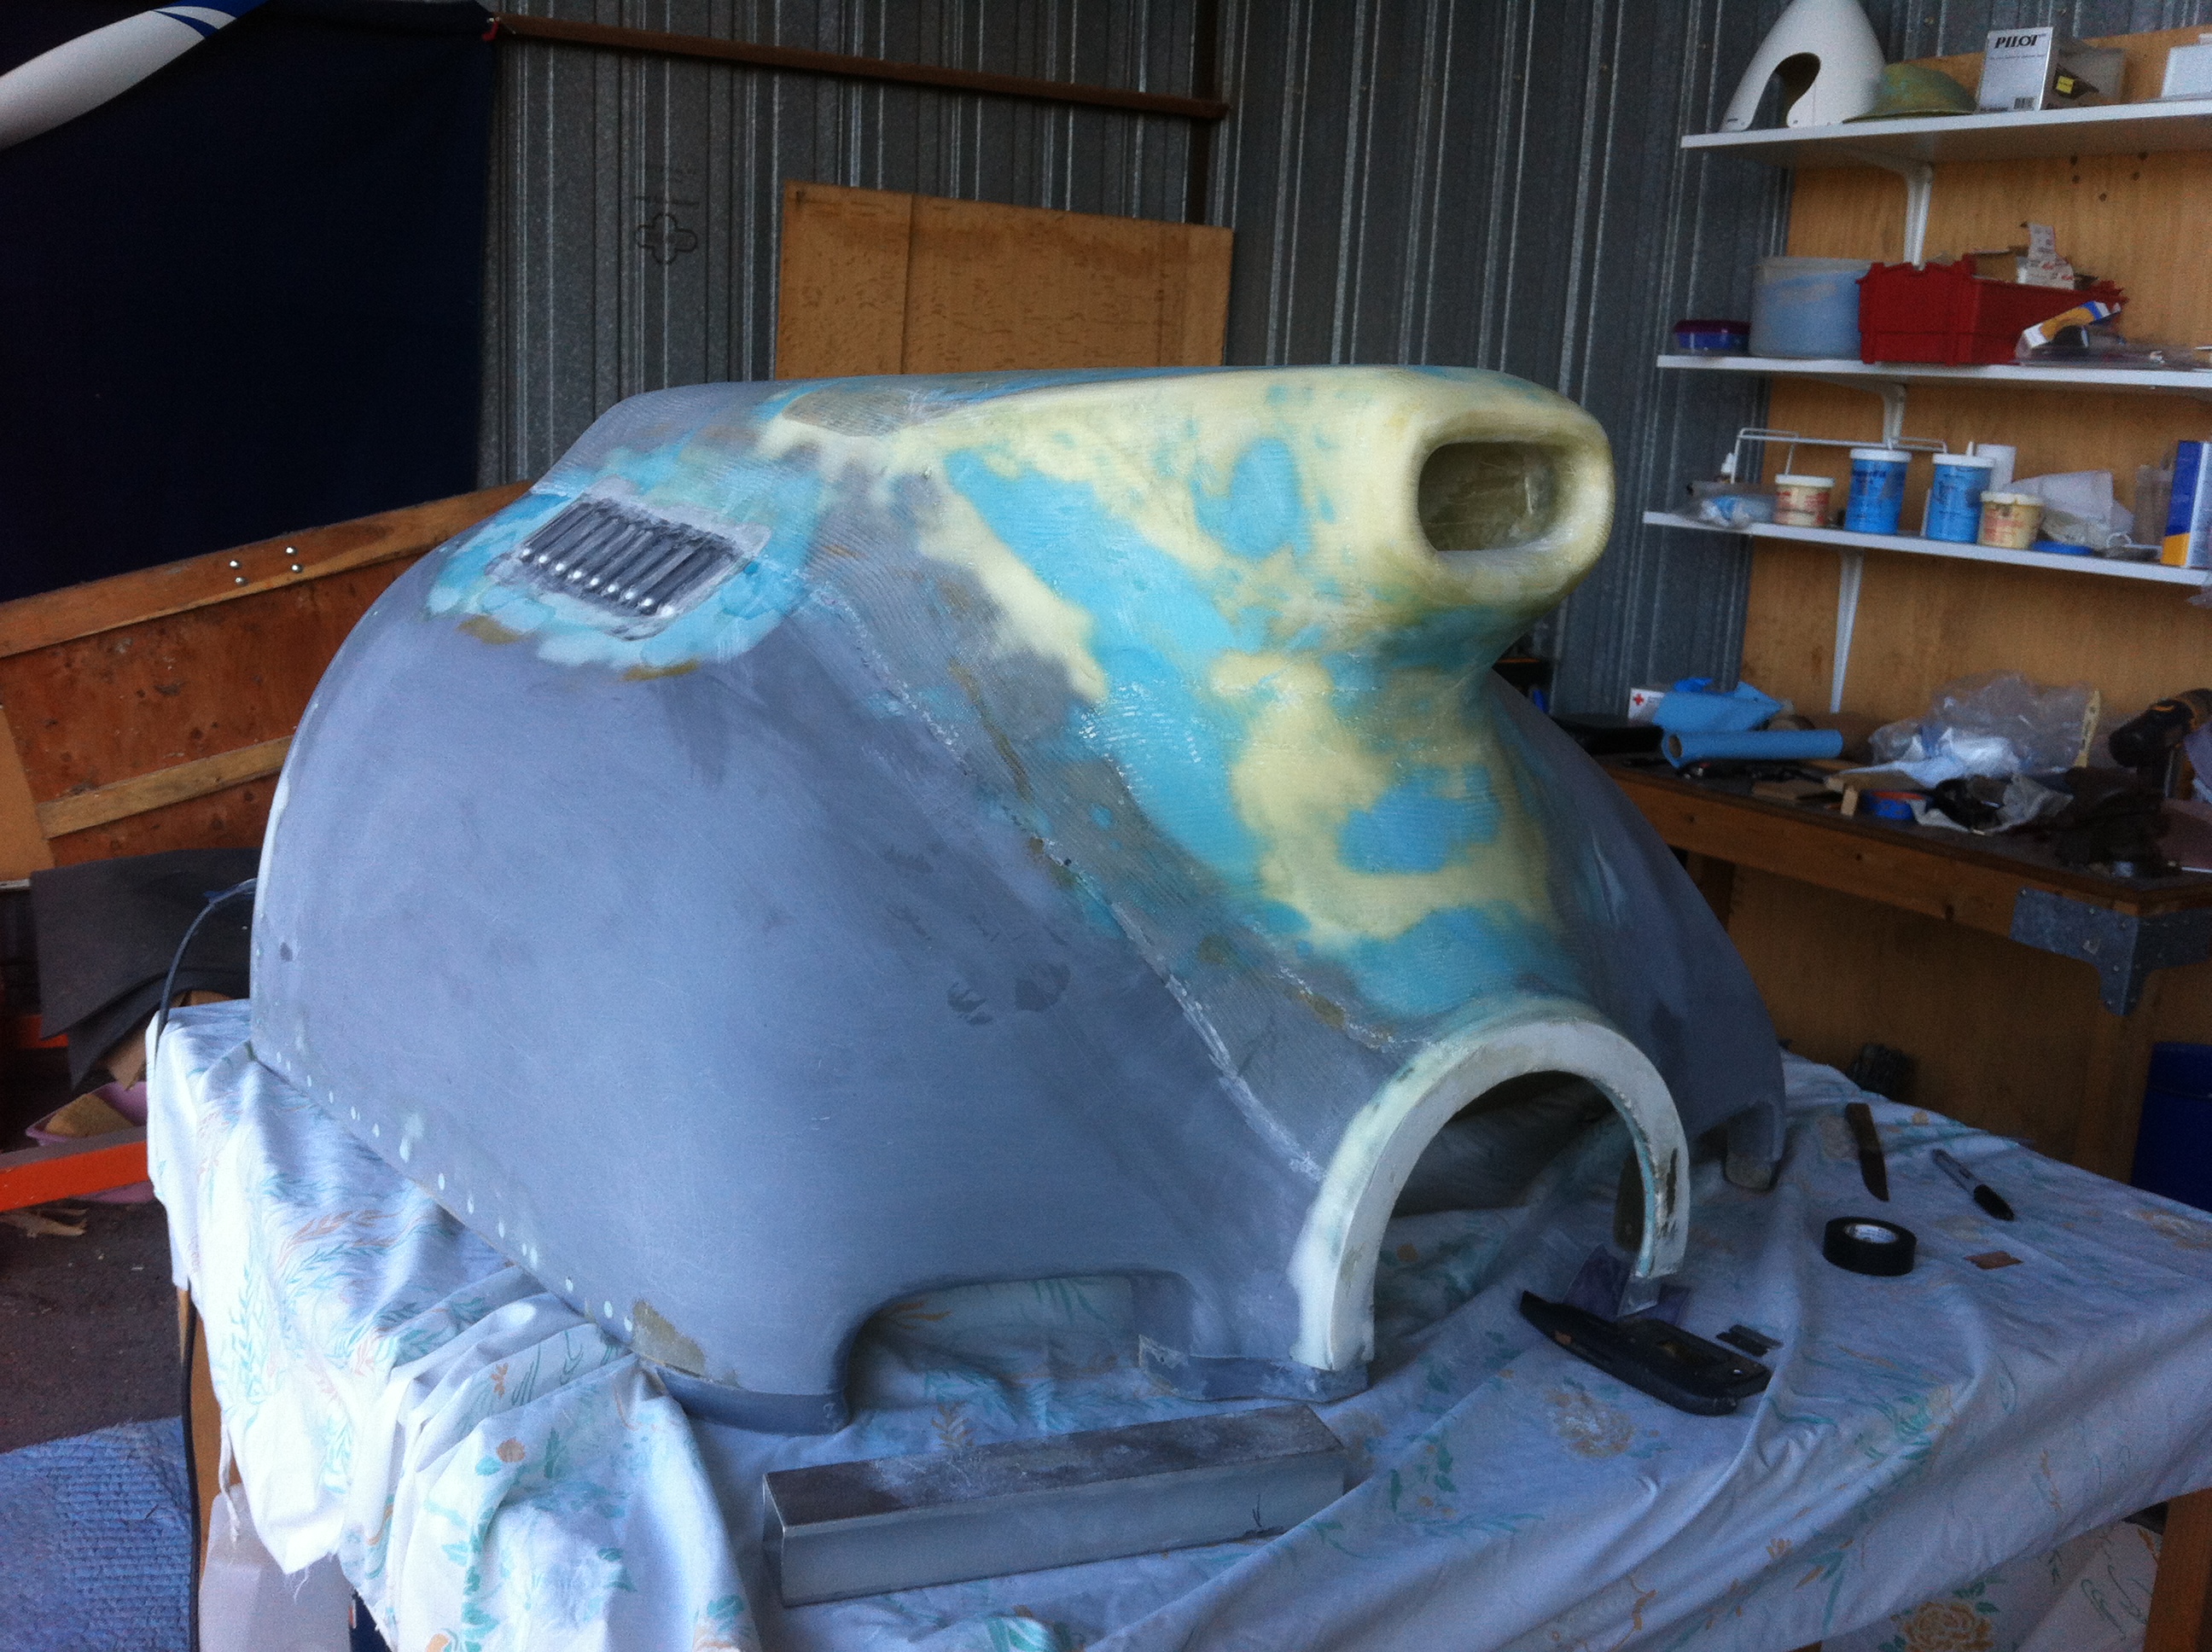
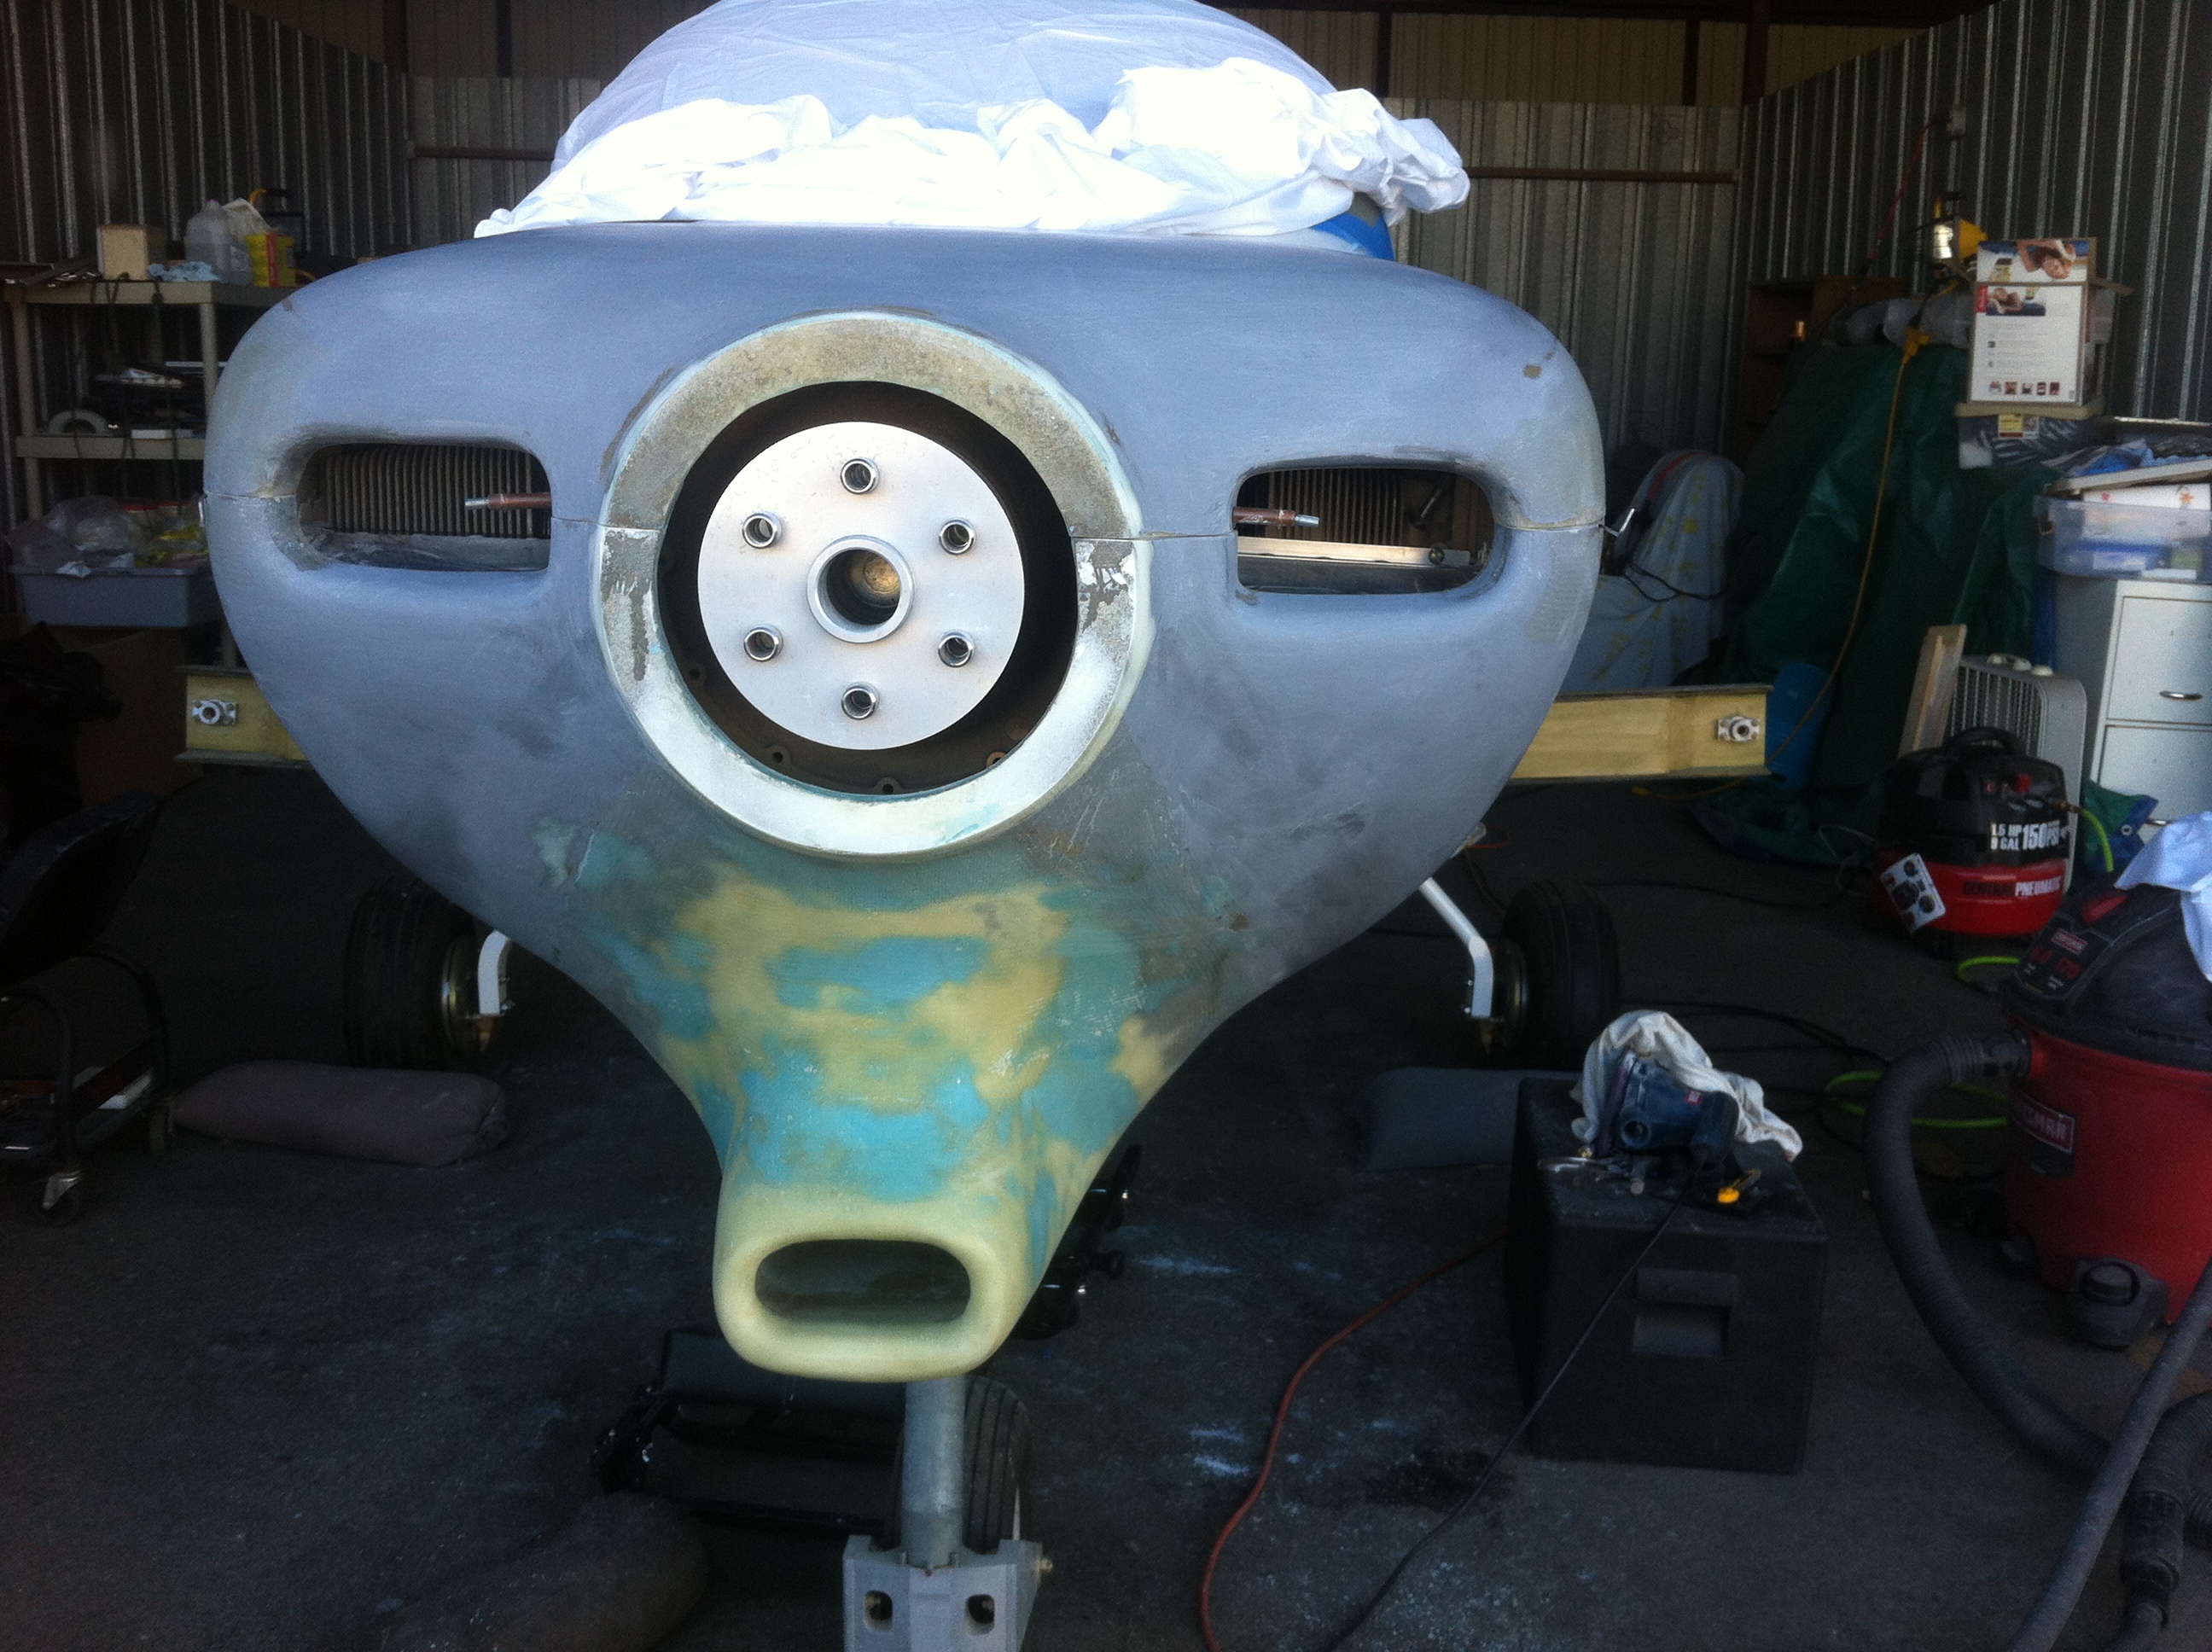
| The
initial opening was too extended and did not blend in smoothly.
The opening was not rounded out enough. I had to rework it
several times. |
|
 |
 |
 |
 |
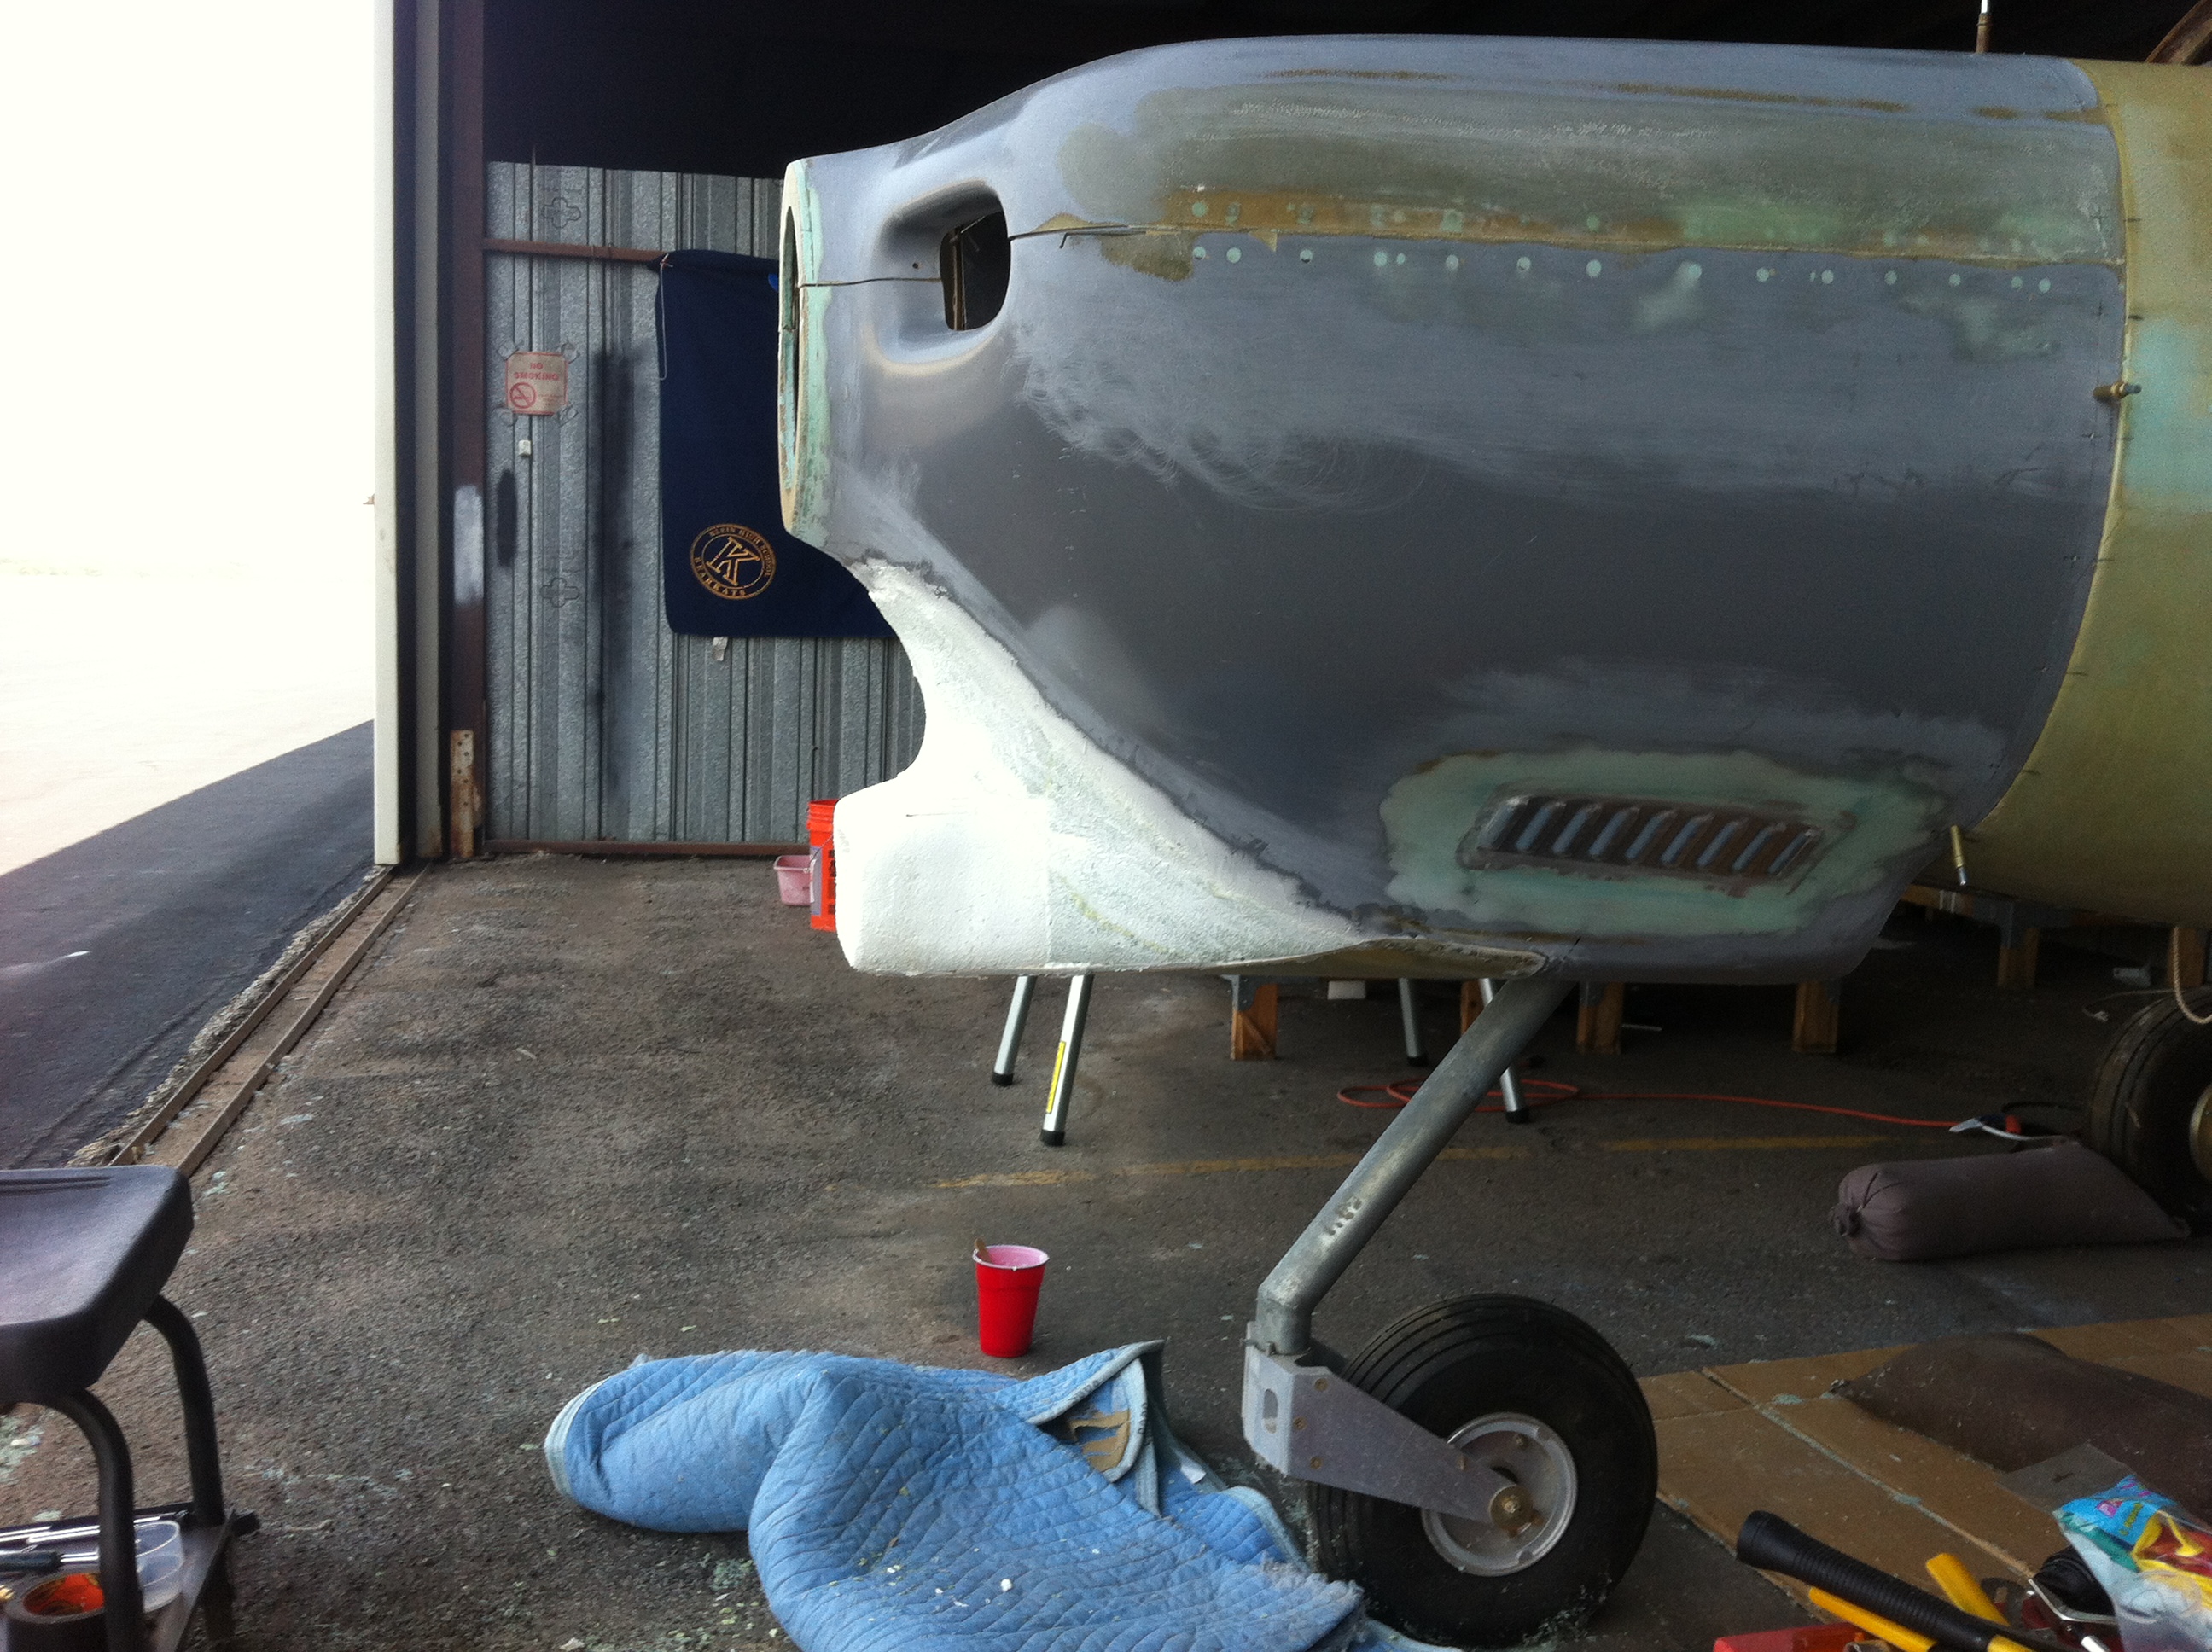
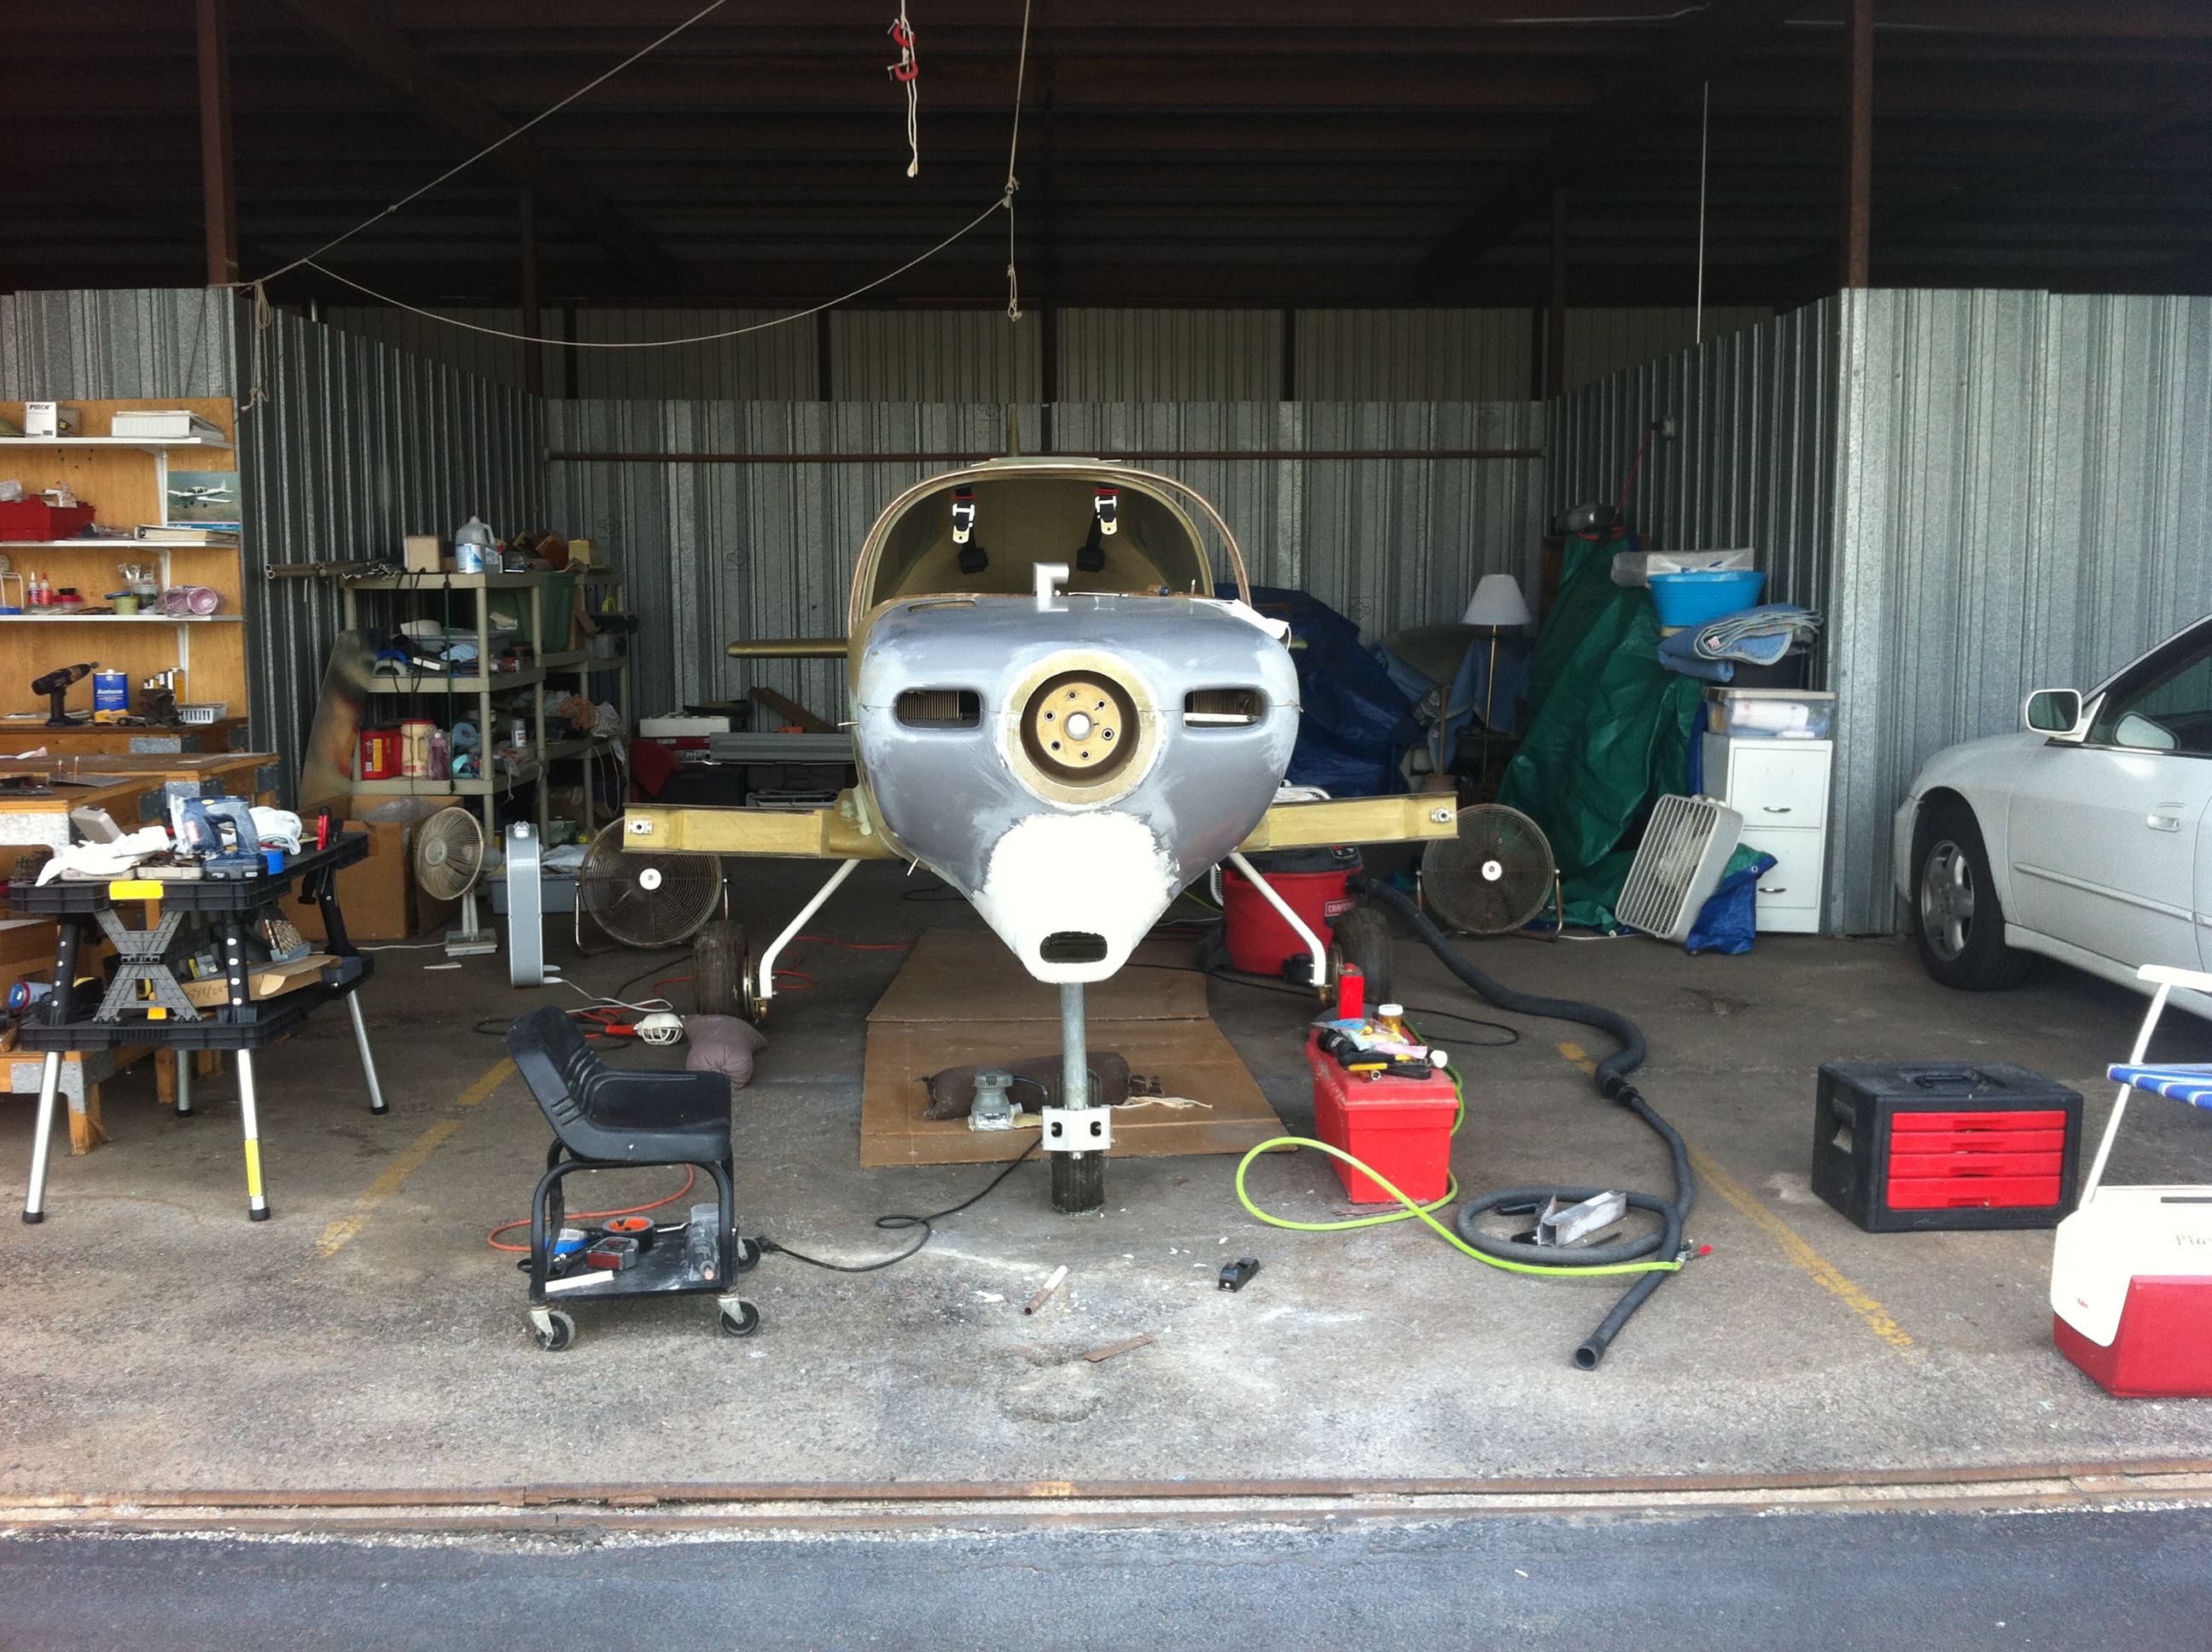
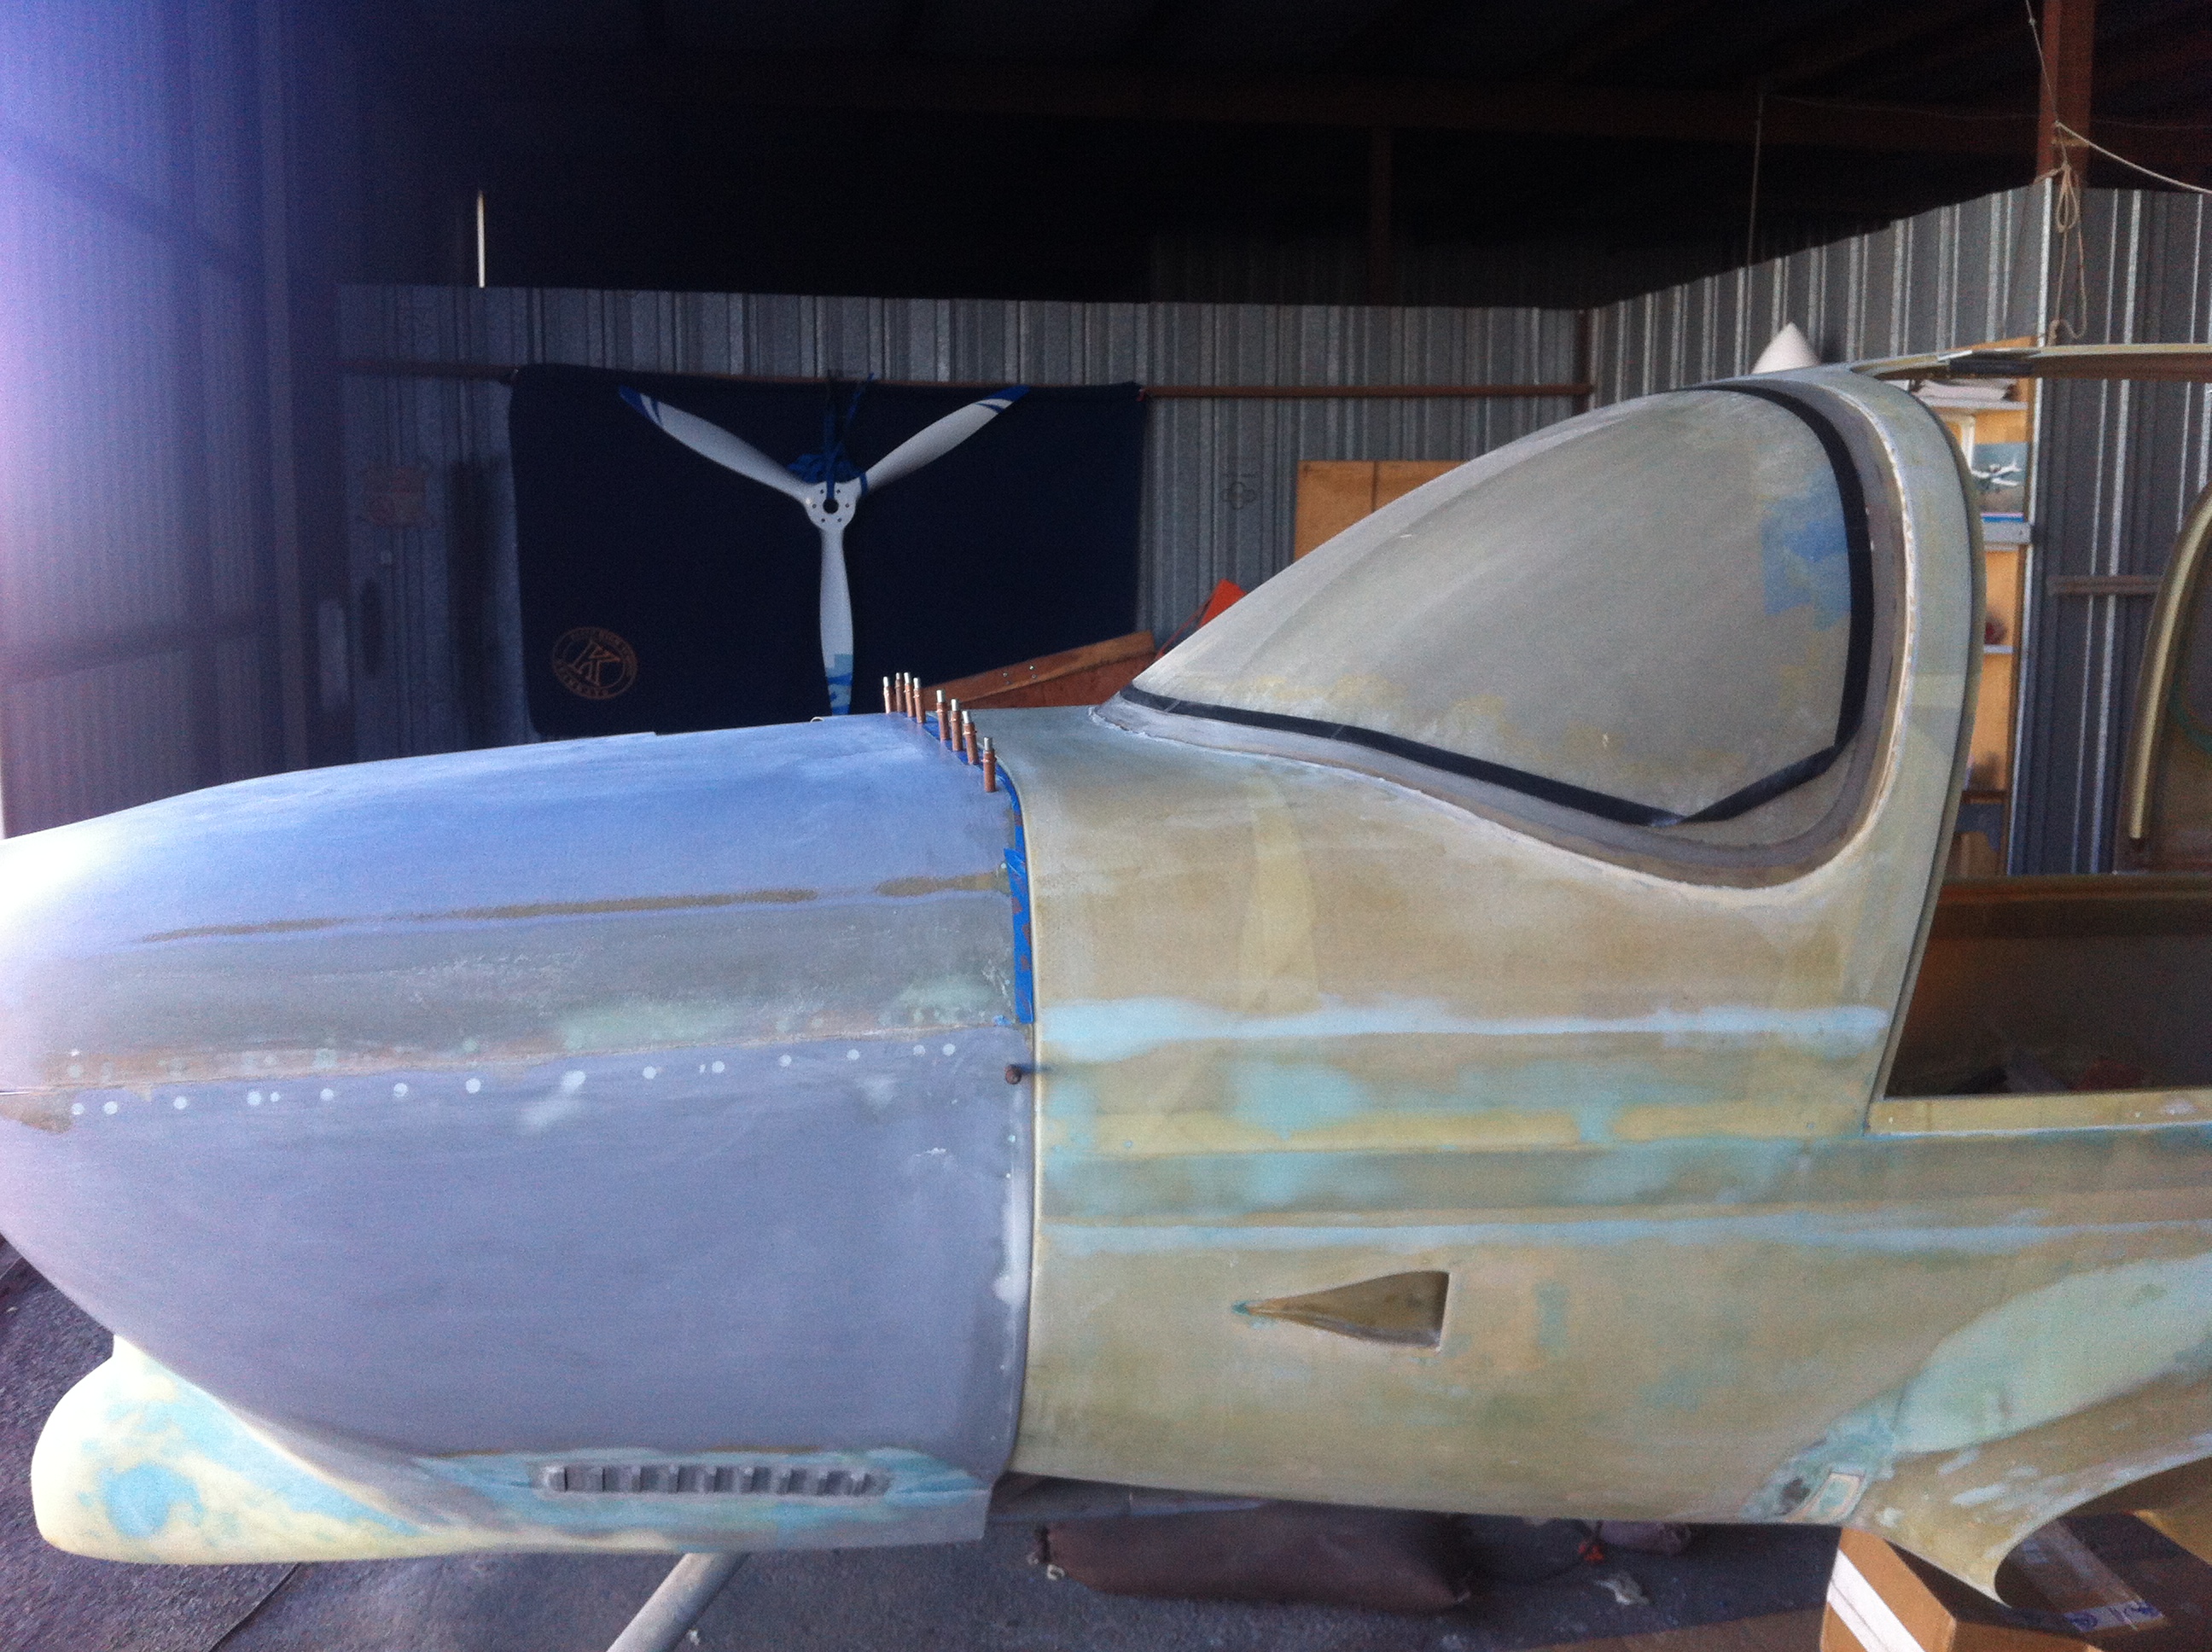
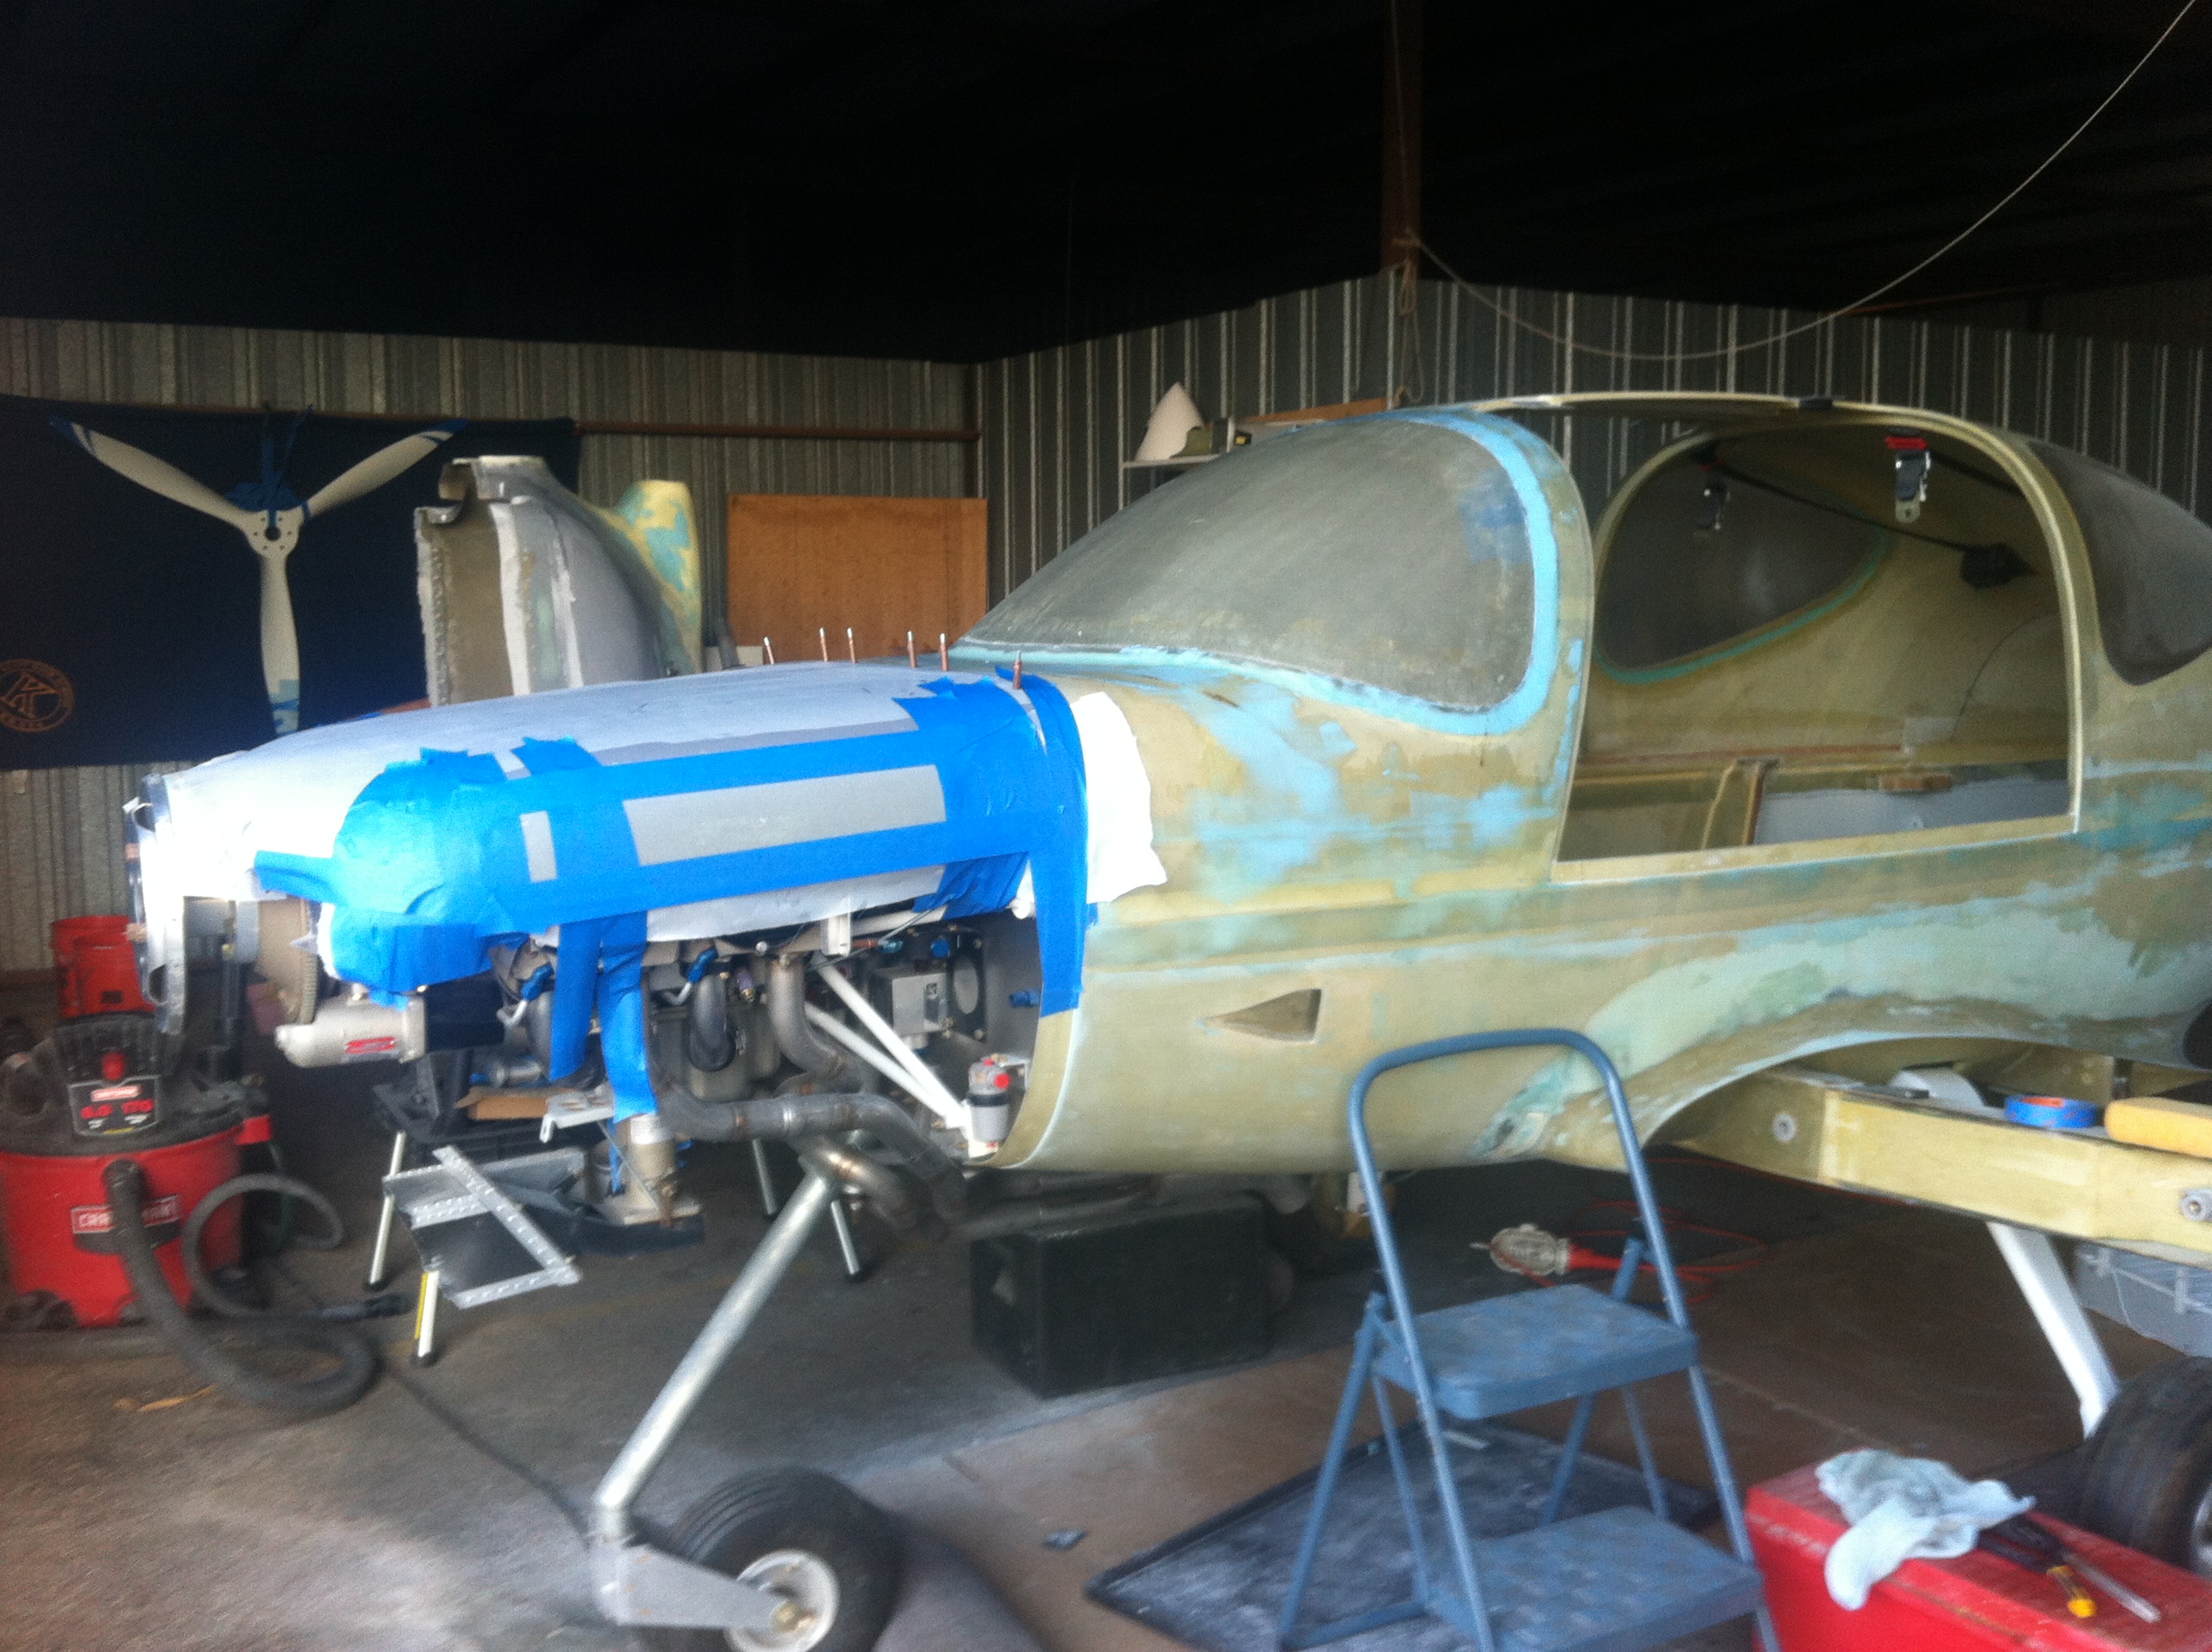
| Once I was finally
happy with the basic shape of the inlet and cowling I added multiple
layers of glass over the foam form and micro filler. I sanded the
micro with 80 grit before application of the glass. After the
glass was applied and cured, it was sanded and the light weight filler
(blue) was added and sanded until everything was smooth and no edges
from the glass overlay. |
|
 |
 |
 |
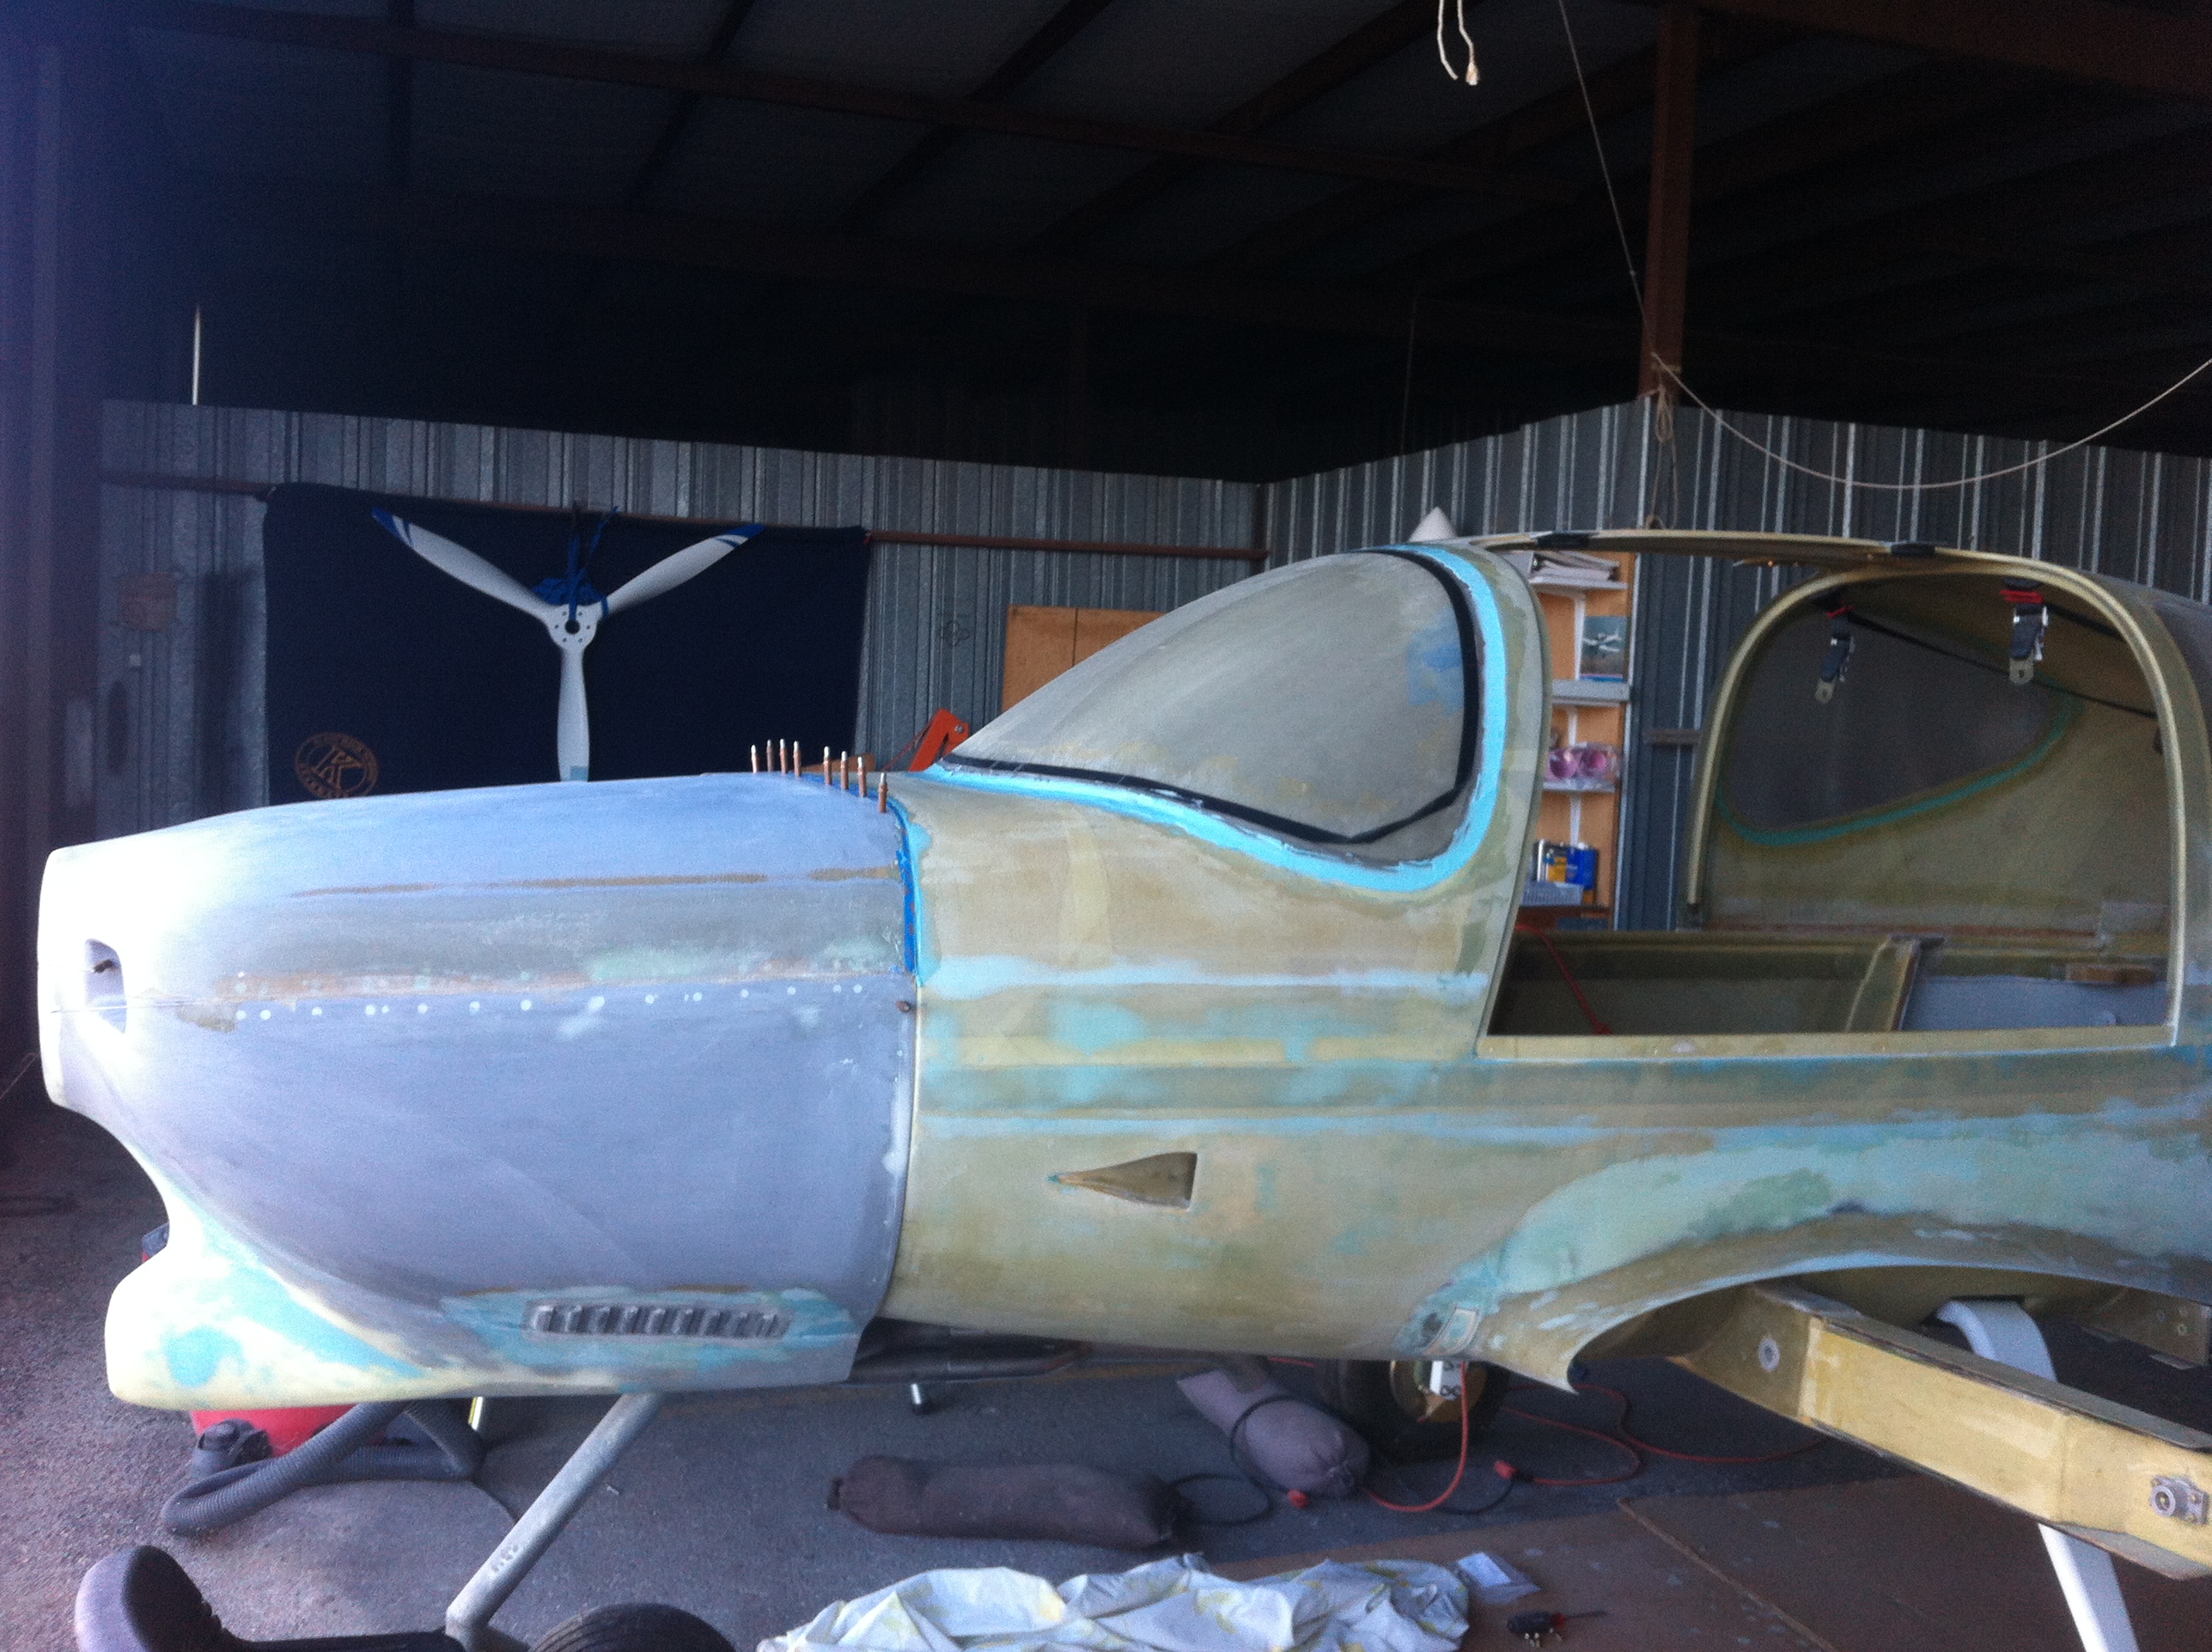 |
| At this point I continued to work on the hinge line between the upper and lower cowling, the air vents, and the nose. |
|
 |
 |
| It would have been so much easier if I had just kept with the KISS idea and not changed anything. |
|
 |
 |
 |
 |
 |
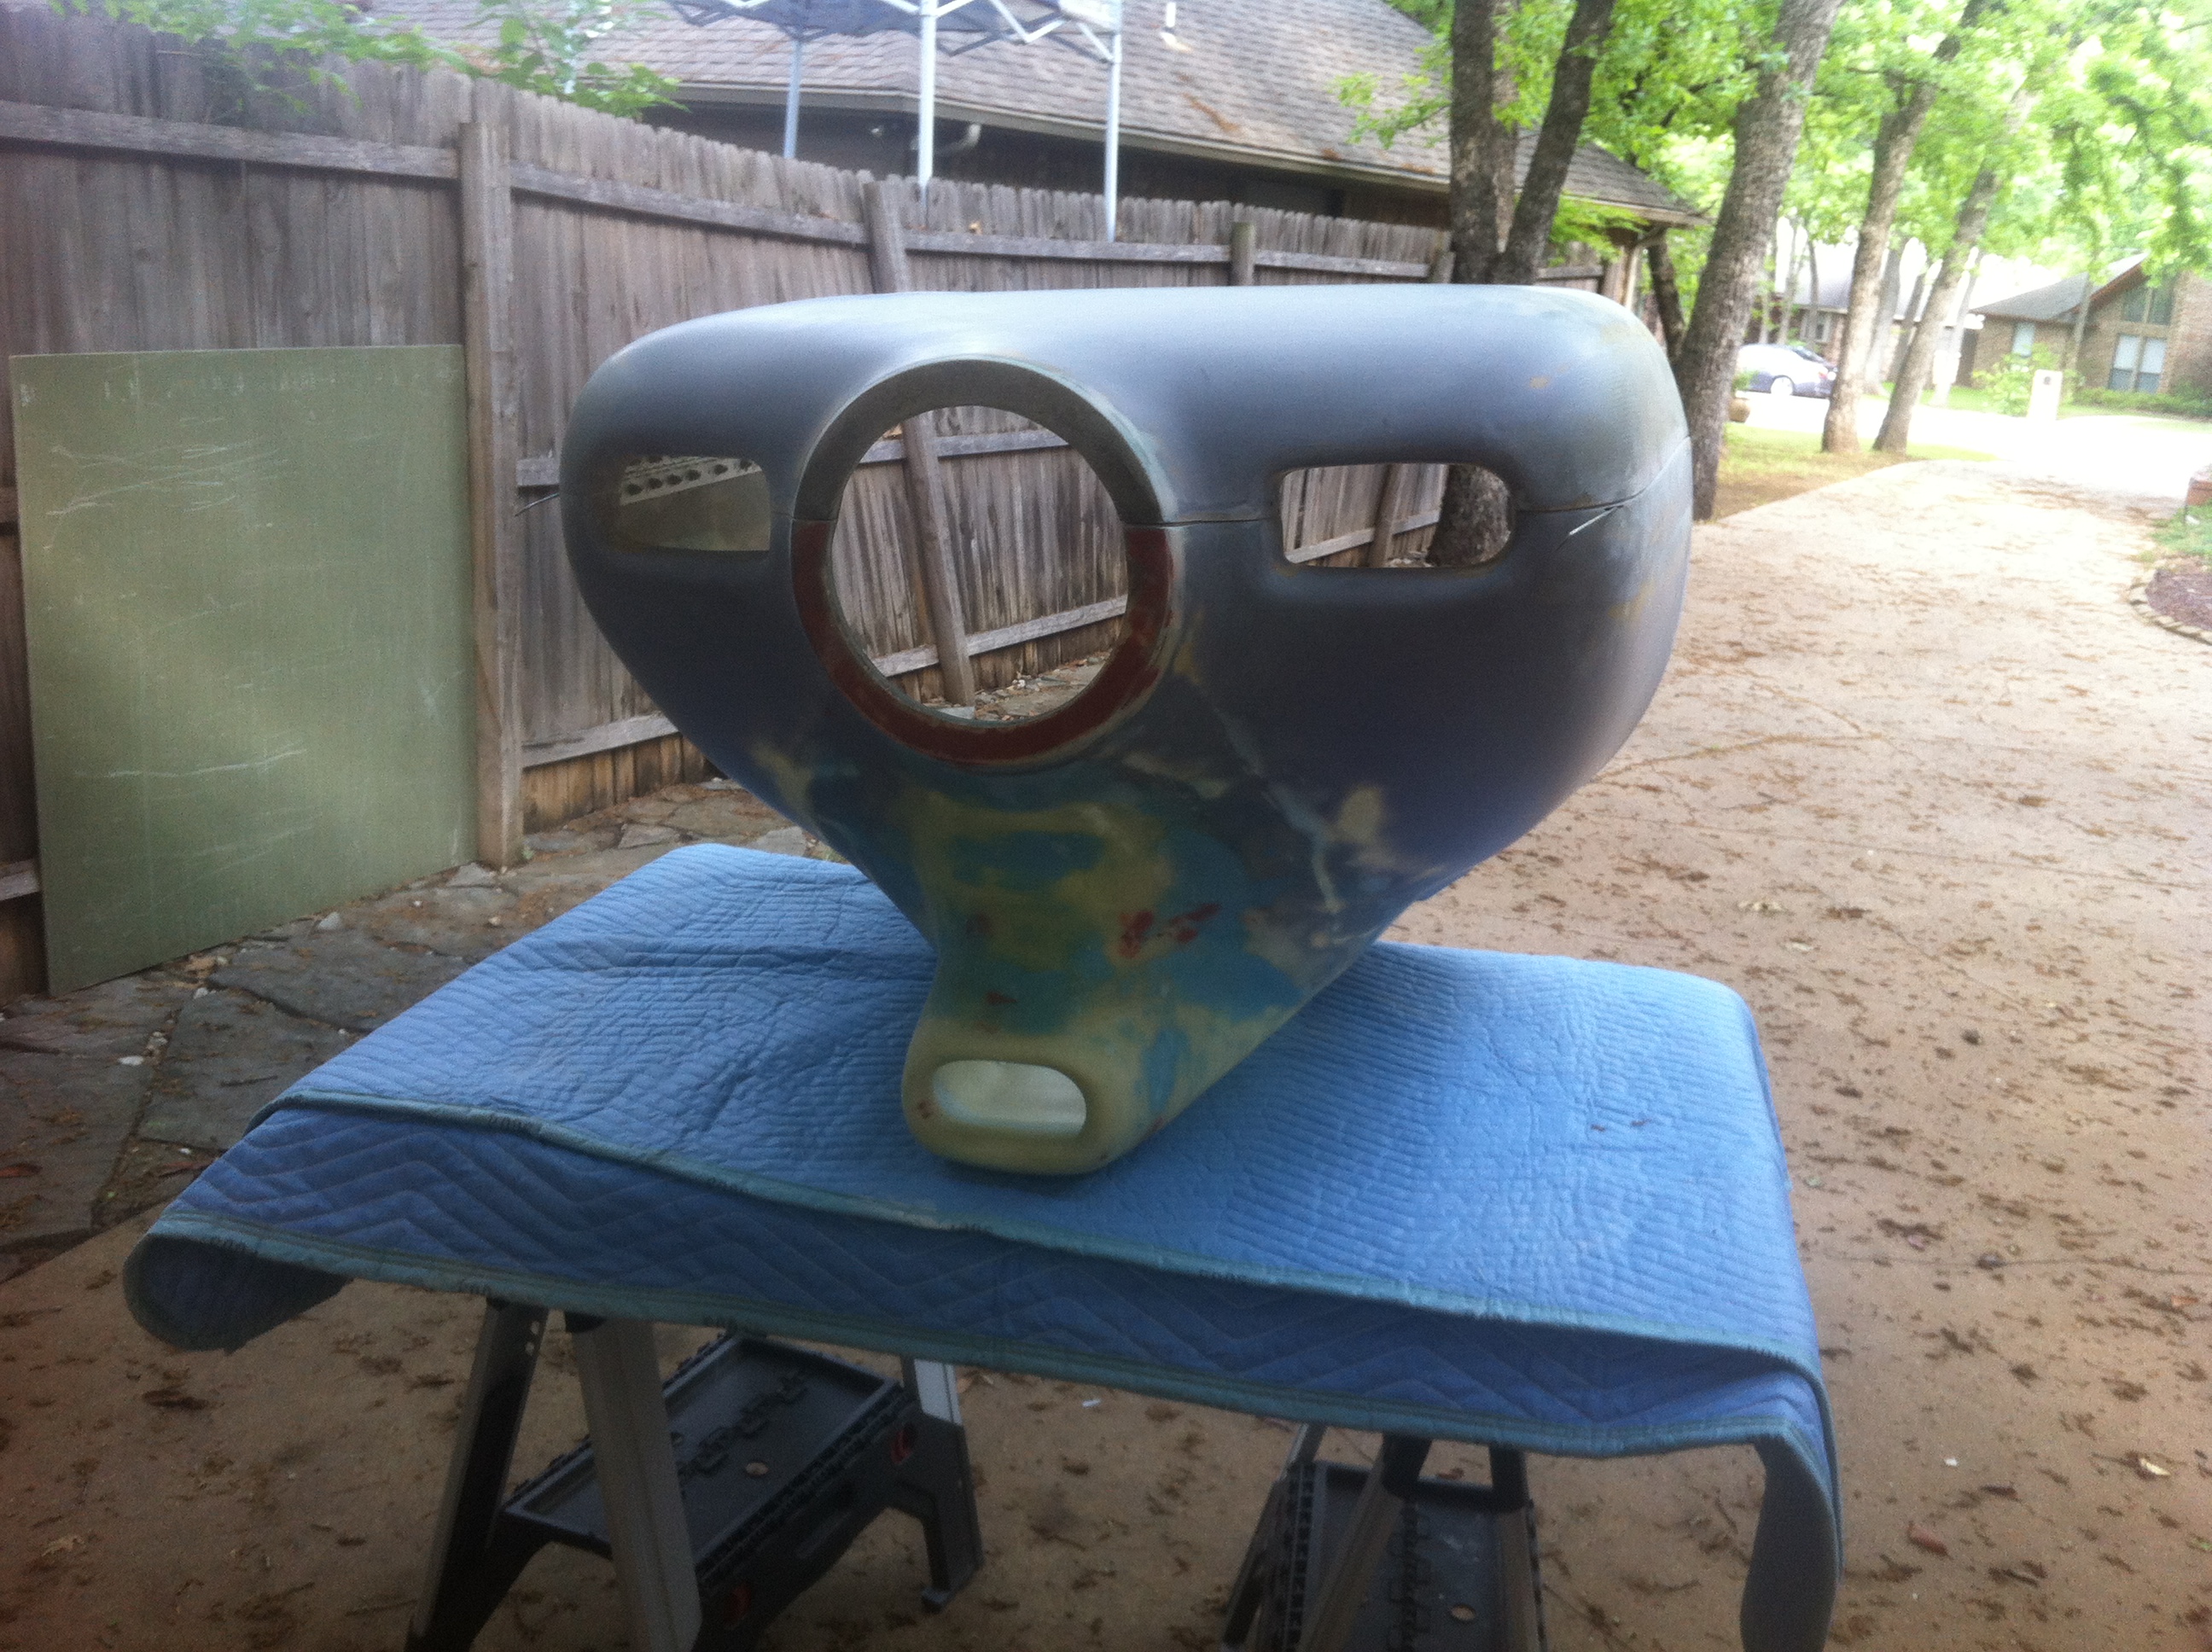 |
| All the major work has now been done and it's time to start the finish and painting work. |
|