|
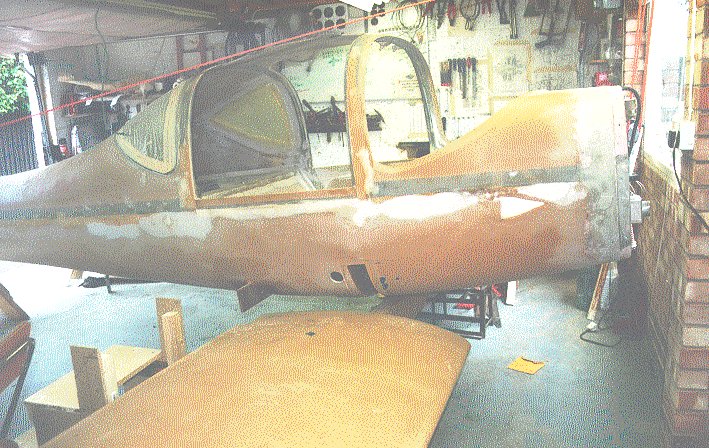
Mounting the wings : Here I used the wings fixed and levelled on cut down wing building jig supports, The profiles had to be first modified to accept the bottom skin rather than the top , The fuselage was then lowered onto the wing and levelled side to side and positioned over the absolute centre of the wing , Gravity skims and very tight spar box , held it all in place for the drilling .
 |
Seats - here we have a moulded seat pan , which is supported from below , and has strengthening ribs fitted on the underside , not sure yet if I have cut too much out the middle for the full stick movement.
 |
 |
(See attached file: ITR4.jpg)(See attached file: ITr3.jpg)
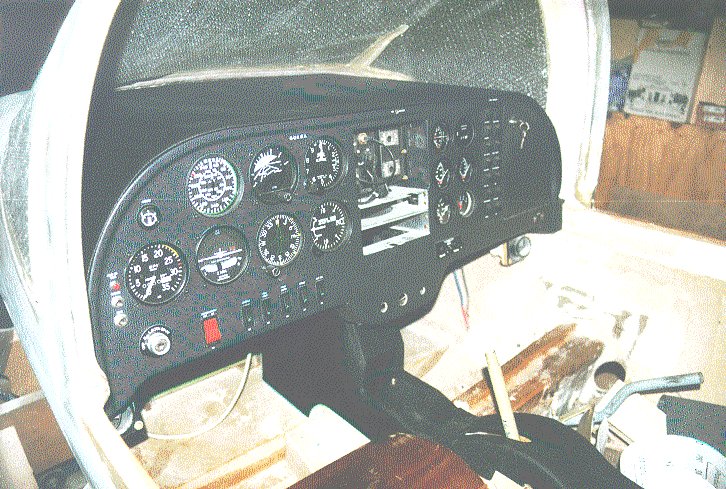
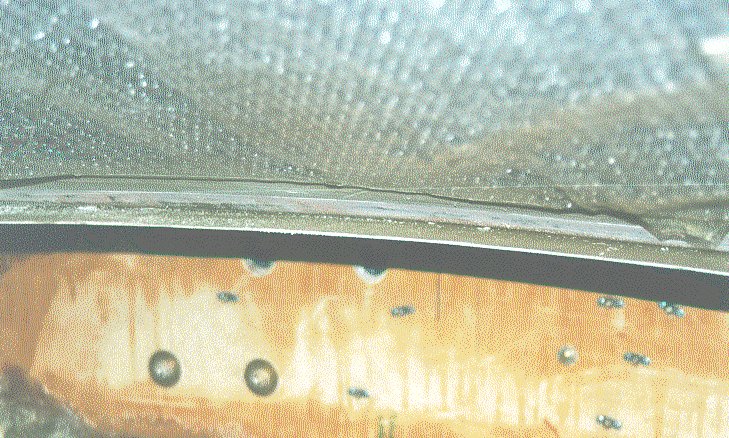
Panel and panel cover . The panel cover is made from a single sheet of aluminium sheet , it has a few strengthening ribs riveted on the underside and then covered in fabric. At the back end I have also incorporated a screen demisting system using a supply from the hot air cabin heater . The panel cover is held in place by Velcro on the top of the panel and rests on a moulded ledge at the bottom of the windscreen . The sides simply rest on the moulded fuselage bottom . Before cutting the aluminium , I made a pattern using last years office cardboard wall planner. I use cardboard a lot for making patterns .
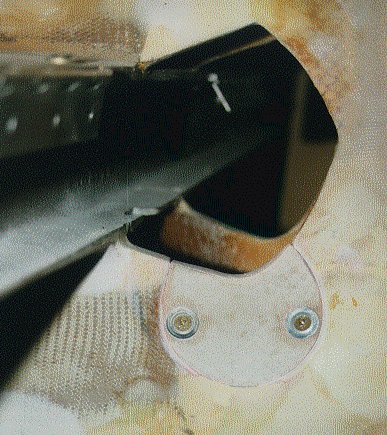 |
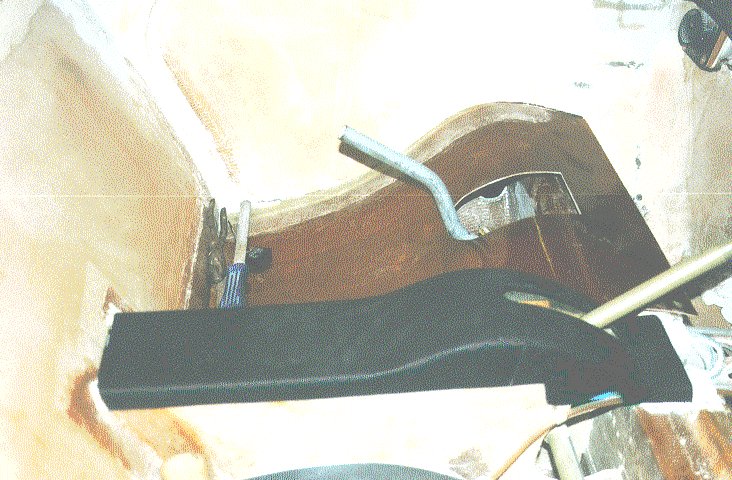
The access panel for the attachment of the elevator horn to the push rod . I wanted to keep it small. No particular reason for its shape other than I had a bit of left over pre-preg board that was circular.
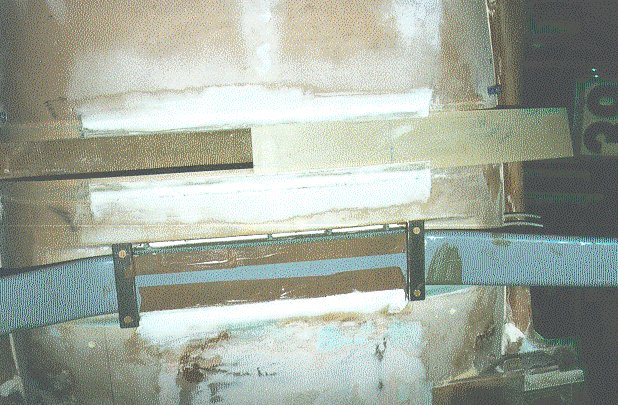 |
I have moulded in a slide for the spar box cover , this is a nice fit and doesn't require any screws to hold it in place, it cant go anywhere except sideways and this movement is restricted by the lower inner wing failings that are screwed in place as the end. Also you can see that I had just started filling in the large gap in front of and behind the landing gear , Blue foam and filler was used after sanding a little bit extra out to increase the gaps a single layer of glass holds the filler in .
All for now