 |
Photo Description
Building a KIS Cruiser Wing
by
Bill Schertz, December, 1998
(Part 2)
Wing Jig
|
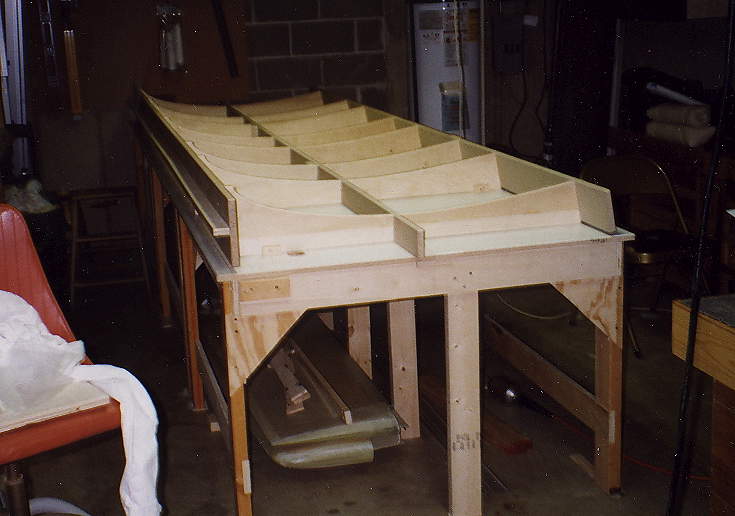
My wing jig on the table in the basement. Each rib section is 3/4” plywood, cut to the common shape as outlined in the plan. To ensure that they are all the same, I cut one out of 1/2” plywood, sanded it to as accurate a shape as possible, and then used it as a master with a router table and a flush cut ball-bearing guided router bit to trim all ribs to the same shape and size. When stacked together, they are uniformly smooth across the top. I then cut notches in the ribs for the center board, and notches in the center board for the ribs. They fit together like an egg-crate. The front and rear boards on the jig are 3/4” particle board, and the narrow strip along the front edge helped ensure that the jig was straight. I used a taught string along the front edge to align everything before fastening it down to the table. The modified instructions from KIS said to use ‘somewhat more support ribs than shown in the sketch’. What I did, was put a support rib under each of the wing’s ribs, using extras so that I can accomplish this for both the Left and Right wing. Made for a very sturdy jig.
|
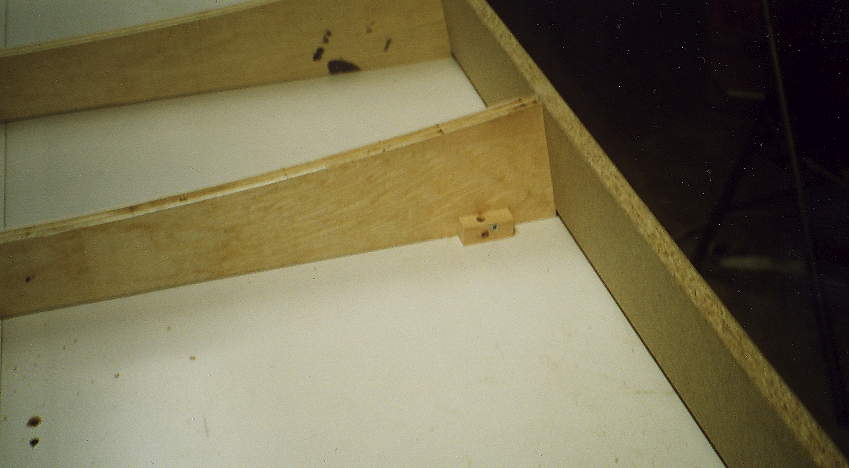
Detail showing how jig is fastened to table top.
Filler Blocks & Spars
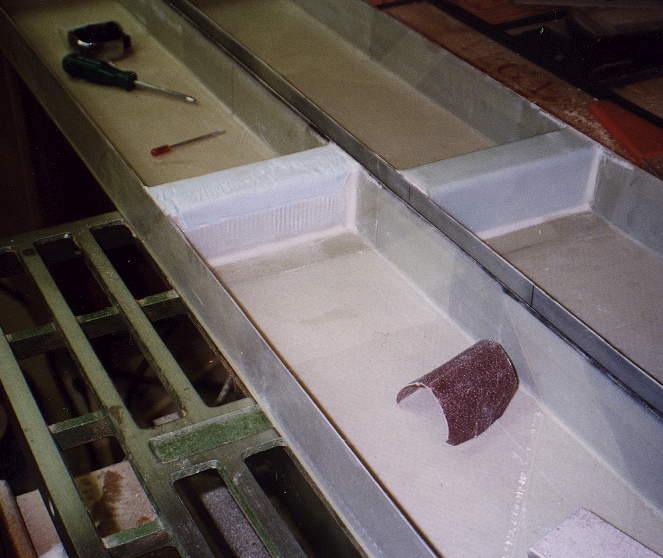 |
Working on the spars. You have to make some filler blocks out of foam and cover them with fiberglass. This shows them in place. I made a paper pattern that I folded into position to know how to cut the fiberglass, and how to fold it to make the necessary overlaps. That worked well. However, I had to re-work one of these by cutting off the glass covering, and re-doing it because I didn’t adequately round the corners before putting on the fiberglass, and I had separation with an air-bubble under the glass at the corners. Nice thing about composites, mistakes can be corrected.
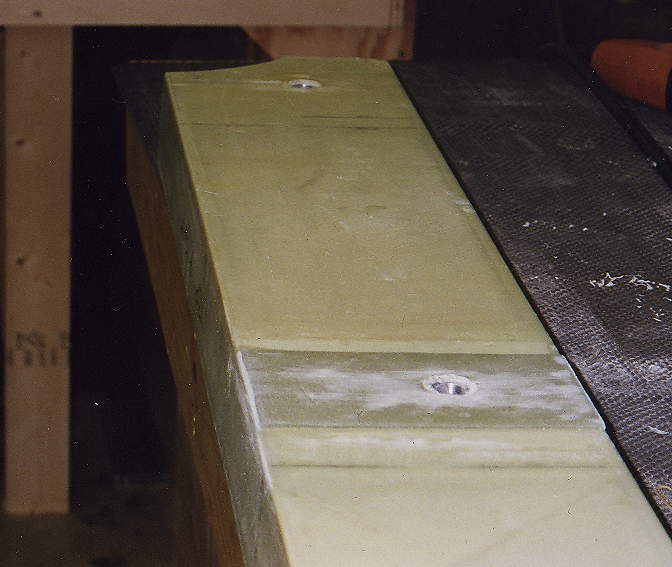 |
This shows the 8-ply Bid layup over the outer spar bolt attachment point. This is to make the thickness the same as over the inner attachment point when the center spar is bonded to the fuselage. You can also see the cutout needed on the end of the spar to allow the spar to fit next to the fuselage. Easiest to cut out now rather than when wing is completed.