
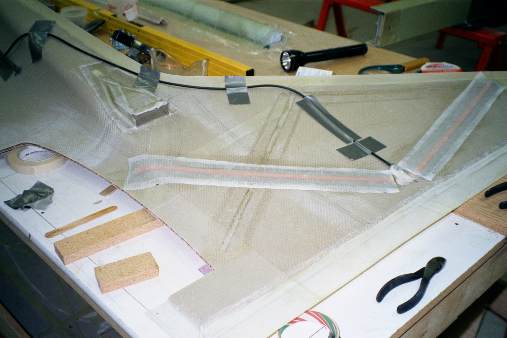
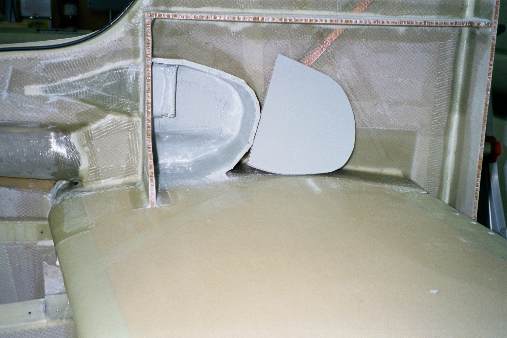
Peel ply is still in place. Junction is potted in epoxy/flox.
Also can see NACA duct installed
What is wrong with this picture?
(The conduit location is too low, and will interfere with the elevator when installed. OOPS.)

Photo Description
Building a KIS Cruiser
Fuselage Construction - Vertical Stabilizer
by
Bill Schertz, February, 2001
| Drilling the gear leg for the wheels and brakes. Had to buy a longer drill bit in order to drill through the opening in the brake set. Wheel was bolted into place with the two predrilled holes first. | |
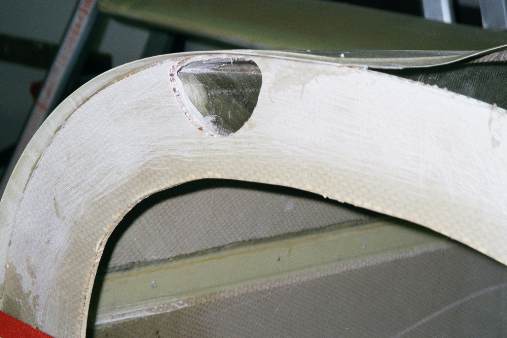
| Fabricating the COM antenna, you can see
where I had it originally placed, but you are supposed to keep the wire running
away from the elements for a period of time, so I took it off and redid it
so the wire did not have to double back on itself.
Peel ply is still in place. Junction is potted in epoxy/flox. Also can see NACA duct installed |
|
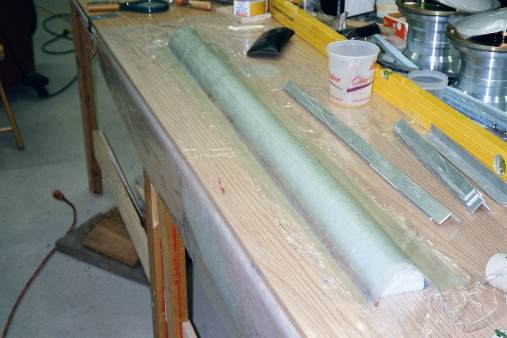
| Molding a duct for the cooling air. I bought the overhead console from John Petrie, and a duct to bring the air from the rear of the plane to the front is needed. I decided to make my own instead of using SCAT tubing or similar. Carved blue foam ½ circle, then laid two ply bid over it. | |
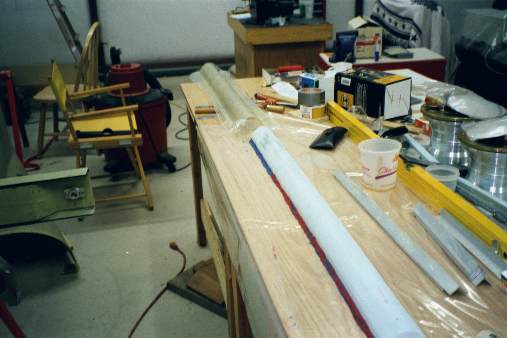
| Here you can see the duct, popped off the mold. | |
| Clecoing the duct in place, it carries the air from the NACA duct to the 139 bulkhead. It will be floxed into place when done. To make it fit the curvature of the fuselage, I had to cut it into two pieces and then put a patch over the gap. | |
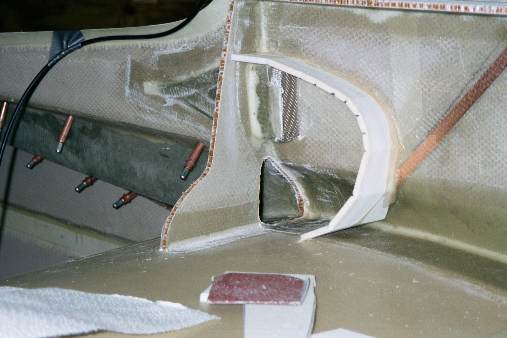
| Here you can see the opening in the bulkhead for connecting to the duct. Also the white foam being shaped to bring the air from the NACA into theopening. | |
| Okay, everyone lay on their side! Picture should be rotated, but I didn’t. Shows the drain tube from the lowspot on the duct to the bottom of the plane to let any moisture out. | |
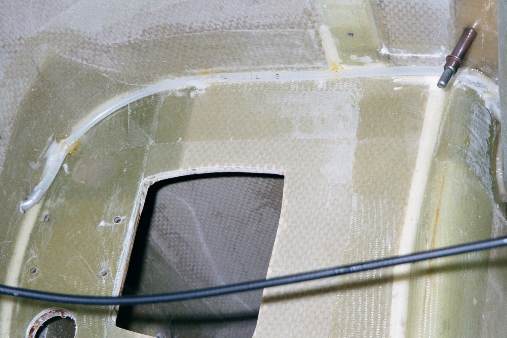
| Exit from the duct through the 139 bulkhead. I will build a transition box, with a mechanism for stopping the air in the next section of the duct. Also, it has to transition to become centered in the fuselage to match up with the parts made by John Petrie. | |
| The completed duct, with the transition box between the back bulkhead and the duct. You can see the drain tube going down the corner of the bulkhead. | |
| I coated the inside of the plenum with the same epoxy that I used on the fuel tanks, just to give it a nice uniform surface. This shot is just before closing it off. | |
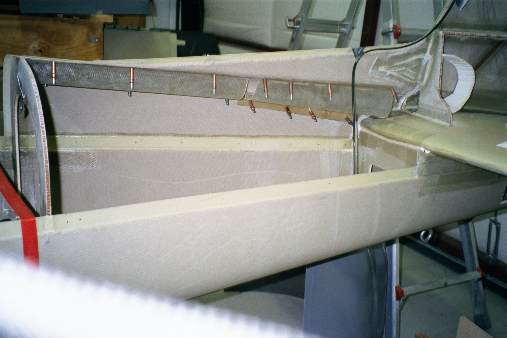
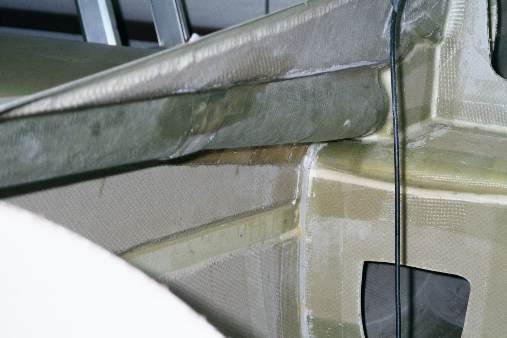
| Chamber closed off, and started fitting conduit
into the tail for wires for strobes and elevator trim.
What is wrong with this picture? (The conduit location is too low, and will interfere with the elevator when installed. OOPS.) |
|